 ElectroBoy
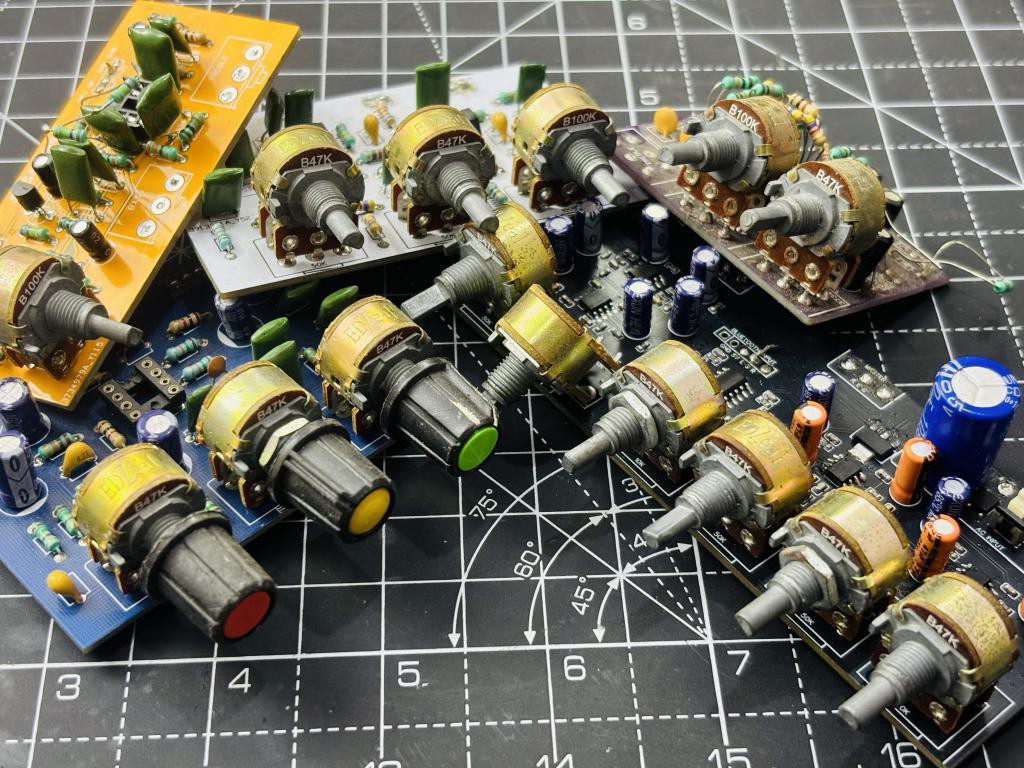
If you have seen my previous audio projects, the tone processors, my preamps and amplifier boards you already know one thing. Almost every single one of them needed potentiometers. Bass, treble, mid, volume, balance, gain. Knobs, knobs, knobs everywhere. Every time I designed a new board, I had to add those same pots all over again. Buy them again, solder them again, find footprint space for them again. These are big, bulky through-hole parts, and they make a mess of an otherwise clean SMD layout.
They take up half the board, they stick up tall, and the moment the project is done they are stuck on that PCB forever. I cannot reuse them. I cannot pull six soldered pots off a finished board and move them to the next one without wrecking everything. So I sat at my workbench, looked at a drawer full of loose pots and three boards all carrying the same volume/bass/treble trio, and thought - enough of this. Enough of pots on every board. Let me make the pots once, as a separate plug-and-play module, and just reuse that forever. That is exactly what this little project is. Let's see how it works.
Why Onboard Pots Are Such a Pain:
Let me be honest about why I dislike putting pots directly on the main PCB. There are real practical reasons like:
- They eat board space. A standard 16mm pot footprint is huge compared to an SMD IC. Three or six of them and your nice compact board is suddenly twice the size.
- They are tall, through-hole, and mechanical. They do not fit the spirit of a small SMD board, and they put mechanical stress on the PCB every time you turn a knob.
- They are not reusable. Once soldered, they belong to that board. Desoldering six pots cleanly is a nightmare and you usually kill the pads.
- You keep re-buying them. Every new build is another order of the same six pots. I have probably bought the same 100K pot fifty times by now.
- They clutter routing. Six pots means eighteen terminals to route across the board, right through the area where your sensitive analog signal lives.
I want to keep my main boards minimal. Clean signal path, small footprint, easy to lay out. The pots are fighting that goal on every project.
Make the Pots a Module Once, Reuse Forever:
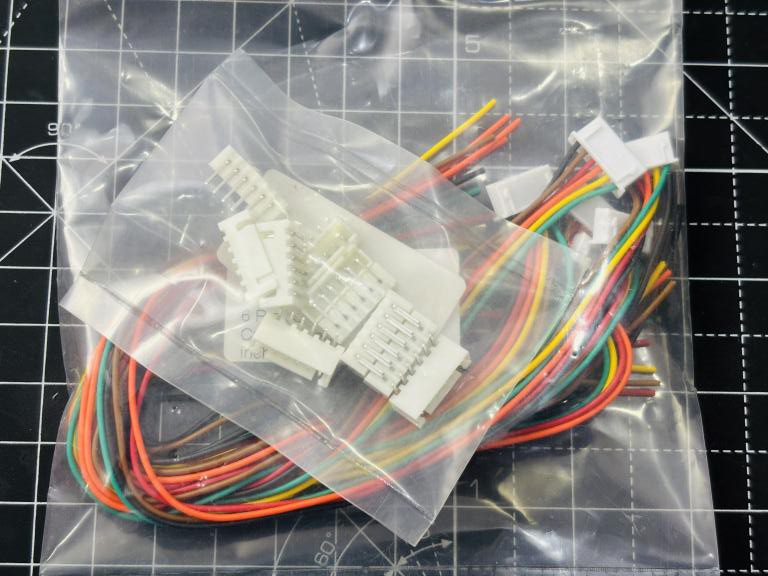
The concept is dead simple, and that is exactly why I like it. Instead of placing pots on every project board, I made one small dedicated PCB that holds all the pots, and I break every terminal out to a header. Then on any future project, I just place a matching header and plug this module in with a connector or some wires. Plug and play.
Wire to wireless just needed a Bluetooth module? Same idea here, onboard to modular just needs a header. Yah! That is the whole trick. The pots become a reusable building block, like a sensor module or a breakout board. Design it well once, and every preamp, tone control, or amplifier board I make from now on gets cleaner and smaller, because the bulky stuff lives off-board on a part I already own.
Choosing the Pot Values:
This was the one part that actually needed a little thought. I did not want a random pile of pots — I wanted the values that cover the most common audio preamp and tone-control needs, so this single board fits the maximum number of projects without changes.
In my experience building audio gear, two values show up again and again:
- 100K: This is the classic value for volume controls and for high-impedance preamp inputs. Most volume pots in line-level audio sit around 50K–100K and it is also common in passive tone stacks and balance controls.
- 47K: This is everywhere in tone and EQ networks. Bass and treble cut/boost networks, mid controls, and a lot of op-amp based filters are designed around 47K.
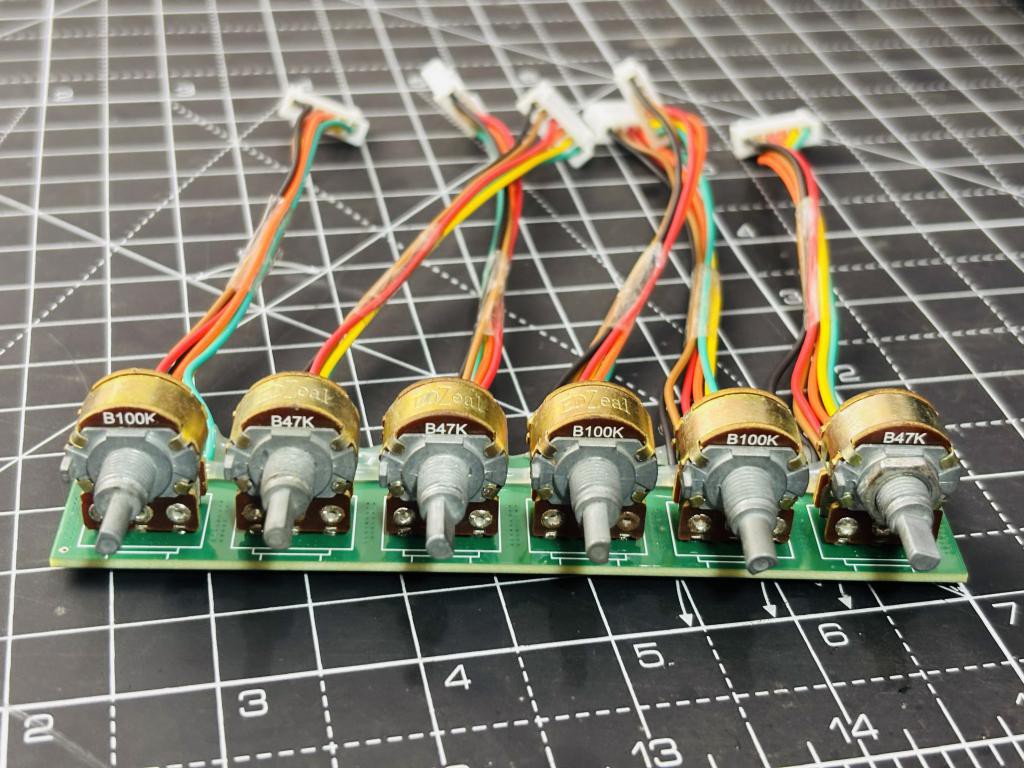
So I put three of each 3x 100K and 3x 47K. Six pots total. That covers the typical bass / treble / mid / volume / balance / gain set that most of my preamp projects need. If a project only needs four, I just leave two unused. I built this board with linear pots because they are what I had on hand and they make the module general-purpose, but if you are dedicating it to volume control, swap the 100K linear for 100K log. The footprint is identical, so it is a drop-in change.
Schematic Design:
I designed the whole thing in EasyEDA, same as all my projects. The schematic could not be simpler, and that is the point there is no active circuitry here at all. This is purely a passive breakout. Each potentiometer has six terminals because they are stereo type: the two ends of the resistive track (CW and CCW) and the wiper in the middle. The job of this board is just to bring all six of those out to a header pin so the main project can decide what to do with them.
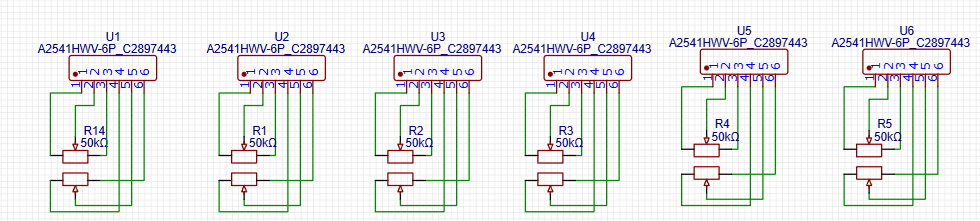
So for six pots that is 6 × 6 = 36 signal pins broken out. I grouped them on the header in pot order POT1 (CW, W, CCW), POT2, so it is easy to follow when you plug it into something. That is genuinely the entire schematic. No ICs, no power, no decoupling. It is a passive, dumb, beautiful little board.
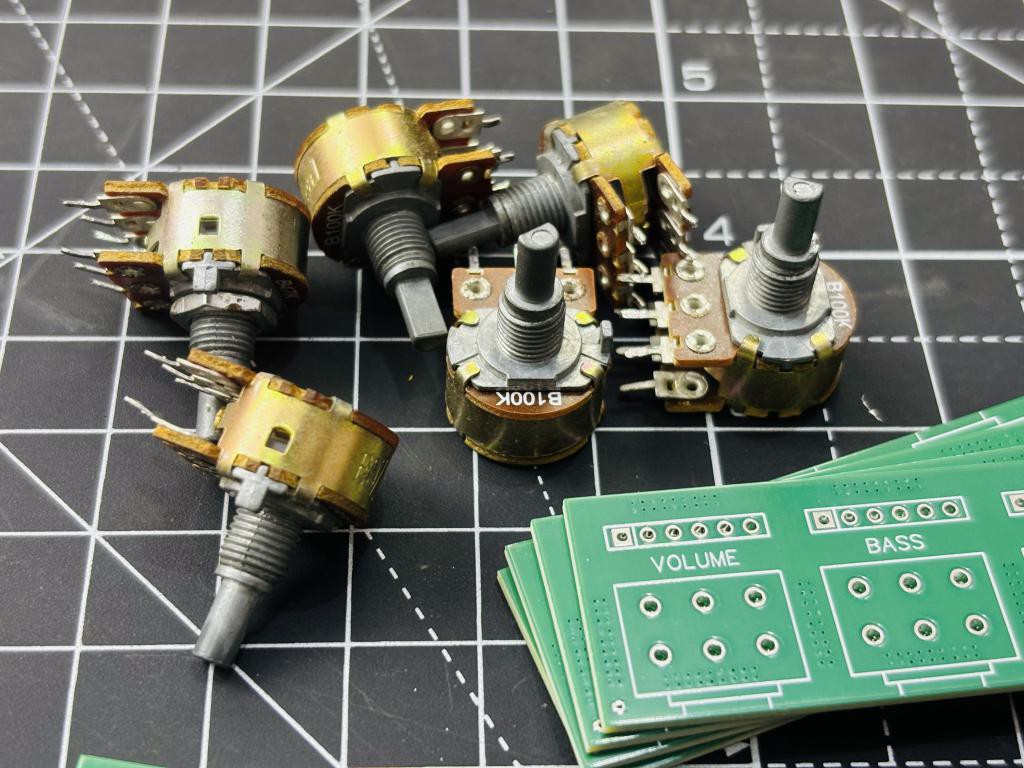
PCB Layout:
First, physical pot placement. I lined the six pots up in a neat row with consistent spacing so the knobs look clean on a front panel and your fingers do not bump the neighbor when you turn one. I added silkscreen labels (value and POT number) next to each one because future-me will absolutely forget. Second, the breakout header. I placed all the pin headers along one edge of the board so the connecting cable leaves cleanly in one direction. That makes it easy to plug into a project with a ribbon cable or a row of Dupont wires, and it keeps the knob side and the wiring side on opposite ends.
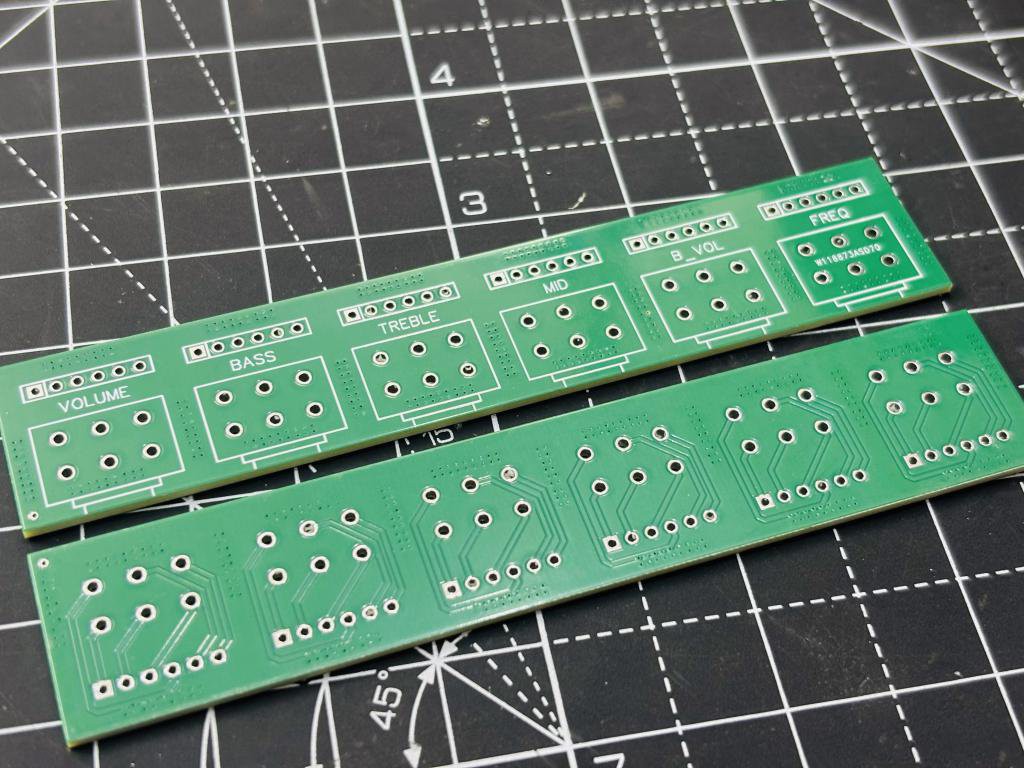
Third, mechanical strength. Pots take real physical force when you turn them, so I gave each footprint solid, generous pads and added mounting/support, and I poured a ground plane across the board for rigidity and a little shielding. The pot bodies themselves get soldered down by their mounting tabs where possible, so the force goes into copper and not into the signal pins.
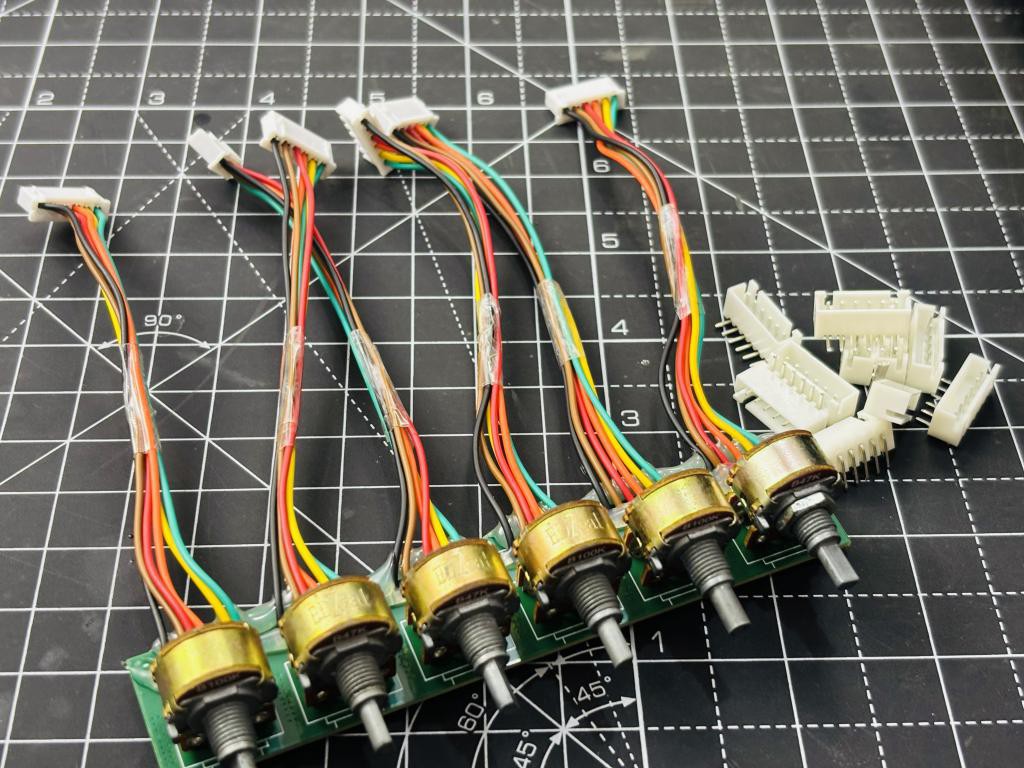
Once the layout passed DRC, I exported the GERBER straight from EasyEDA and ordered the boards. For a board this small and simple it costs almost nothing, you are basically paying the minimum order price, and you get five or ten boards. The component cost is just six pots and a couple of headers, so the total cost of one finished module is genuinely small. The assembly took me about ten minutes. That is it! No reflow, no hot air, no fiddly QFN. Just classic soldering, which is honestly relaxing after a board full of SMD. Just download all the files from here, these are open sourced for now.
Taking the Project to the Next Level - With JUSTWAY
Electronics without proper housing and the audio circuit, they simply would not work. Yes! Because to keep the system available to us a proper 3D casing should be there. JUSTWAY assists you in turning your do it yourself project into a high-quality prototype that feels and looks like a genuine product that is ready for the market. What they do:
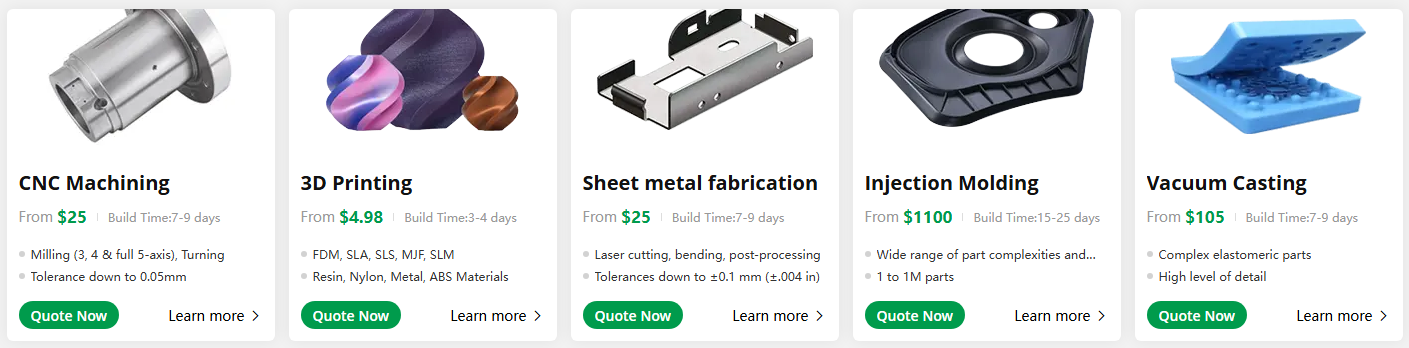
- Rapid Prototyping
- CNC Machining (Aluminum 6061 / Stainless Steel 304)
- Sheet Metal Fabrication
- Injection Molding
- Urethane Casting
- 3D Printing (SLA & HPA-PA12)
Upload your CAD files at JUSTWAY.com, Select the material & finish then preview your model in 3D and place your order. Taking the Project to the Next Level - With JUSTWAY.
Plug and Play in Real Projects:
Here is the part I am most happy about. From now on, when I design a new preamp or tone-control board, I do not place pots on it. Instead I just drop a matching header footprint on the main board and route my bass/treble/volume nodes to those header pins. Then I plug this module in and Done!

Say I am building a tone control around an audio processor or an op-amp tone stack. On the main board I bring out the points where a volume pot or a tone pot would normally go, to header pins. I plug in the 6-pot module with a short cable, assign POT1 (100K) to volume, POT2 and POT3 (47K) to bass and treble, and the rest stay free for mid, balance, or gain on a future revision. The main board stays tiny and clean, all the bulky mechanical stuff lives on the module, and when this project is done I can unplug the module and use the exact same one on the next build.
Conclusion
You now have wires between the pots and the main board. For high-impedance audio nodes, long unshielded wiring can pick up hum. Keep the cable short, and for very sensitive nodes shielding still wins. For most line-level preamp use it is totally fine.
This was one of those projects that is almost too simple to call a project, and yet it has already saved me real time and money. I never have to solder the same six volume knobs onto a new board again. Enough of pots on every board. Make them once, reuse them forever. If you build your own version, or if you have ideas for the connector standard or a stereo variant, please comment below, I would love to hear how you would do it.