 Arnov Sharma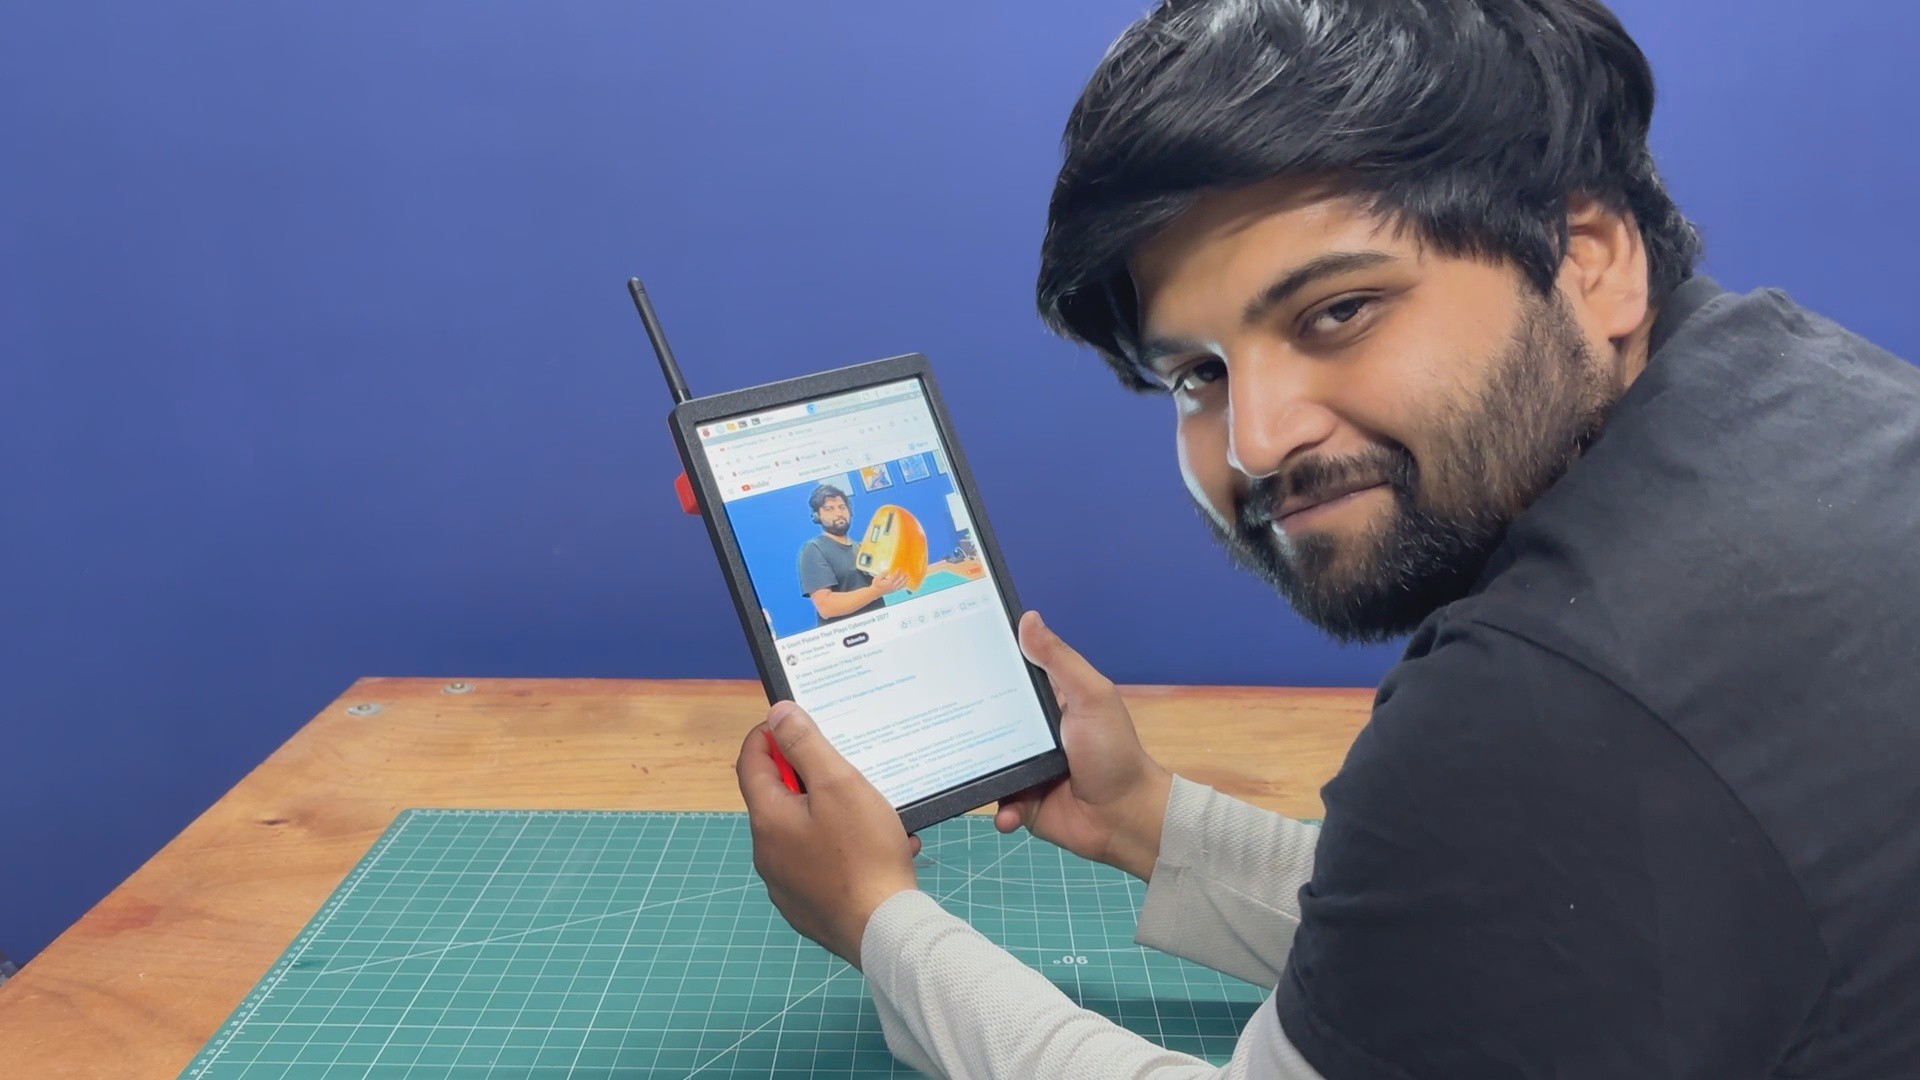
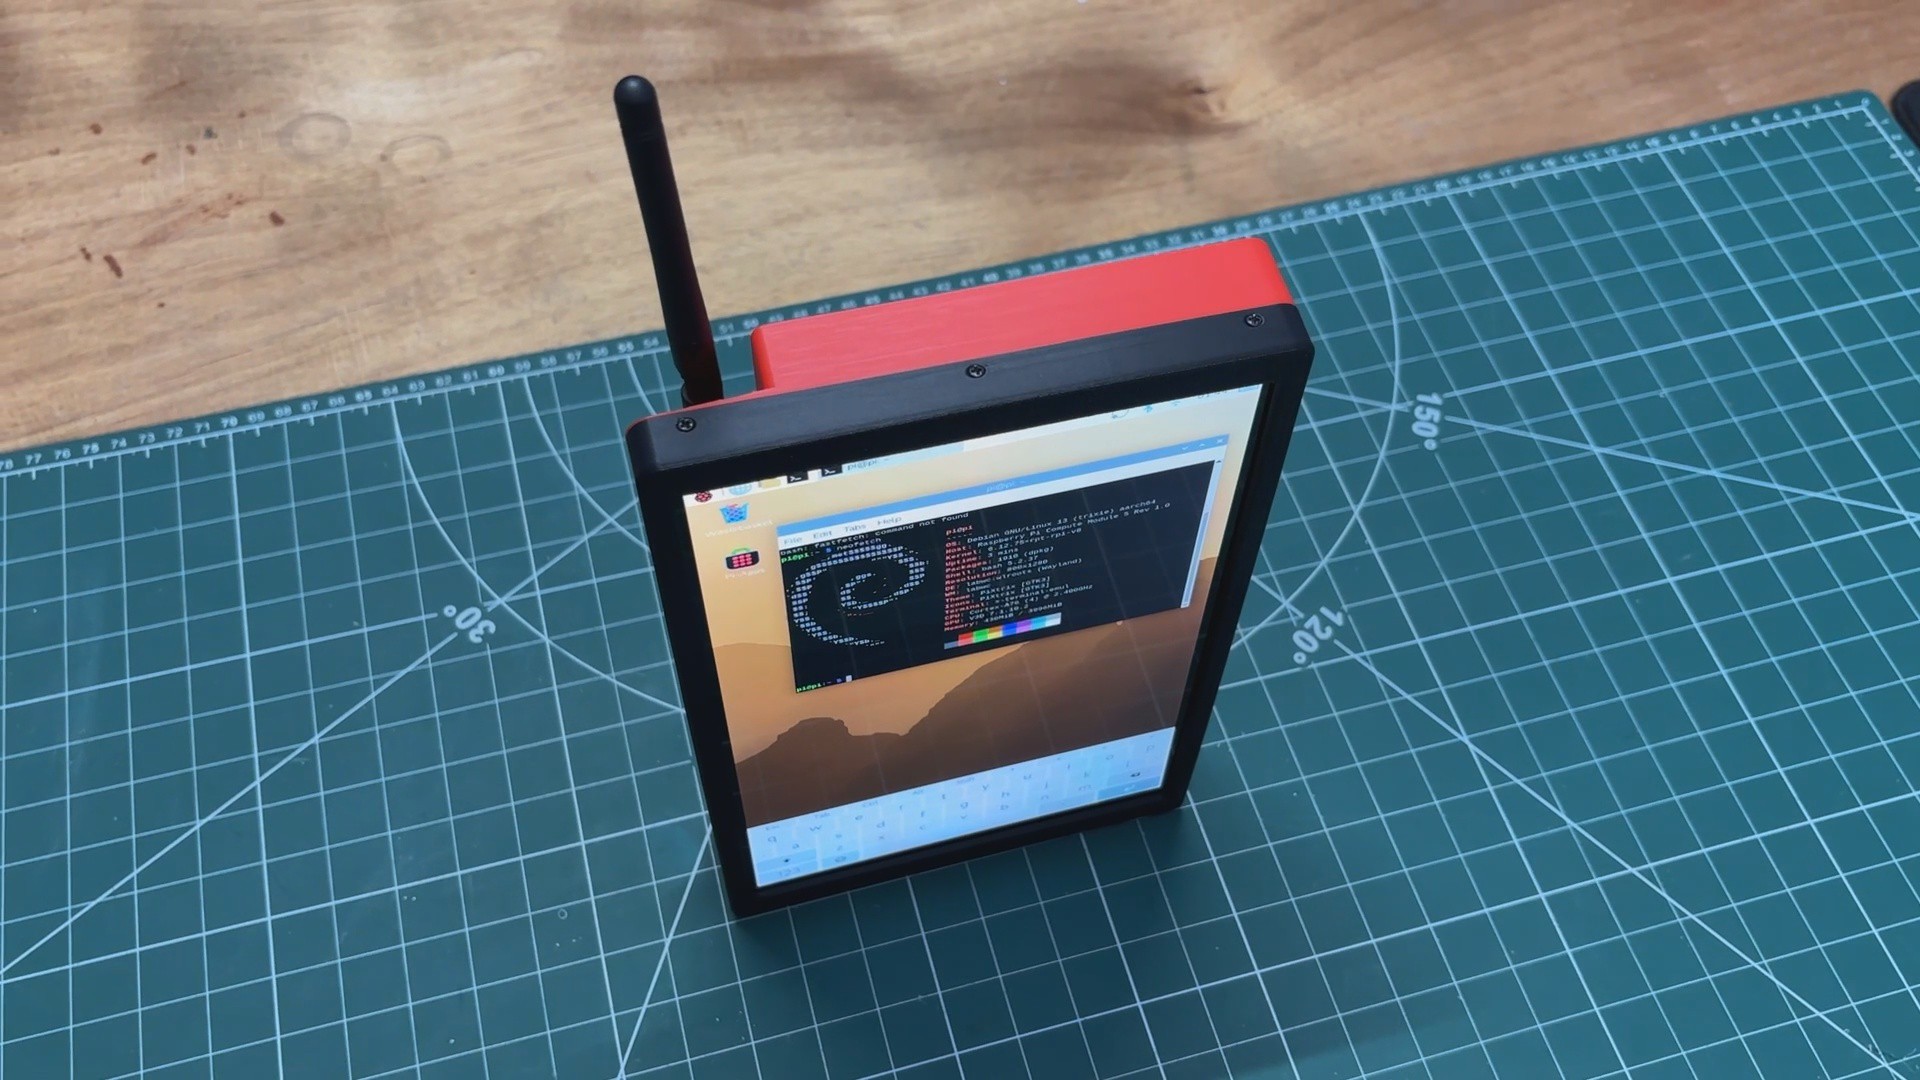
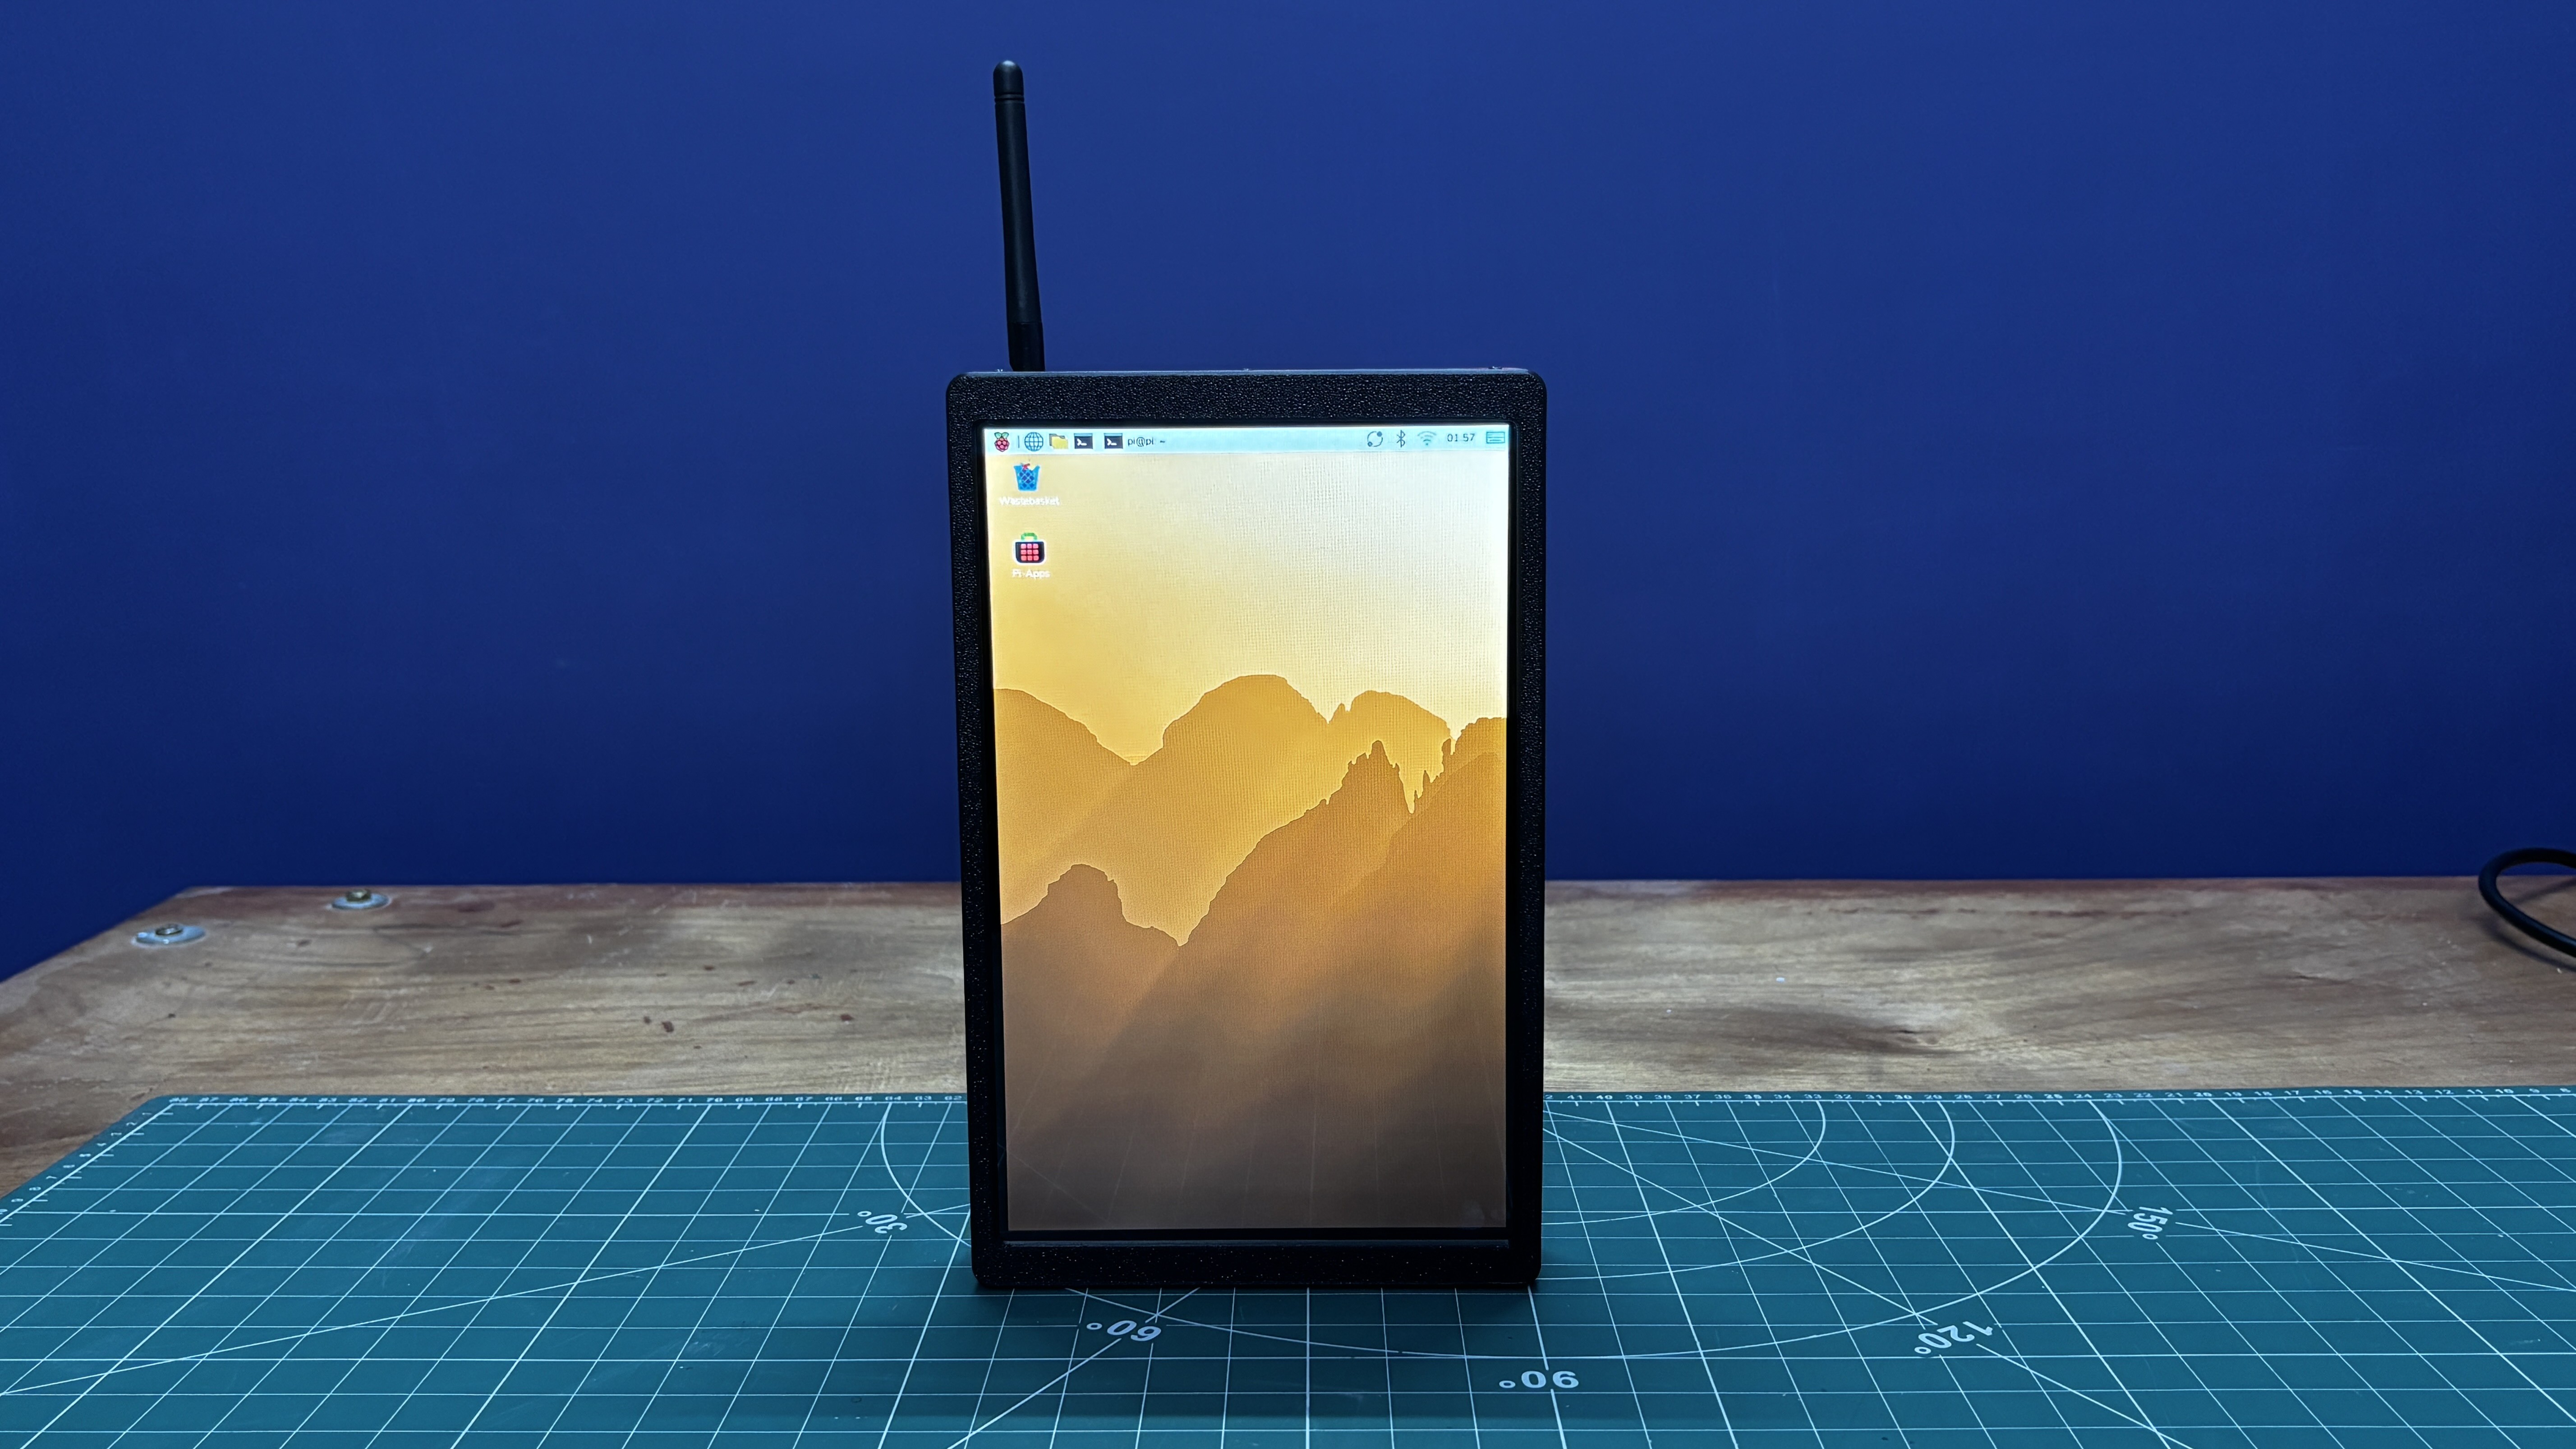
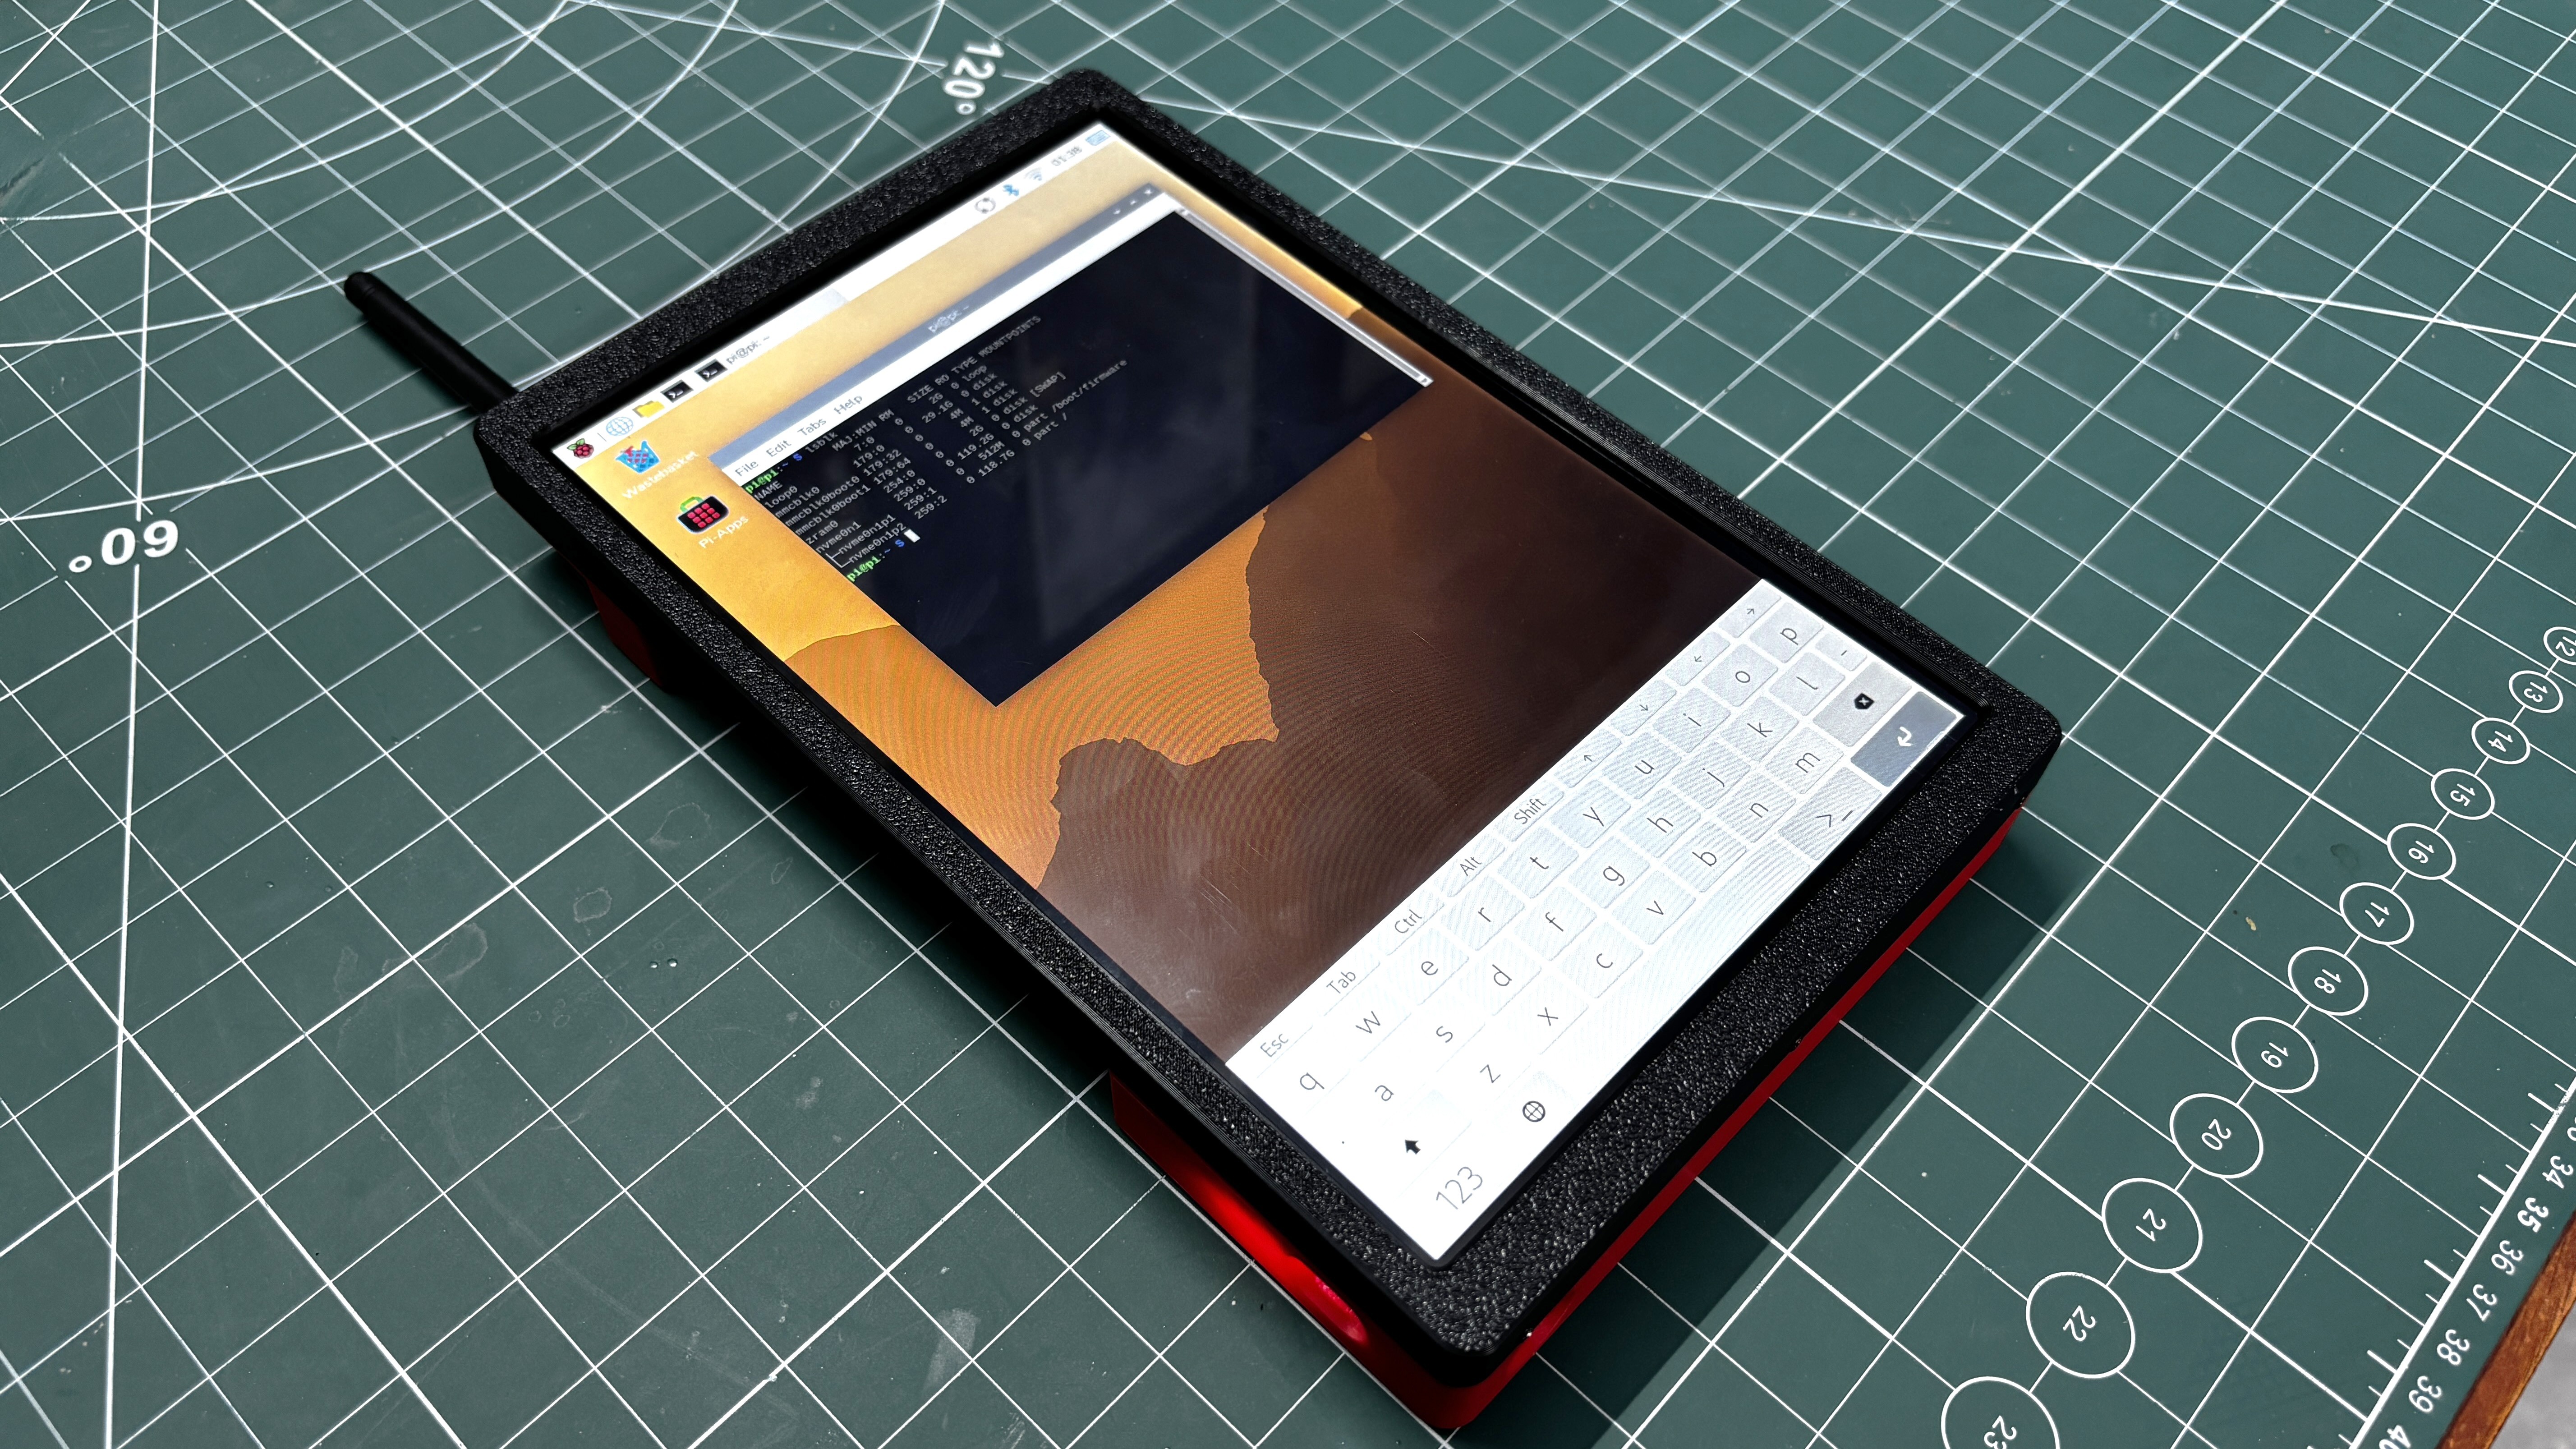
The goal of this project was to create a portable Linux tablet for an upcoming solar project, where I needed a device that I could easily carry from one site to another while working outdoors. A laptop could have been used instead, but I wanted something more portable and convenient to work with. Raspberry Pi OS is perfect for this task, which is why I decided to build a tablet around the CM5 and a touch display.
This Device is a fusion between a touch computer and a tablet. I have used a 4GB variant of the CM5, and for improved performance, I installed the operating system on an NVMe SSD, making the system super fast.
To enhance Wi-Fi and Bluetooth connectivity, I also added an external antenna to the device.
I designed the enclosure in Fusion 360 and printed the parts on my 3D printer in two colours to get a duotone aesthetic.
This article covers the complete build process of the tablet, so let's get started with the build.
IDEA
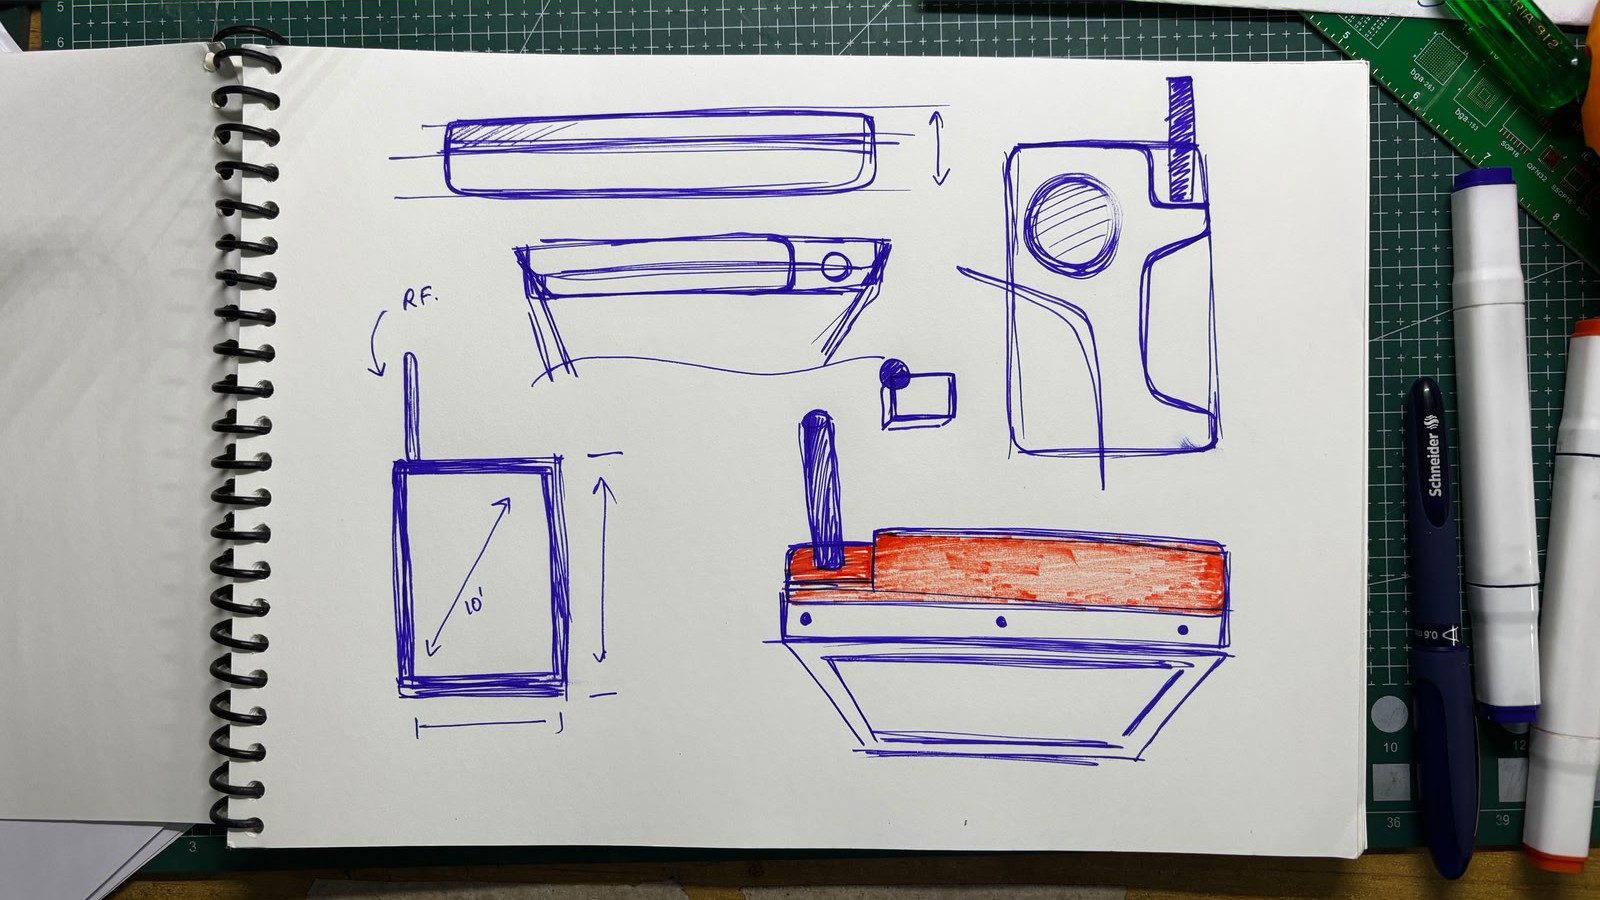
The whole idea came from the fact that I needed a Linux system—a portable Linux system that would help me with a solar monitoring project I'm working on. I had already been using a Raspberry Pi 4 in that project and needed a device that would allow me to SSH into the setup and monitor the solar cells on the go.
A laptop could have been used for this purpose, but I wanted something more portable, like a tablet that runs Linux. I did a quick Google search and found very few Linux tablets available, so I decided to build one myself since the concept was quite simple.
The project only needed three main components: a small computer, a display, and a battery source. For the computer, I selected the Raspberry Pi Compute Module 5 along with its full evaluation board. For the display, I used a Waveshare 10-inch DSI touchscreen that I already had, which turned out to be perfect for this project. Finally, for power, I repurposed a MagSafe power bank by completely stripping it down and using its battery and charging circuitry inside the tablet.
HARDWARE- WAVSHARE 10.1 INCH DSI SCREEN
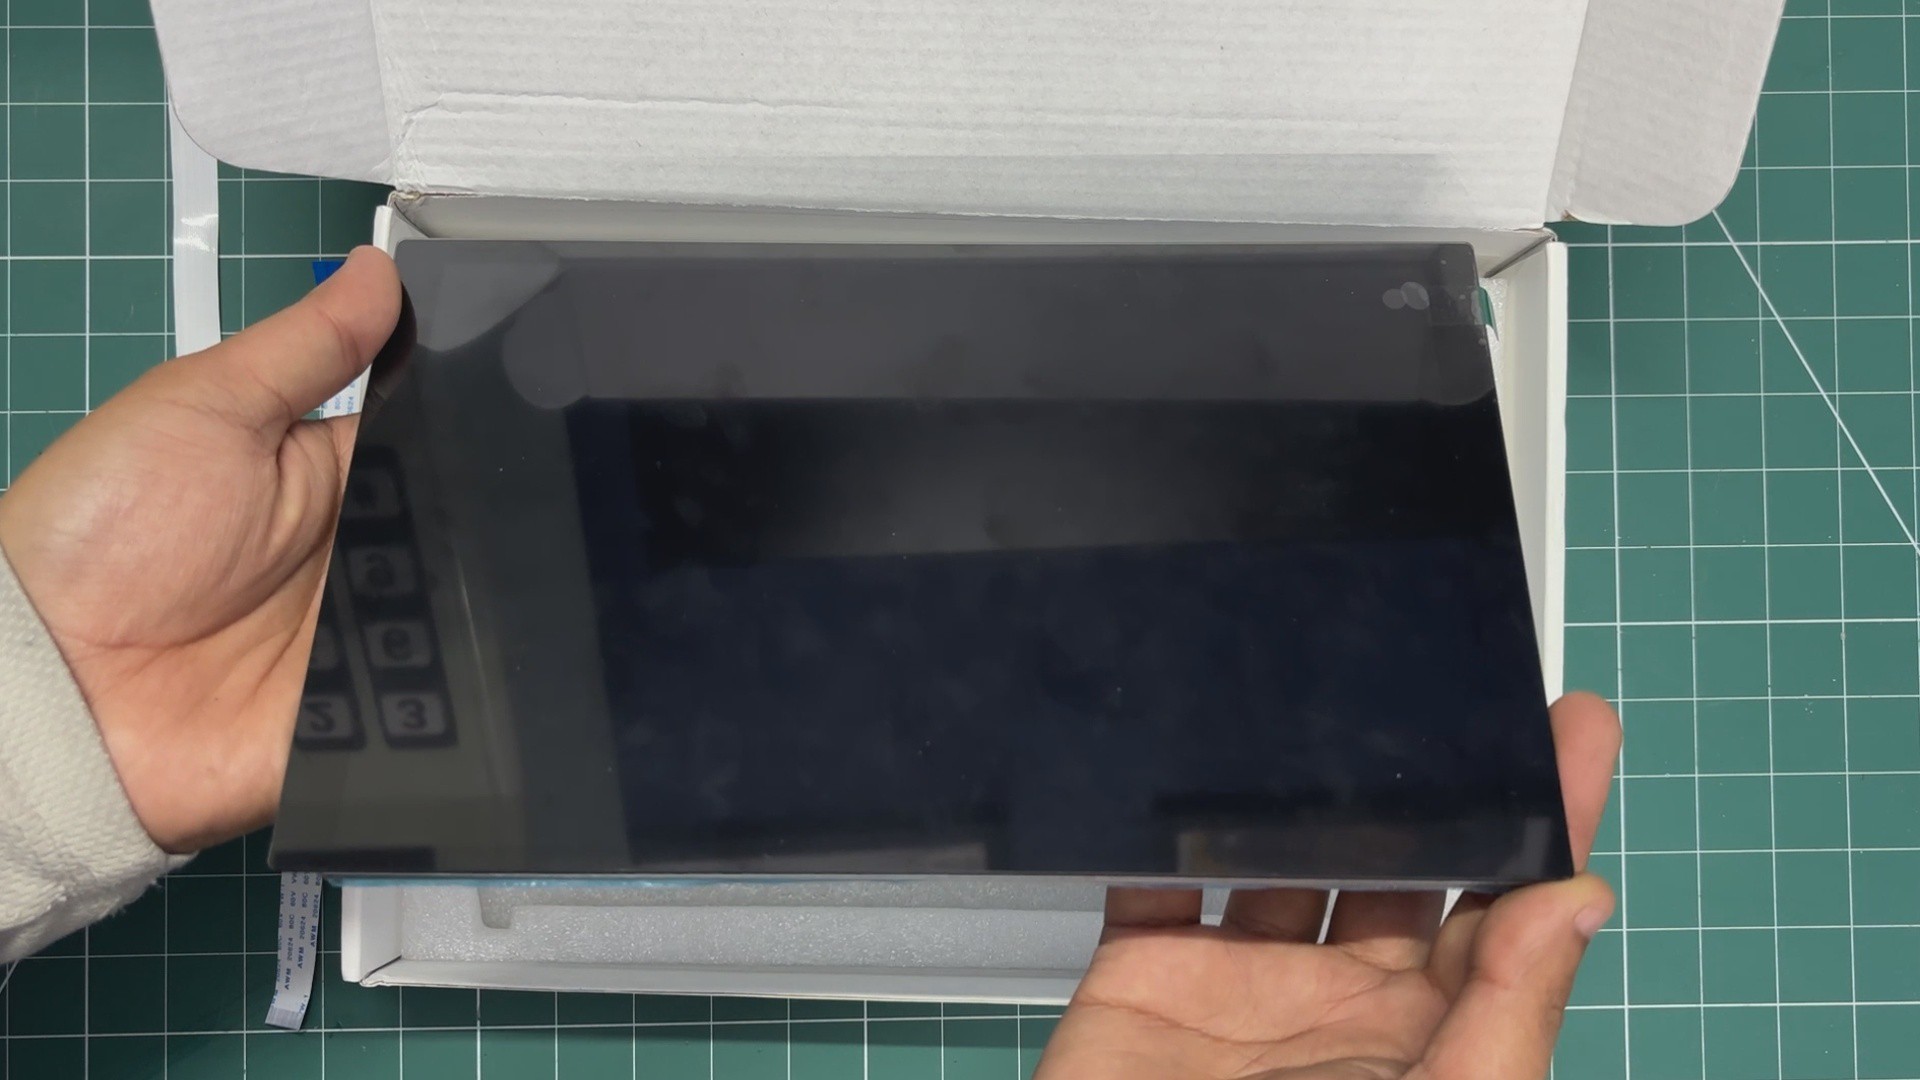
For the main display, I wanted something huge, not the average 7-inch size, but something larger.
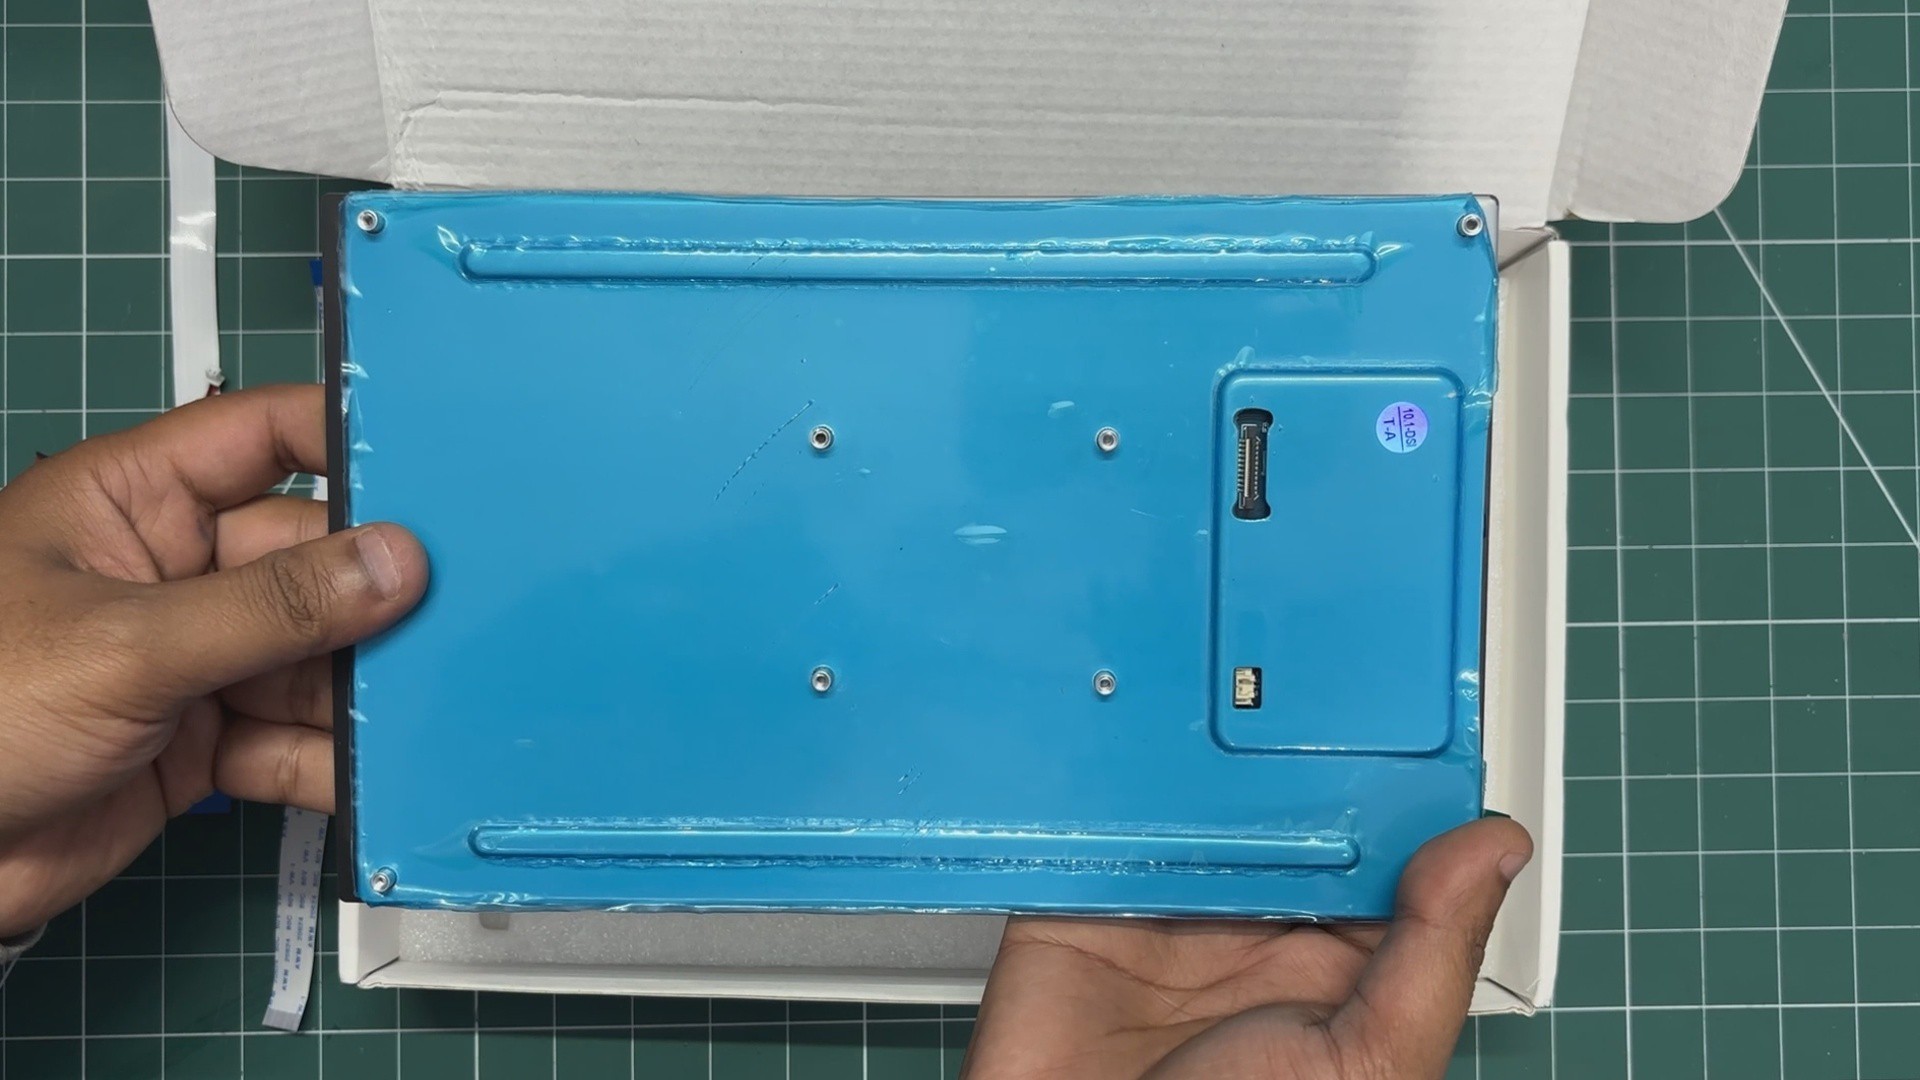
Connectivity was also an important factor, as I wanted a DSI interface instead of HDMI.
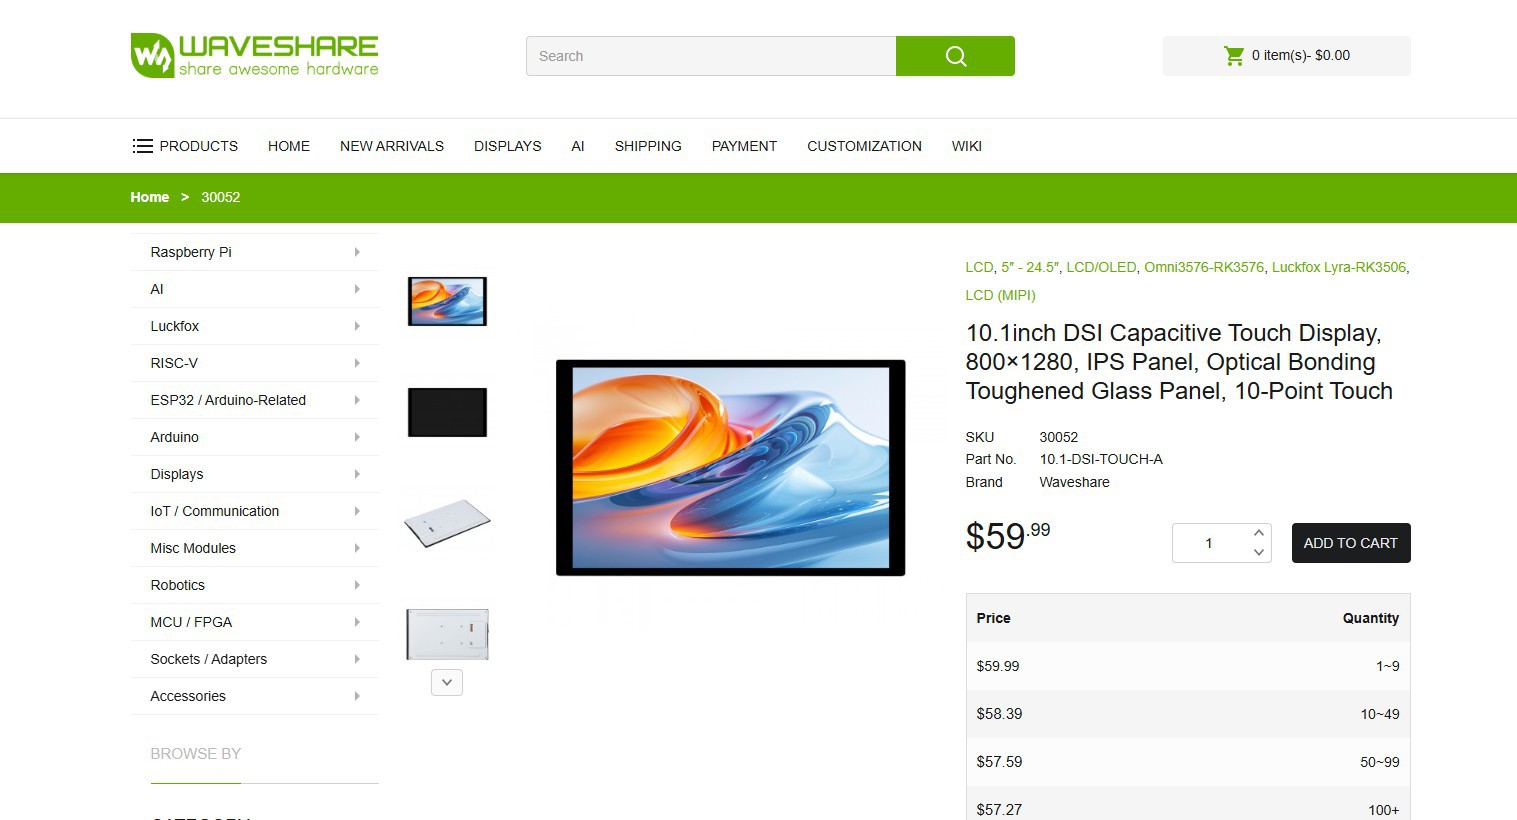
So, I selected Waveshare's 10.1-DSI-TOUCH-A display for this project. It is a portrait touchscreen LCD display with ten-point capacitive touch control. The display uses an IPS panel with a hardware resolution of 800×1280, which is perfect for our tablet application.
The LCD pairs with the Raspberry Pi through the DSI interface and supports a refresh rate of up to 60 Hz, which is more than enough for this application.
The kit comes with two FFC cables for pairing the display with a Raspberry Pi 5 or CM5, one FFC cable for pairing with a Raspberry Pi 4, a power cable, and a couple of PCB standoffs.
You can check out more about this display from its wiki page.
https://www.waveshare.com/10.1-dsi-touch-a.htm?&aff_id=Arnov
http://www.waveshare.com/wiki/10.1-DSI-TOUCH-A
WAVESHARE SERVICE
Special thanks to Waveshare for providing the hardware used in this project. The 10.1 Inch DSI screen and supporting accessories were supplied as review units for testing and evaluation.
Waveshare is a leading global provider of electronic components, modules, and development tools used across robotics, IoT, automation, education, and many other fields. With a strong focus on quality, reliability, and continuous innovation, Waveshare has earned the trust of engineers, designers, hobbyists, and makers worldwide.
Their extensive product lineup, from displays and HATs to expansion boards and embedded modules, makes them a go-to choice for both professional builds and DIY projects.
RASPBERRY PI CM5
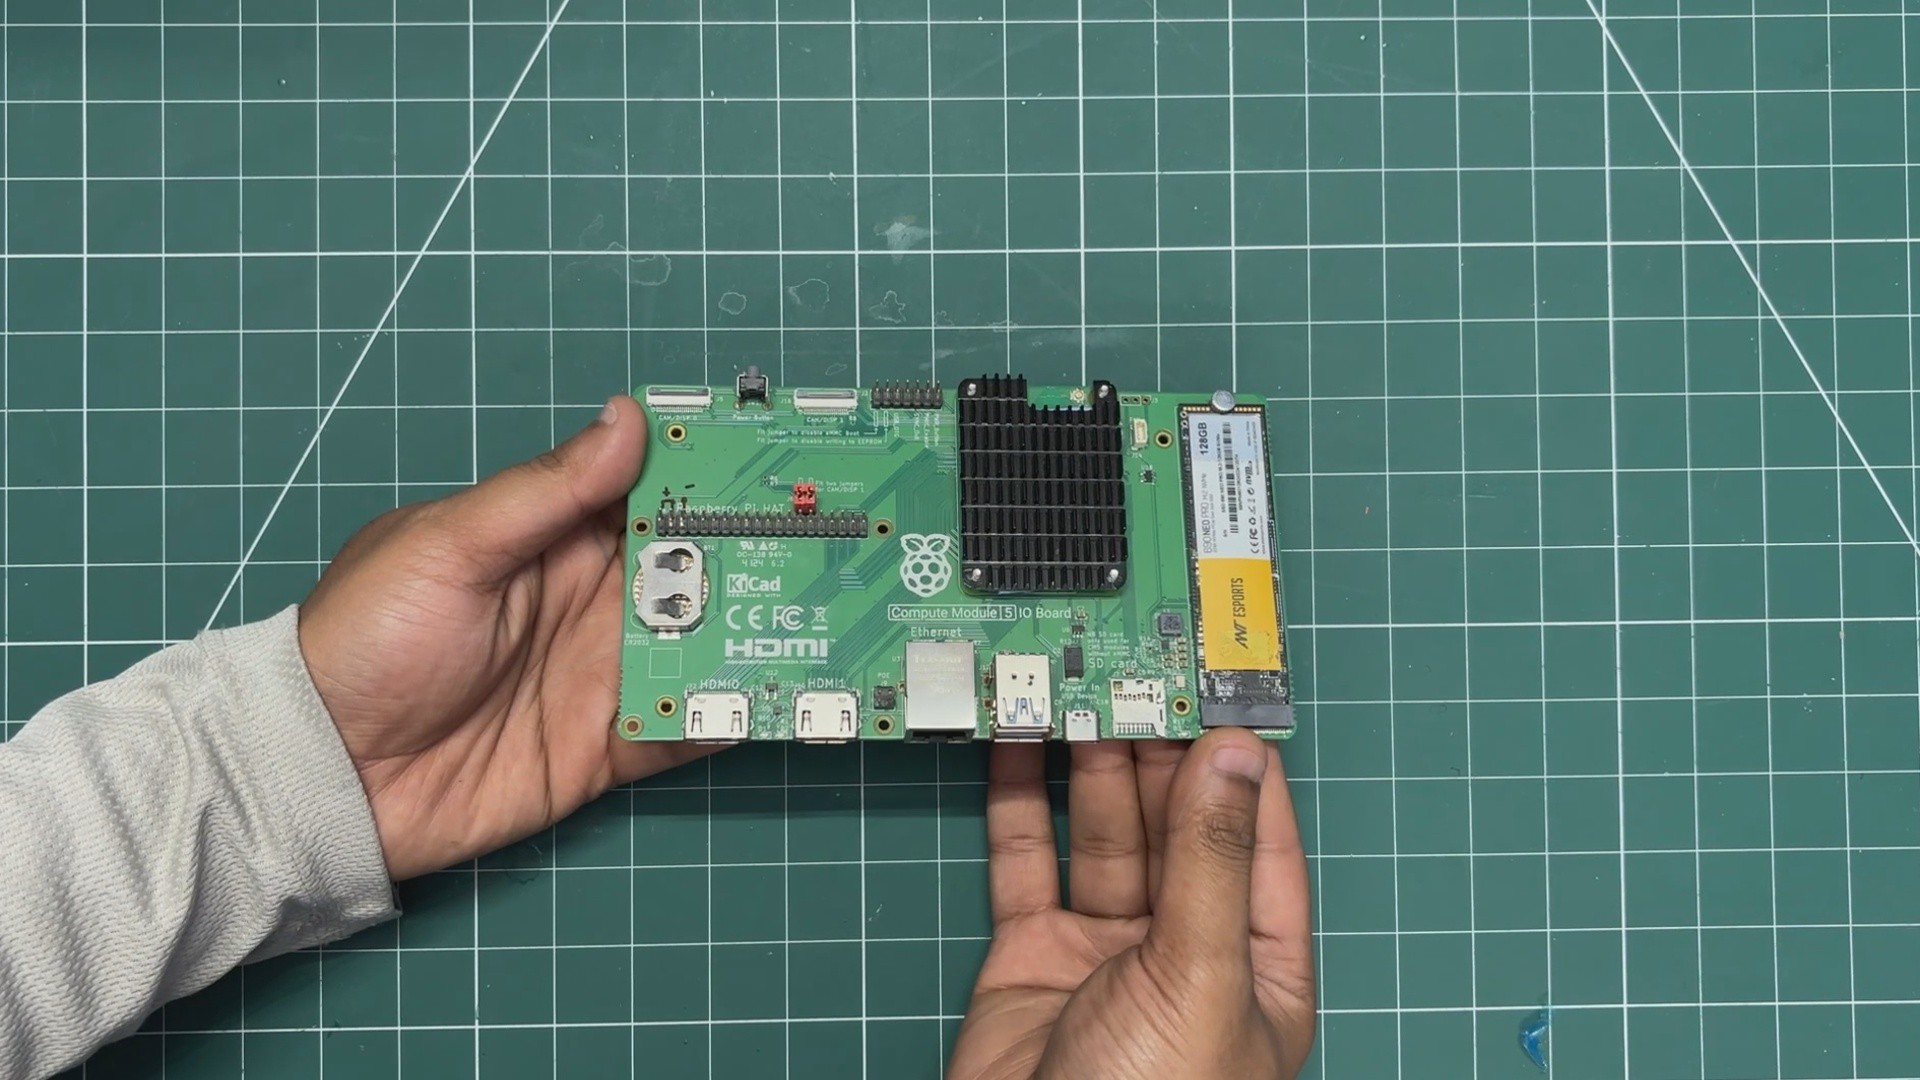
The brain of our project is the Raspberry Pi CM5, which is a more industrial-oriented version of the usual Raspberry Pi 5 in a module form factor. It uses the same Broadcom BCM2712 quad-core 64-bit Arm Cortex-A76 (Armv8) SoC running at 2.4 GHz, but in a much more compact package.
The CM5 sits on an evaluation board that breaks out USB ports, Ethernet, dual HDMI ports, GPIO headers, an SD card slot, and even an M.2 port for adding an NVMe SSD.
Here, we are using the 4GB variant, which comes with onboard 32GB eMMC storage.
For the operating system, I used the new Raspberry Pi OS based on Debian Trixie. The OS is installed on an NVMe SSD, which makes the system super fast. OS installation was done using Raspberry Pi Imager. We connected the SSD using an M.2-to-USB adapter and flashed the operating system directly onto the NVMe drive. Once the NVMe SSD was plugged into the CM5 board, the system booted directly from the SSD.
DESIGN
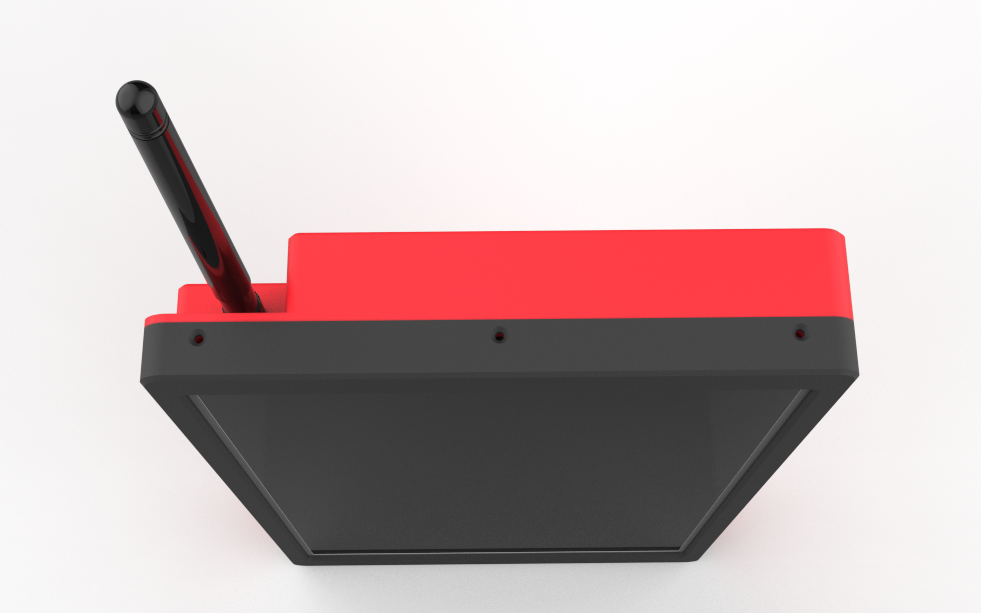
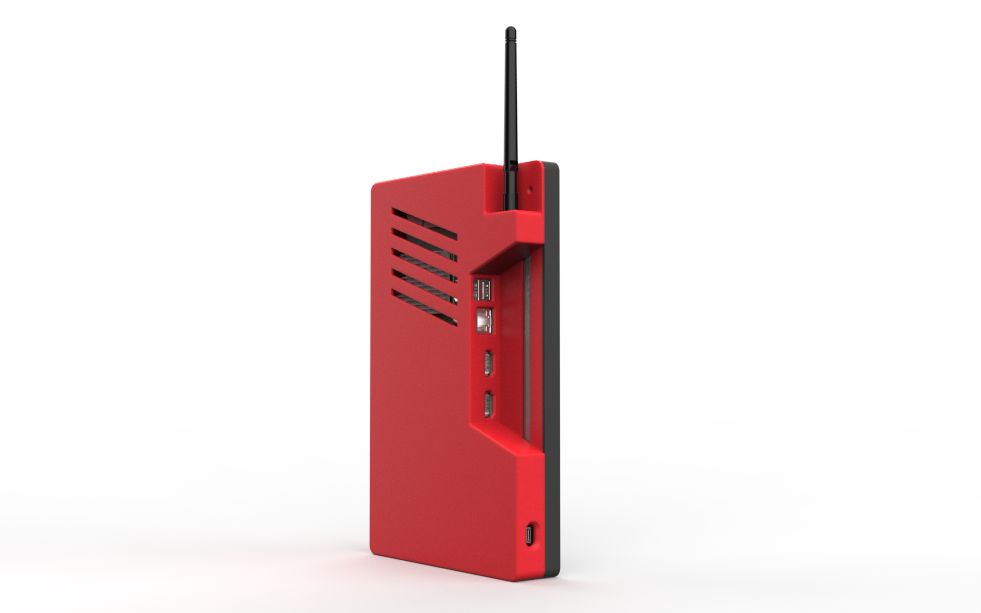
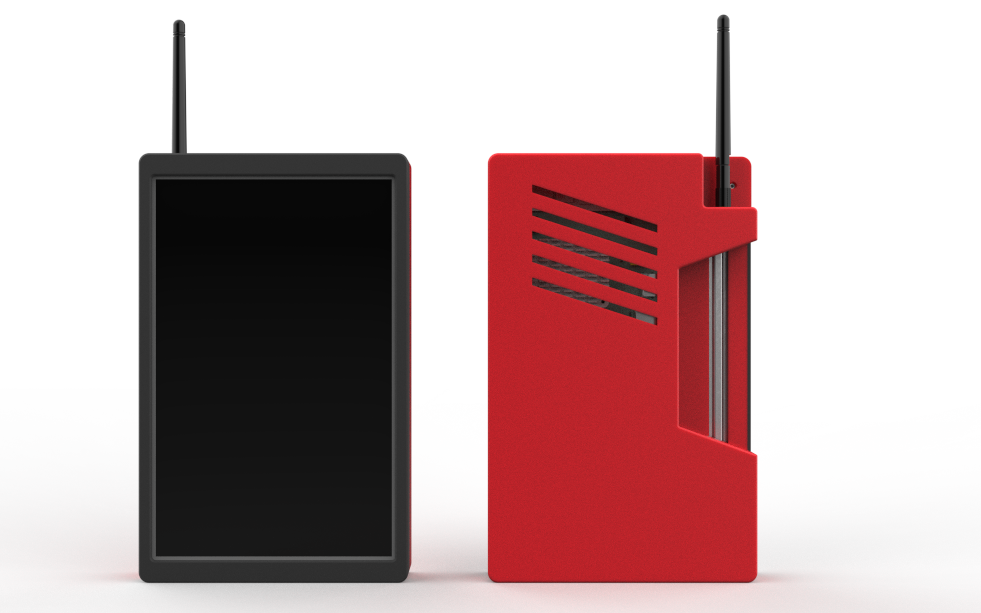
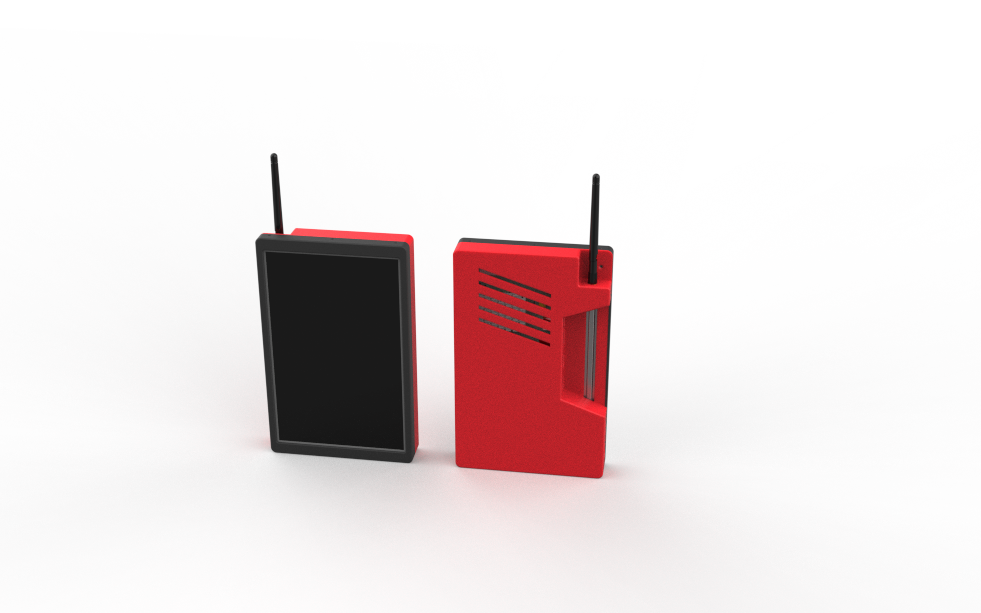
Here is the design we prepared. My goal was to create a rugged, industrial-looking tablet that feels like a piece of professional equipment. I even added an external antenna, which not only serves a useful purpose but also helps the device stand out visually.
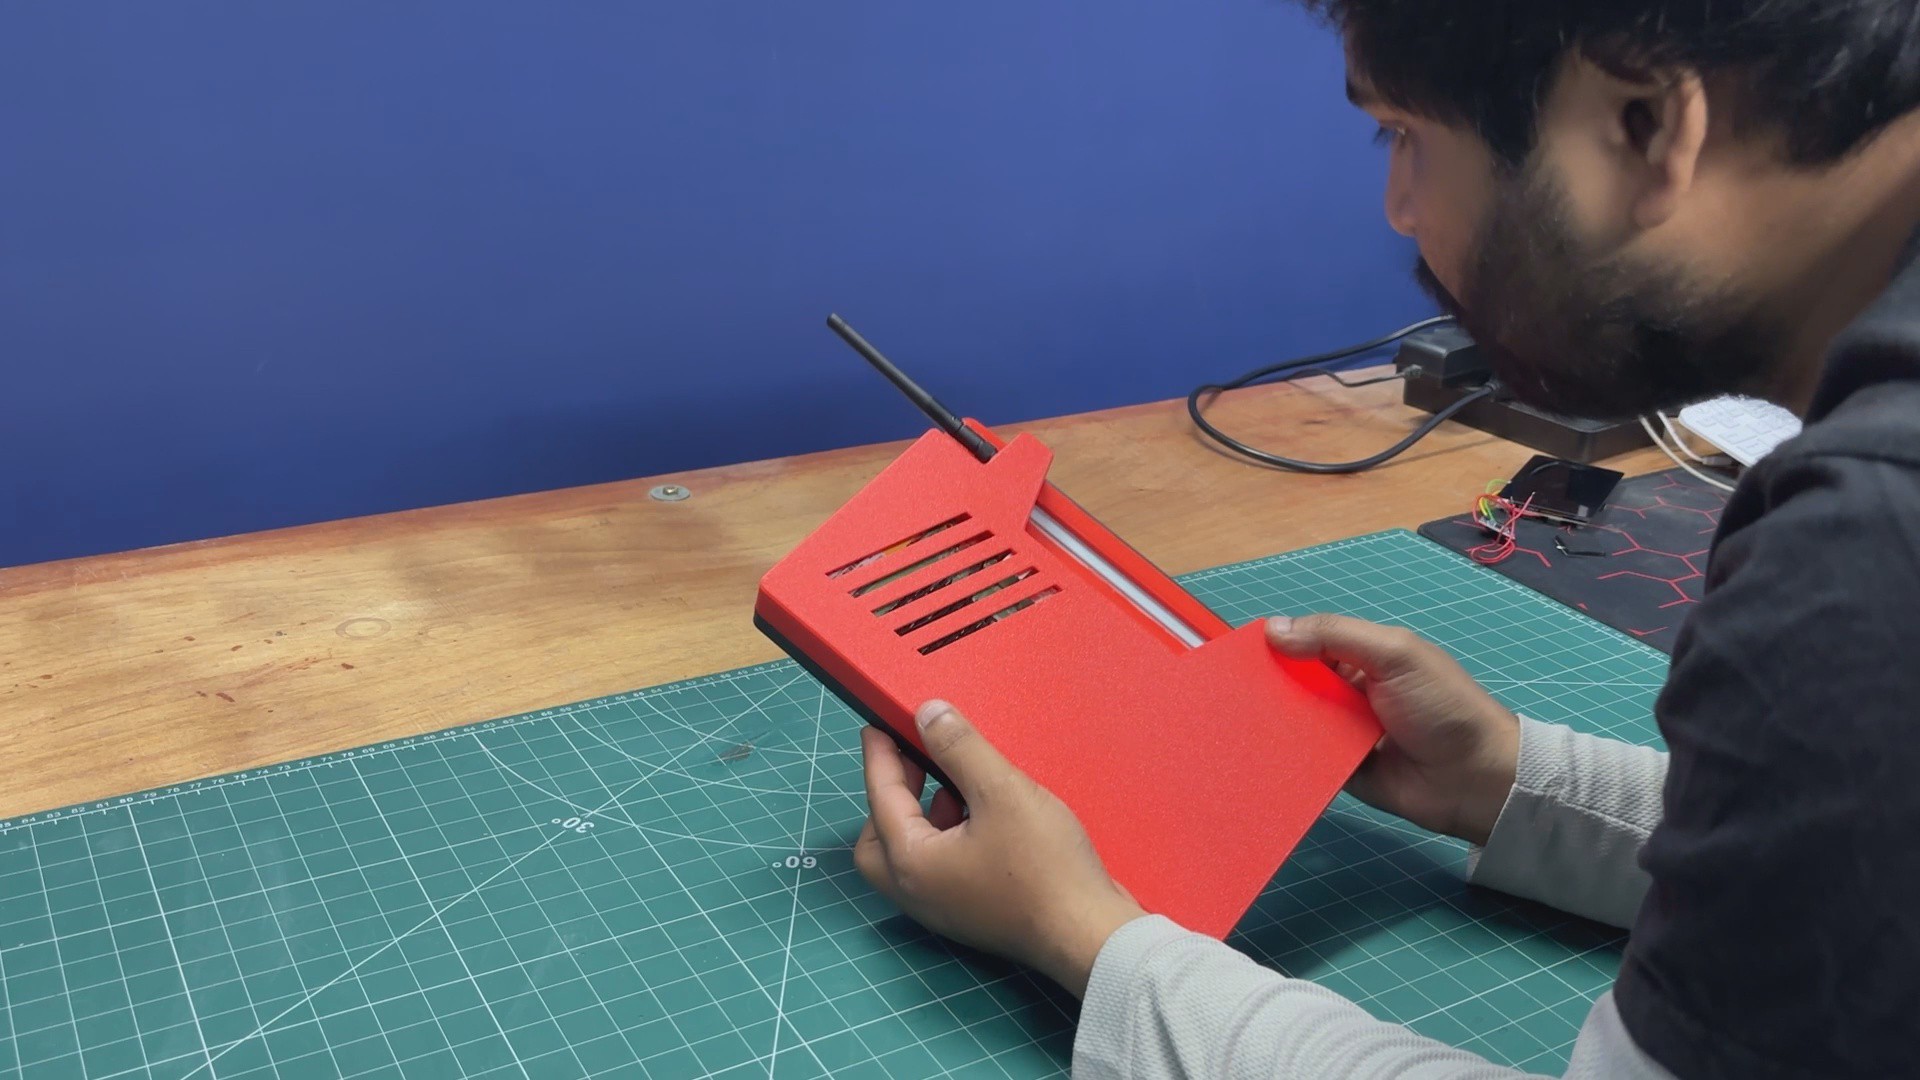
On the back, grills are added for airflow. While it does allow air to pass through, it's mostly an aesthetic feature that enhances the industrial design. On the left side, we included a dedicated opening for easy access to all the CM5 I/O ports. On that same side, there's also a separate USB Type-C port used exclusively for charging the battery.
To make the device stand out even more, the frame and the main body were printed in two different colors. I used Hype PLA Red for the back body and Hype PLA Black for the frame. This combination creates a striking dual-tone red-and-black color scheme that looks absolutely awesome.
ENCLOSURE
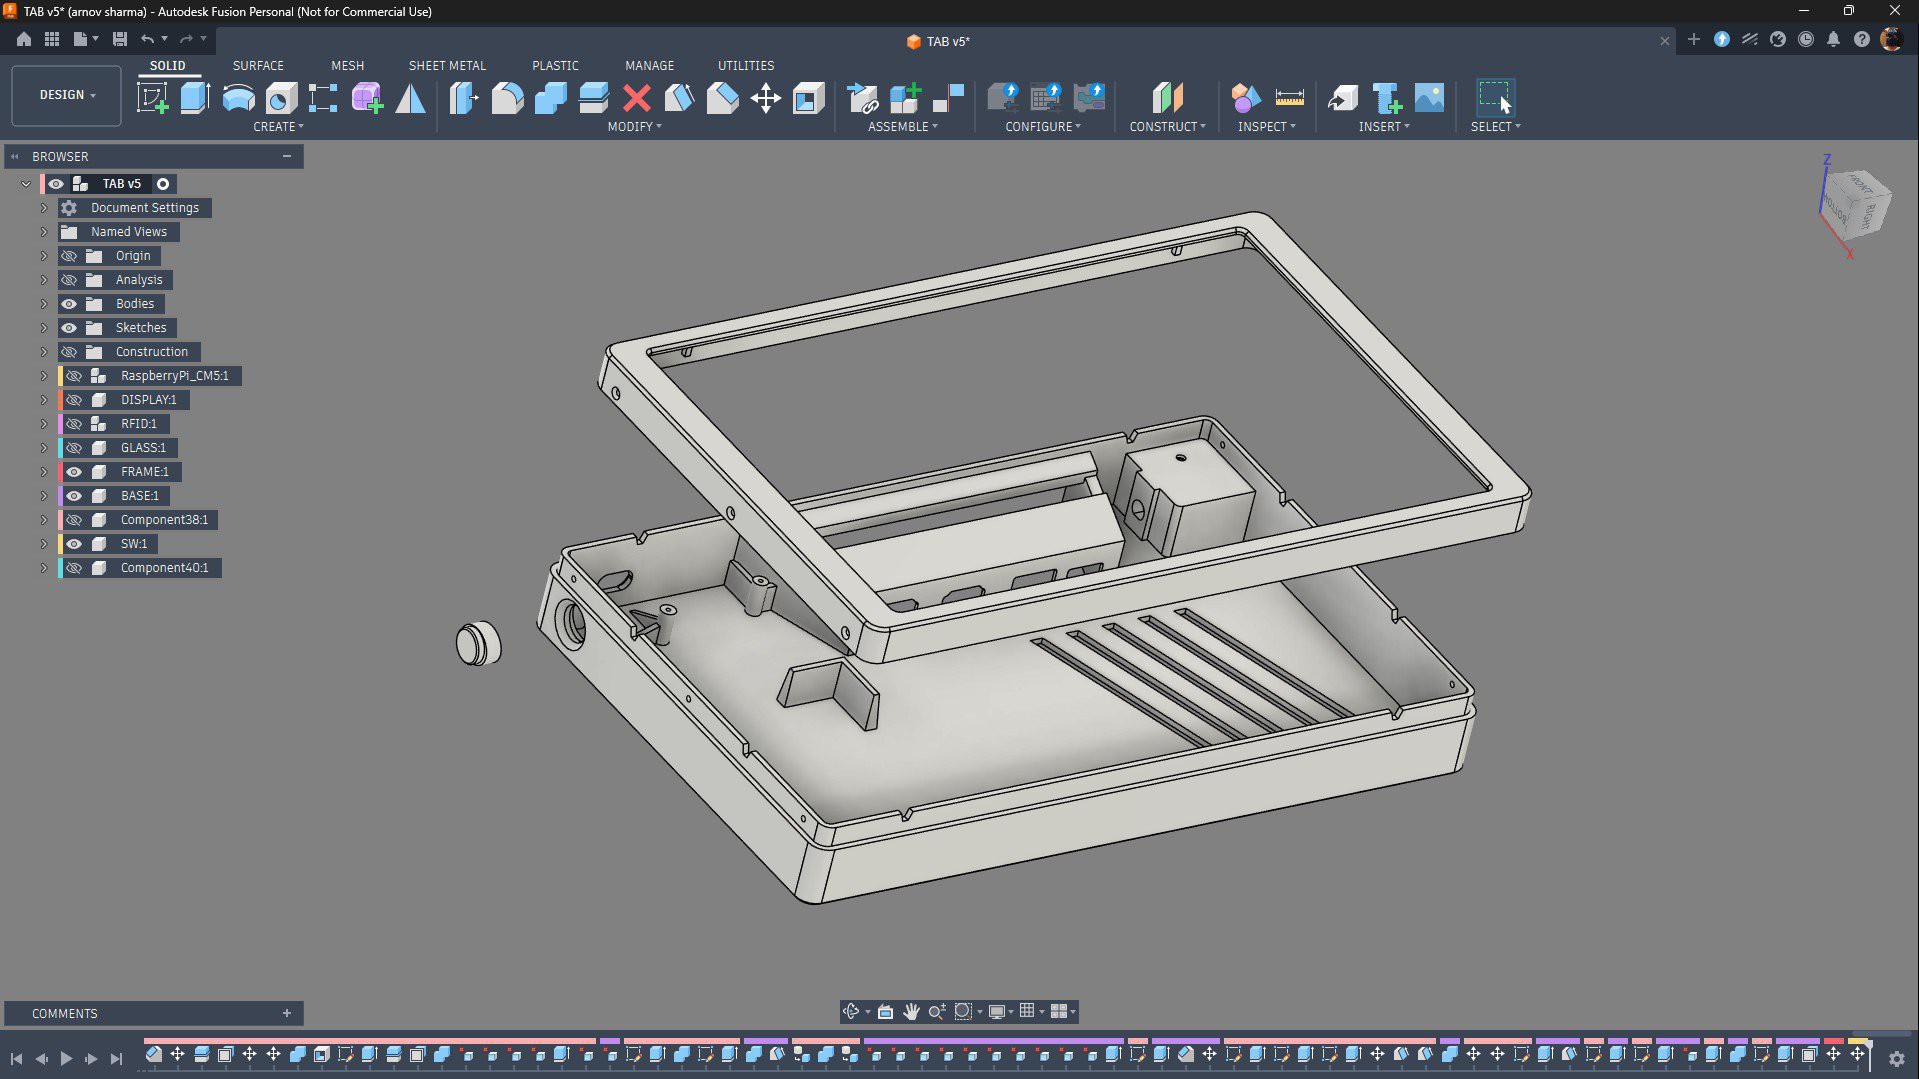
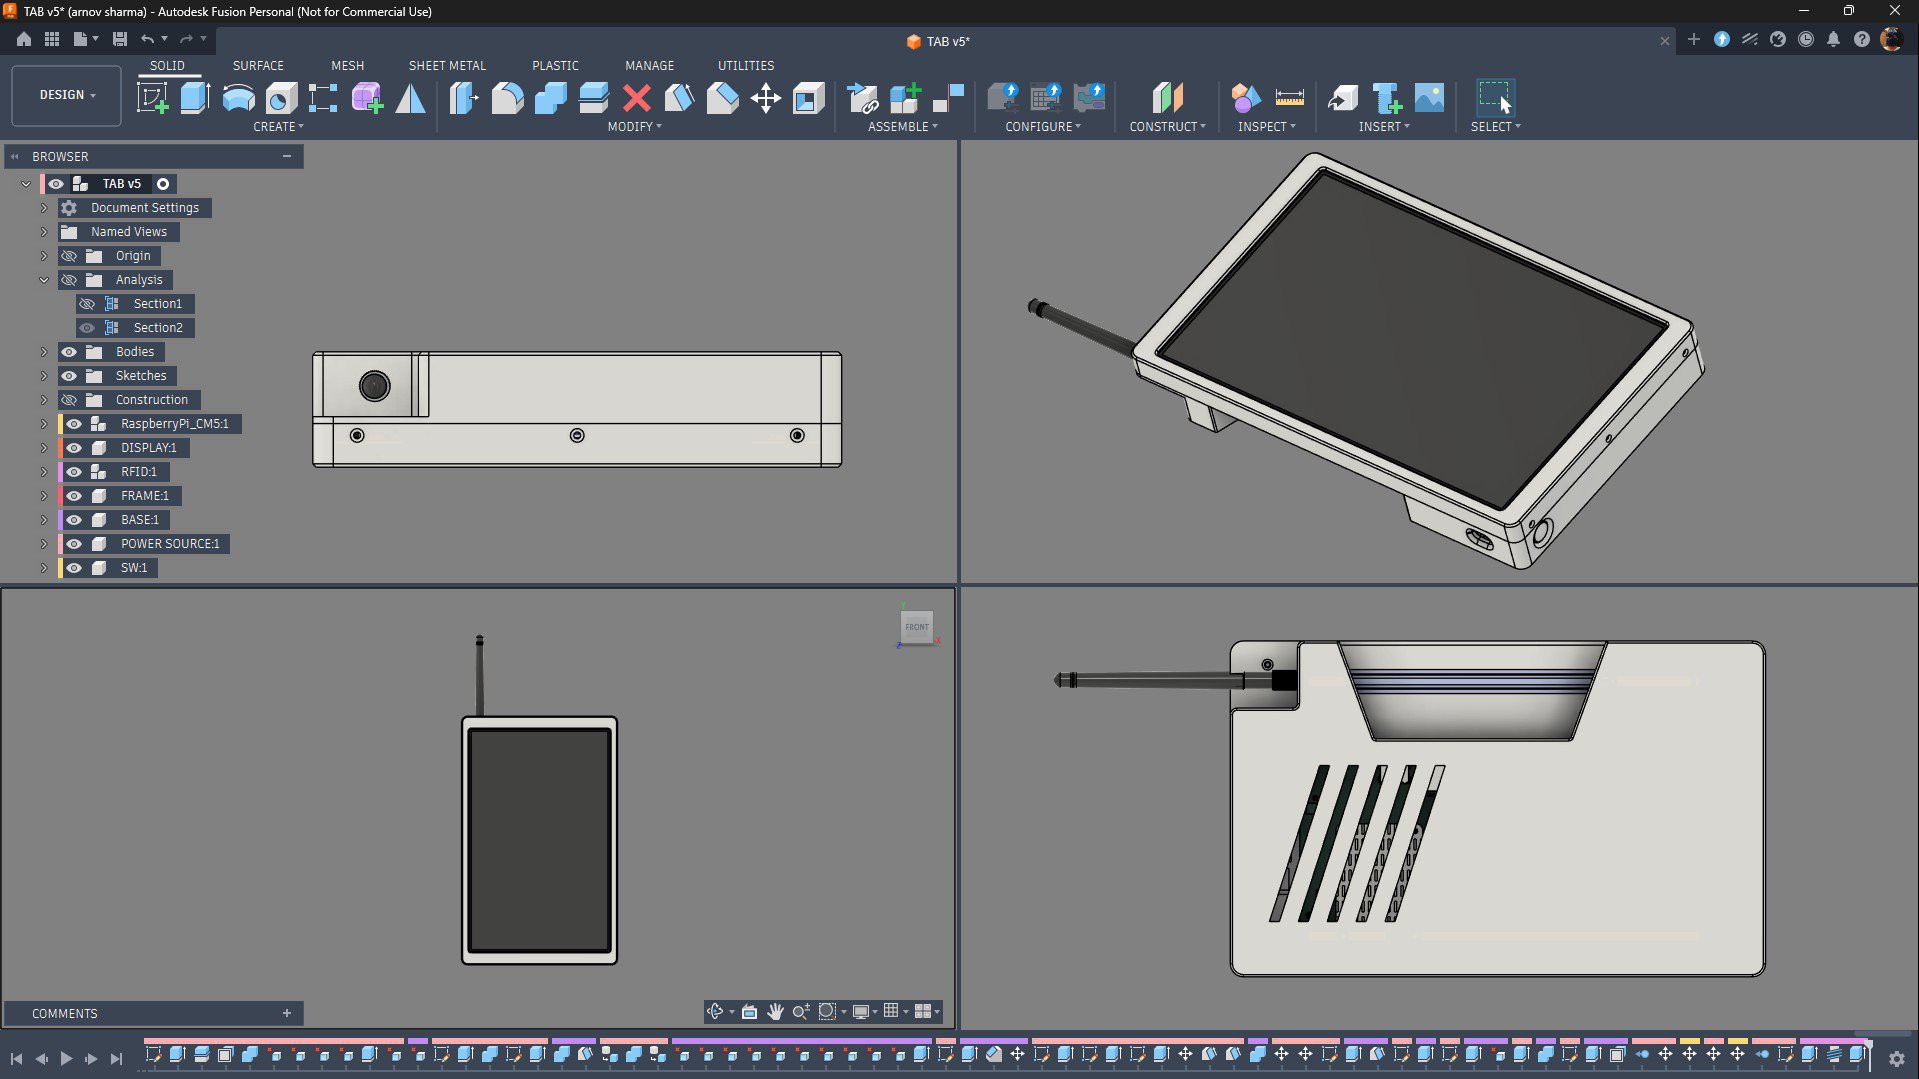
The enclosure mainly consists of two parts: the frame, which holds the display and Raspberry Pi CM5 assembly in place, and the back cover, which houses the battery pack, power circuitry, and antenna. Both parts are secured together using M2 screws that fasten into mounting holes placed around the perimeter of the frame.
I also added a few ventilation grills near the CM5 location to improve airflow, as this device relies on passive cooling with a heatsink. On the left side, there is a dedicated opening that provides access to the Raspberry Pi CM5 expansion board's I/O ports. The HDMI port, power input, USB ports, and other connectors can all be accessed through this opening in the back cover.
POWER SOURCE (LIPO CELL FITMENT)
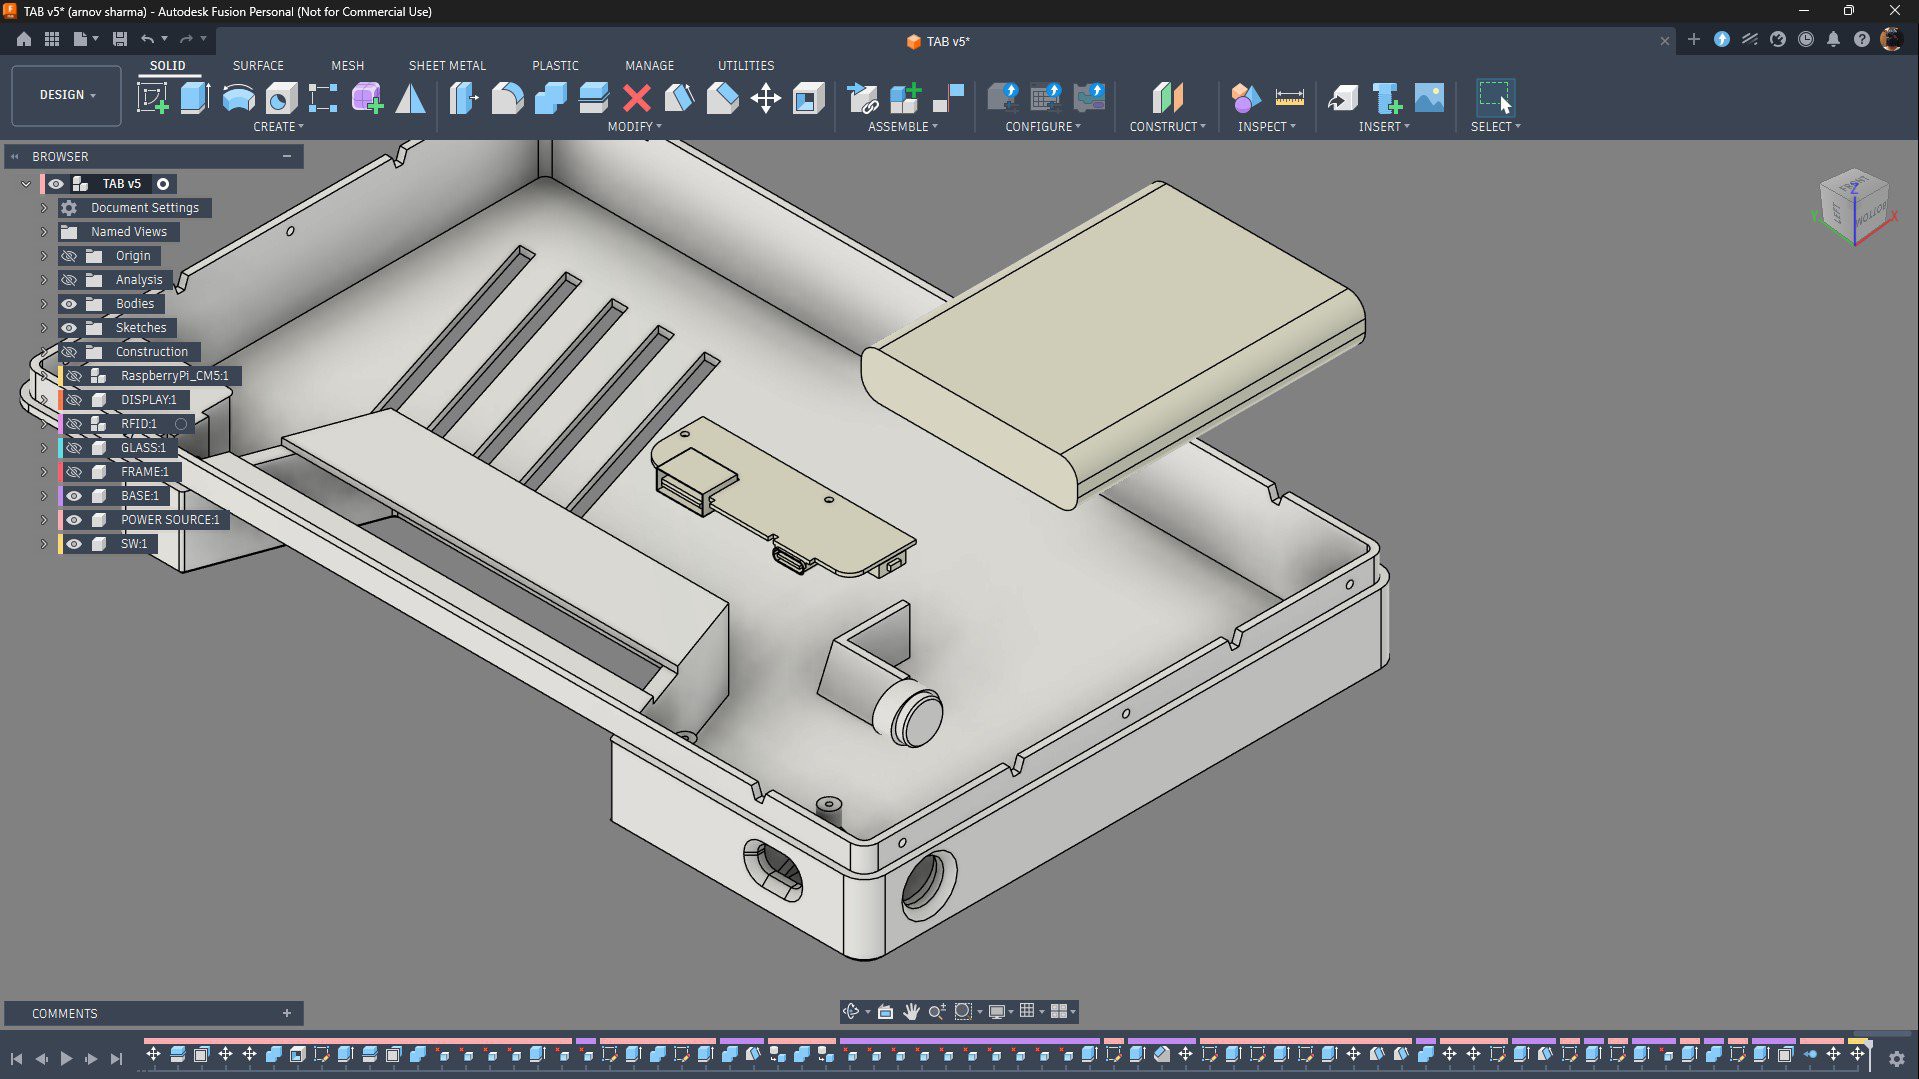
During the CAD design process, I measured the power circuit using a vernier caliper, recreated it in CAD, and then integrated it into the back cover. The circuit already had mounting holes, so I added corresponding screw bosses inside the enclosure to securely mount it in place.
One side of the enclosure provides access to the USB Type-C port on the power circuit, allowing the battery to be charged without opening the device. On the opposite side, I designed a button actuator that presses the SMD switch on the power module. This actuator allows the power circuit to be turned ON or OFF from the outside of the enclosure.
ANTENNA
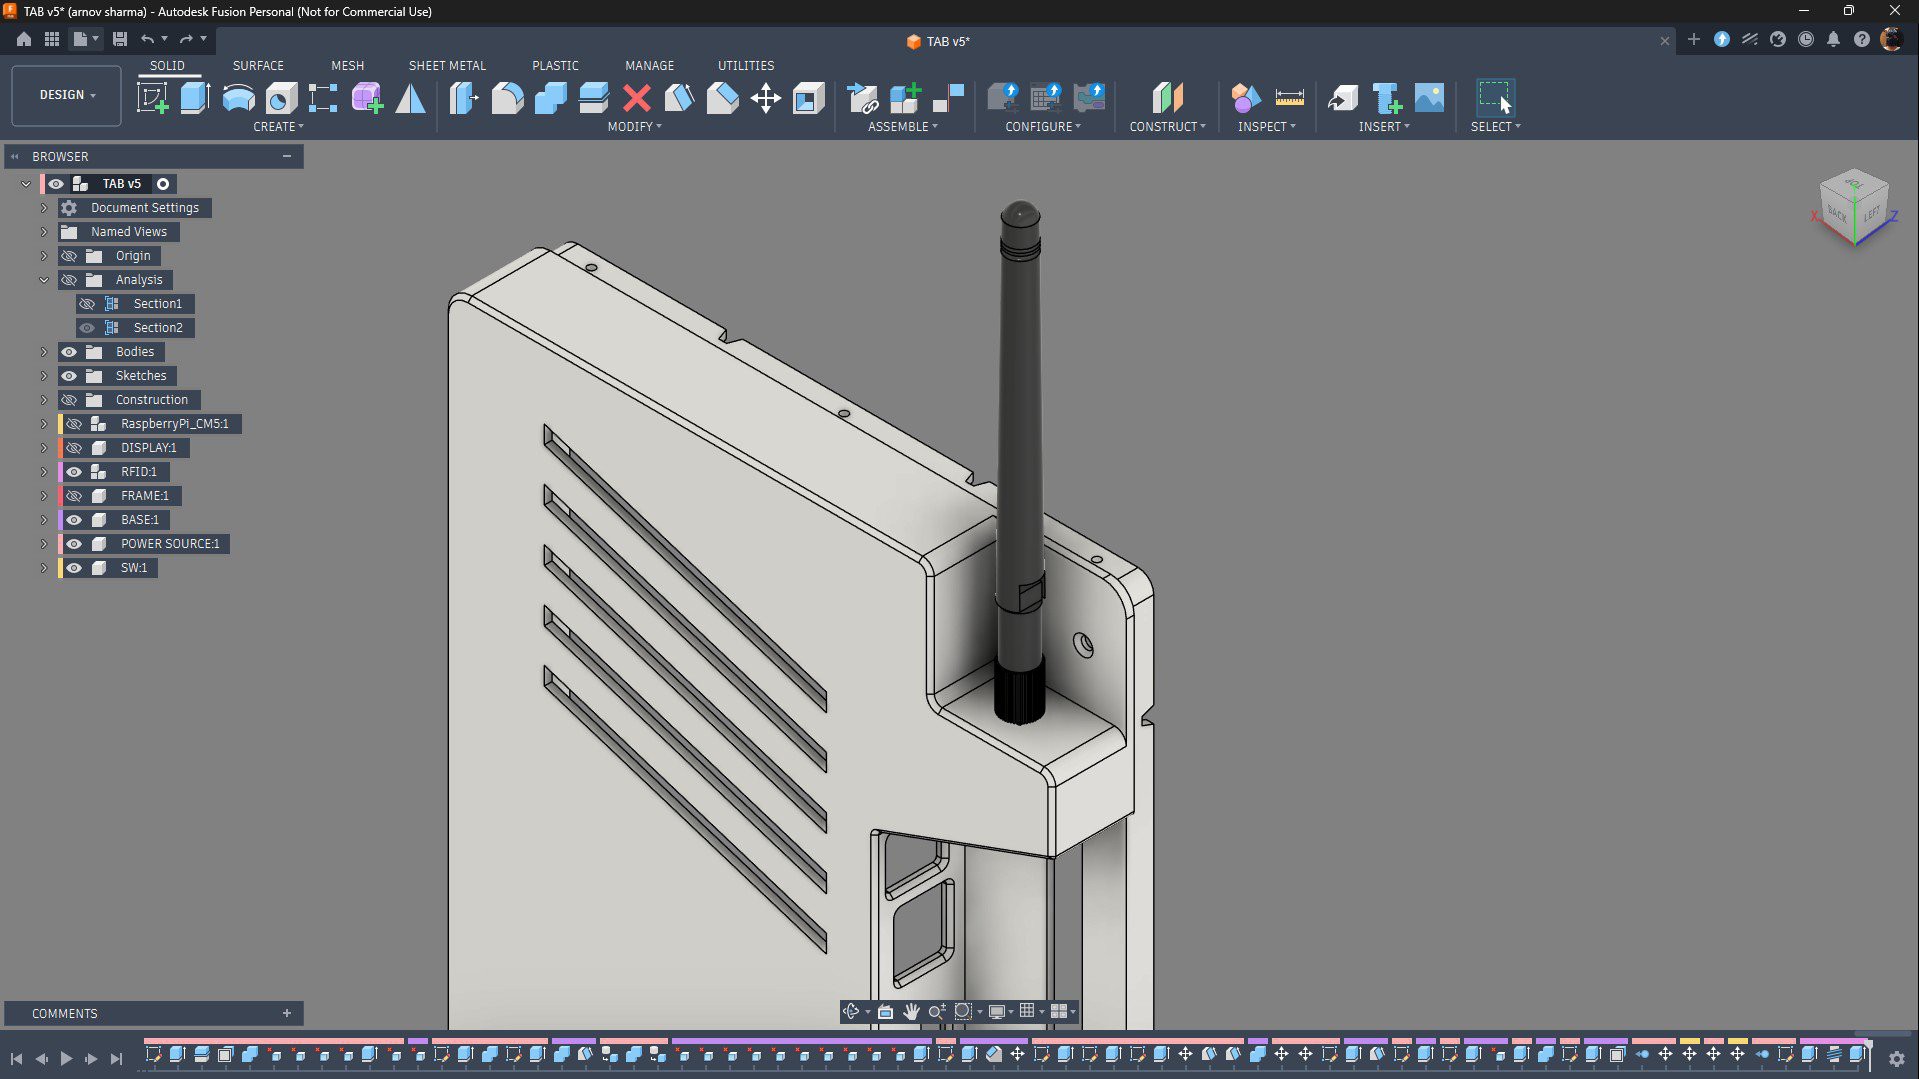
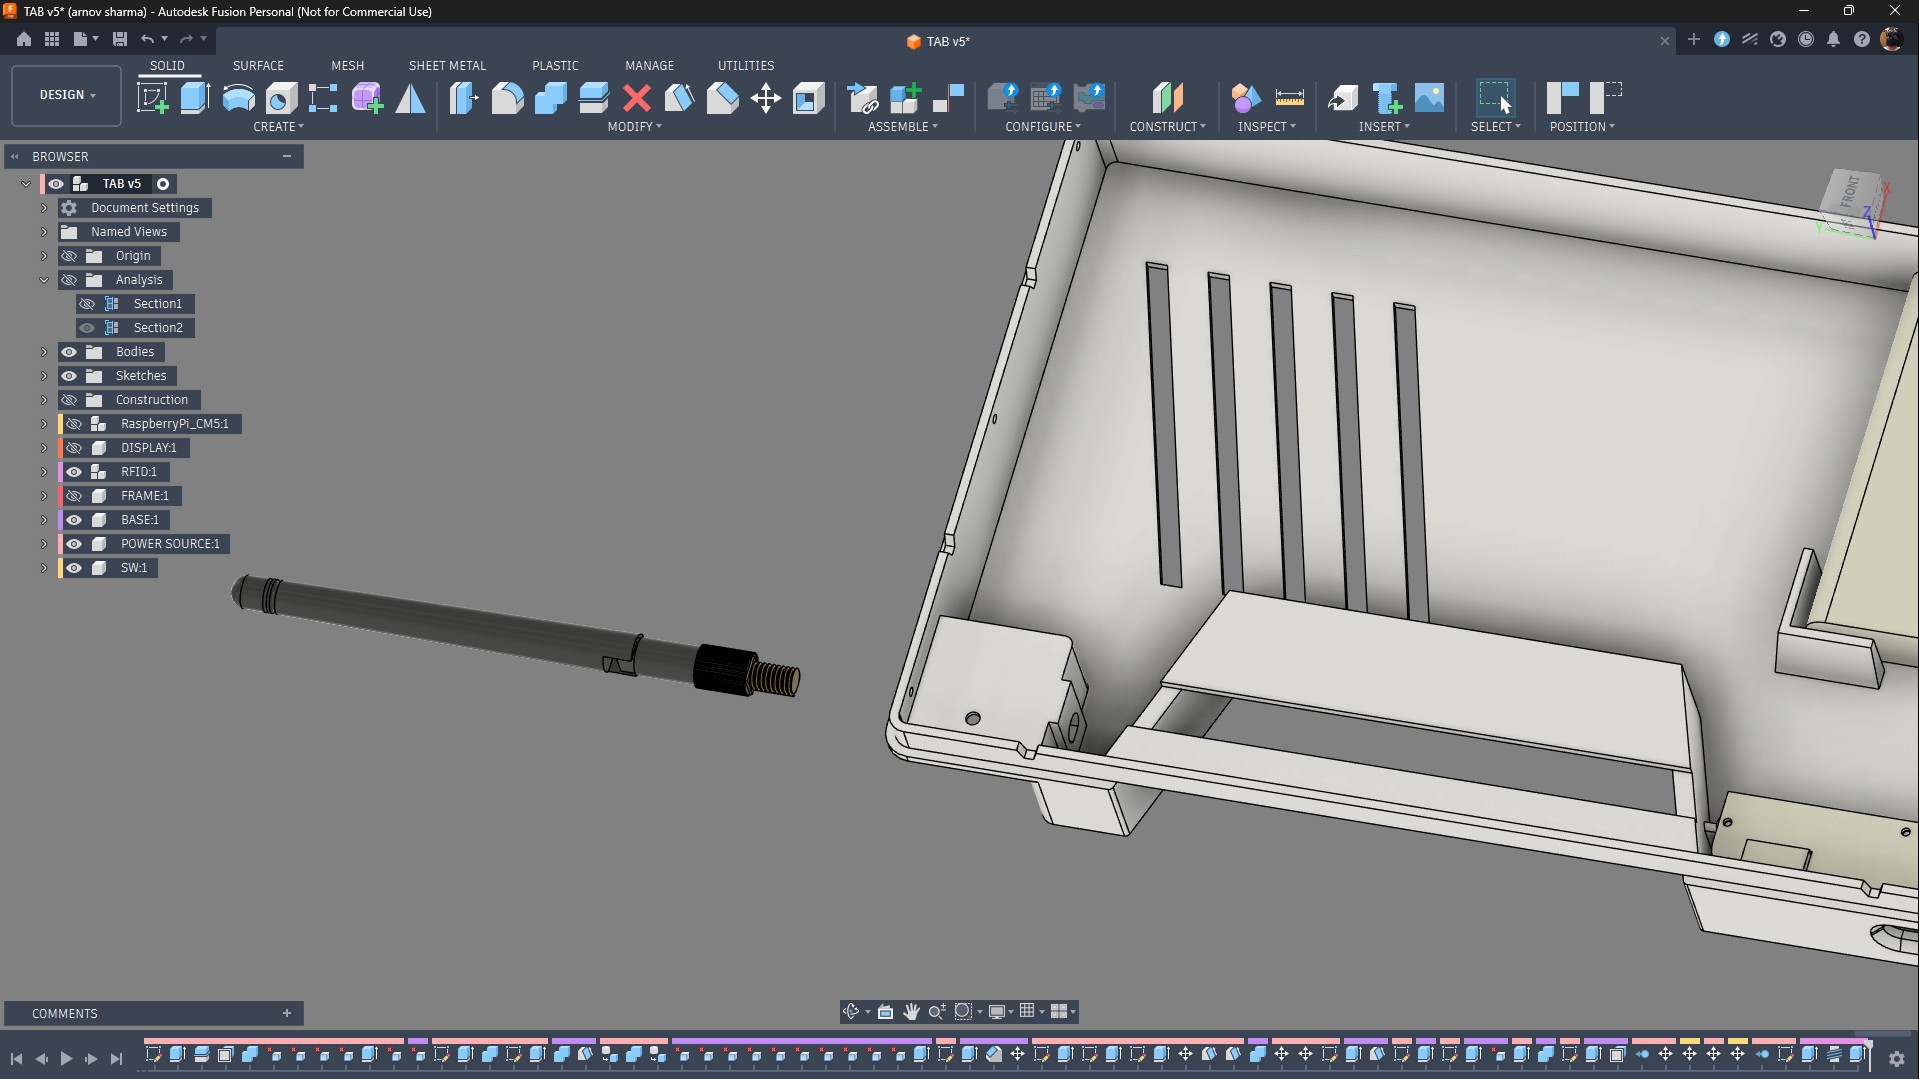
CM5 does come with Wi-Fi, but because we are adding it inside a plastic housing, the signal strength can be affected. That's not a problem, as the CM5 comes with a U.FL connector, and our idea was to attach an external antenna to the Raspberry Pi.
We modeled the antenna we salvaged from an NRF24 device and positioned it on the back of the body. The antenna attaches through an RP-SMA female connector mounted in a dedicated hole, where it is secured in place using an M6 nut.
By adding the antenna, our tablet stands out and looks more industrial.
CM5-DISPLAY WITH FRAME
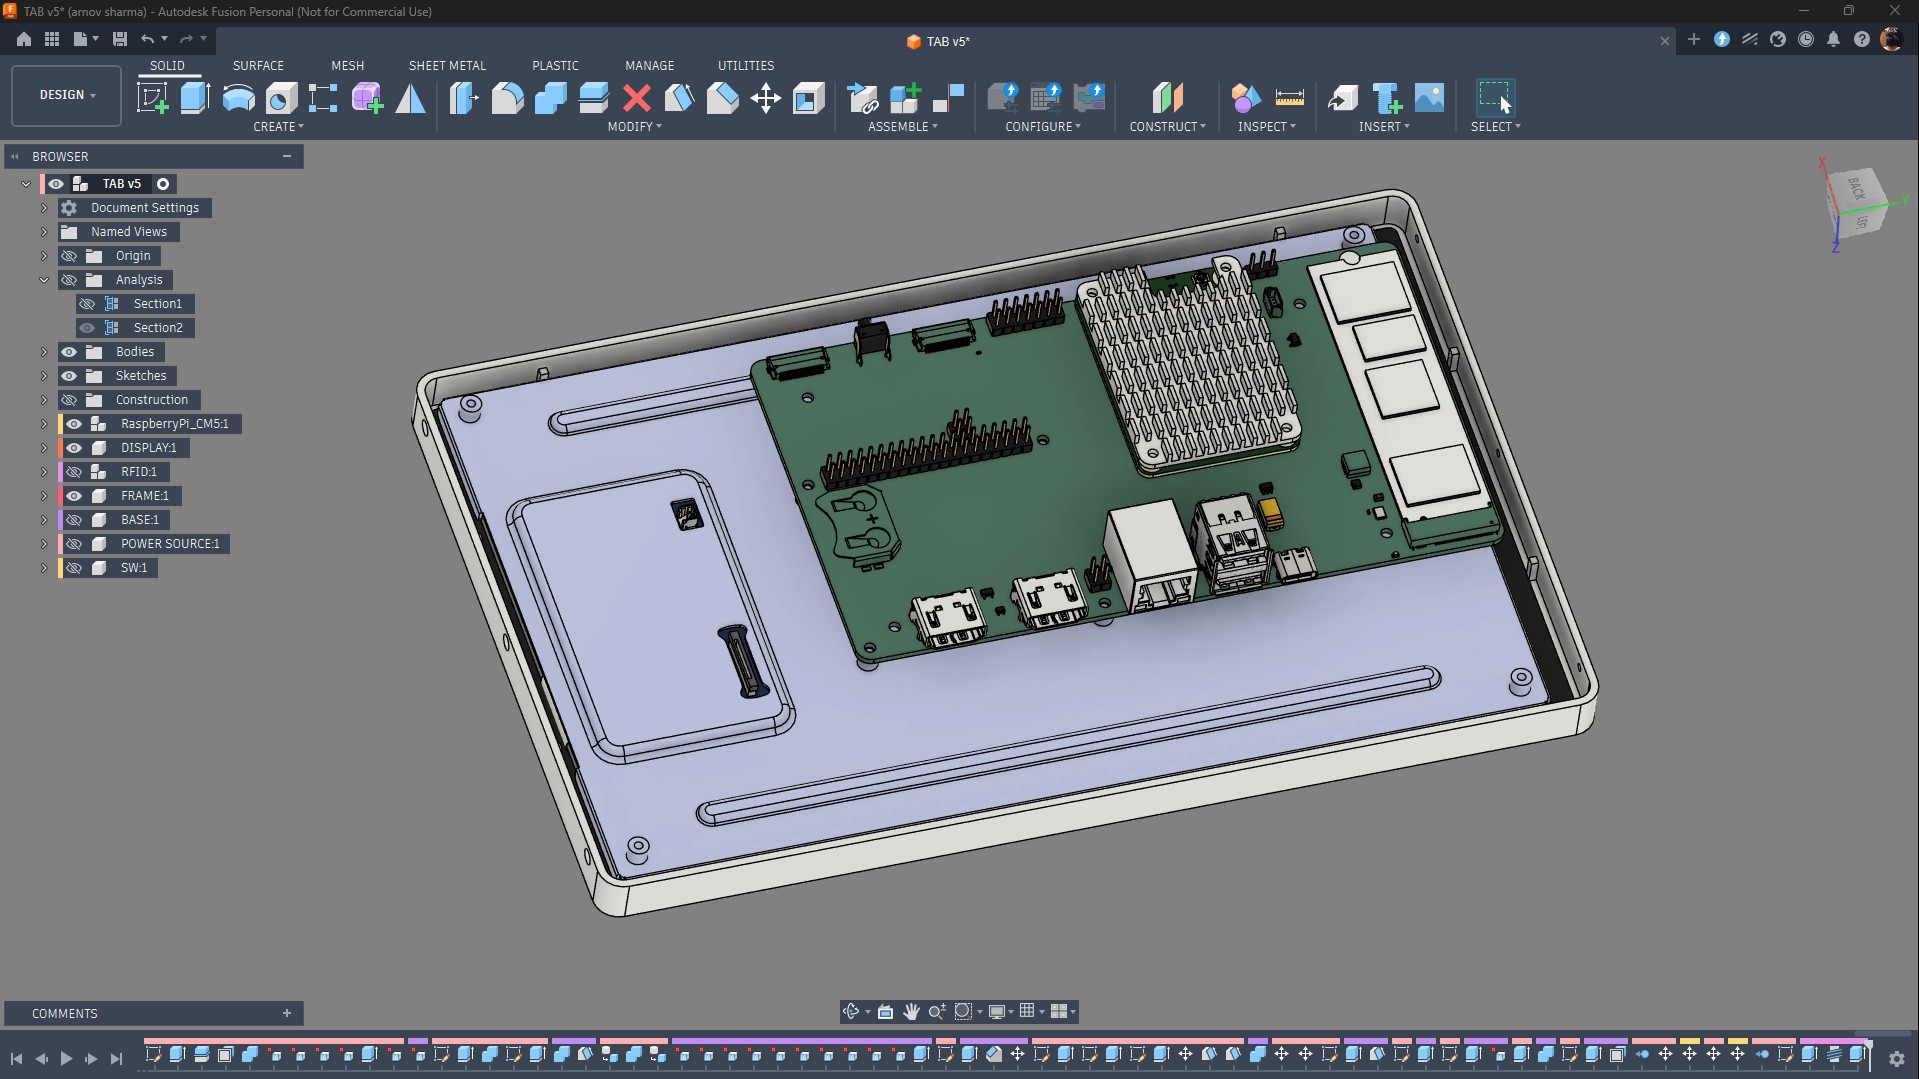
The frame part holds the Waveshare display and Raspberry Pi CM5 board assembly in position.
When the back body is placed below the frame part, the display is held in place between the frame part and the back part. M2 screws are used for securing both parts, and in between them, the display assembly is tightened in place.
3D PARTS
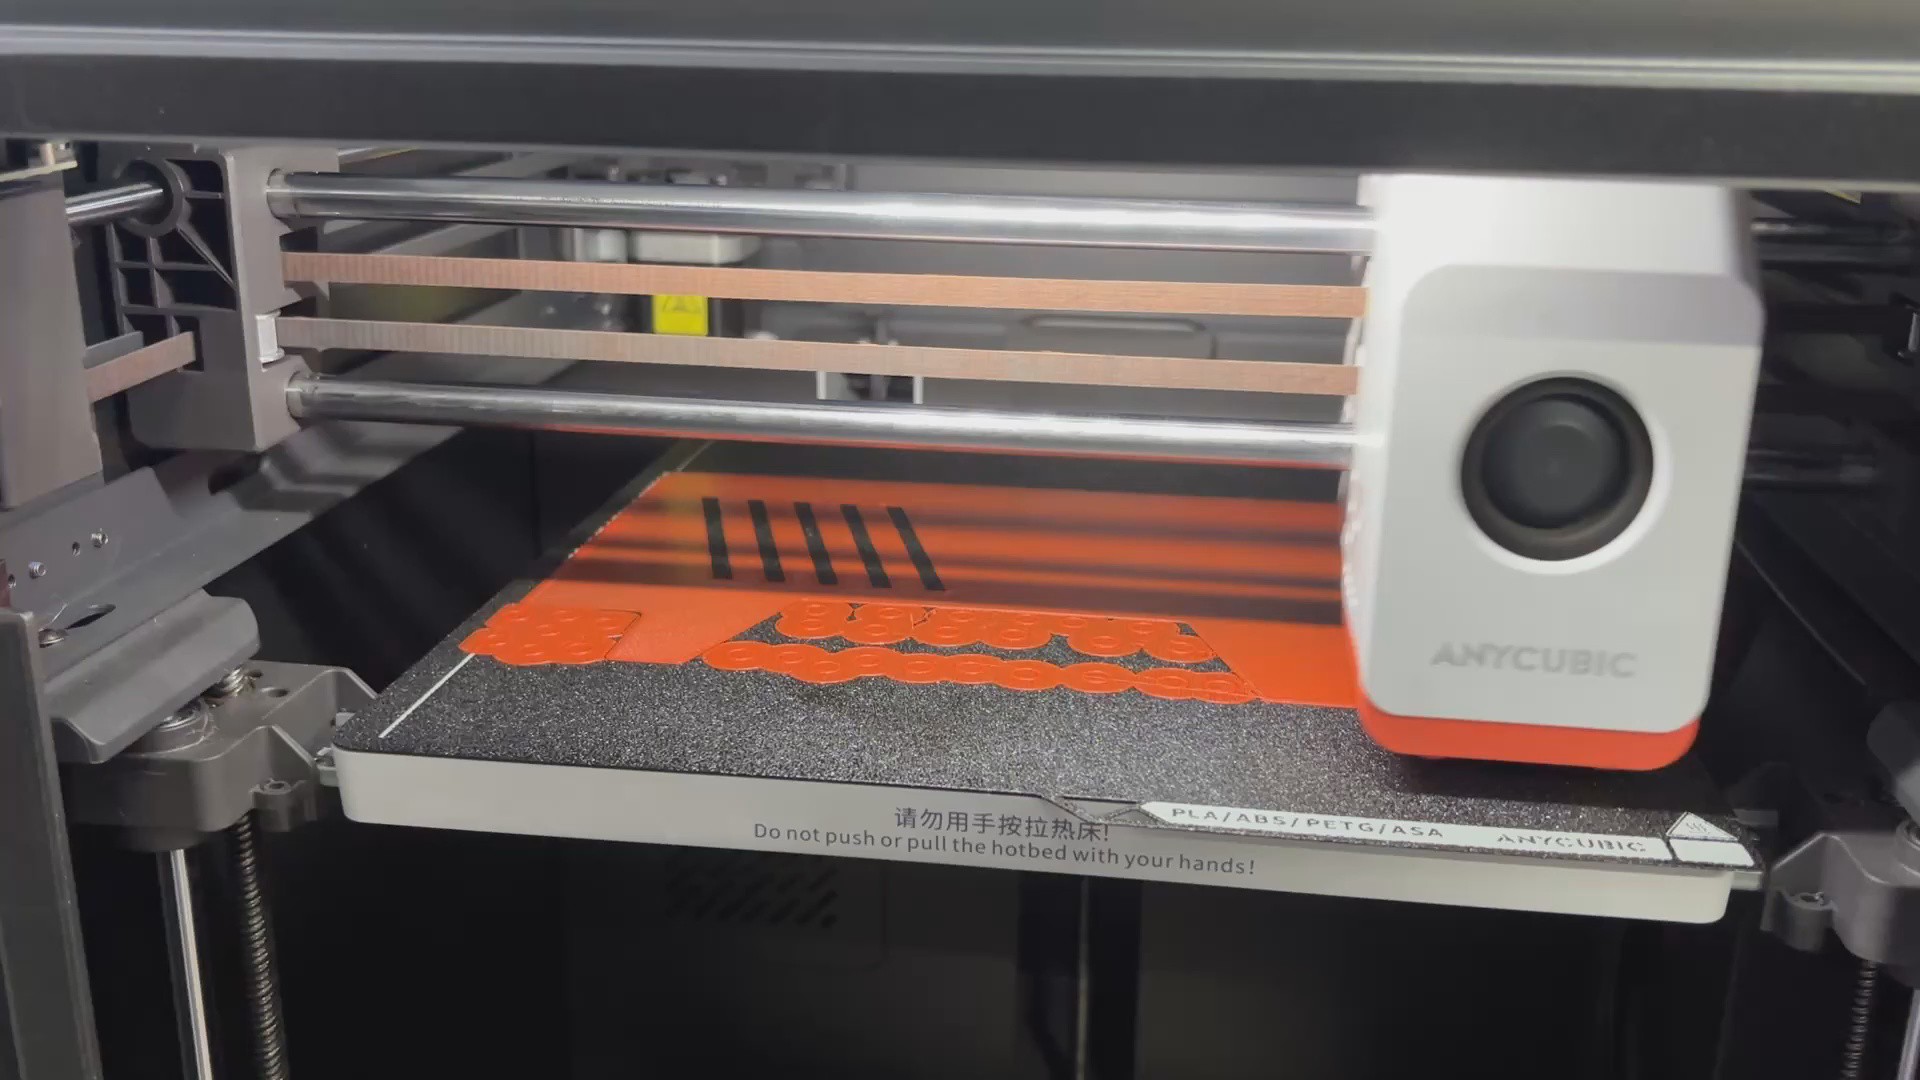
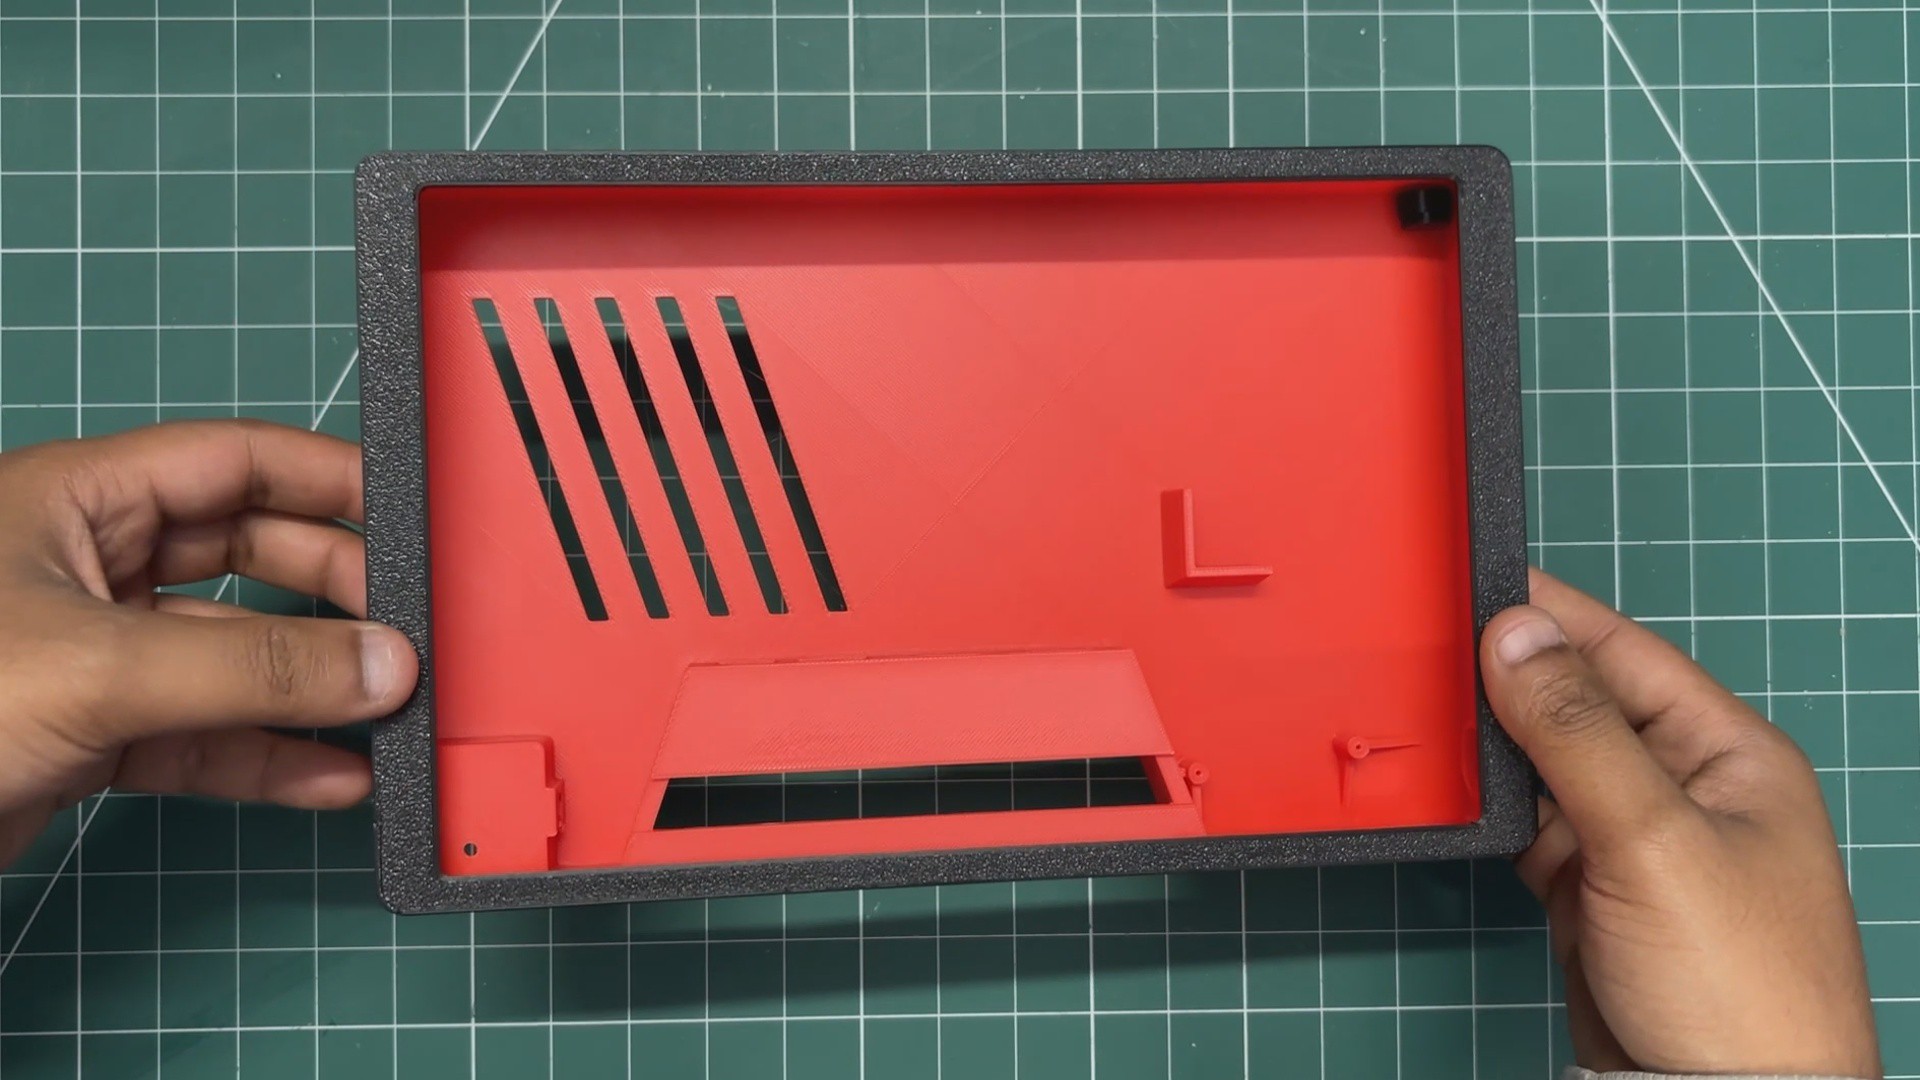
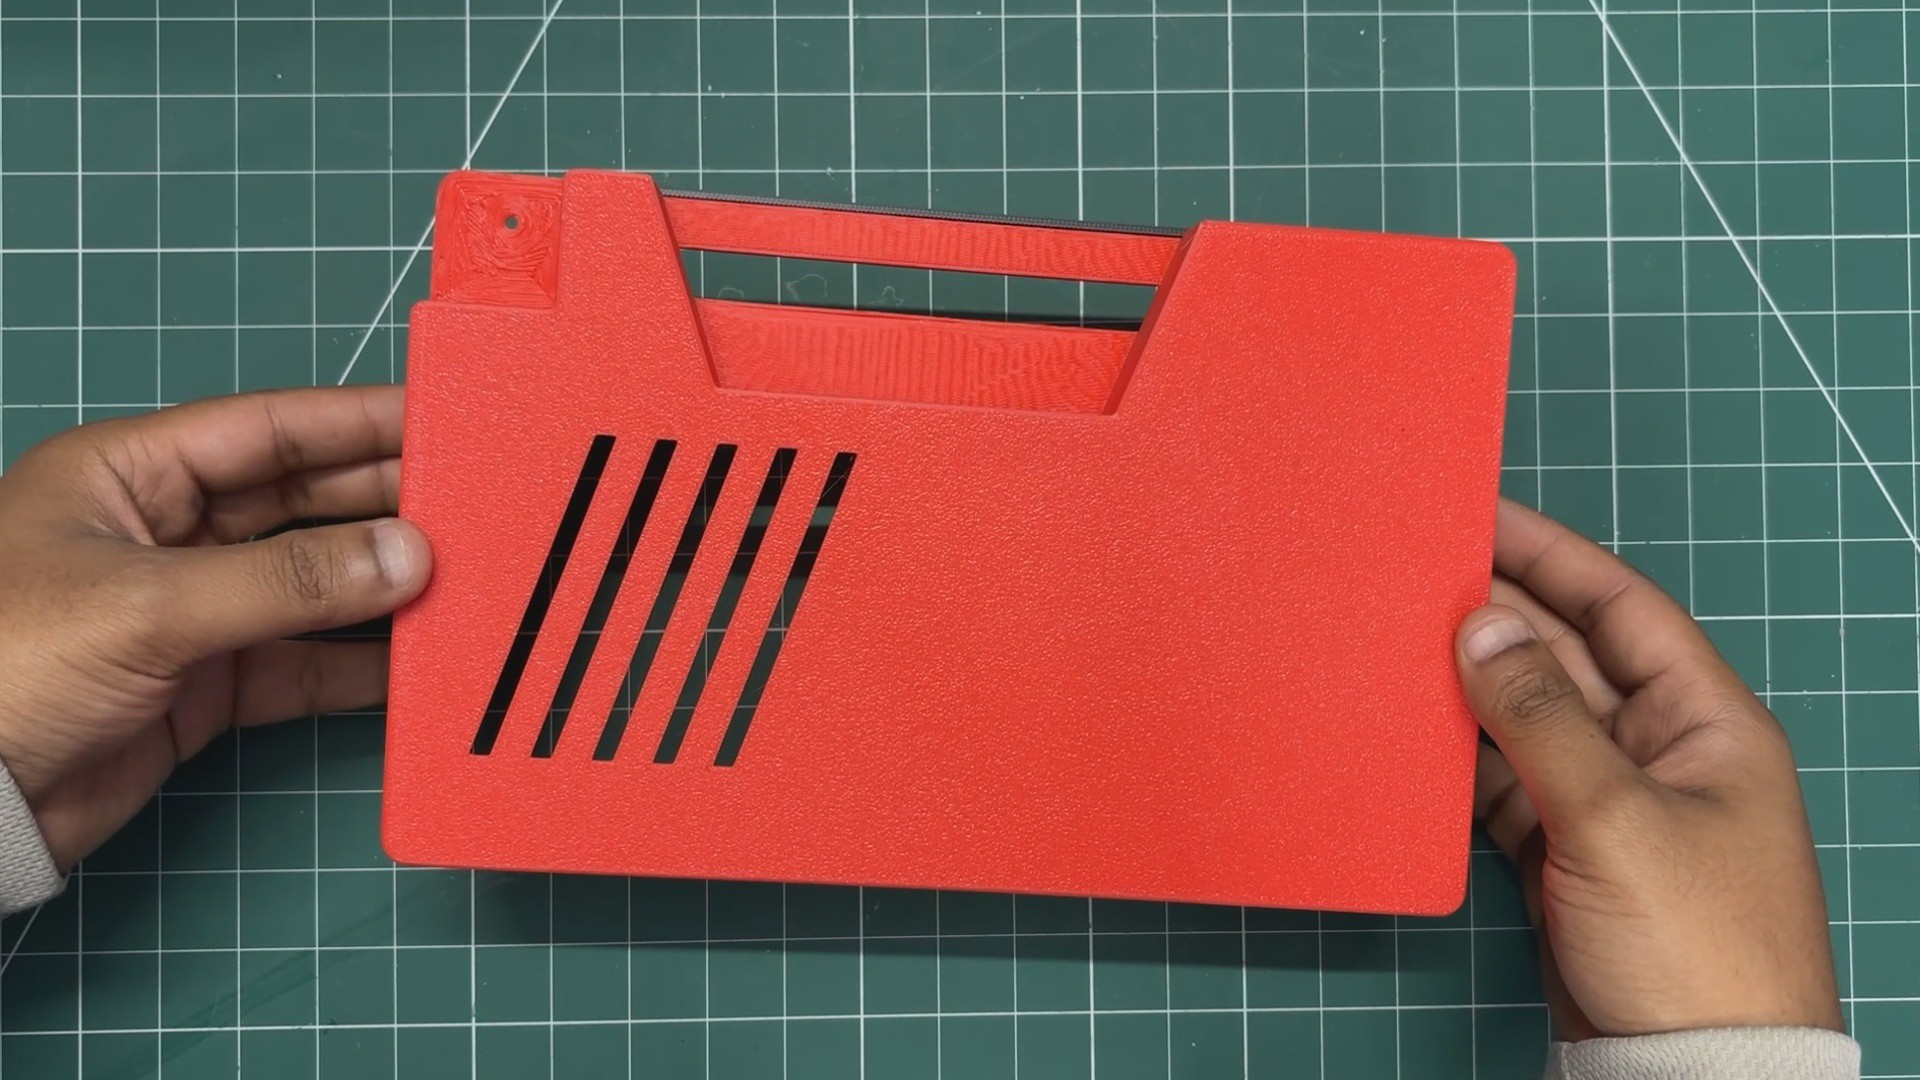
After finishing the model, we exported three parts: the back part, the frame, and the button actuator.
The frame part and button actuator were both printed in Black Hype PLA with a 0.2 mm layer height and 25% infill. The back part was printed in Red Hype PLA with similar settings.