 Arnov Sharma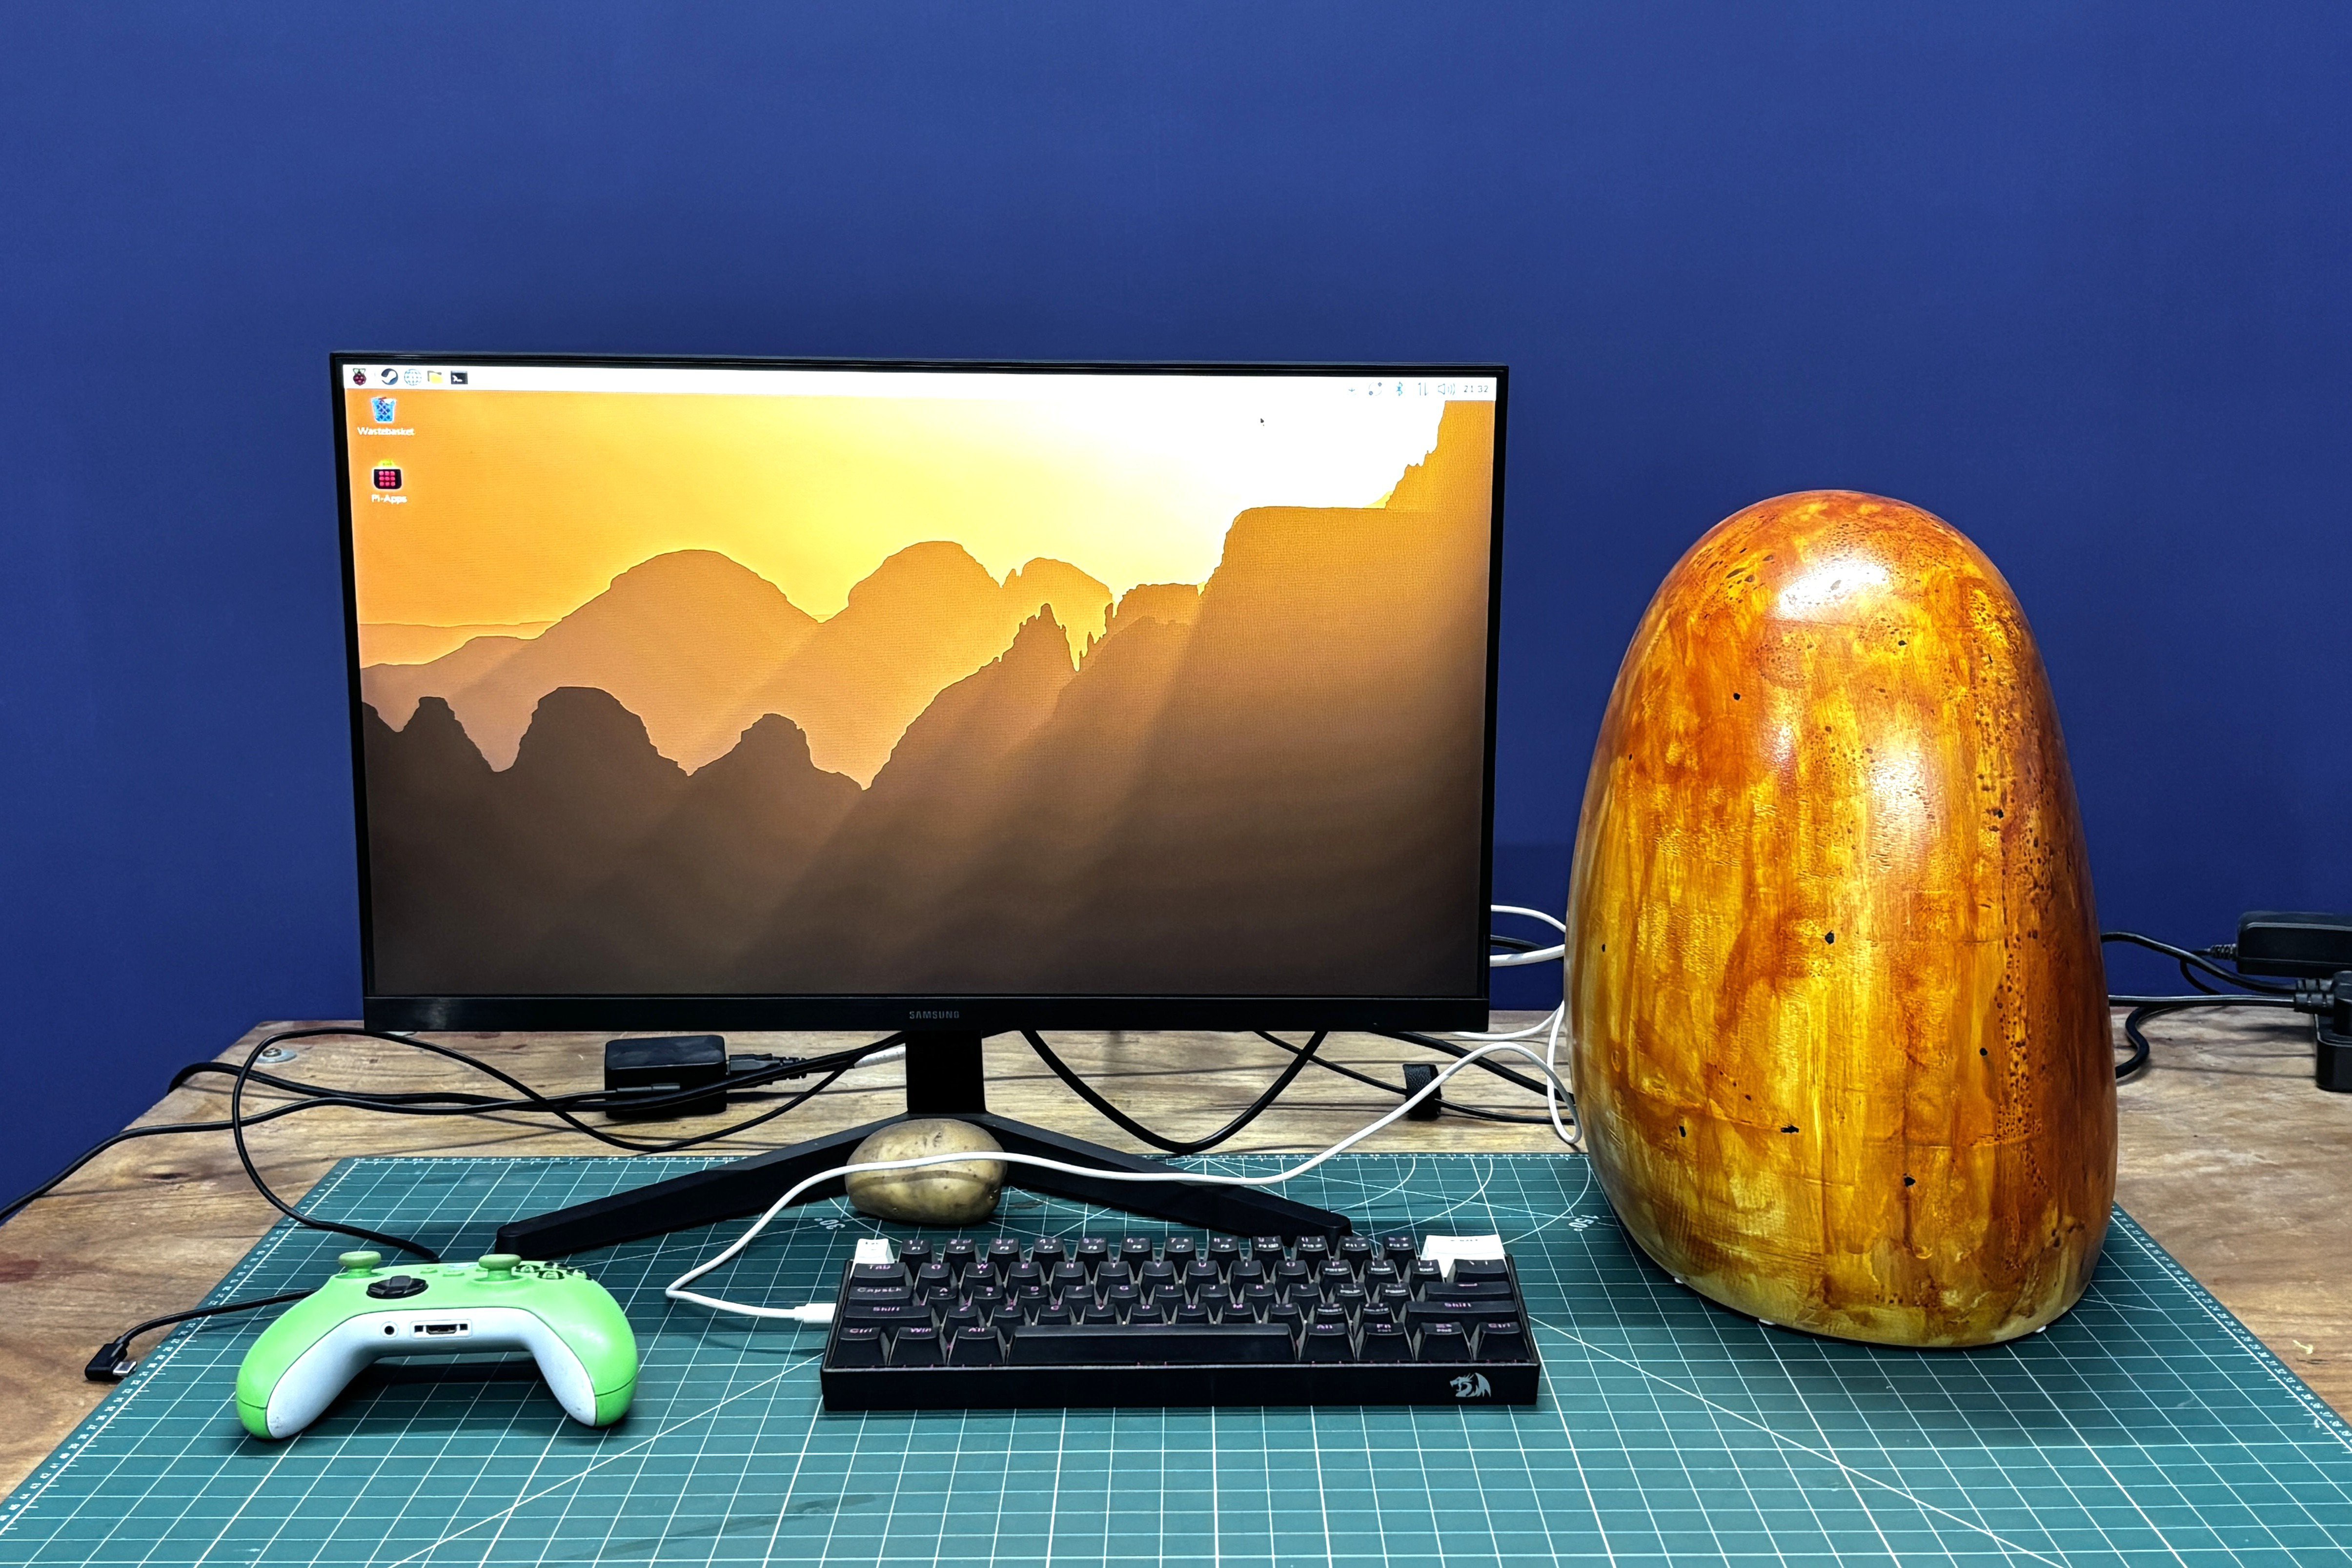
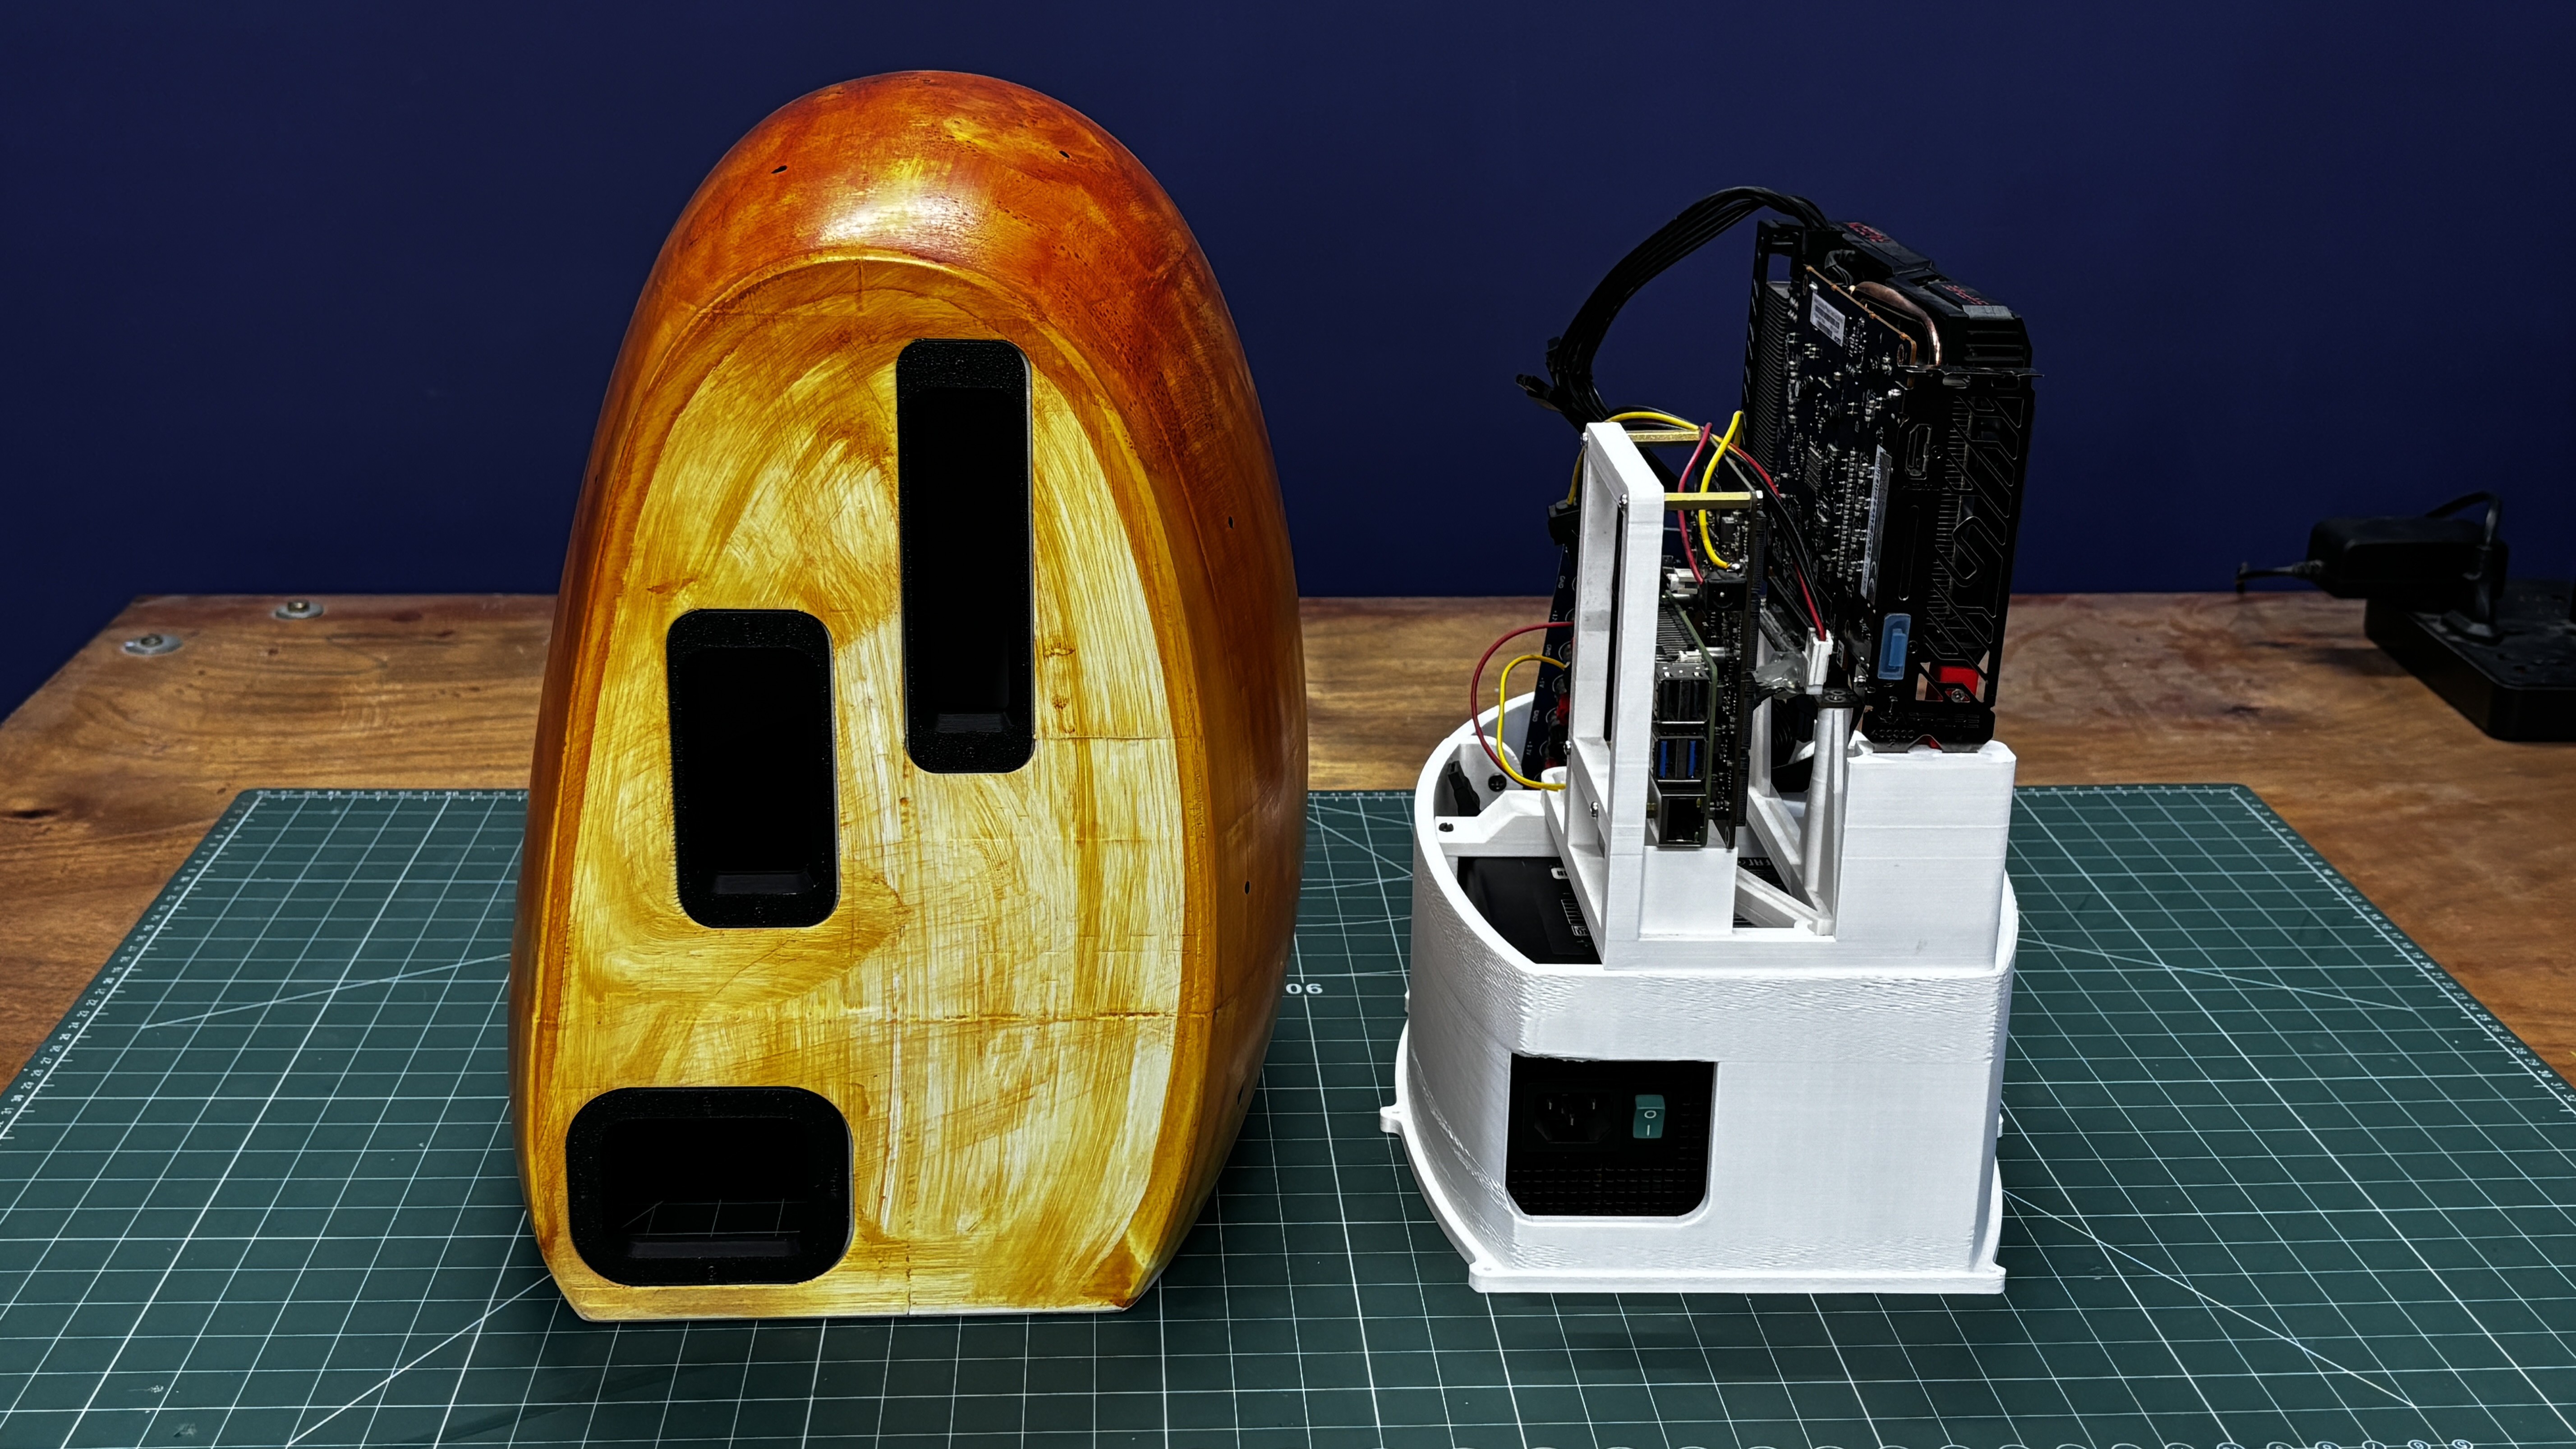
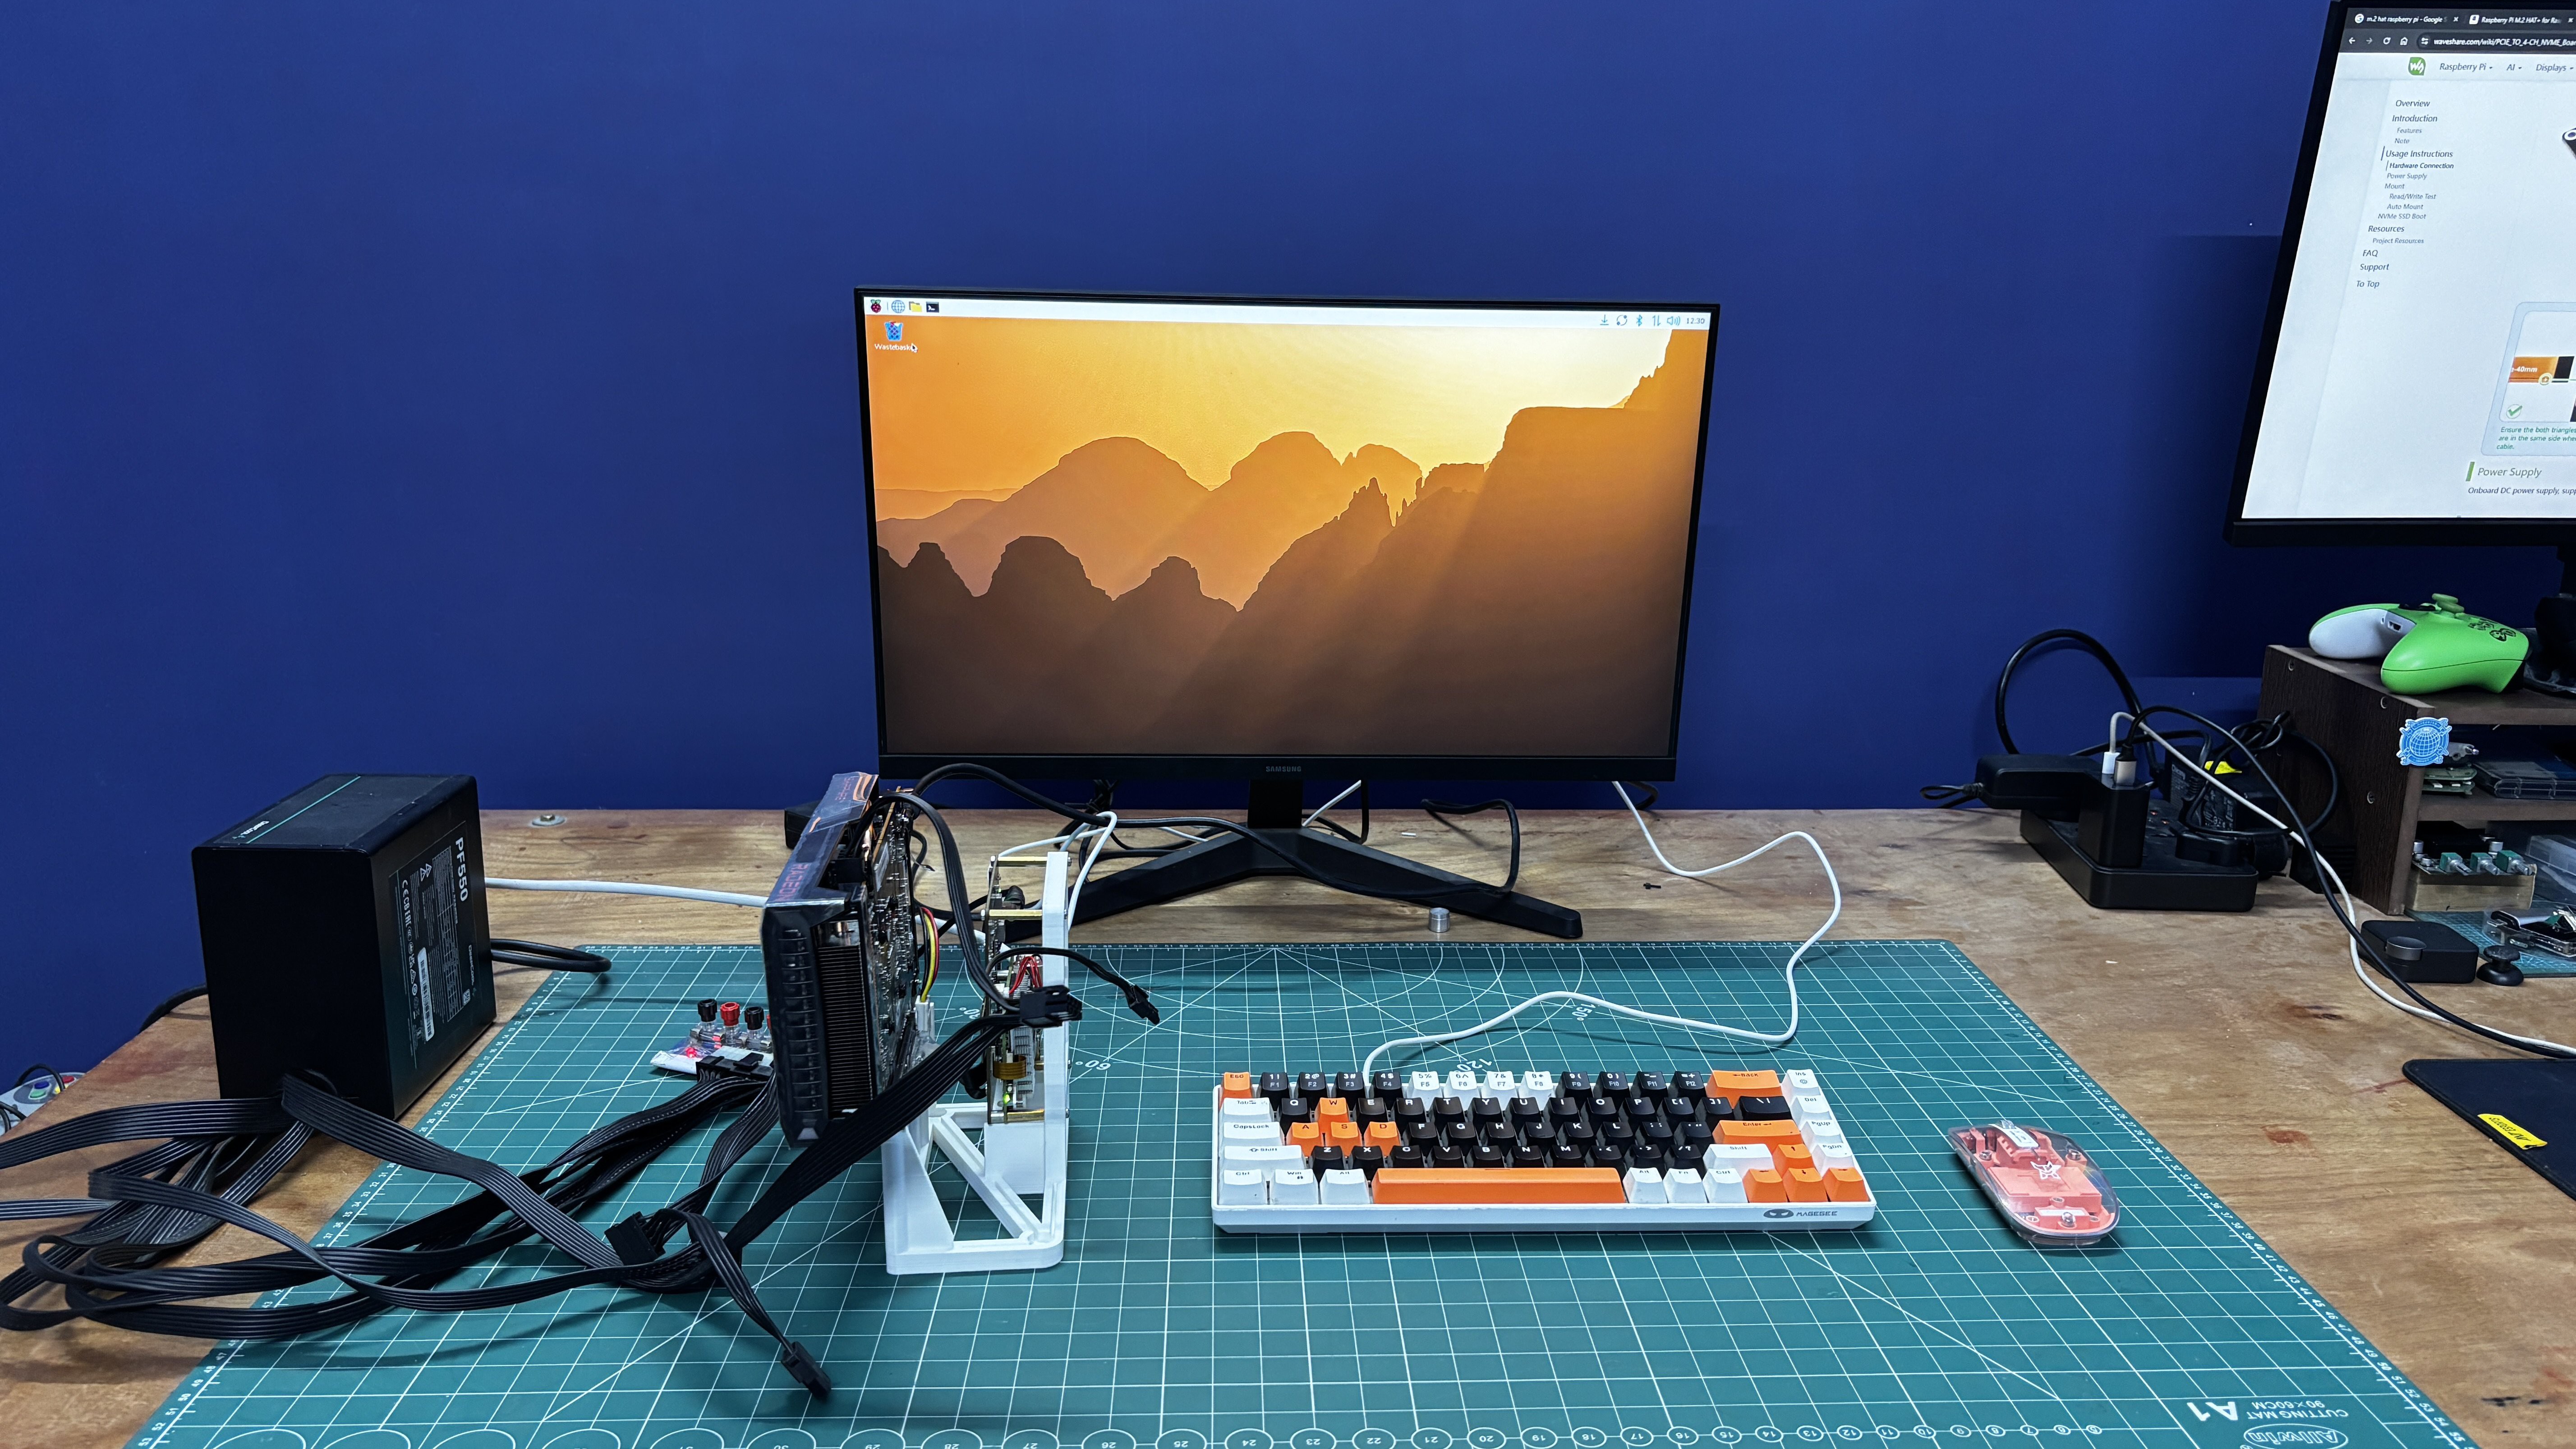
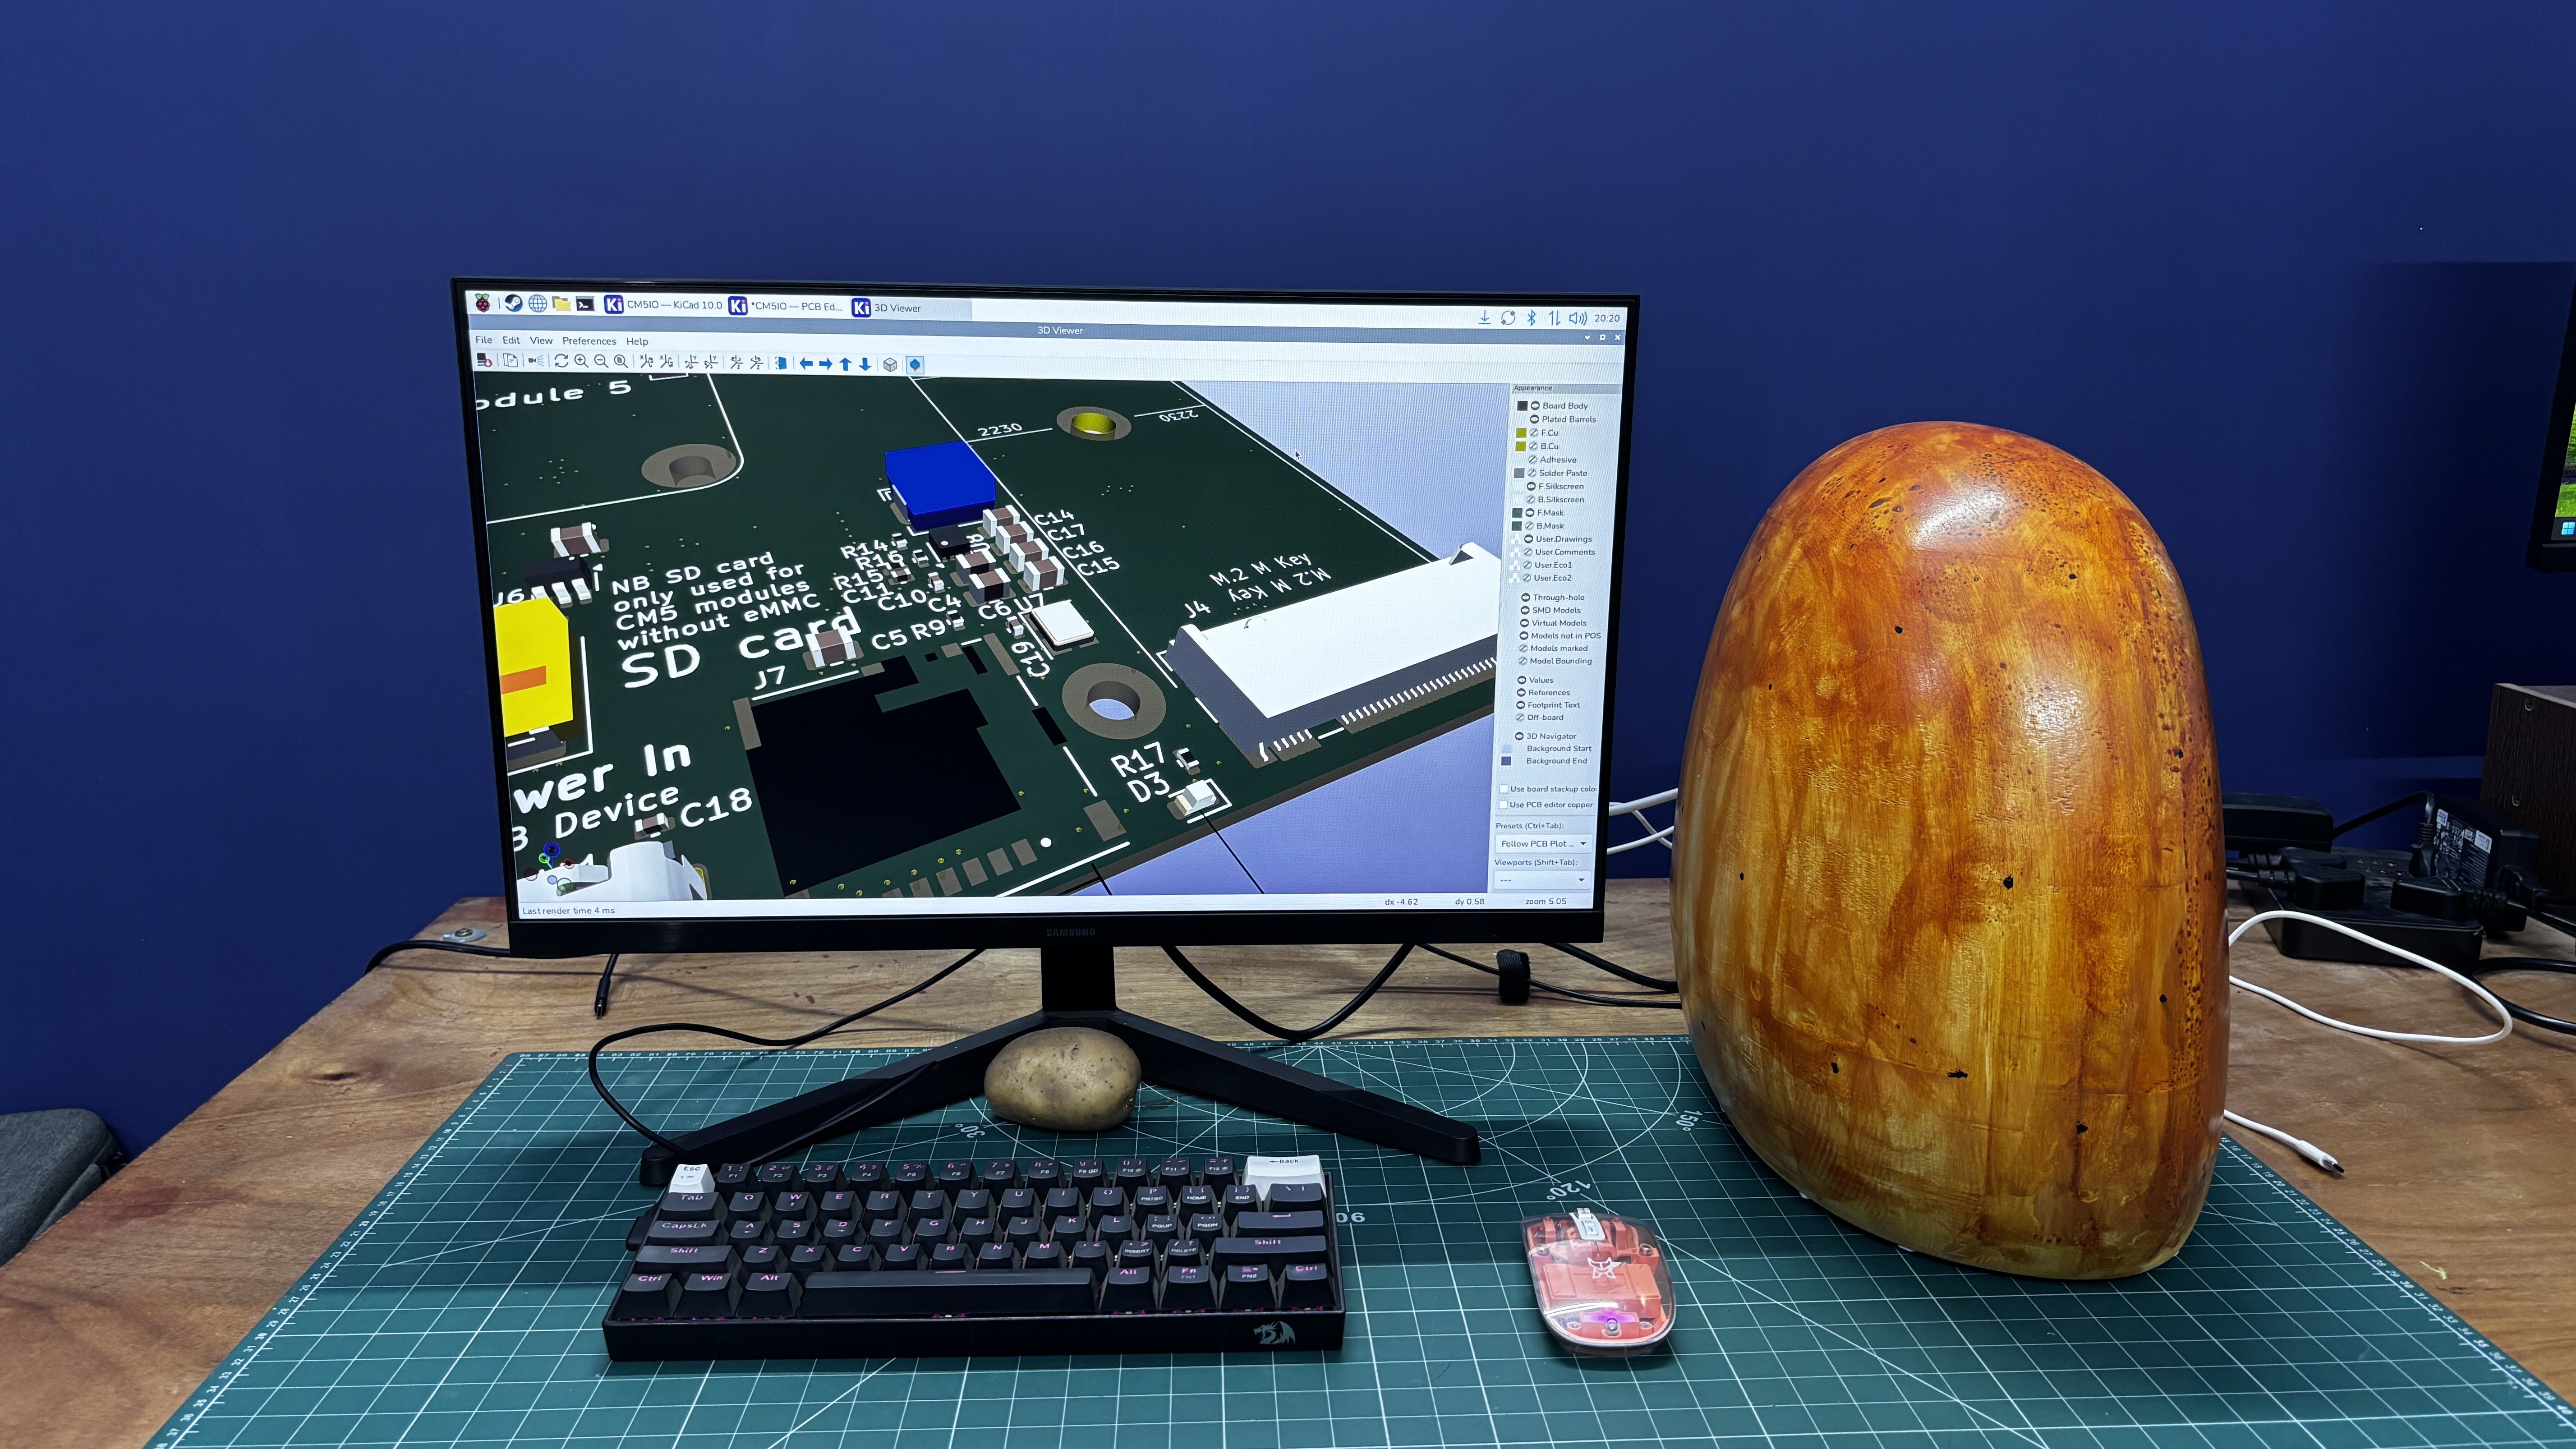
To make the system significantly more capable, I paired the Raspberry Pi 5 with a desktop-class AMD Radeon RX 6500 XT using the Raspberry Pi’s PCIe interface.
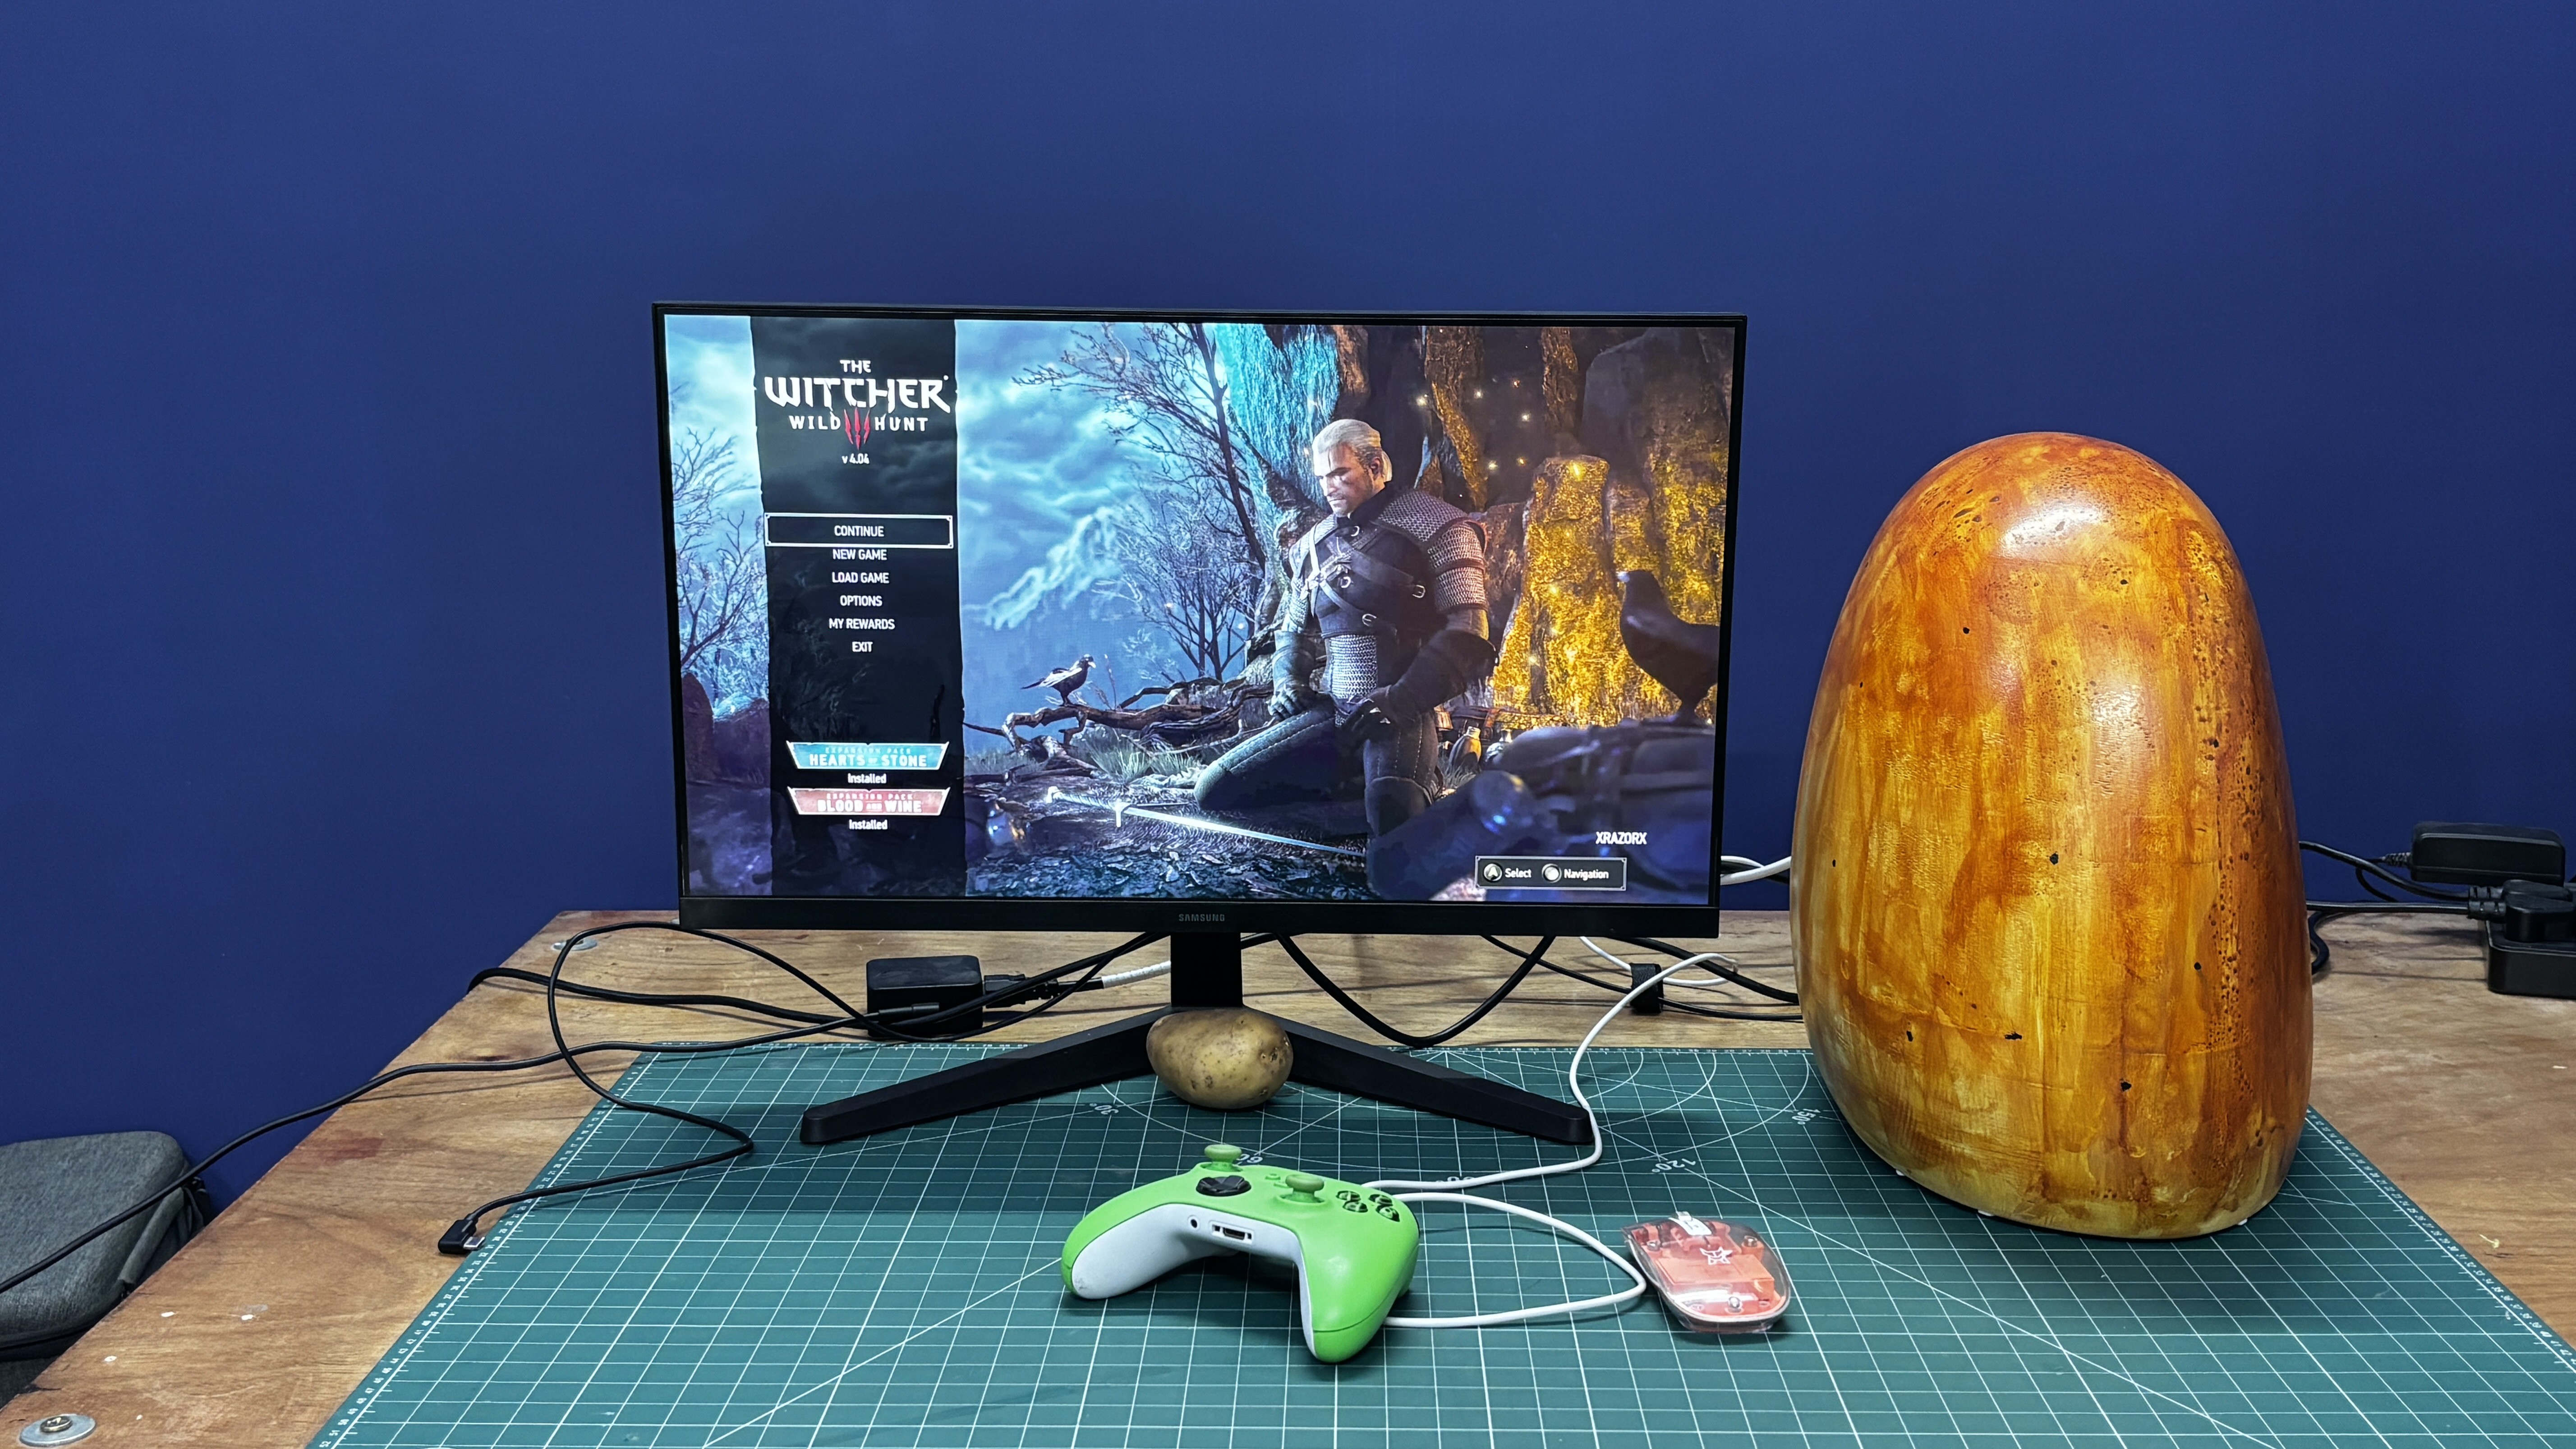
With this desktop-level GPU, the Pi is now able to function much more like a standard PC. While some applications do not run natively because the Pi uses an ARM-based SoC, I was still able to run a wide range of software, including games through Steam and many other applications.
This article covers the complete build process, from designing and constructing the Potato PC enclosure to setting up the Raspberry Pi with the GPU and assembling the final system.
HARDWARE: RASPBEERY Pi 5
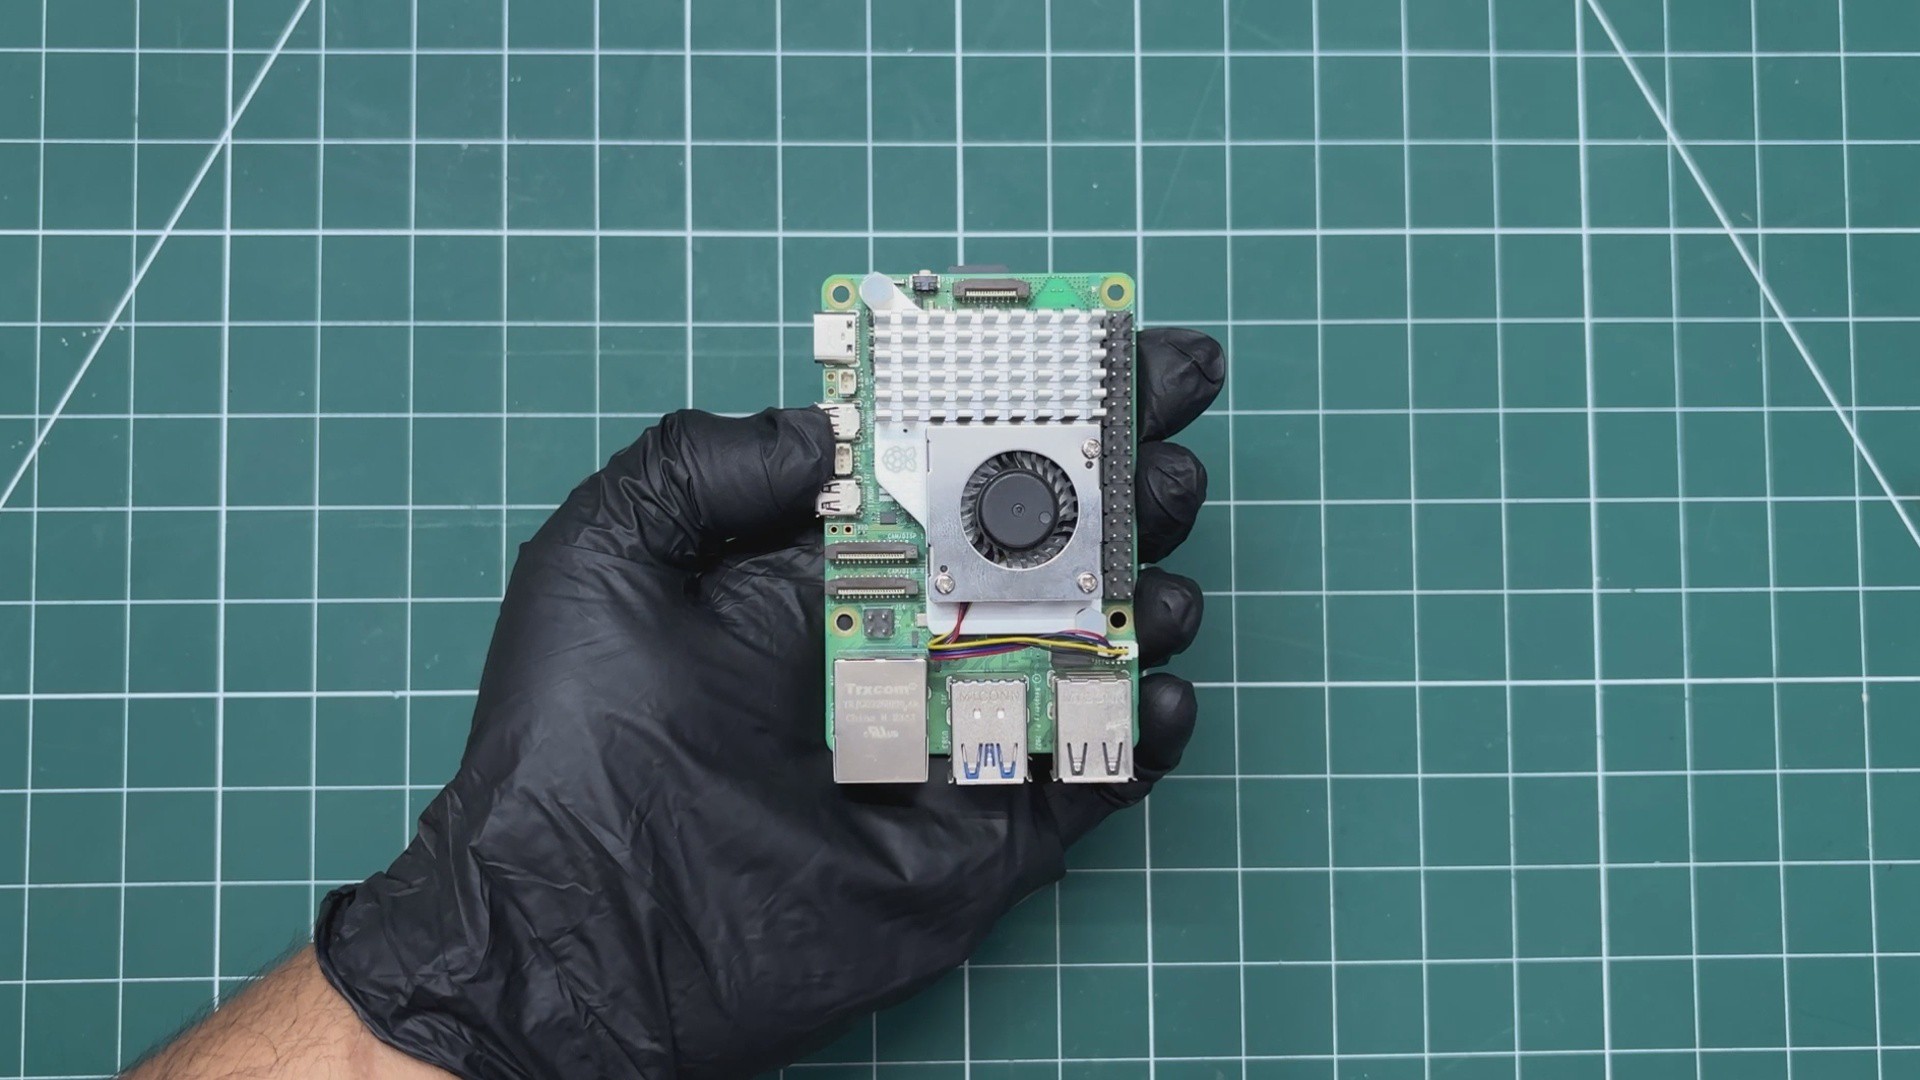
The brain of this project is the Raspberry Pi 5. I’m using the 4GB variant, but a 16GB version is recommended for this project, as I discovered that most applications run, but they often crash because of low memory issues. The Pi 5 is paired with the official Raspberry Pi 5 heatsink and fan, which keep the SoC cool.
Raspberry Pi 5 features the Broadcom BCM2712 quad-core Arm Cortex A76 processor clocked at 2.4 GHz; it also has an onboard VideoCore VII GPU, which supports OpenGL ES 3.1 and Vulkan 1.3.
My goal for using the Pi was simple: I was making a Potato PC, and the Pi fits that category perfectly. The Pi itself is a great tool for developers and makers, but when used as a daily driver, it can sometimes feel like a potato PC. So my goal was to make the Pi perform better for tasks where I would normally use a regular PC instead of a Pi.
HARDWARE: WAVESHARE 4 CH NVME BREAKOUT BOARD
Our Raspberry Pi 5 does not include a built-in NVMe slot, but it does feature a PCIe connector. This was a revolutionary addition when Raspberry Pi introduced it, as it greatly expanded the board’s storage and expansion capabilities.
Raspberry Pi also released an official HAT that provides an M.2 NVMe slot and connects to the board using the FPC PCIe connector.
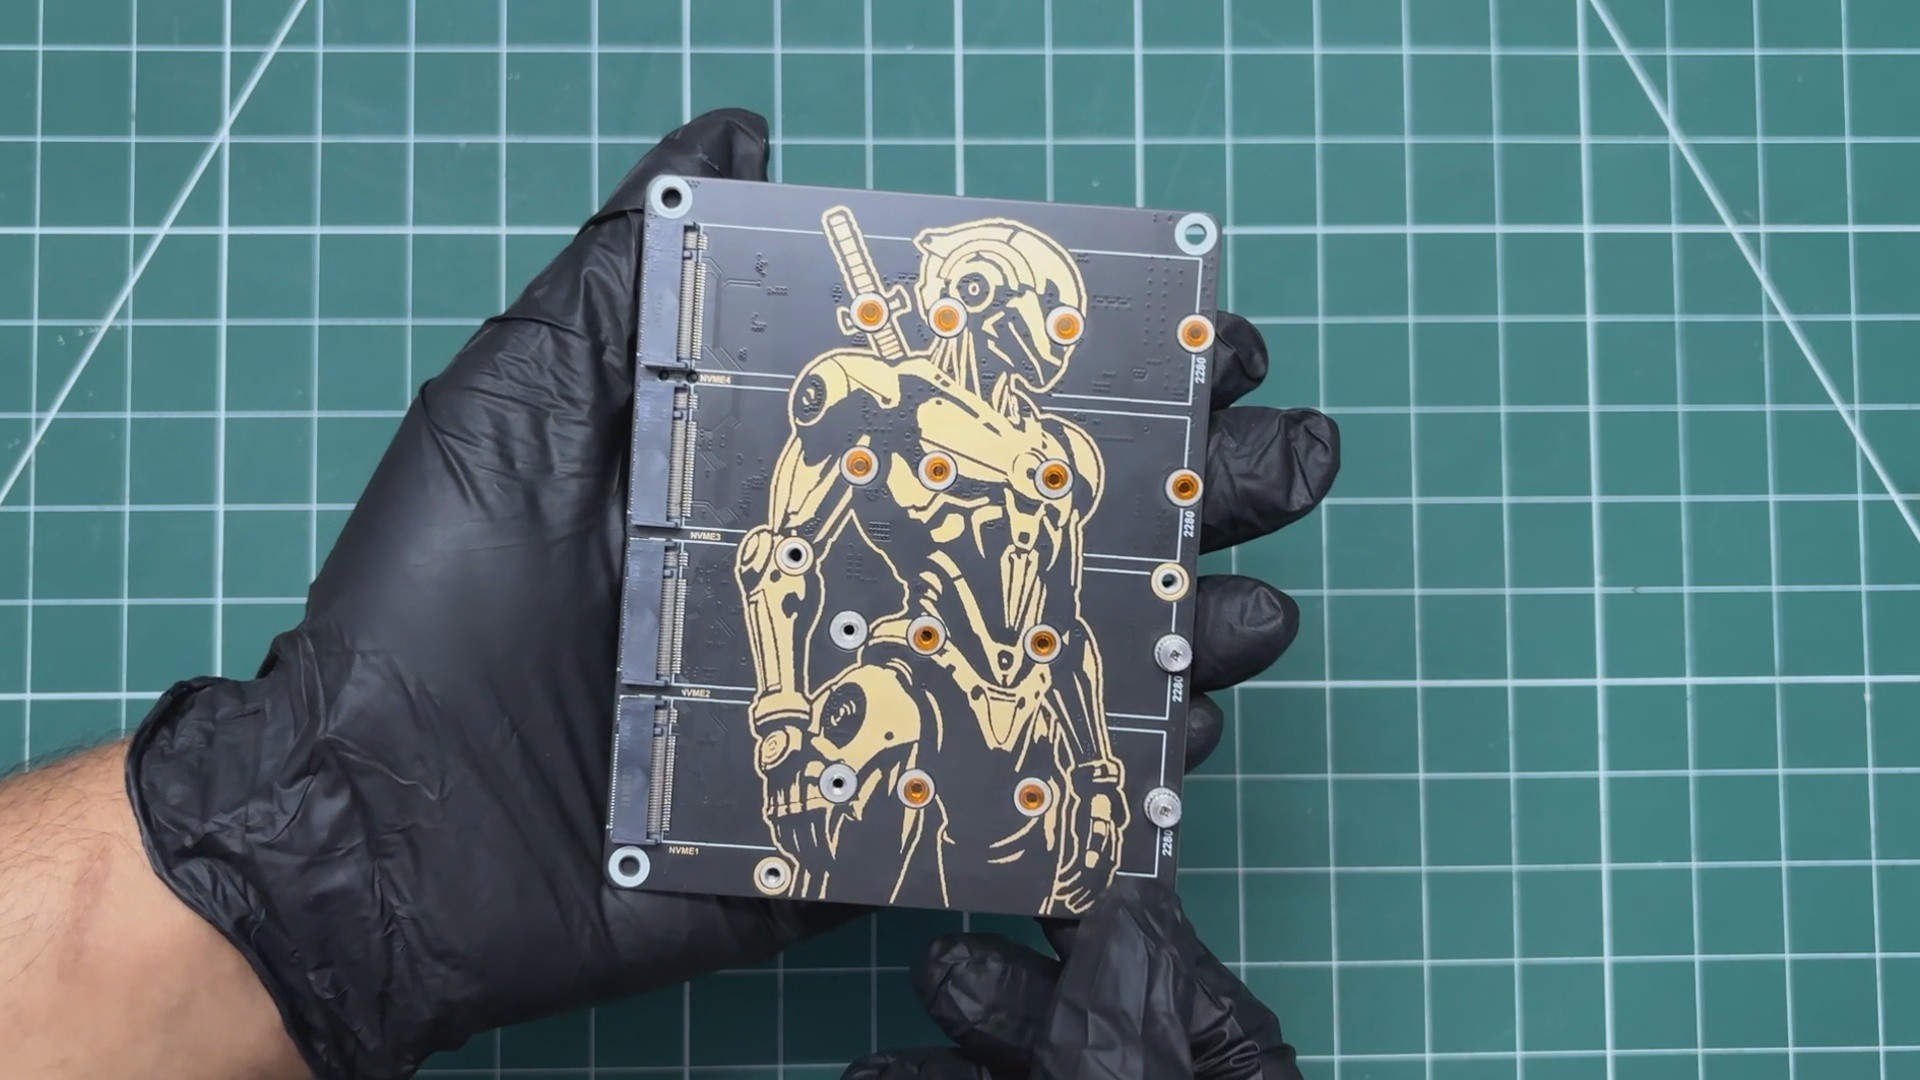
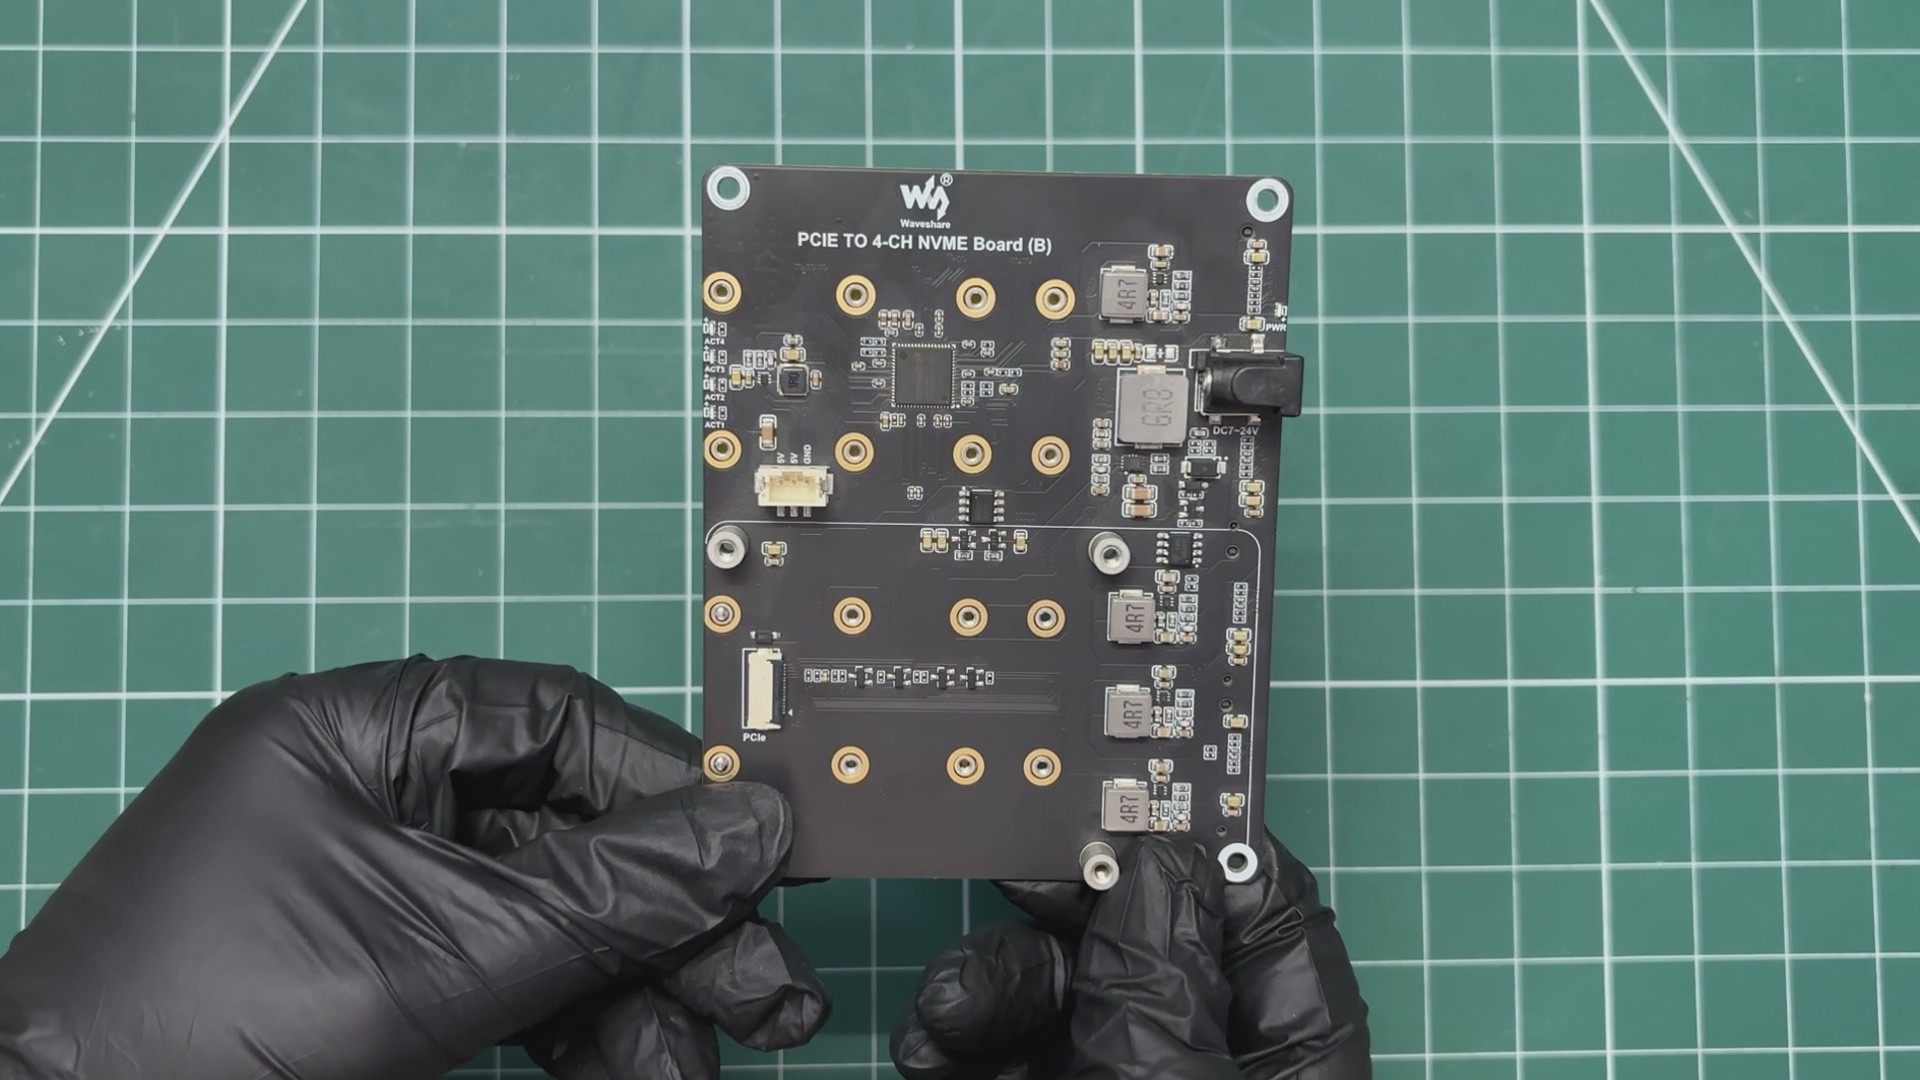
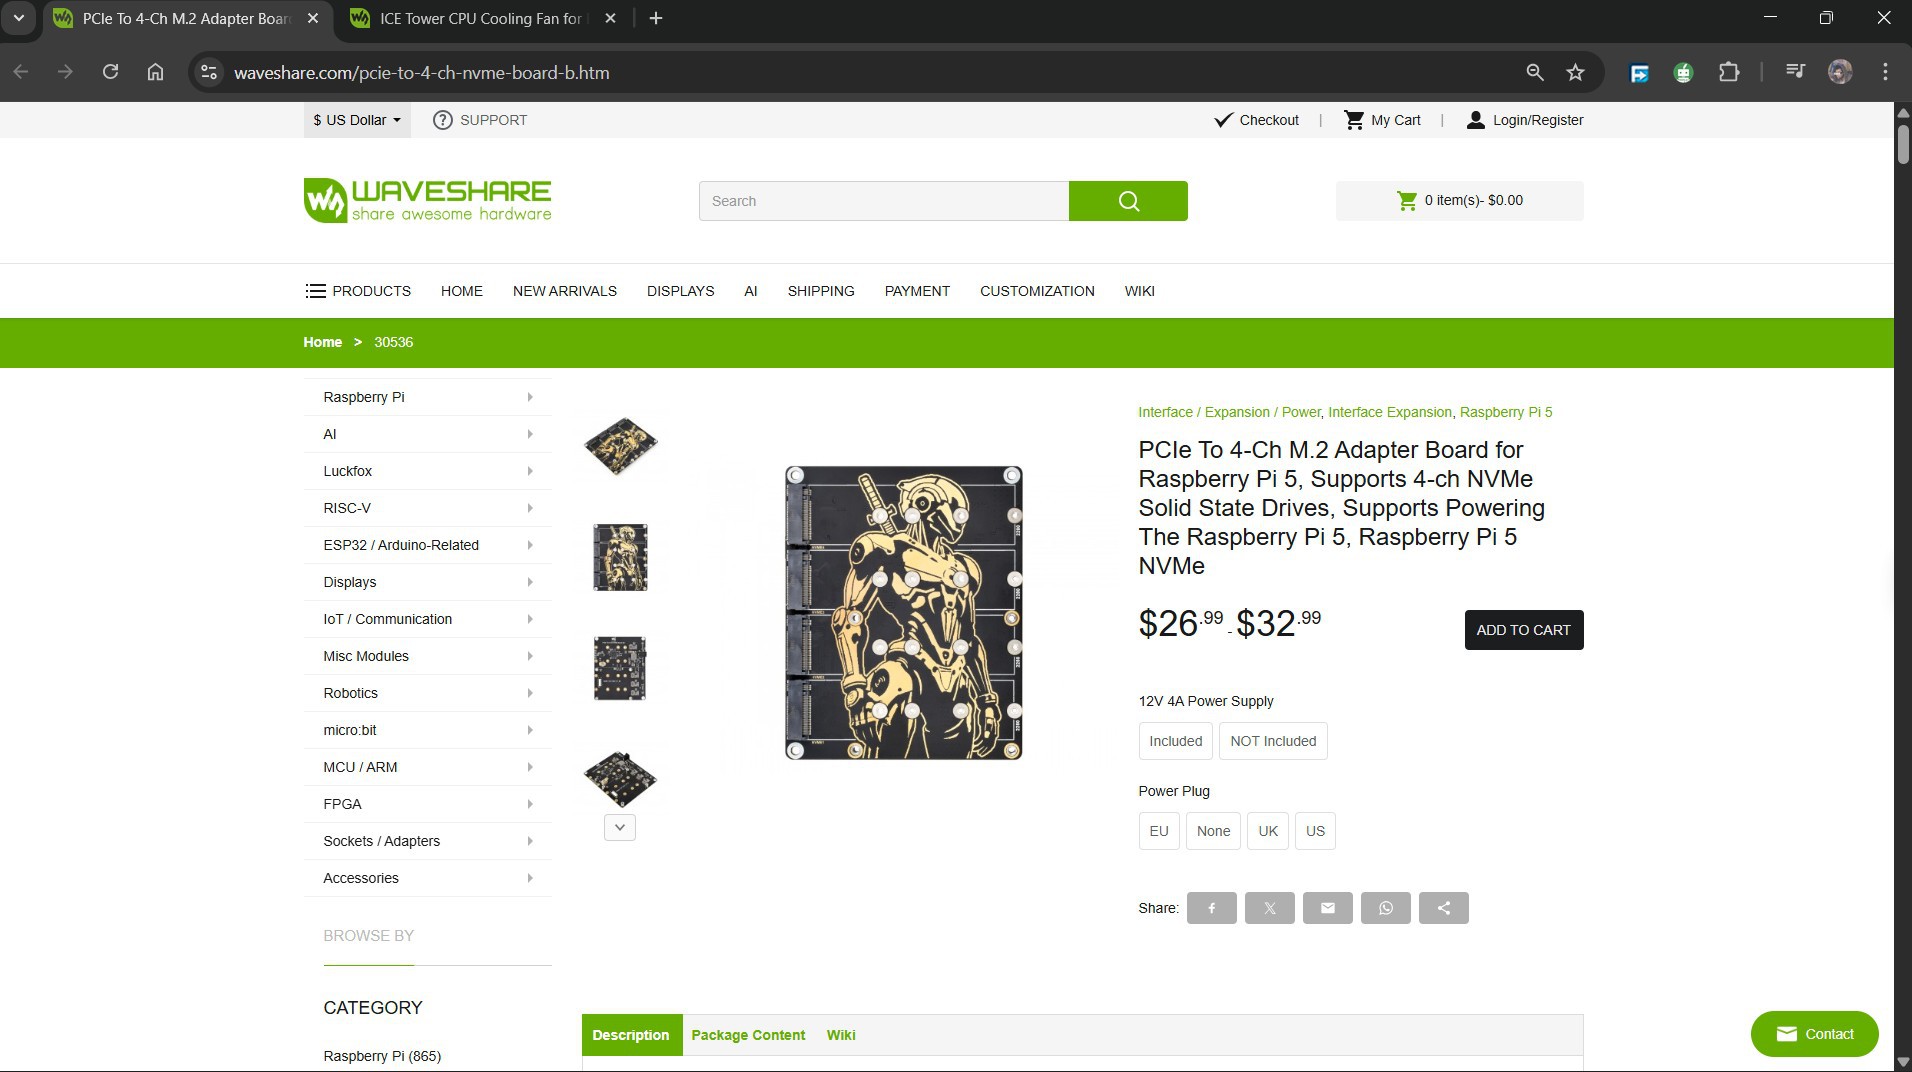
Following this, many other companies began developing expansion boards for the Raspberry Pi 5. One particularly useful option comes from Waveshare, which offers an expansion board that includes four M.2 slots.
This board connects directly to the Pi’s PCIe port and supports up to four M.2 NVMe SSDs in 2230, 2242, 2260, and 2280 sizes, all running in PCIe Gen2 ×1 mode.
One of the biggest advantages of this board is that it also supports NVMe booting, allowing the Pi 5 to start its operating system directly from an NVMe SSD instead of a microSD card, giving a huge boost in speed and reliability. We will also pair a PCIEx16 to M.2 Adaptor with this setup in order to connect our GPU to this board.
The board includes helpful onboard LEDs that show power status and drive activity, and it can even supply power back to the Raspberry Pi 5 itself, reducing cable clutter.
With these features combined, multi-drive support, NVMe boot capability, broad SSD size compatibility, and clean power handling, the Waveshare 4-Channel NVMe adapter becomes the perfect backbone for building our Potato PC.
Check out its wiki page for more in-depth info from the link below.
https://www.waveshare.com/pcie-to-4-ch-nvme-board-b.htm?&aff_id=Arnov
WAVESHARE SERVICE
Special thanks to Waveshare for providing the hardware used in this project. The PCIe to 4-Channel NVMe Adapter Board and supporting accessories were supplied as review units for testing and evaluation.
Waveshare is a leading global provider of electronic components, modules, and development tools used across robotics, IoT, automation, education, and many other fields. With a strong focus on quality, reliability, and continuous innovation, Waveshare has earned the trust of engineers, designers, hobbyists, and makers worldwide.
Their extensive product lineup, from displays and HATs to expansion boards and embedded modules, makes them a go-to choice for both professional builds and DIY projects.
Waveshare had no involvement in the build process, configuration, testing methods, or results shared in this project. All opinions, performance notes, and conclusions are entirely my own.
ADT-LINK PCIEx16 TO M.2 ADAPTOR
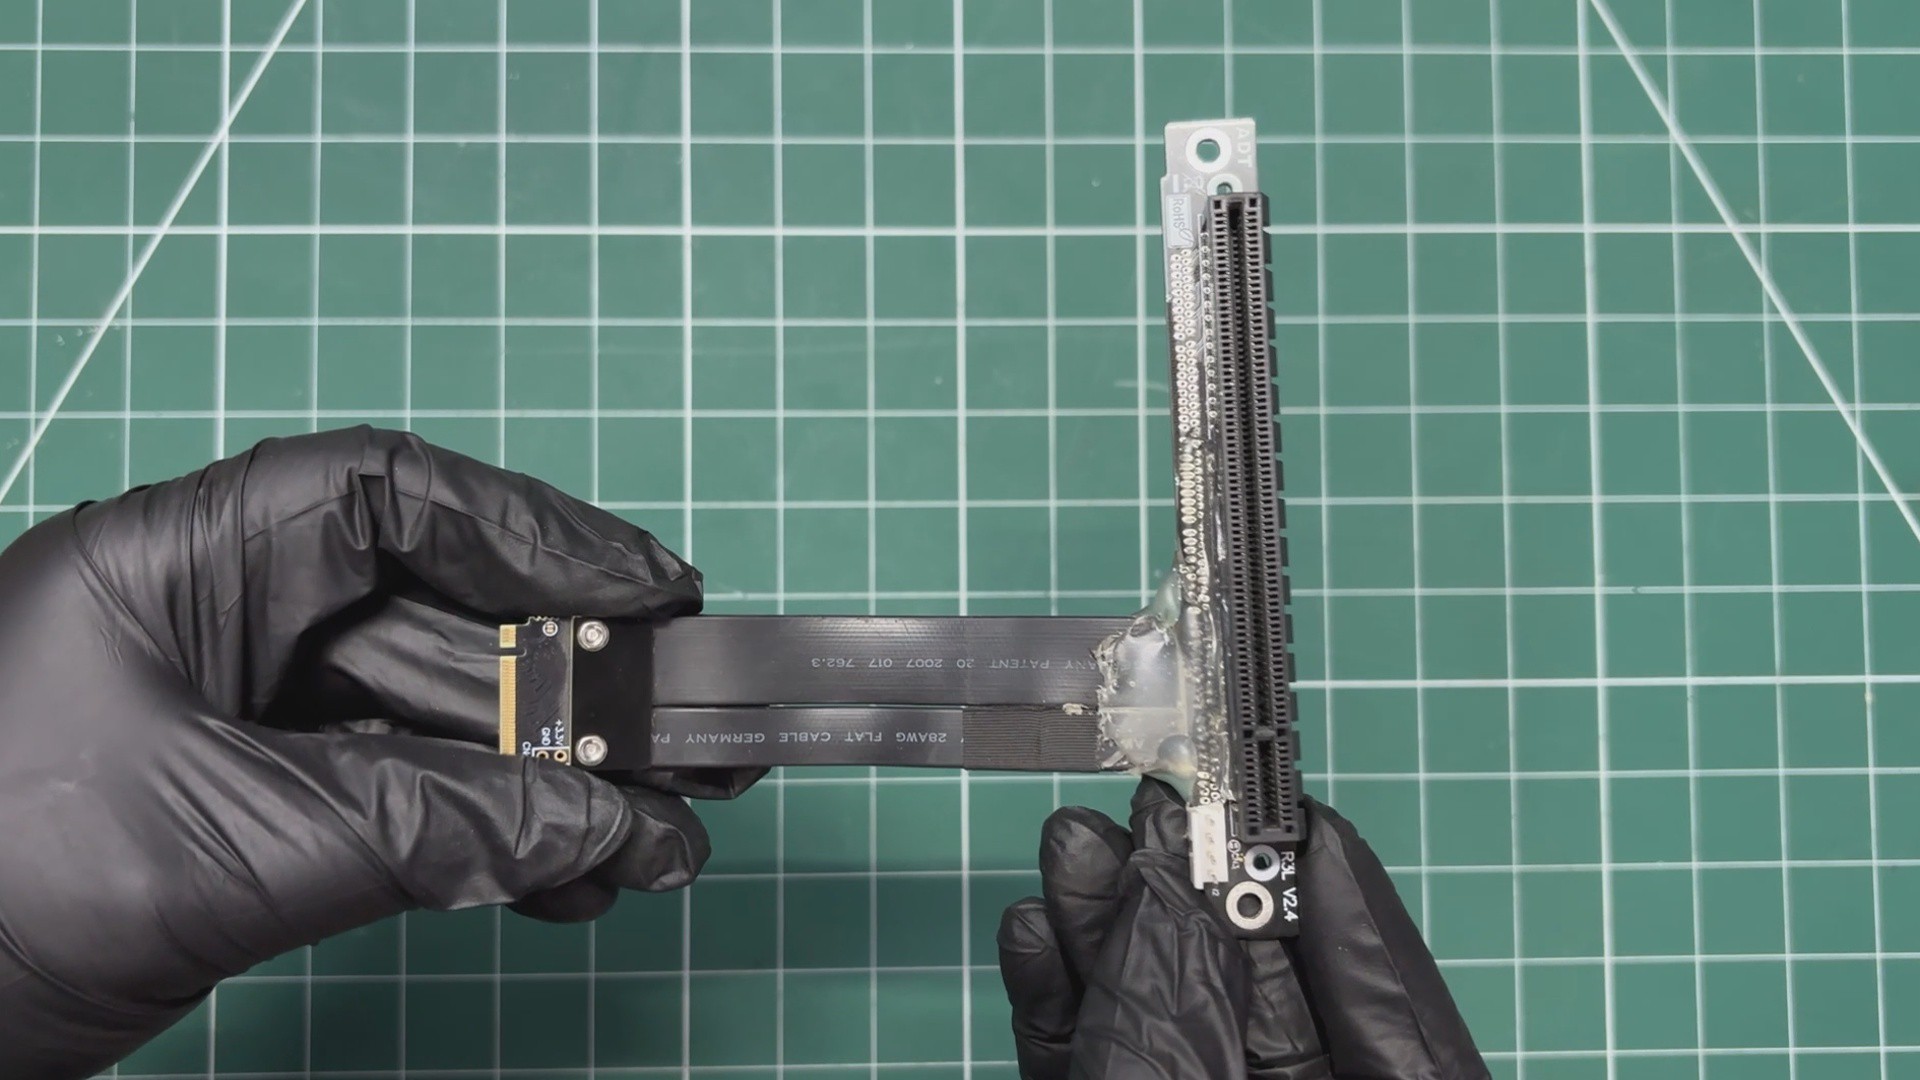
This is a truly unique and arguably one of the most important components in this project.
It is an M.2 M-Key to PCIe 3.0 x16 graphics card extension adapter. The adapter operates at PCIe 3.0 x4 speeds and is compatible with most single-board computers.
It also includes a CON4-to-SATA power cable harness, which is used to supply power to the installed Graphics Processing Unit through a SATA power connector from a standard PC power supply.
I purchased this adapter from DFRobot. You can also check the product wiki on their website if you would like more technical details about the adapter.
https://wiki.dfrobot.com/fit0973/
HARDWARE- RX6500XT GRAPHIC CARD
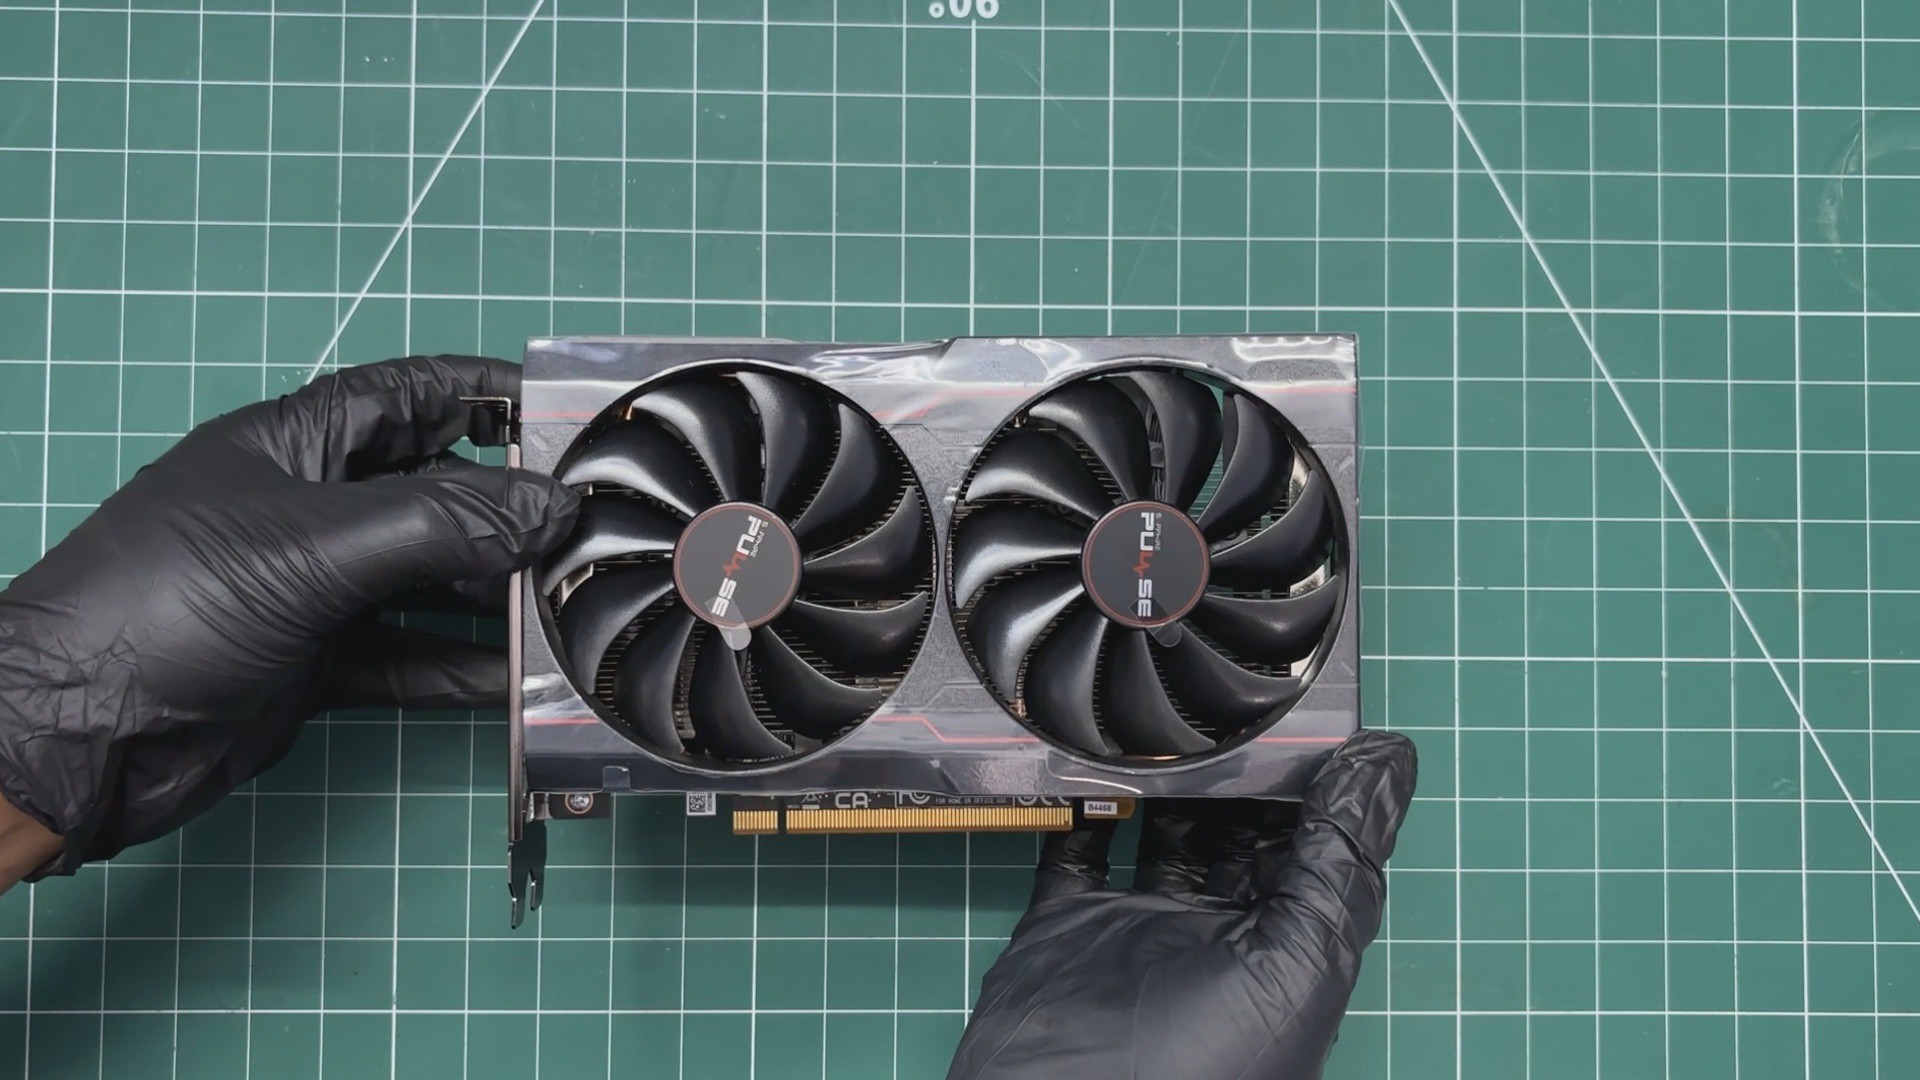
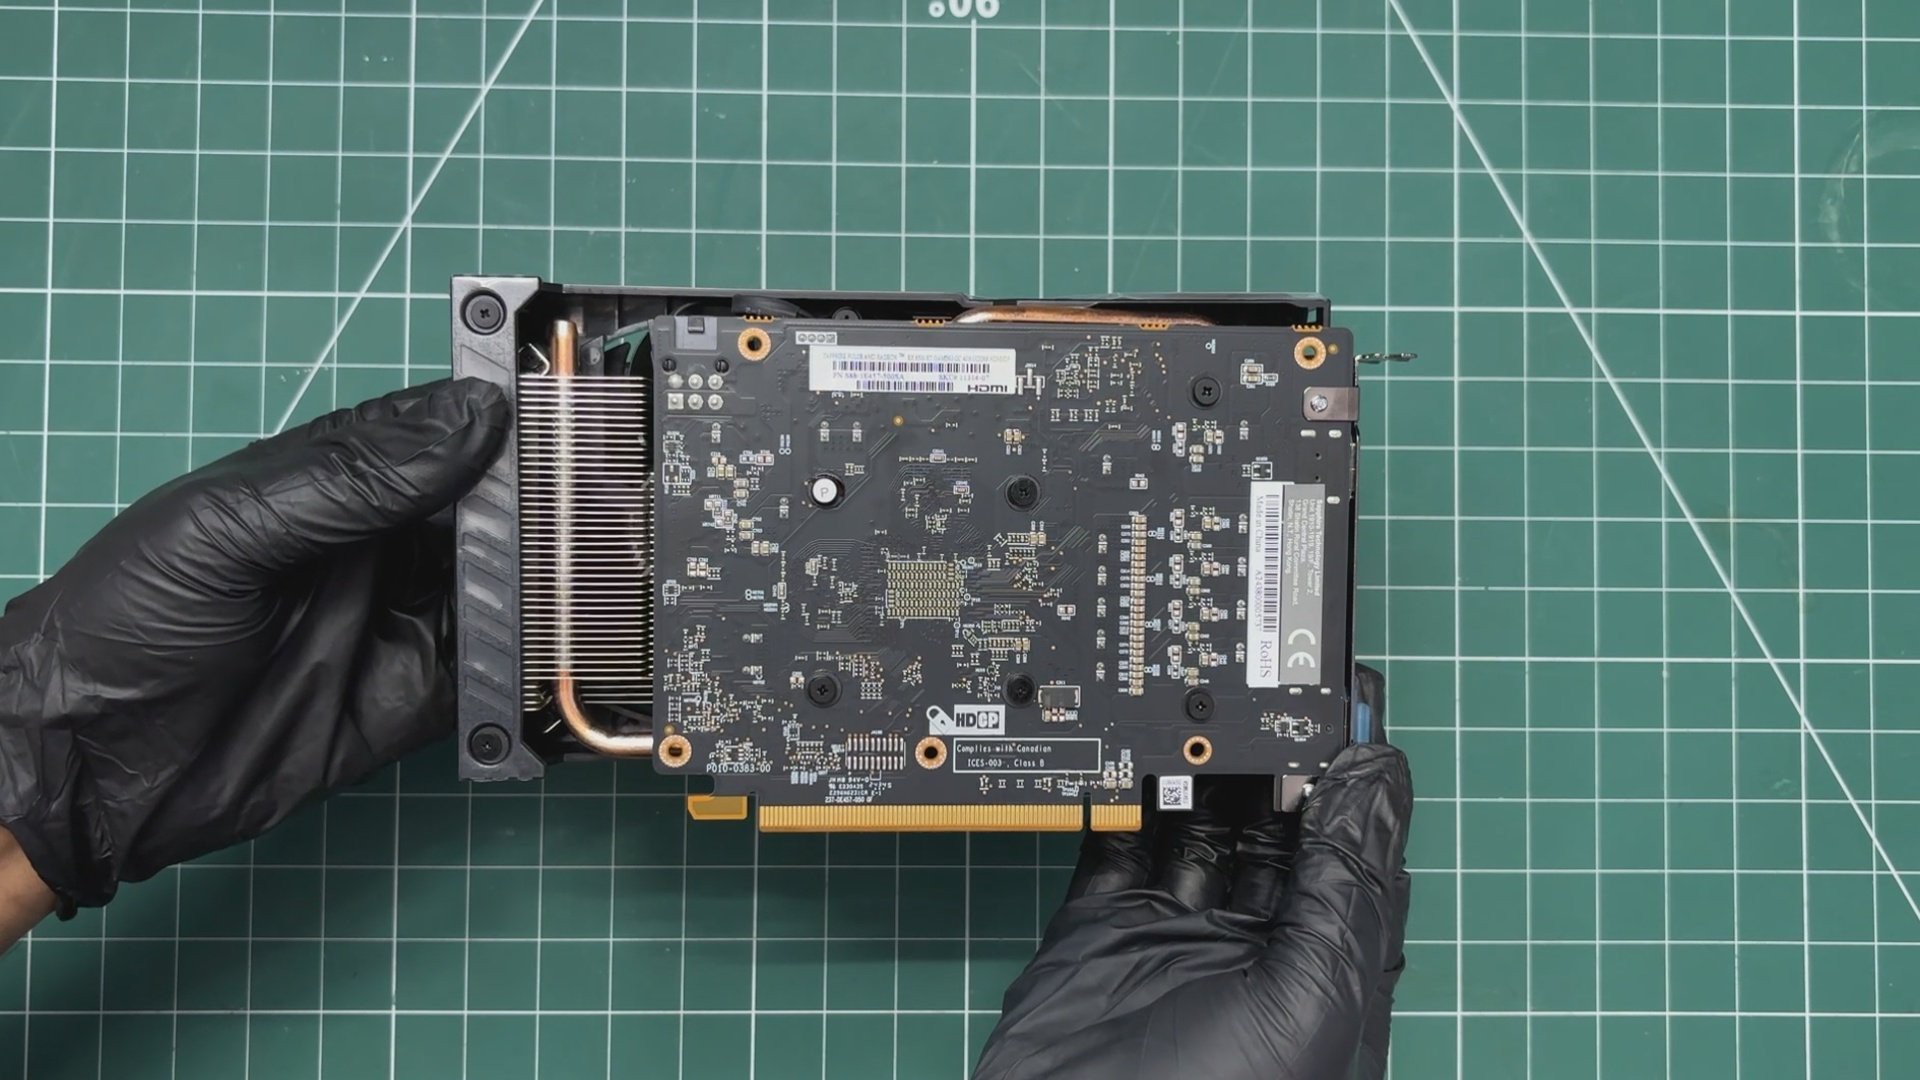
The next major hardware component used in this project is a full desktop-sized graphics card: the Sapphire Pulse Radeon RX 6500 XT. We were able to purchase this GPU thanks to the funding provided by Hackster.io specifically for this project.
The card is based on AMD’s RDNA 2 architecture and comes equipped with 4 GB of GDDR6 VRAM, which is more than sufficient for gaming, hardware acceleration, and GPU-intensive applications on this setup.
Initially, I tried using graphics cards that I already had available, including the NVIDIA GeForce GT 1030 and NVIDIA GeForce GTX 1060. However, due to NVIDIA’s more closed driver ecosystem, these older GPUs did not work reliably with Raspberry Pi OS on ARM. While some newer NVIDIA cards have been reported to work under certain Linux configurations, the specific models I tested were not supported in my setup.
As a result, I switched to an AMD GPU. AMD provides excellent open-source Linux drivers through the Mesa graphics stack, which made the Raspberry Pi 5 and the RX 6500 XT work together with minimal driver-related issues. This open driver support was one of the key factors that made the entire Potato PC project possible.
HARDWARE: NVME GEN3 SSD
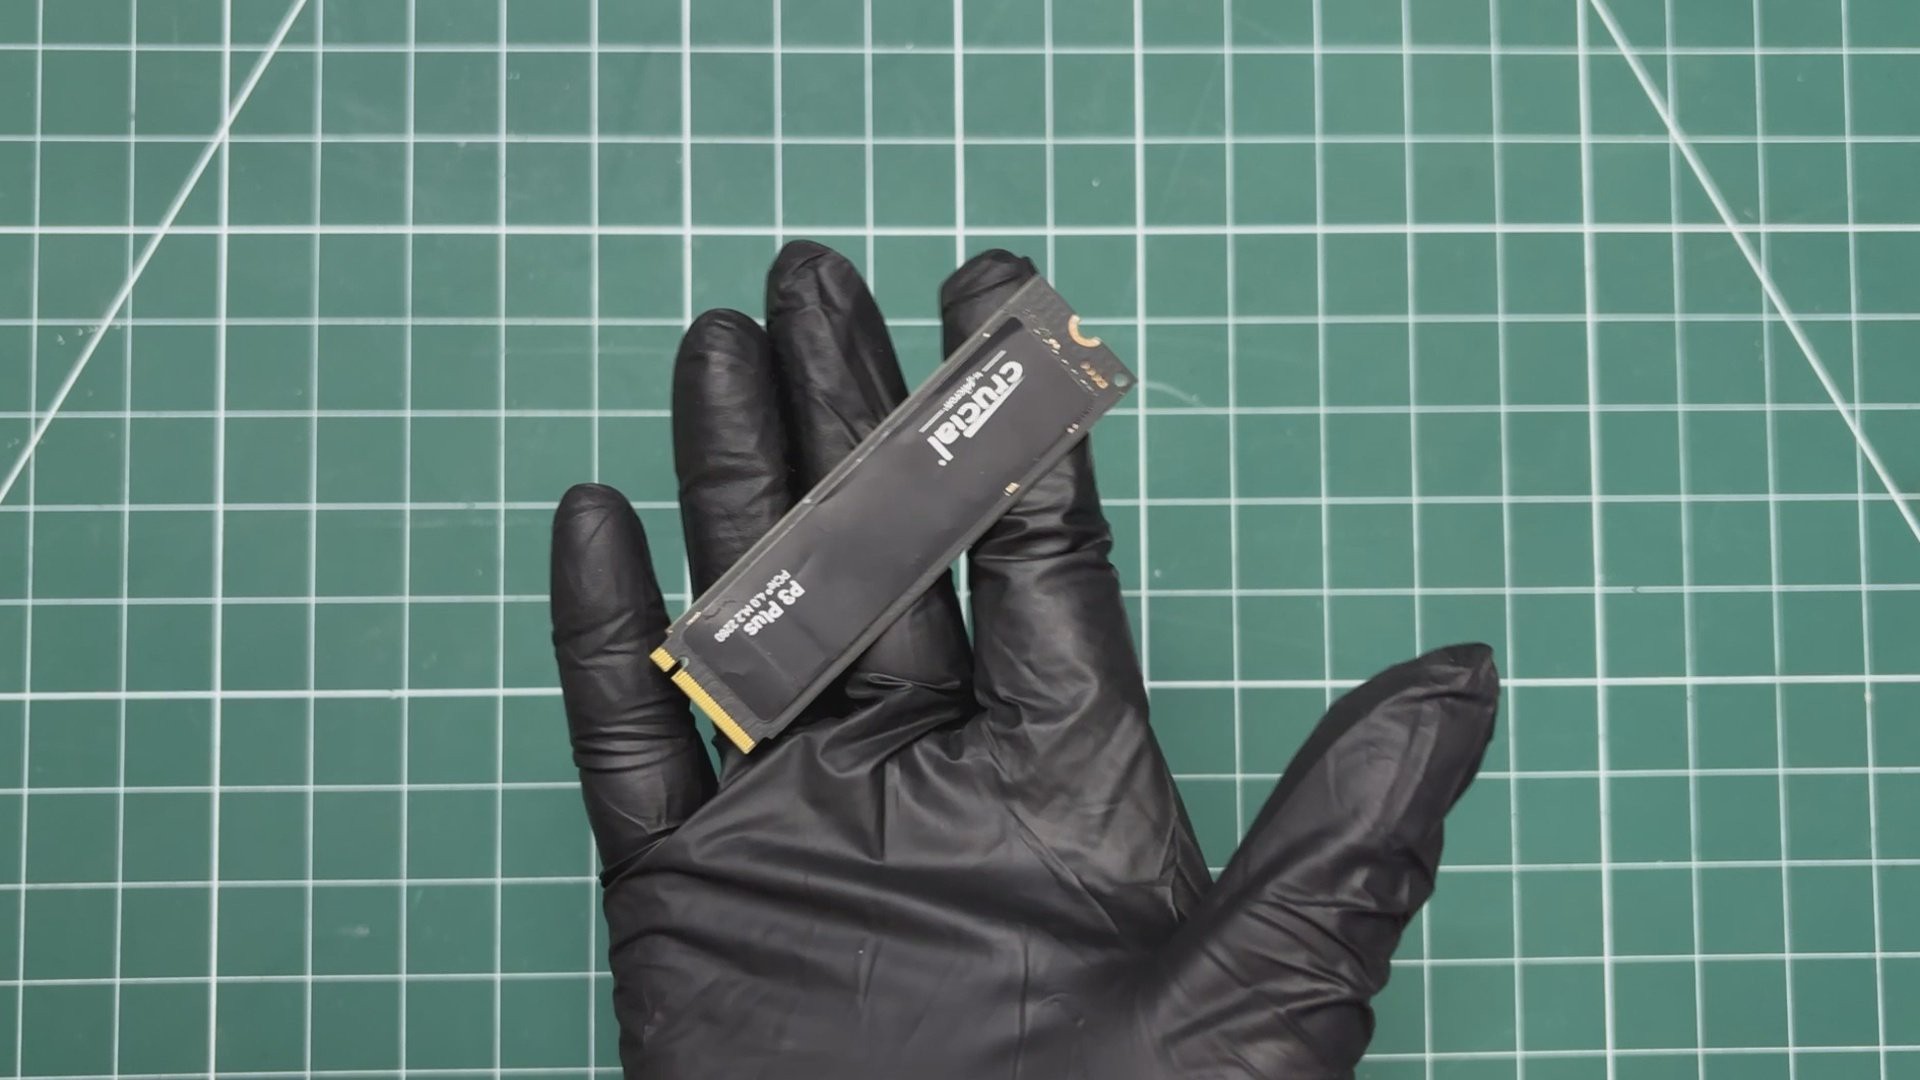
For the system drive, we selected a Crucial P3 NVMe SSD, which is used as the primary boot and operating system drive. Using an NVMe SSD significantly improves the overall responsiveness of the Potato PC, resulting in faster boot times, quicker application launches, and much better file transfer performance.
In terms of raw speed, the difference is substantial:
- A typical microSD card used with the Raspberry Pi 5 delivers around 40–90 MB/s.
- eMMC storage typically offers speeds in the range of 150–300 MB/s.
- The Crucial P3 NVMe SSD can reach sequential read speeds of up to 3, 500 MB/s on a desktop system.
Even though the Raspberry Pi 5 cannot utilize the full bandwidth of the drive due to its PCIe limitations, NVMe performance on the Pi is still dramatically faster than that of both SD cards and eMMC. In practical terms, the NVMe drive can be 5 to 20 times faster than a microSD card and several times faster than typical eMMC storage.
This is why the system boots in around five seconds and feels much more responsive during everyday use. For a project like our potato pc, using NVMe storage is by far the best choice compared to relying on a microSD card or onboard eMMC.
HARDWARE- PSU
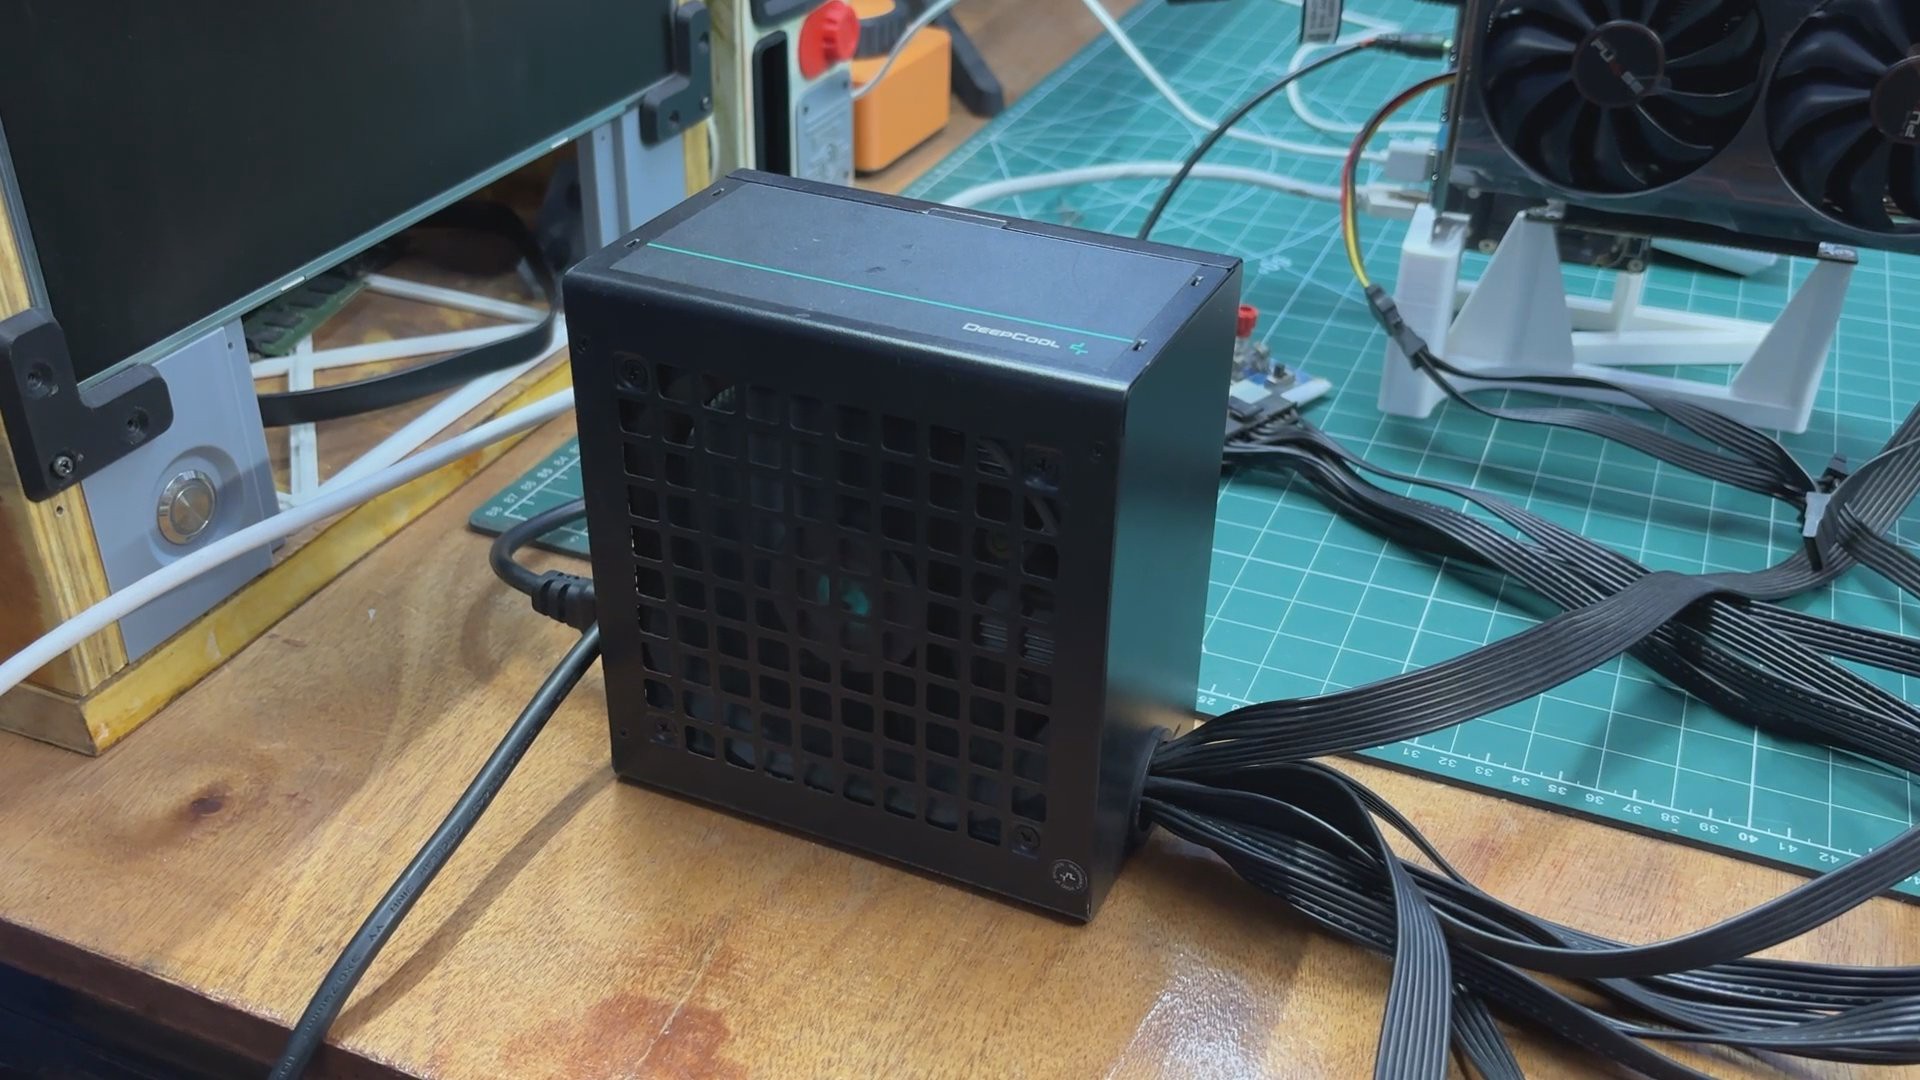
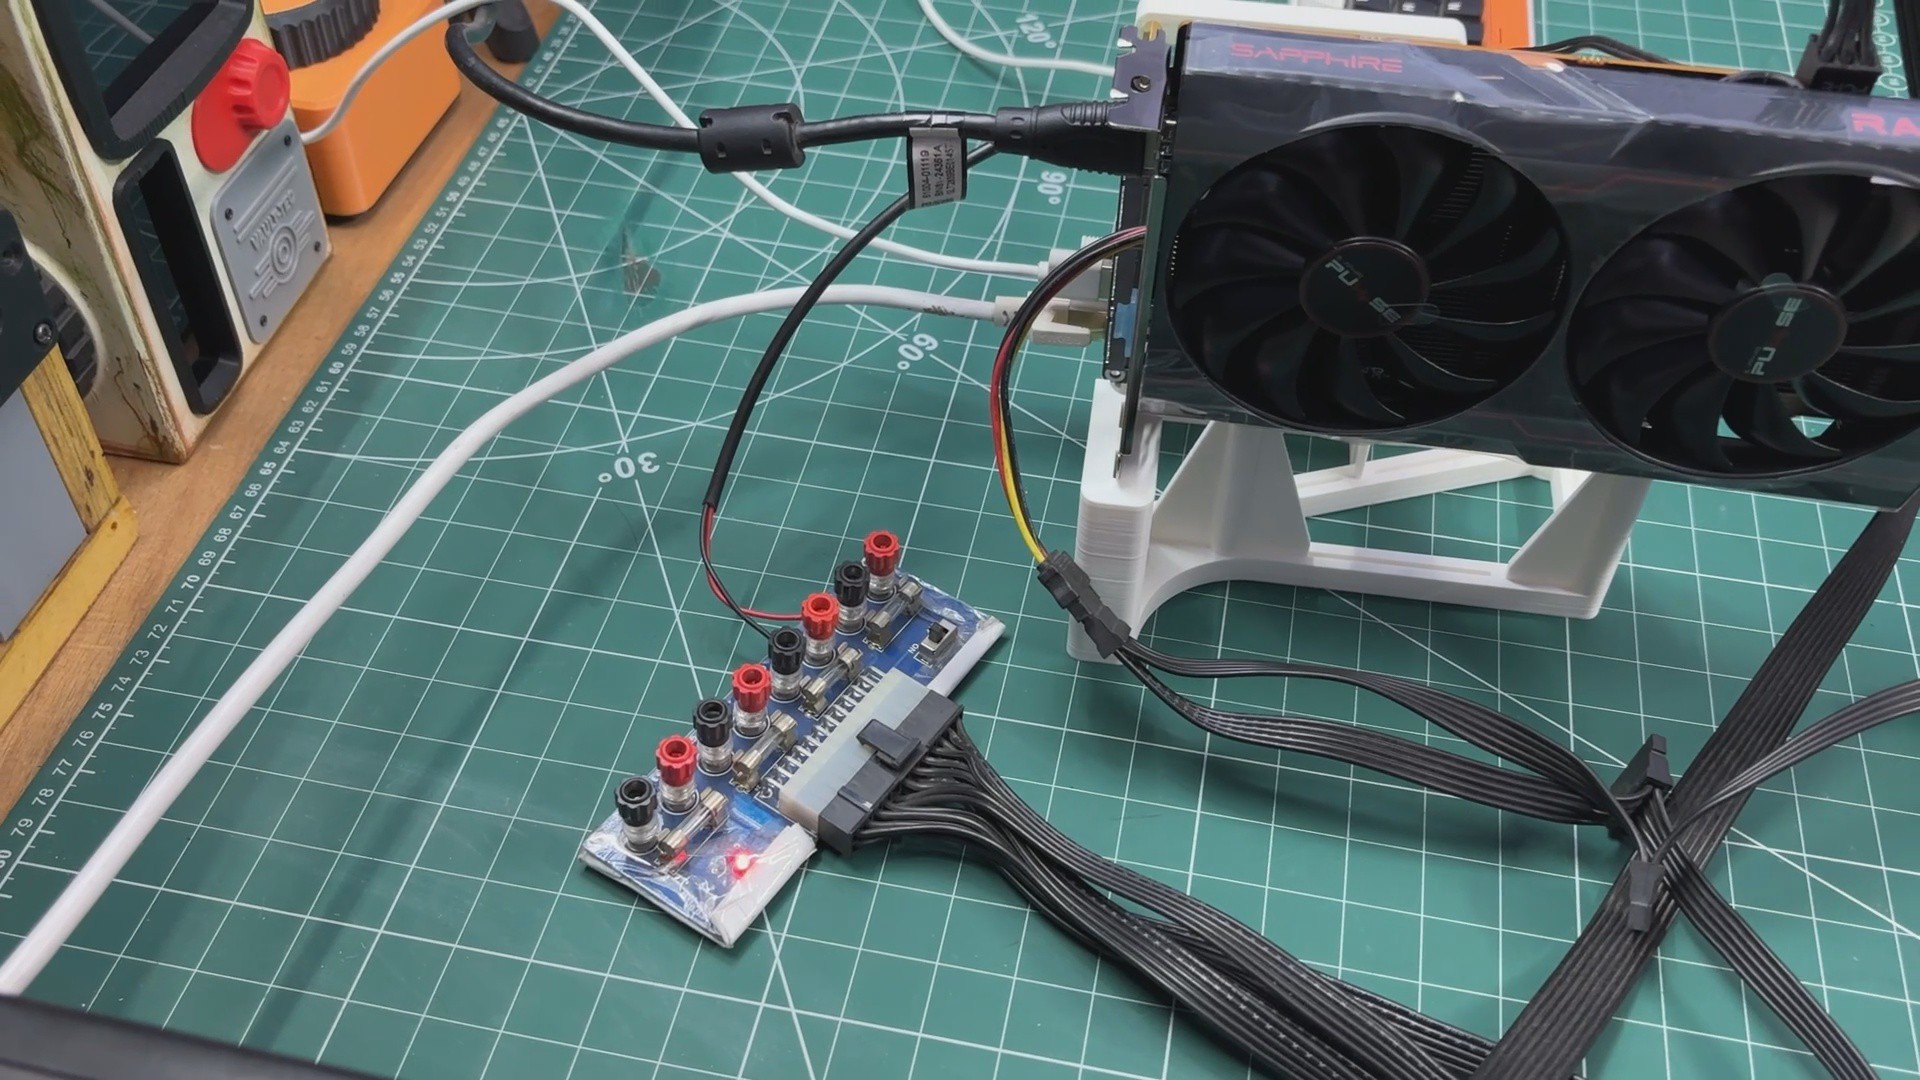
For the power source, we used a proper desktop power supply: the DeepCool 550W ATX Power Supply.
A standard PC PSU was the ideal choice for this project because several components require stable power from different voltage rails. The Raspberry Pi 5 and its NVMe expansion board require a stable 12V input; the Sapphire Pulse Radeon RX 6500 XT needs a dedicated 6-pin PCIe power connector; and the M.2-to-PCIe graphics card adapter also requires a SATA power connection.
To power the PCIe-to-NVMe board and the Raspberry Pi 5 setup, we used an ATX power supply breakout board. This breakout board plugs directly into the PSU’s 24-pin ATX connector and exposes regulated 3.3V, 5V, and 12V outputs. For this project, we use the 12V output to supply power to the PCIe-to-NVMe board and the Raspberry Pi 5 setup.
Using a full ATX power supply ensures that the system receives clean and reliable power, while also providing enough headroom for the GPU and any future upgrades.