 Rohan Barnwal
Project Overview
Thermal printers are everywhere—from retail stores and ATMs to restaurant billing systems and ticket vending machines. Their speed, simplicity, and low operating cost make them one of the most popular printing technologies for embedded systems.
While printing plain text is relatively straightforward, printing graphics and logos is often much more challenging. Every printer interprets bitmap data differently, and many low-cost thermal printers have very little documentation regarding image printing commands. As a result, developers frequently encounter distorted images, random characters, inverted colors, or completely blank printouts.
In this project, we'll learn how to print high-quality bitmap images on a QR204 58 mm TTL Thermal Printer using the Arduino UNO R4 WiFi. We'll use the Image2CPP tool to convert images into monochrome bitmap arrays and send them directly to the printer using standard ESC/POS commands.
During the development process, one particularly interesting challenge emerged. Although the printer supported ESC/POS raster graphics, the generated images appeared scrambled and unreadable. After extensive testing and debugging, it was discovered that the QR204 printer expects every bitmap byte to be transmitted with its bits reversed before printing. Implementing this simple transformation completely resolved the issue and allowed images to print perfectly.
By the end of this tutorial, you'll have a reusable boilerplate that lets you print any monochrome image simply by replacing the bitmap array generated by Image2CPP.
Features
- Print logos, icons, and graphics on a QR204 thermal printer
- Works with the Arduino UNO R4 WiFi
- Uses the standard ESC/POS raster image command
- Compatible with Image2CPP-generated bitmap array
- Supports full-width 384-pixel images
- Lightweight implementation without additional printer libraries
- Easy-to-use boilerplate for future projects
- Perfect for receipts, attendance systems, IoT devices, POS systems, and embedded applications
Applications
This bitmap printing technique can be integrated into a wide range of embedded applications, including:
- Smart School Attendance Systems
- Point-of-Sale (POS) Receipts
- Restaurant Billing Machines
- Inventory Management Systems
- RFID Access Control
- Visitor Management Systems
- Warehouse Label Printing
- Medical Devices
- Industrial Automation
- Event Ticket Printing
- IoT Dashboards
- Embedded User Interfaces
Software Required
- Arduino IDE
- Image2CPP
- Arduino UNO R4 Board Package
- USB Cable
Why an External Power Supply is Important
One of the most common mistakes when using thermal printers is powering them directly from the Arduino's 5V output.
Although the printer may successfully print text, bitmap images require a significantly higher current because hundreds of tiny heating elements are activated simultaneously.
During image printing, the thermal head can draw more than 1.5 A, which is far beyond what the Arduino UNO R4 can safely provide.
For reliable operation:
- Use a regulated 5V / 2A external power supply.
- Connect the grounds of the Arduino and the external supply together.
- Use short and thick power wires whenever possible.
This simple change dramatically improves print quality and eliminates random characters or incomplete images caused by voltage drops.
Wiring Diagram
The wiring is extremely simple.
Arduino UNO R4 WiFi QR204 Printer TX RX
RX TX
GND GND
External 5v Supply VCC
Important: The Arduino and the external power supply must share a common ground.
The final setup requires only a few connections and can be assembled in just a few minutes.
How ESC/POS Bitmap Printing Works
Most thermal printers communicate using the ESC/POS command set, originally developed for point-of-sale systems. These commands allow the printer to perform various operations such as:
- Printing text
- Changing font styles
- Adjusting alignment
- Feeding paper
- Printing barcodes
- Generating QR codes
- Printing bitmap images
For this project, we use the GS v 0 raster graphics command, which allows the printer to receive raw bitmap data.
The command consists of:
GS v 0 m xL xH yL yH d1...dkGS v 0 m xL xH yL yH d1...dk
Where:
- GS v 0 selects raster bitmap printing mode.
- m specifies the print mode.
- xL and xH define the image width in bytes.
- yL and yH define the image height in pixels.
- d1...dk contains the monochrome bitmap data.
Once these parameters are transmitted, the printer reconstructs the image line by line and prints it onto the thermal paper
Understanding the Challenge
At first glance, printing a bitmap appears to be straightforward—simply convert the image into a byte array and send it to the printer.
However, different printer manufacturers interpret bitmap data differently.
During development, the QR204 printer produced:
- Random symbols
- Black bars
- Distorted graphics
- Mirrored images
- Inverted colors
even though the ESC/POS commands were correct.
After extensive testing, it was discovered that the QR204 expects each bitmap byte to be transmitted with its bit order reversed.
This small implementation detail is not immediately obvious, but once corrected, the printer reproduces the bitmap accurately.
In the next section, we'll prepare our image using Image2CPP and then implement the complete Arduino code required to print it successfully.
Preparing Images for Thermal Printing
Unlike regular printers that can reproduce colors and grayscale, thermal printers are monochrome devices. Every pixel is represented by a single bit, meaning it can either be black or white. Before sending an image to the printer, it must first be converted into a 1-bit bitmap format that the printer understands.
One of the easiest tools for this purpose is Image2CPP, which converts ordinary PNG, JPG, or BMP images into Arduino-compatible byte arrays.
For best results, start with a high-contrast image. Logos, icons, QR codes, and simple graphics generally produce much cleaner prints than photographs.
Giving Your Project a Professional Finish

Building a working prototype is often only the first step of any hardware project. Whether you're developing an Arduino project, an ESP32 based IoT device, a robotics system, an embedded application, or even a custom PCB, there eventually comes a point where you want the final build to look clean, organized, and professional
While breadboards and exposed wiring are perfect during development, a custom enclosure protects the electronics from accidental damage, improves cable management, makes transportation easier, and gives the project a polished appearance. For engineering exhibitions, hackathons, client demonstrations, YouTube videos, or commercial prototypes, a professionally manufactured enclosure can make a significant difference in both durability and presentation.
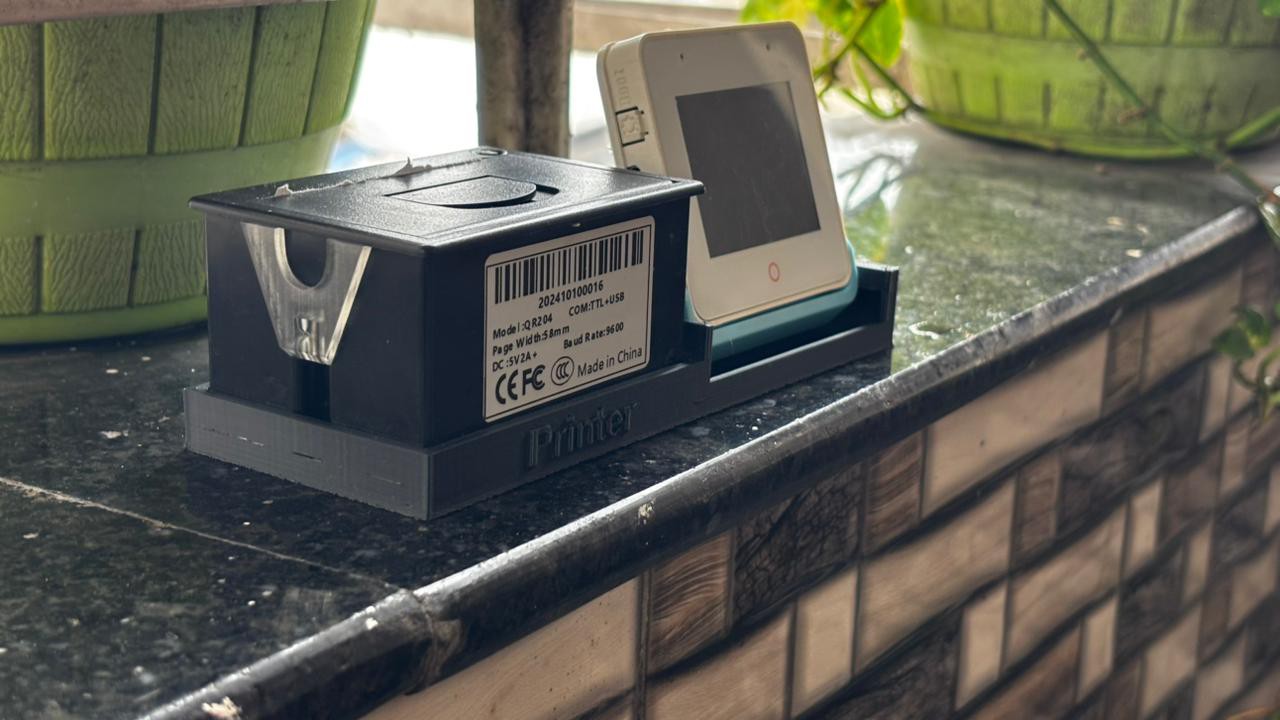
Over the past few months, I've ordered several custom 3D printed parts from JUSTWAY for different electronics projects, and the overall experience has been consistently positive. The printed parts arrived well packed with good dimensional accuracy, clean surface quality, and required very little post-processing before assembly.
From Prototype to Production
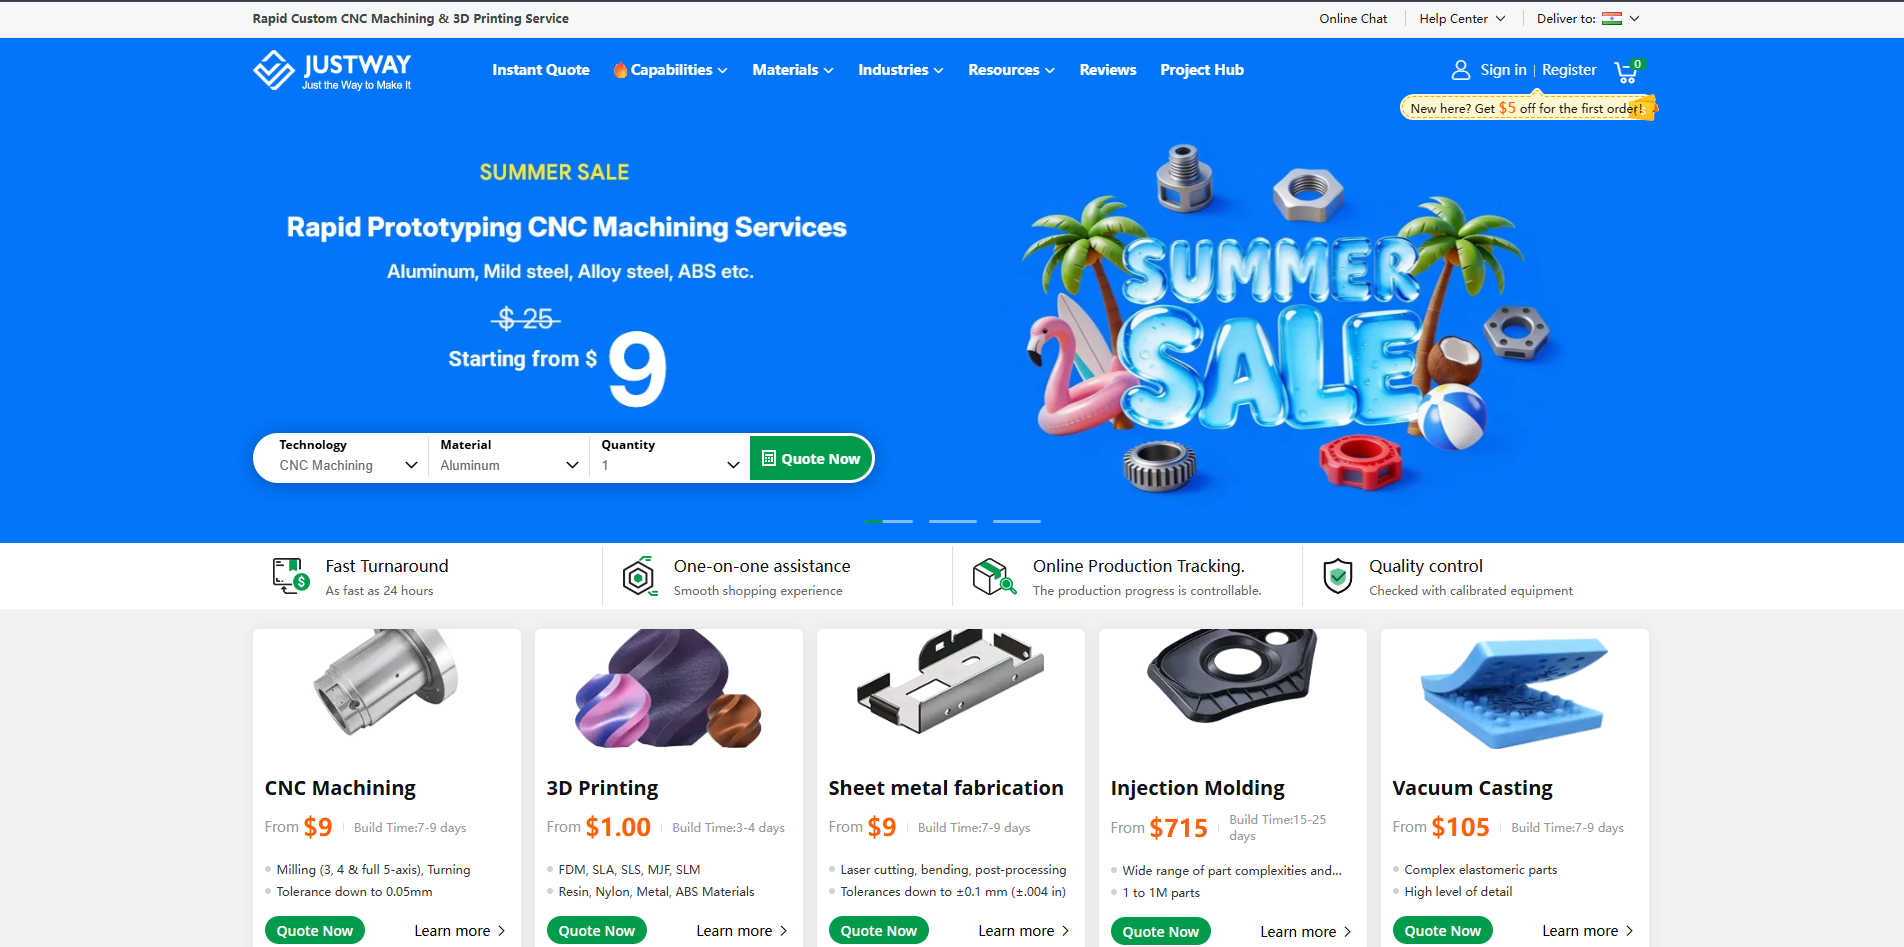
One thing I particularly like about JUSTWAY is that it isn't limited to only 3D printing. The platform is designed to support the complete product development cycle—from rapid prototyping to low-volume manufacturing and eventually mass production.
Depending on your application, the platform offers several manufacturing services, including:
- 3D Printing for rapid prototyping, concept models, custom enclosures, and functional mechanical parts.
- CNC Machining for precision components manufactured from aluminum, stainless steel, brass, titanium, copper, and engineering plastics.
- Sheet Metal Fabrication for industrial enclosures, mounting brackets, control panels, and structural assemblies.
- Injection Molding for producing large quantities of plastic parts with consistent quality.
- Silicone Vacuum Casting for producing low-volume production-quality parts without investing in expensive tooling.
According to JUSTWAY, these services support customers ranging from individual makers and engineering students to startups and industrial manufacturers working in consumer electronics, robotics, automotive, aerospace, medical, and industrial automation.
Uploading Your CAD Design
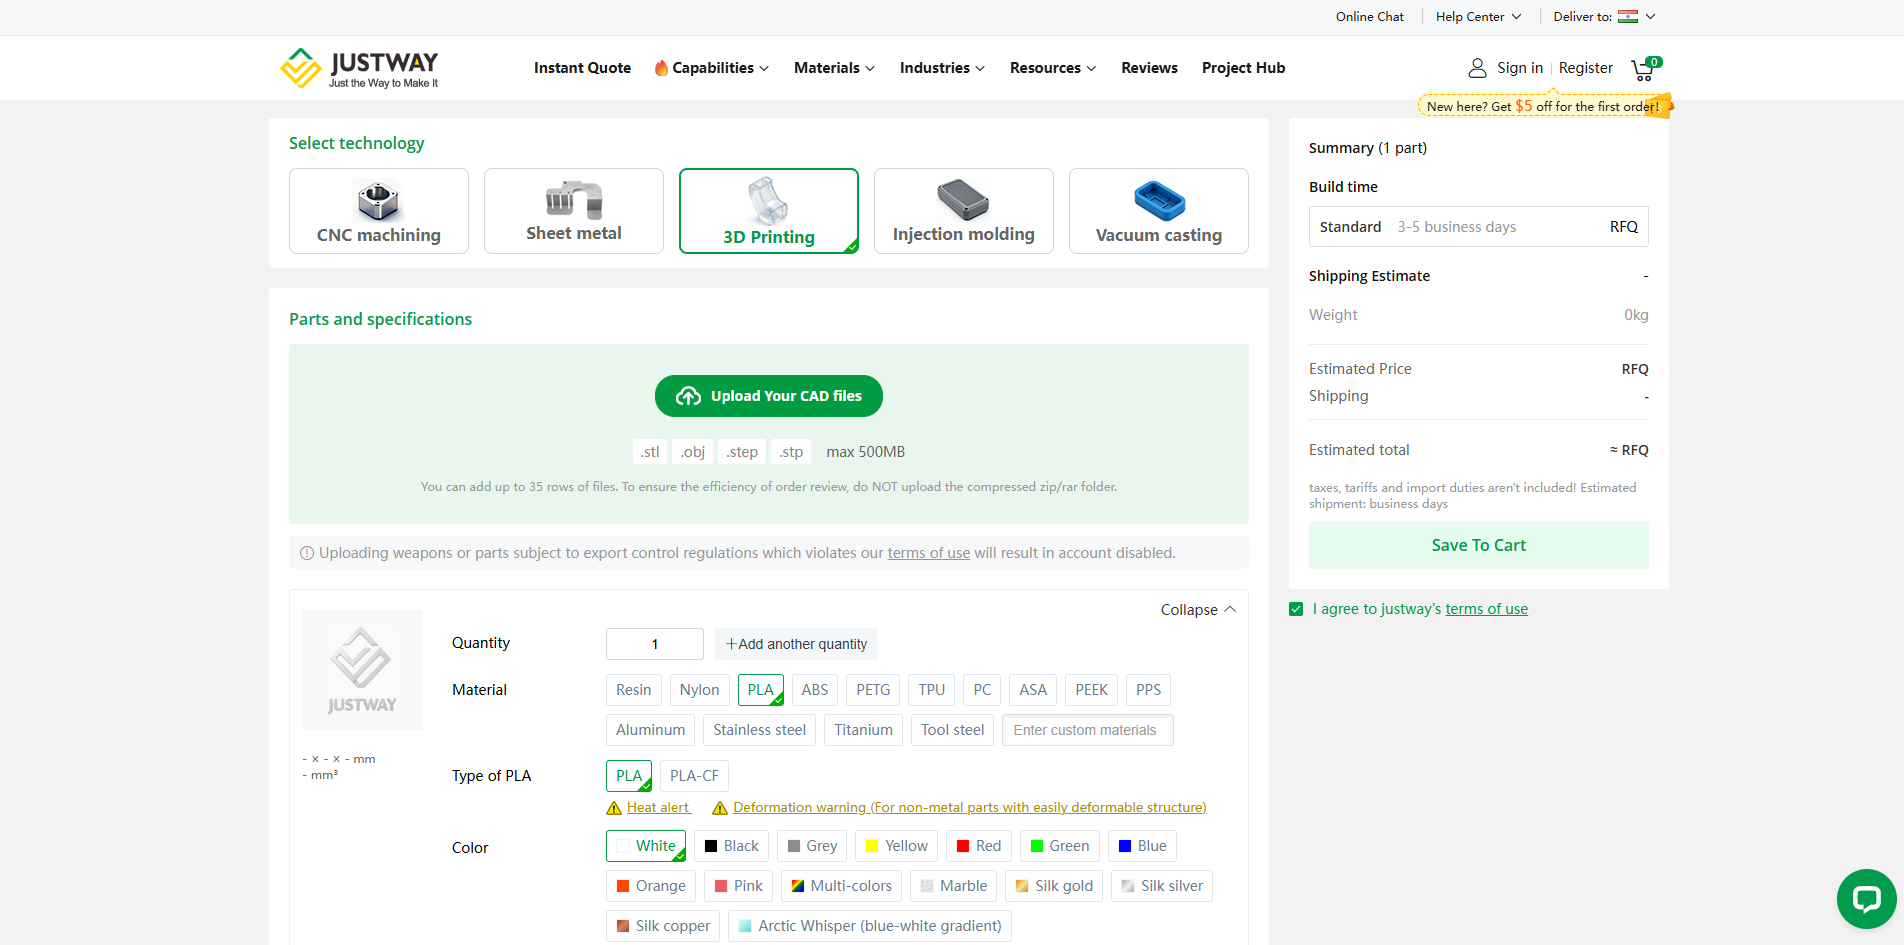
The ordering process is refreshingly simple.
Instead of exchanging multiple emails for quotations, you simply upload your CAD model directly through the online quotation system.
The platform supports several commonly used engineering formats including:
- STL
- STEP / STP
- OBJ
making it compatible with popular CAD software such as Fusion 360, SolidWorks, Autodesk Inventor, Creo, FreeCAD, and Onshape.
Once uploaded, the model is automatically prepared for quotation, allowing you to continue configuring the manufacturing parameters immediately.
For projects containing multiple components, several files can also be uploaded together, making it convenient to manufacture complete assemblies rather than individual parts.
Configuring the Manufacturing Parameters
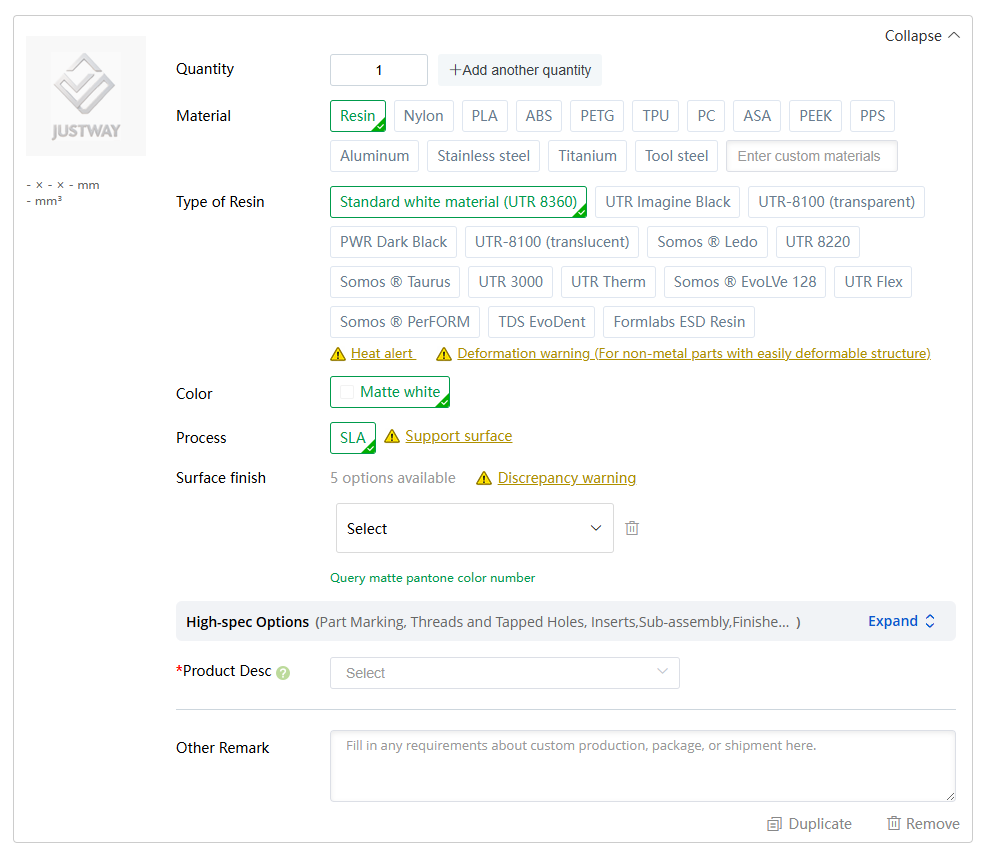
After uploading the model, the platform provides a detailed configuration panel where almost every manufacturing parameter can be customized before placing the order.
Material Selection
Depending on the manufacturing process, a wide range of materials is available.
For FDM 3D printing, commonly available materials include:
- PLA
- ABS
- PETG
- Nylon
- TPU
- Polycarbonate (PC)
- ASA
- Carbon Fiber Reinforced Materials
- Engineering-grade Thermoplastics
For CNC machining, users can choose from materials such as:
- Aluminum 6061
- Stainless Steel 304
- Brass
- Copper
- Titanium
- Engineering Plastics
Each material offers different characteristics depending on whether the priority is strength, heat resistance, flexibility, surface finish, or dimensional accuracy.
SLA Resin Printing Options
For projects requiring extremely fine details or presentation-quality models, JUSTWAY also offers SLA resin printing with multiple specialized materials.
Available resin options include:
- Standard White Resin
- Standard Black Resin
- Transparent Resin (UTR-8100)
- Translucent Resin
- High-Temperature Resin
- Flexible Resin
- Engineering Resin
- Tough Resin
- ESD-Safe Resin
- Dental and Professional Resins
These materials are designed for different applications ranging from display models and transparent covers to engineering validation, electronic fixtures, medical prototypes, and functional mechanical components.
For example:
- Transparent Resin is excellent for display windows, LED covers, and visual prototypes.
- Engineering Resins provide higher strength and dimensional stability for functional parts.
- Flexible Resins are suitable for rubber-like components.
- High-Temperature Resins perform better in applications exposed to elevated temperatures.
- ESD Resins are useful when manufacturing fixtures for handling sensitive electronic assemblies.
Having access to different resin formulations makes it much easier to choose the right balance between appearance, strength, and functionality.
Color and Finish Options
The platform also allows users to customize the appearance of printed parts.
Depending on the selected material, various colors and finishes are available, including standard colors, silk finishes, matte textures, translucent options, and specialty finishes.
This is particularly useful when manufacturing demonstration models, educational kits, exhibition prototypes, or consumer-facing products where aesthetics are just as important as functionality.
Instant Online Quotation
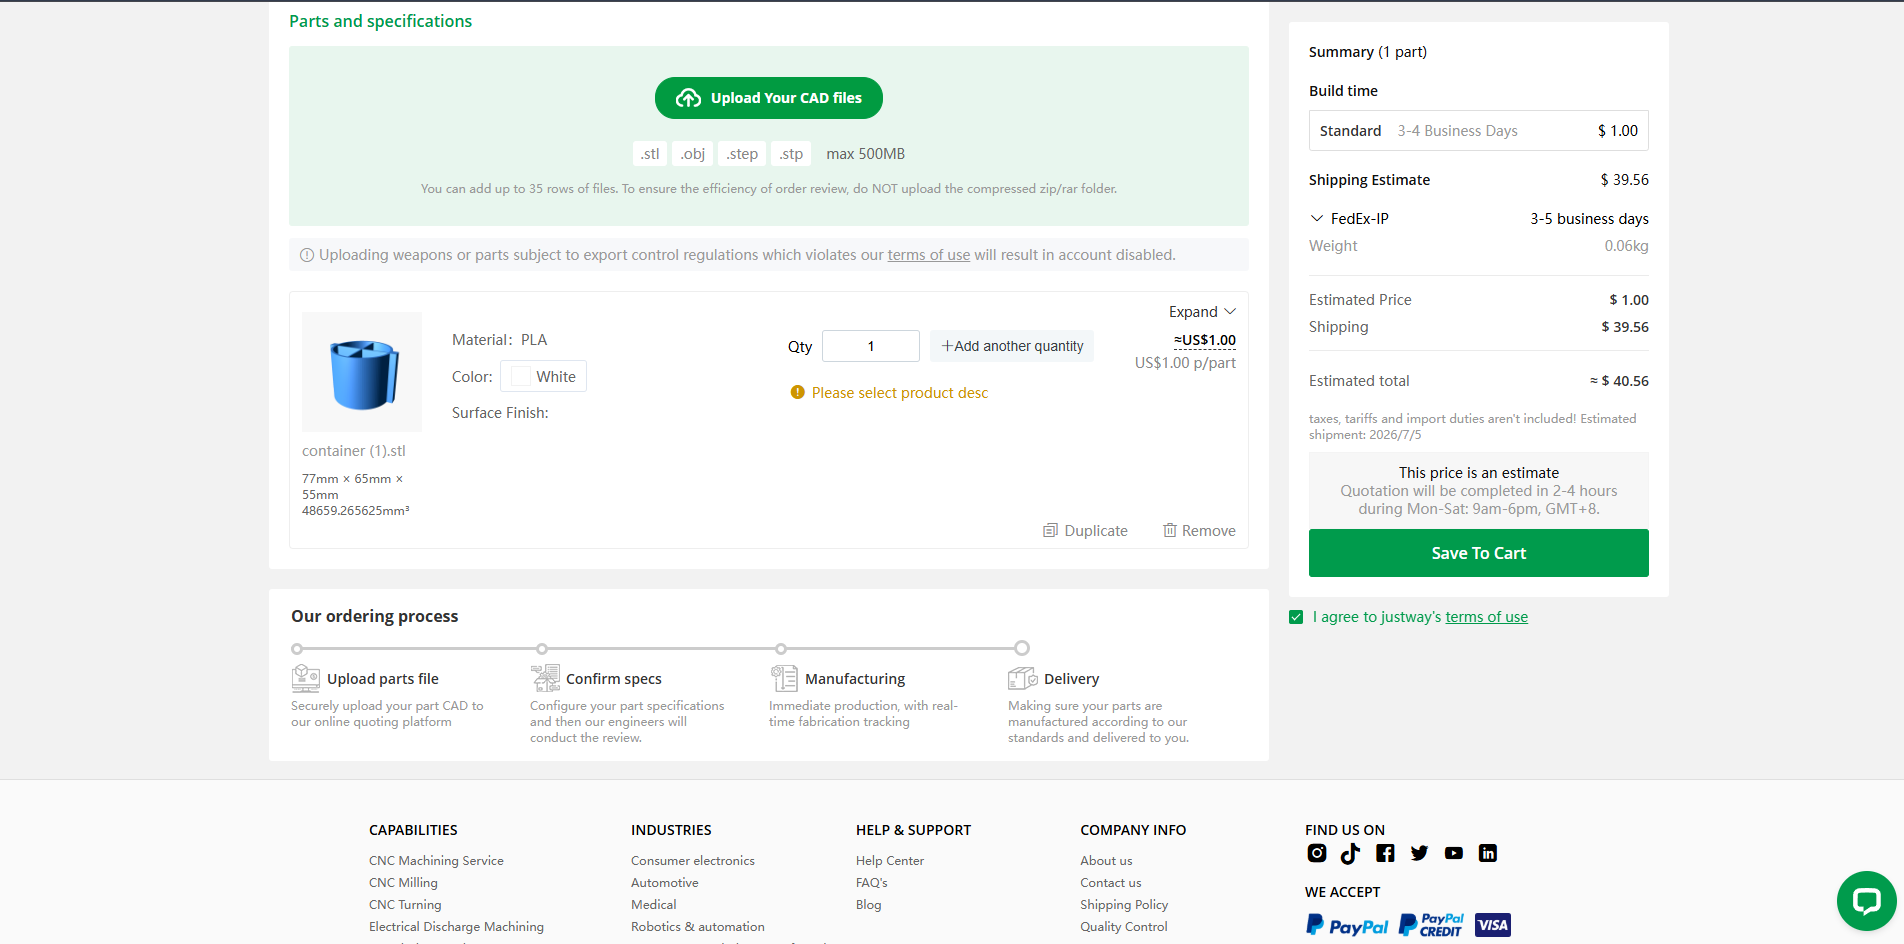
One feature I personally appreciate is the instant quotation system.
As different materials, quantities, manufacturing technologies, or finishing options are selected, the estimated manufacturing cost updates automatically.
The quotation page also provides useful information such as:
- Manufacturing Cost
- Shipping Cost
- Estimated Delivery Time
- Shipping Method
- Total Price
- Part Weight
Being able to compare multiple material options within a few minutes makes it much easier to optimize both performance and budget before placing an order.
Engineering Support Throughout the Process
Beyond manufacturing, JUSTWAY also offers several features that simplify product development.
Their platform provides instant online quotations, design review before production, order management, production tracking, and shipping updates, making it easy to monitor the entire manufacturing process from a single dashboard.
For larger production runs, additional services such as dedicated engineering support, DFM (Design for Manufacturability) review, First Article Inspection (FAI), and quality inspection reports are also available to help ensure consistent production quality.
Final Thoughts
Whether you're building a one-off hobby project, a university engineering project, an open-source hardware design, or preparing a commercial product, custom manufactured parts can significantly improve both reliability and presentation.
Having used JUSTWAY for several of my own projects, I found the platform straightforward to use—from uploading CAD files and selecting materials to receiving an instant quotation and tracking production. Its combination of rapid prototyping, precision manufacturing, and scalable production services makes it a practical solution for makers, students, startups, and professional hardware developers looking to turn their ideas into finished products.