 Co:Creation Lab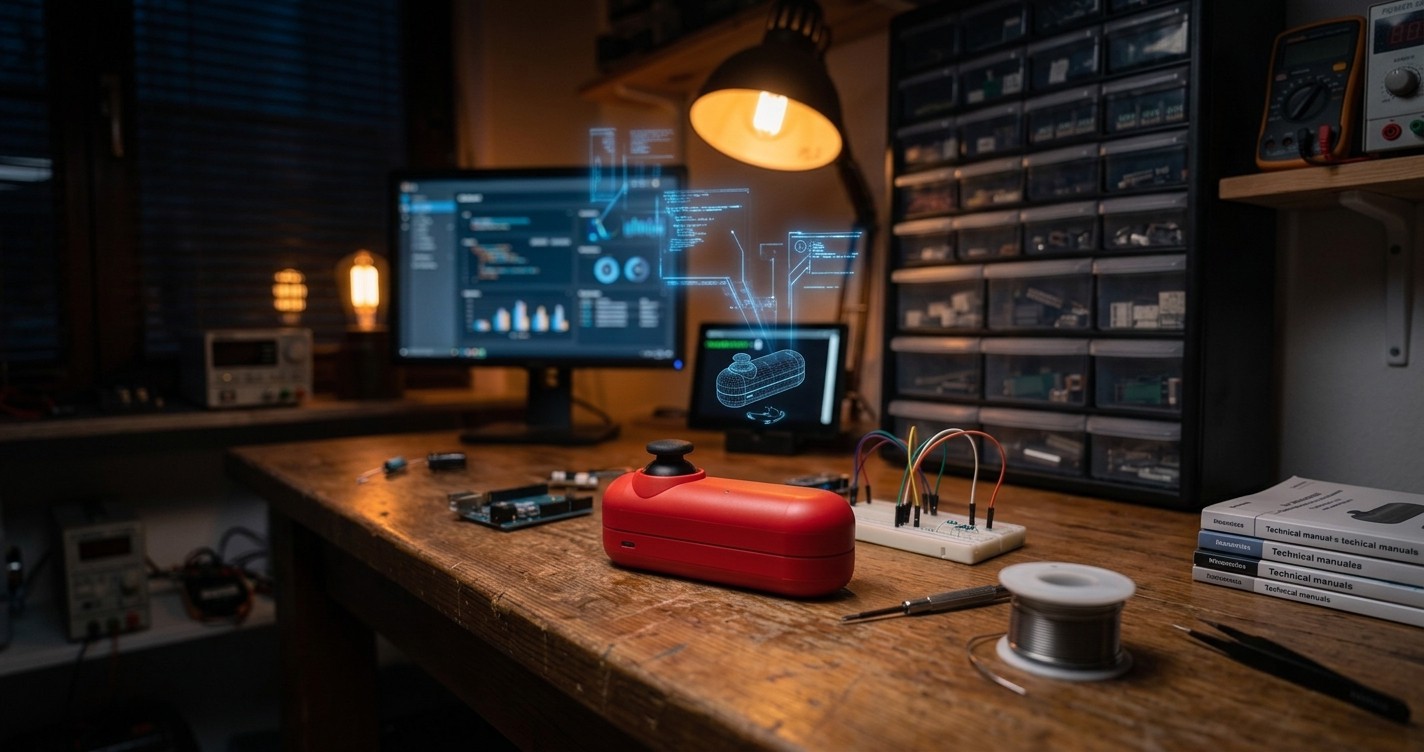
Prologue: The Plight of a 3D Mouse Refugee
"Ugh, the cable is fraying again..."
My days as a toy planner are filled with hours staring at Fusion 360. And for ten years, the partner that carried my modeling work was a 3Dconnexion SpaceMouse. Twist the knob with your left hand and the model on screen glides, spins, and zooms. Once you get used to it, modeling without one feels like working with your dominant hand tied behind your back.
But after years of abuse, the USB cable's insulation split open and the connection started cutting out. I opened a shop page to buy a replacement—and did a double take.
"Forty-three thousand yen?! And it weighs 450 grams? I can't exactly take that on a business trip!"
(Roughly $280 and about a pound, converted at the time of writing. That was the Japanese storefront price I was personally looking at—pricing where you live may differ.)
The device that used to be affordable had climbed in price, and everything on the shelf was as heavy as a paperweight. Was there no way to recreate that comfortable modeling environment in a cafe or on a train?
And the alternative—orbiting with a regular mouse by holding Shift and dragging with the middle wheel pressed down—destroys your right index finger and wrist within a few hours.
"...If it doesn't exist, I'll just build it myself."
That was where a toy planner's stubbornness, and a lot of late nights in the workshop, began.
Enter the Arduino Micro
Building your own 3D mouse sounds great, but how do you get a PC to recognize "3D mouse motion" in the first place?
My first idea was a hack: connect a Nintendo Switch Joy-Con over Bluetooth and use key-mapping software to send middle-click drags. But the Joy-Con's stick has a shallow throw, and it wasn't quite enough for the fine analog tilting that 3D modeling demands.
I wanted something more serious. So I went digging through electronics resources, and I found a small microcontroller board.
The Arduino Micro.
This little board, easy to pick up on Amazon or anywhere else, carries the ATmega32U4 chip—and with it, an almost magical property: plug it into a PC over USB and it is automatically recognized as a real keyboard and mouse (a USB HID device).
(The ATmega32U4 is essential here. A Micro or a Leonardo will work; an Arduino Nano or UNO will not.)
That meant no bridge software, no background app on the PC side. Plug it in, and it works as a 3D mouse instantly, on any machine.
Trial and Error: Discovering Thumb-Pan and Index-Finger-Orbit
I turned my parts bins upside down and wired three components together on a breadboard.
- Arduino Micro (the brain)
- A two-axis analog joystick (PS2-style KY-023) (the eyes and hands)
- A tactile switch (the trigger button)
My first prototype spec looked like this:
"Normally the joystick pans the model. While you click the joystick down, the model orbits instead."
The joystick module has a switch built into the stick itself—press straight down and it clicks. Using it would cut the part count and look elegant.
Then I actually opened Fusion 360 and tried it, and my thumb screamed at me.
Doing "hold the stick pressed down while tilting it in any direction" with the same finger puts a punishing load on the thumb—and worse, the downward force tilts the stick in directions you never intended, so the view drifts on its own. For a 3D modeler, that's simply unusable.
So I changed the spec, and changed it substantially.
I dropped the joystick's push switch entirely and placed a single independent tactile switch. Where I put it: just below the stick and slightly to the rear—on the underside of the case.
There's a reason I didn't put it beside the stick. With your thumb resting on the joystick, the place your index finger naturally reaches isn't the side of the housing—it's underneath. Move the switch there and you activate it by squeezing, like pulling a trigger. No stray force ever reaches the stick.
[Control scheme, wired model v1.0 - Fusion 360 baseline] - Left index finger -> hold the tactile switch - Left thumb -> tilt the joystick (pan / orbit)
By default, tilting the joystick pans the model across the screen. And for as long as your left index finger squeezes the switch on the underside, the firmware sends "Shift + middle click" to the PC, and the model orbits smoothly in response to the thumb's tilt.
One deliberate omission: this device does not move the cursor. I specialized it for the same two-handed style as the SpaceMouse itself—regular mouse in the right hand, view control in the left. Also, in Blender the two roles are swapped (tilt alone = orbit, hold-and-tilt = pan) because the middle mouse button means the opposite thing in each application. Swapping the modifier keys in Blender's keymap brings it back in line with Fusion 360.
"...This is it!"
The model spins smoothly across the screen without my hand changing shape, without any strain on my thumb. And when I finally put it on a scale: 48 grams. Against $280 and 450 g, this was about $10 in parts and 48 g. A "mobile 3D mouse" that you can toss into the corner of a bag and take anywhere had just been born.
And Then I Summoned a Very Loud AI Agent Team
Several months passed after the v1.0 model was finished. I kept using my homemade device with real affection—and then, as toy planners do, I got greedy.
"I want this to be Bluetooth. And I want a dial for zoom, plus two or three more shortcut buttons."
But implementing wireless, encoder handling, and battery management alone, from scratch, is well beyond hobby-level electronics.
So I summoned a team of AI agents into my own development studio.
What showed up was a mixed crew: Fable 5 (the Orchestrator), an extremely precise commander living in a browser-based Claude Project, and the Gemini (Worker) agents, who write code at terrifying speed inside my local editor, Antigravity.
"All right, everyone—design me a next-generation 3D mouse. A serious upgrade over this first model!"
What my request kicked off can only be described as an aerial dogfight of a discussion.
"ESP32-S3 strapping pins GPIO0, 3, and 46 interfere at boot—they are forbidden!" (Zero / Architect AI)
"I'll abstract the automatic fallback between Bluetooth (BLE-HID) and wired (USB-HID) into a switching class!" (Gemini, on the ground)
"Symmetrical layout rejected—it compromises MODE-combo accuracy. Decision: asymmetric left-hand-only ergonomics, thumb slope at 30 degrees!" (Fable 5 / Orchestrator AI)
"W-wait a second! You're designing so fast that I'm getting left behind here...!"
Next time: the AI team's merciless pin assignments, and an all-nighter of coding from the agents on the ground. The co-creation arc continues.
About the [Wired 3D Mouse v1.0] DIY Design Package
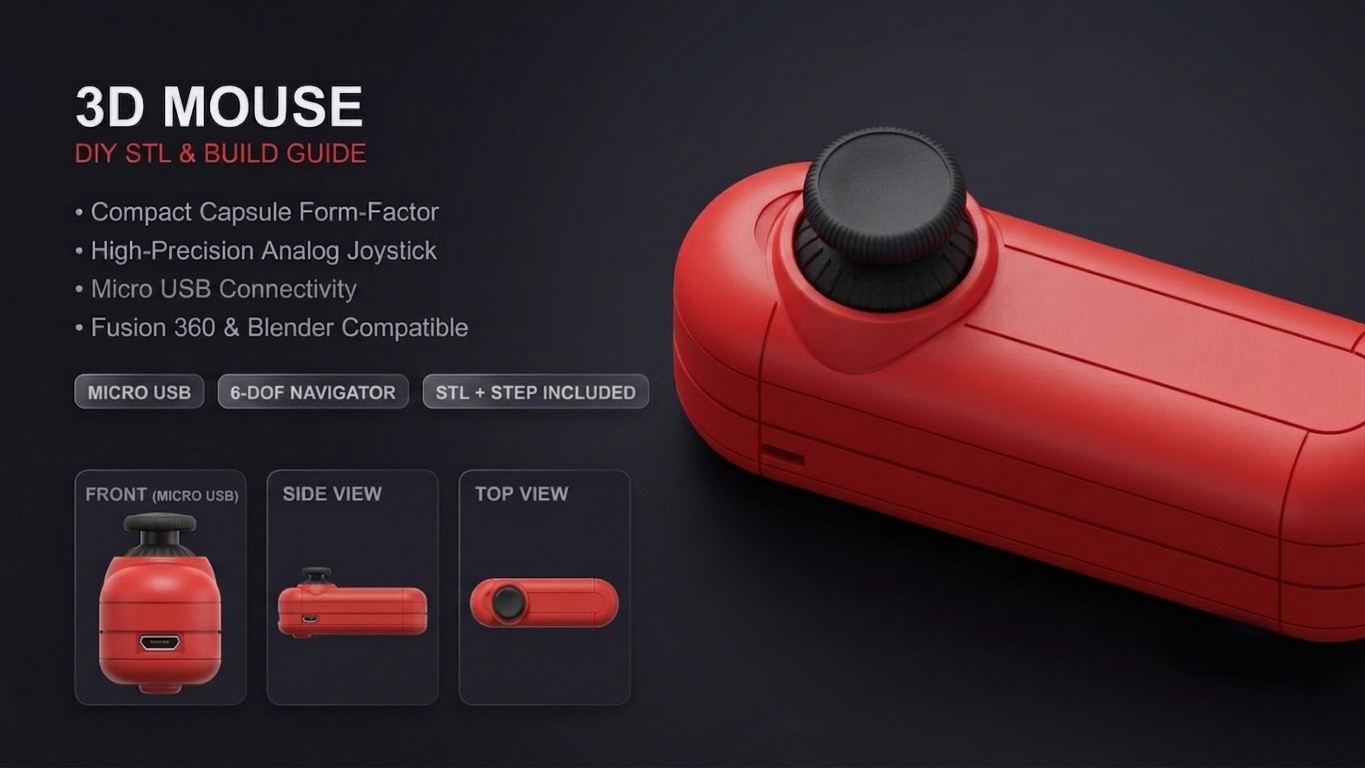
For anyone who wants to build the wired v1.0 introduced in this article, I've put together a complete DIY package. For $9 you get every piece of information and data you need to escape SpaceMouse refugee status.
To be clear about what you're buying: the $9 is the design data, firmware, and documentation. The electronic parts and the 3D printing are on you, and those run about $10 more.
What's in the package (17 files):
- Wiring diagram and pinout: Clear visual wiring instructions for the Arduino Micro and the PS2-style joystick (KY-023), aimed at people who have never done this before.
- Arduino source code: Complete, ready-to-flash firmware with debounce handling and a tuned dead zone (included as the
cad_controller_firmware/folder). - Build manual: Recommended part numbers (BOM, including M2 self-tapping screws) through Arduino IDE flashing and setup, in both .md and .pdf.
- 3D-printable CAD data: Enclosure, button, and switch base ready to print. STEP and STL, four parts each.
Everything was printed, wired, and verified on real hardware in Fusion 360 before release.
Get the DIY design package ($9) on Gumroad
The enclosure STLs are free
If you'd rather print the case and work out the electronics yourself, the four enclosure STLs are free on Printables, along with the parts list, print settings and assembly notes:
https://www.printables.com/model/1801421-pocket-3d-mouse-48-g-cad-viewport-controller-for-f
Two things on that page will save you an hour. Wire the tactile switch across two diagonal legs — using two legs on the same side leaves it permanently on, and it is the single most common build mistake. And ream the screw holes back to 1.6 mm before assembly, because printed holes shrink.
Licensed CC-BY-NC-SA. Print it, build it, remix it.
Discussions
Become a Hackaday.io Member
Create an account to leave a comment. Already have an account? Log In.