Close
0%
0%

HC-01 Smart Humidor Controller

ESP32 + round GC9A01 TFT humidor controller: live humidity/temp readings, fan control, custom PCB, 3D-printed enclosure. Built at BYITL.

Similar projects worth following
0 followers
The HC-01 keeps cigars at the right humidity automatically. An ESP32 reads temperature and relative humidity, shows live gauge-style readings on a 1.28" round GC9A01 TFT (240x240), and drives a 5 V fan through a MOSFET for air circulation — with closed-loop humidity control as the next milestone.

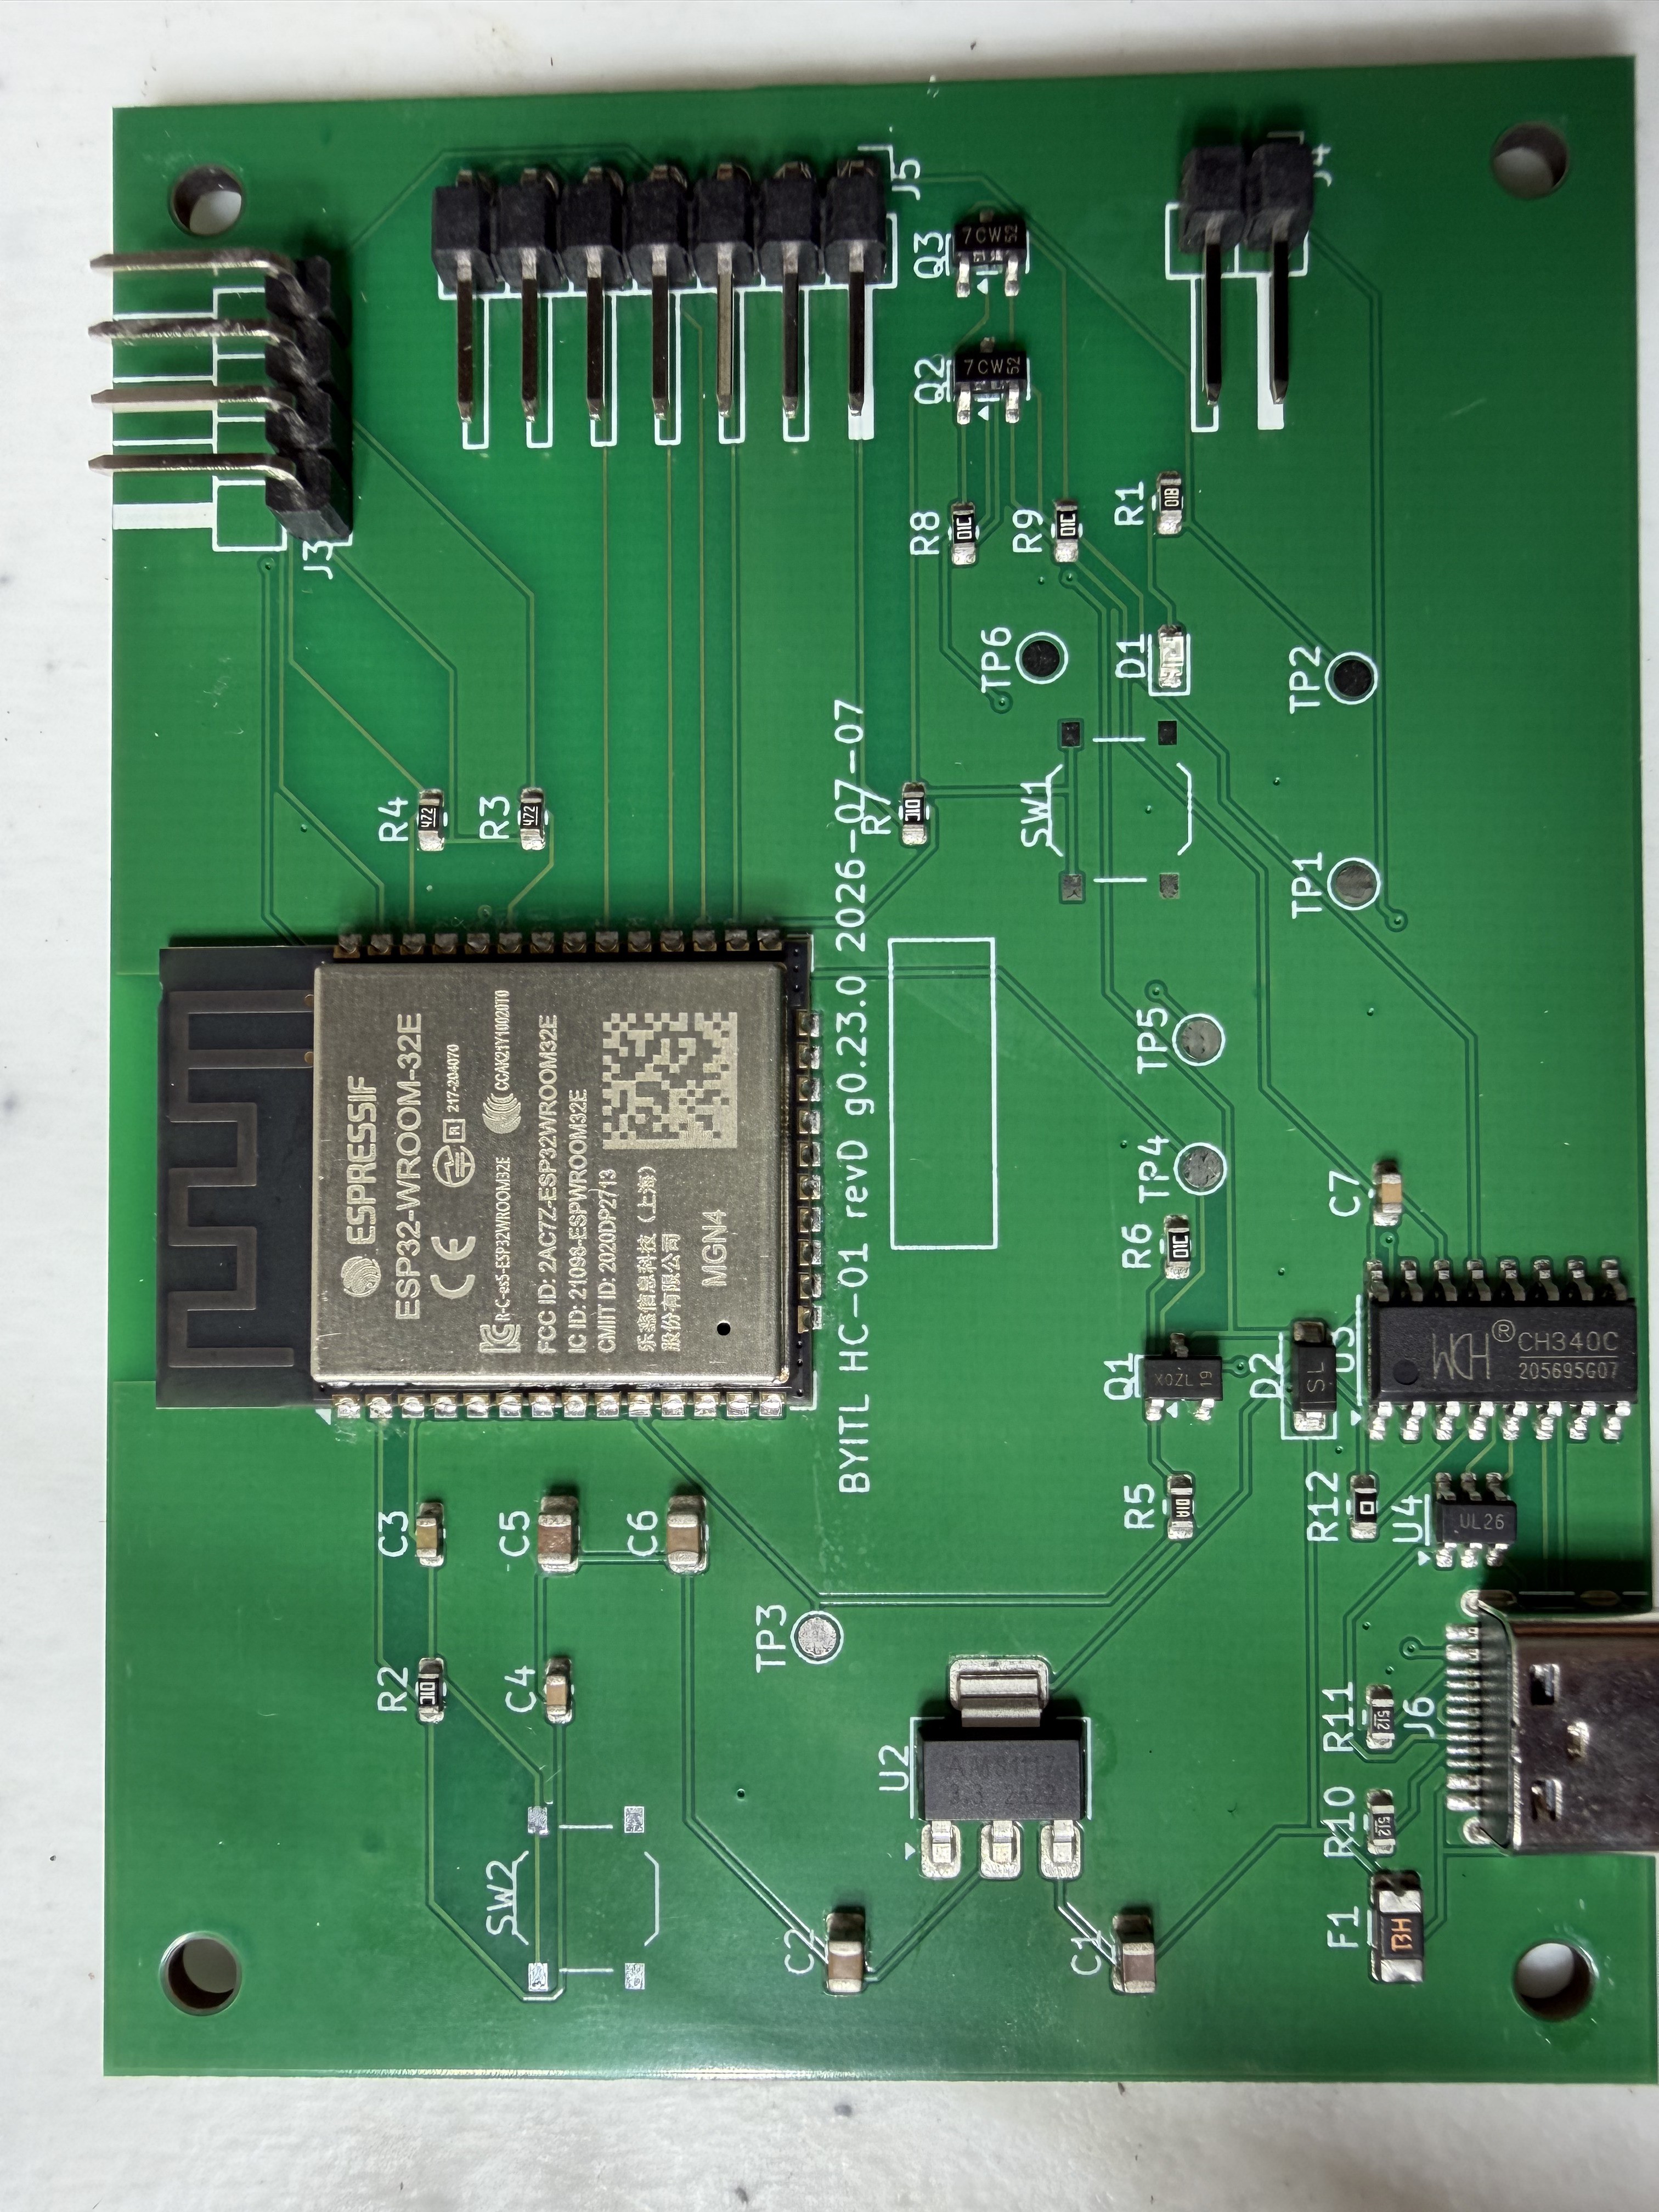
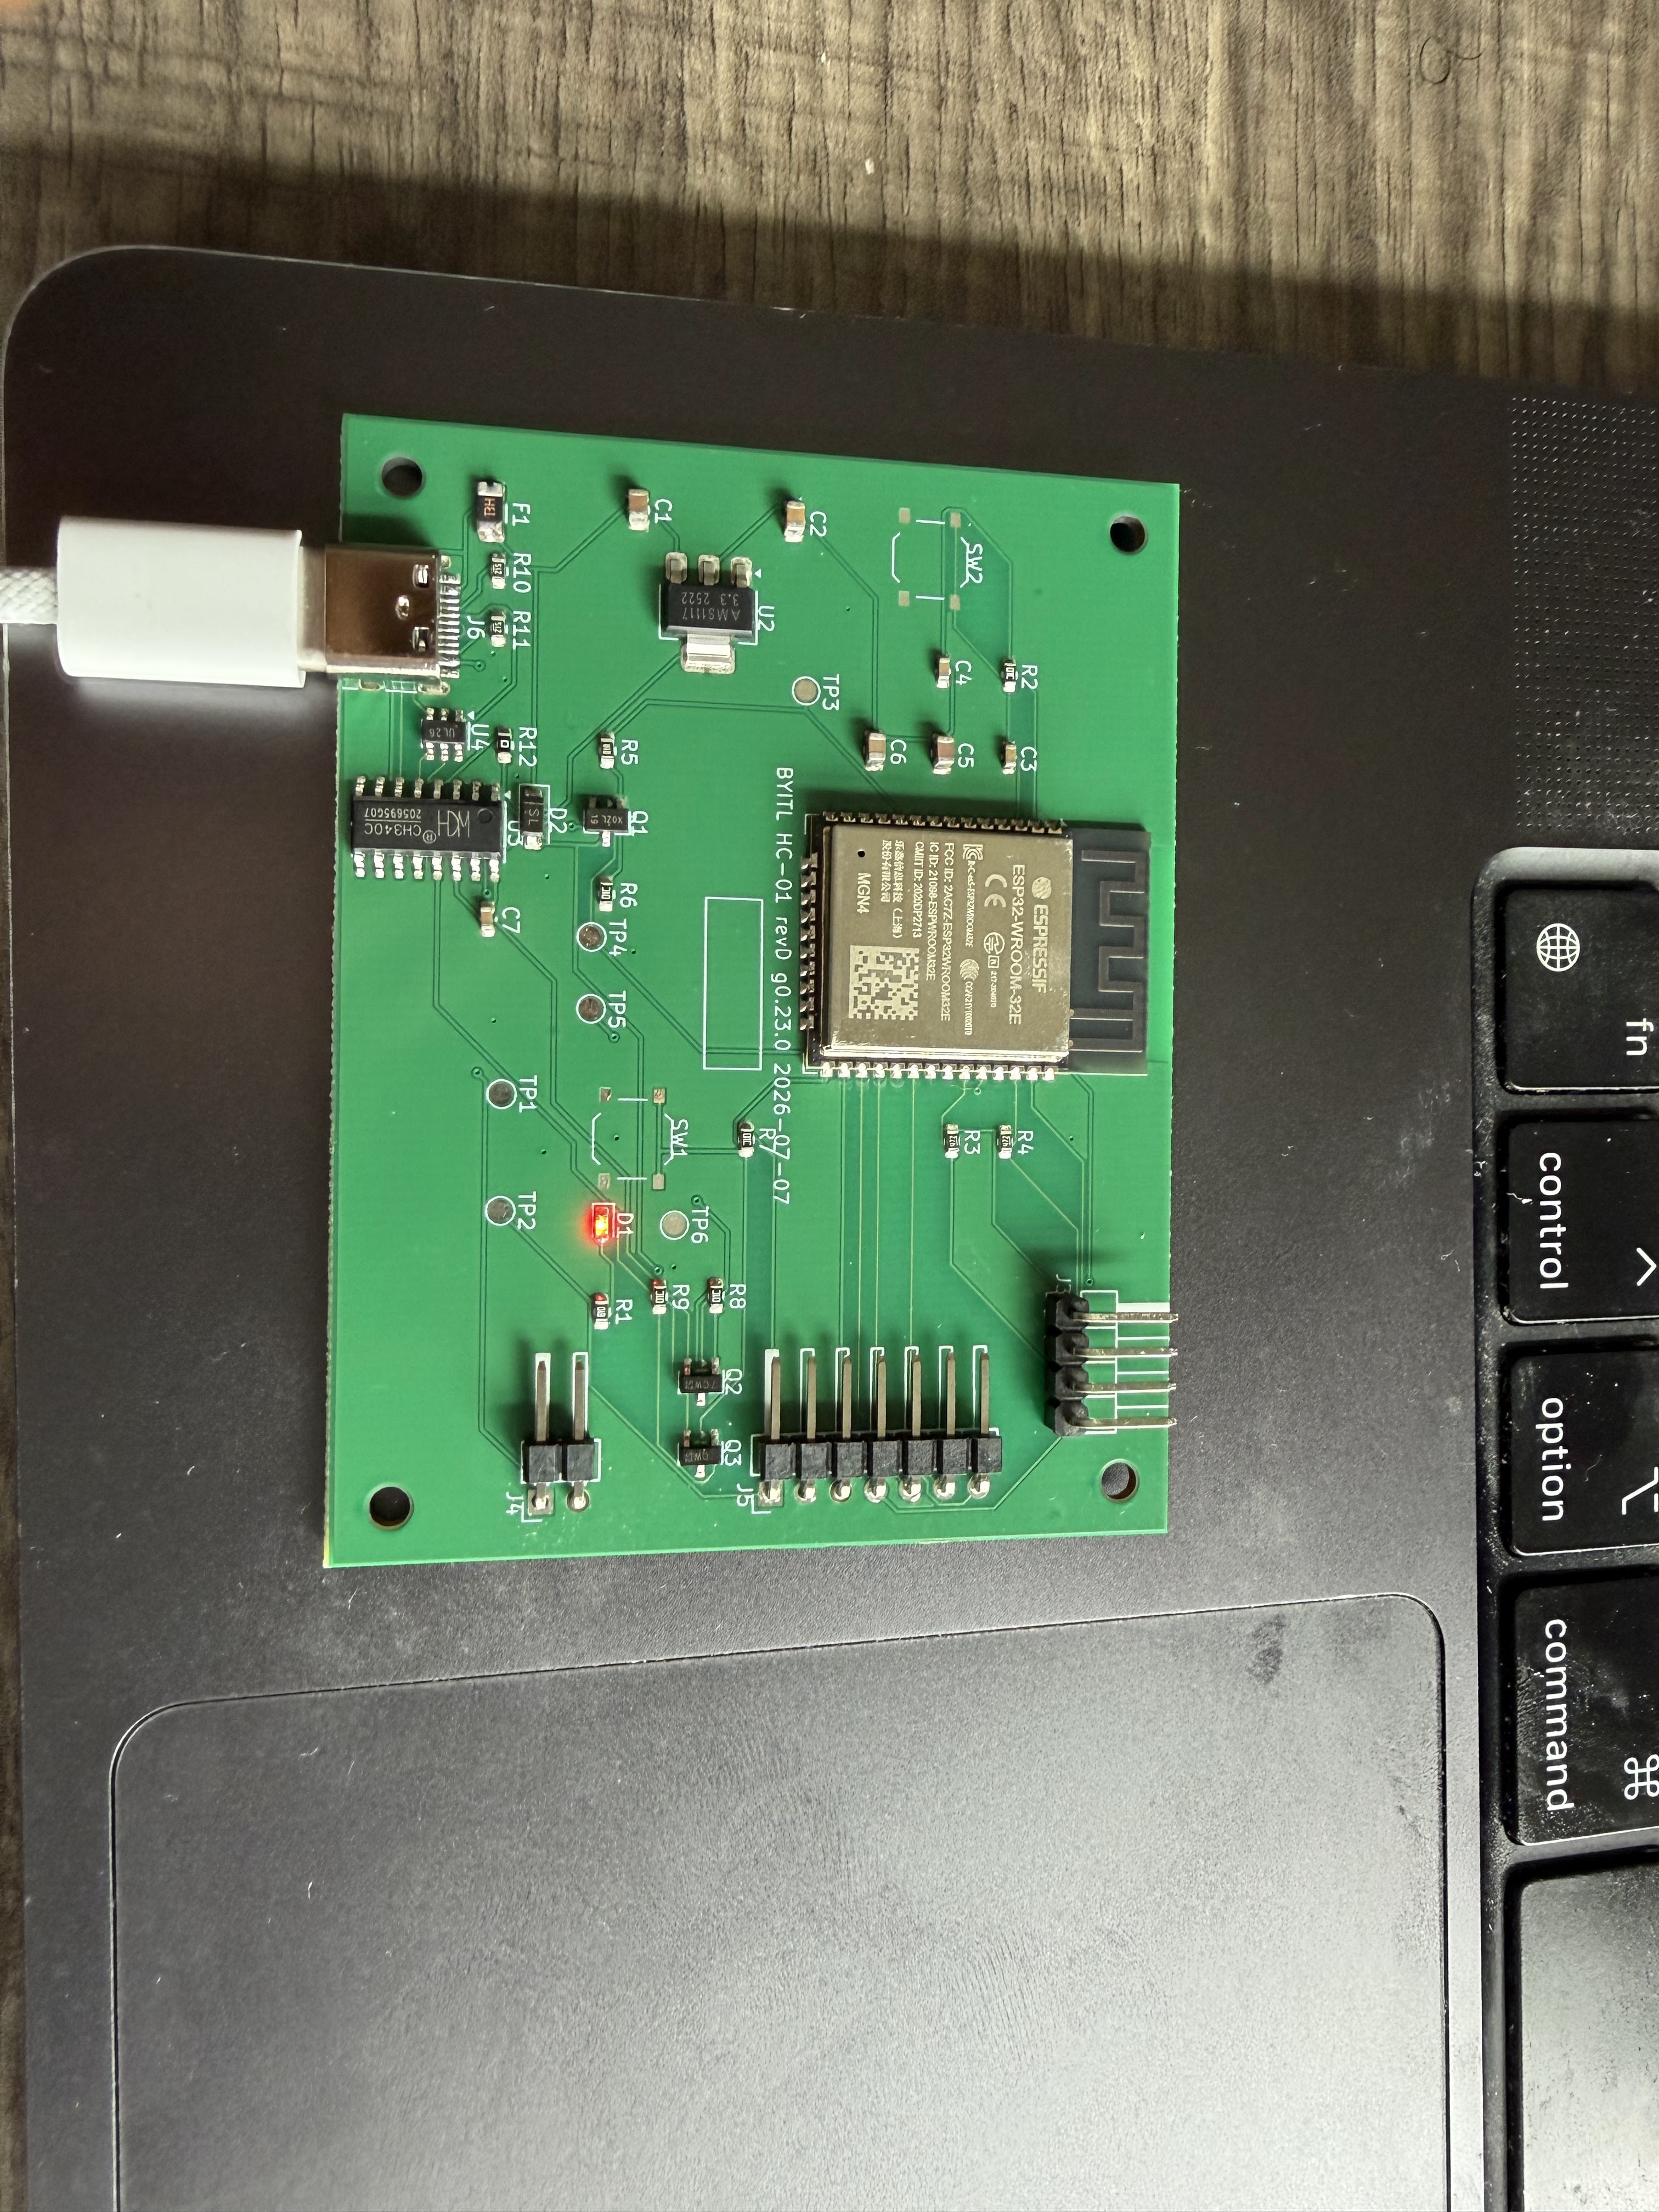
The build started as a jumper-wire prototype on a folding table and has grown into a custom PCB (HC-01 revD: ESP32-WROOM-32E, USB-C via CH340C, dedicated headers for display, sensor, and fan) housed in a parametric 3D-printed enclosure with a snap-fit bezel designed from scratch for the round display. Everything — enclosure, electronics, firmware — is designed and built in-house at BYITL, a company of one. Follow the build logs for the full arc: bezel fit-up, wiring, first light, live readings, PCB bring-up, and the forensic story of the three boards that arrived dead.

How it works

The HC-01 pairs an ESP32 with a temperature/relative-humidity sensor and shows live readings on a 1.28" round GC9A01 TFT (240x240). A MOSFET module drives a 5 V DC fan for air circulation, and closed-loop humidity control is the next firmware milestone. Firmware is developed in the Arduino IDE.

Why a round display

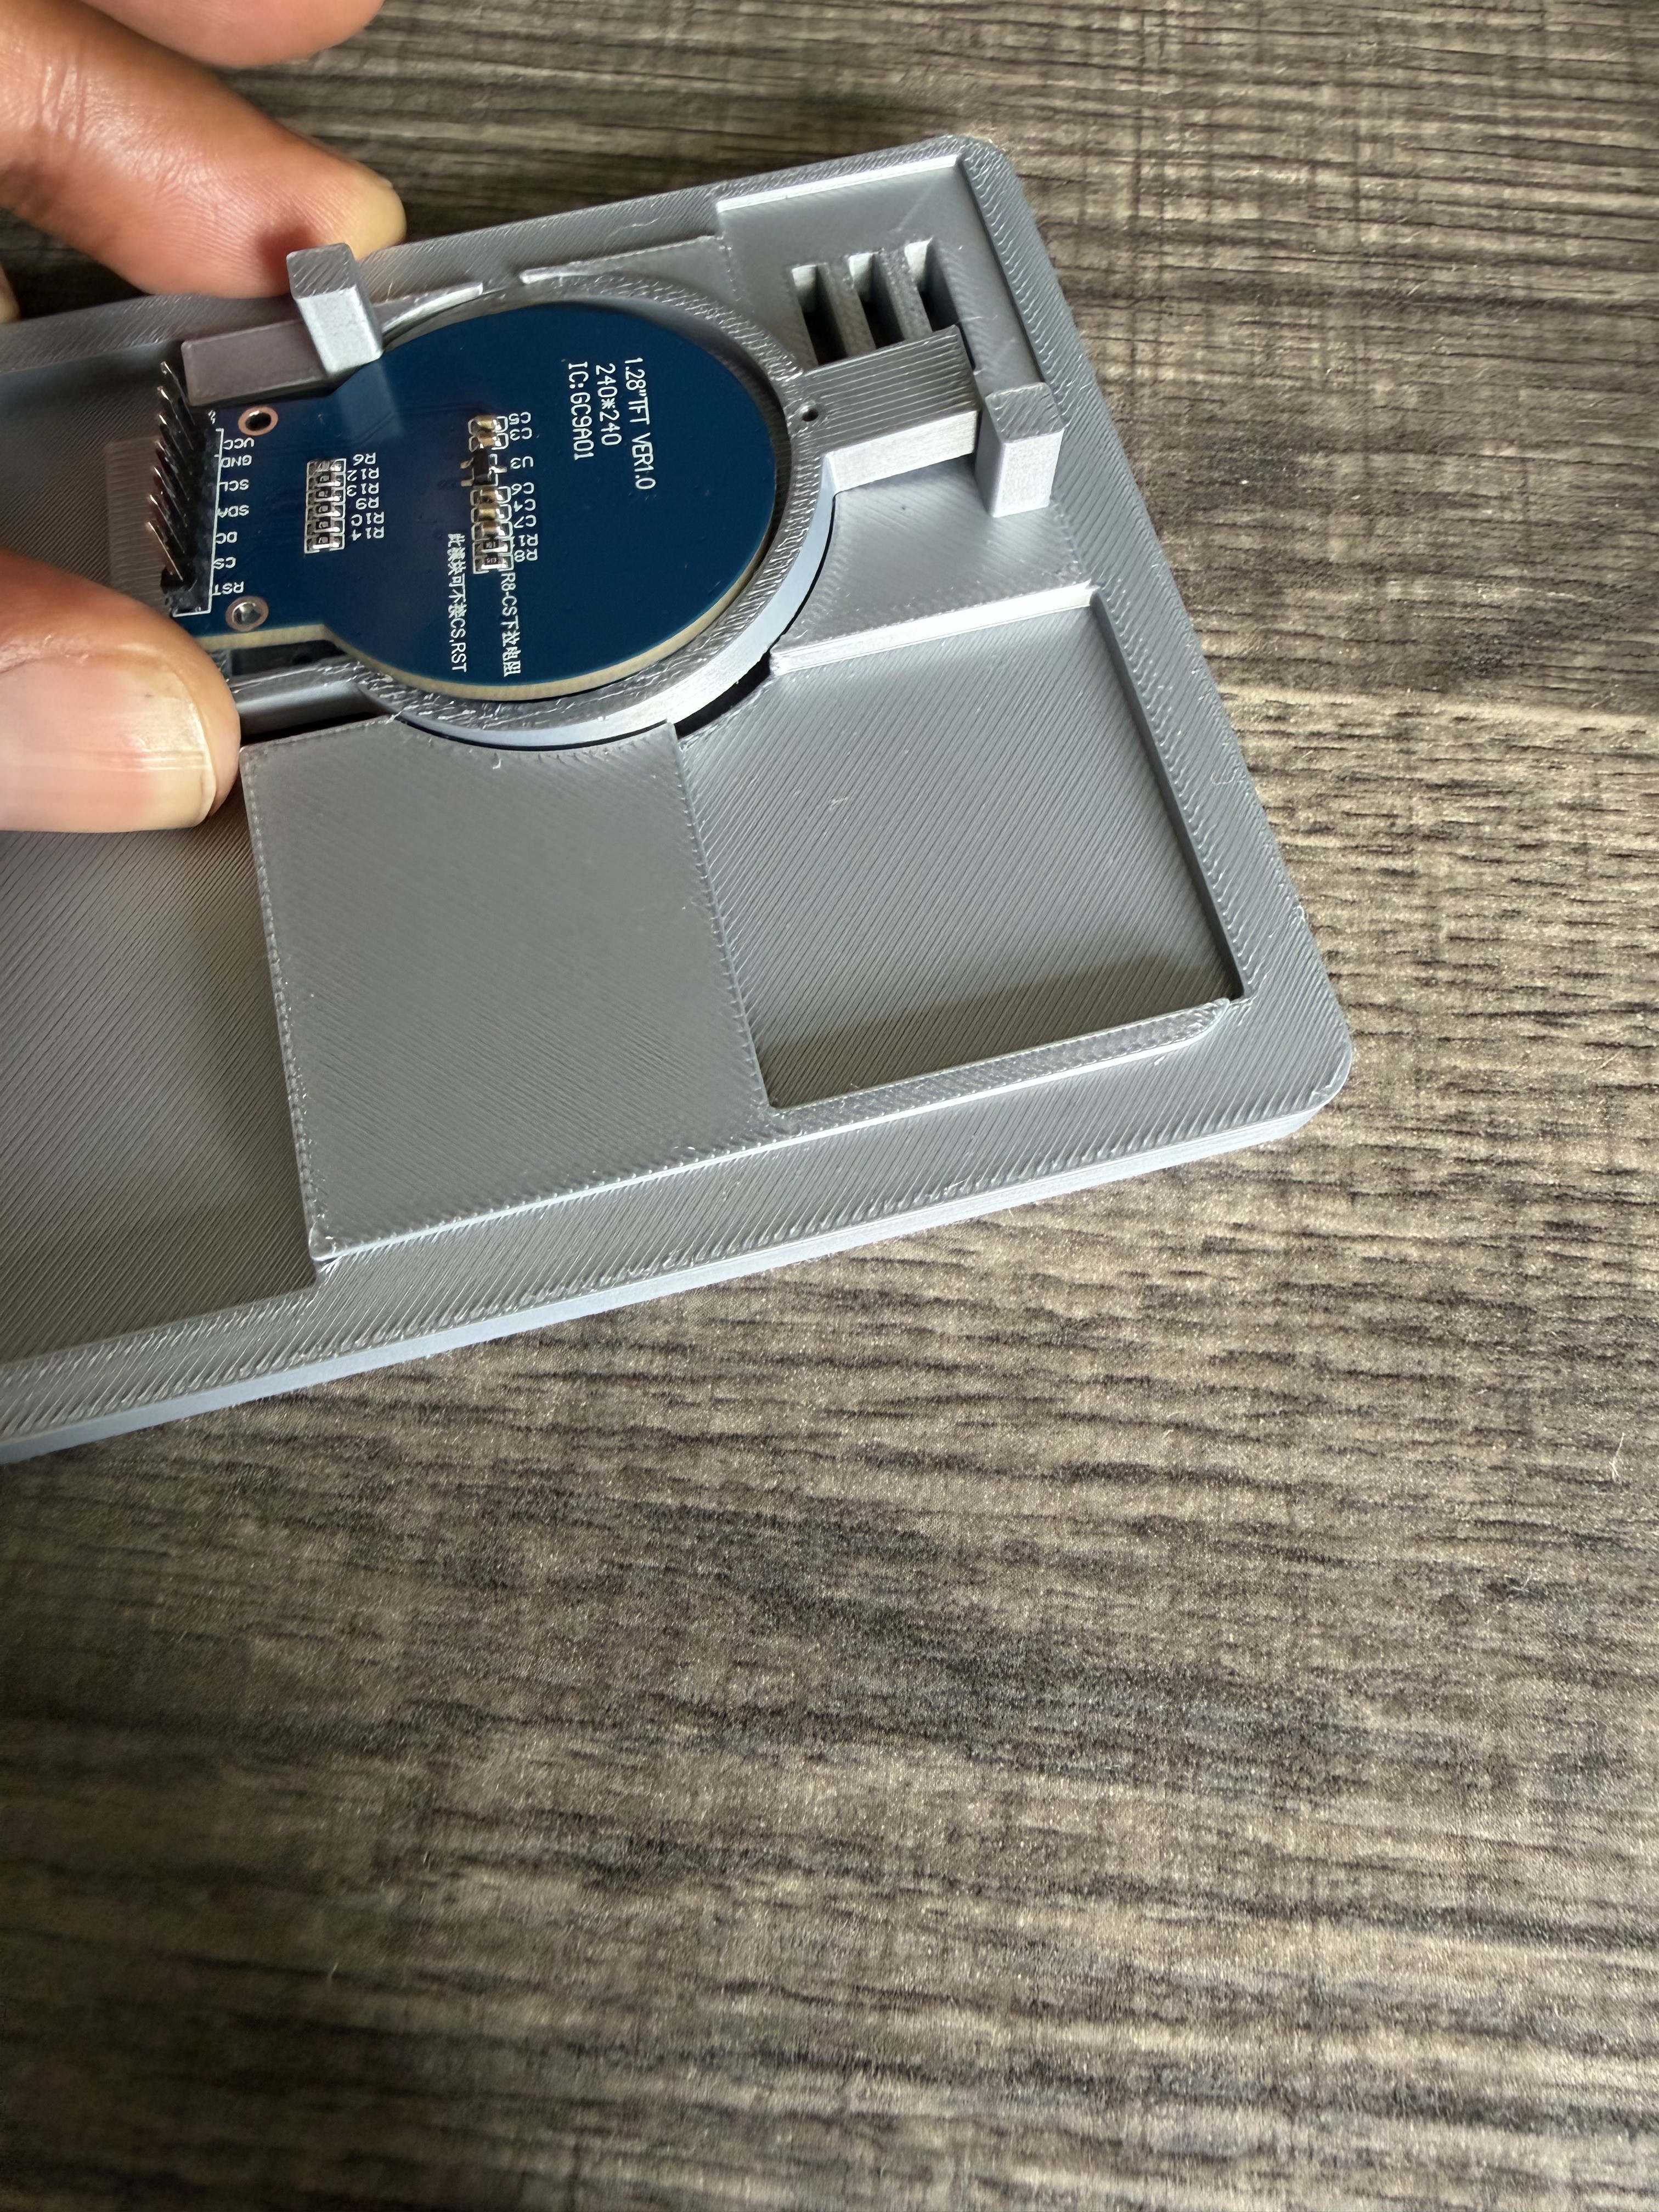
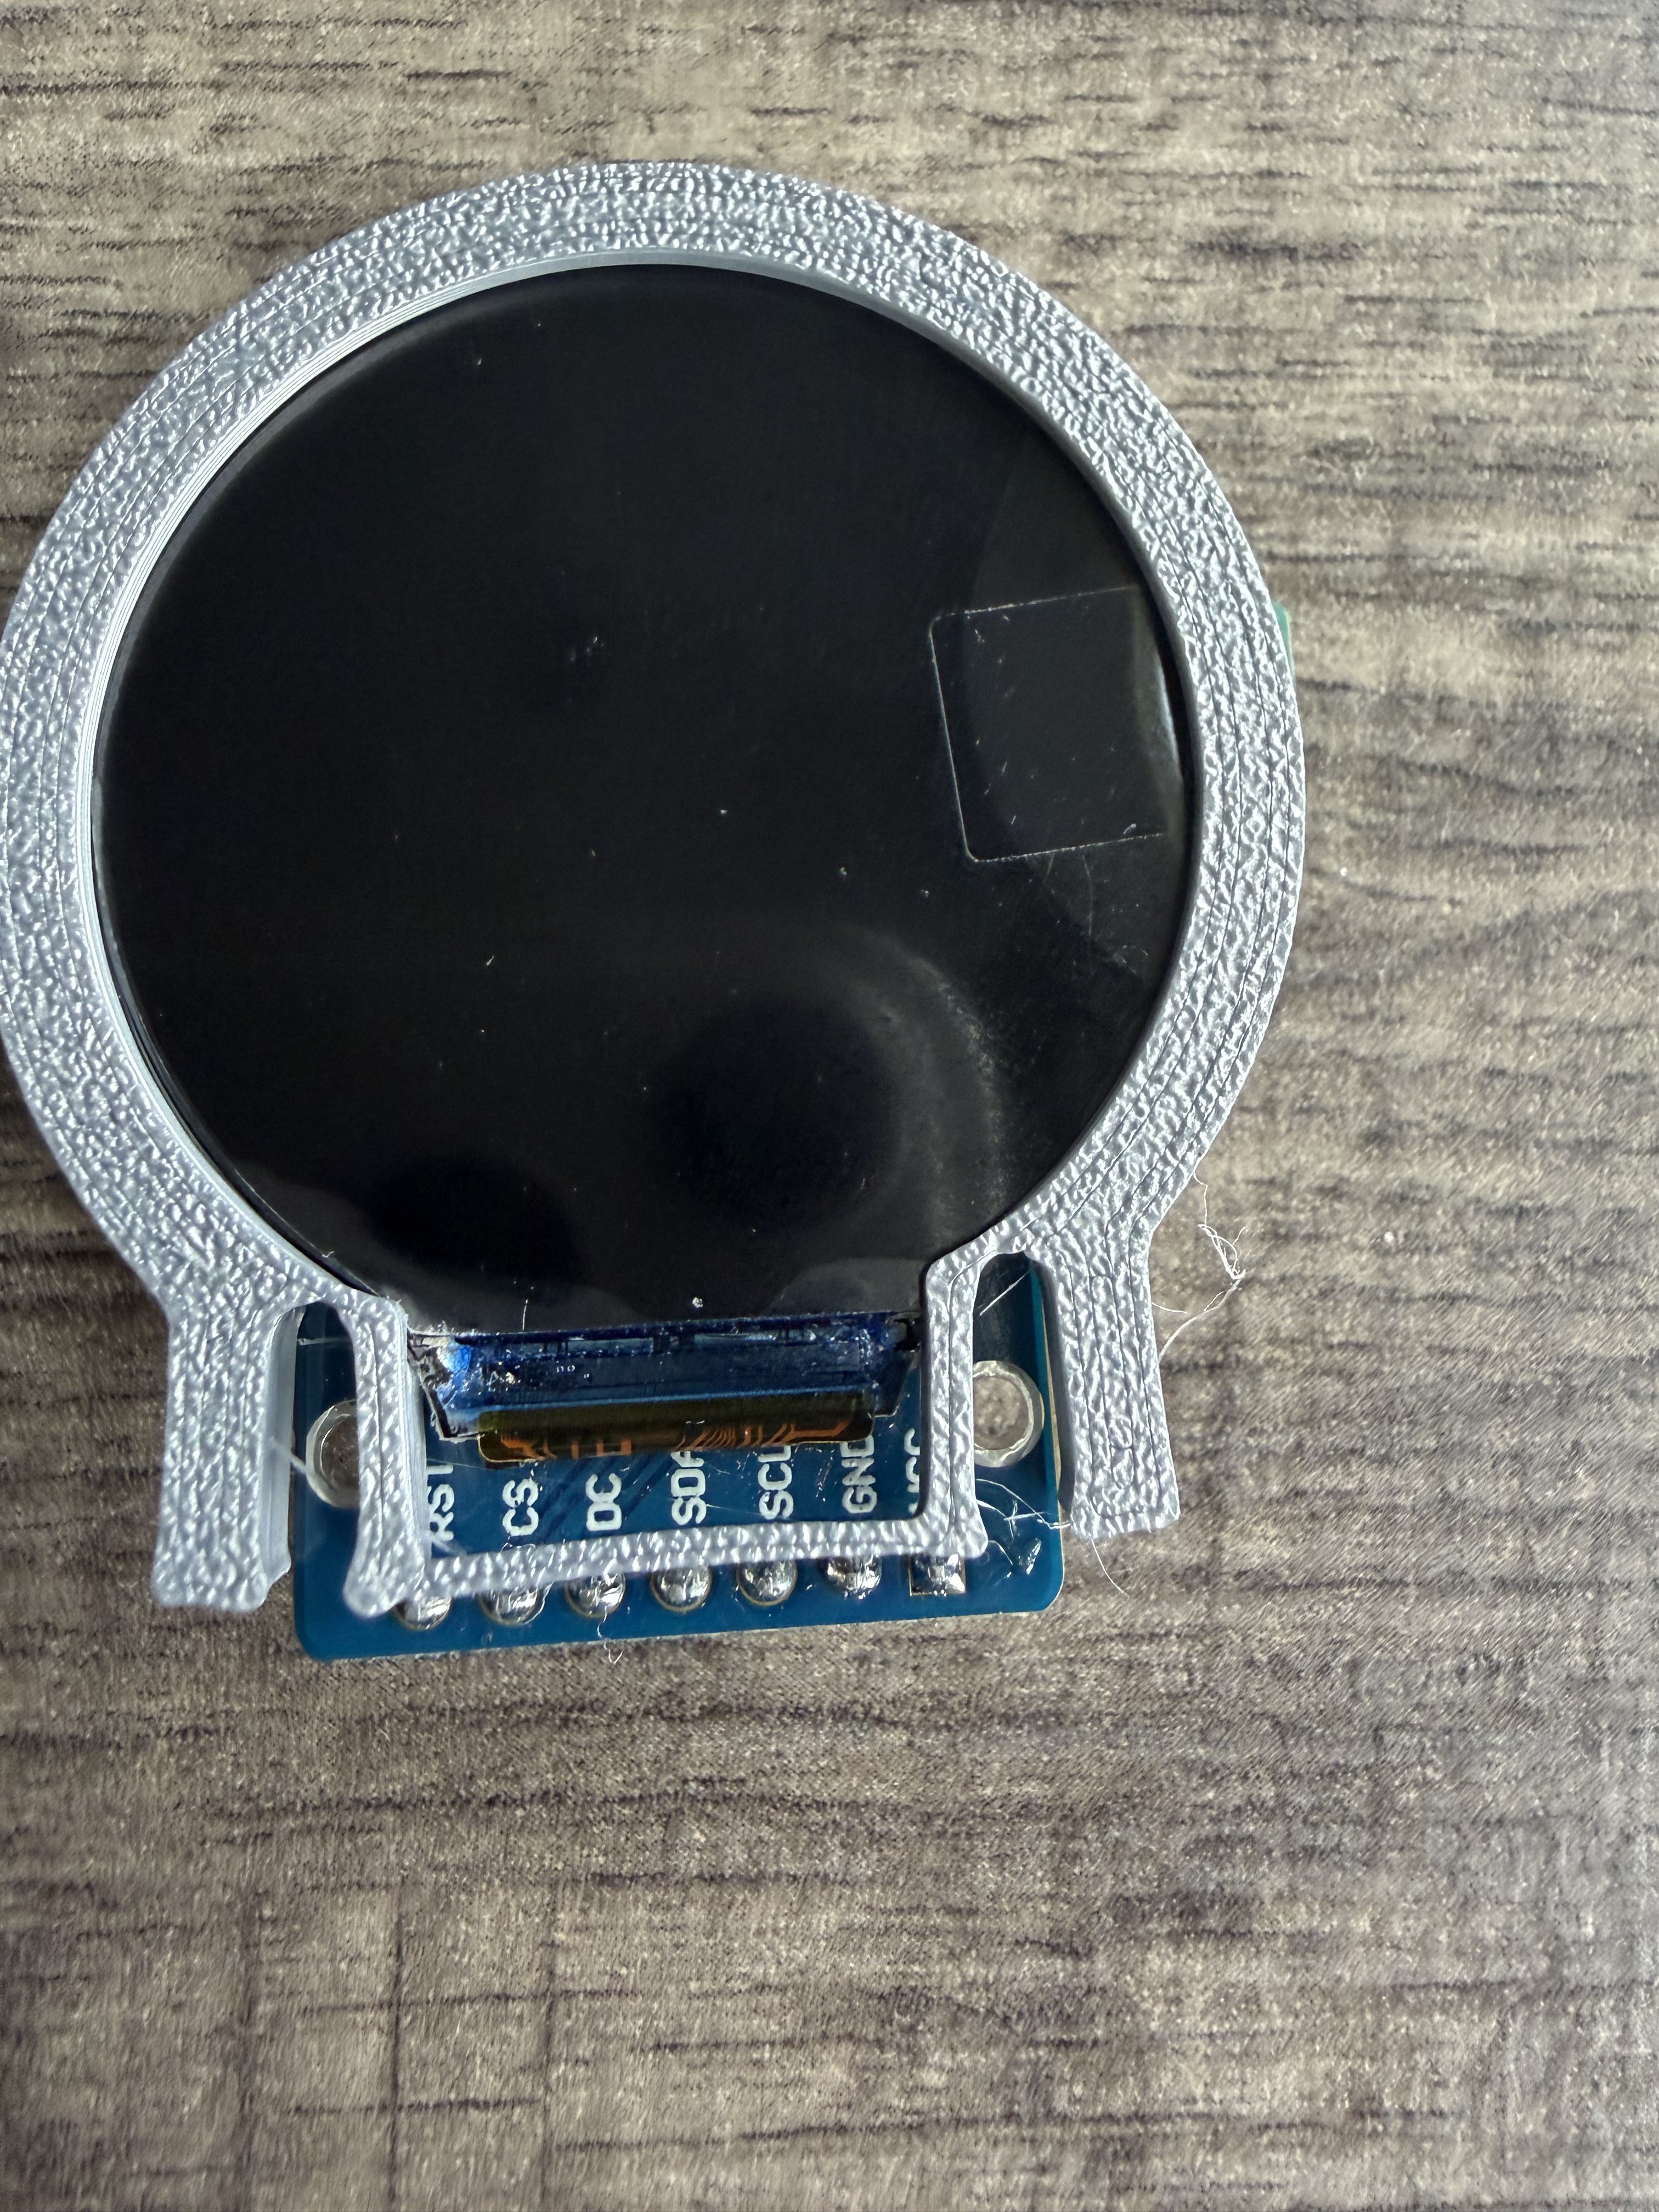
I wanted a gauge — something you can read across the room like the analog hygrometer it replaces. No commercial mount existed for the GC9A01 module, so I modeled a snap-fit bezel and enclosure from scratch and went through several 3D-printed test fits to get the display seated right.

From jumper wires to a custom board

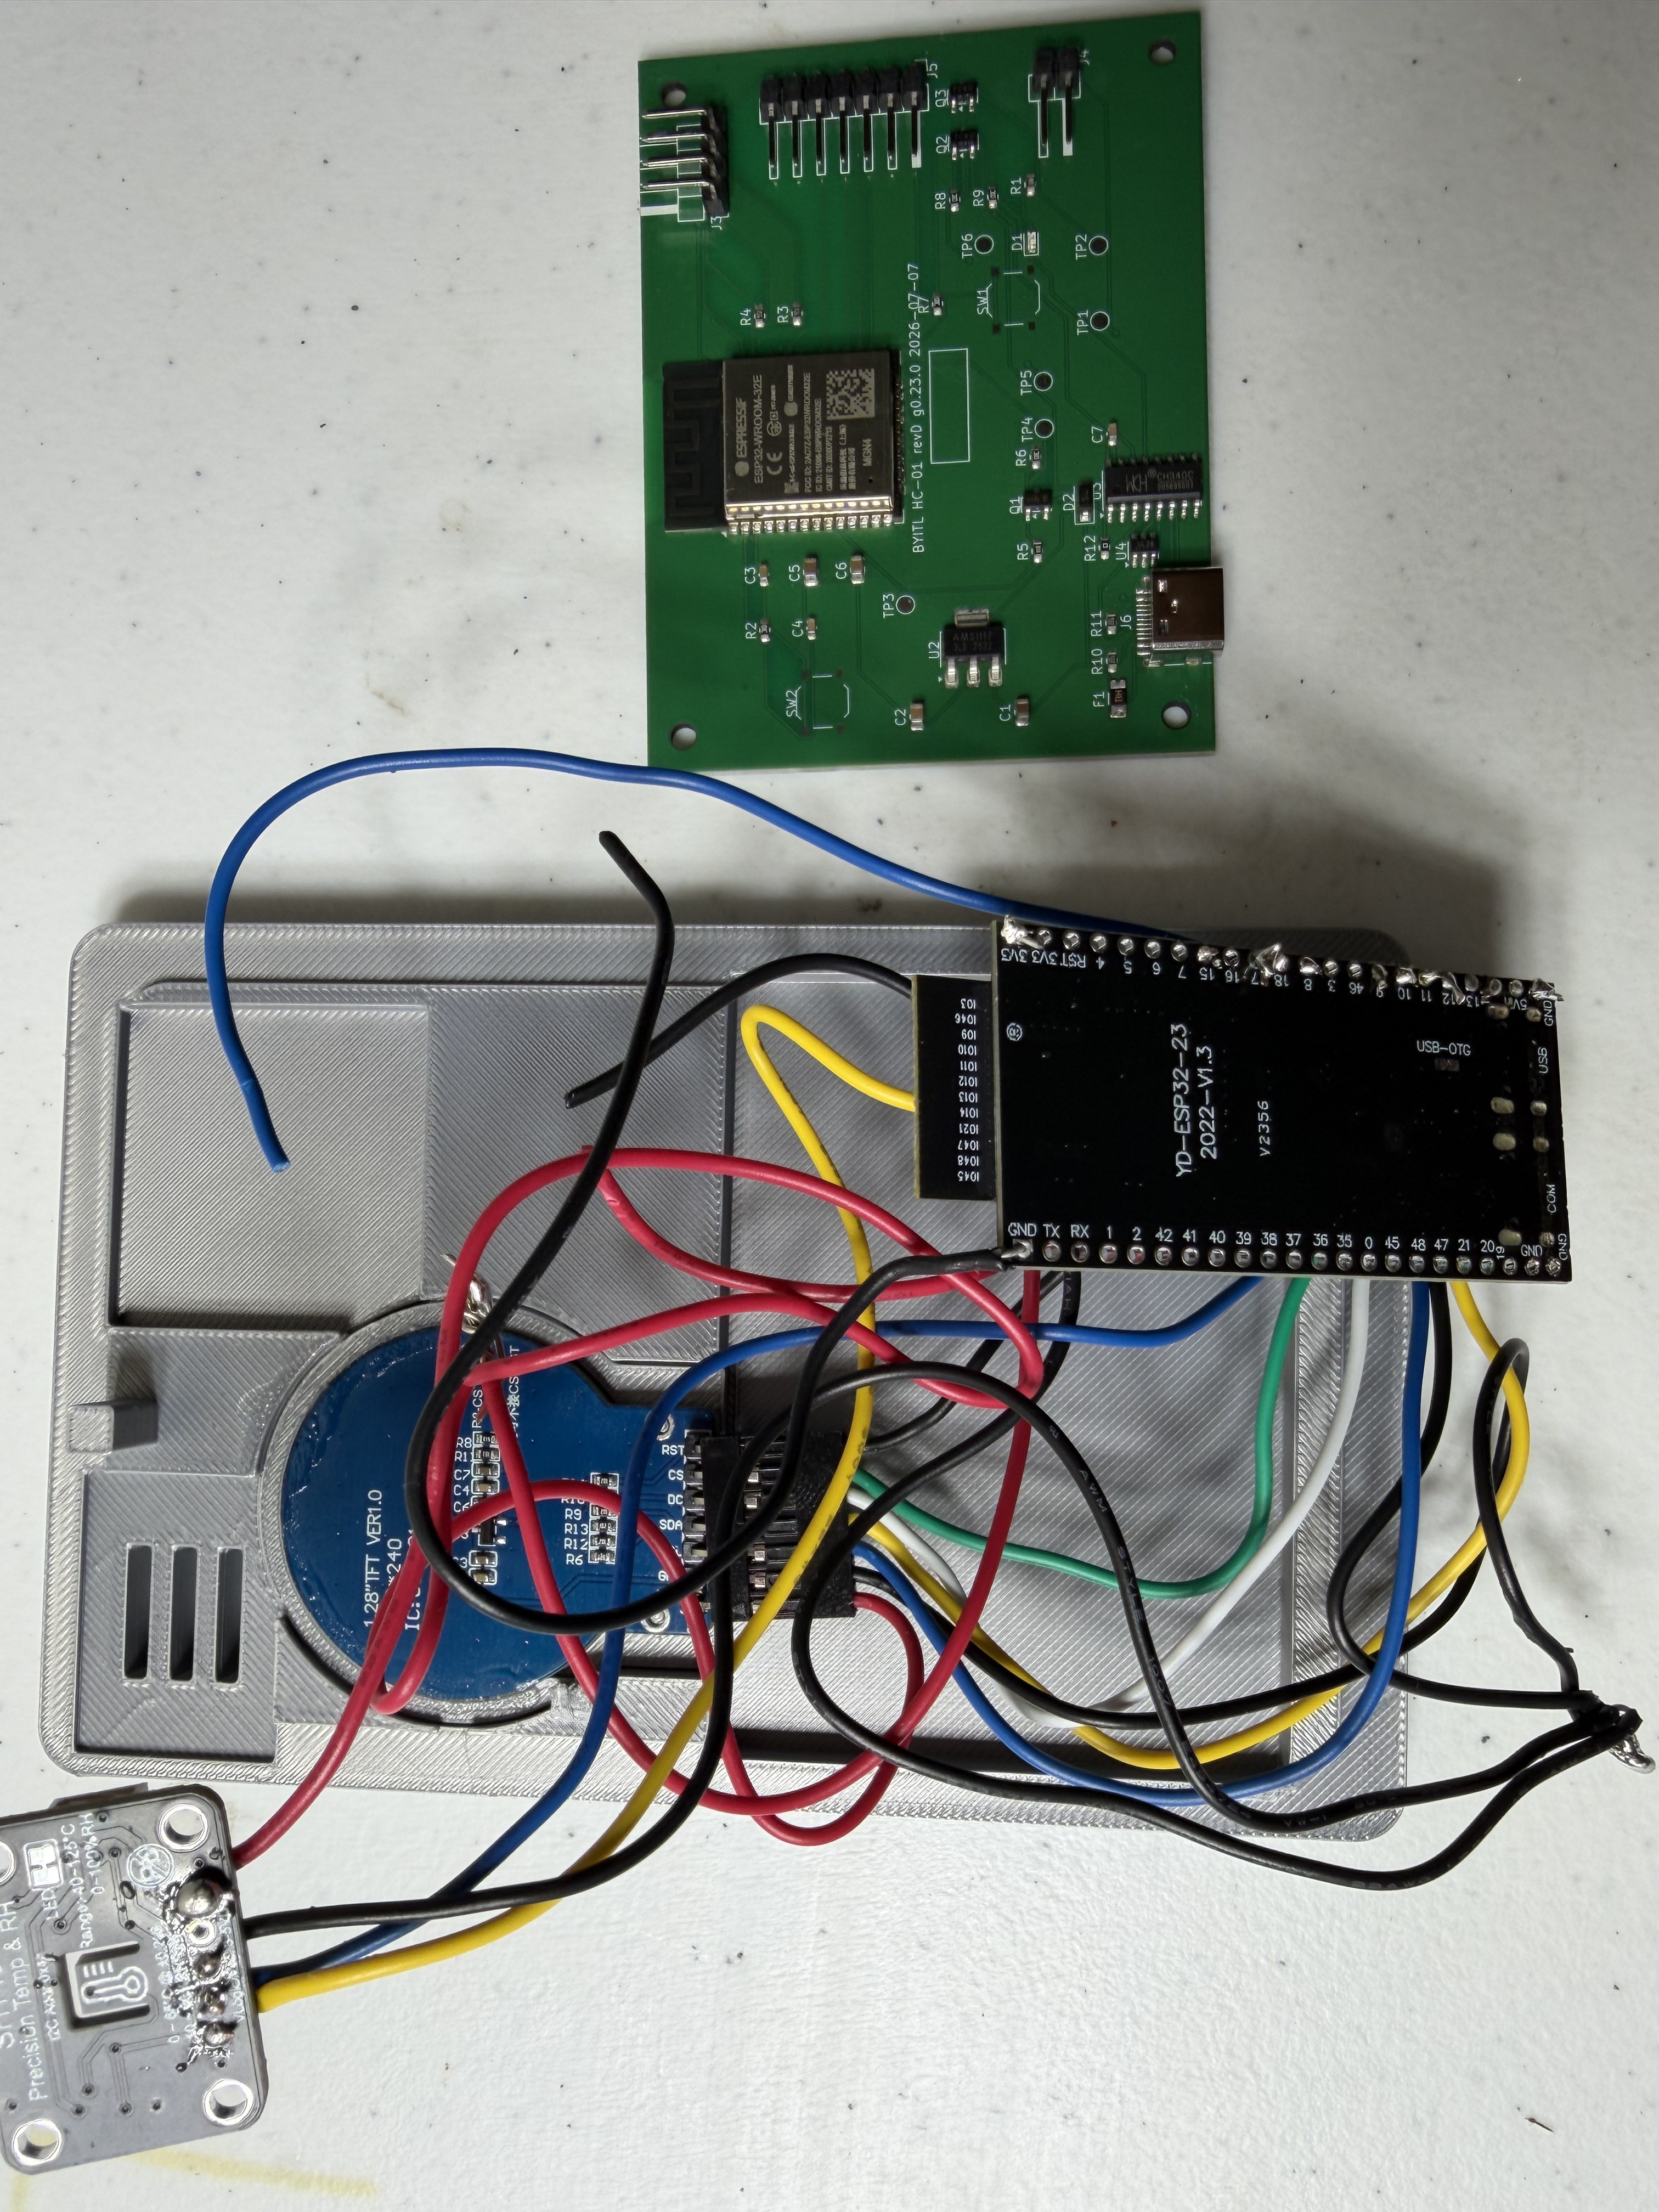
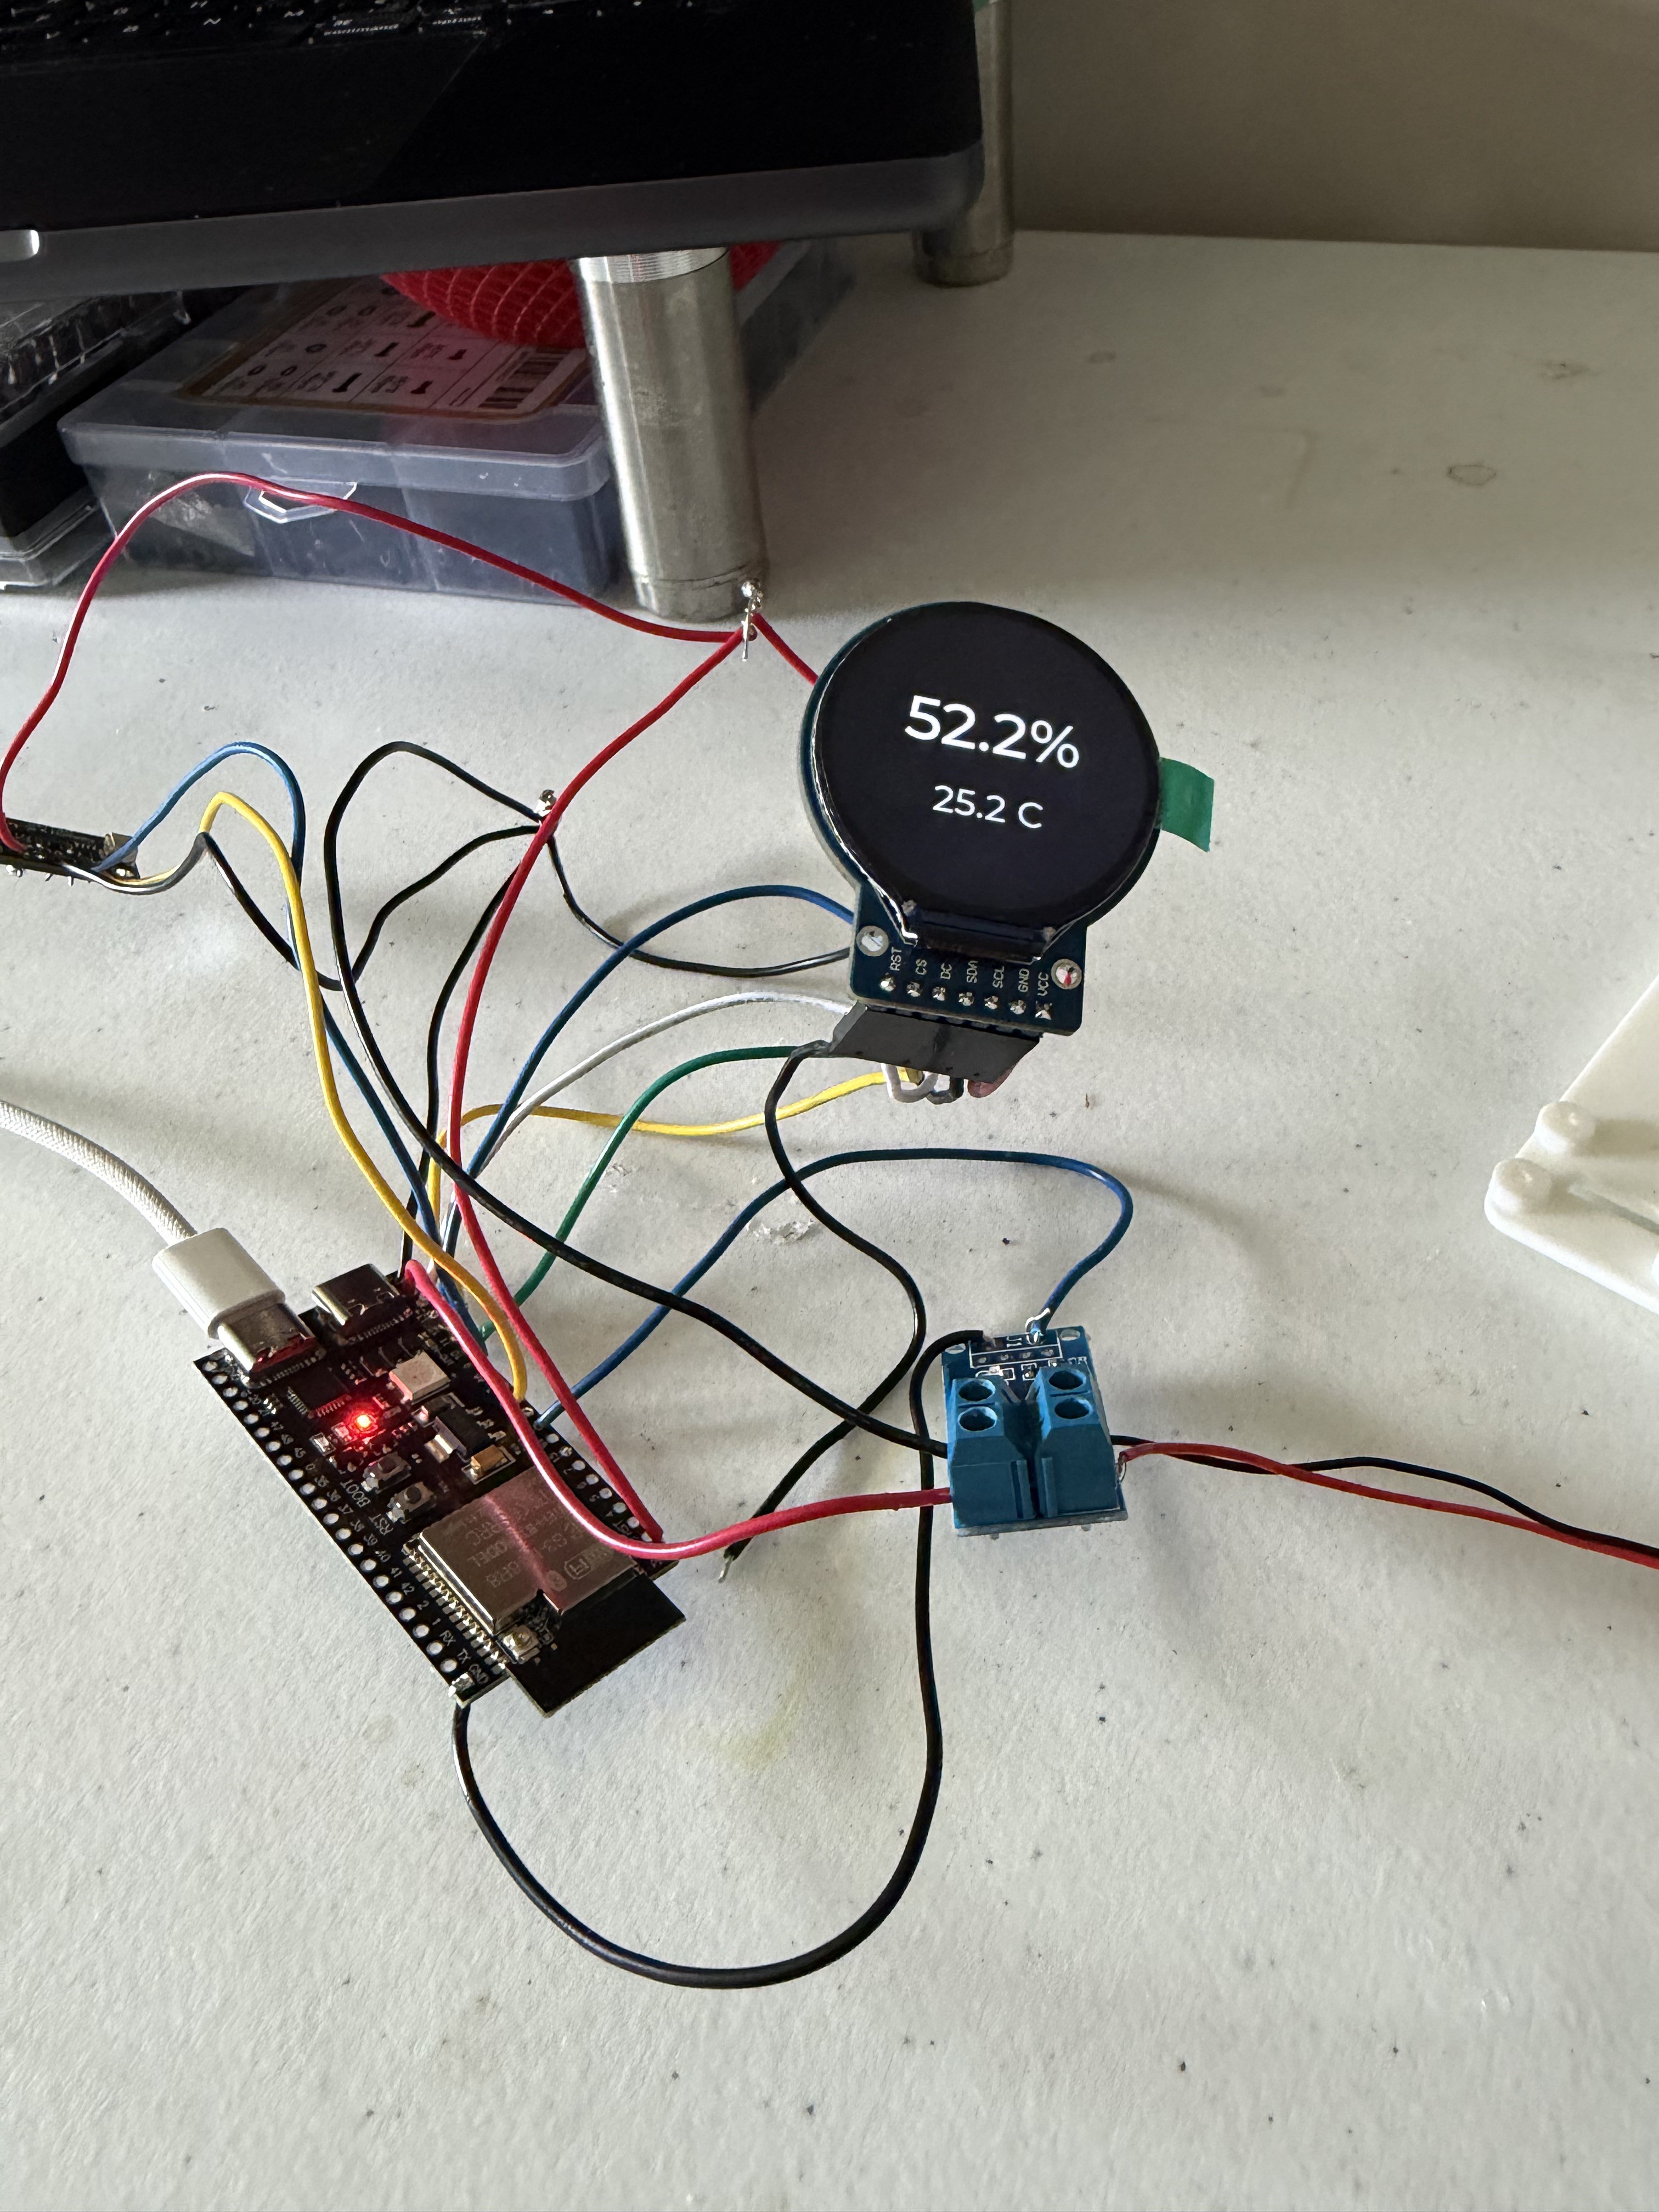
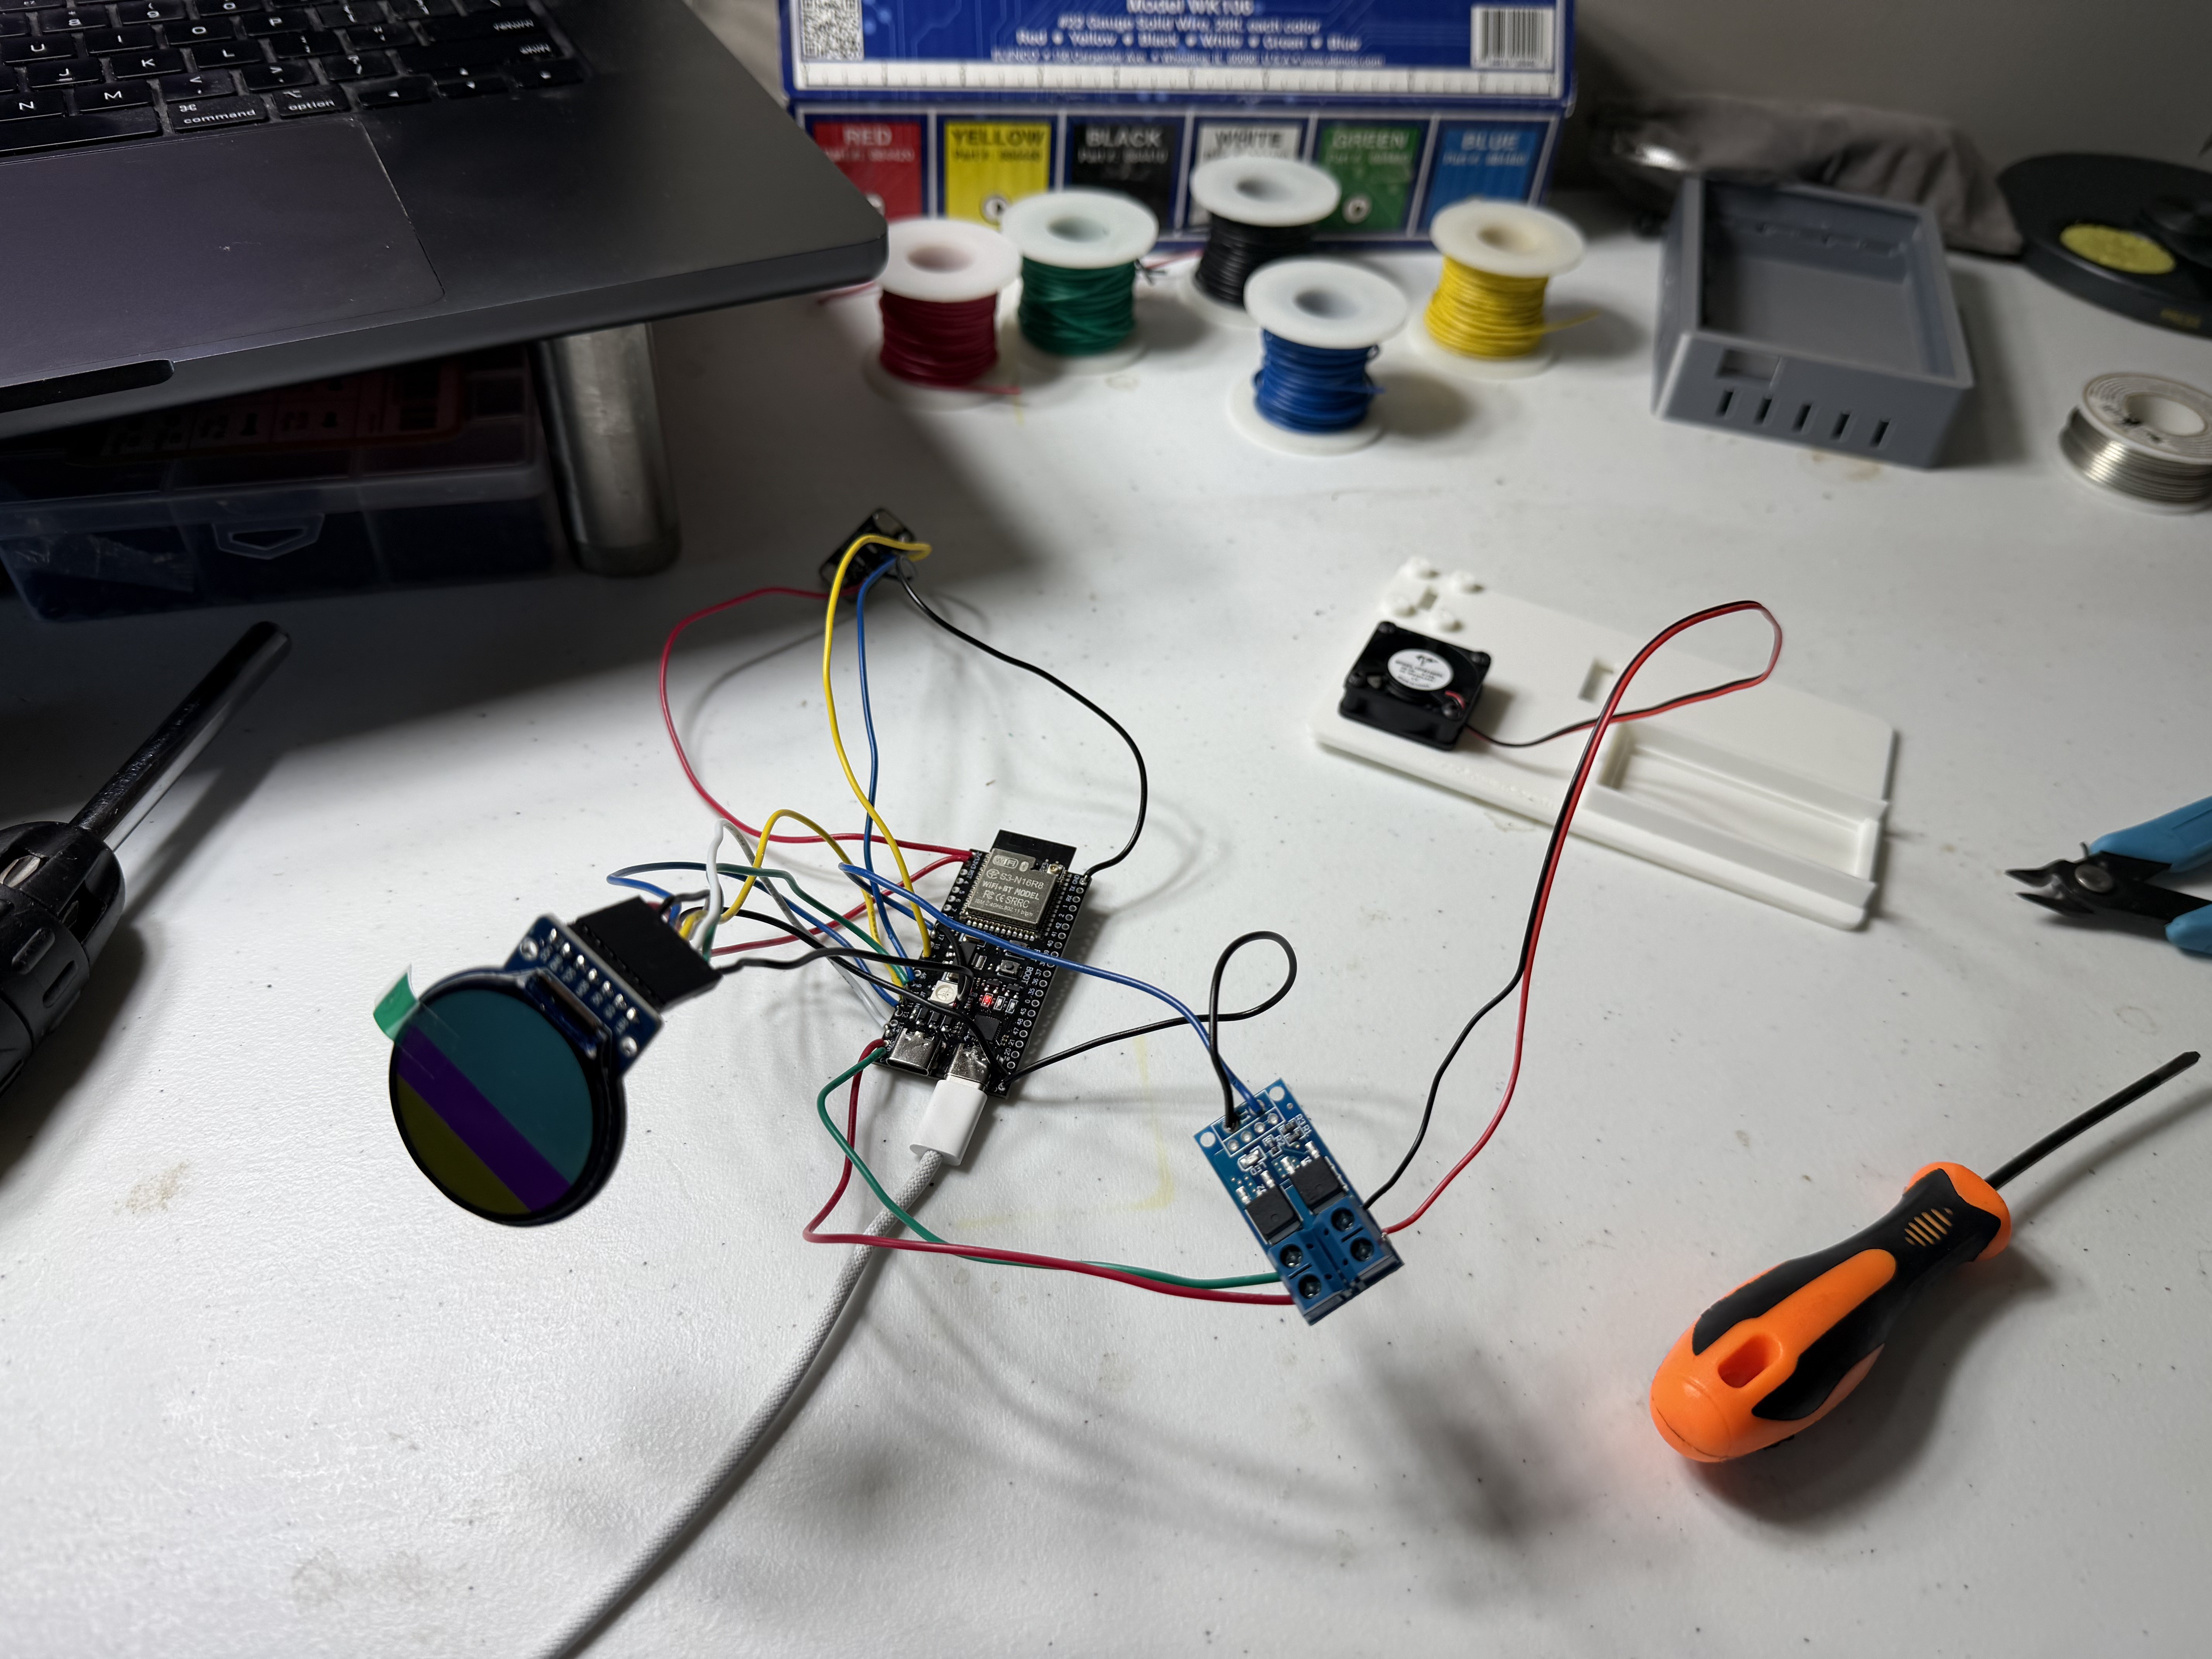
The first prototype was an ESP32 dev board wired to the display and sensor with jumper wires — enough to prove out the display driver, the sensor pipeline (52.2% RH / 25.2 °C on the first live readout), and fan control. That prototype has since been replaced by the HC-01 revD, a custom PCB with an ESP32-WROOM-32E, USB-C programming via a CH340C, and dedicated plug-in headers for the display, sensor, and fan. Five assembled boards came back from the fab; three arrived dead, and proving it was an assembly defect (bad solder joints) rather than a design error is a build log of its own.

What's next

Closed-loop humidity control, final enclosure fit with the revD board, and field testing inside an actual humidor.

More on the build

Full writeup: https://www.byitl.com/blog/hc-01-humidor-controller-jumper-wires-to-custom-pcb

Dead-boards forensics: https://www.byitl.com/blog/custom-pcb-fabrication-when-boards-arrive-dead

BYITL: https://www.byitl.com
  • 1 × ESP32 (dev board → ESP32-WROOM-32E on revD PCB) Main microcontroller; jumper-wire prototype used a dev board, the custom board uses the WROOM-32E module
  • 1 × GC9A01 1.28" round TFT display (240x240, SPI) The gauge-style round display the enclosure and bezel were designed around
  • 1 × Temperature + relative humidity sensor module Feeds live environmental readings to the ESP32
  • 1 × MOSFET driver module Switches the 5 V circulation fan
  • 1 × 5 V DC fan Air circulation inside the humidor

View all 7 components

  • 3 of 5 boards arrived dead — proving it wasn't the design

    Jerome Privottan hour ago 0 comments

    Real talk: three of the five assembled revD boards arrived dead. Same cable, same firmware — one board lights up, another reads millivolts where 5 volts should be.

    Here's where a month-old design decision paid off. Because the board has labeled test points on every power rail, a documented power path, and a firmware mode that lets a board report its own voltages, "where does the voltage stop?" became a checklist instead of an investigation. The diagnosis took minutes, not days: bad solder joints from assembly — an assembly defect, not a design error. The evidence was strong enough that the fab opened an after-sales review within hours.

    The lesson for anyone shipping hardware: design for the failure investigation you hope you'll never run.

    Full forensics — measurements, joint photos, and the checklist: https://www.byitl.com/blog/custom-pcb-fabrication-when-boards-arrive-dead

    Meanwhile, the good boards took firmware without complaint (photo: first flash on a working revD). Next up: full assembly in the enclosure and closed-loop humidity control.

  • From spaghetti to silicon: the revD boards arrive

    Jerome Privottan hour ago 0 comments

    The custom HC-01 boards are here. One photo tells the story: the new revD board sitting right above the jumper-wire prototype it replaces.

    Every jumper is now a routed trace. Every module — display, environmental sensor, fan driver — gets a dedicated plug-in header. USB-C with a CH340C replaces the dev-board dongle, and the ESP32-WROOM-32E sits directly on the board. Designing it meant learning schematic capture, layout, and DFM as a company of one.

    The lesson from this phase: the prototype's job is to be wrong fast. The board's job is to be right forever. You need both.

    Full writeup of the jump from jumper wires to a custom PCB: https://www.byitl.com/blog/hc-01-humidor-controller-jumper-wires-to-custom-pcb

    Next: bring-up on the new boards — which turned into a story of its own.

  • It's alive: 52.2% RH / 25.2 °C, live from the sensor

    Jerome Privottan hour ago 0 comments

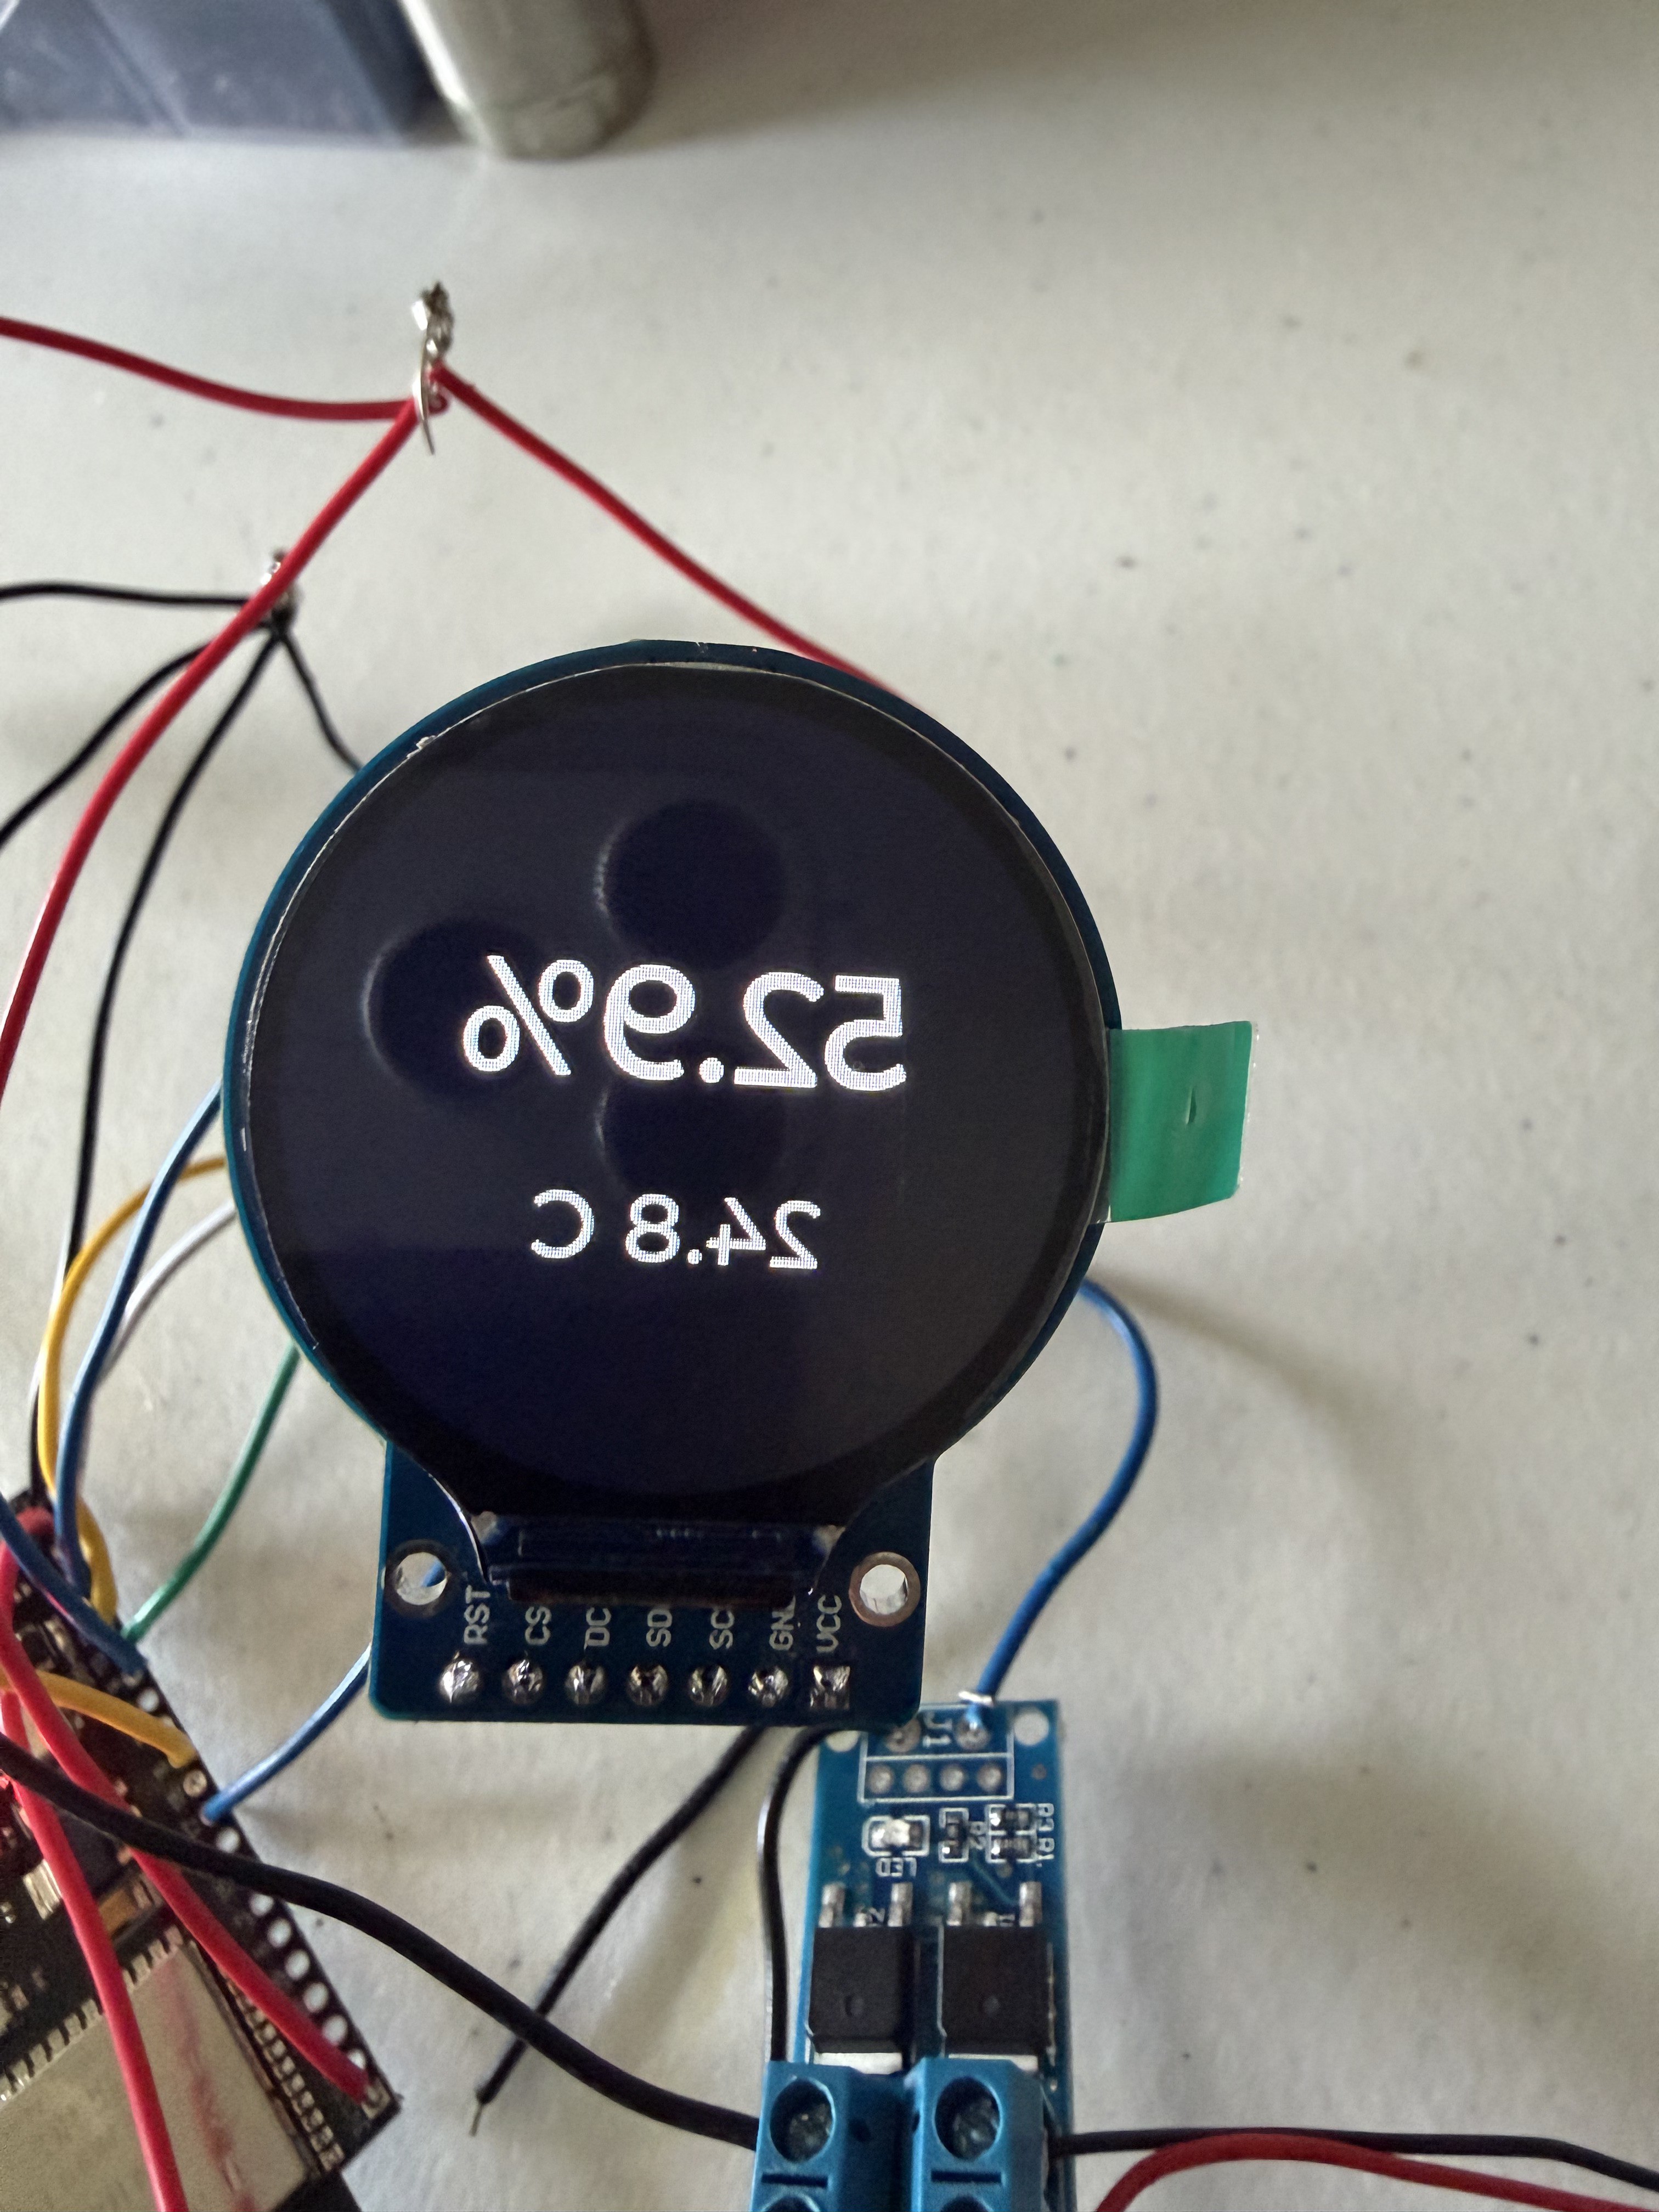
    Milestone day. The HC-01 went from parts on a bench to a working prototype: 52.2% relative humidity and 25.2 °C, read by the sensor, processed by the ESP32, and drawn live on the round display in a gauge-style readout.

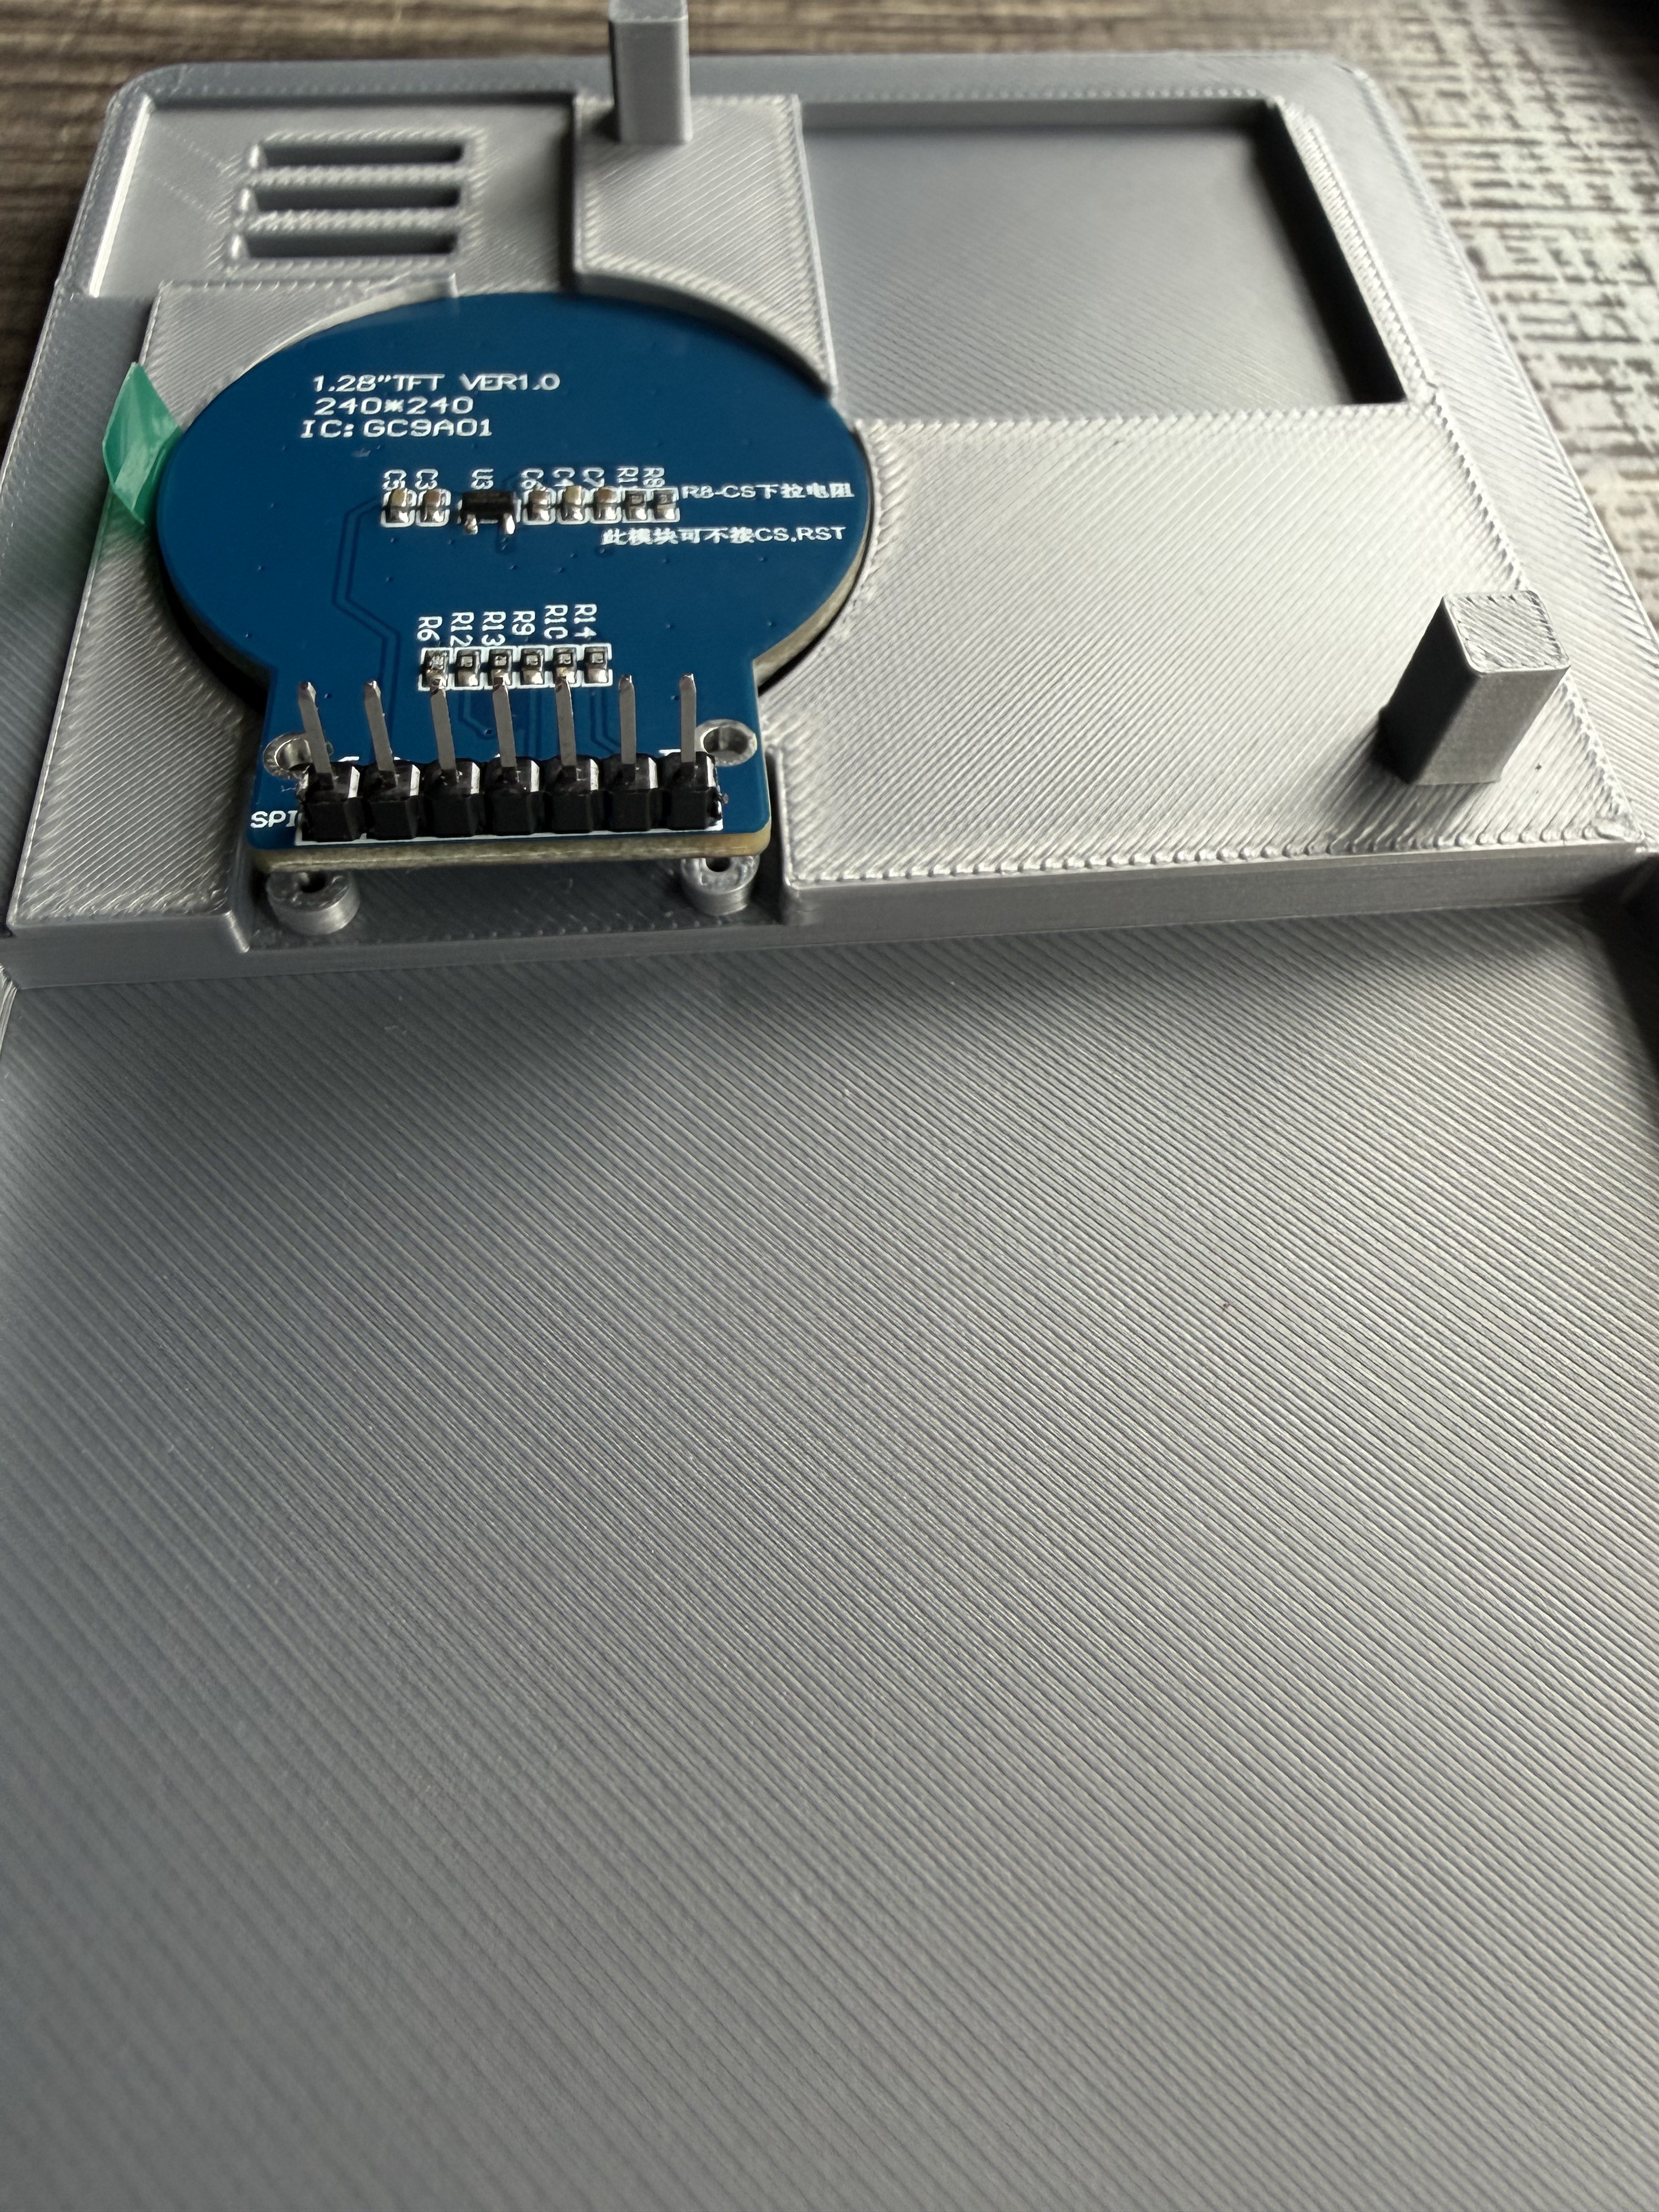
    The whole chain works — sensor to firmware to screen — and the display module also passed its fit test in the 3D-printed enclosure (last photo).

    Still ahead: fan control tuning, closed-loop humidity regulation, final enclosure fit, and field testing in an actual humidor. But today, we celebrate.

  • First light: the round TFT is alive

    Jerome Privott2 hours ago 0 comments

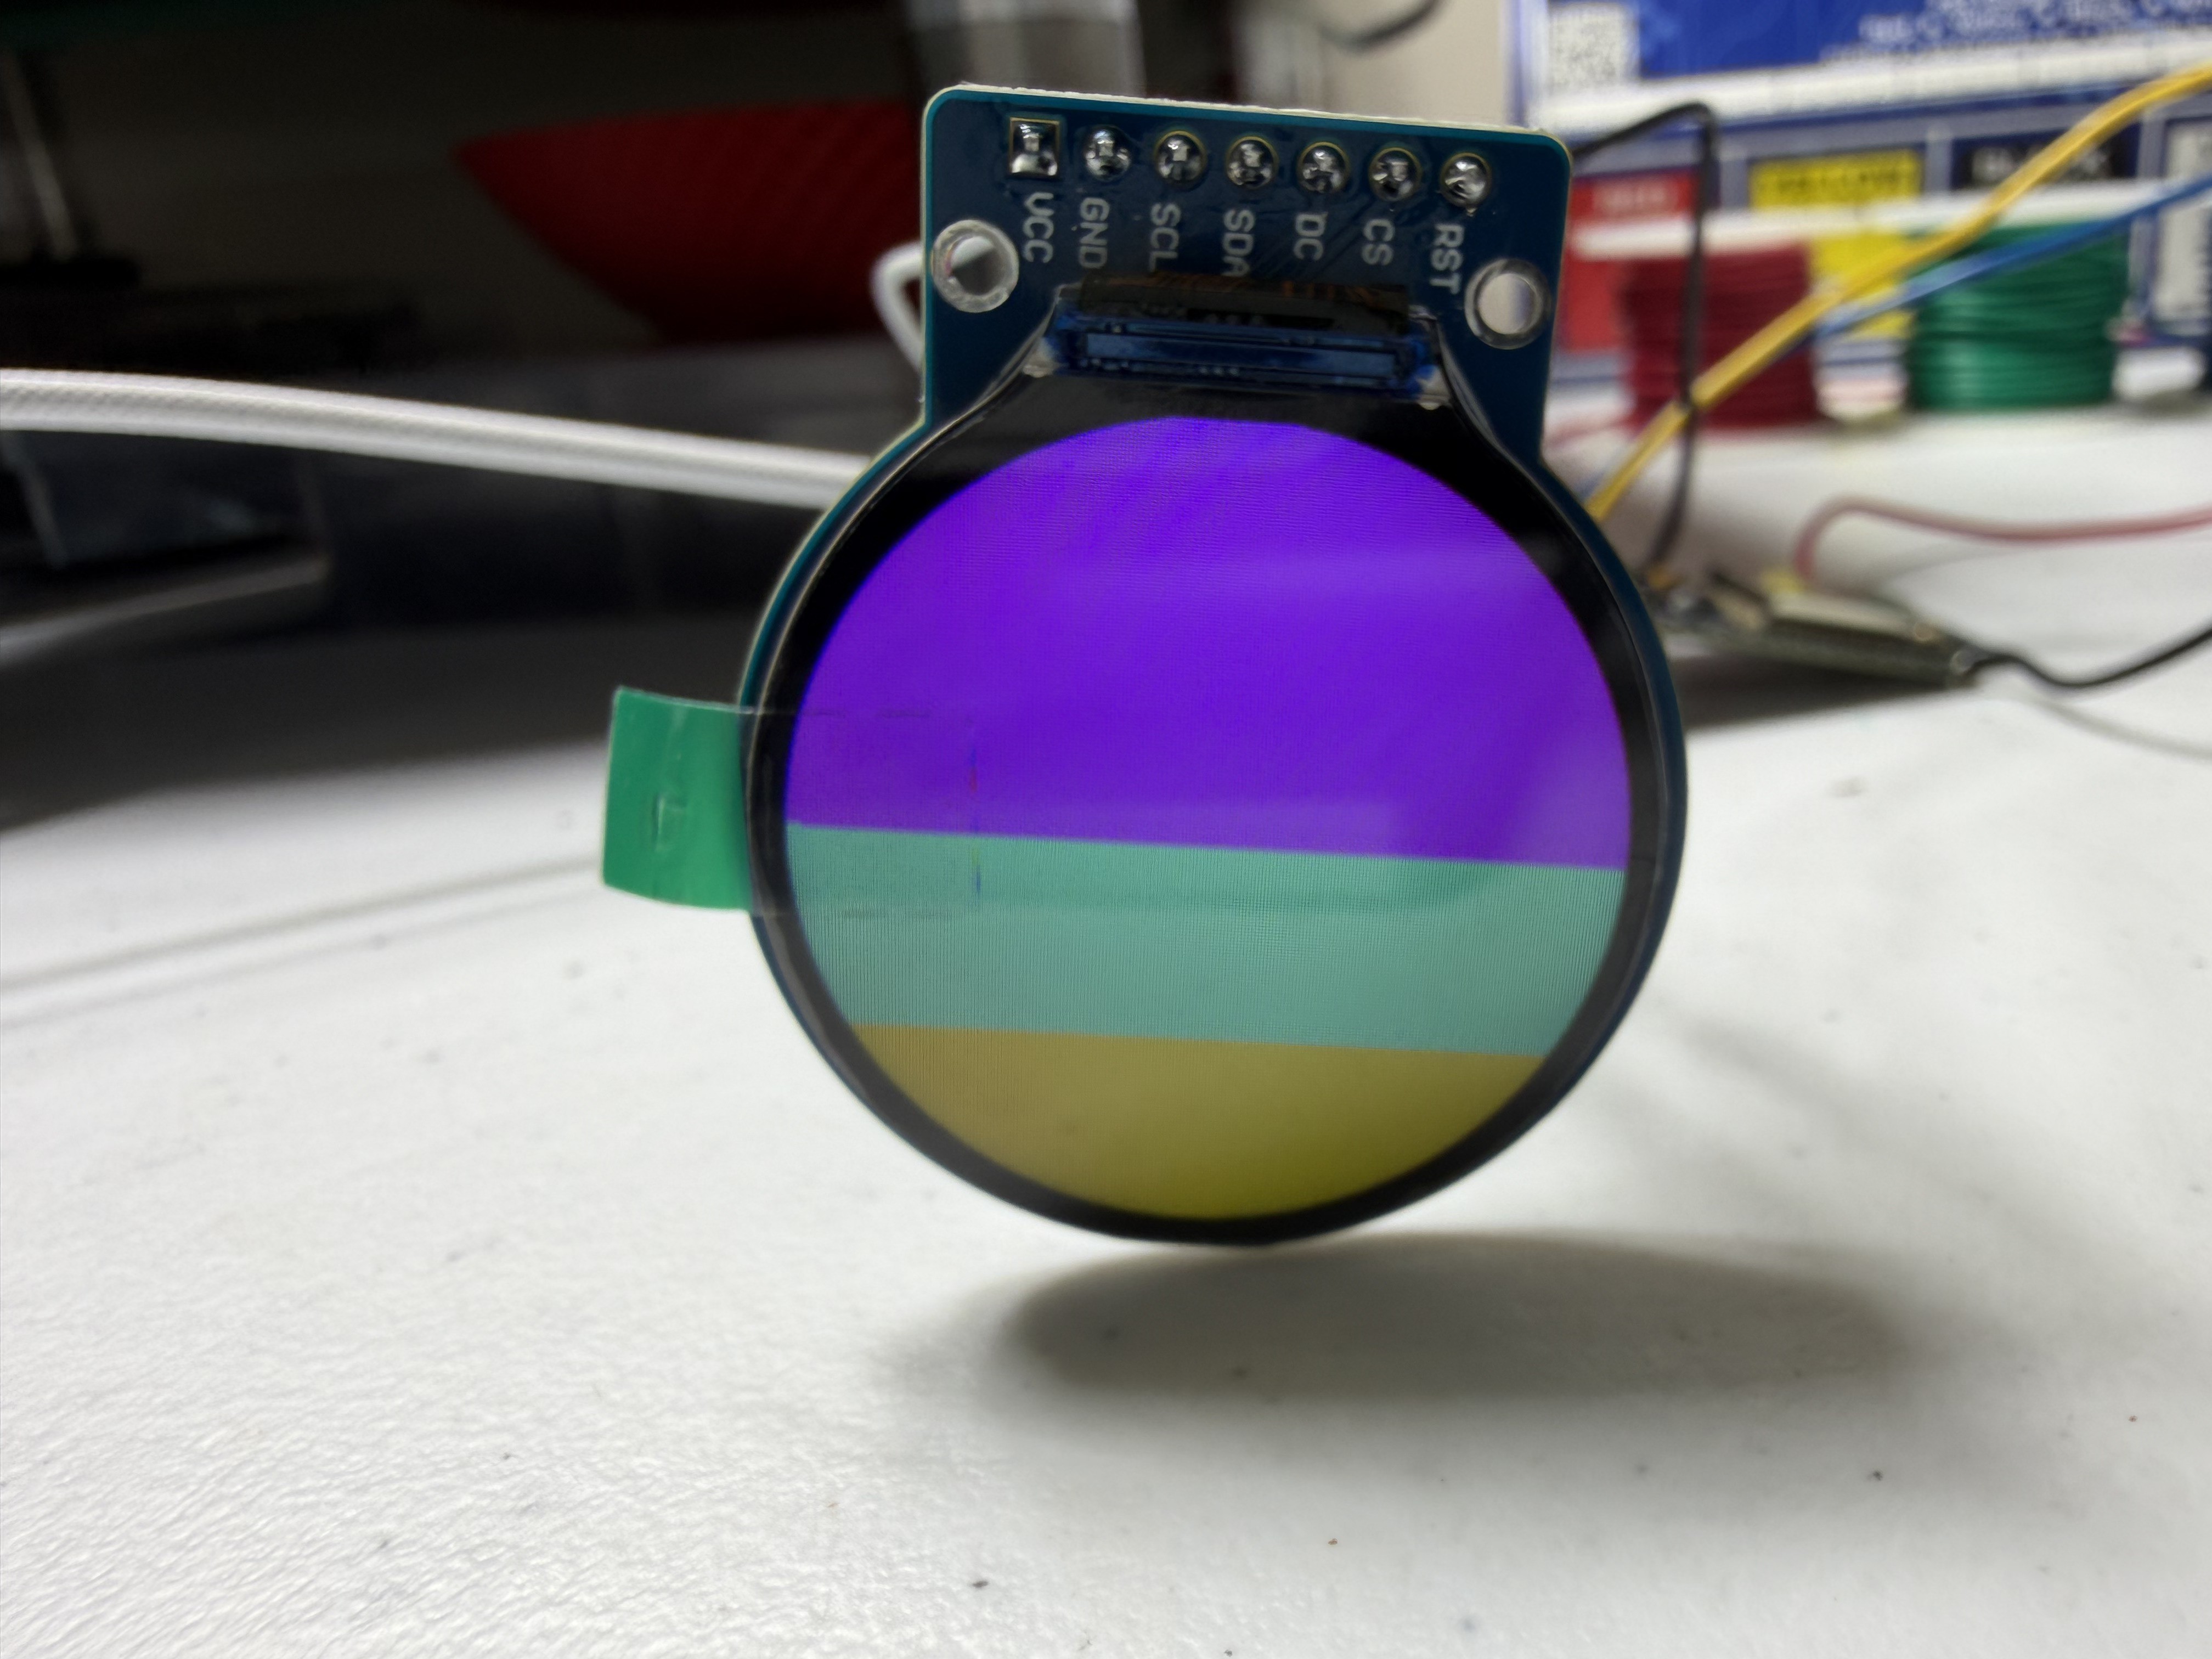
    Nothing beats the moment a screen you wired yourself lights up for the first time.

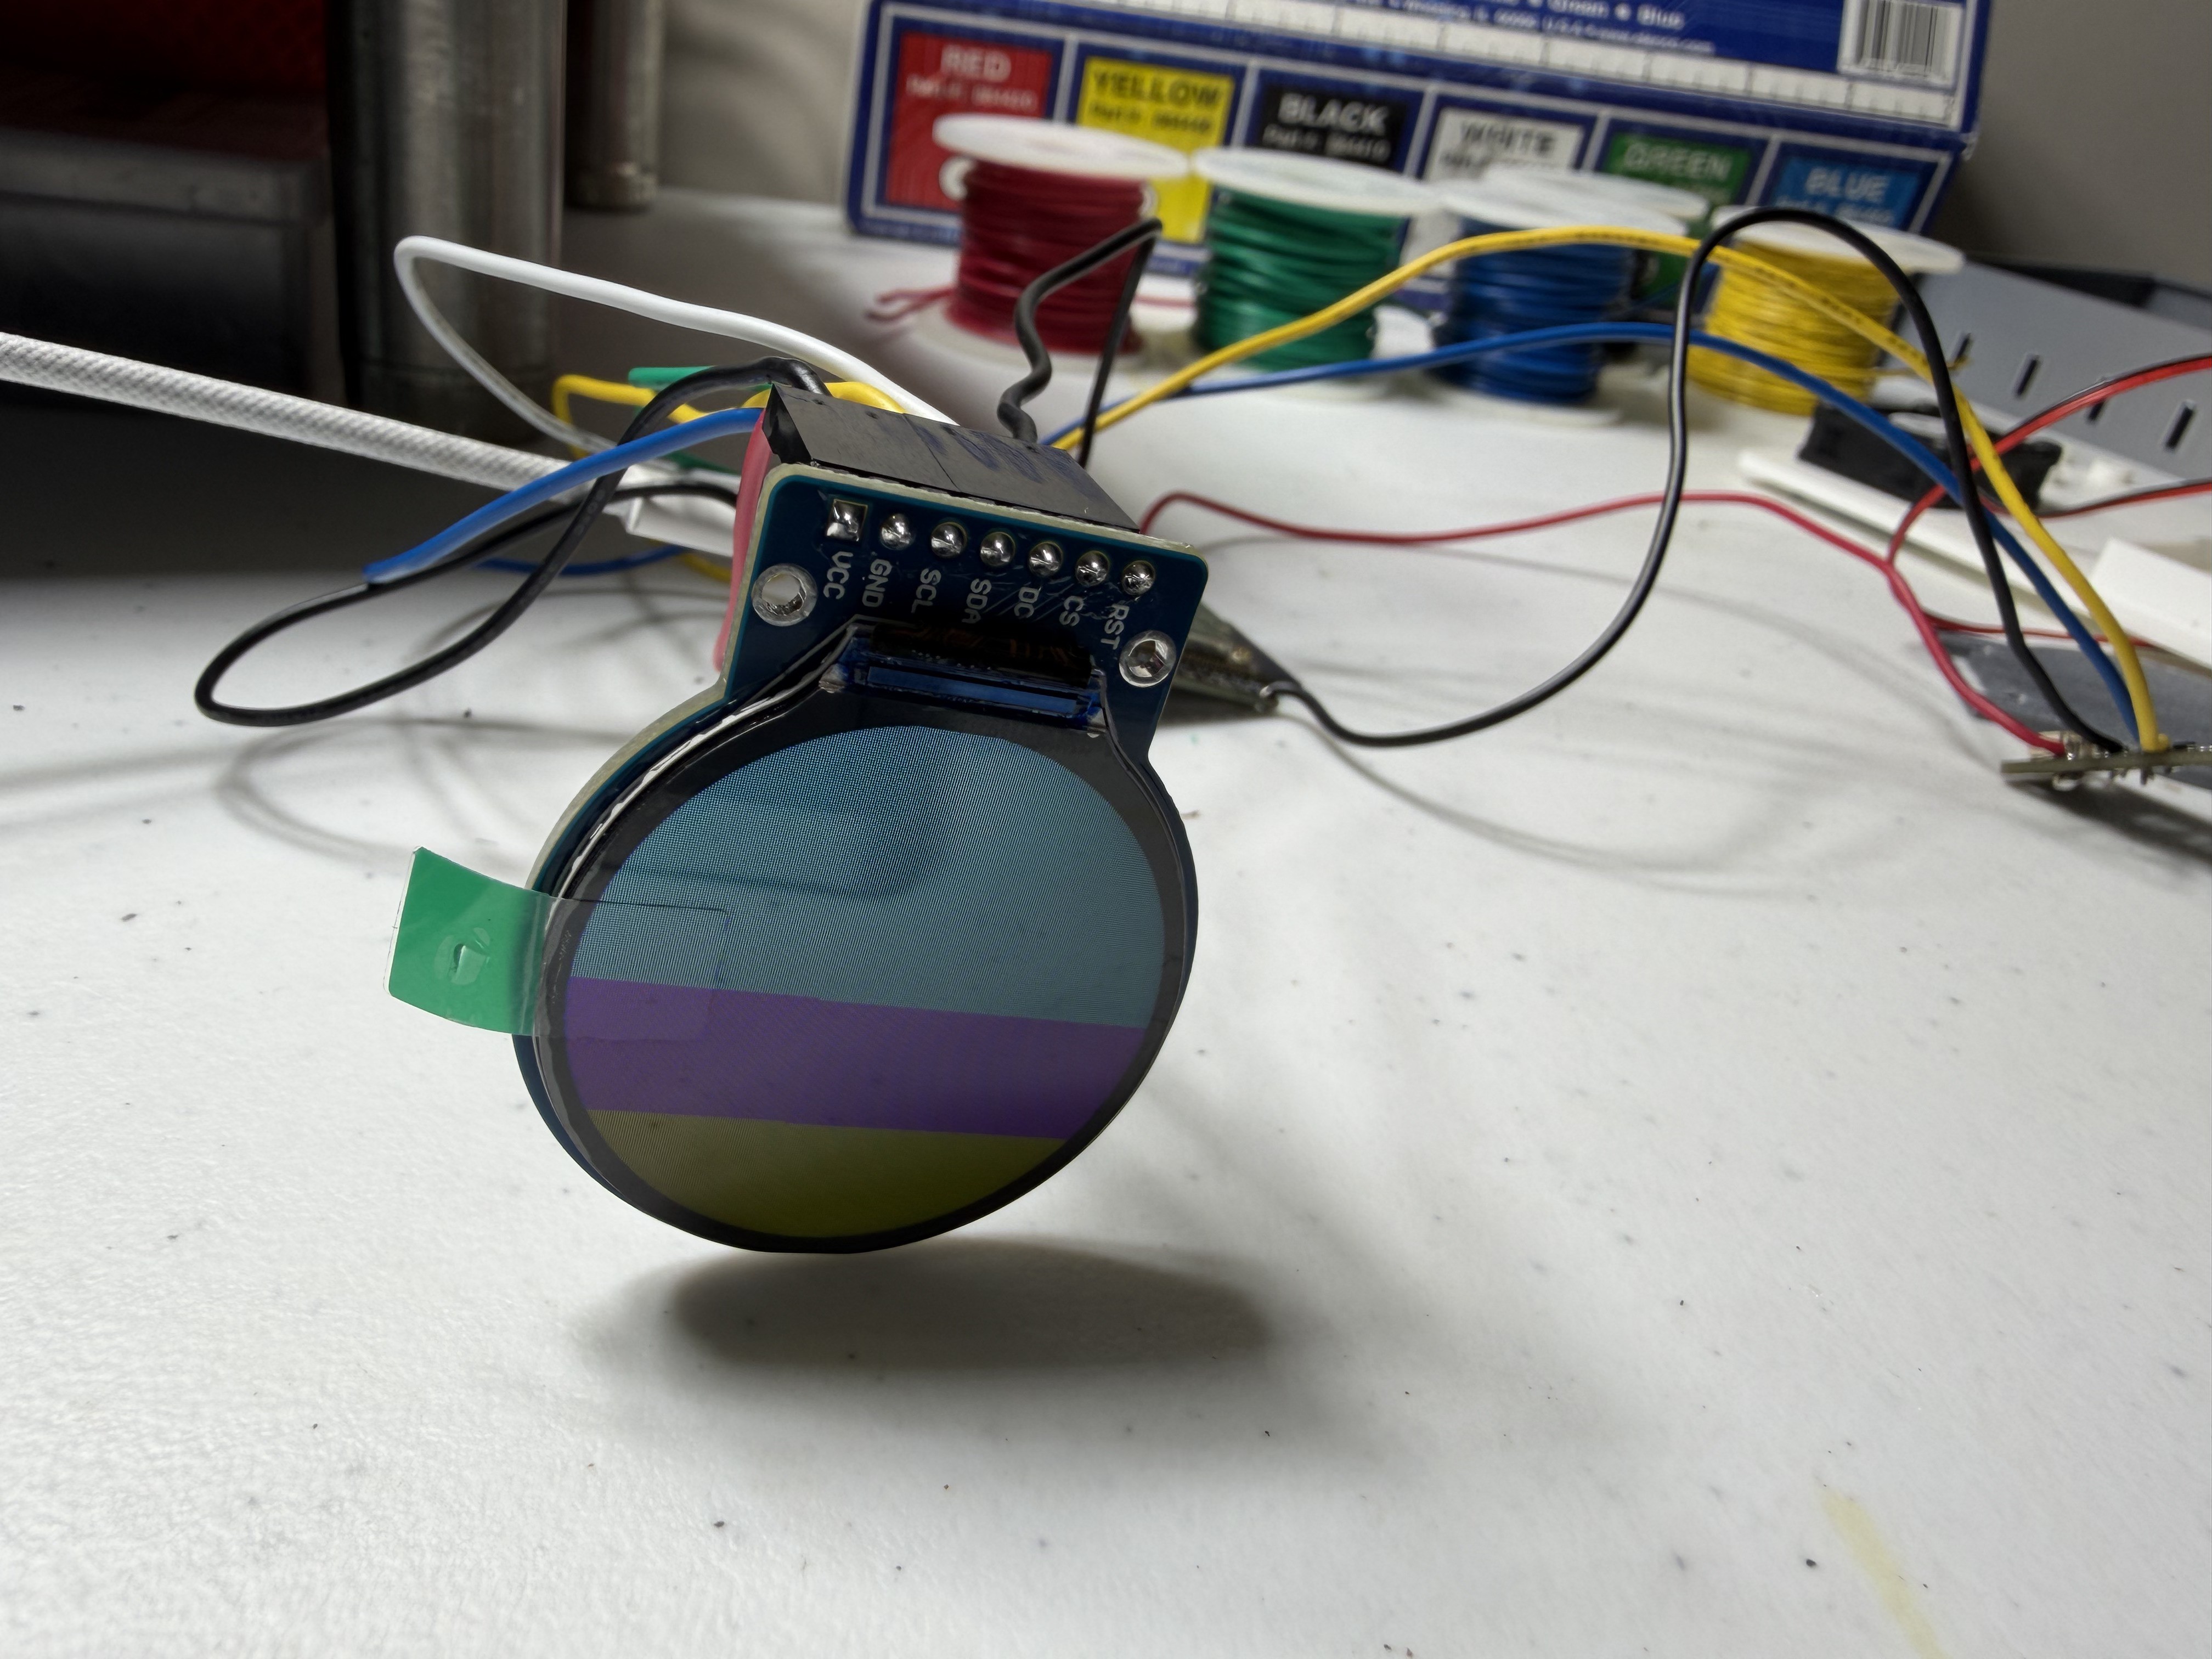
    Color test passed: the GC9A01 is alive and talking to the ESP32 over SPI. The test pattern cycles through solid colors and gradients to check every pixel and confirm the driver timing is right. In the background of the last shot you can see the 3D-printed enclosure waiting for its guts.

    It might not look like much, but this frame means the display, the wiring, and the code are all doing their jobs. From here, the next step is putting real numbers on that screen.

  • Wiring day: ESP32, helping hands, and triple-checked jumpers

    Jerome Privott2 hours ago 0 comments

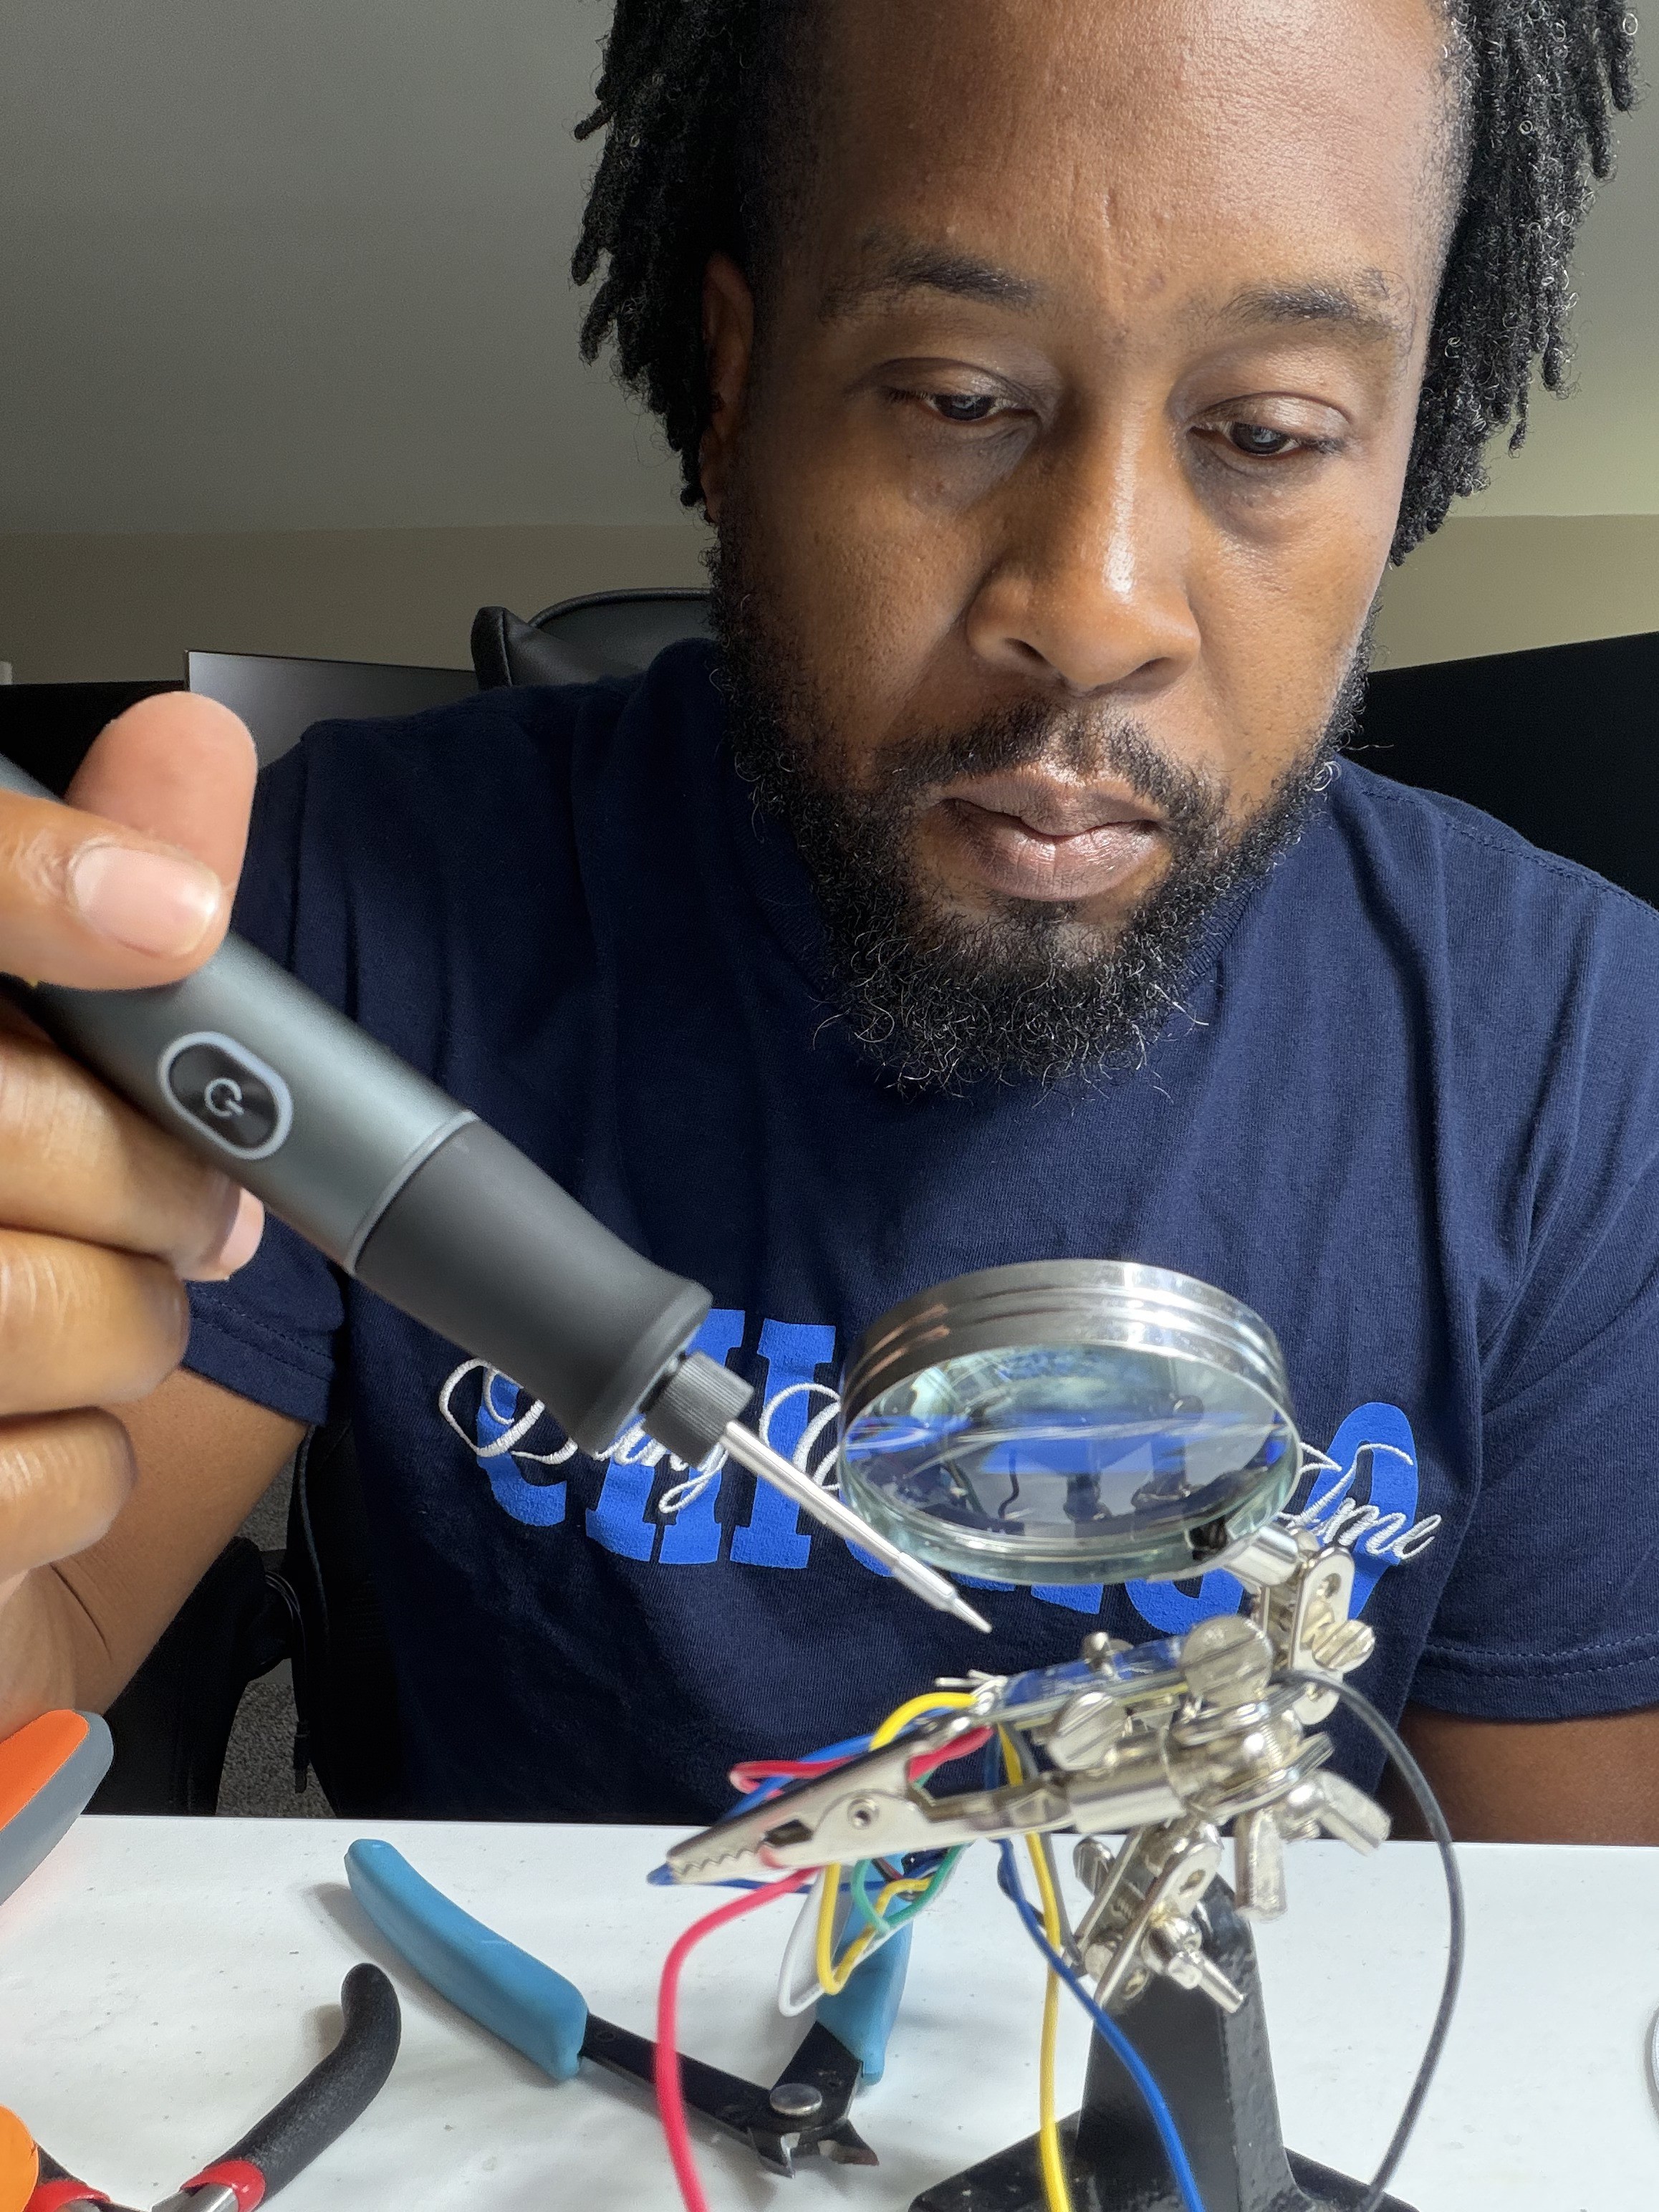
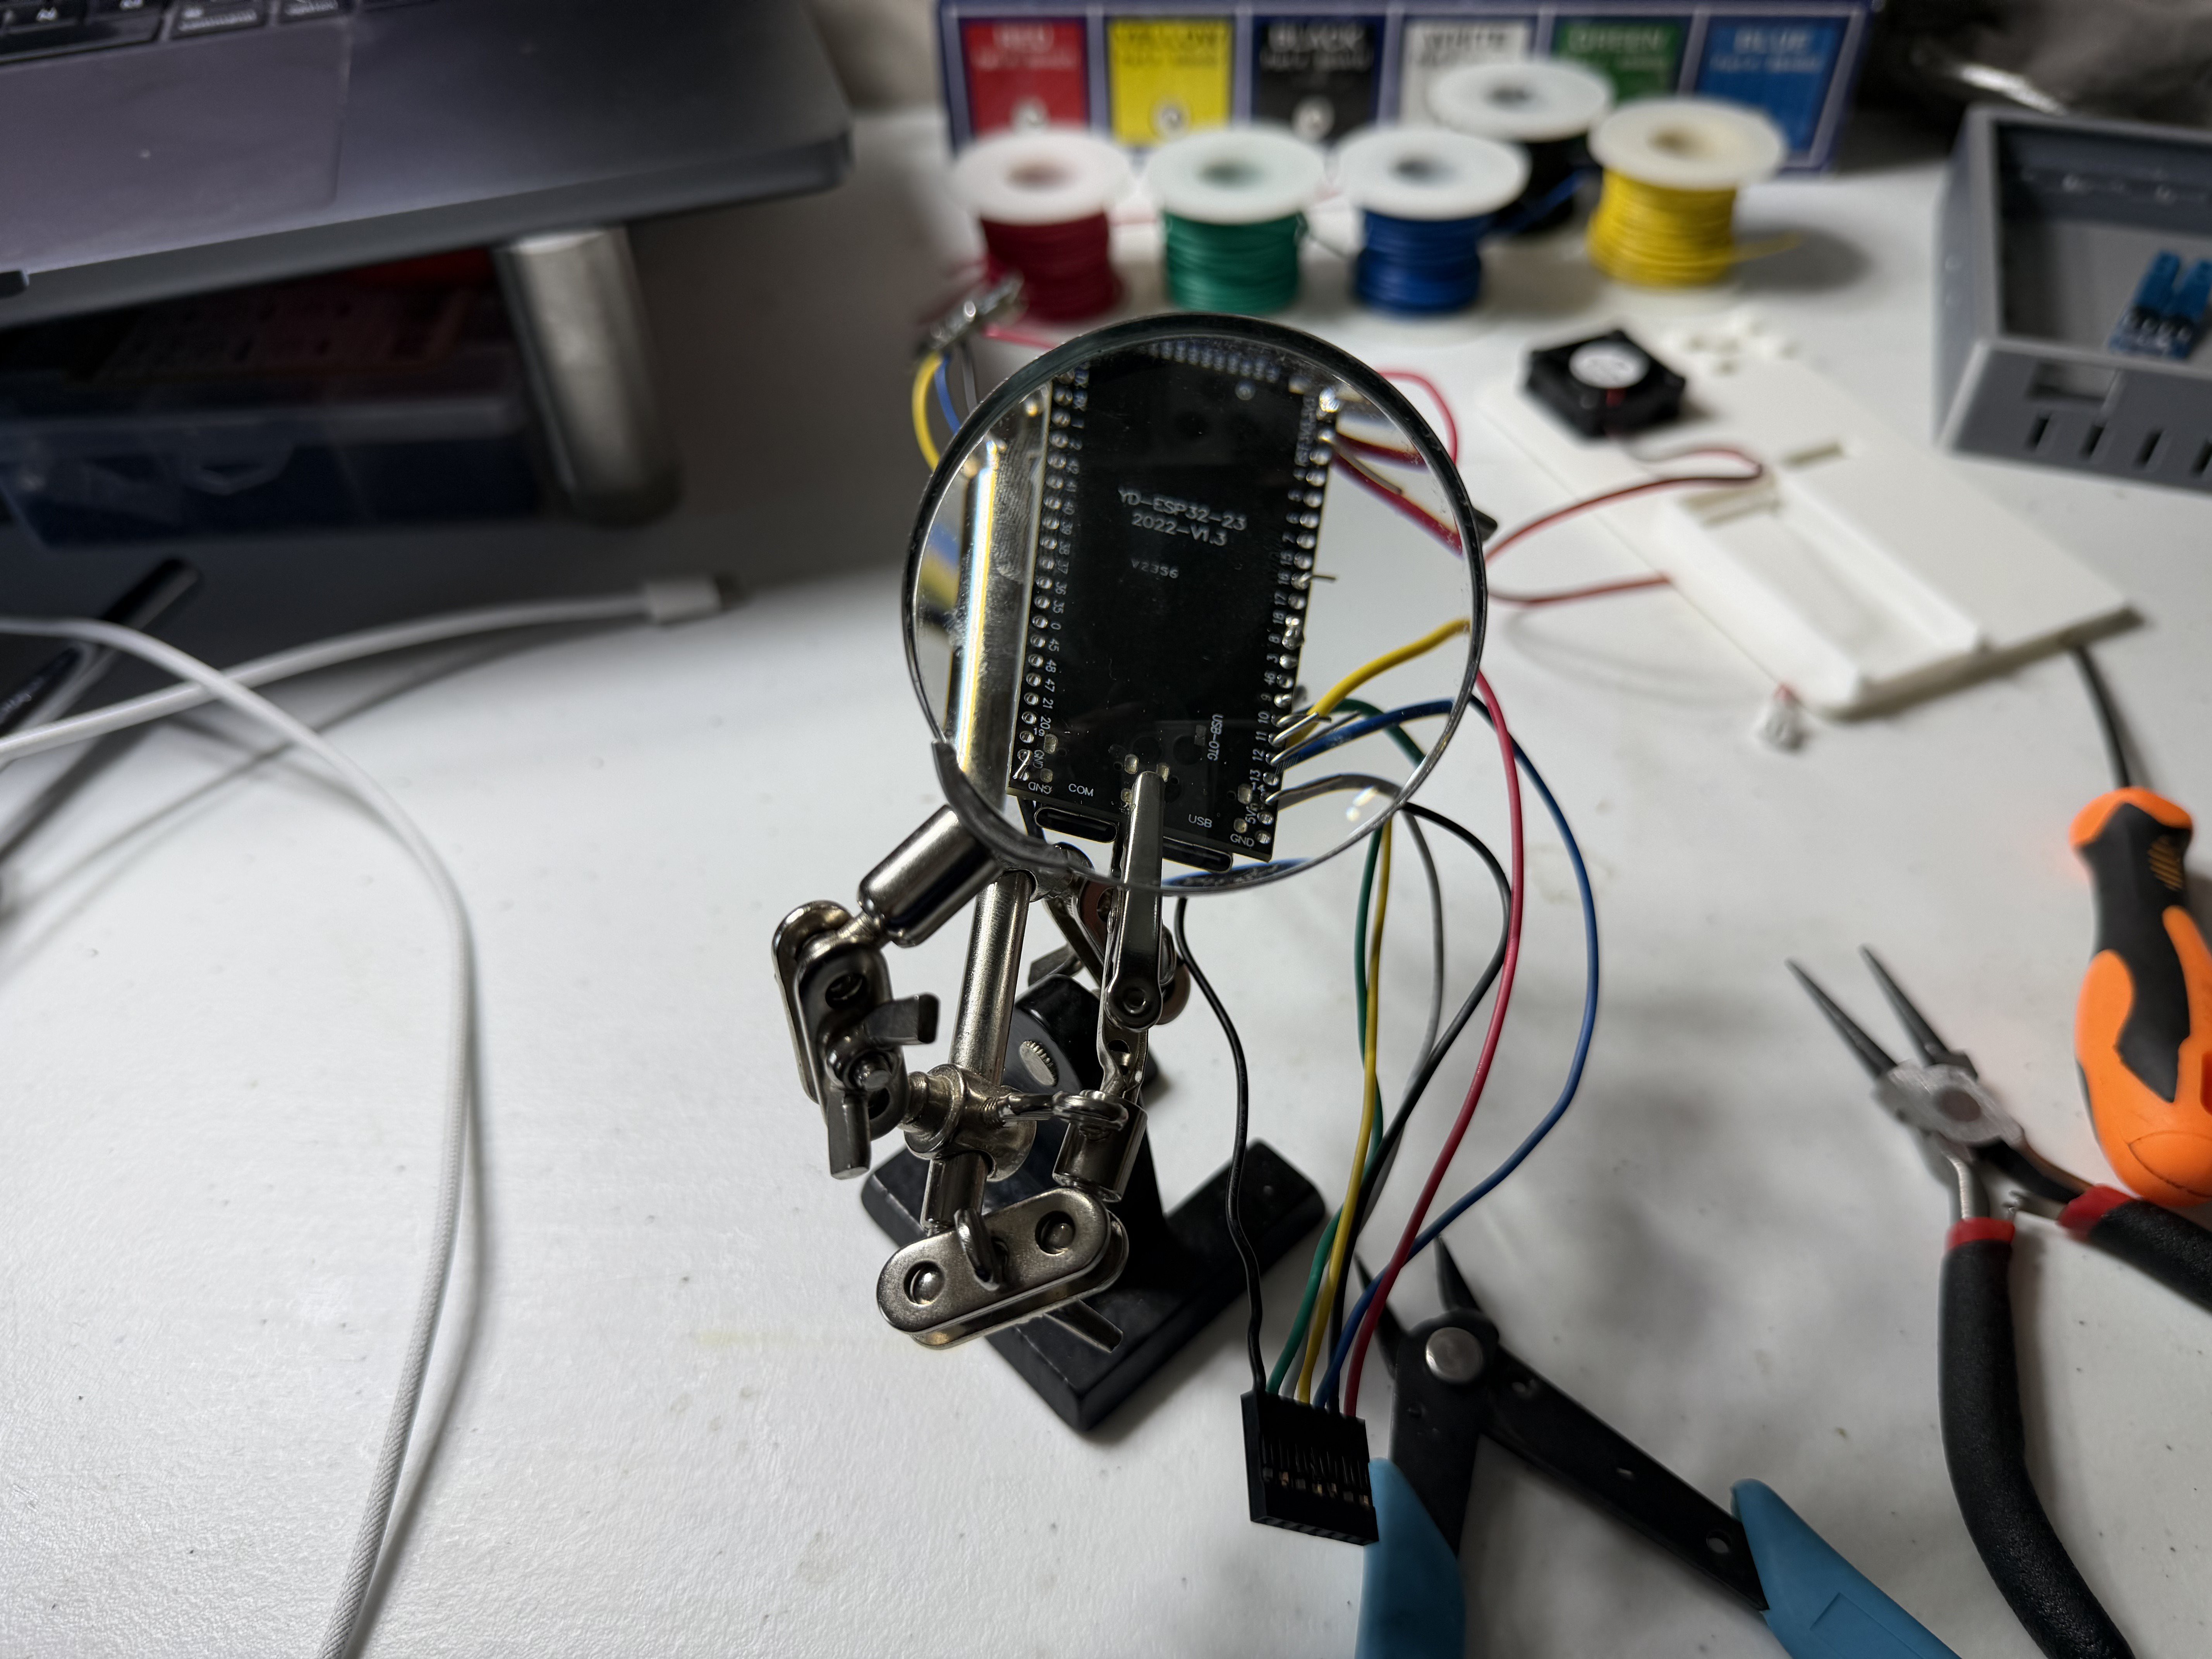
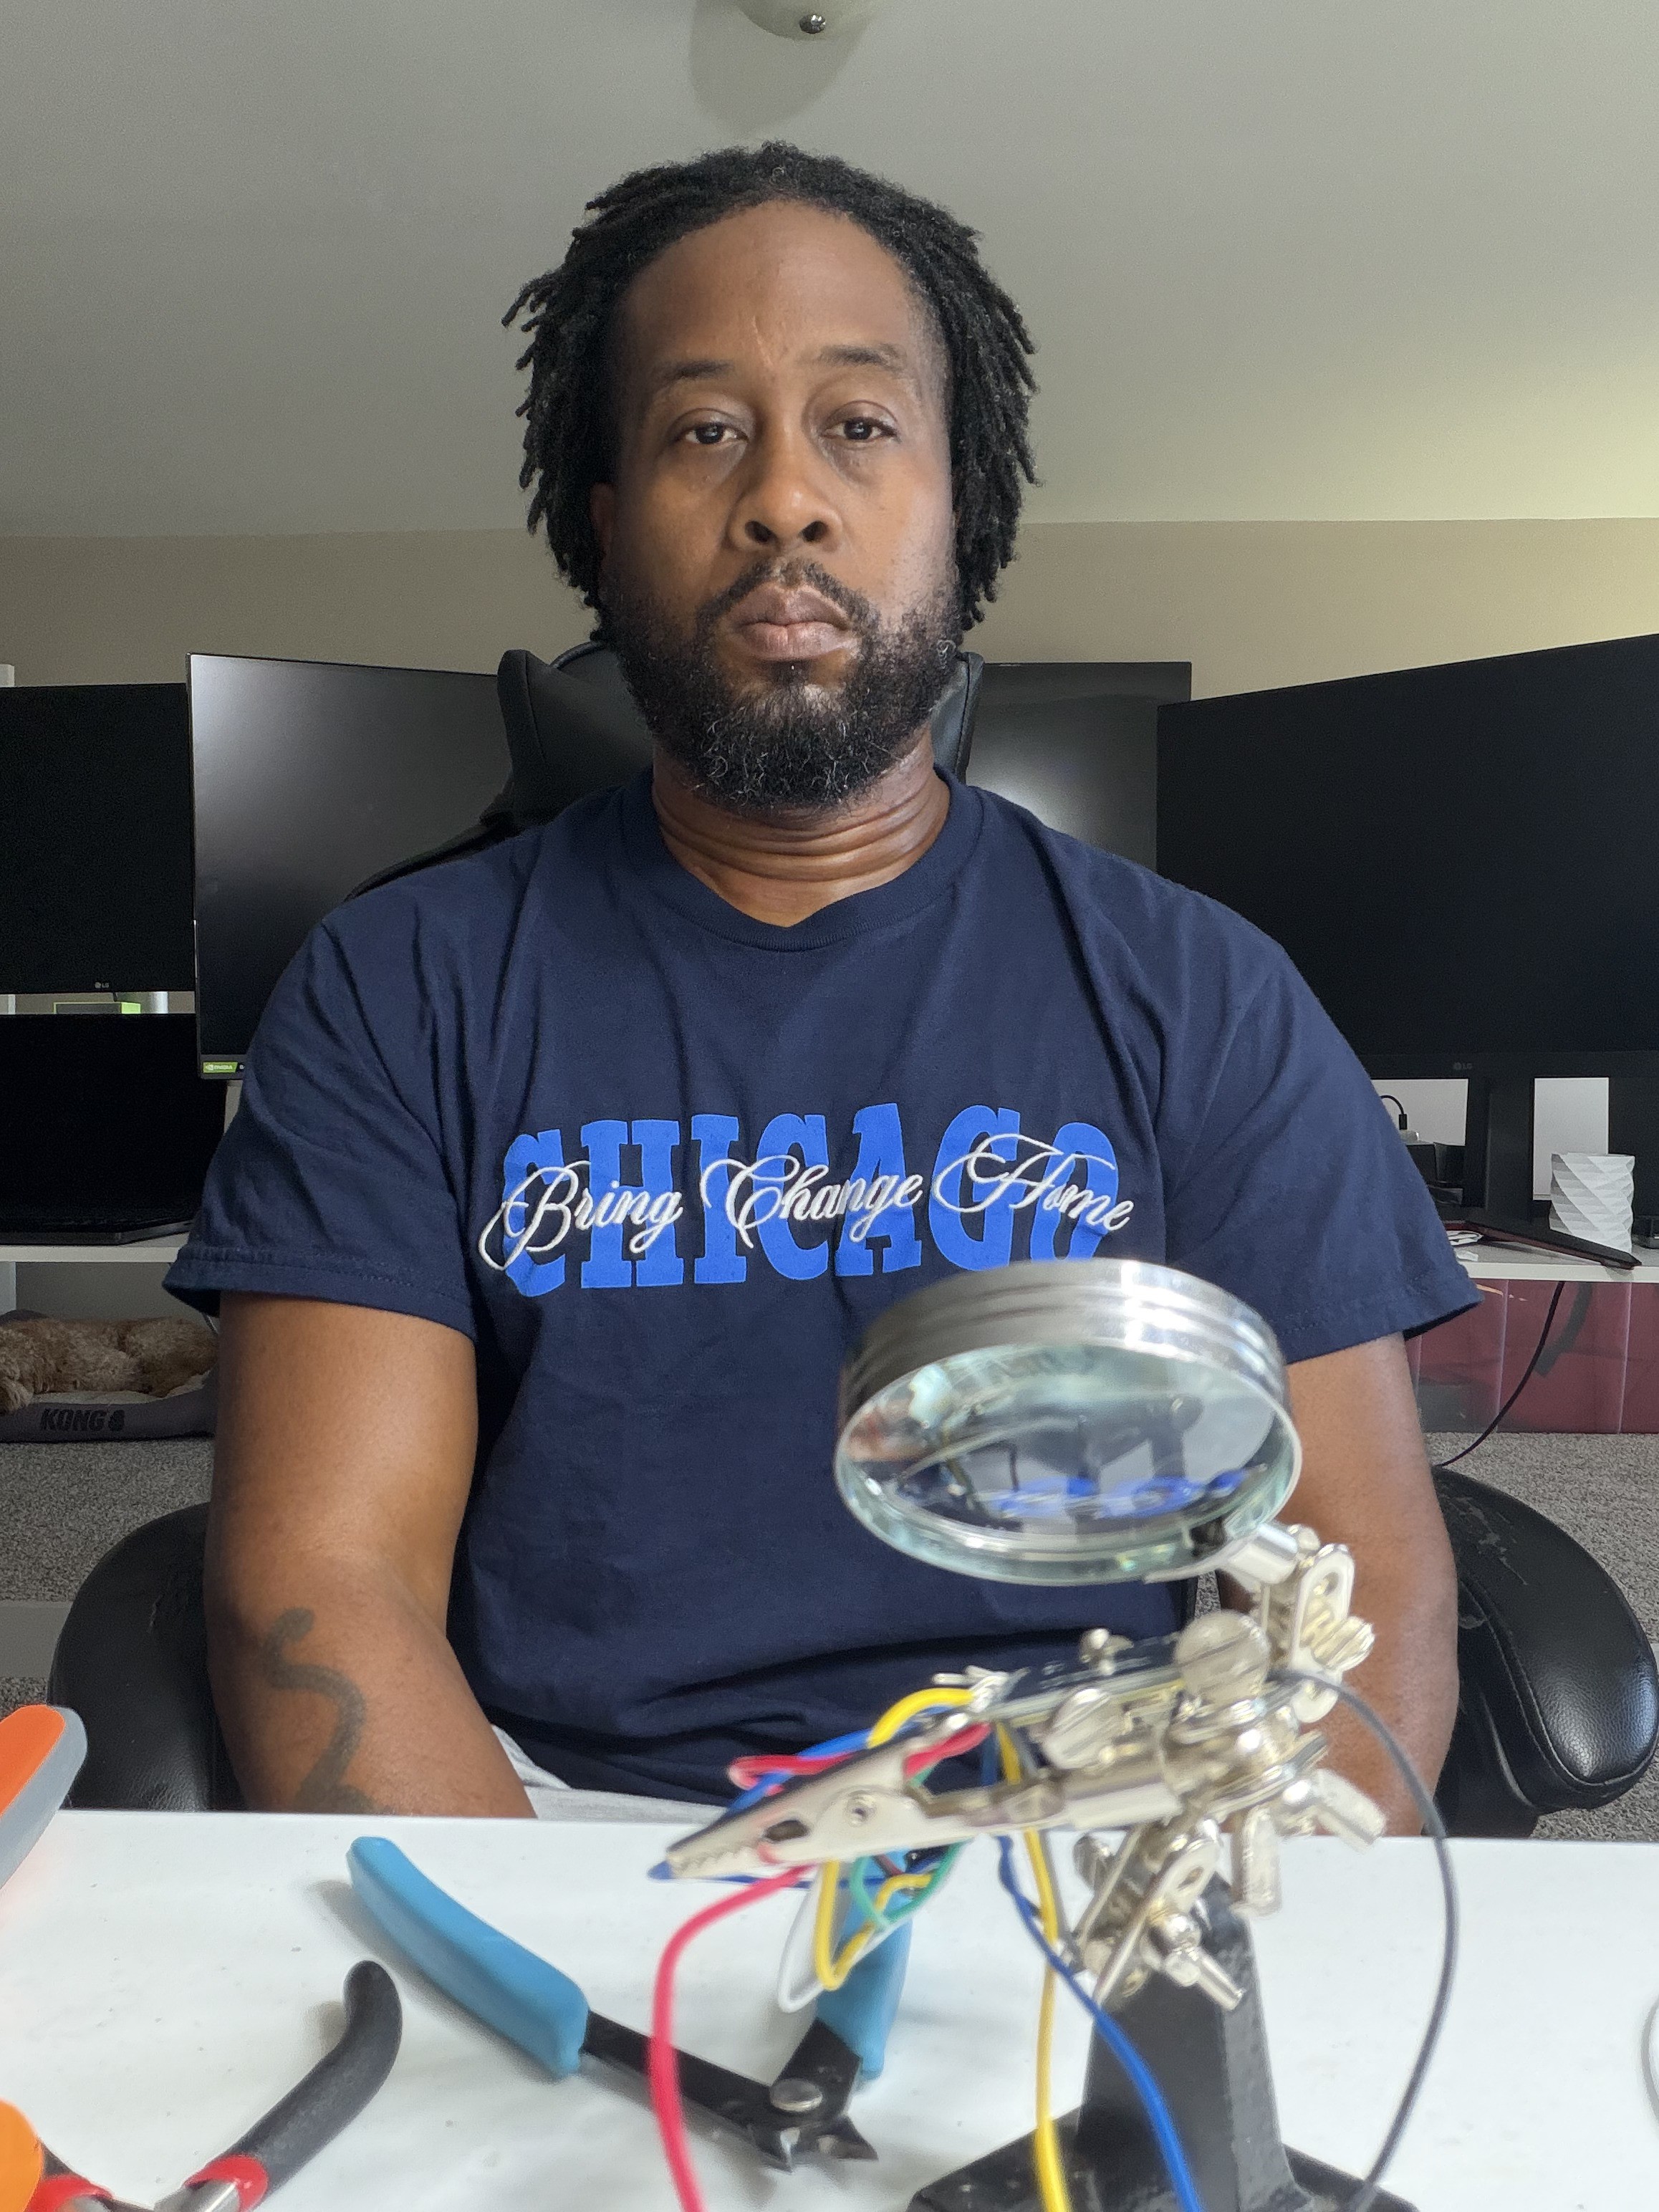
    With the bezel sorted, time to give the display something to say. The brain is an ESP32 dev board; wiring it to the GC9A01 over SPI and to the temperature/humidity sensor happened in the helping hands, under the magnifier, one triple-checked jumper at a time.

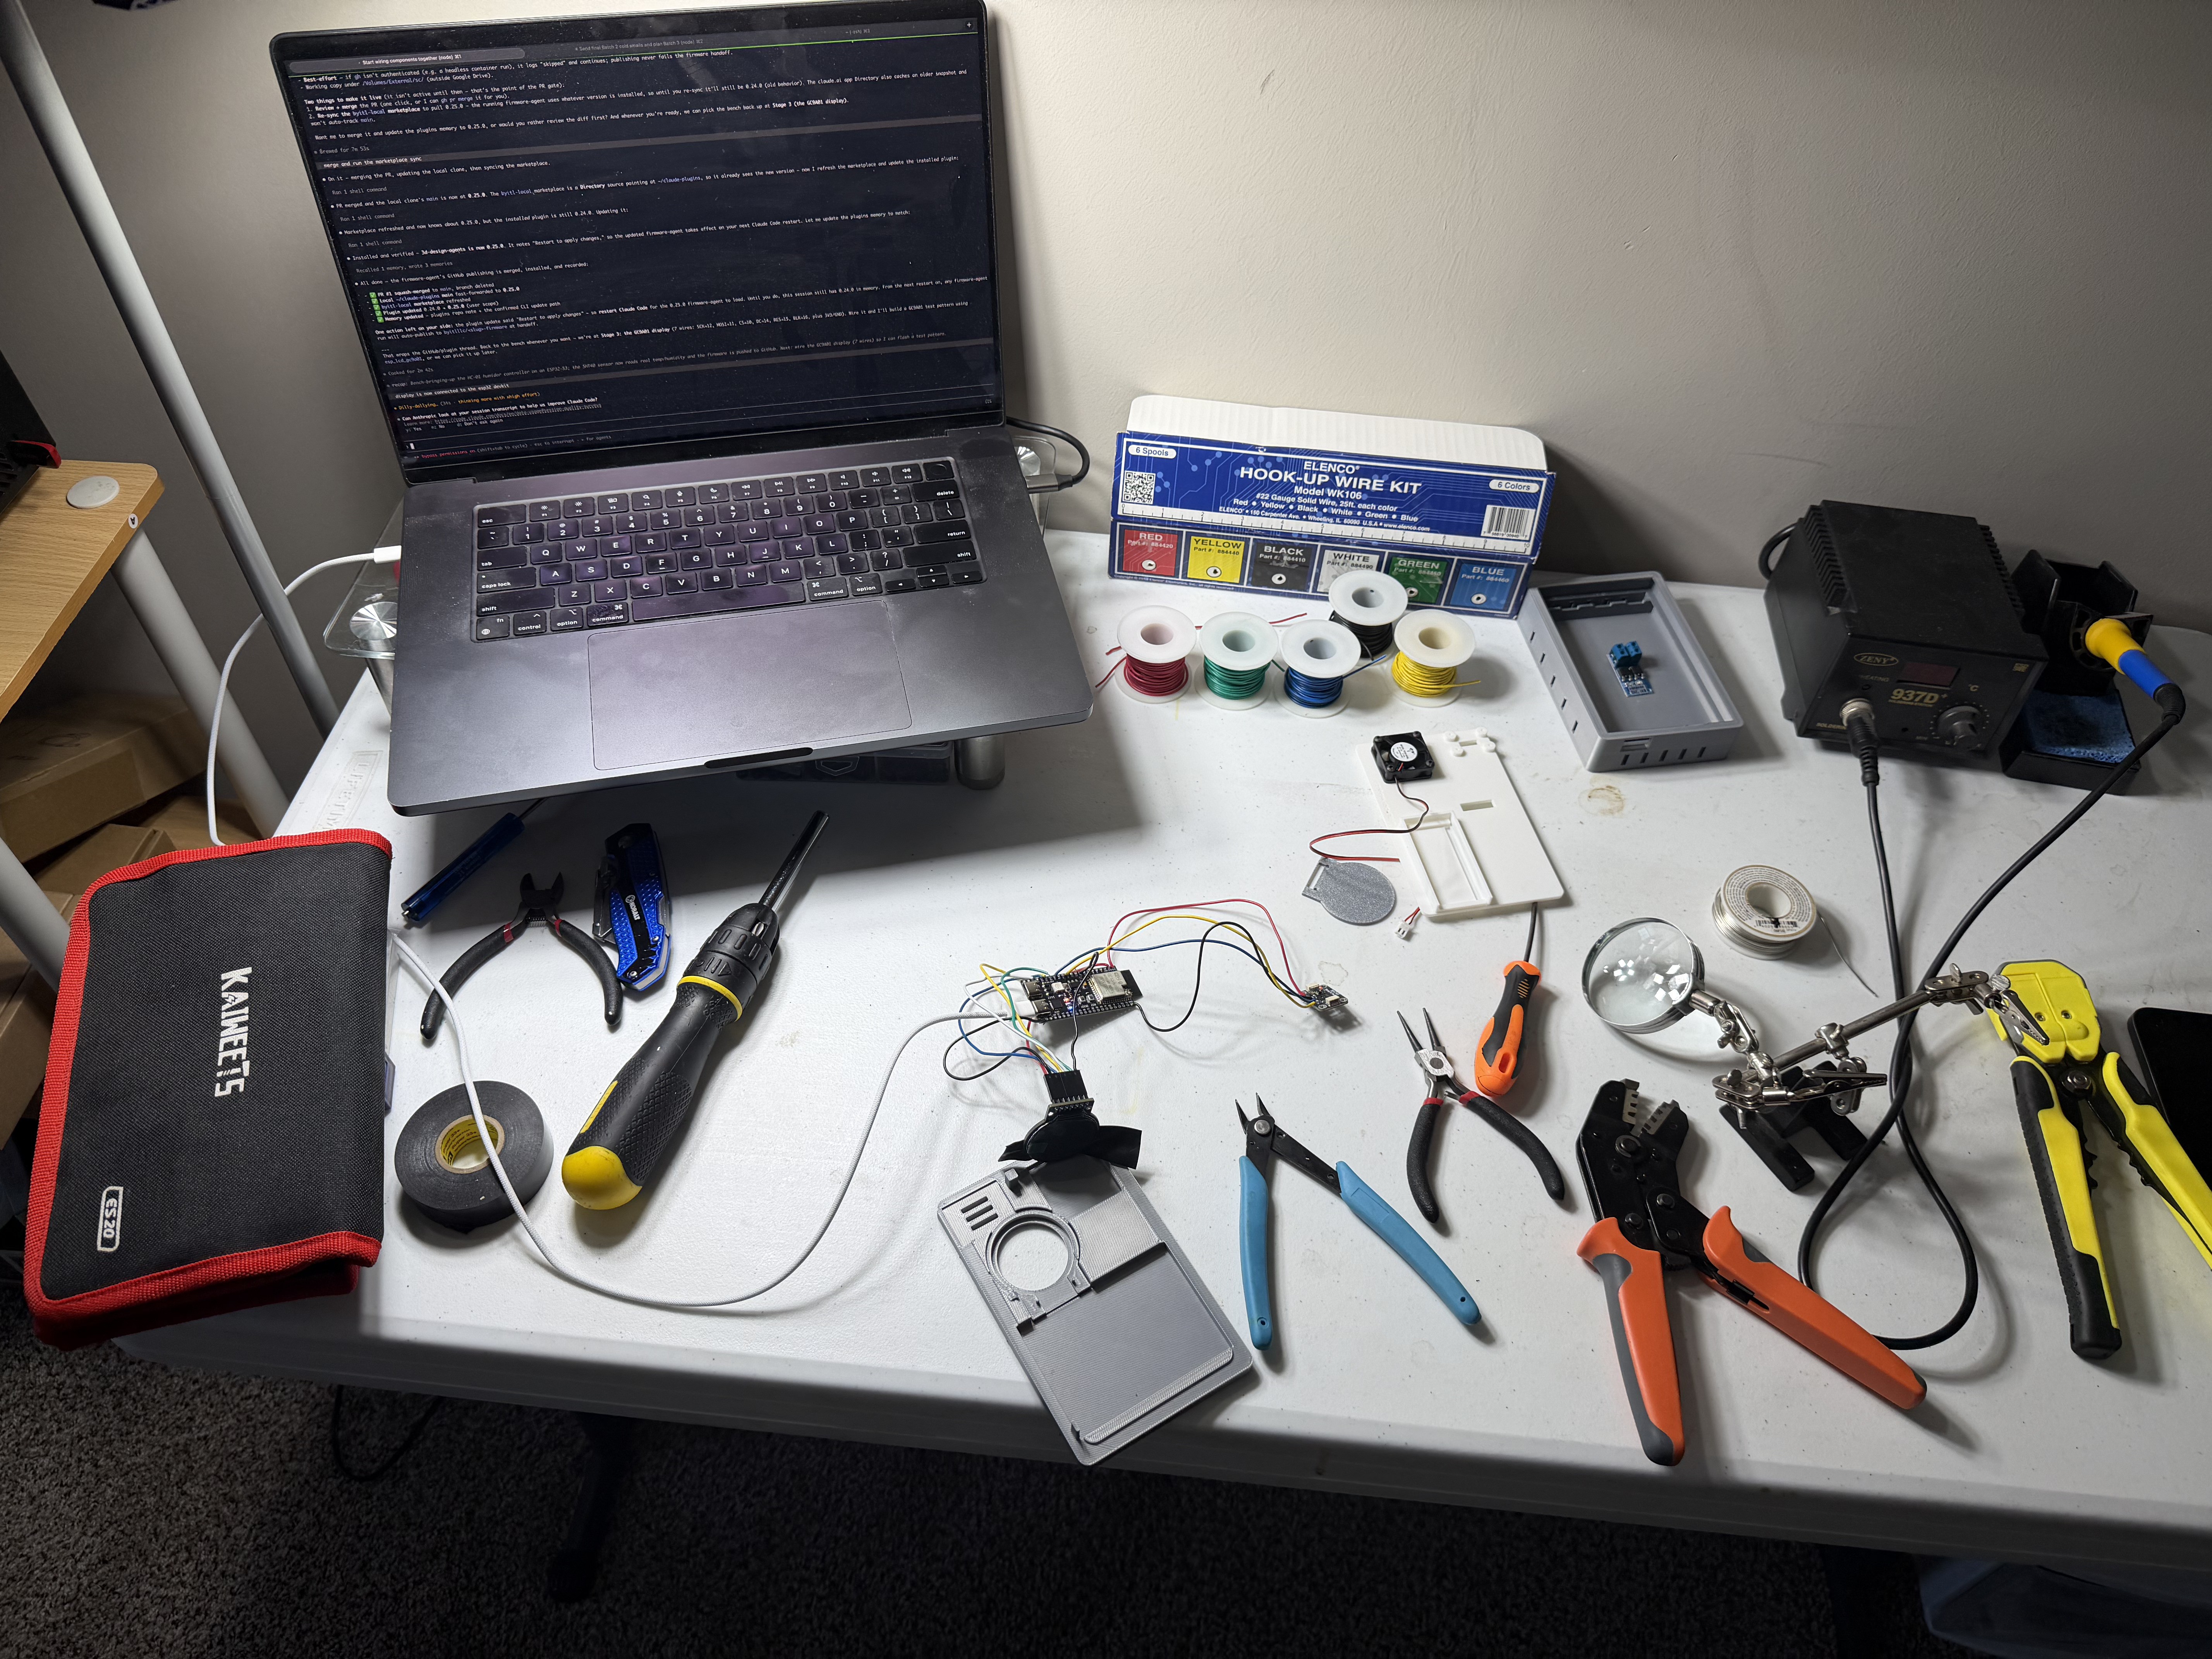
    No factory, no team — BYITL is a one-person shop, and the lab is a folding table with a soldering station. Every connection was soldered and buzzed out by hand before power ever touched the board.

    Nothing glamorous in these photos, which is exactly why they're here: this is what building a product actually looks like. Next log: first light.

  • Meet the build: a round display needs a home

    Jerome Privott2 hours ago 0 comments

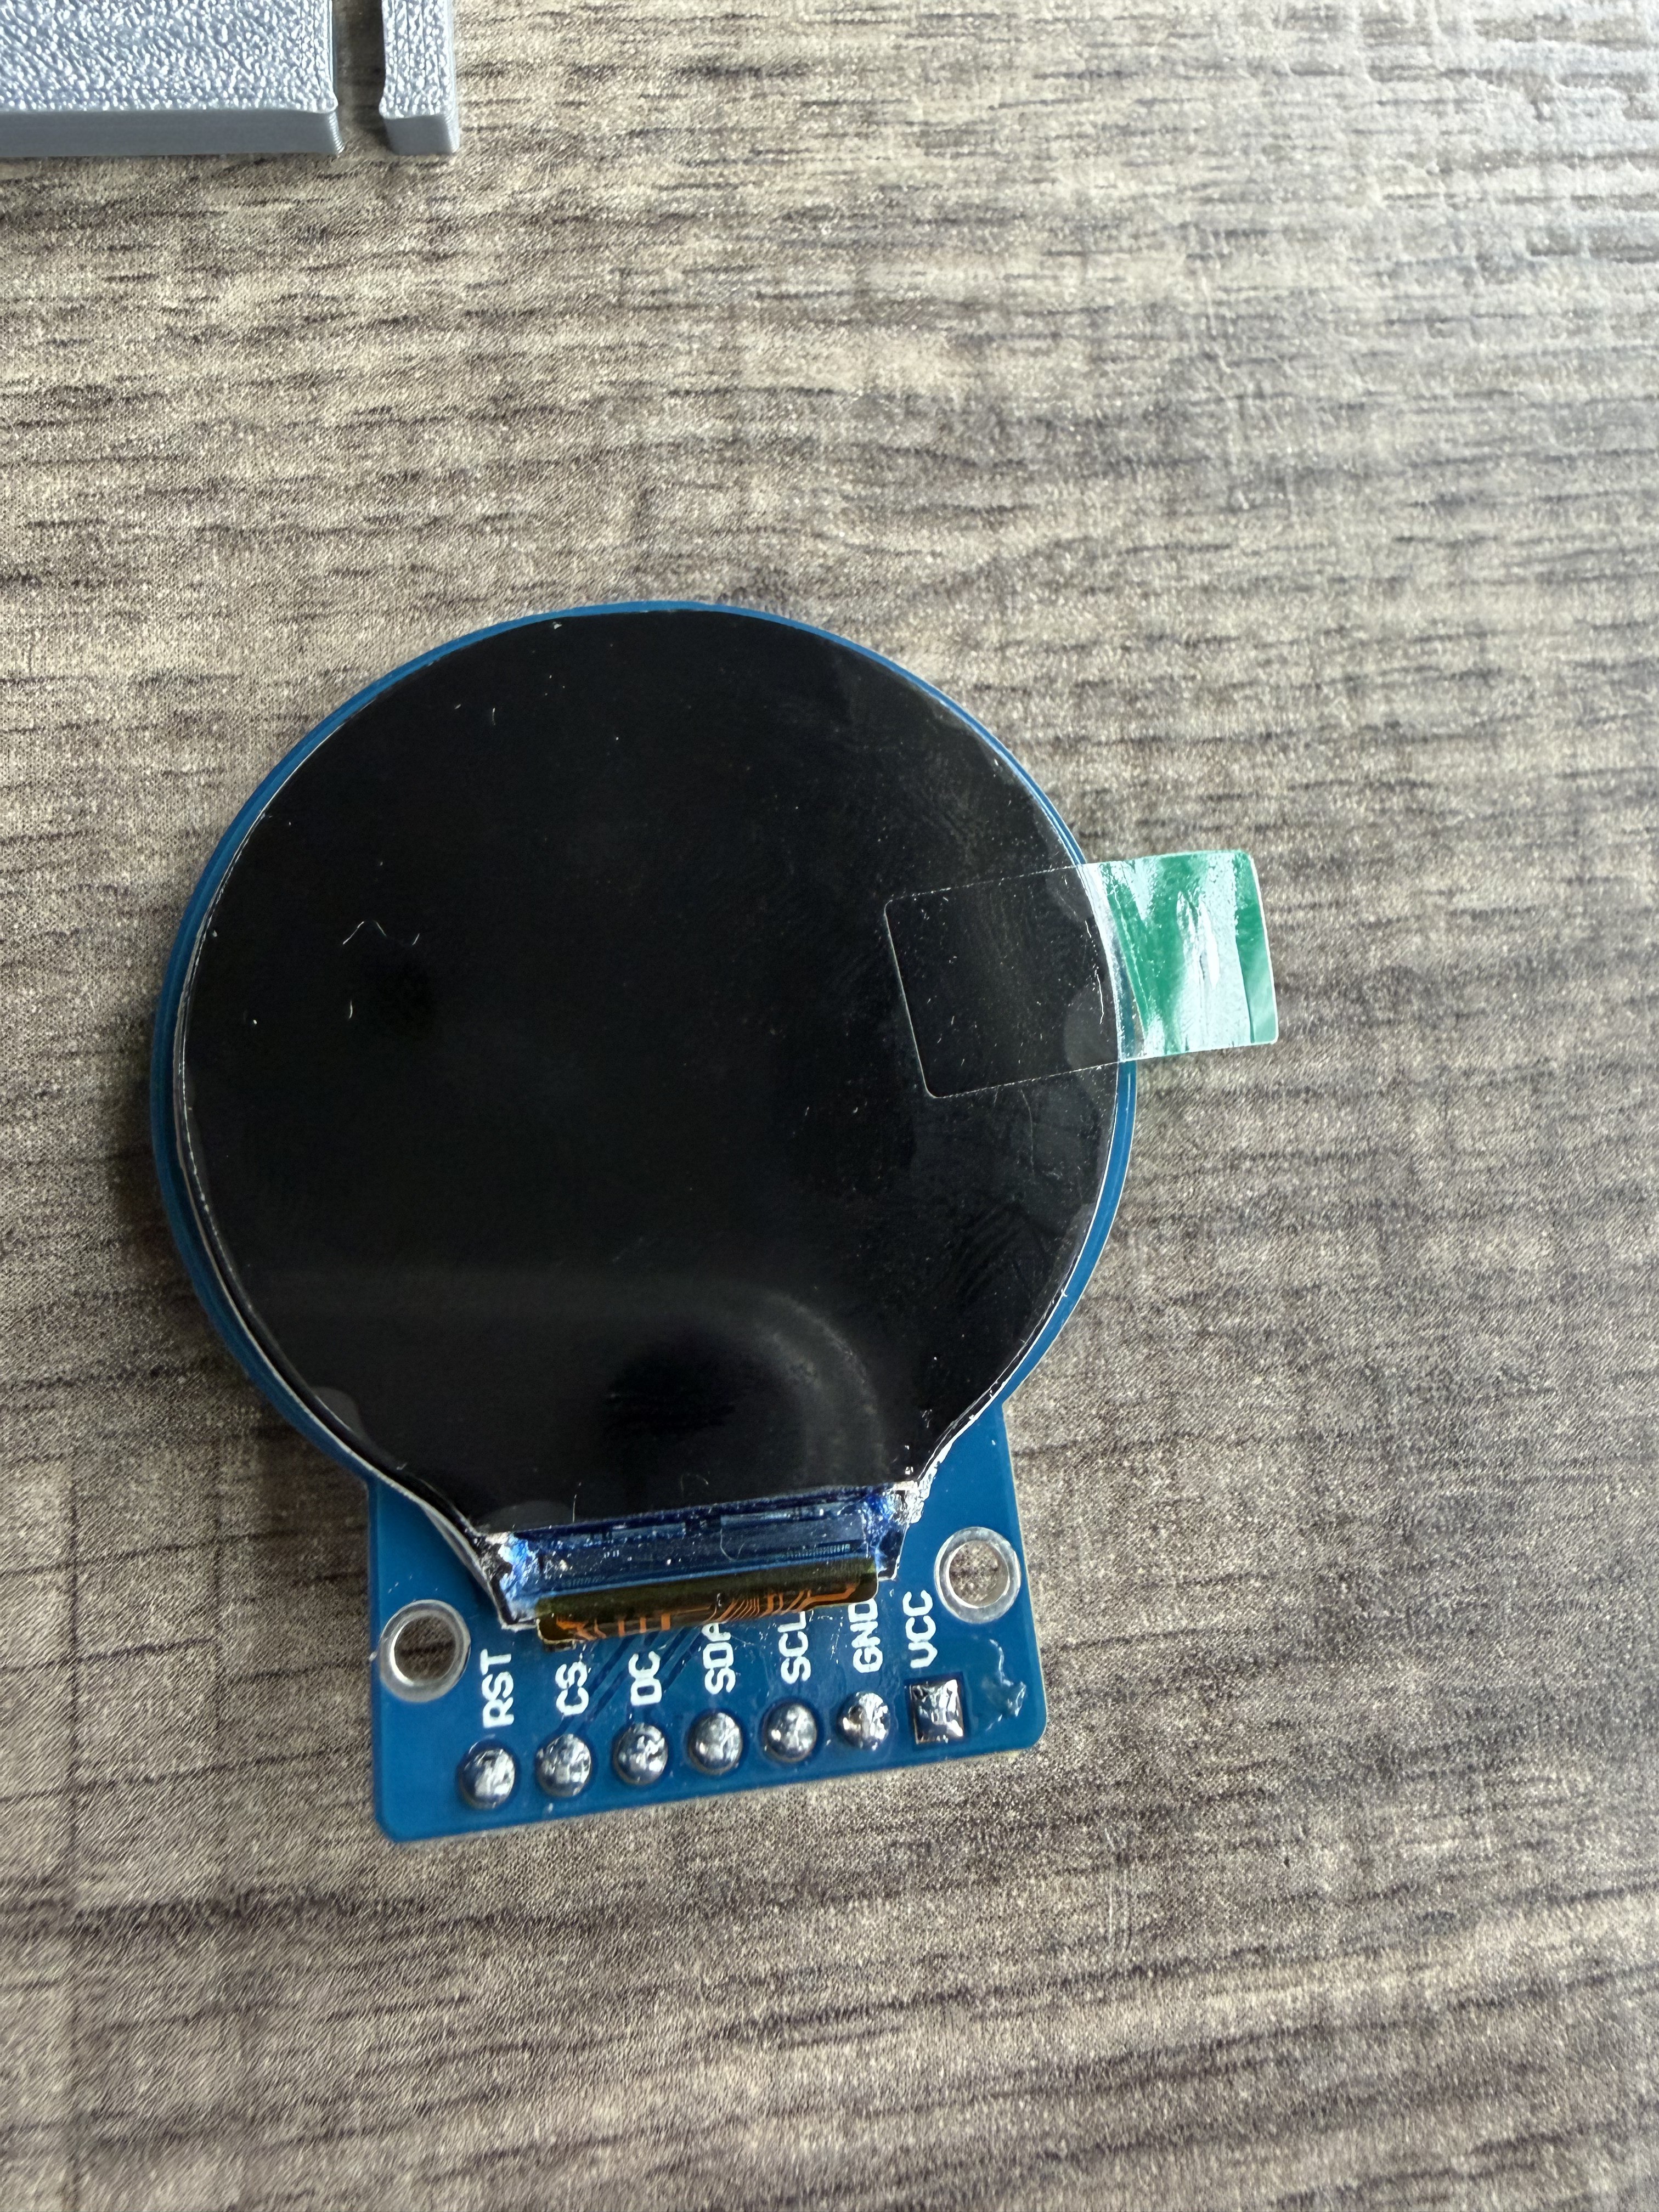
    Every build starts somewhere. This one started with a display: a 1.28" round GC9A01 TFT, chosen because a humidor controller should read like a gauge — glance at it across the room, know your humidity.

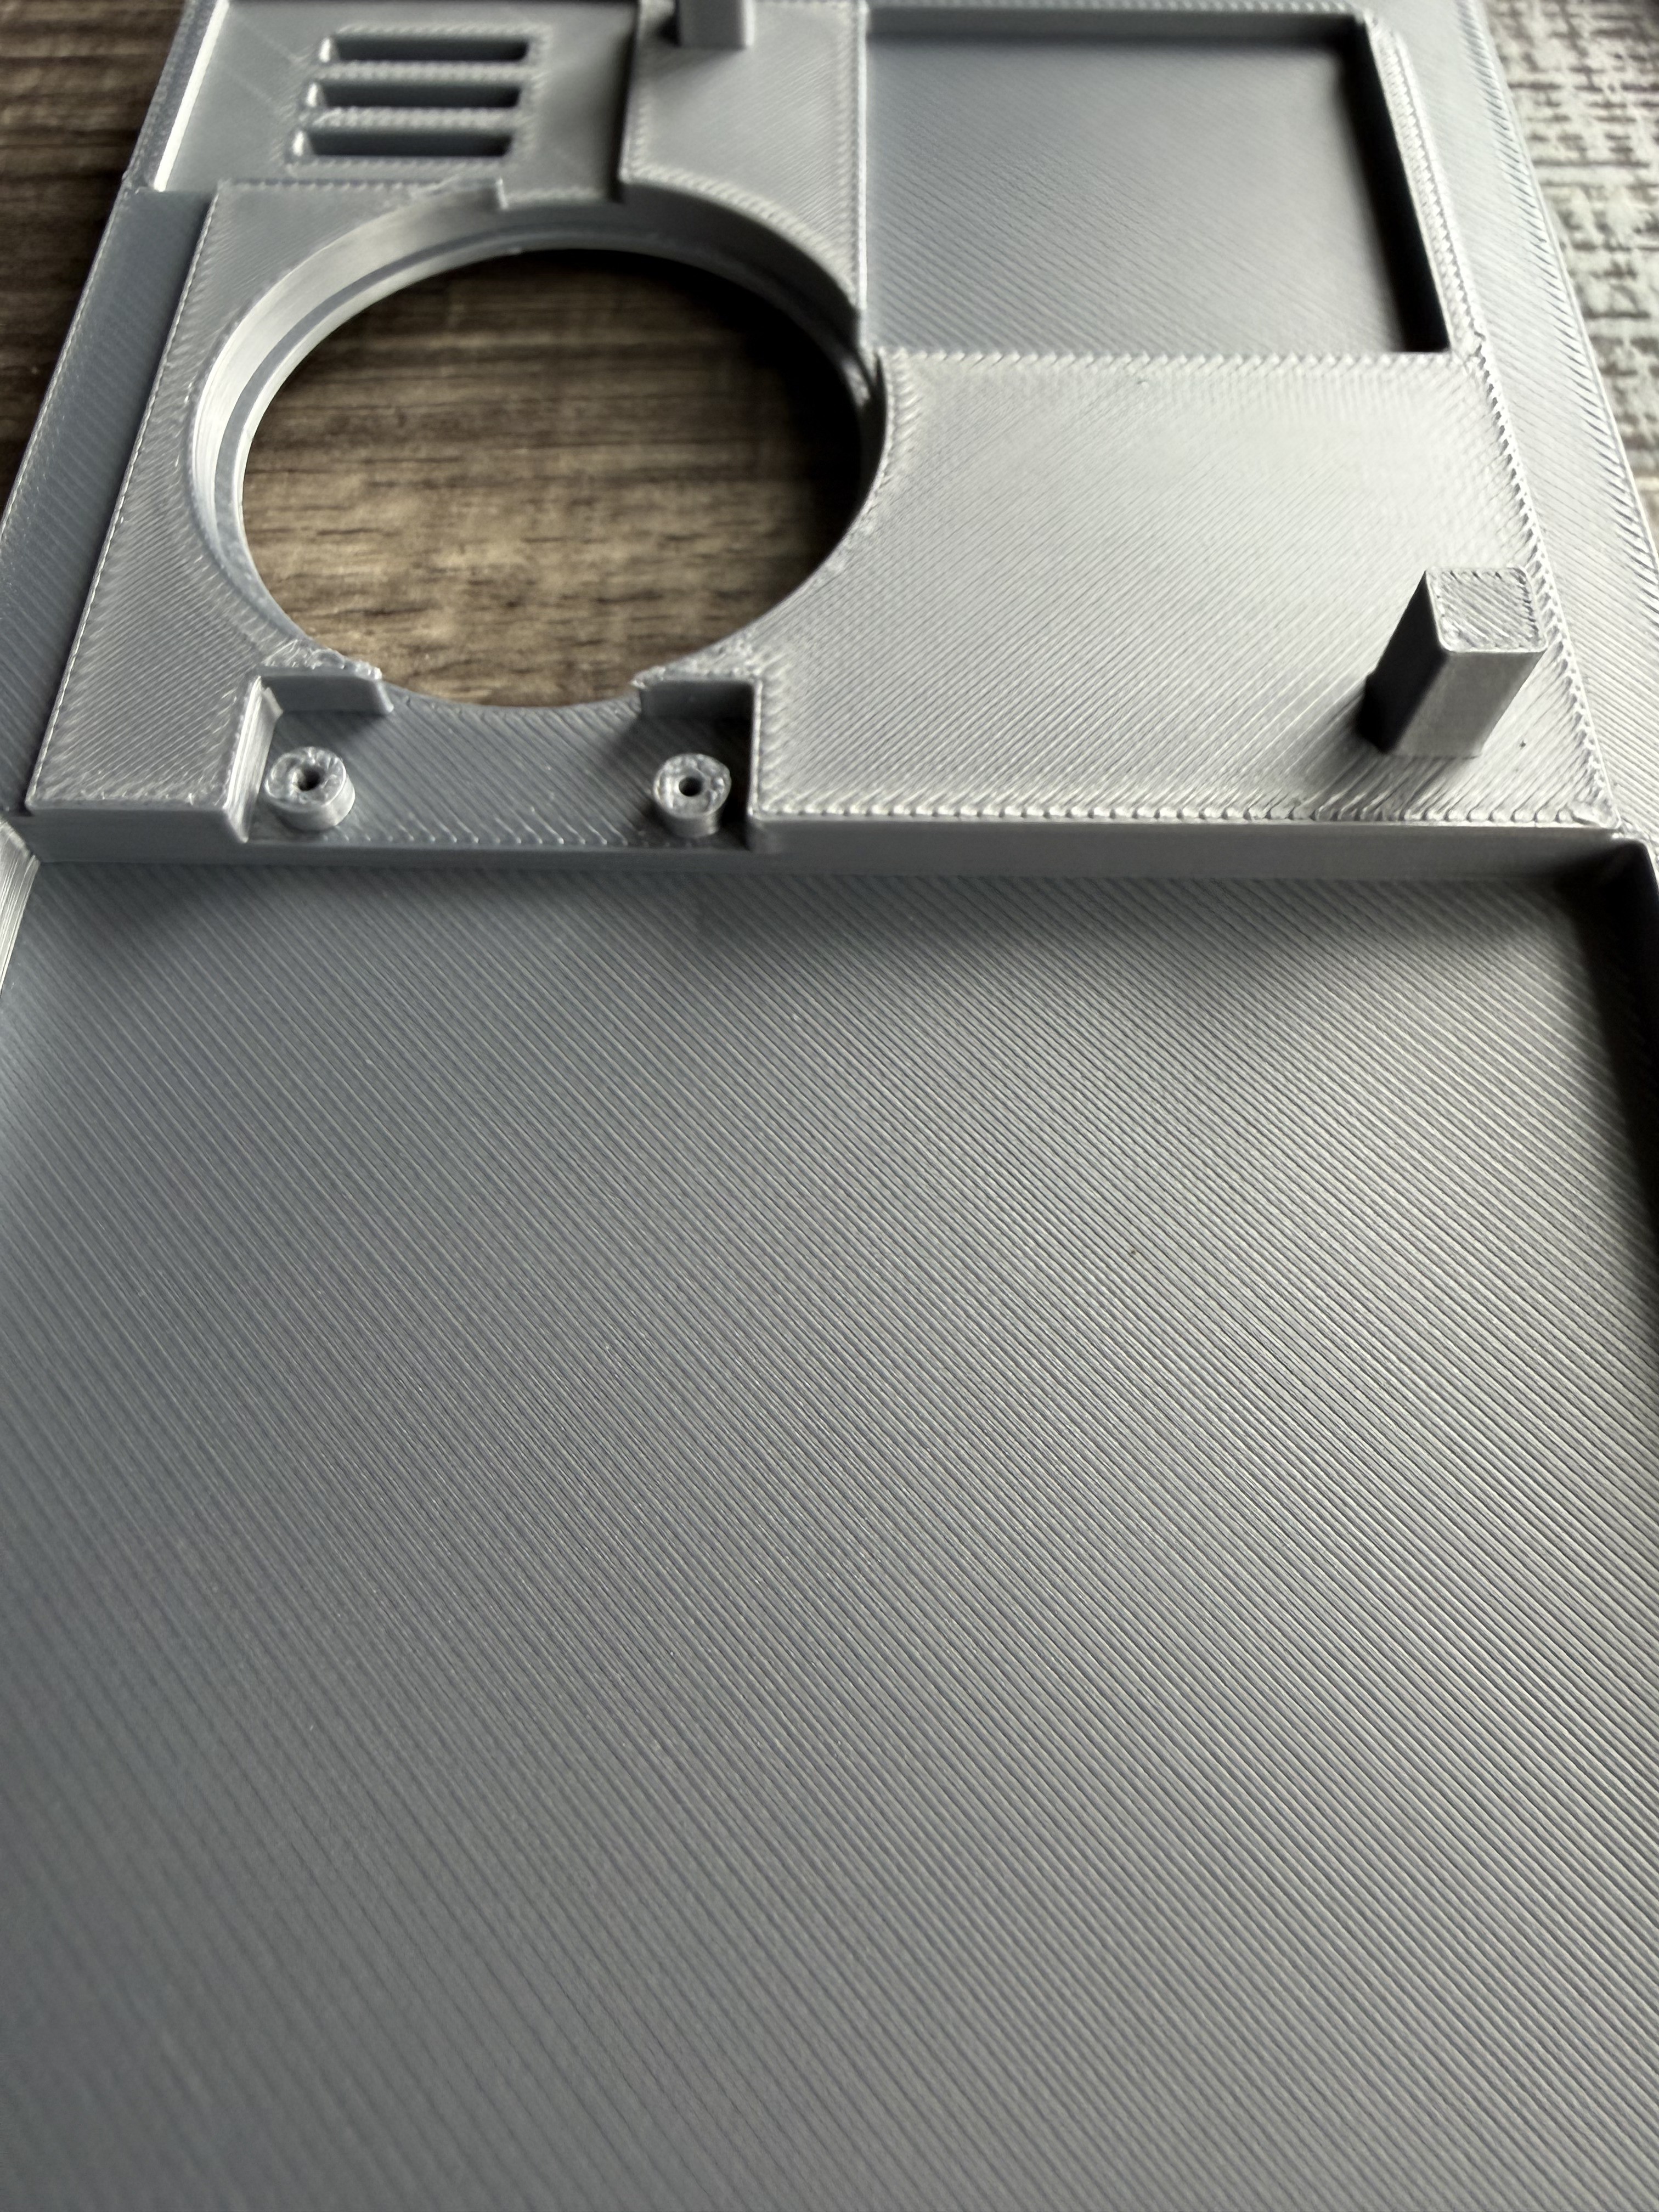
    Problem: nobody makes a mount for this module. So the enclosure came first. I modeled a lid with a circular cutout and a snap-fit bezel to capture the display, then ran test print after test print until the module seated flush without pressure on the glass.

    These photos are day one of the project (mid-July): the bare display module, the first printed lid with the display cutout, and the bezel fit checks. Next up: wiring the ESP32.

View all 6 project logs

Enjoy this project?

Share

Discussions

Does this project spark your interest?

Become a member to follow this project and never miss any updates