Close
0%
0%

DIY Fumehood for resin-printing and soldering

A DIY Fumehood for soldering and resin-printing from an old barrel

Similar projects worth following
0 followers
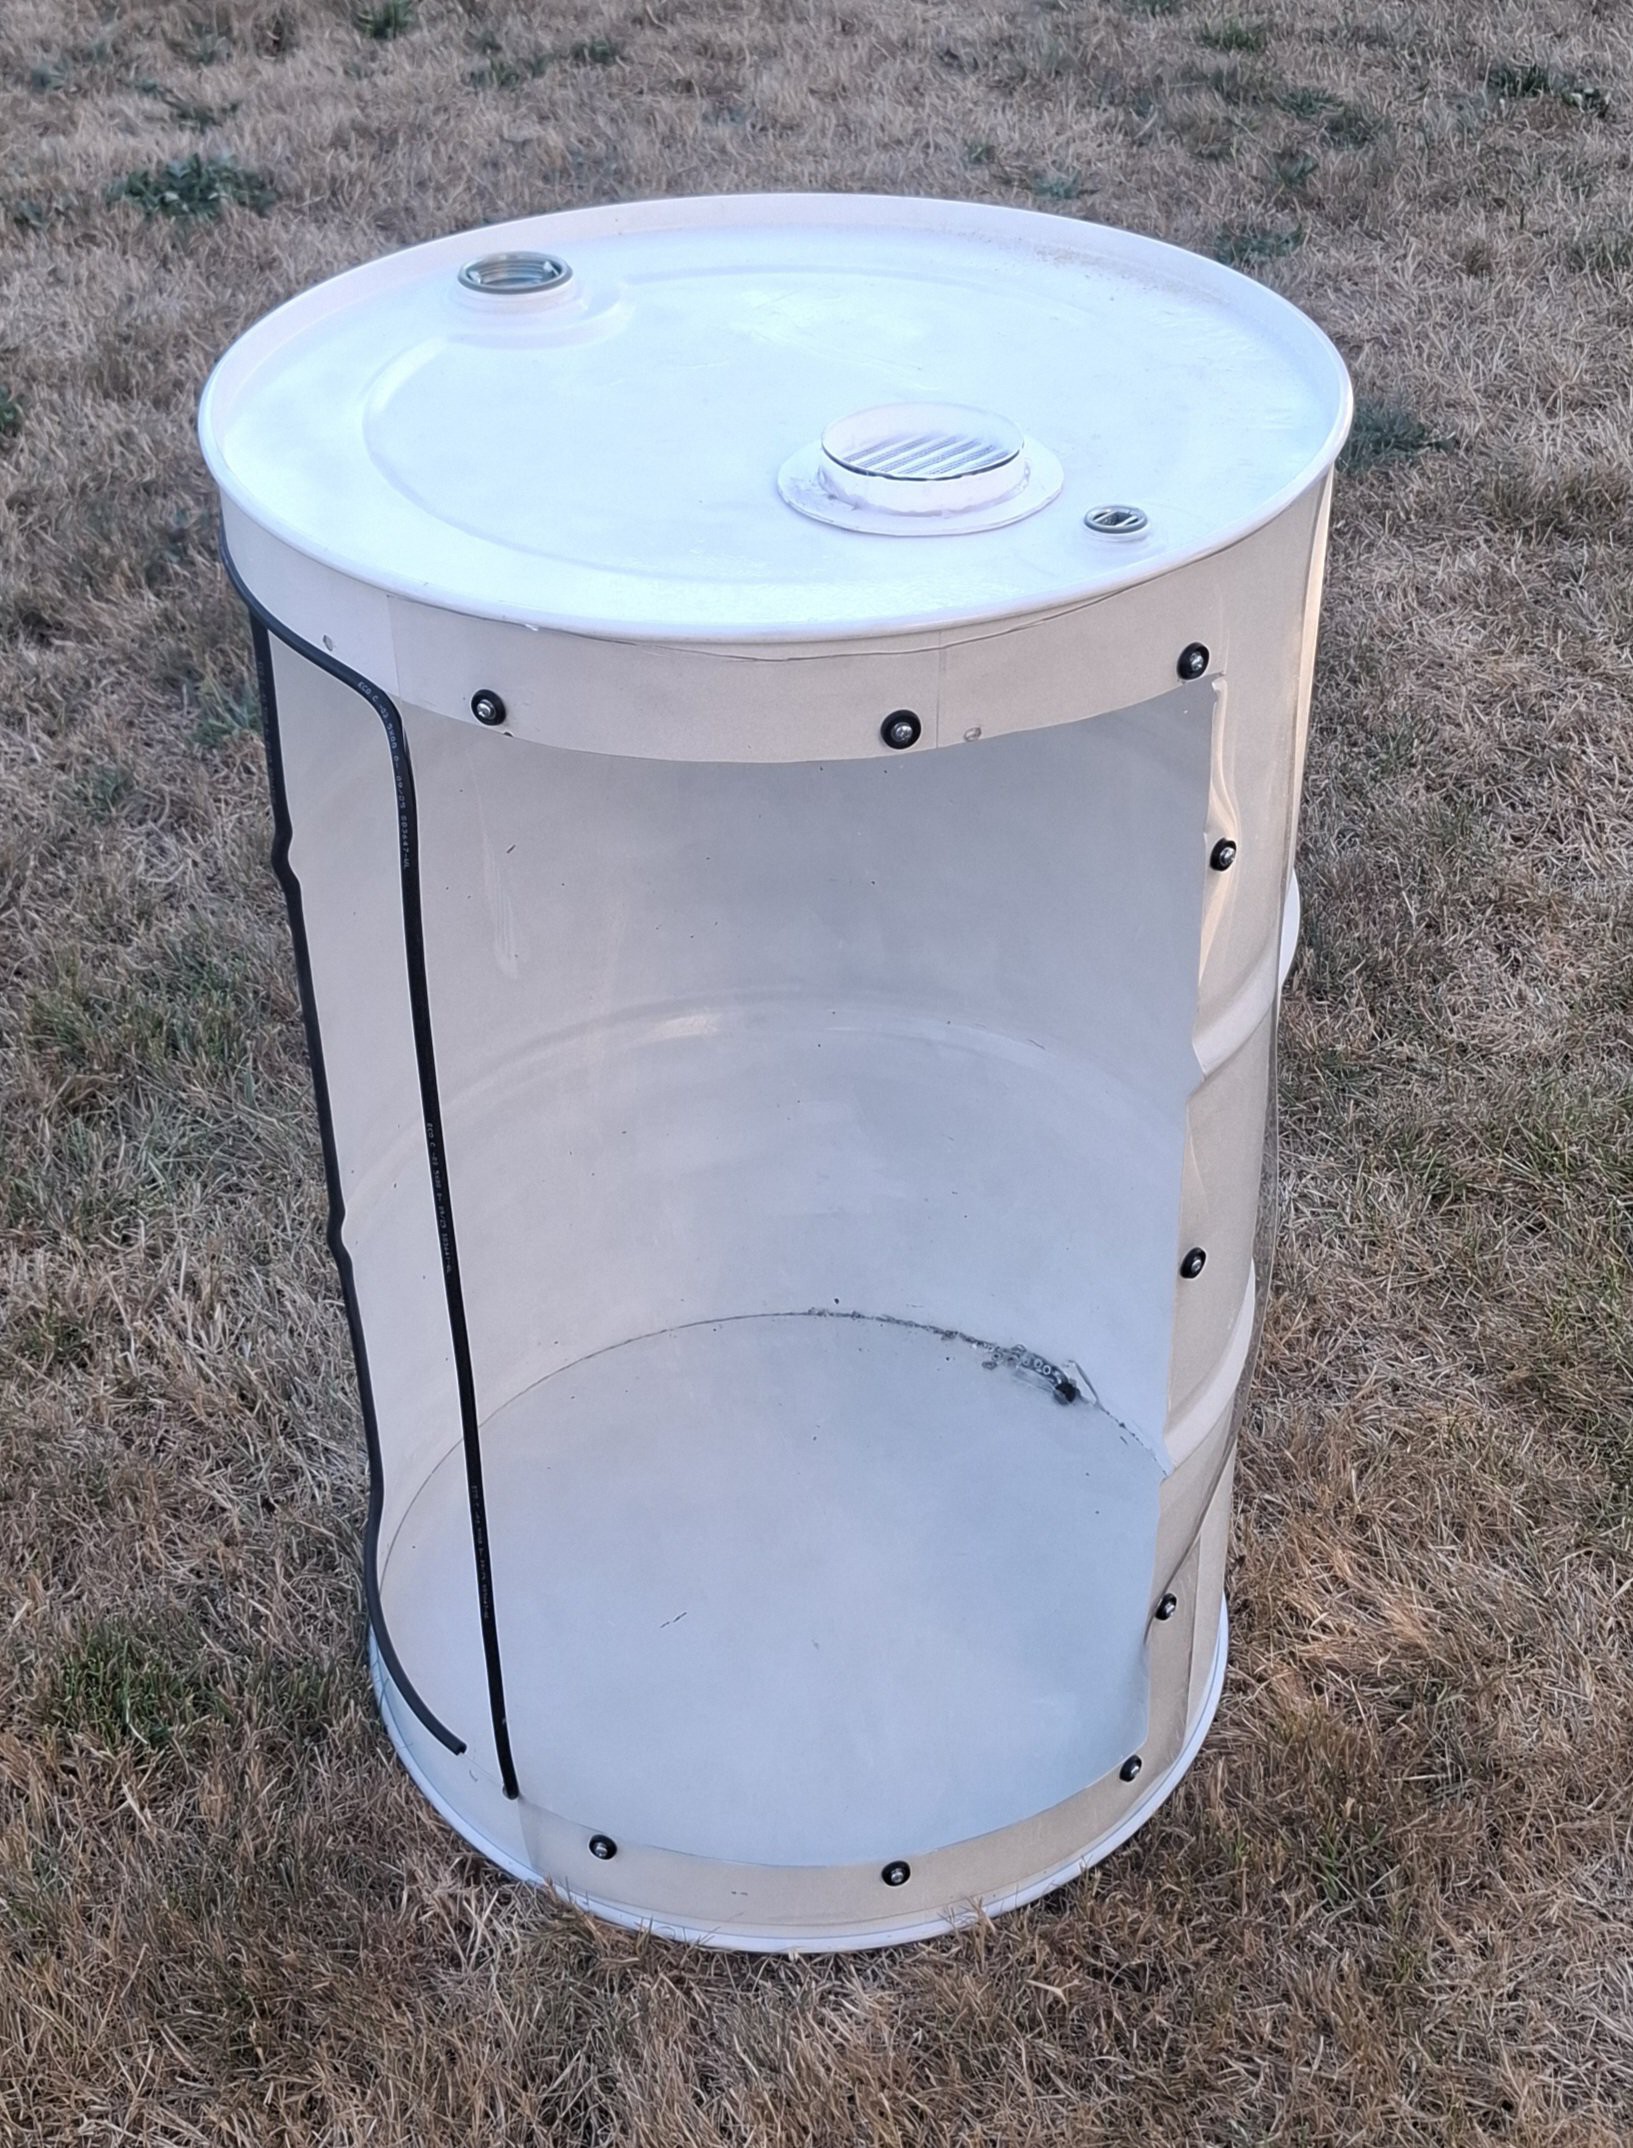
This project transforms a standard steel barrel into a sturdy, enclosed fume hood for soldering, resin printing, and other hobby projects. A barrel provides a durable, low-cost enclosure without the need to build a custom housing

This project turns a standard steel drum into a sturdy, enclosed fume hood for soldering, resin printing, and other hobby projects that produce fumes or odors. Using such a barrel provides an inexpensive, durable enclosure without the need to design and build a custom housing from scratch.

 A replaceable air filter helps reduce airborne particles and odors before the air is exhausted.

To make the fume hood practical for workshops without a permanent ventilation system, I also designed a window exhaust adapter that fits into a half-open window. This allows the fumes to be vented outside without requiring a dedicated wall-mounted exhaust fan or permanent modifications to the room. Simply connect the ducting, place the adapter in the window, and you're ready to work.

Whether you're building your first workshop ventilation system or looking for a compact, low-cost solution, this design offers a simple way to create a functional and durable fume hood with readily available materials.

Note: This enclosure is intended to help capture and exhaust fumes, not to eliminate all hazardous vapors. Always use appropriate ventilation and follow the safety recommendations for the materials you are working with.
  • 1 × Large Steelbarrel (210L)
  • 1 × gasoline-tube (1m)
  • 1 × thick flexible and transparent PVC sheet
  • 1 × White spraypaint
  • 1 × Wood (Boards an other scraps i had)

View all 16 components

  • Final touches

    Jakob Spindler5 hours ago 0 comments

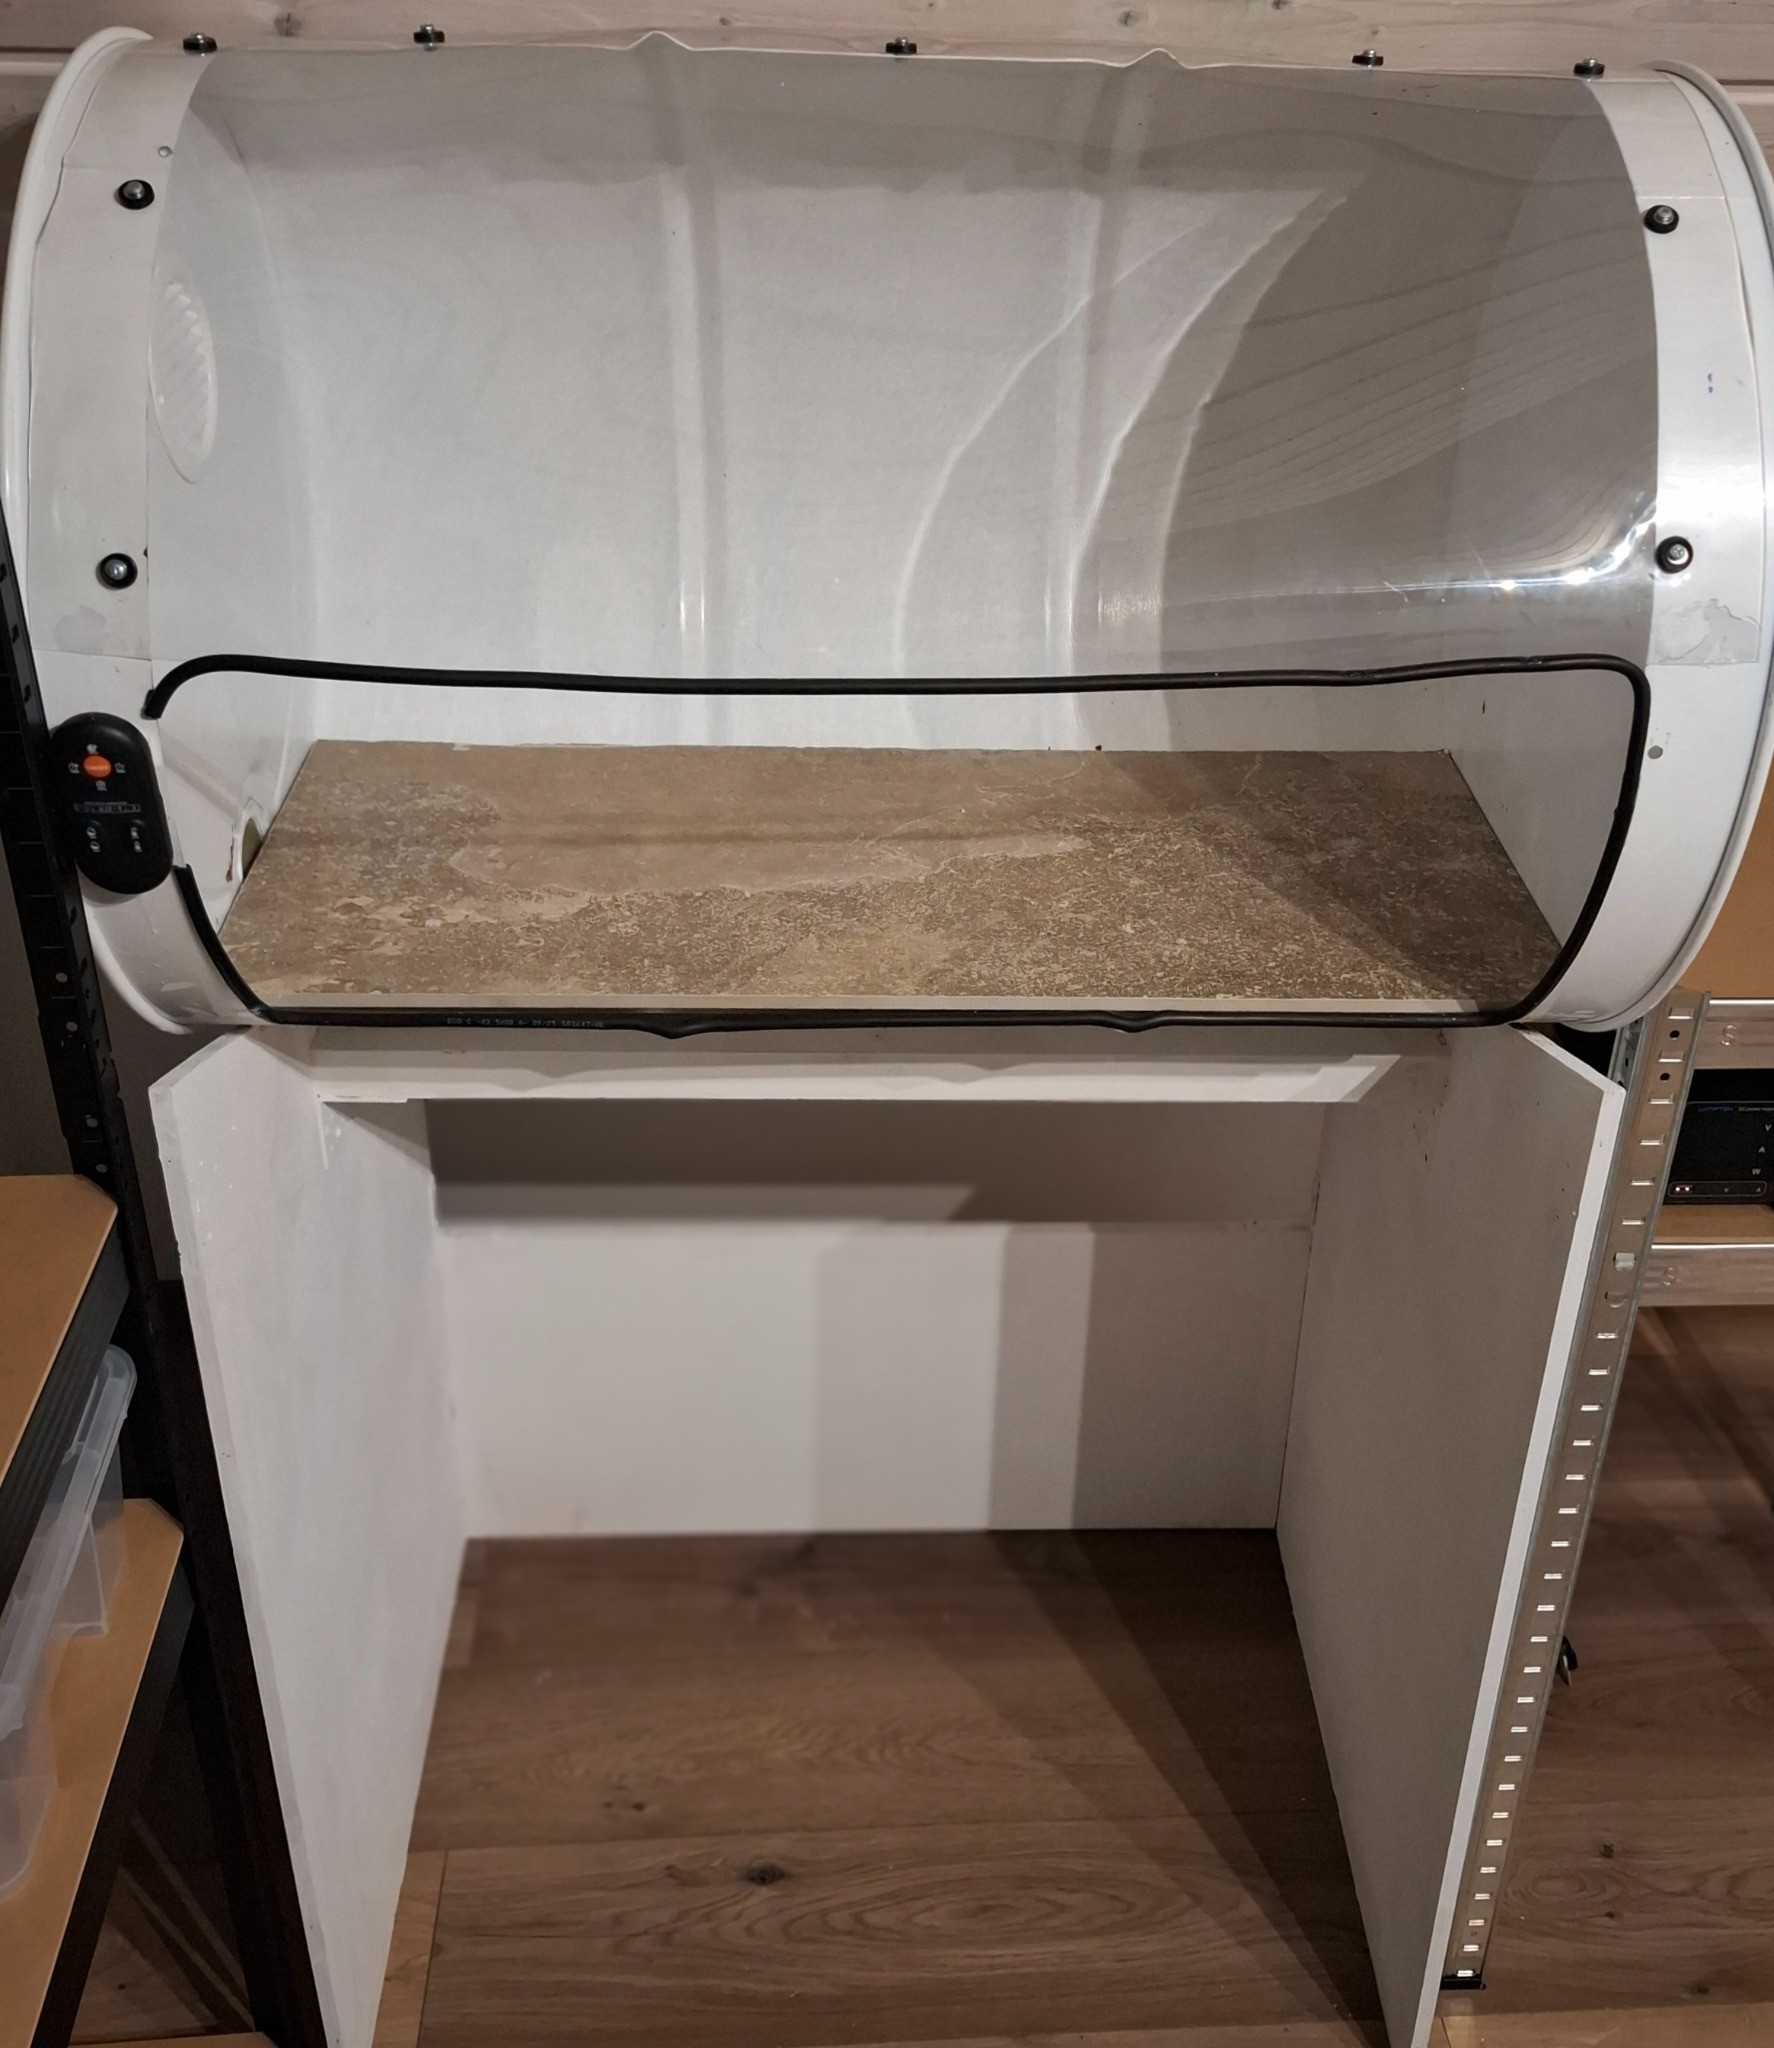
    Finally a wooden board was cut to length, to 45° angle cuts were done alonge the long edges, and the board was insertet into the barrel as the base for the tabletop. Later I repurposed an huge old tile I already had and cut it with anglegrinder with a diamond disk into shape, put it on top of the wood, for better resistence against heat (soldering) and everything around the edges was sealed with a high quality silicone to prevent the possibility of any chemicals like cleaning solutions and resin reaching the wooden board (not yet shown in the picture). Finally I screwed the  remotecontrol onto the side, so I always have it where I need it and don't Lose it😅. 

  • Baseframe

    Jakob Spindler08/19/2026 at 07:59 0 comments

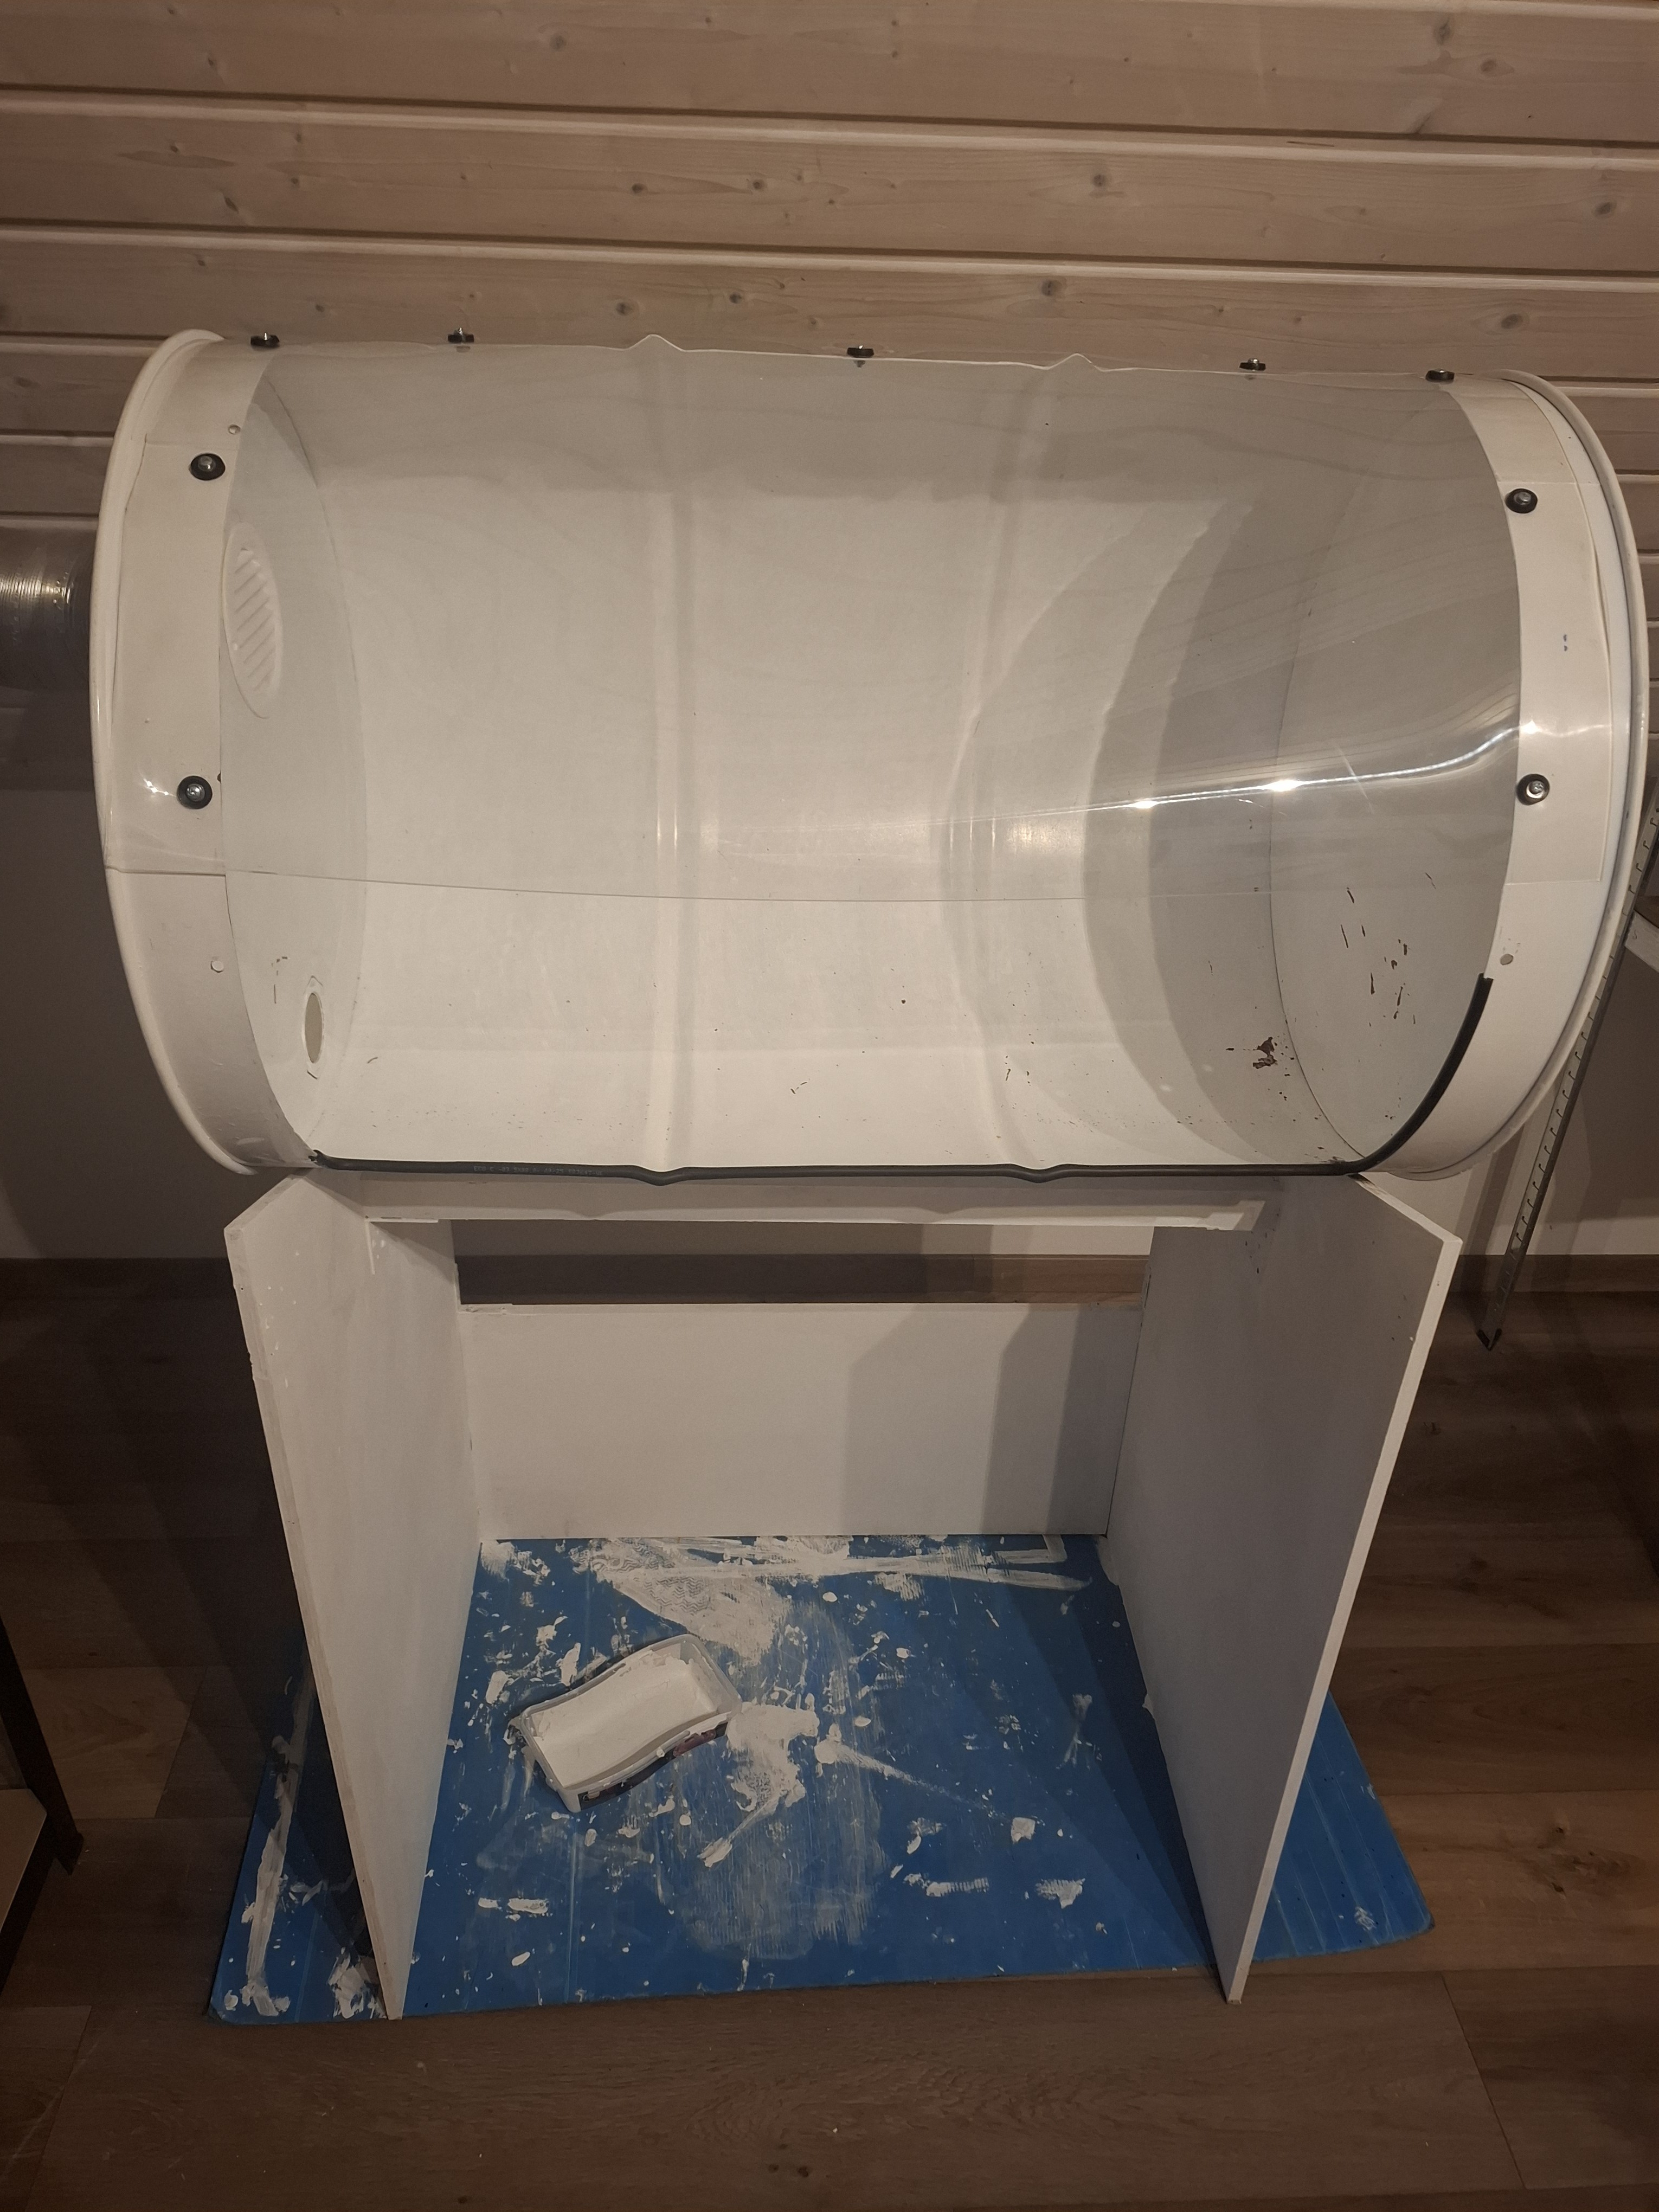
    I constructed a simple Baseframe made from wooden boards and some scraps i still had in the workshop, the top was cut triangular, so the barrel couldn´t roll of. Everything was painted white, mainly for the looks of it. The fumehood got even better secured, by screwing it onto the frame.

  • Exhaust system

    Jakob Spindler08/19/2026 at 07:54 0 comments

    The construction was really straight forward, I just plugged the components together in this order 3D printed window adapter -> piece of hose -> In-line fan -> piece of hose -> filter -> piece of hose -> fumehood. In the end I clamped everything thogether with the hose clamps and installed it on the fumehood.

  • Modifications

    Jakob Spindler08/19/2026 at 07:39 0 comments

    i drilled the needed holes with an m4 Drill, cut out the exhaust port, deburred everything, and spraypainted it white. The thick transparent tablecloth was placed in a way that most of the previous cut opening is covered but there ist still enough room to work inside with your arms, and screwed in place with the screws and nuts, the rubber sealing rings where used, so i wouldn't damage the clear PVC. A rim was added, made from the gasoline tube for extra safety. An the exhaust Cover was glued into the opening i cut for it 

  • Cleaning, cutting an deburring

    Jakob Spindler08/19/2026 at 07:28 0 comments

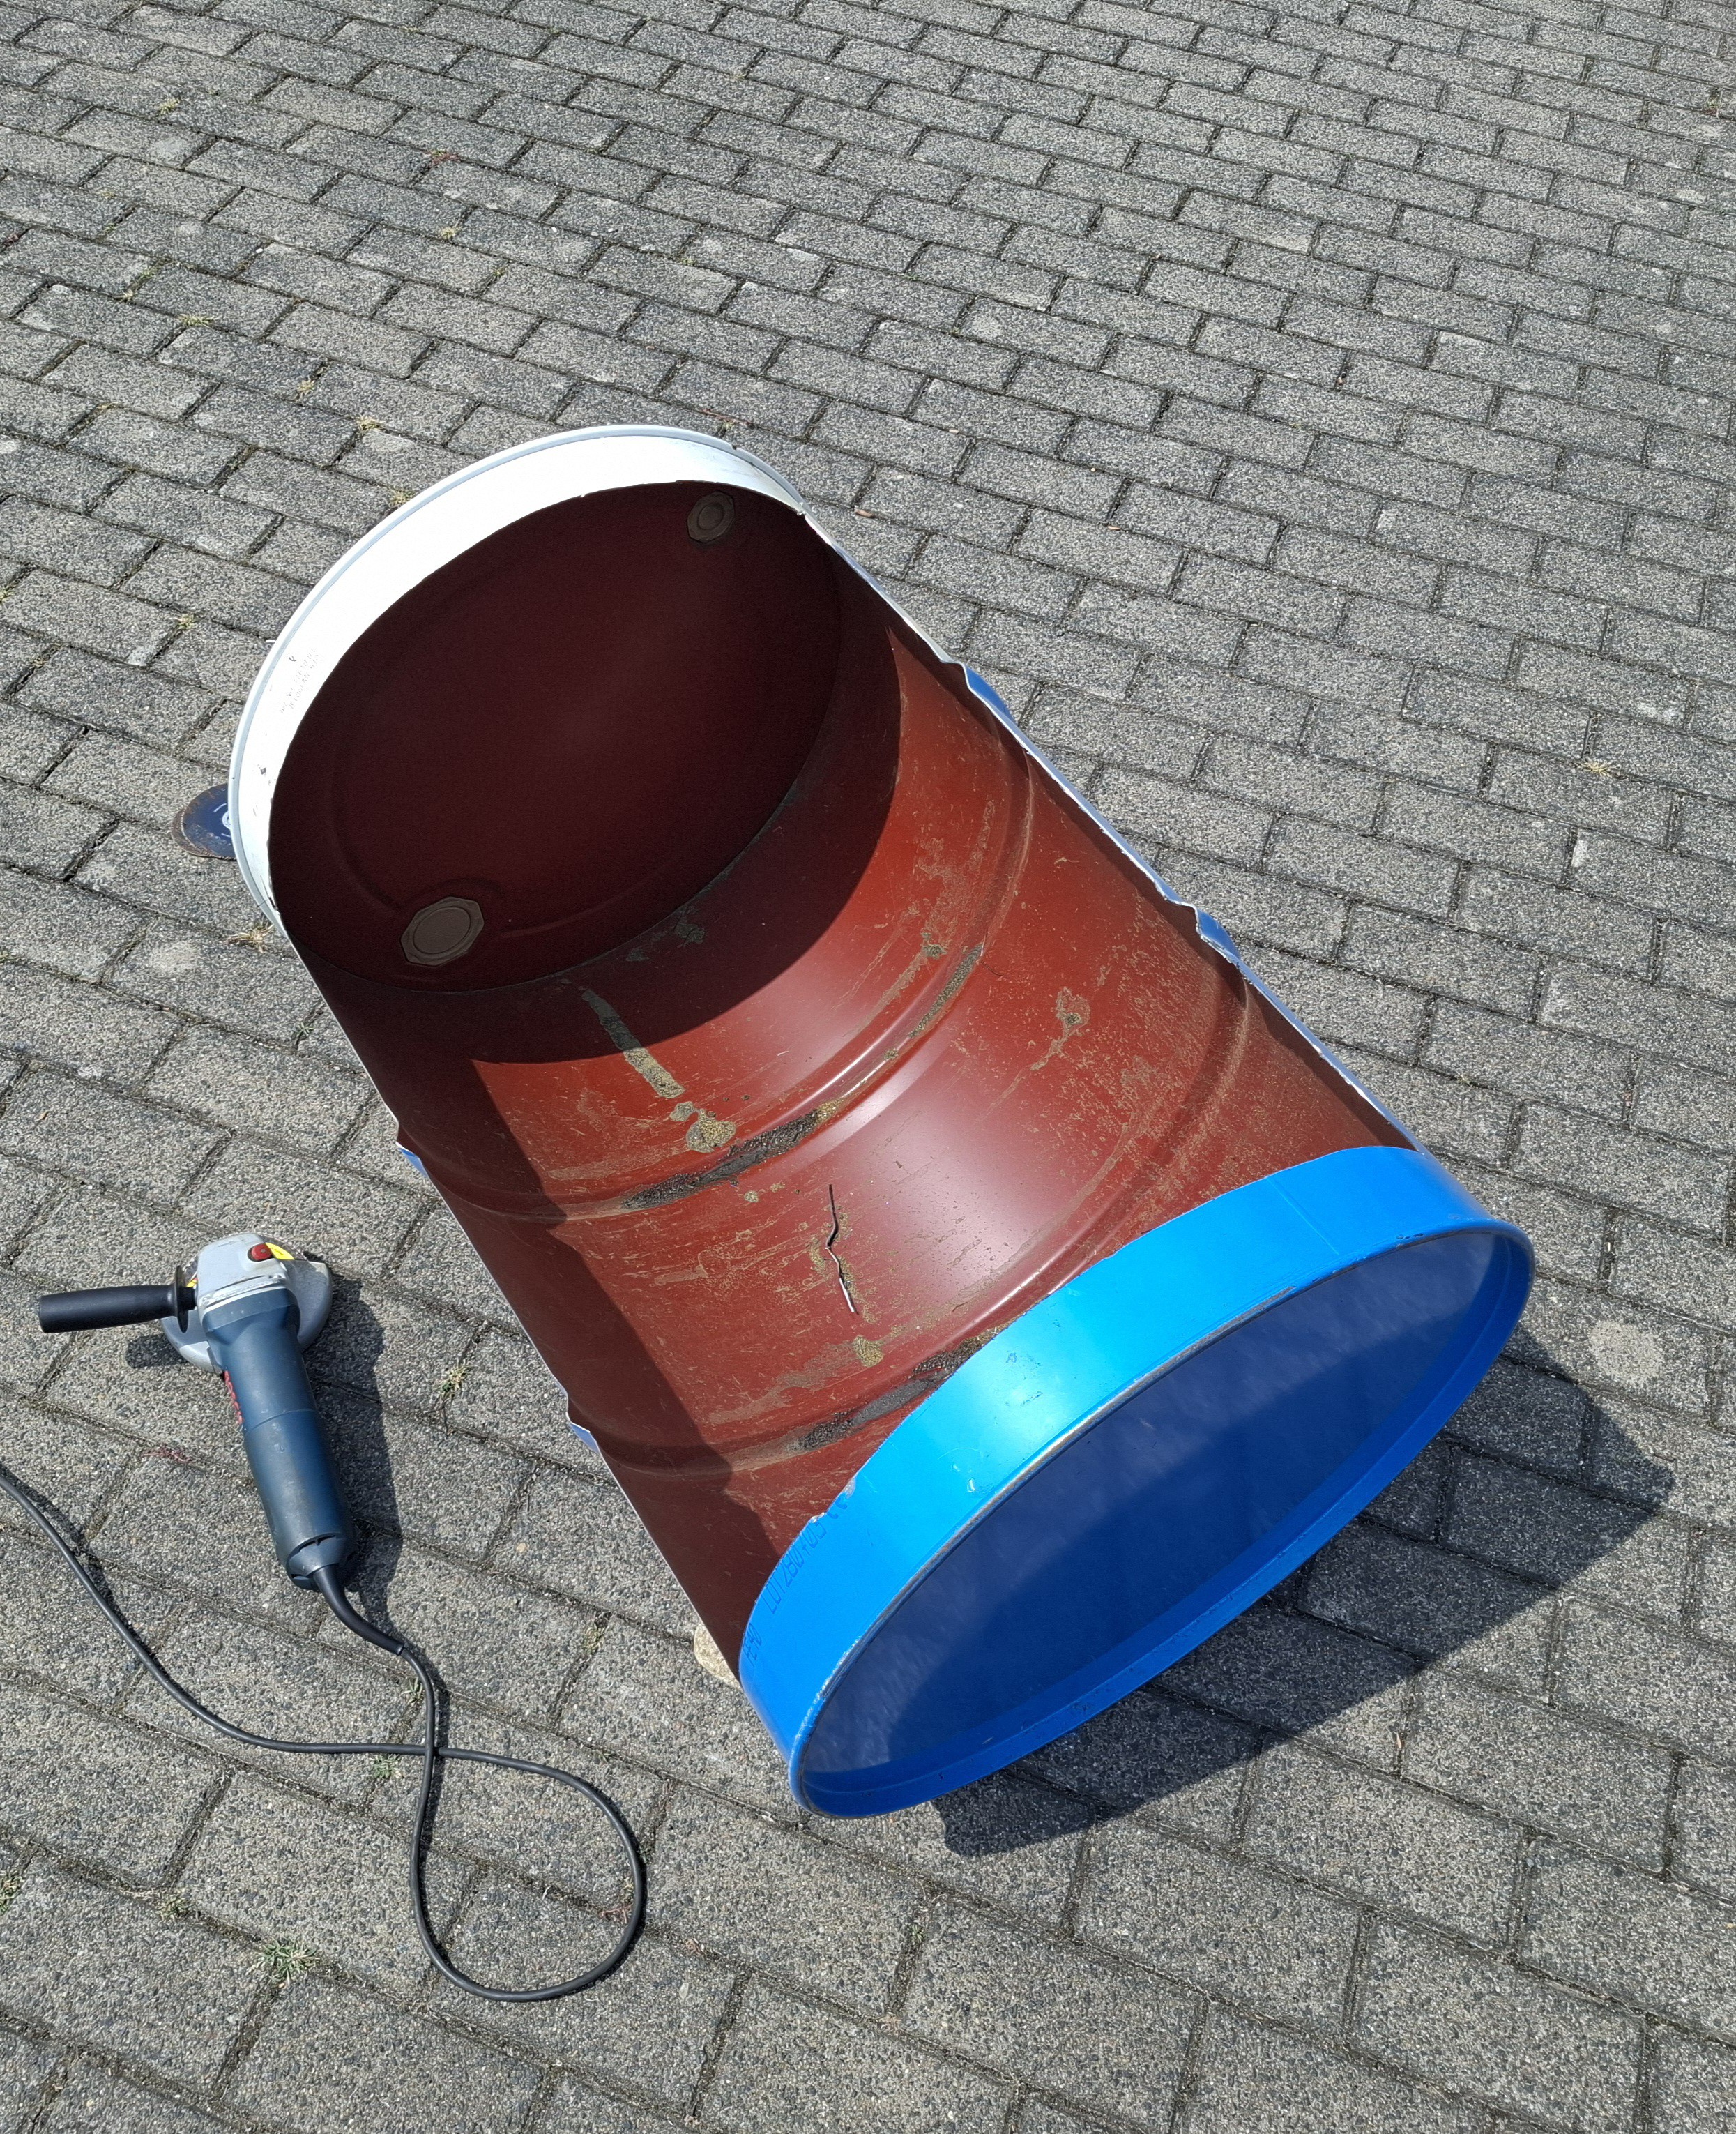
    the barrel was cleaned thorougly, dried, and the marked pieces were cut out with an angle grinder, as well as deburred with a sanding disk. 

View all 5 project logs

Enjoy this project?

Share

Discussions

Does this project spark your interest?

Become a member to follow this project and never miss any updates