Close
0%
0%

IoT Bubbles

Who doesn't like bubbles, now you can control your own bubble machine from anywhere!

Similar projects worth following
Yes the most important thing since toasted bread has arrived, controlling the production of bubbles from anywhere!

Who doesn't like bubbles? Nothing like bringing a tiny bit of happiness into the world.

Okay, this isn't exactly the absolutely most useful IoT device in the universe, but it's a fun idea that I've been thinking about doing for a while. The bubble machine itself is quite cheap and produces quite a few bubbles, but by itself is a pretty dumb device. I thought it would be fun to control it remotely and possibly also be triggered from something in it's environment. This projects solves the problem of occupying some spare time and getting more familiar with ESP8266. As far as this project being world-changing, I hope to inspire others to dust off some old objects sitting in the closet, make them more interesting, and learn a thing or two along the way. I plan to use an ESP8266 to control it. The project details section will be updated as the project develops.

All files fall under the GPL v3 license.
main.py

Alternate code for ESP8266 with MicroPython firmware.

py - 902.00 bytes - 09/21/2017 at 19:27

Download

iot_bubbles_beta_v1.5_files.zip

Released 4-20-17. Added CSS and some UI improvements to the web interface, still very much a work in progress.

x-zip-compressed - 4.88 kB - 04/20/2017 at 17:30

Download

iot_bubbles_beta_v1_files.zip

The first beta version of the files used for IoT Bubbles. It needs a bit of polishing.

x-zip-compressed - 4.17 kB - 03/29/2017 at 21:53

Download

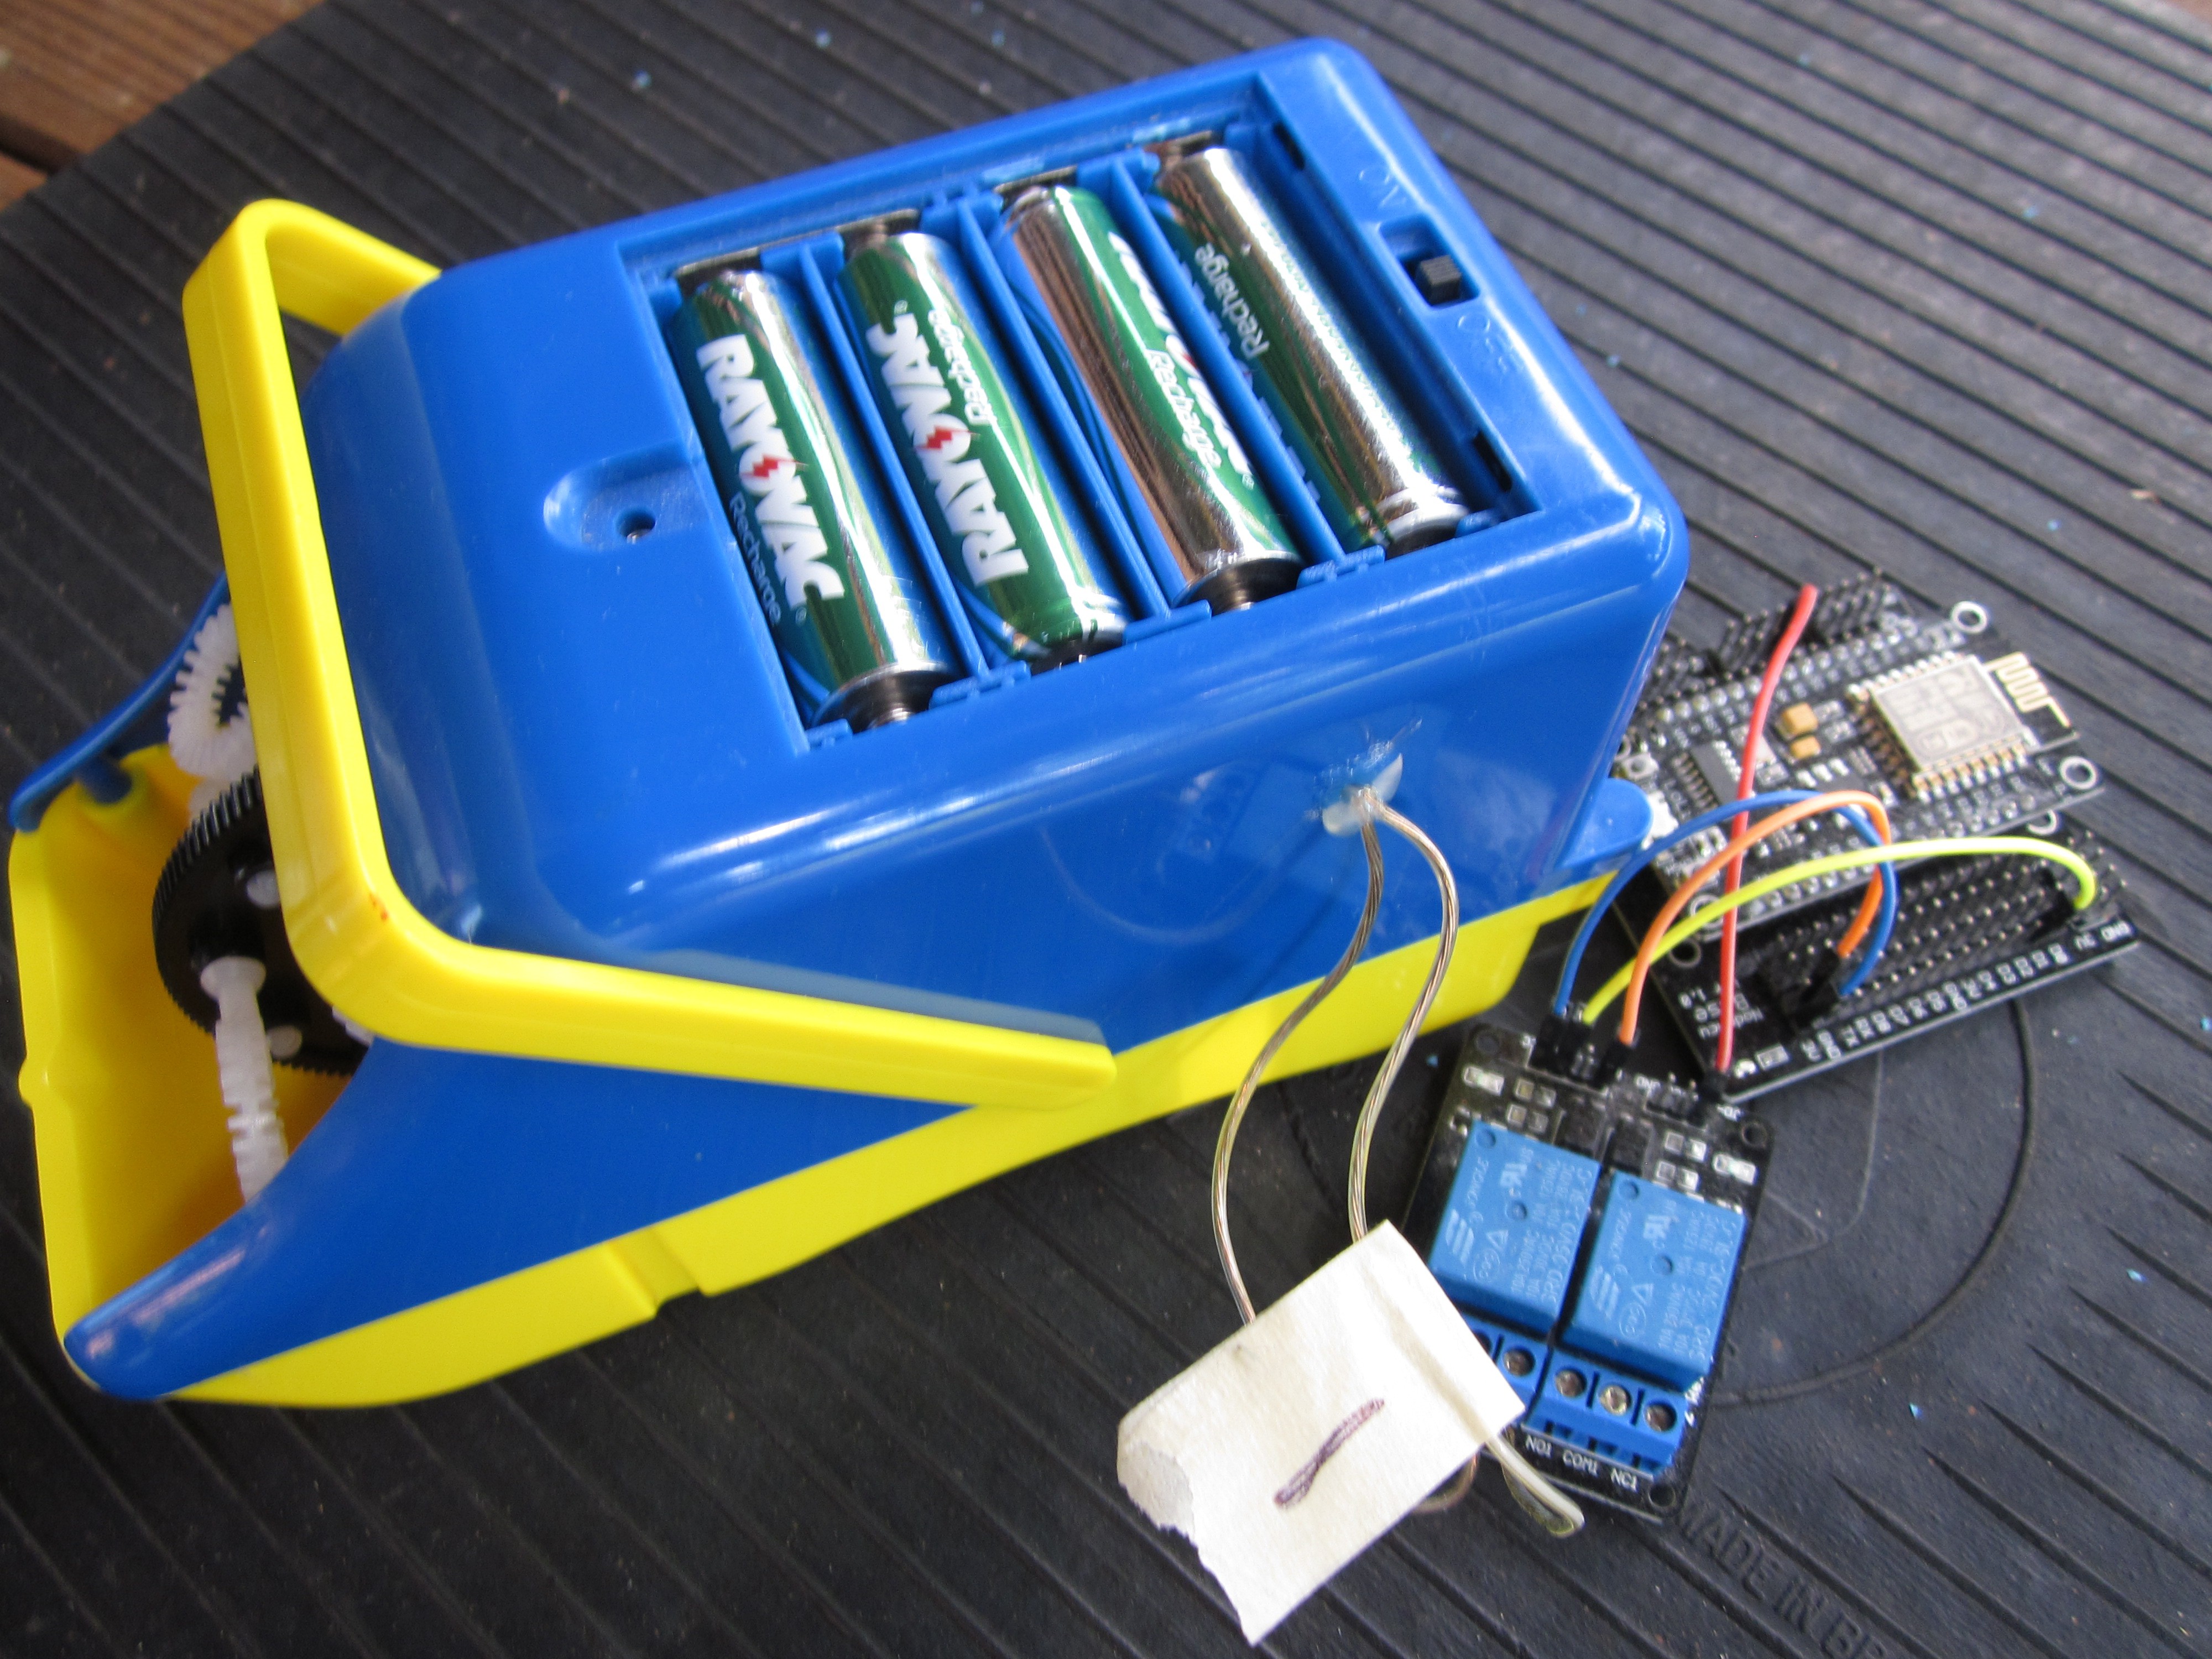
  • 1 × NodeMCU ESP-12E ESP8266 Cheap wireless microcontroller dev board
  • 1 × NodeMcu Base ESP8266 Has a regulator to allow one to easily power the ESP8266 with a wall wart.
  • 1 × cheap 2 relay board The L293D board didn't work out in the end
  • 1 × several female to female jumper wires
  • 1 × several male to male jumper wires

View all 6 components

  • Alternate MicroPython code for the project

    mcu_nerd09/21/2017 at 19:26 0 comments

    A while back I used the Arduino IDE for programming the esp8266.  I've lately been playing around with running MicroPython on an ESP8266.  The nice thing about using the MicroPython firmware is that one can do things such as upload and execute code on an ESP8266 remotely.  It's still a bit clunky in some ways (such as issues uploading updated version of a particular file) but it often beats having to pull an ESP8266 out of a project and plug it into a computer every time to update a program.

    Anyways I've uploaded the file, just edit the file with the ip address of your webserver that you have everything setup on and it will run when you reboot the ESP8266 that's been flashed with MicroPython firmware.

  • Making things a bit more tidy

    mcu_nerd06/09/2017 at 22:36 0 comments

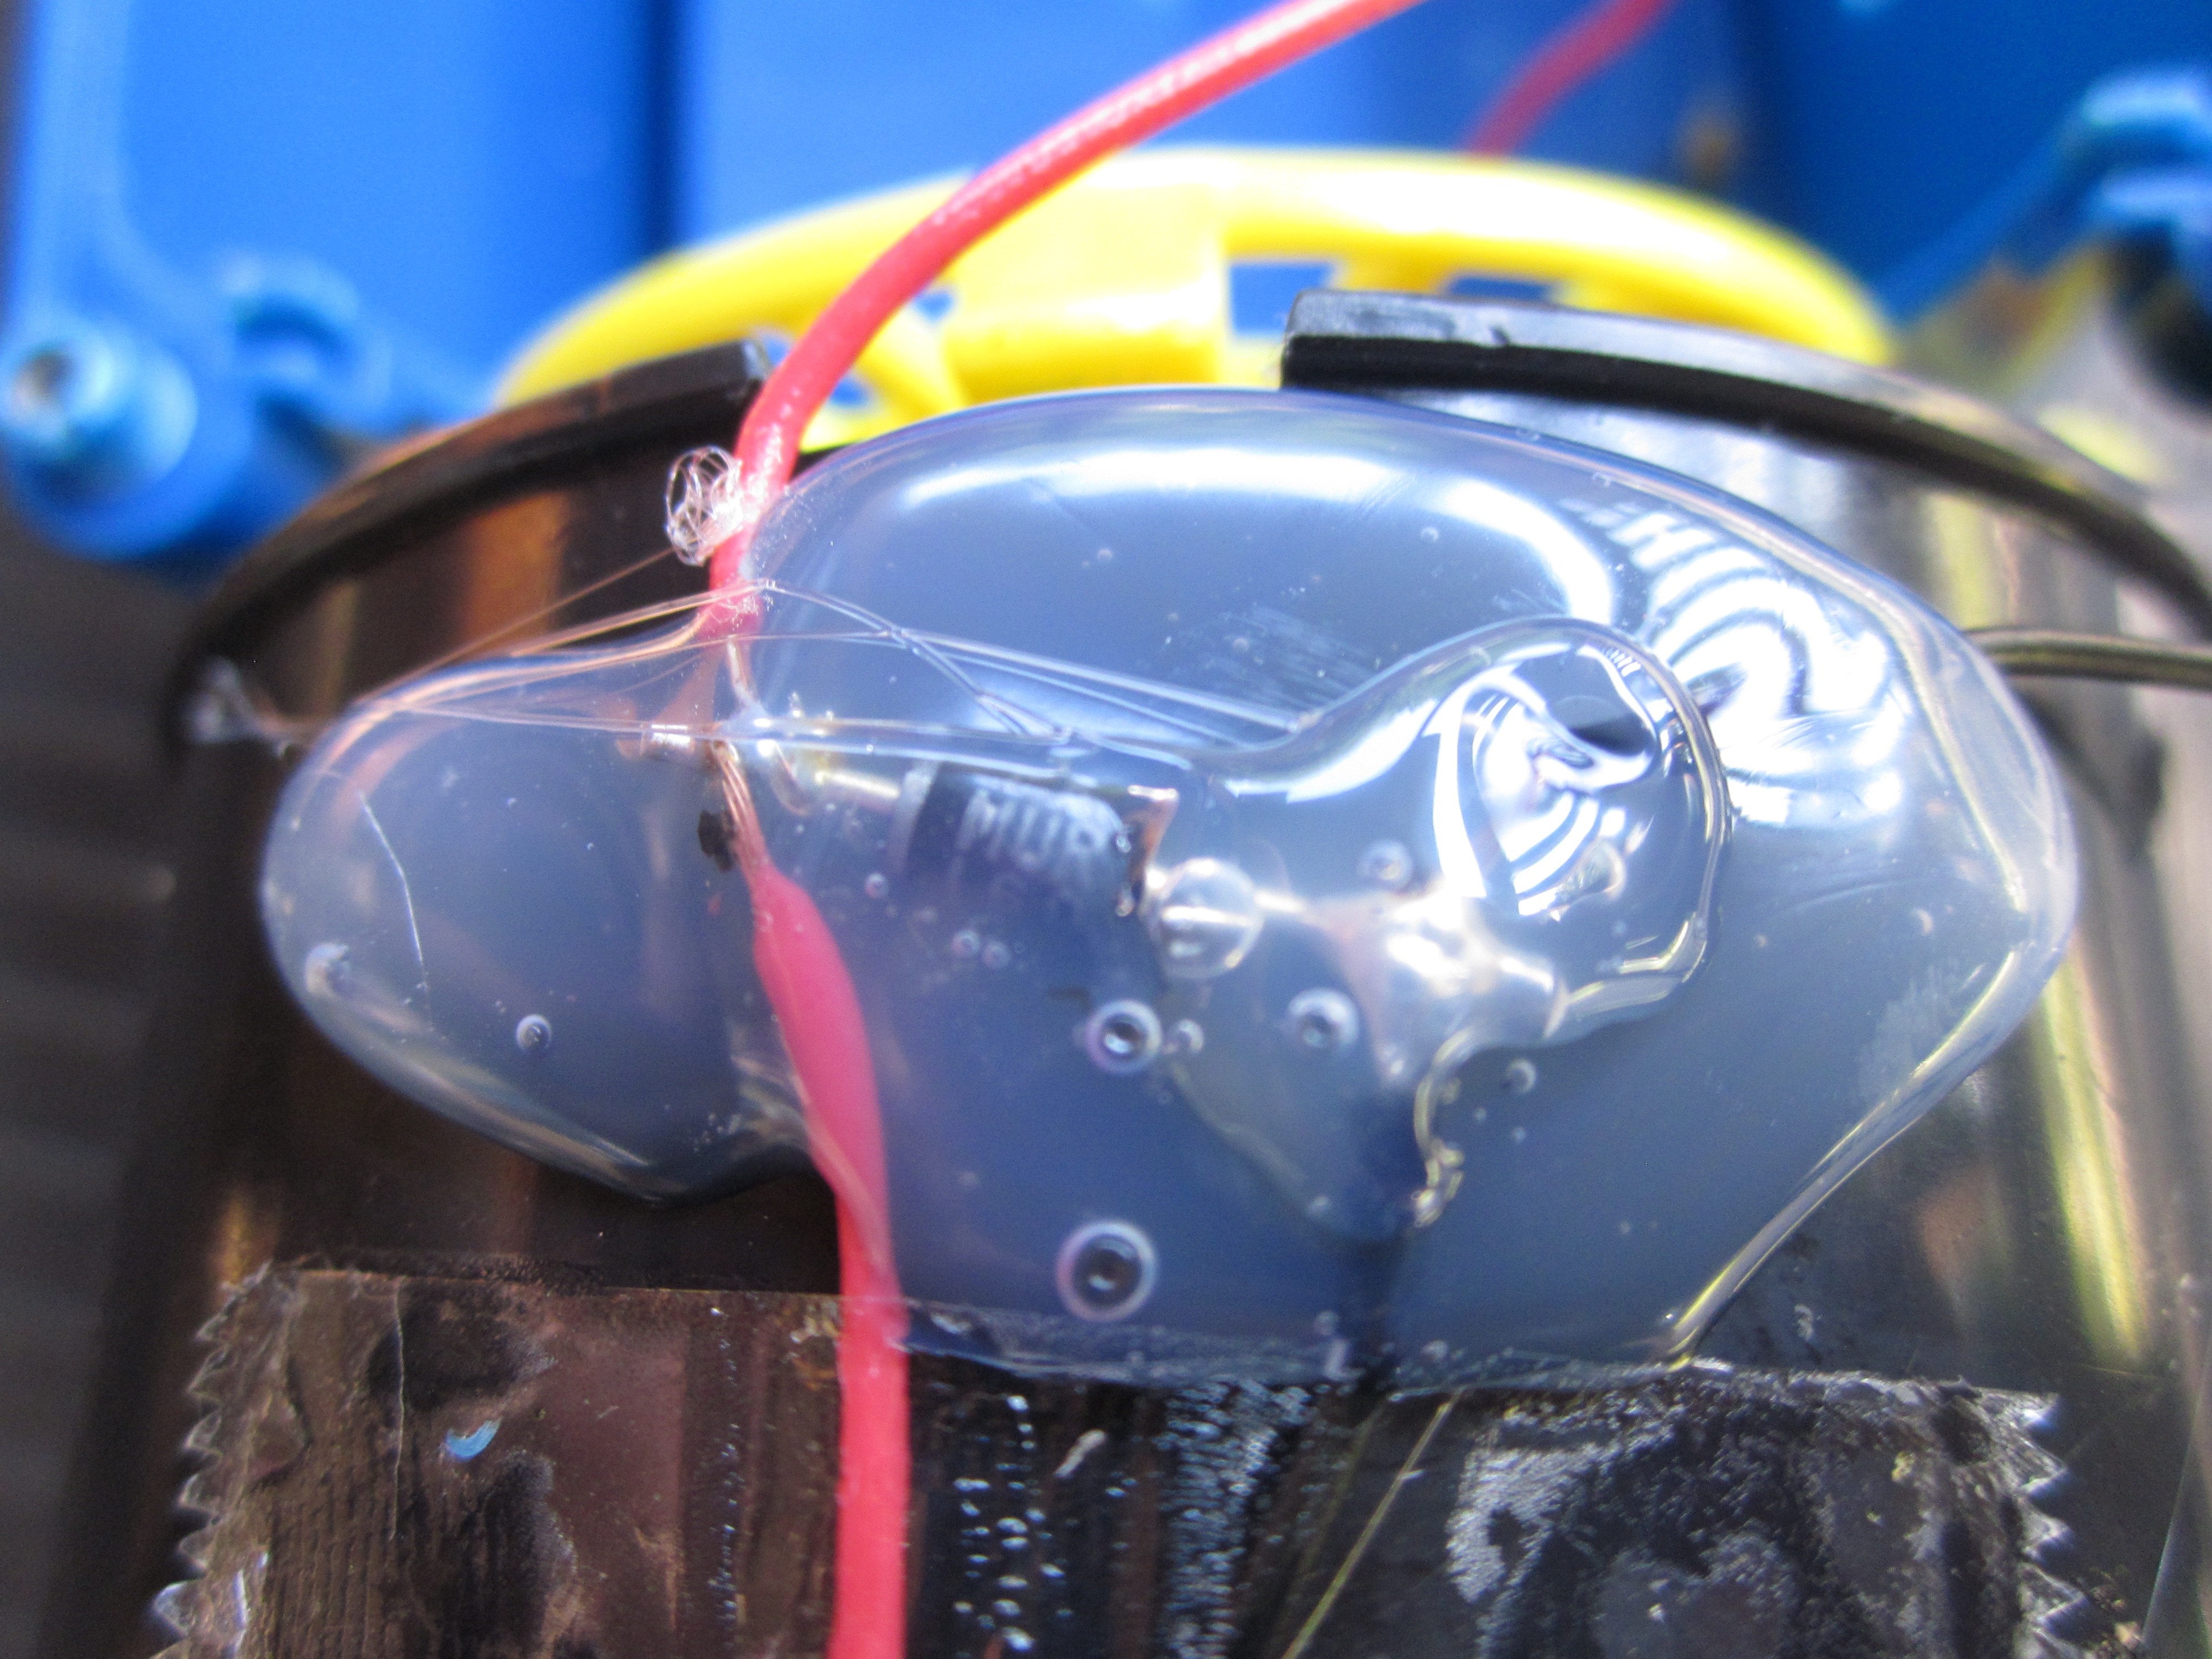
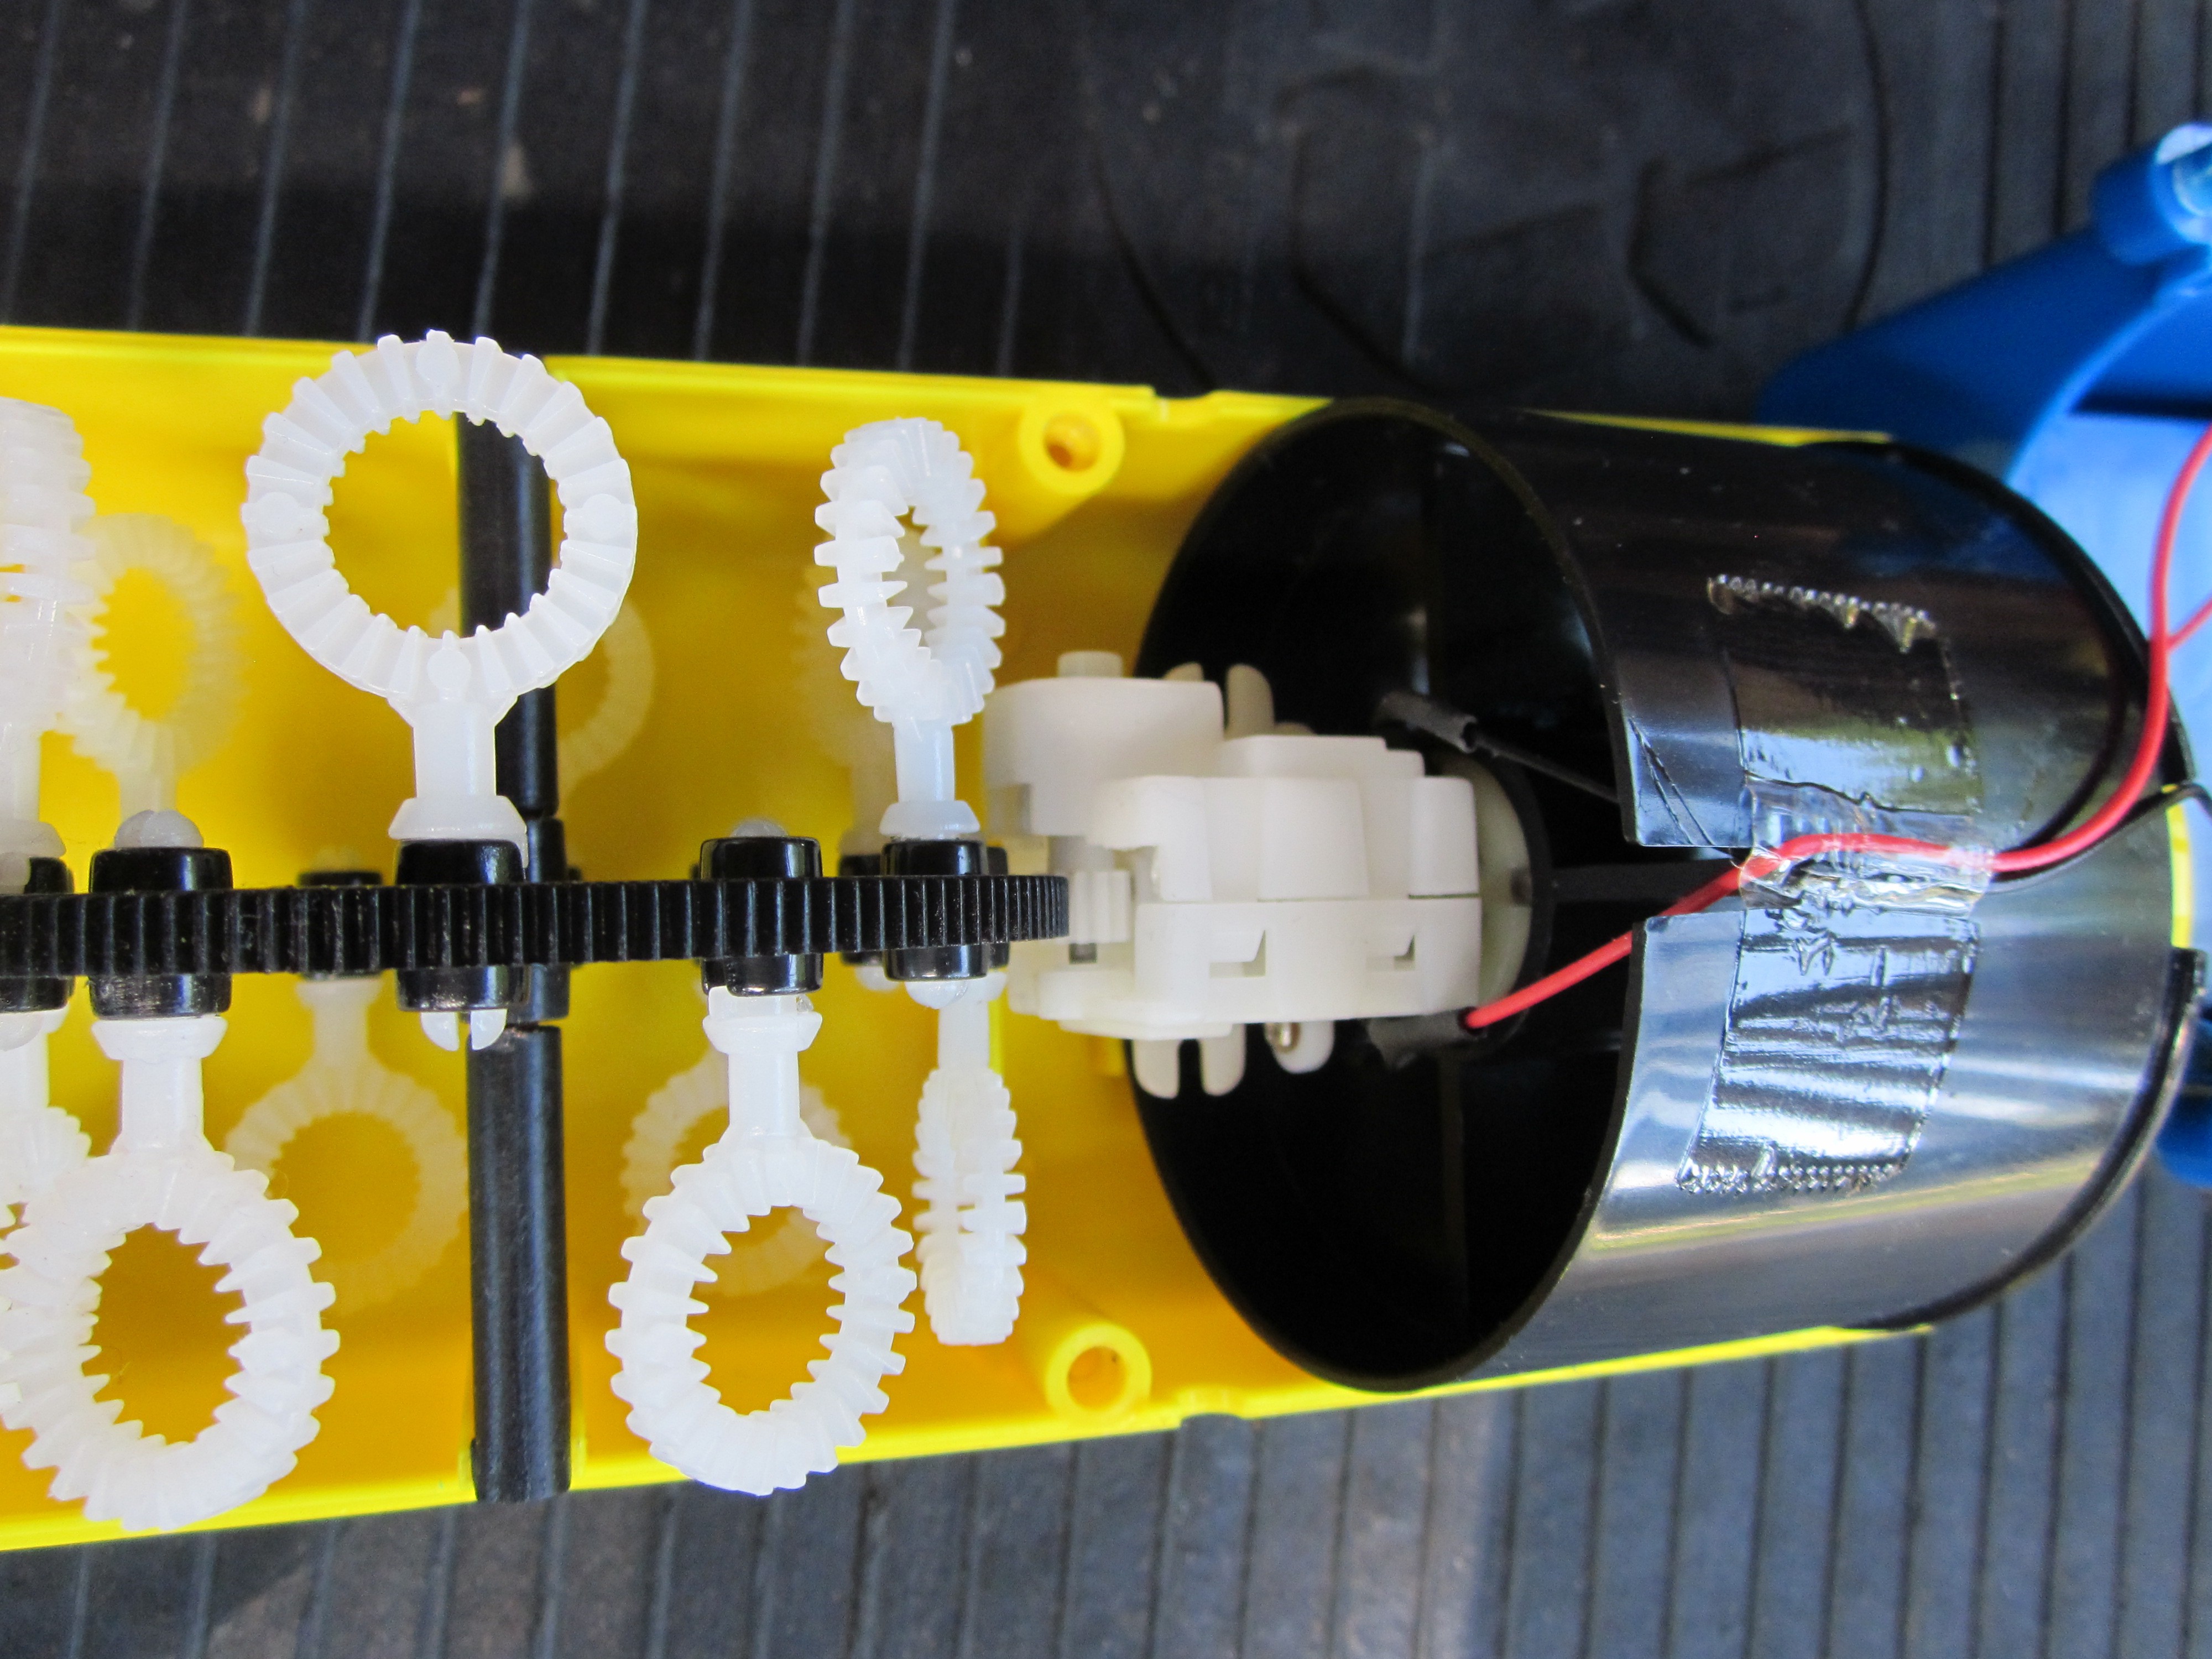
    While everything was working fine, it was quite a bit of a mess to look at, so I figured I would do a few small mods to the bubble machine itself to eliminate the external battery holder and get rid of the rat's nest of wires. My objectives of the mods were to do it in such a way that it could be easily reverted to "dumb" operation and pull out as few wires as necessary. I was a little surprised after getting it open that where the leads made contact with the motor there was some heatshrink tubing and there was some silicone like compound on the battery holder solder joints. Didn't expect them to bother to do that on a very cheap device.

    Anyways I drilled a small hole in the side, cut the wire running from the motor to the negative terminal, extended the leads, and pulled them thru the drilled hole I also added a reverse-biased diode across the motor leads. The reason for the diode is that although my MOSFET board includes a flyback diode, I would have had to pull out both motor leads plus power and ground to use it. After soldering everything I placed heatshrink tubing on the two wires I extended and potted the diode with hot glue.

    After that, I re-assembled everything and the end result was much more tidy. Upon reflection, I should have made the hole in the back vs side as it does it get in the way of the handle, but it's not a big issue. I should also mention that I got my money from HaD and have sent off the board design to OSHPark.

  • A Possible alternative to using the relay board

    mcu_nerd05/26/2017 at 20:15 0 comments

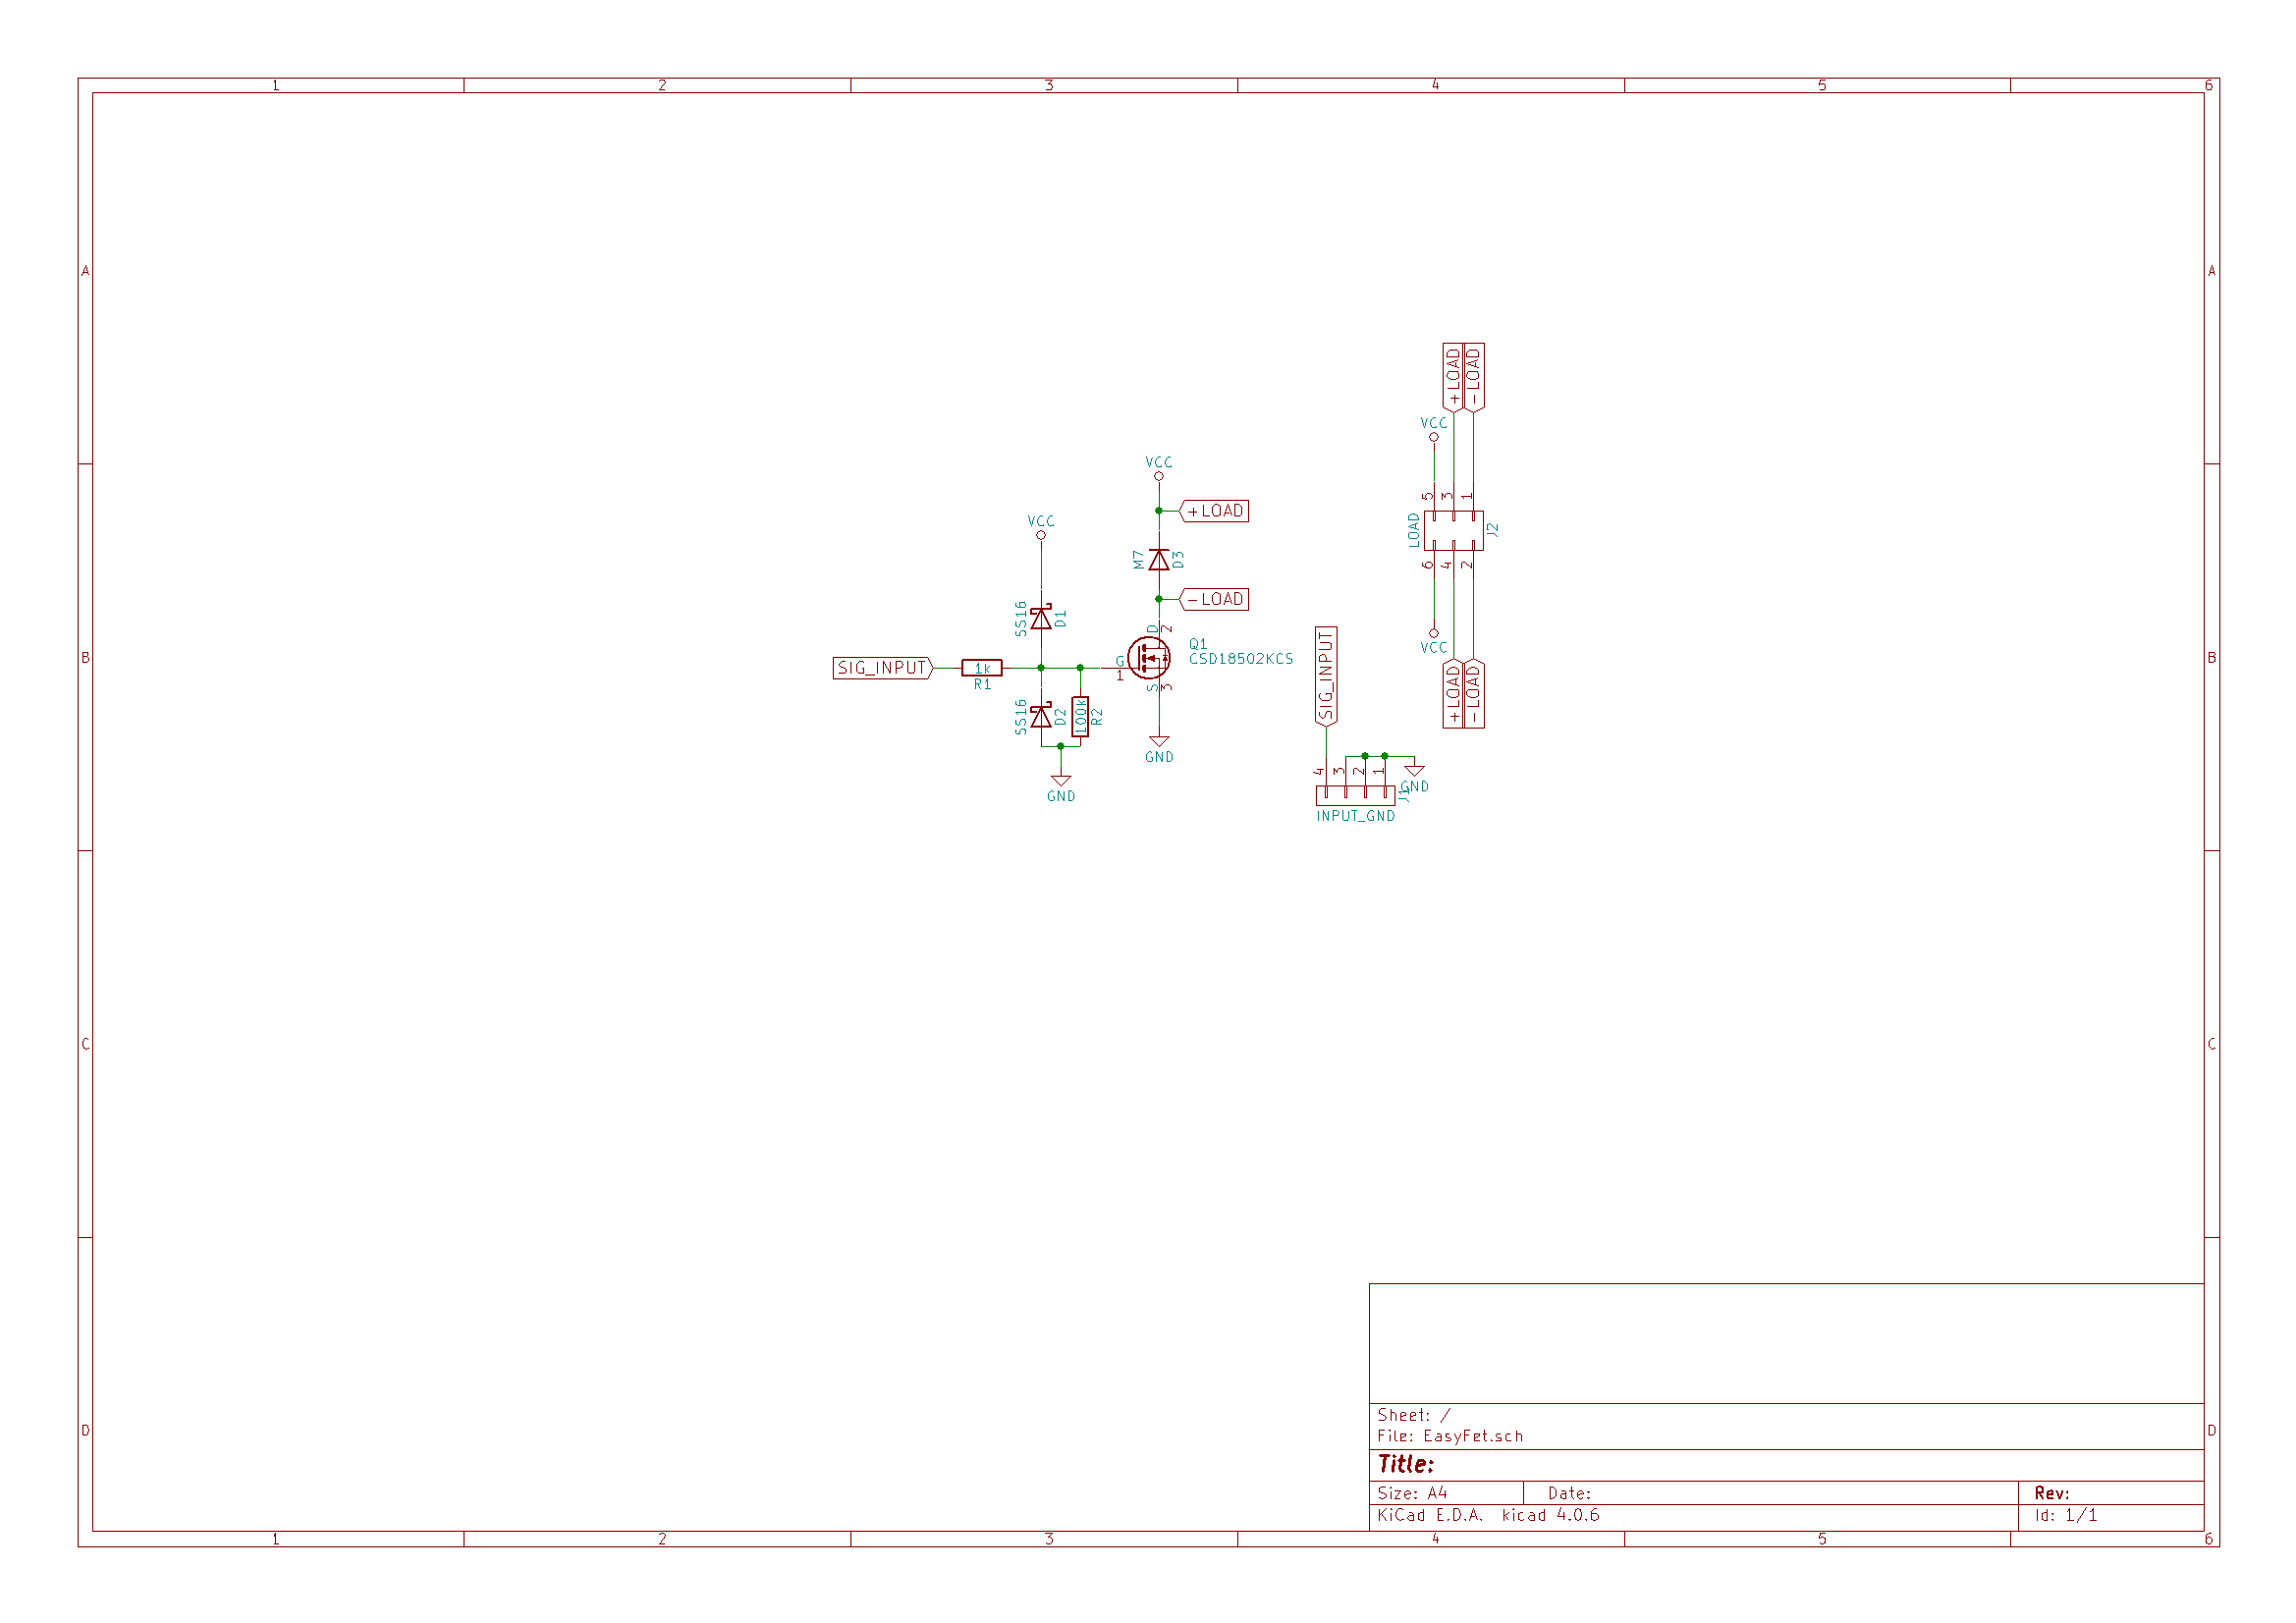
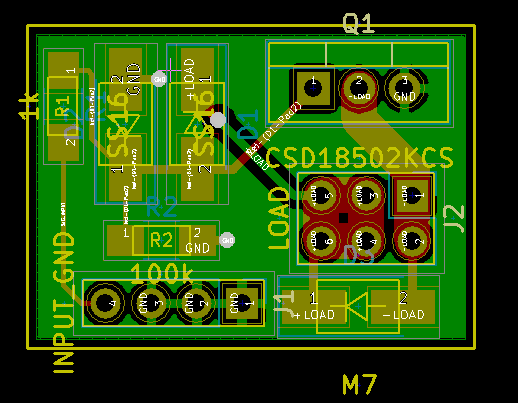
    The off-the-shelf relay board does fine for turning the bubble machine on/off but I've been thinking about controlling it via a MOSFET. I created a schematic and board file (still have to clean up the labeling) for a MOSFET board which I'll likely use for other projects as well. If it goes well, I'll likely be posting a separate project page for that.

  • Making the web interface look a bit better

    mcu_nerd04/20/2017 at 17:45 0 comments

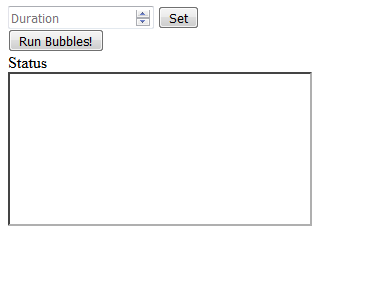
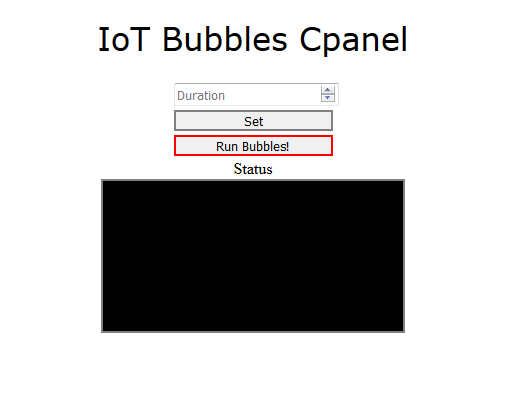
    The web interface now looks a bit better with some CSS styling. This is the first time that I've had a go at playing around with CSS media queries in order to make things looks a bit better and functional on my phone. Before I had to zoom in on the buttons, but now they are plenty big. I still of course have some more tweaking to do to it. Before/after potos below:

    I also made a few changes to the php files, mainly fixing up some error/success messages. I posted the updated version as beta 1.5.

  • Back to work soon

    mcu_nerd04/18/2017 at 23:13 0 comments

    Just an FYI, I will be getting back to working on the project again, I've been busy the past two or so weeks with Easter and various outdoor projects that needed to be done before the summer heat kicks in. I'll start working on making the web interface looking a bit prettier this week. Thanks to all that are following/liked the project. I hope everybody had a great Easter.

  • Project Log: Success Edition

    mcu_nerd04/04/2017 at 19:24 0 comments

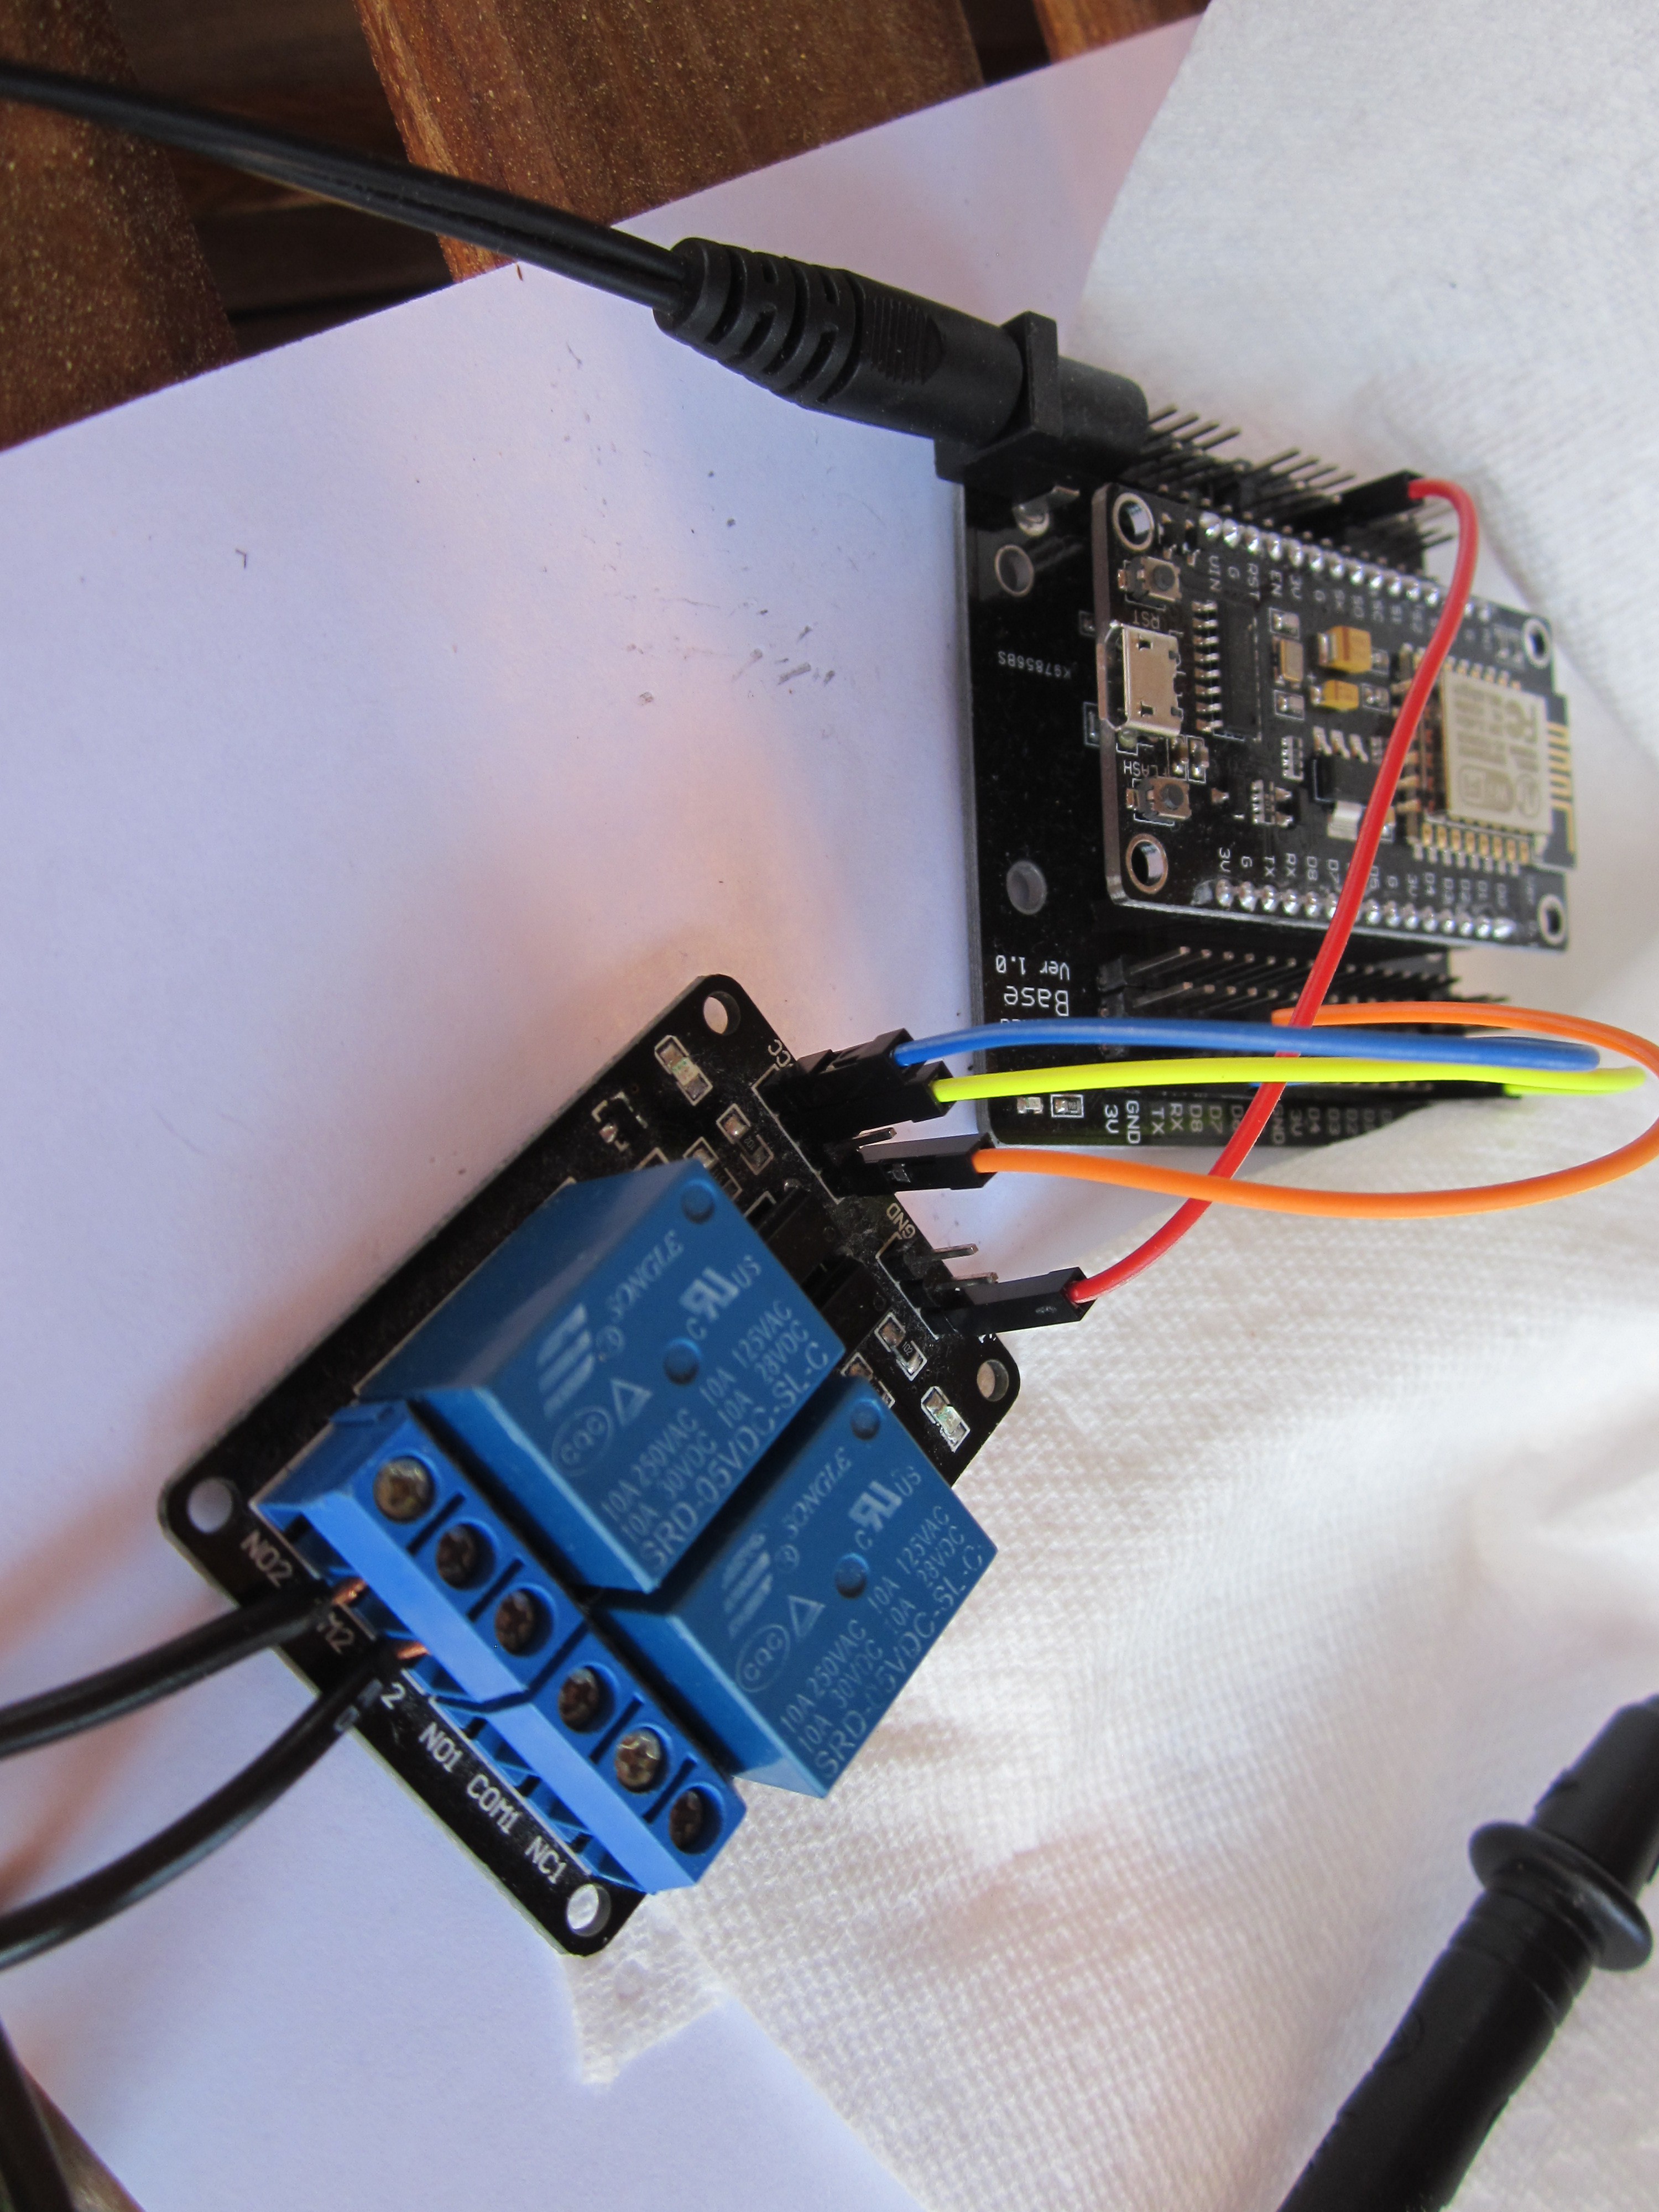
    After the fiasco mentioned in the last project log, a rework had to be done with powering/controlling the bubble machine. To address the need of beefier wires I cannibalized a power cord. I did give the L293D another shot with the wiring upgrade, but the voltage drop from the driver was still too much. I grabbed a 2 channel relay board I had lying around link to relay board here. The glorious re-configuration photo:

    After I got everything reconfigured I started it up again and when it started running . . .

    . . . it worked gloriously!

    It's still a bit of a mess, but at least it works. By the way, the bubble machine that I'm using can be found here: https://www.walmart.com/ip/Way-to-Celebrate-Mini-Bubble-Machine/28038976

  • Project Log: Fail edition

    mcu_nerd04/04/2017 at 18:17 0 comments

    I hooked everything up outside to do a run with actual bubbles. The first issue I ran into was the Opera Mini browser on my phone wasn't playing nice with my web interface for some reason. Switched to Chrome, everything solved or so I thought.

    I then added bubble solution to the machine and tried it, not a single bubble. Turns out that the fan wasn't running fast enough to create the bubbles. Measured the voltage of my battery pack at its terminals: a little bit over 5v (using 4 AA nimh cells). Measured the voltage at the terminals of the bubble machine: around 2.3V! Yup, quite a nasty voltage drop from a combination from the wires and the L293D. I plugged in my batteries directly into the machine: a shower a bubbles.

    Solution: ditch the L293D and use beefier wires, using breadboard wires on the bubble machine side doesn't cut it.

  • It's Alive!

    mcu_nerd03/29/2017 at 20:19 0 comments

    After a few days of delay, I finally got the time to do the code for the ESP8266, and now have it functioning on a basic level. I currently have it set so that the ESP8266 polls my webserver every 10 seconds, a bit on the long side, I could of course poll it every second or so, but I didn't want my server log spammed with requests. If any of you out there know of a better way than having the ESP8266 poll, I'm open to suggestions.

    I'll post both the web server files, and the ESP8266 Arduino ino file to the project page On the web server side of things, you will need to be sure that php functionality is enabled. Also, be sure to edit the ESP8266 Arduino file to set the IP address of your server and set your wifi credentials.

    A short video of it below (I may post a video of it running with bubbles, if I get the time to set it up outdoors):

  • Thanks for following/liking

    mcu_nerd03/28/2017 at 23:57 0 comments

    Many thanks to those that have followed and/or liked the project, especially since I'm getting $1 per like.

    I've had a few other projects that popped up that kept me from working on the ESP8266 side of things, but I will have to time to whip that up and post it tomorrow. I currently have the web server side of things running on a Raspberry Pi.

    I've tested out driving the bubble machine itself with an l293D, may end up driving it with a MOSFET.

  • Got the basic code done on the web server side

    mcu_nerd03/25/2017 at 14:29 0 comments

    This morning I did whip up the basic code on the web server side of things. I still need to do a bit of CSS styling and such to make the webpage look nice. Once I do the code for the ESP8266 (hopefully later today) I'll post the first revision here. I did add a feature to set the number of seconds for the bubble machine to run.

View all 10 project logs

Enjoy this project?

Share

Discussions

WalkerDev wrote 03/21/2018 at 23:34 point

You know, i'd actually make this.

  Are you sure? yes | no

mcu_nerd wrote 03/23/2018 at 12:28 point

Great to hear :)

  Are you sure? yes | no

Eric Hertz wrote 03/27/2017 at 15:59 point

Awesome and inspiring!

  Are you sure? yes | no

Similar Projects

Does this project spark your interest?

Become a member to follow this project and never miss any updates