Close
0%
0%

LumiPhane — a 3D Printed Lithophane Memory Lamp

LumiPhane transforms a photograph into light, powered by a compact solar system designed for real-world use beyond the grid.

Public Chat
Similar projects worth following

LumiPhane is a 3D-printed lithophane lamp that transforms a photograph into a physical light display. Instead of printing the image onto a surface, the photograph is converted into varying material thicknesses, allowing the image to appear naturally when illuminated from behind.

The lamp combines a 3D-printed lithophane, custom frame, ultra-thin LED lighting, and a compact power system in a simple and clean design.

The project also explores a practical off-grid power setup using a solar panel, battery storage, and power management. What started as a way to power the lamp became a useful backup system that can charge a phone, power a USB light, and keep a Wi-Fi router running when the regular power supply is unavailable.

LumiPhane brings together personal memories, 3D printing, electronics, and renewable energy in one practical build.

What if a photograph could be more than something you simply look at? That was the idea behind LumiPhane—a project that transforms a regular photograph into a 3D-printed lithophane and uses light to reveal the image. Instead of printing the picture on a flat surface, the image is built into the geometry itself, with different thicknesses creating the shades and details when illuminated from behind.

I wanted to keep the design simple, compact, and practical, so the lamp combines a 3D-printed lithophane, an ultra-thin LED lighting system, and a custom-designed frame into a single enclosure.

But while building it, I wanted to take the idea one step further.

Rather than making LumiPhane dependent on a wall outlet, I explored how the same lamp could be powered from a small solar-based off-grid system. A solar panel, battery storage, power management, and a small boost converter turn the project into a demonstration of how stored solar energy can be used when conventional electricity is not available.

So LumiPhane is not just about turning a photograph into light. It is about exploring what can happen when creativity, fabrication, electronics, and renewable energy come together in one small project.
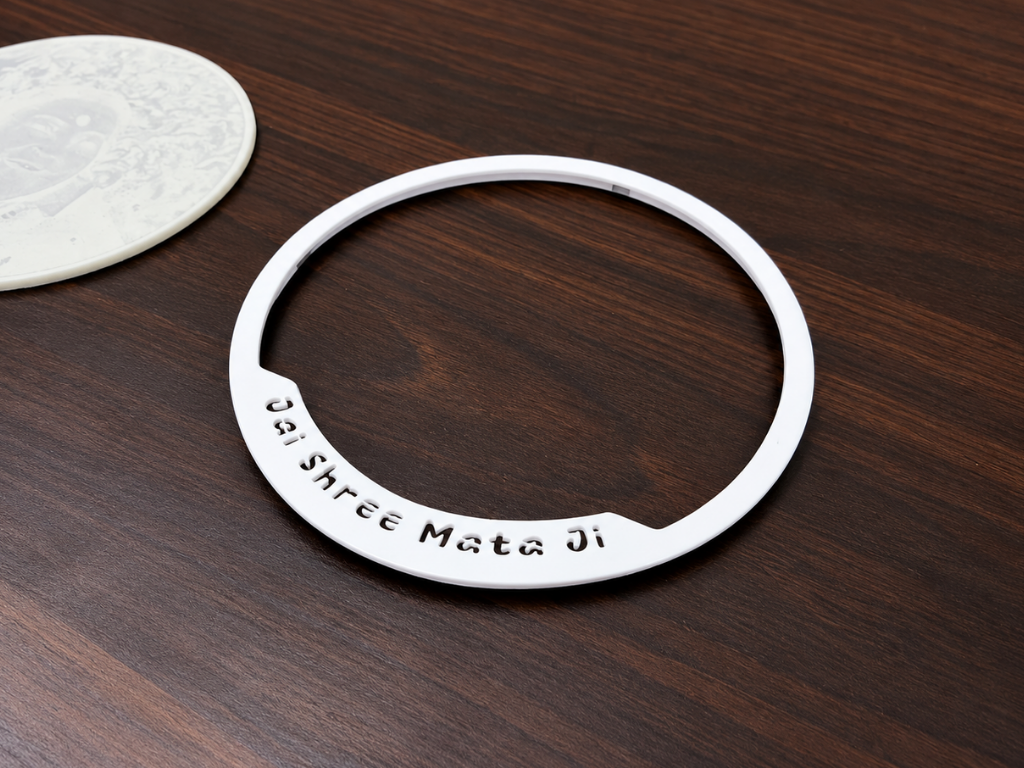
Jai Shree Mata Ji Ring.stl

Standard Tesselated Geometry - 2.11 MB - 09/03/2026 at 03:19

Download

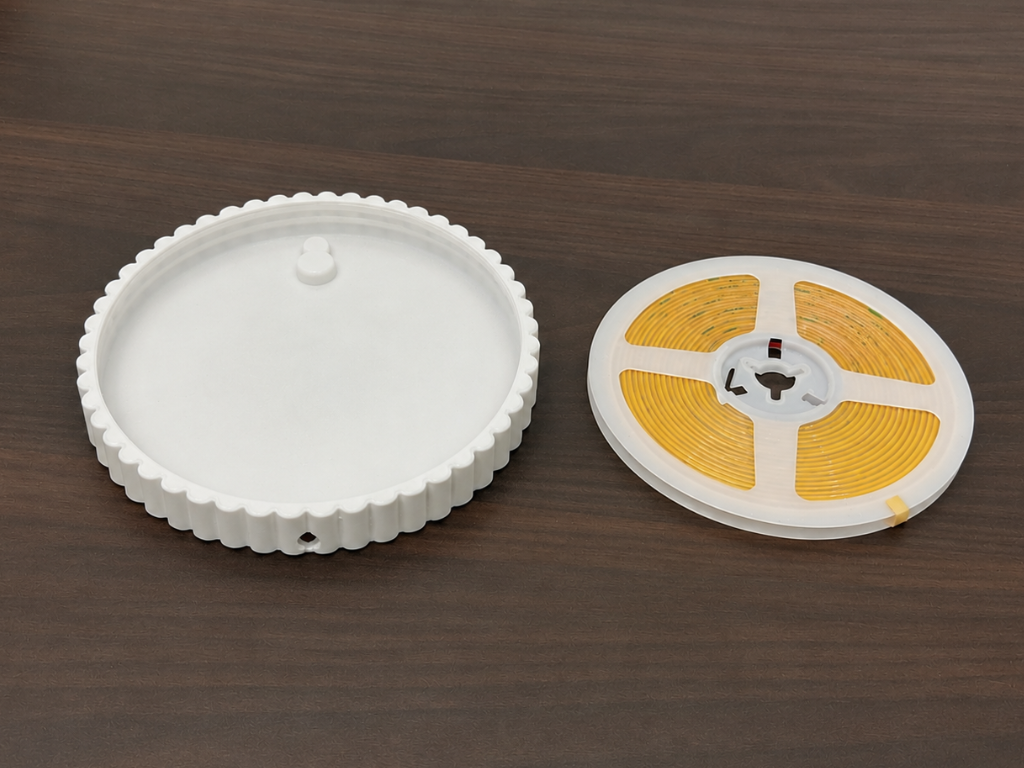
Photo Frame.stl

Standard Tesselated Geometry - 1.82 MB - 09/03/2026 at 03:19

Download

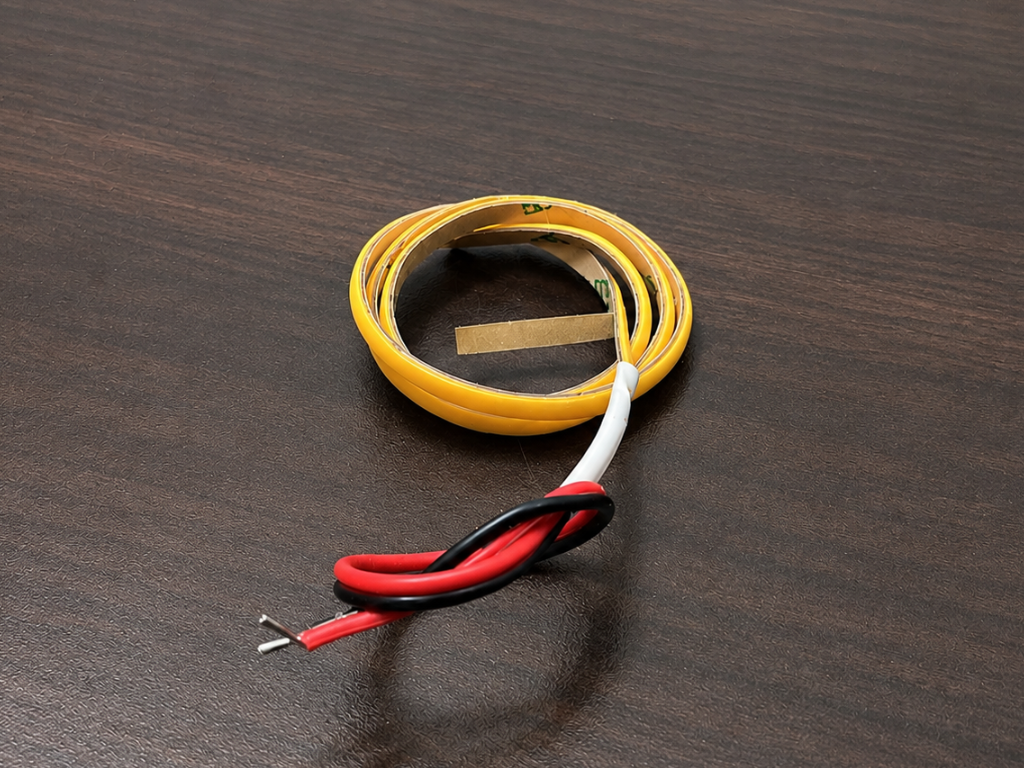
  • 1 × Waveshare LED Strip
  • 1 × Waveshare Solar Power Manager (C)
  • 1 × Waveshare 12V 2A Power Adapter
  • 1 × DC Power Jack Plug (Female)
  • 1 × Loom Solar 10 W Polycrystalline Panel

  • 1
    Create Lithophane Model

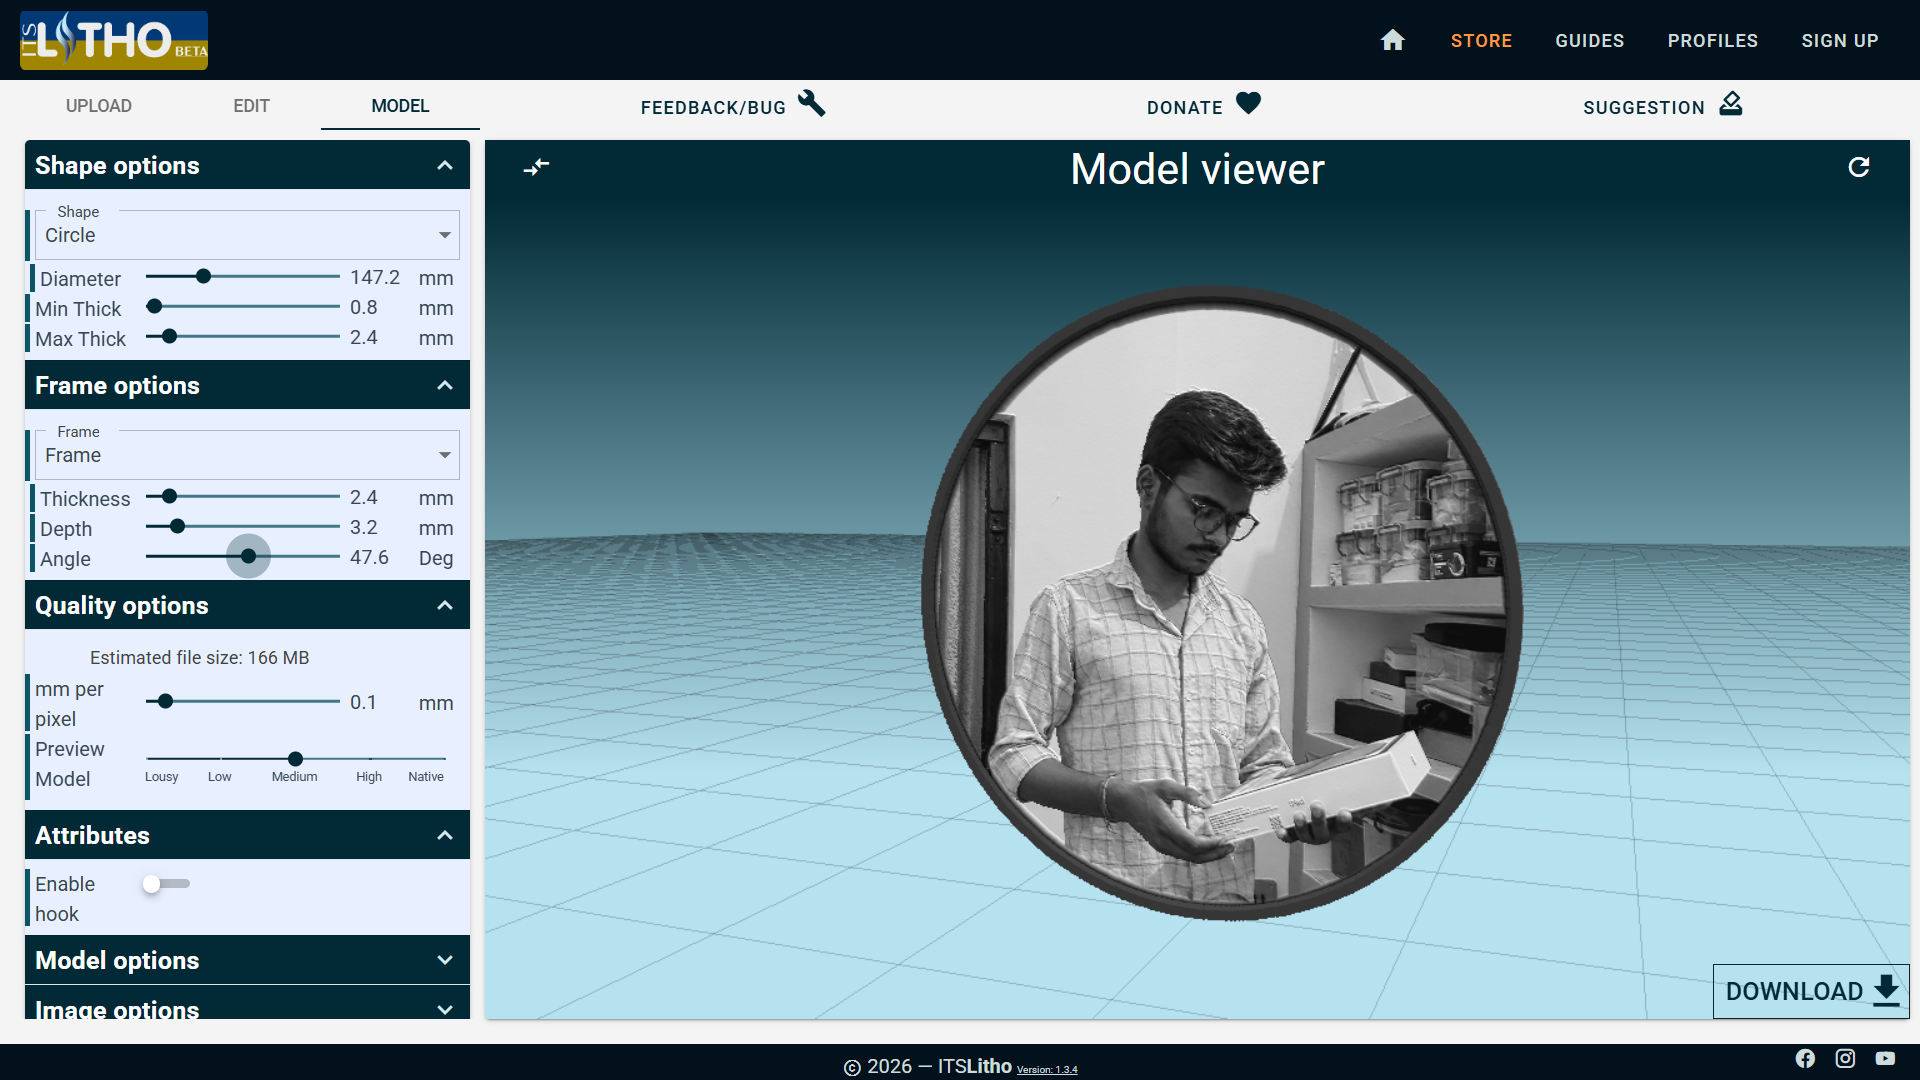
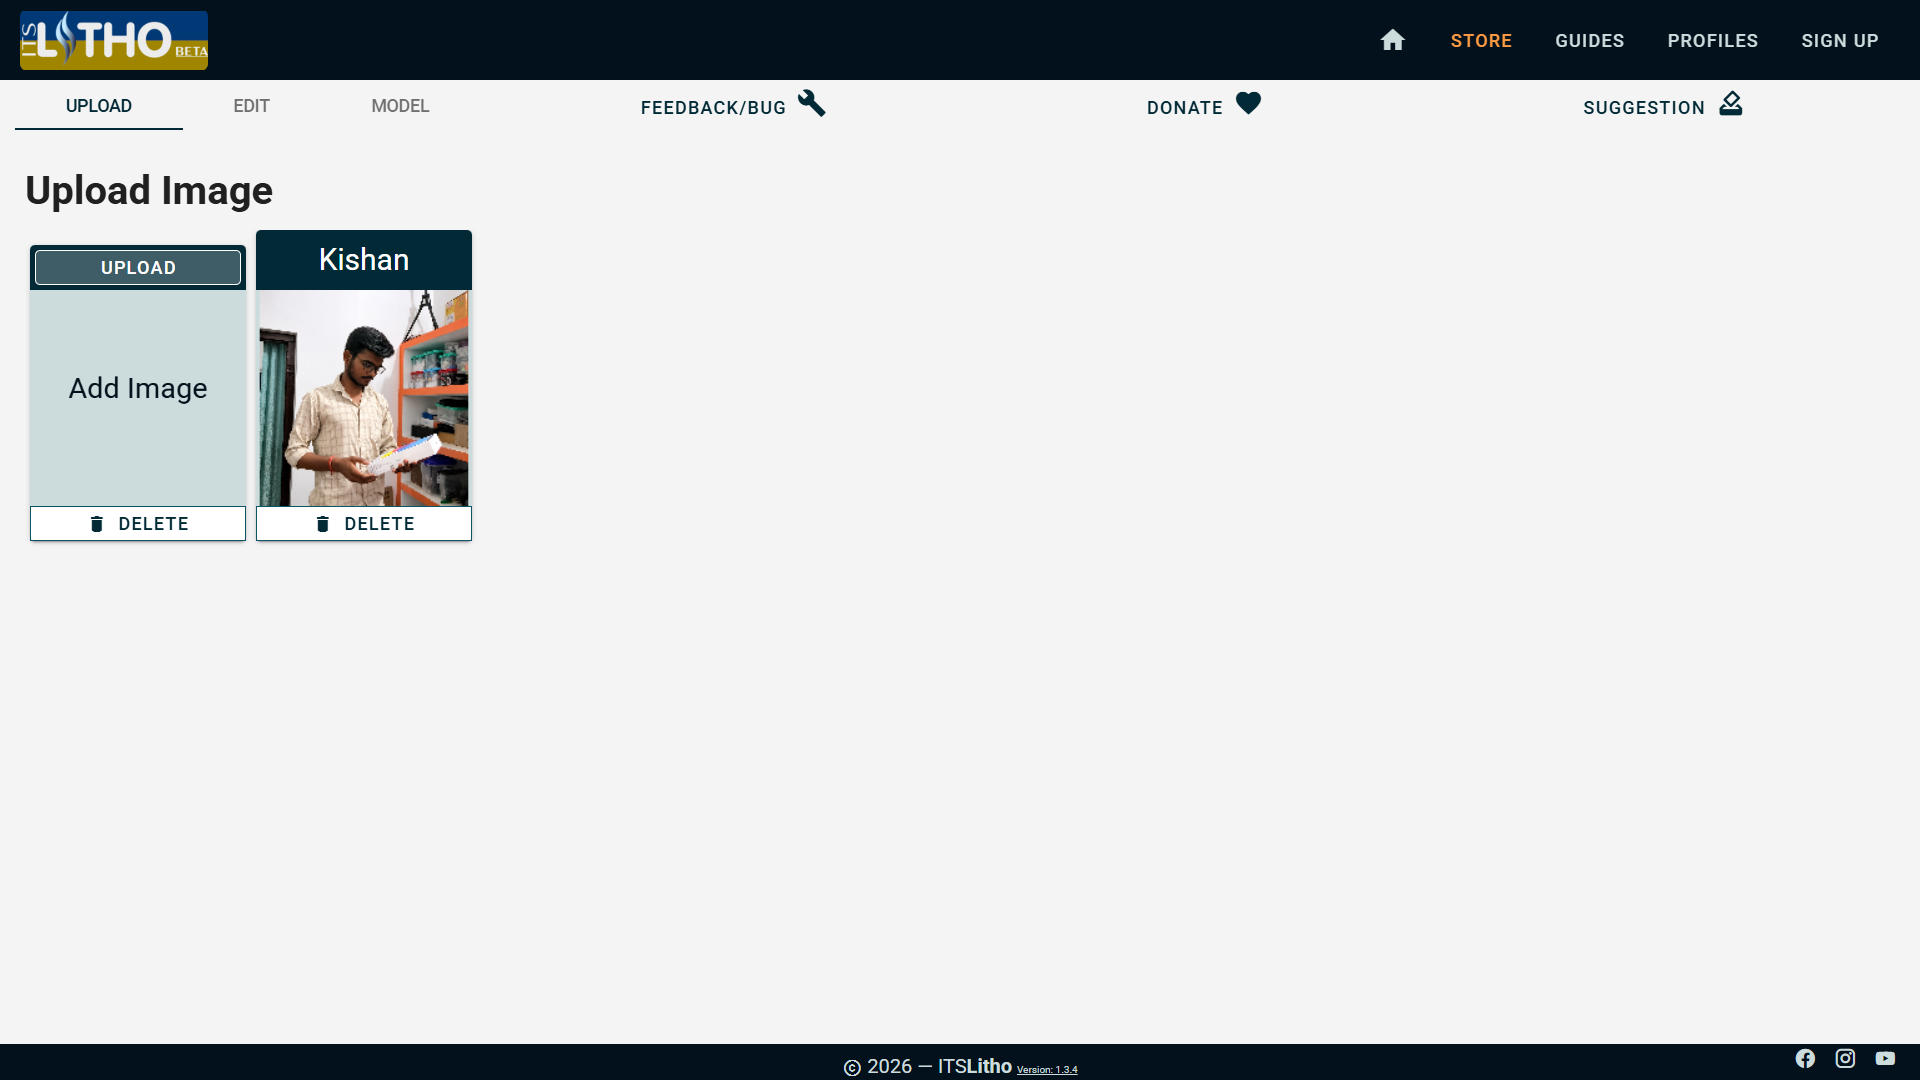
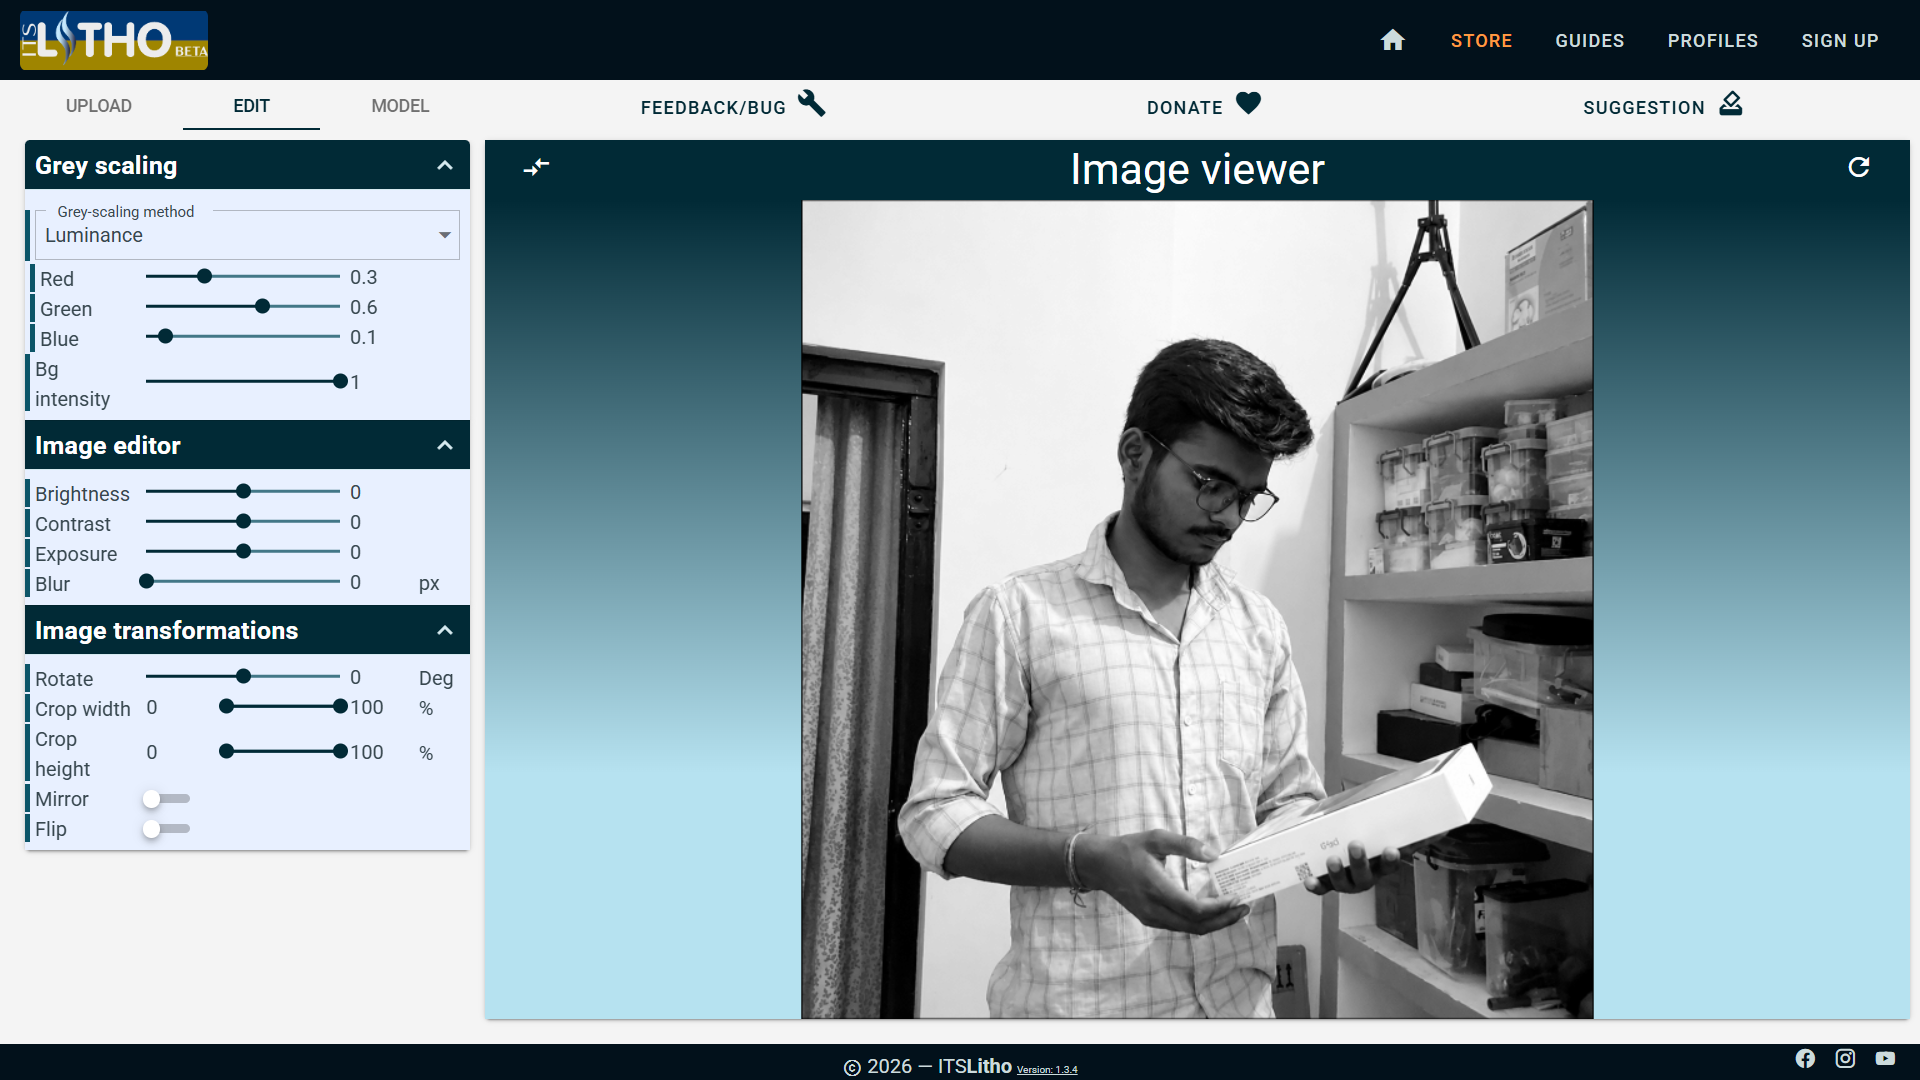
    I used ItsLitho to convert the selected photograph into a 3D lithophane. First, I uploaded the image and converted it to grayscale using Luminance. I kept the image adjustments at their default values and made sure the subject was properly positioned within the image.

    In the Model section, I selected a Circle and set the diameter to 147.2 mm. The lithophane thickness was set to 0.8 mm minimum and 2.4 mm maximum. I also added a frame with 2.4 mm thickness, 2.2 mm depth, and 47.8° angle.

    For the model quality, I used 0.1 mm/pixel resolution. After checking the model in the preview with backlighting, I downloaded the final STL file for 3D printing.

  • 2
    3D Printing the Parts

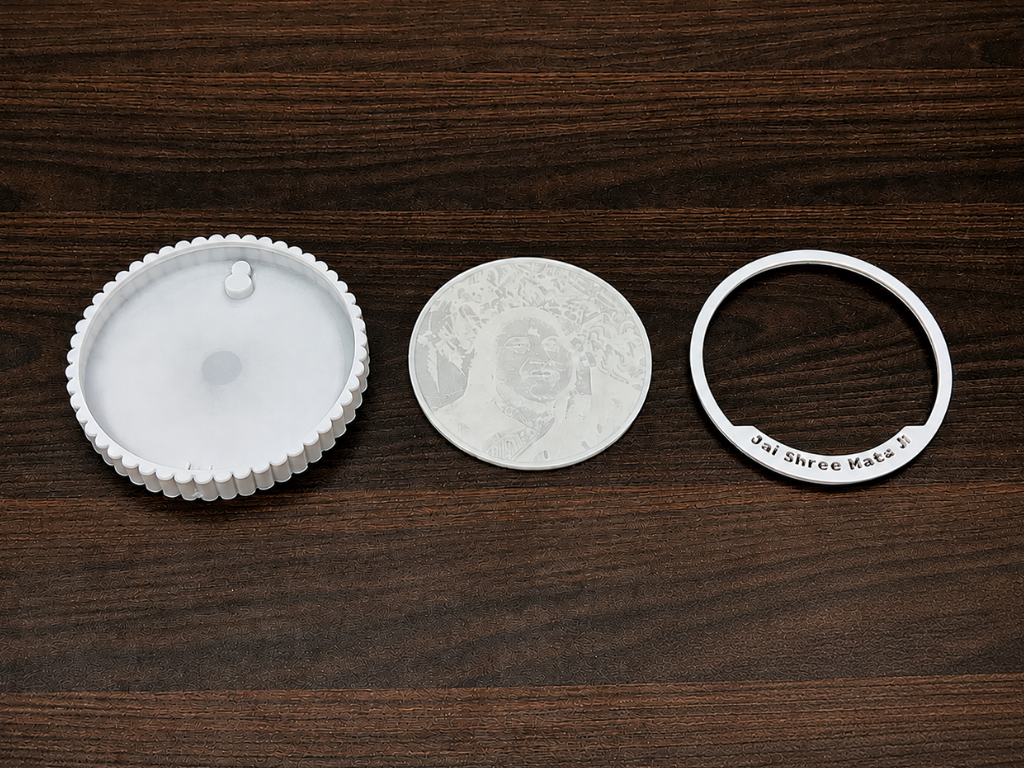
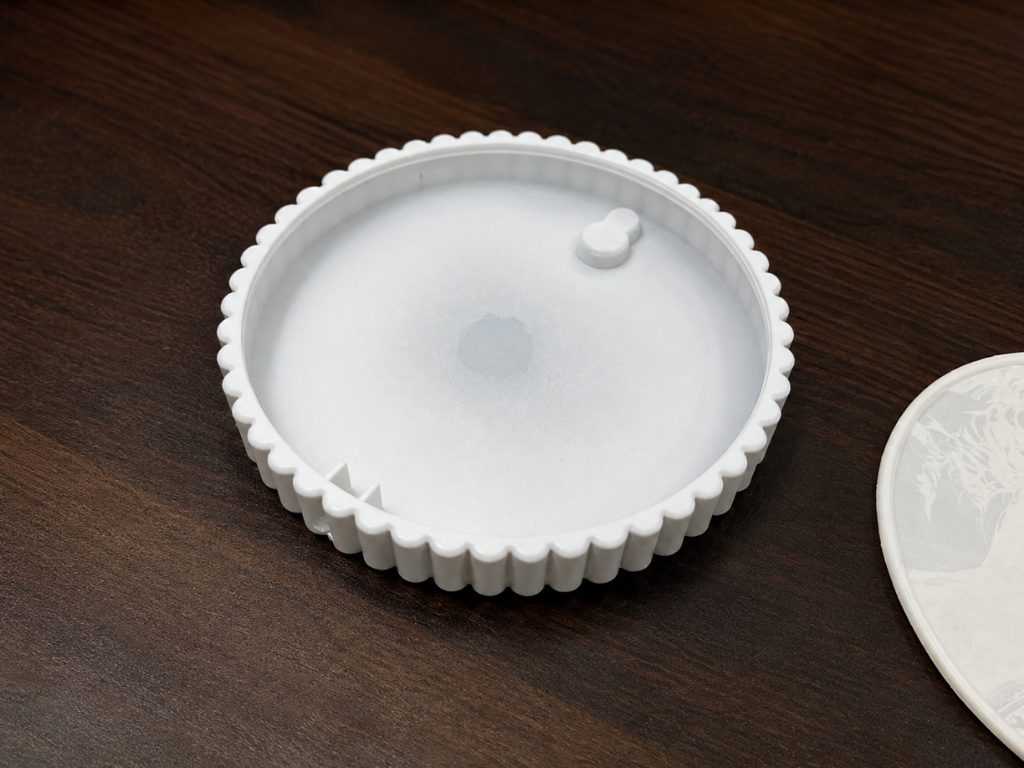
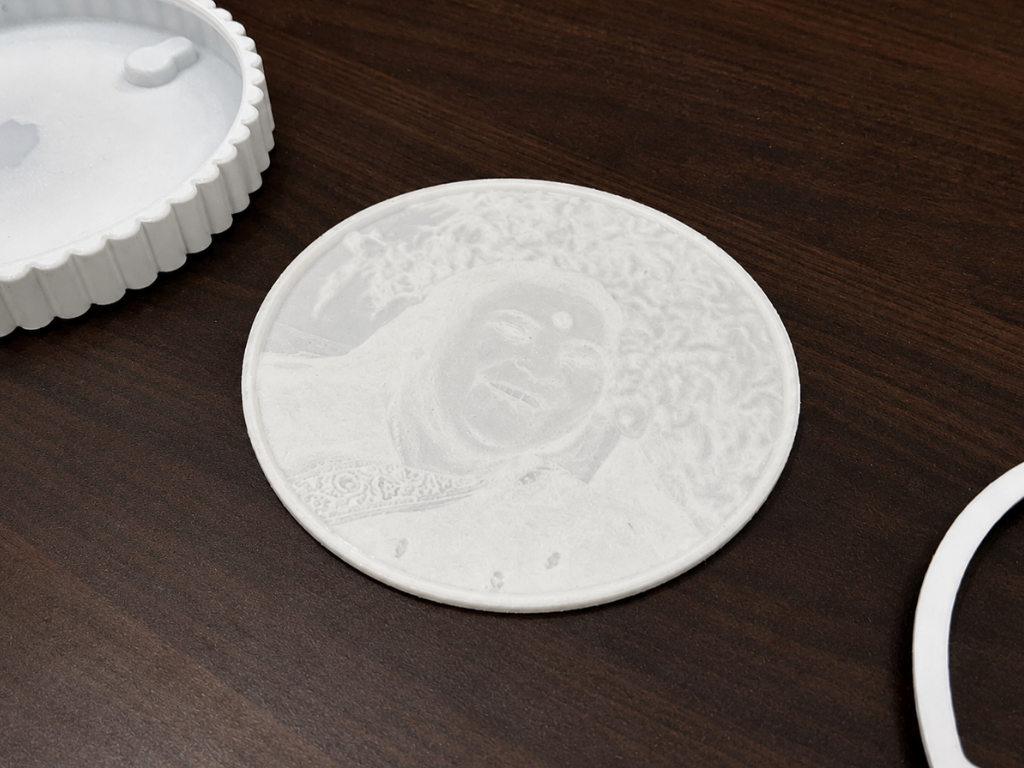
    After creating the lithophane model, I prepared and 3D printed the three main parts of the lamp: the lithophane model, photo frame, and text ring. Each part was printed separately so that they could be assembled accurately and give the lamp a clean, finished look.

    The lithophane was printed in white filament to allow the light to pass through the varying thickness of the image and produce a clear illuminated photograph. The photo frame holds the lithophane securely and provides the main outer structure, while the text ring adds the project name around the frame.

    For the photo frame and text ring, I used and modified a design originally created by 3DIEST. Credit to the original creator for the design.

    Original model:Lithophane Lamp Round V2 — 3DIEST

  • 3
    Installing the LED Strip

    The next step is to install the LED strip inside the lamp. I used an ultra-thin, high-brightness LED strip from Waveshare, which is only about 4 mm thick but produces an impressive amount of light—making it ideal for evenly illuminating the lithophane.

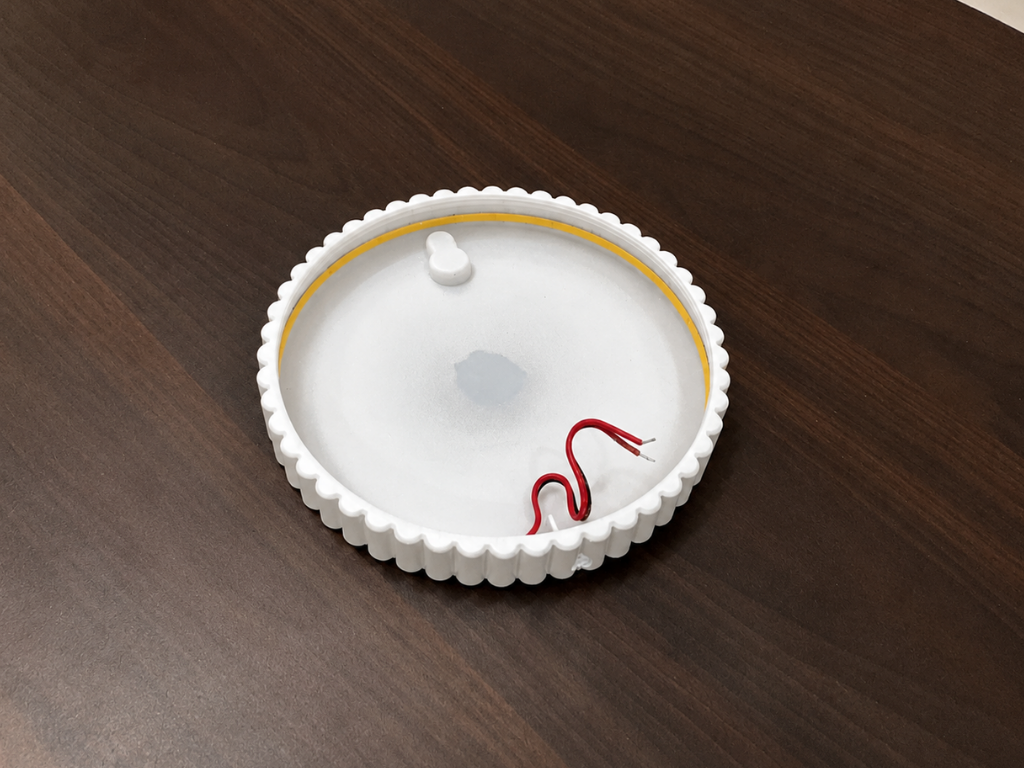
    First, I cleaned the mounting surface to ensure good adhesion. Then, I peeled off the protective backing from the adhesive layer on the back of the LED strip and carefully positioned it around the inside of the lamp, keeping it evenly spaced for uniform illumination.

    Despite its extremely slim profile, the strip is surprisingly bright, providing enough light to clearly reveal the details of the lithophane without requiring a bulky lighting setup.

View all 15 instructions

Enjoy this project?

Share

Discussions

Does this project spark your interest?

Become a member to follow this project and never miss any updates