Close
0%
0%

PIPBOY AR Mark 6000

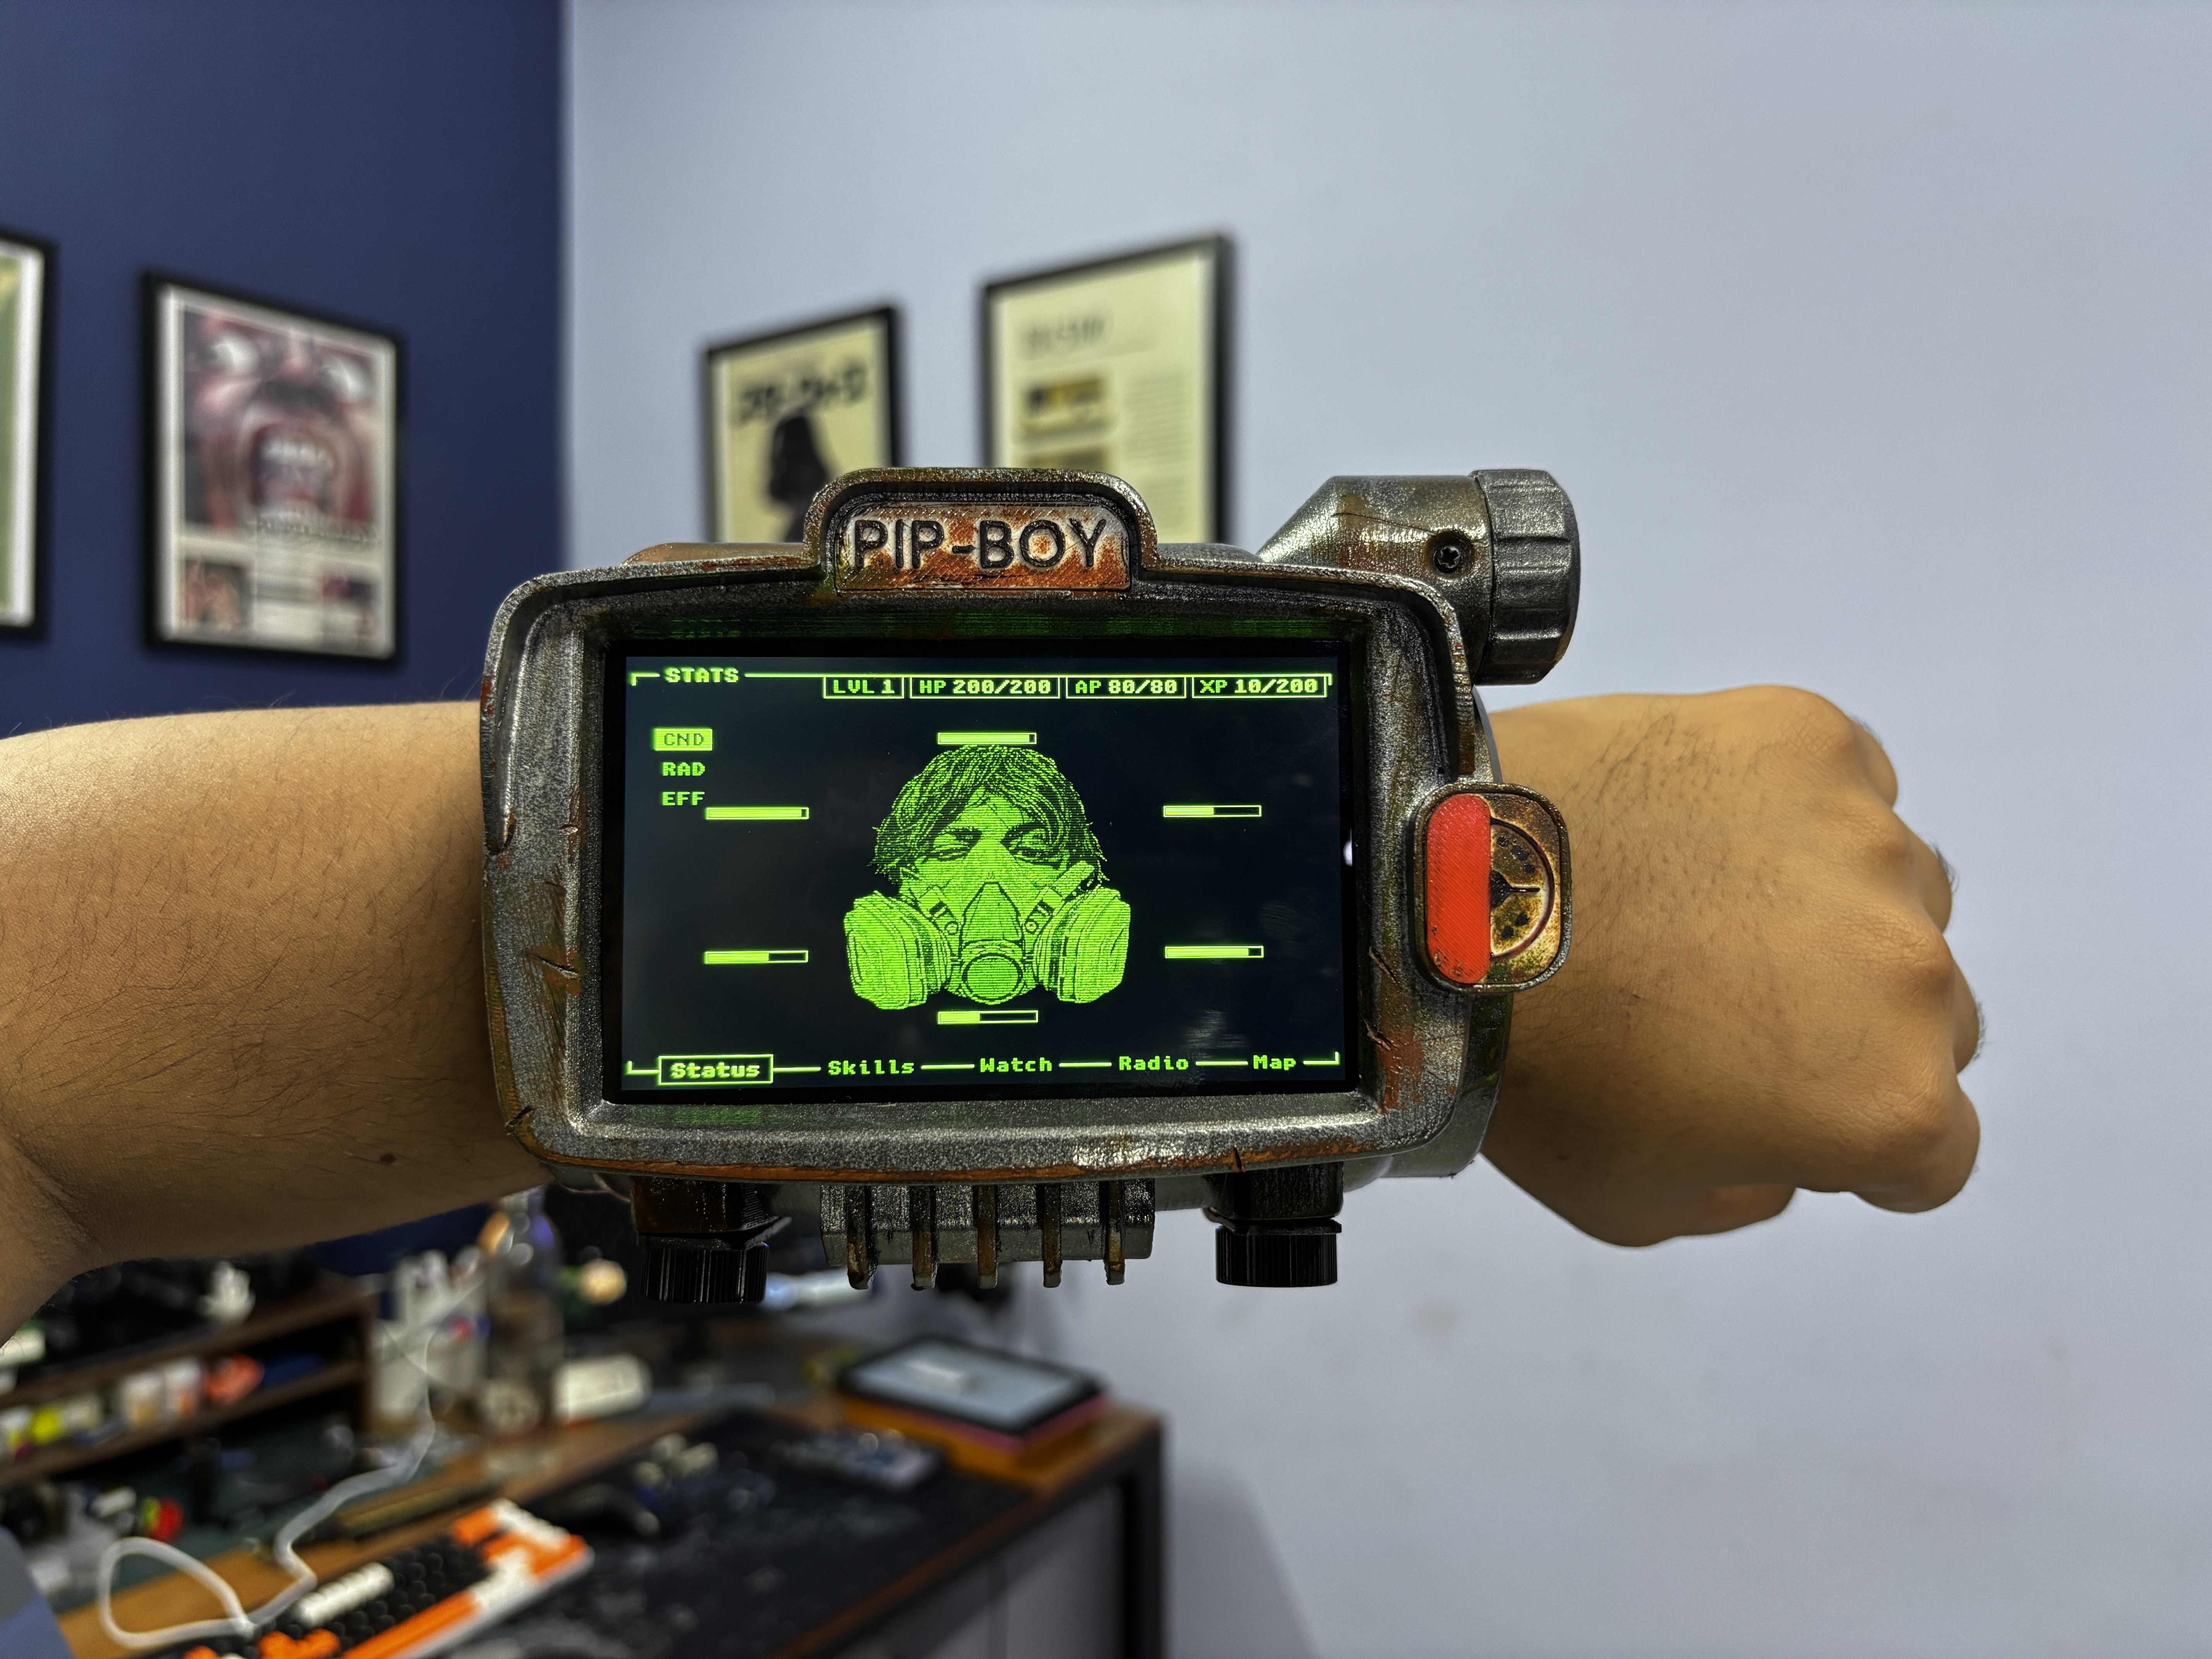
Made my own Working Version of PIPBOY from Fallout.

Similar projects worth following
Greetings everyone, and welcome back!
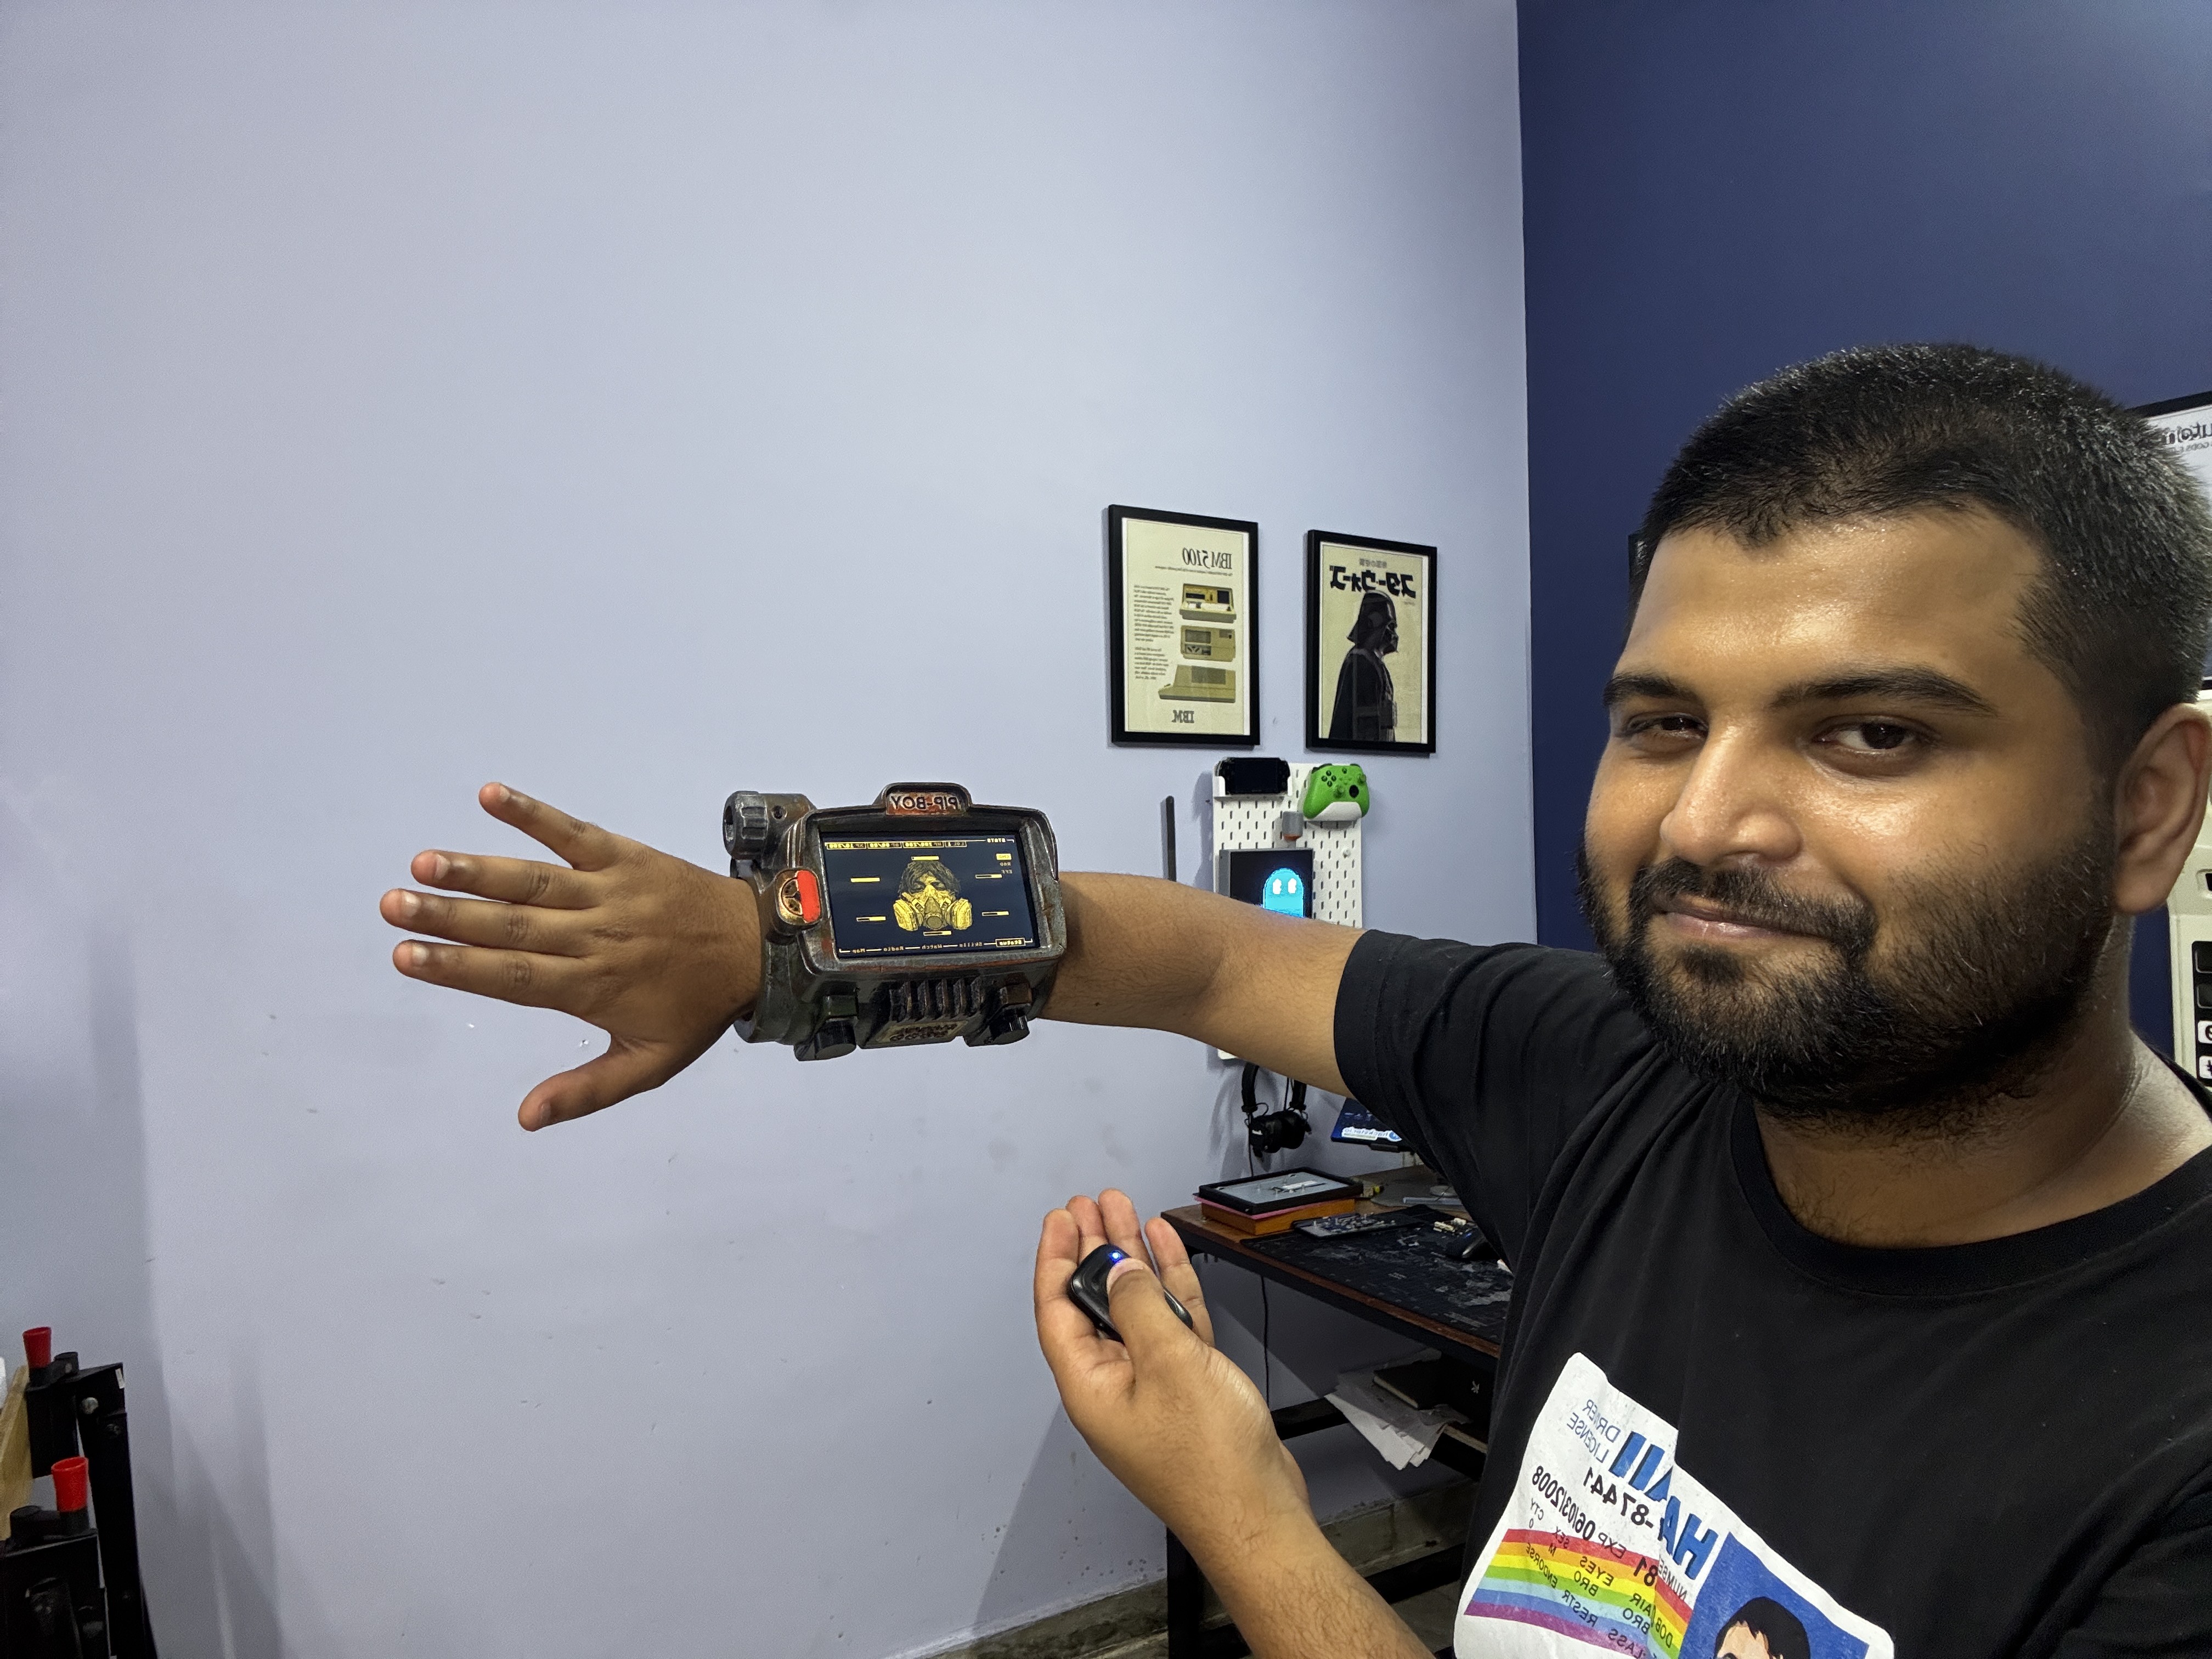
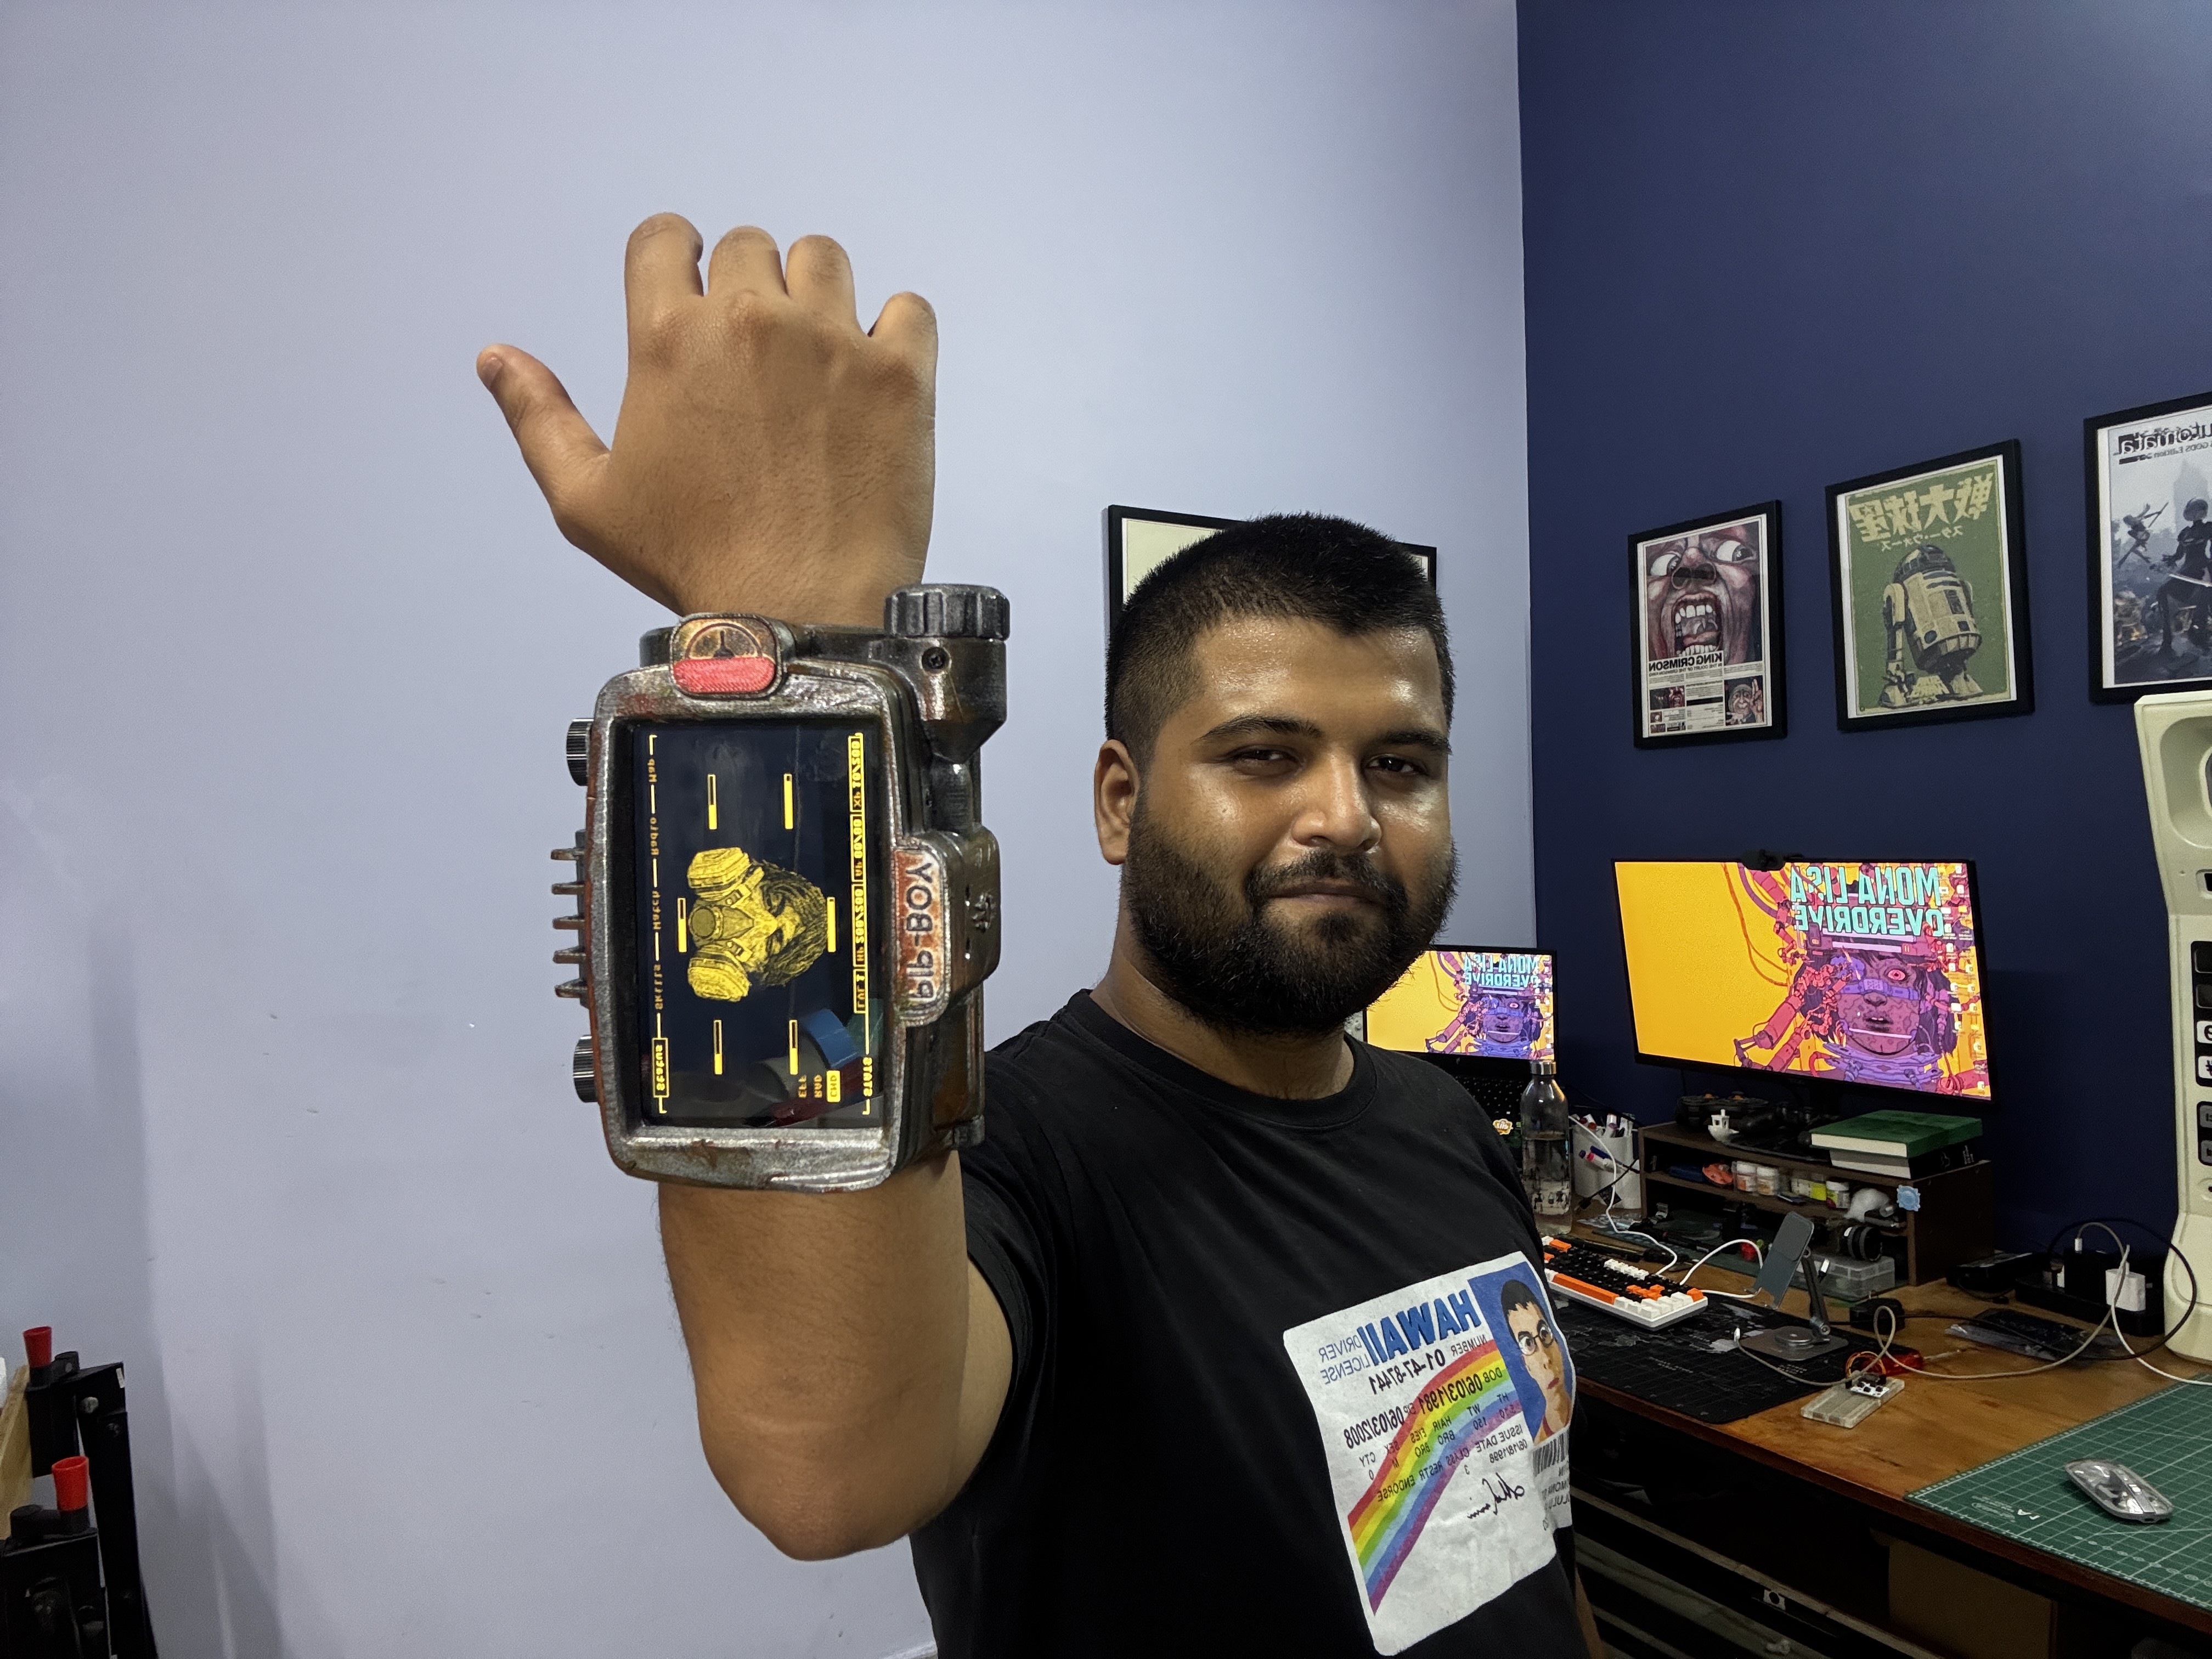
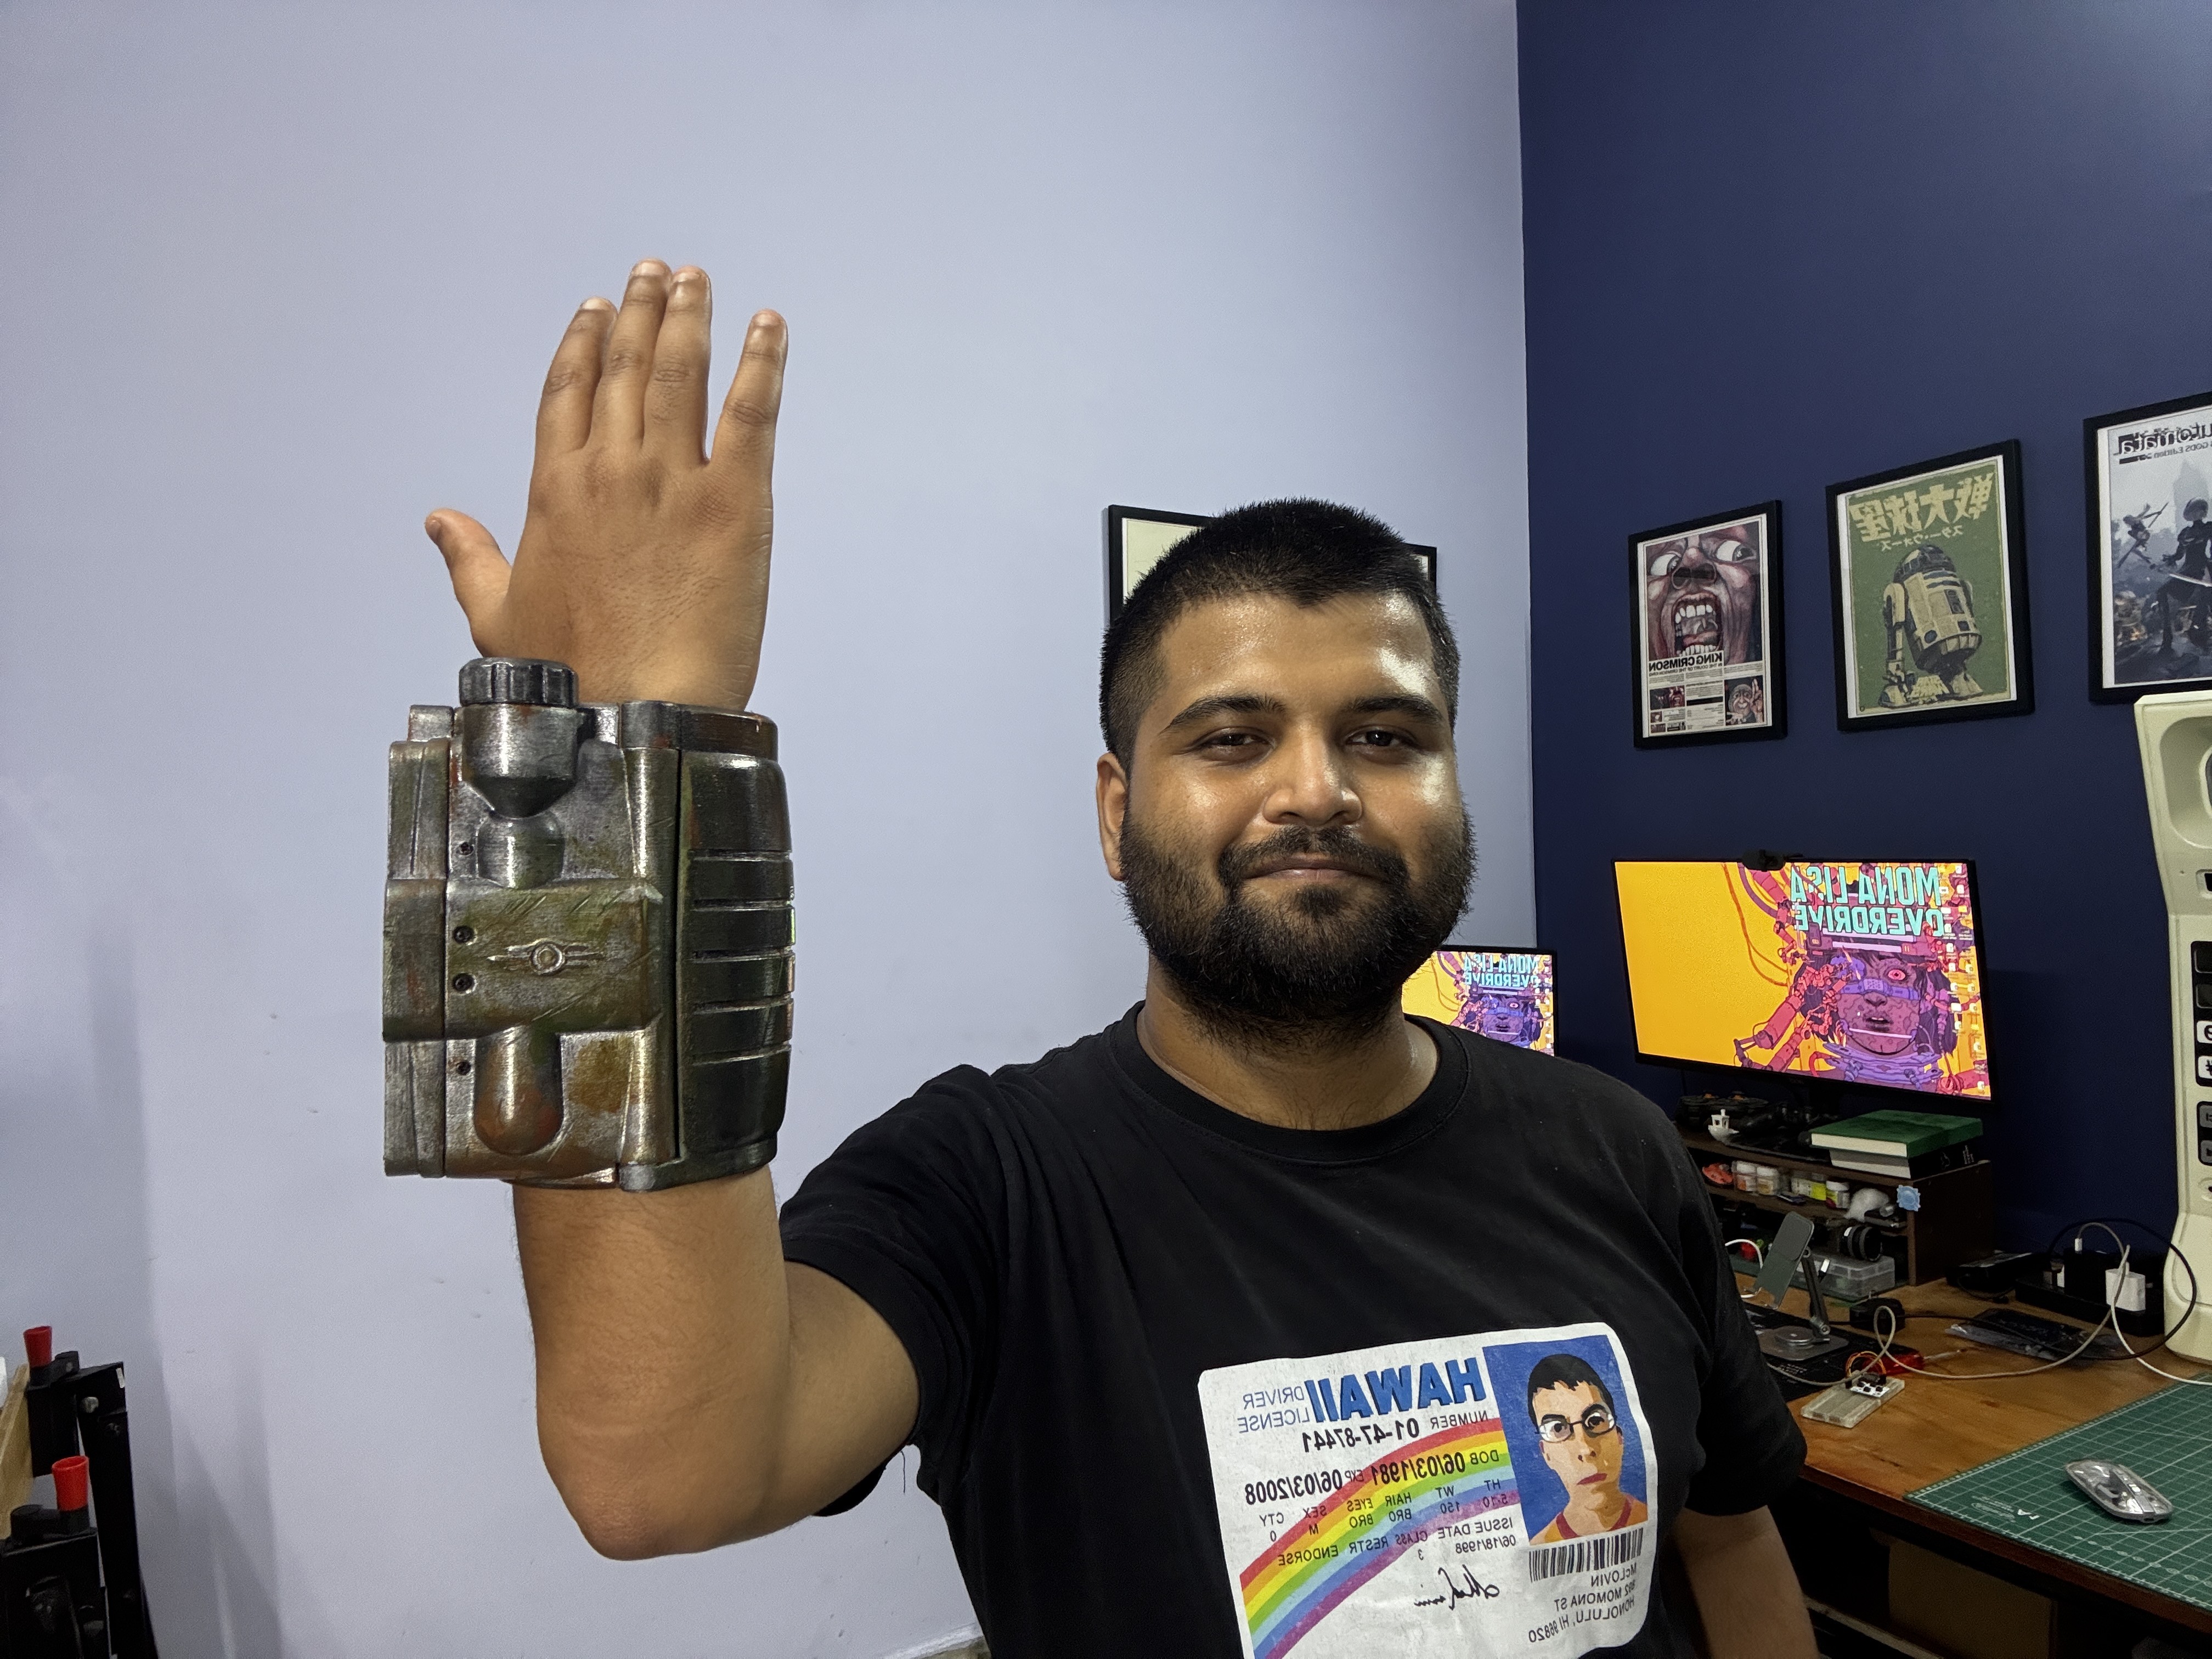
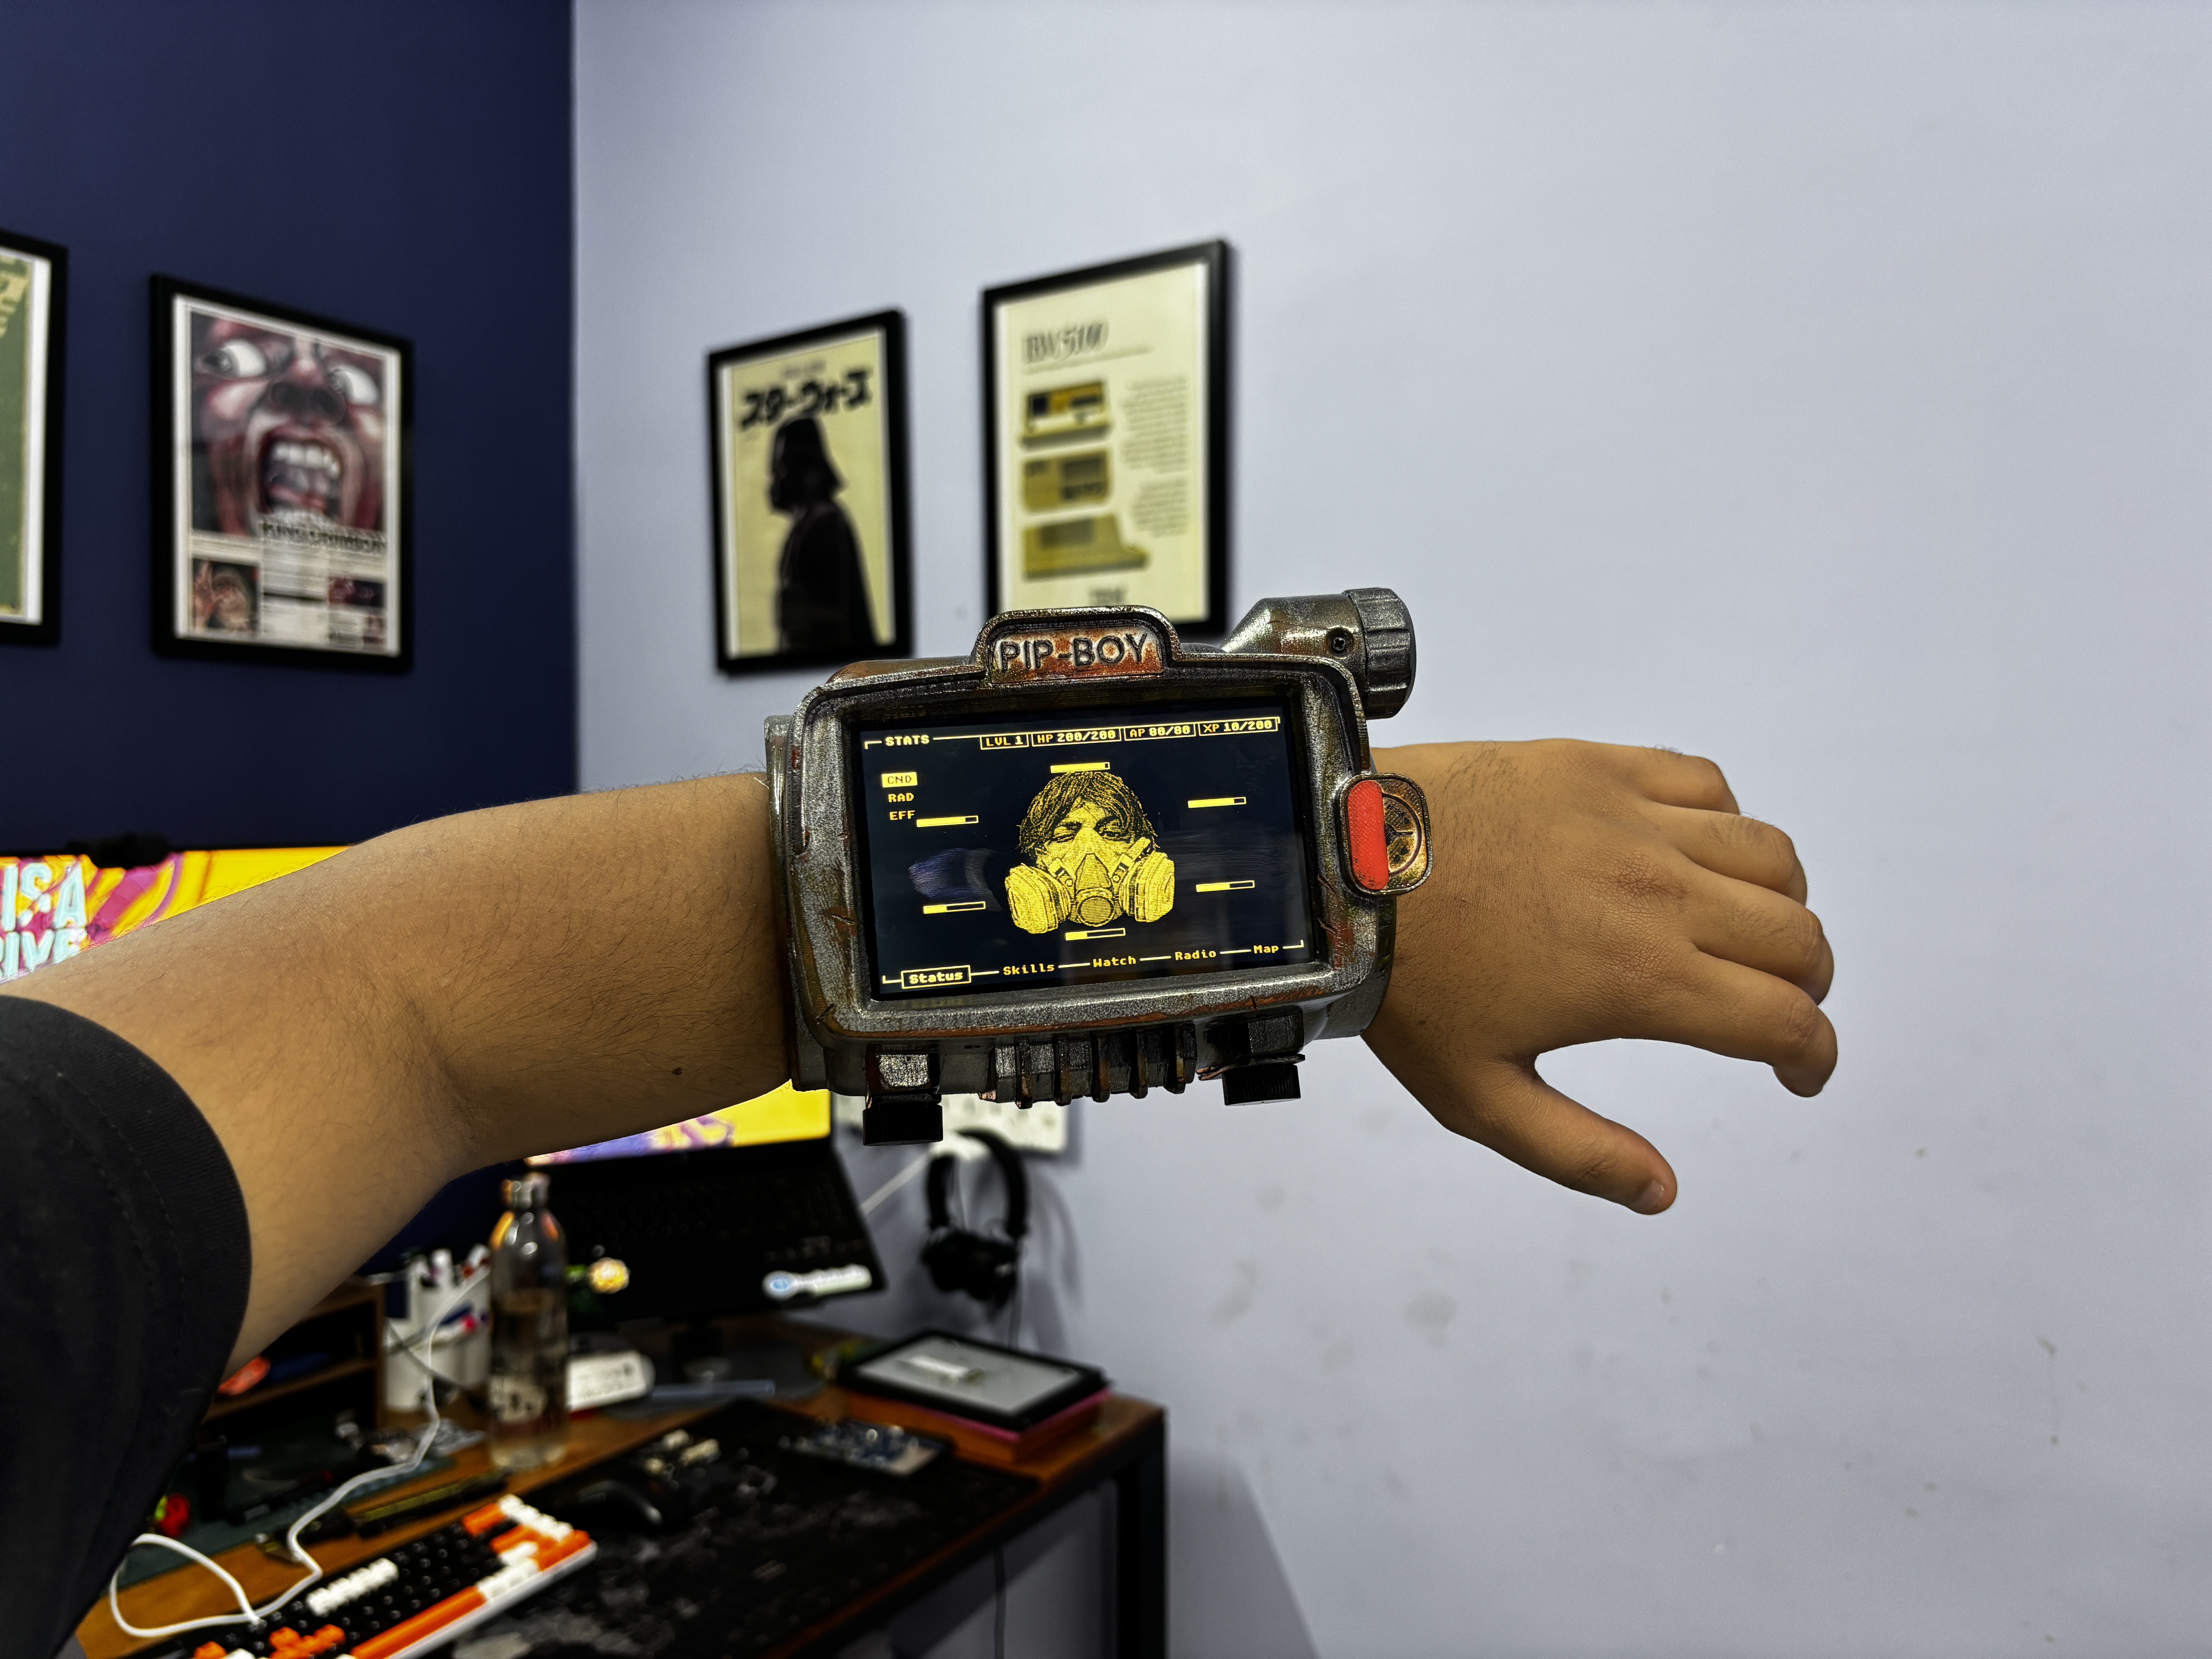
Meet the PipBoy AR Mark 6000, my own version of the PipBoy designed and built completely from scratch.
If you’re a gamer, chances are you’ve heard of Fallout. Fallout is a post-apocalyptic RPG series set in a dystopian future where civilization has been devastated by nuclear war. The games take place across a retro-futuristic wasteland filled with ruined cities, mutated creatures, factions, and remnants of the old world. While each game follows a different protagonist and takes place in a different part of the Fallout universe, the core setting and its unique retro-futuristic aesthetic remain largely the same.

As a Fallout fan, I’ve always wanted to build some of the technology from the games. I previously made a Fallout-inspired terminal, so naturally, the next project I wanted to take on was a Pip-Boy.

One of the most iconic pieces of technology in the Fallout universe is the PipBoy. It’s essentially a wearable computer strapped to the player's arm, kind of like an extremely oversized, post-apocalyptic Apple Watch.

Throughout the games, the Pip-Boy is used for almost everything: keeping track of inventory, checking character stats, managing perks, viewing maps and quests, and even listening to radio stations.

As a Fallout fan, I’ve always wanted to build some of the technology from the games. I previously made a Fallout-inspired terminal, so naturally, the next project I wanted to take on was a Pip-Boy.

However, I didn’t want to simply recreate one of the existing Pip-Boy models from the games. Instead, I wanted to design my own version while still following the design language and aesthetic that makes the Pip-Boy instantly recognizable.

I also wanted this to be more than just a wearable prop. The goal was to make a fully functional Pip-Boy, with a user interface that stays as close to the games as possible while adding some of my own features and ideas.

This article covers the complete build process, from the initial hardware and 3D design to the electronics, software, finishing, and final assembly.

MATERIALS REQUIRED

These were the materials required for this project.

  • Waveshare ESP32 P4 4.3-inch Dev Board
  • Power Source—3.7V 2000mAh Li-ion cell
  • 3D Printed Parts
  • Slide Switch
  • M2 screws
  • M3 Threaded Inserts
  • M3 Bolts
  • M6 Nut
  • M6 Thumb bolt
  • Automotive filler
  • Sandpapers
  • Spray paint
  • Spray primer
  • Hyper PLA x 2 Rolls for all parts
  • Patience and Time

FALLOUT - PIPBOY

The Pip-Boy is a fictional wearable computer from the Fallout universe (It's like a CyberDeck on the wrist or an Apple Watch but bigger and bulkier) worn on the player character’s arm. It acts as an all-in-one personal computer, helping the player manage different aspects of their journey through the wasteland.

Depending on the game and Pip-Boy model, it can display character statistics, health and limb conditions, inventory, perks, maps, quests, radio stations, and other information. It essentially works as the player's main interface for interacting with their character and the world around them.

Across the different games, we’ve seen several versions of the device, including the Pip-Boy 2000, Pip-Boy 3000, Pip-Boy 3000 Mark II, and the Pip-Boy 4.0 seen in Fallout 76. While each version has its own design and features, they all serve the same basic purpose, which is to act as a wearable computer for the player.

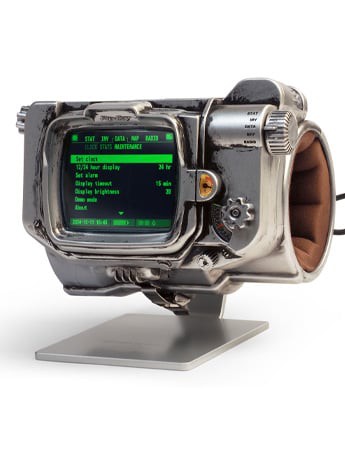
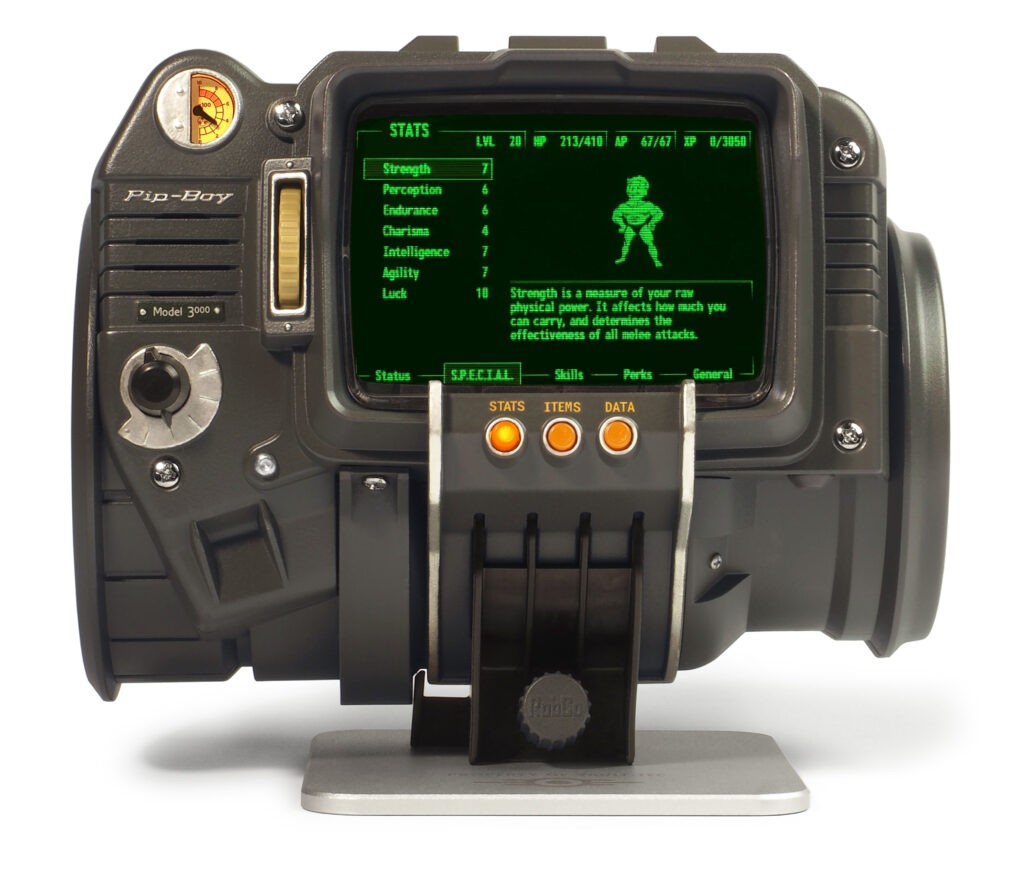
Personally, I’ve always liked the look of the Fallout: New Vegas Pip-Boy 3000, and it became the biggest inspiration for this project.

HARDWARE- ESP32-P4-WIFI6 4.3-inch DEV BOARD
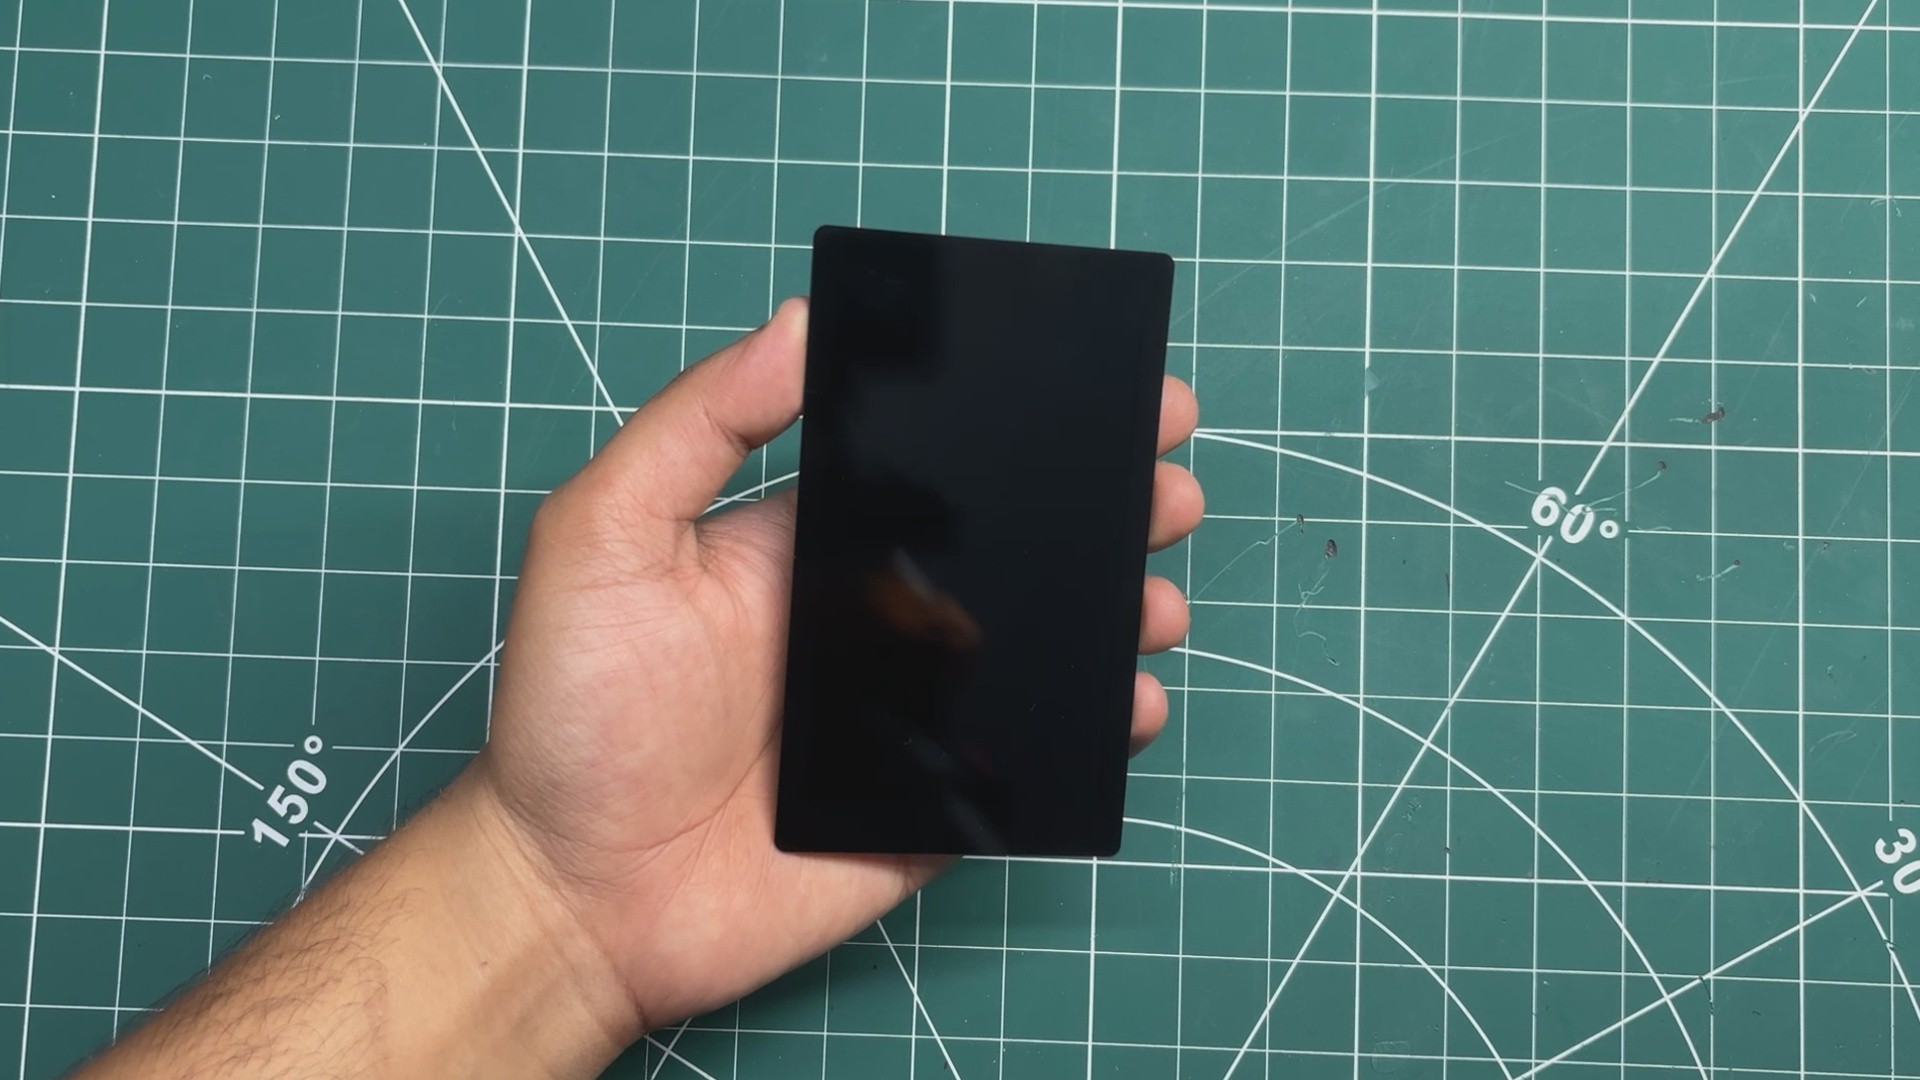
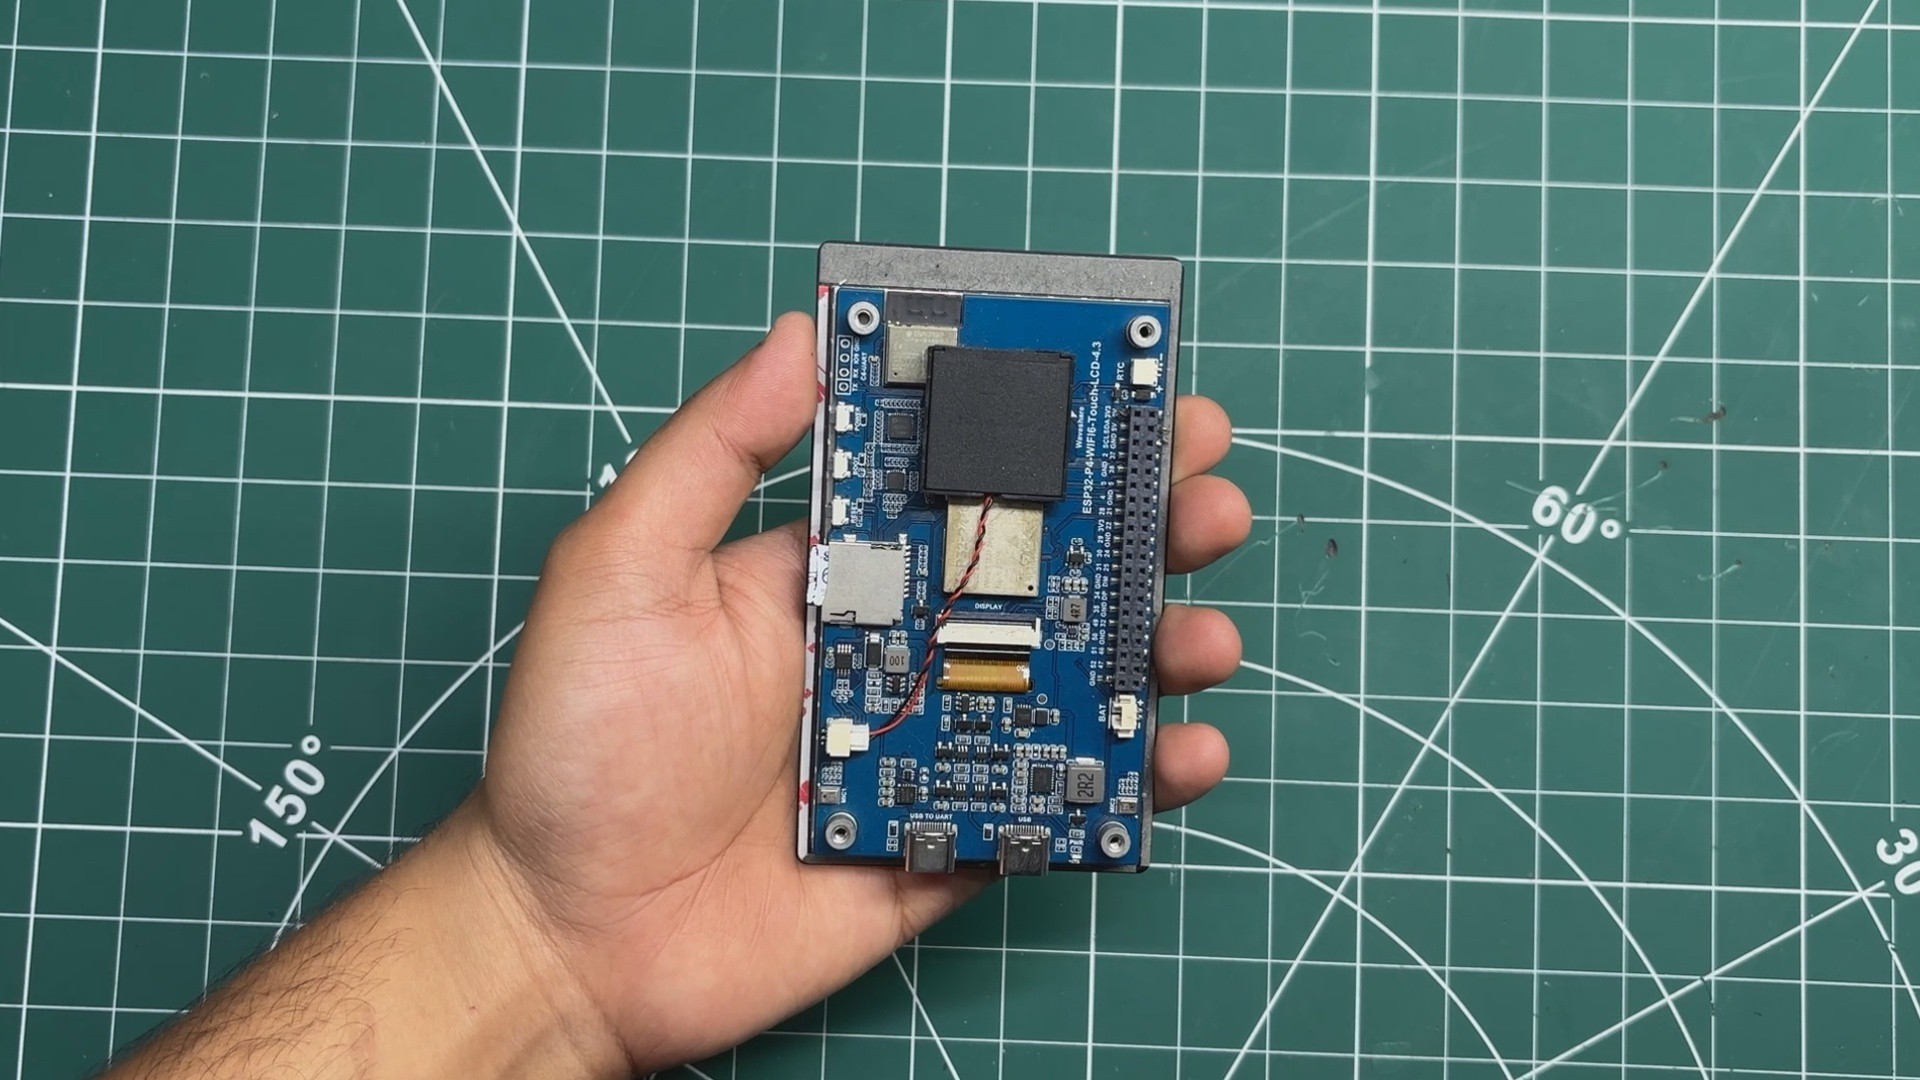
For the main hardware, or the Brain of this project, I chose the Waveshare ESP32-P4-WIFI6-Touch-LCD-4.3 development board.

There were a couple of reasons why I went with this particular board. The first was the built-in 4.3-inch 480 × 800 capacitive touchscreen, which was almost perfect for the Pip-Boy interface. Having the display and touch hardware already integrated also made the overall design much simpler.

The second, and probably more important reason, was the ESP32-P4 itself. It’s one of Espressif’s high-performance ESP32 chips, featuring a dual-core RISC-V processor running at up to 400 MHz, along with AI and DSP instruction extensions, a floating-point unit, dedicated multimedia hardware, and a much more capable memory and peripheral system than the ESP32 boards I’ve traditionally worked with.

For this project, that extra processing power was particularly useful because I wanted the Pip-Boy to handle a fairly graphical user interface, animations, audio, touch interaction, and media playback. The board also includes an ESP32-C6 wireless co-processor, giving the setup Wi-Fi 6 and Bluetooth 5 capabilities.

https://docs.waveshare.com/ESP32-P4-WIFI6-Touch-LCD-4.3

Another thing that made working with this board easier was the documentation. Waveshare...

Read more »

  • 1
    GREEBLE PARTS ASSEMBLY

    Now it’s time to install the greeble parts onto the Pip-Boy.

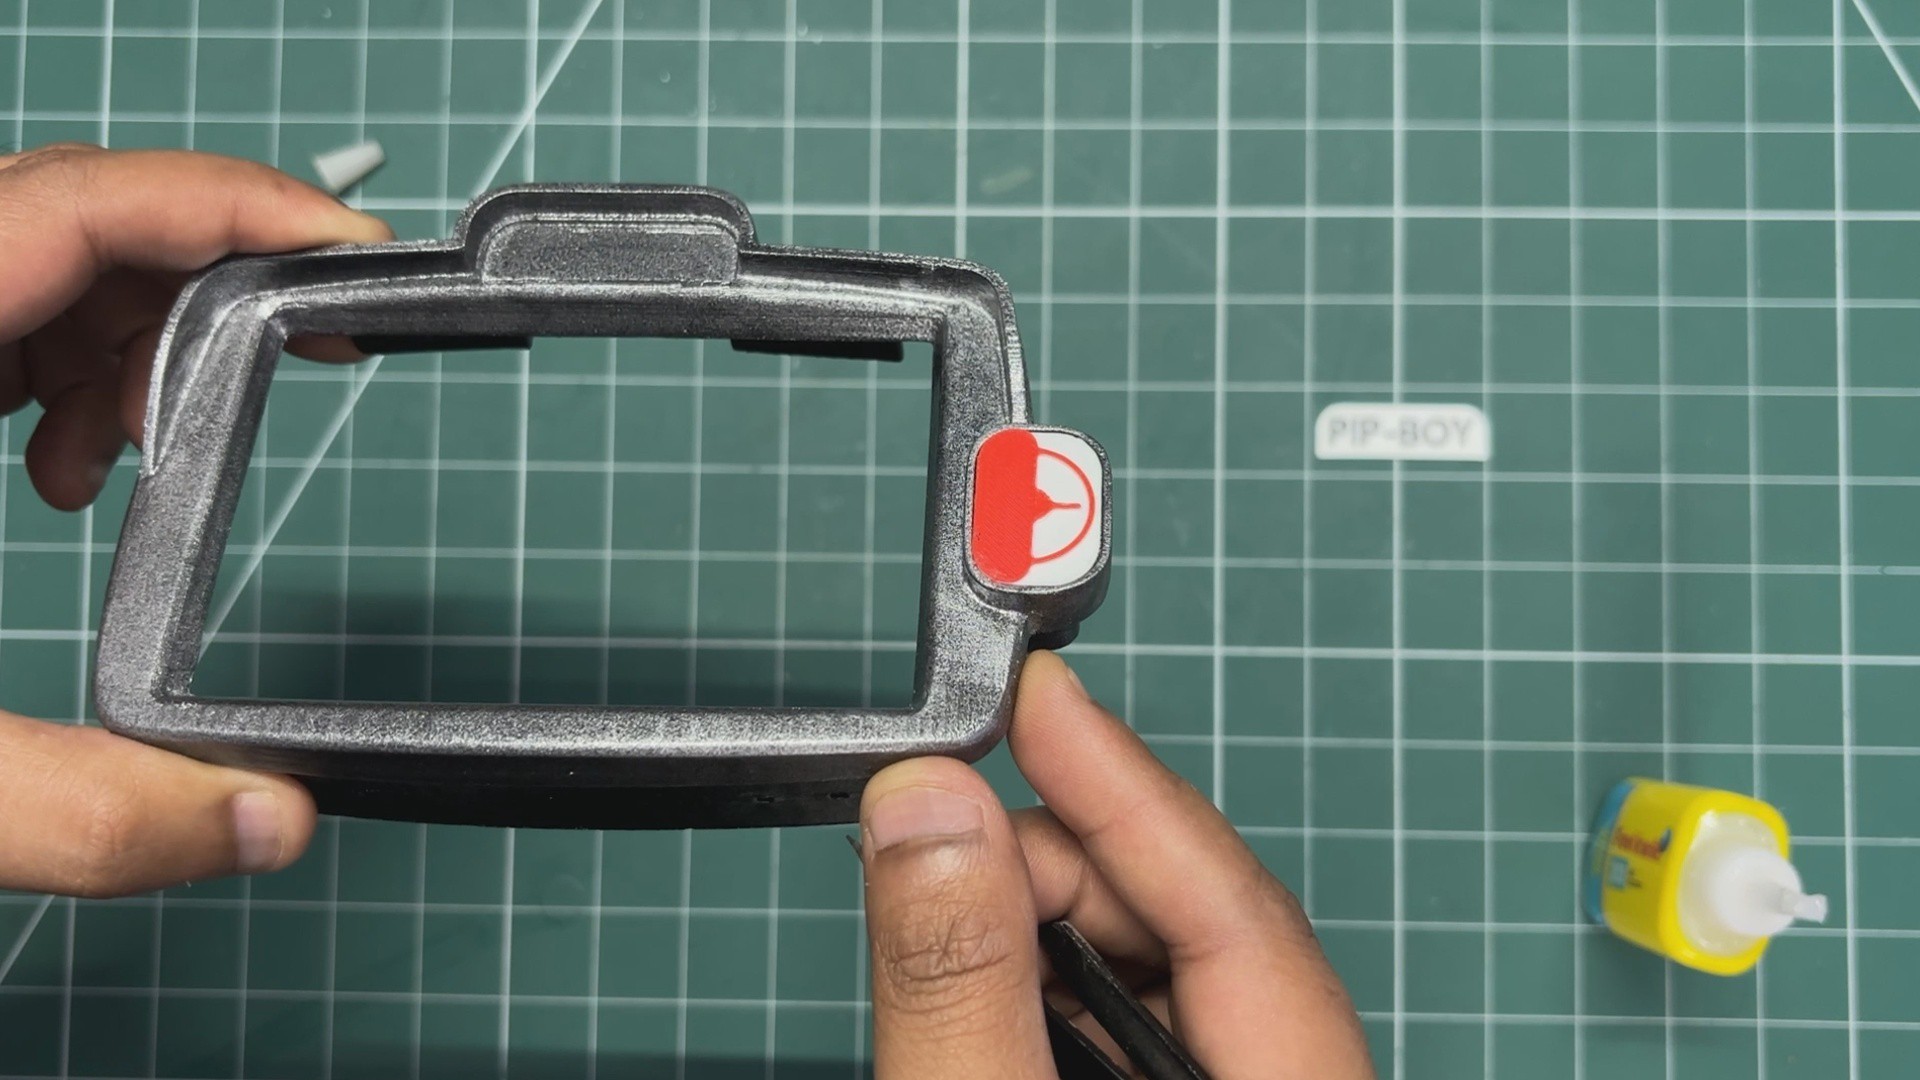
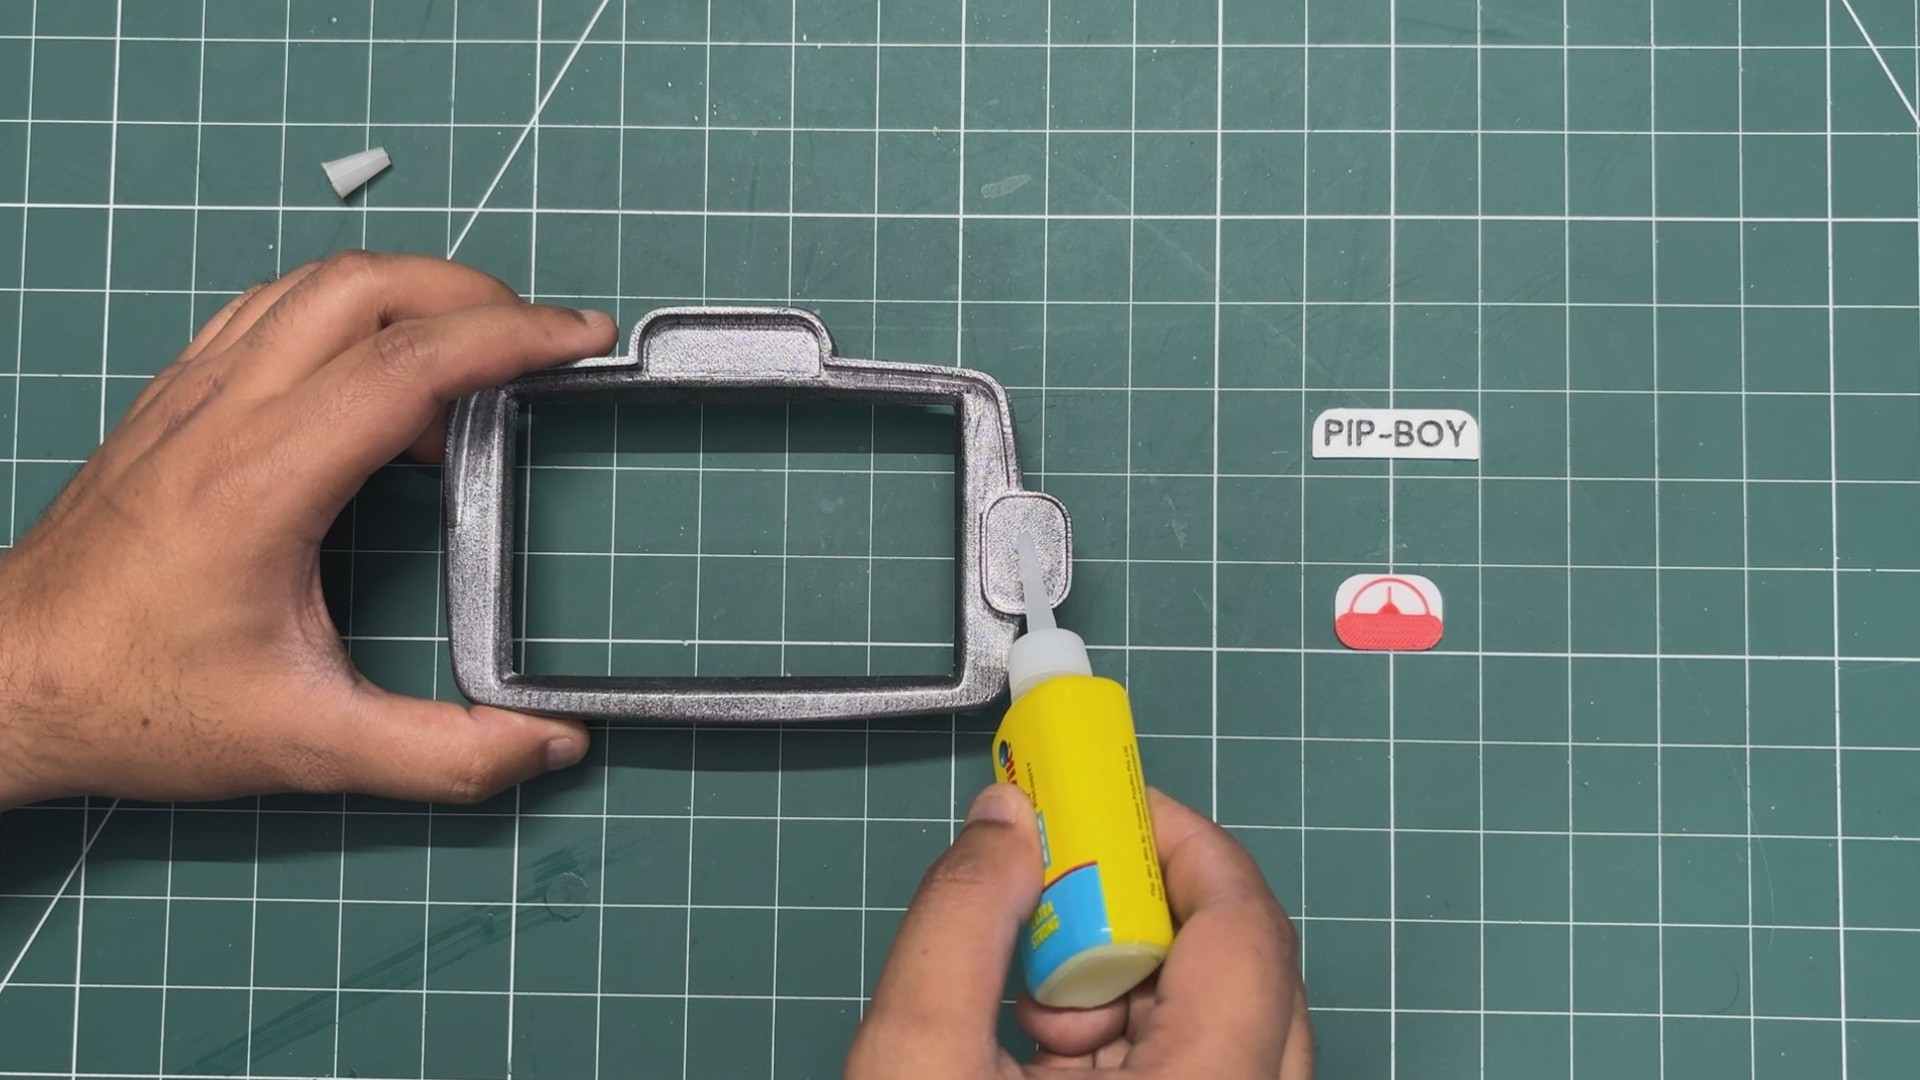
    We’ll start with the dial. I applied a small amount of super glue to the designated mounting area on the front cover, positioned the dial in place, and held it for a few seconds until the glue secured it.

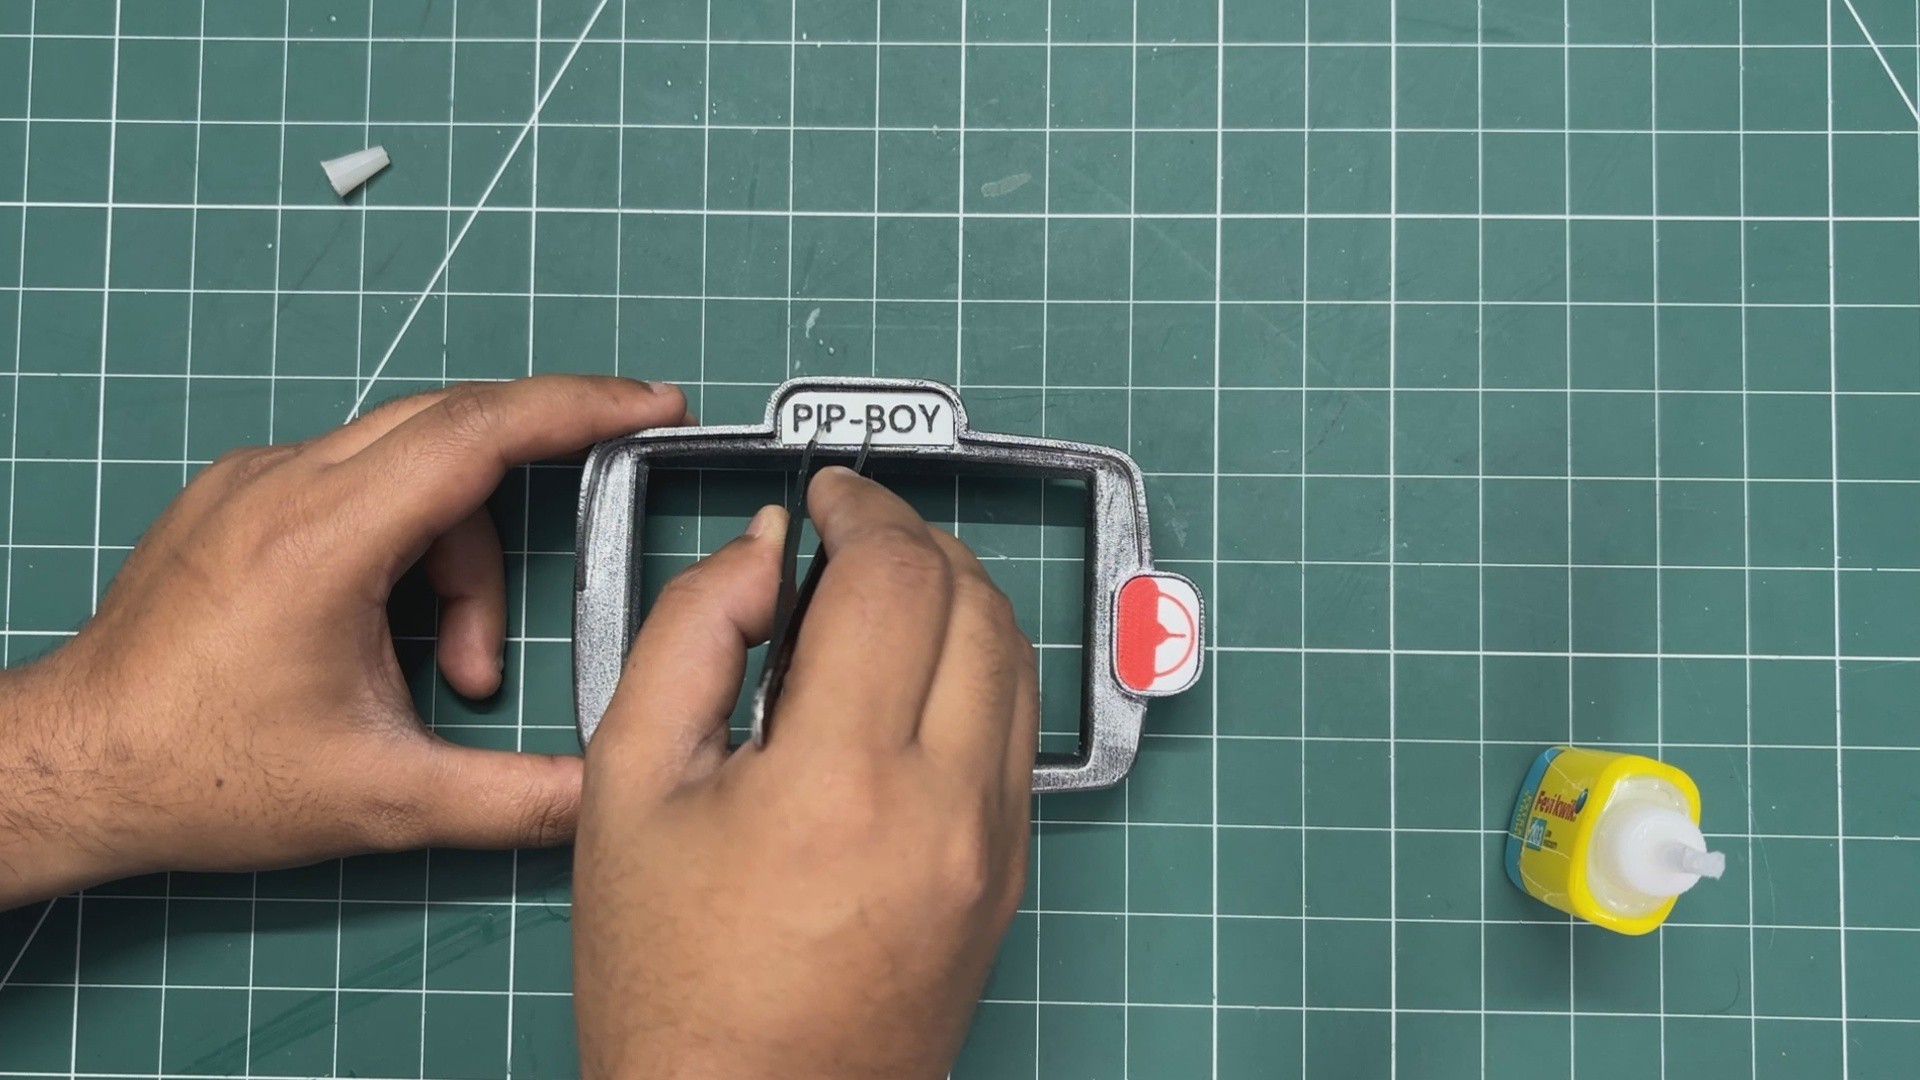
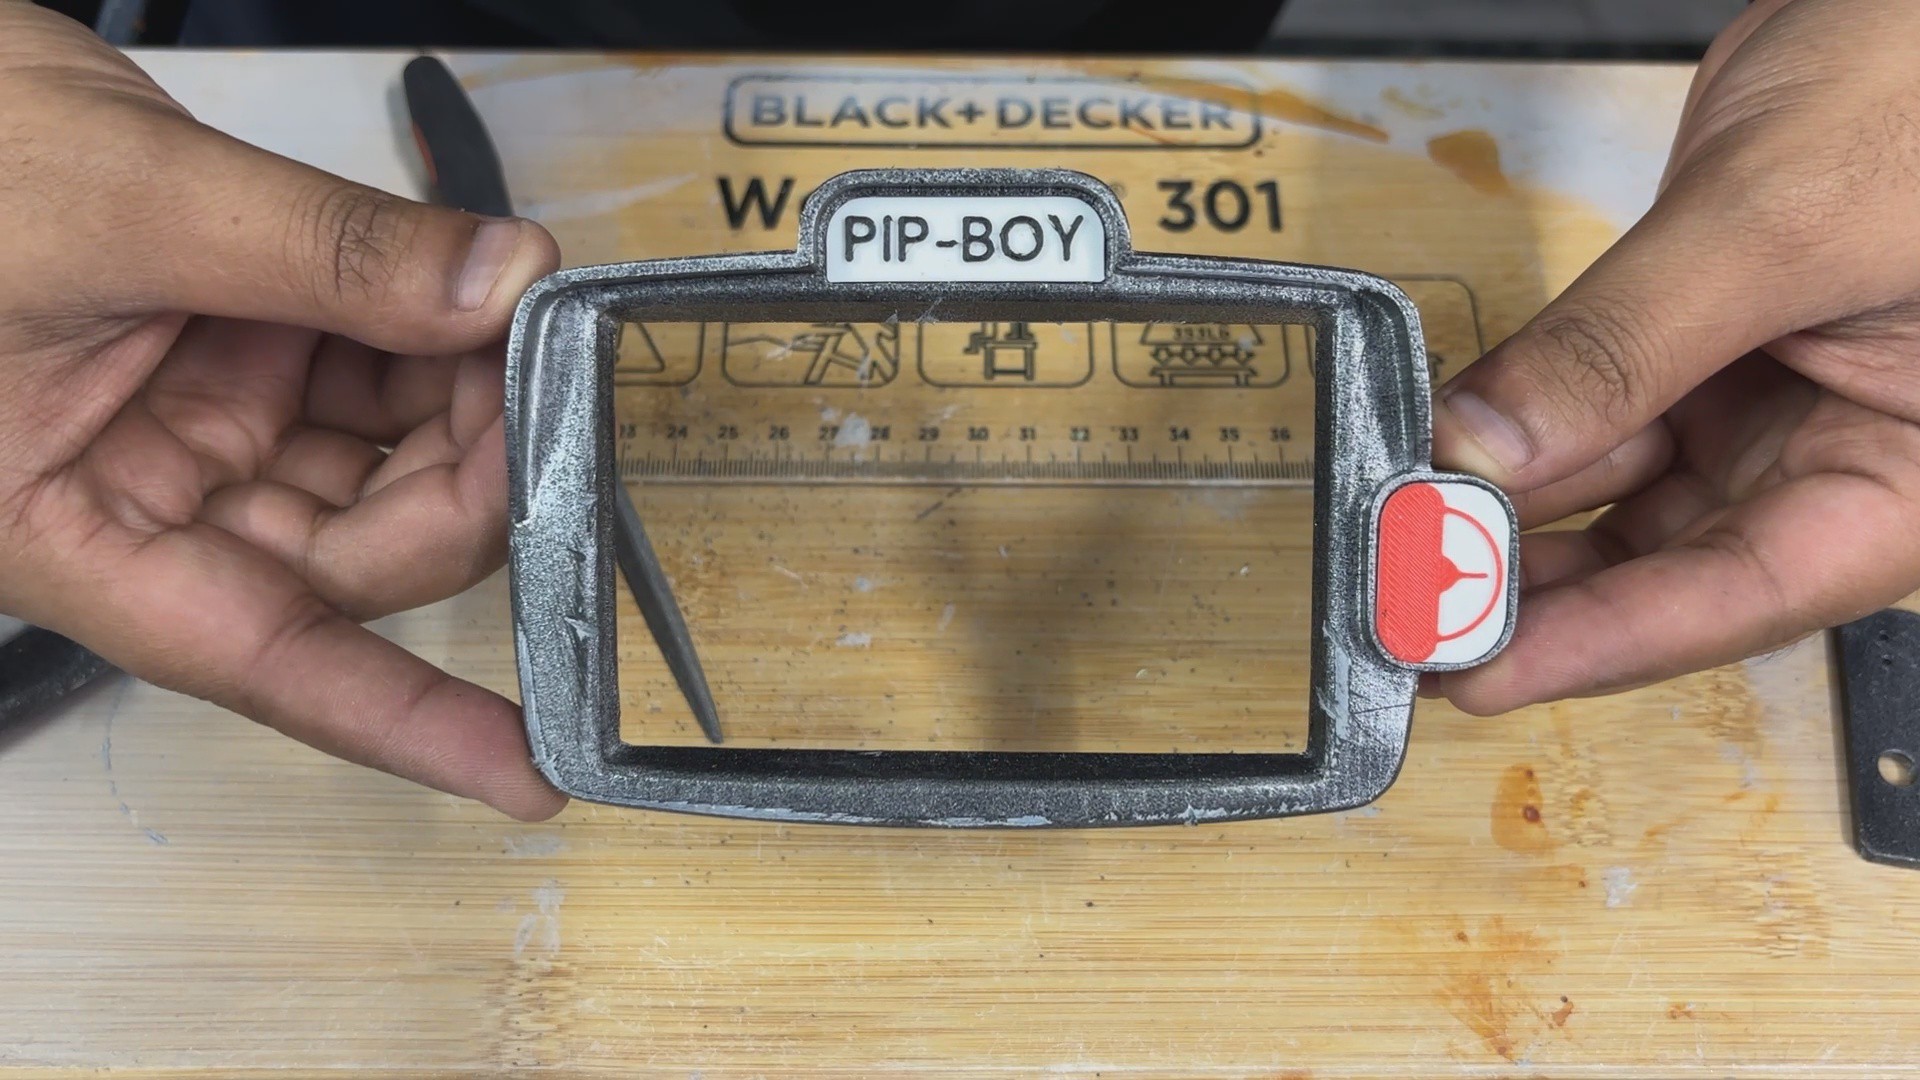
    I followed the same process for the Pip-Boy logo. A small amount of super glue was applied to its mounting location on the front cover, and the logo was then positioned and secured in place.

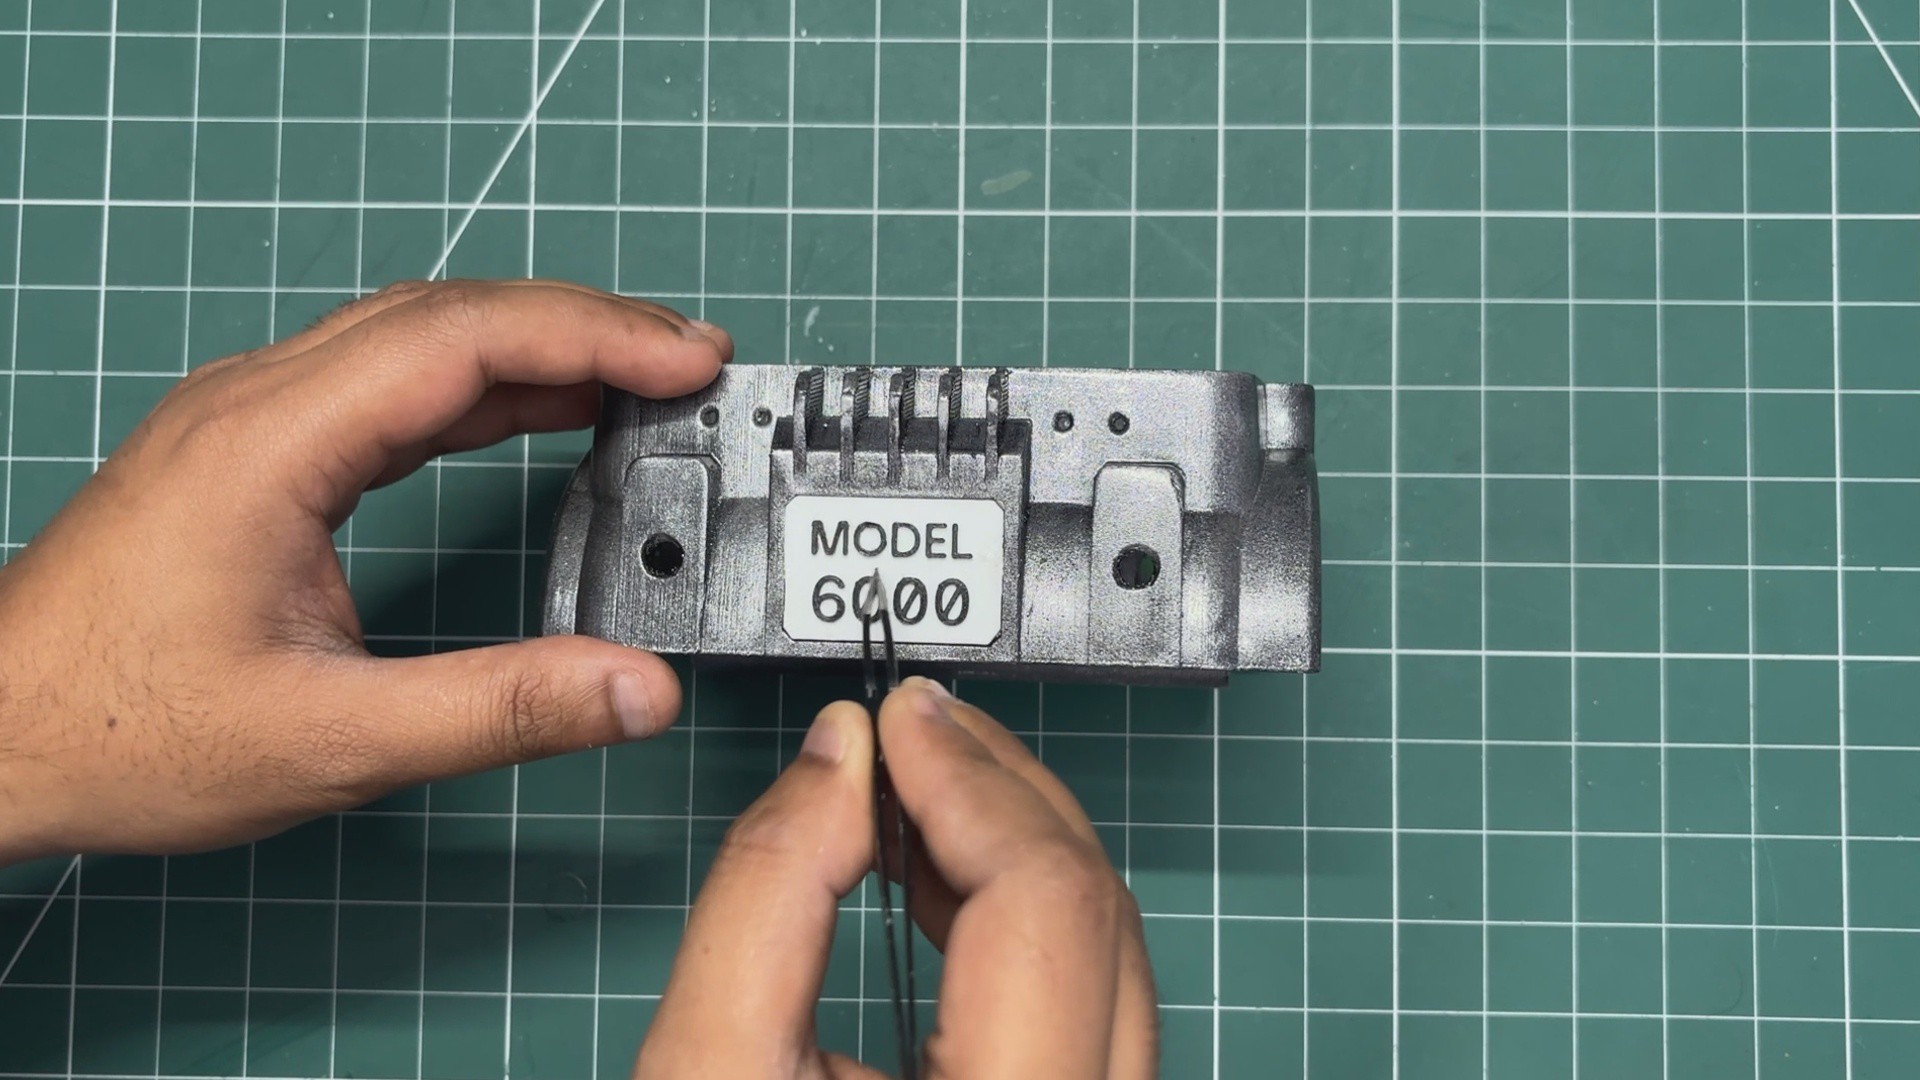
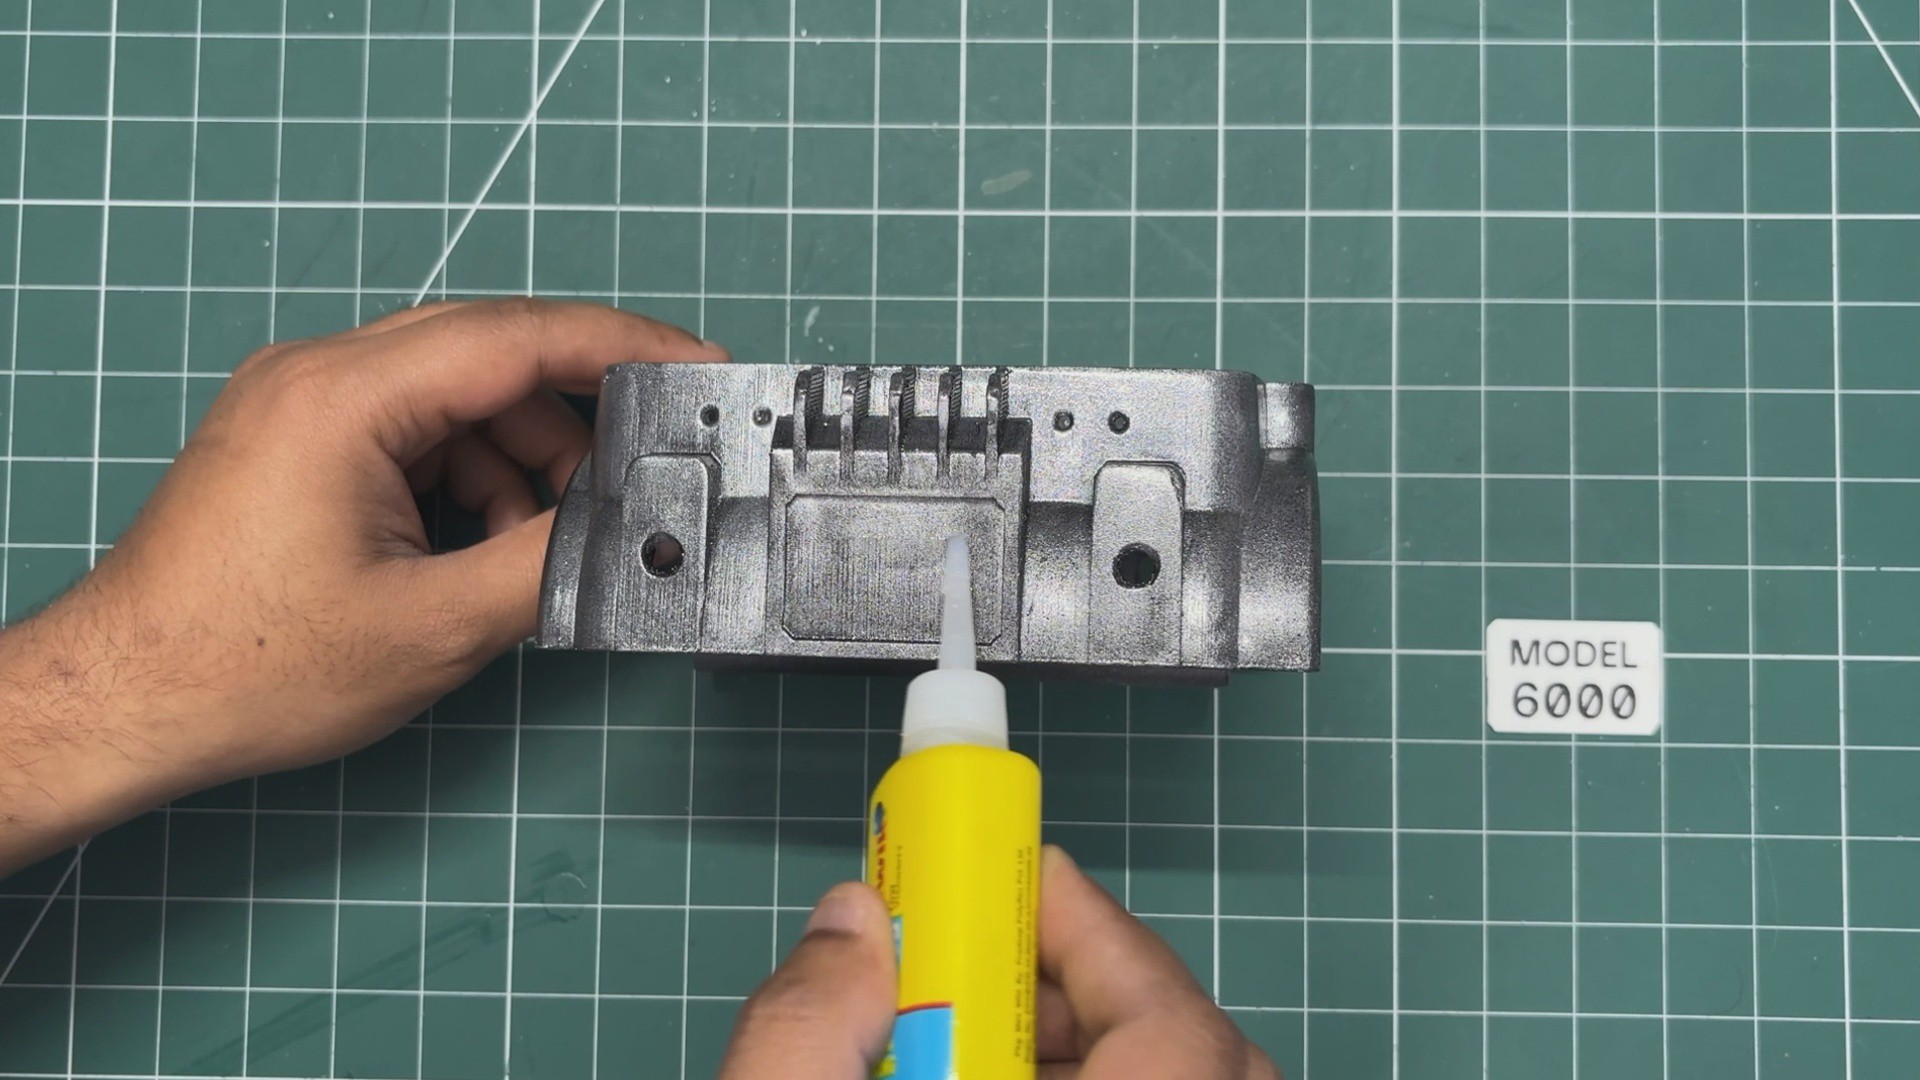
    Finally, on the main body, I applied super glue to the mounting area for the Model 6000 label. I placed the label into position and held it firmly until the glue set.

    With all three greeble parts installed, the exterior of the Pip-Boy starts to look much closer to a finished prop.

  • 2
    WEATHERING PROCESS

    Now comes one of my favourite parts of the entire project: weathering.

    The goal of the weathering process is to make the 3D-printed parts look like they’ve been sitting in the Fallout wasteland for the last 200 years. I wanted the finished PipBoy to have an old, worn-out metal appearance, complete with rust, scratches, and a bit of patina.

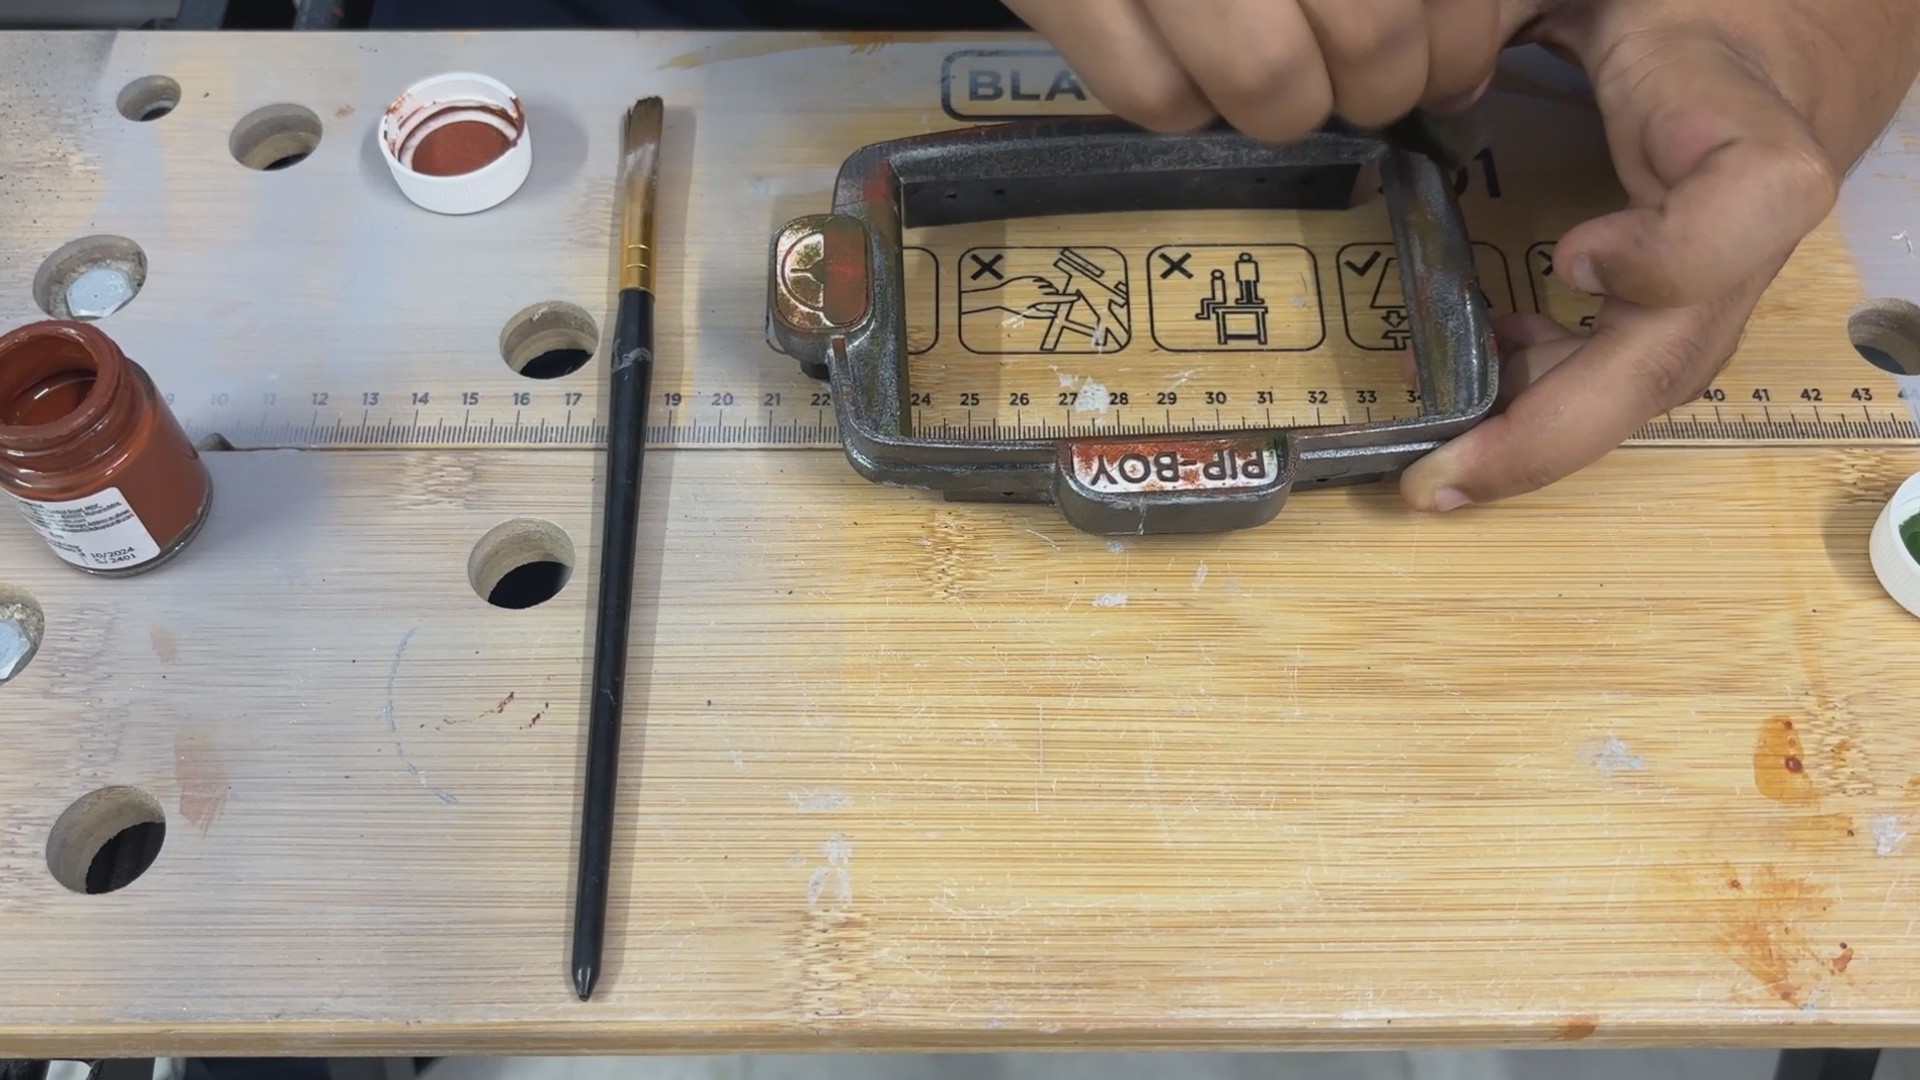
    I started by using a file and sandpaper to randomly remove some of the paint from the surface. I also used the file to create scratches, lines, cavities, and deeper cuts in different areas. These imperfections help make the surface look damaged and naturally worn rather than perfectly manufactured.

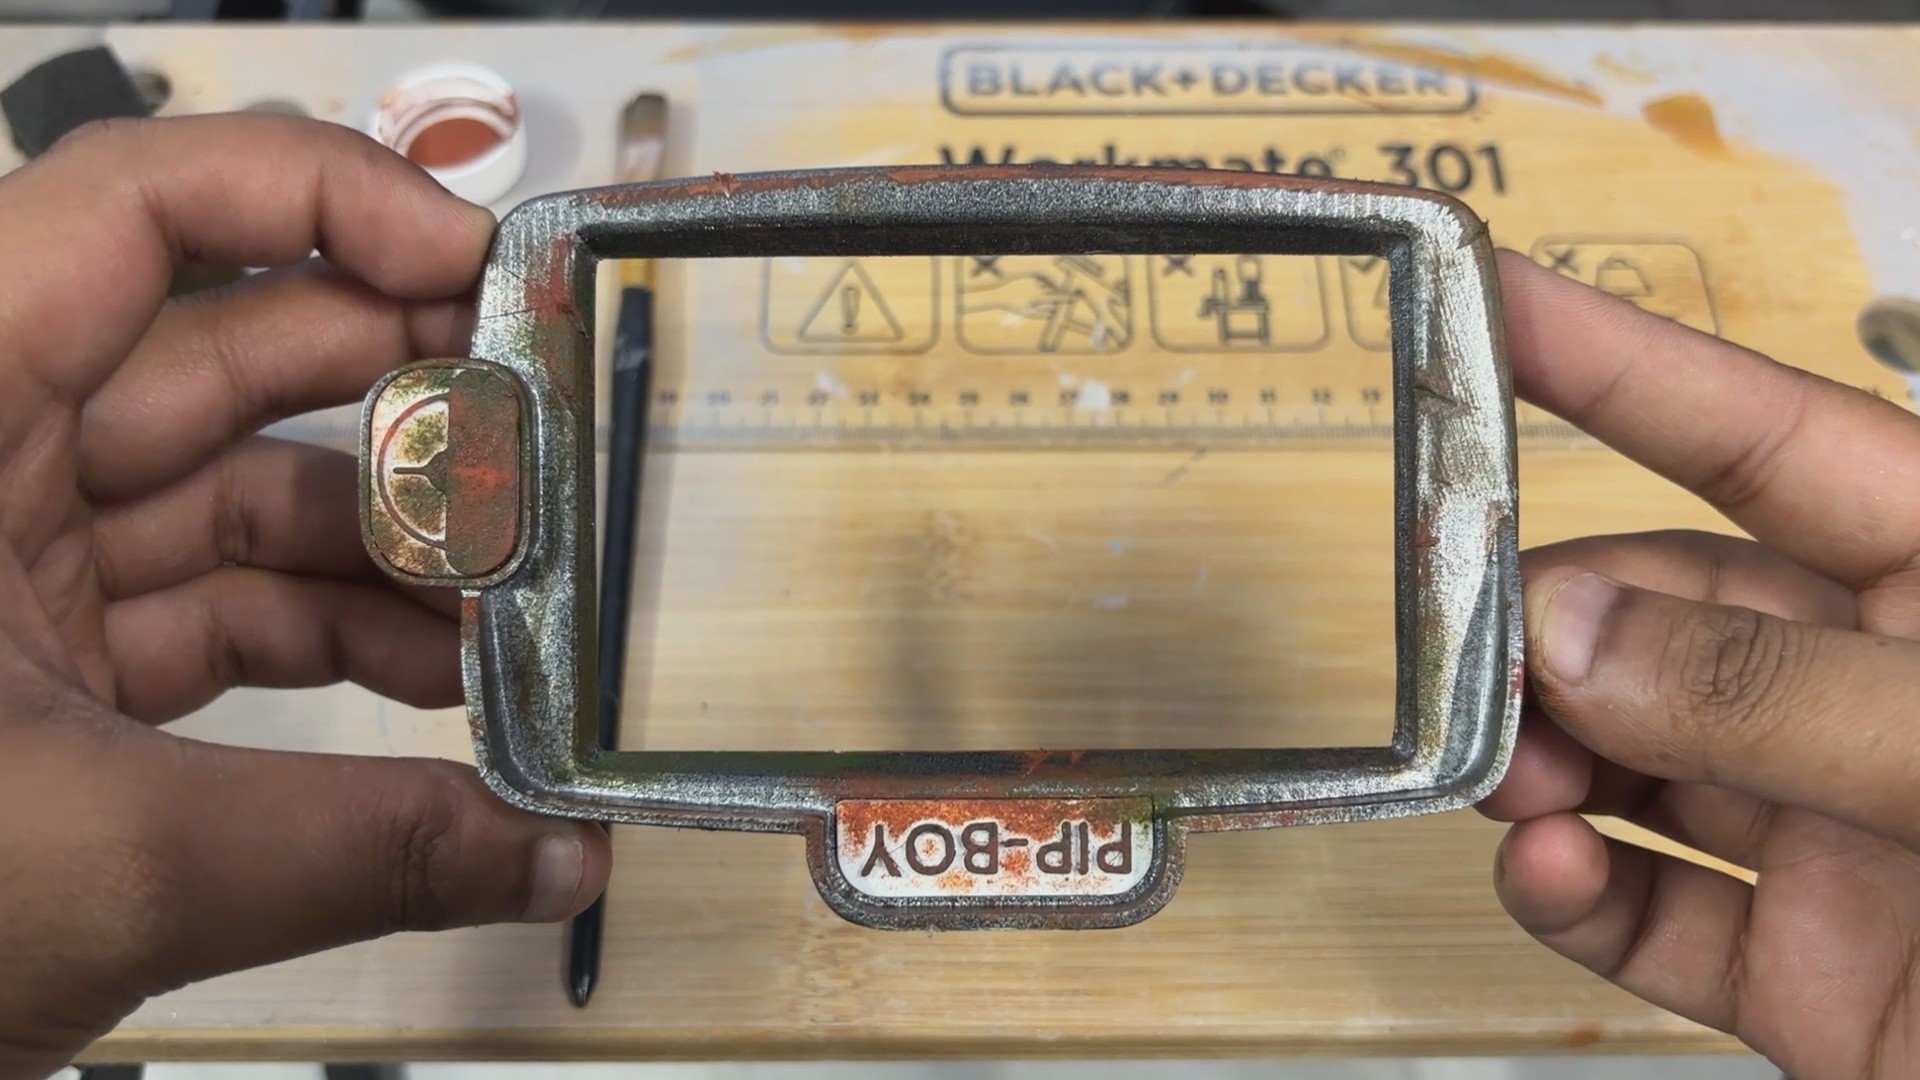
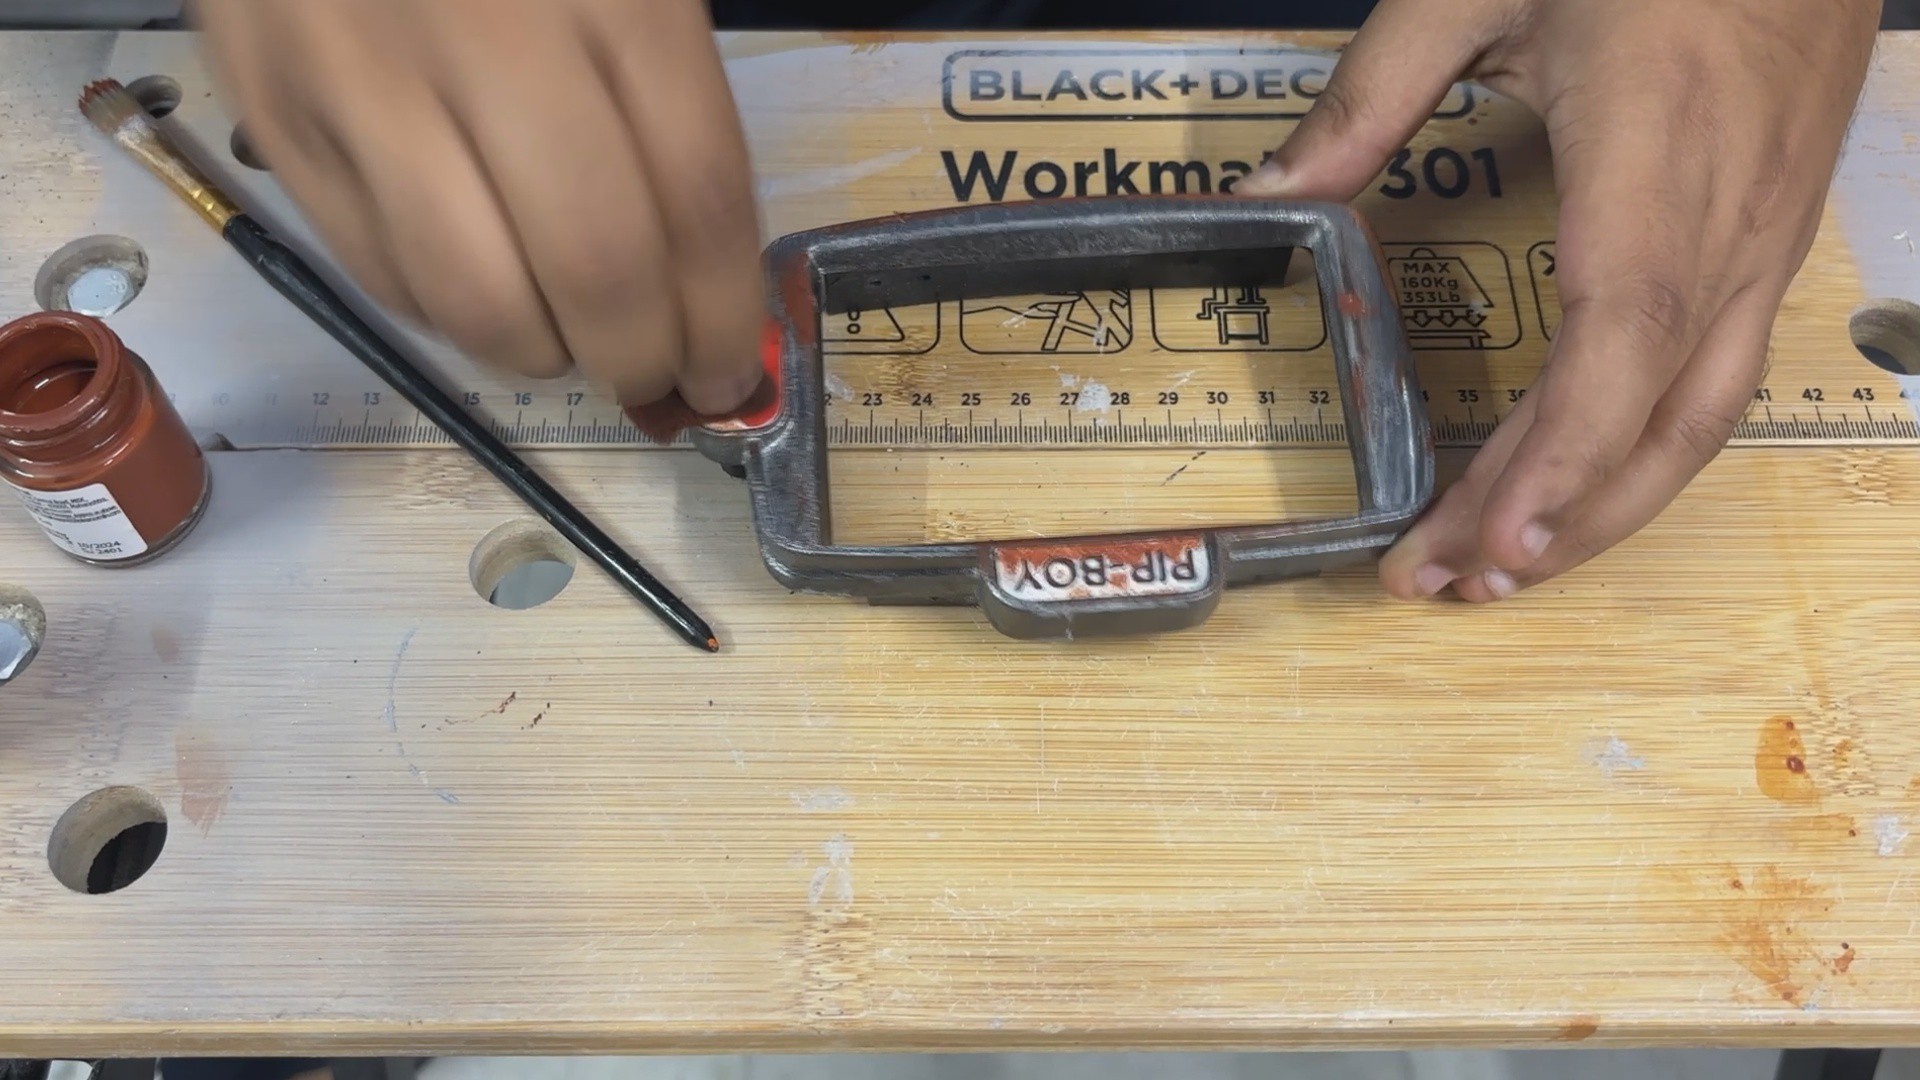
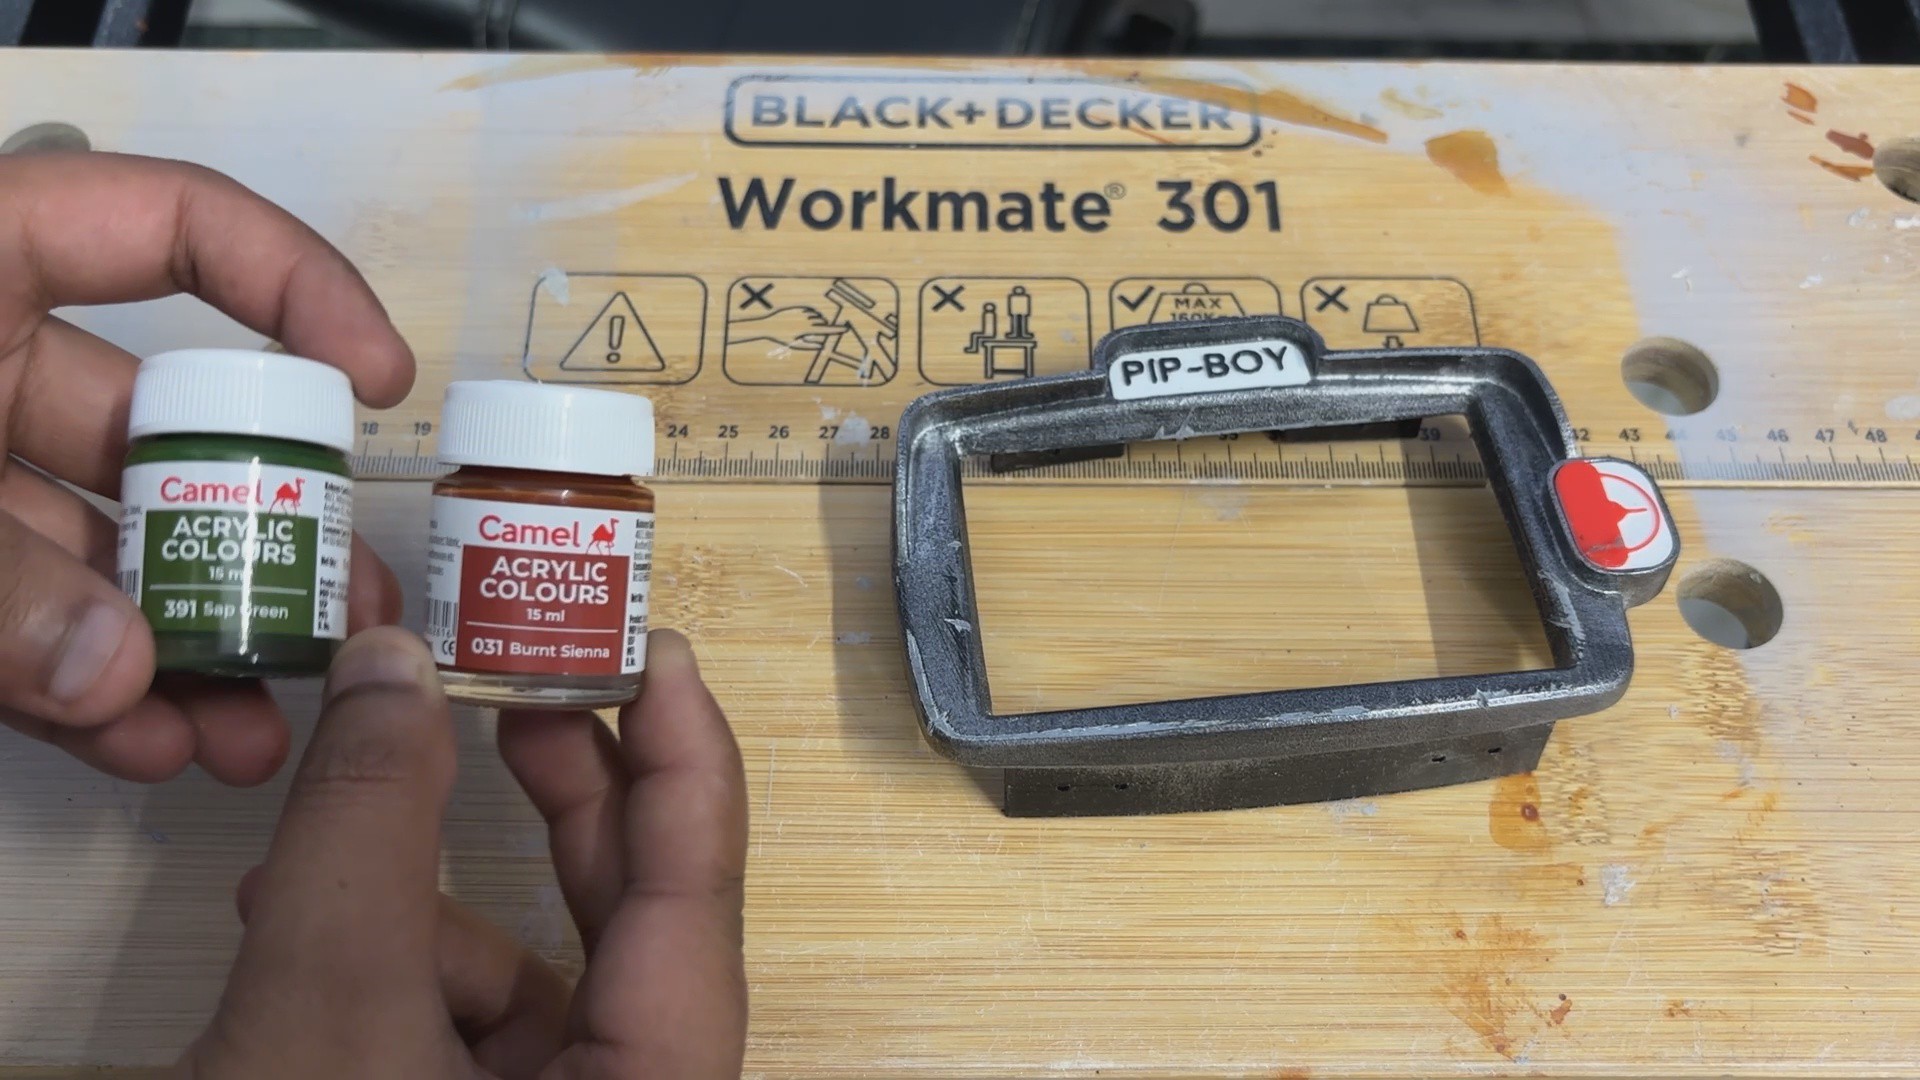
    Once the surface was prepared, I moved on to the rust and patina. I used brown and moss-green acrylic paints, applying the paint to the body with a brush. I then used a sponge to spread and blend the paint across the surface.

    The paint naturally settles into the sanded areas, scratches, and deeper cuts, creating darker patches that resemble accumulated rust and dirt. I also added moss-green paint in various areas to give the surface the appearance of moss and organic growth developing on the old metal.

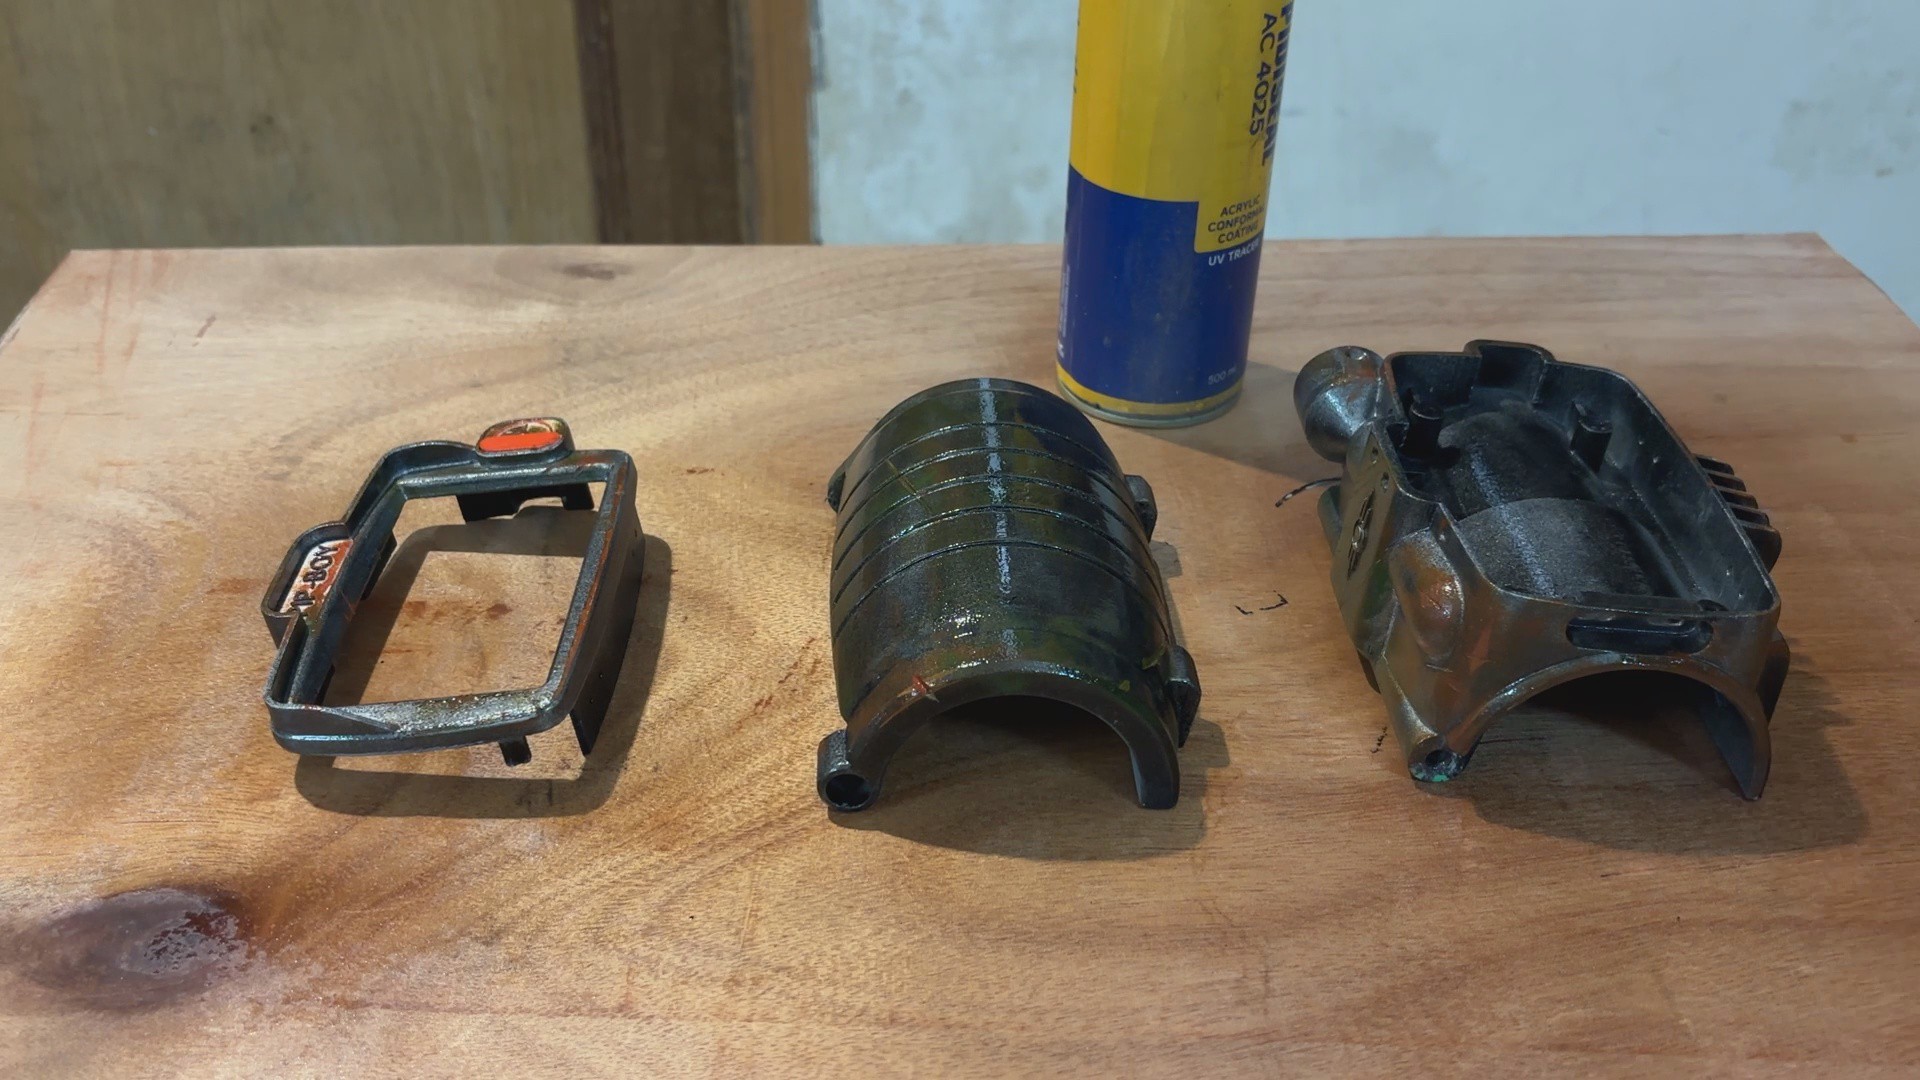
    I repeated this process across all three main parts of the PipBoy: the front frame, main body, and lower handle, while varying the amount of weathering on each part to make the finish look more natural.

    Once I was happy with the overall patina, I sealed everything with a couple of coats of acrylic conformal coating spray. This protects the weathering and keeps the paint permanently attached to the surface.

    The end result is a rusty, mouldy, and heavily weathered PipBoy that looks like it has genuinely spent 200 years surviving in the Fallout wasteland.

  • 3
    BASE BODY THREADED INSERTS

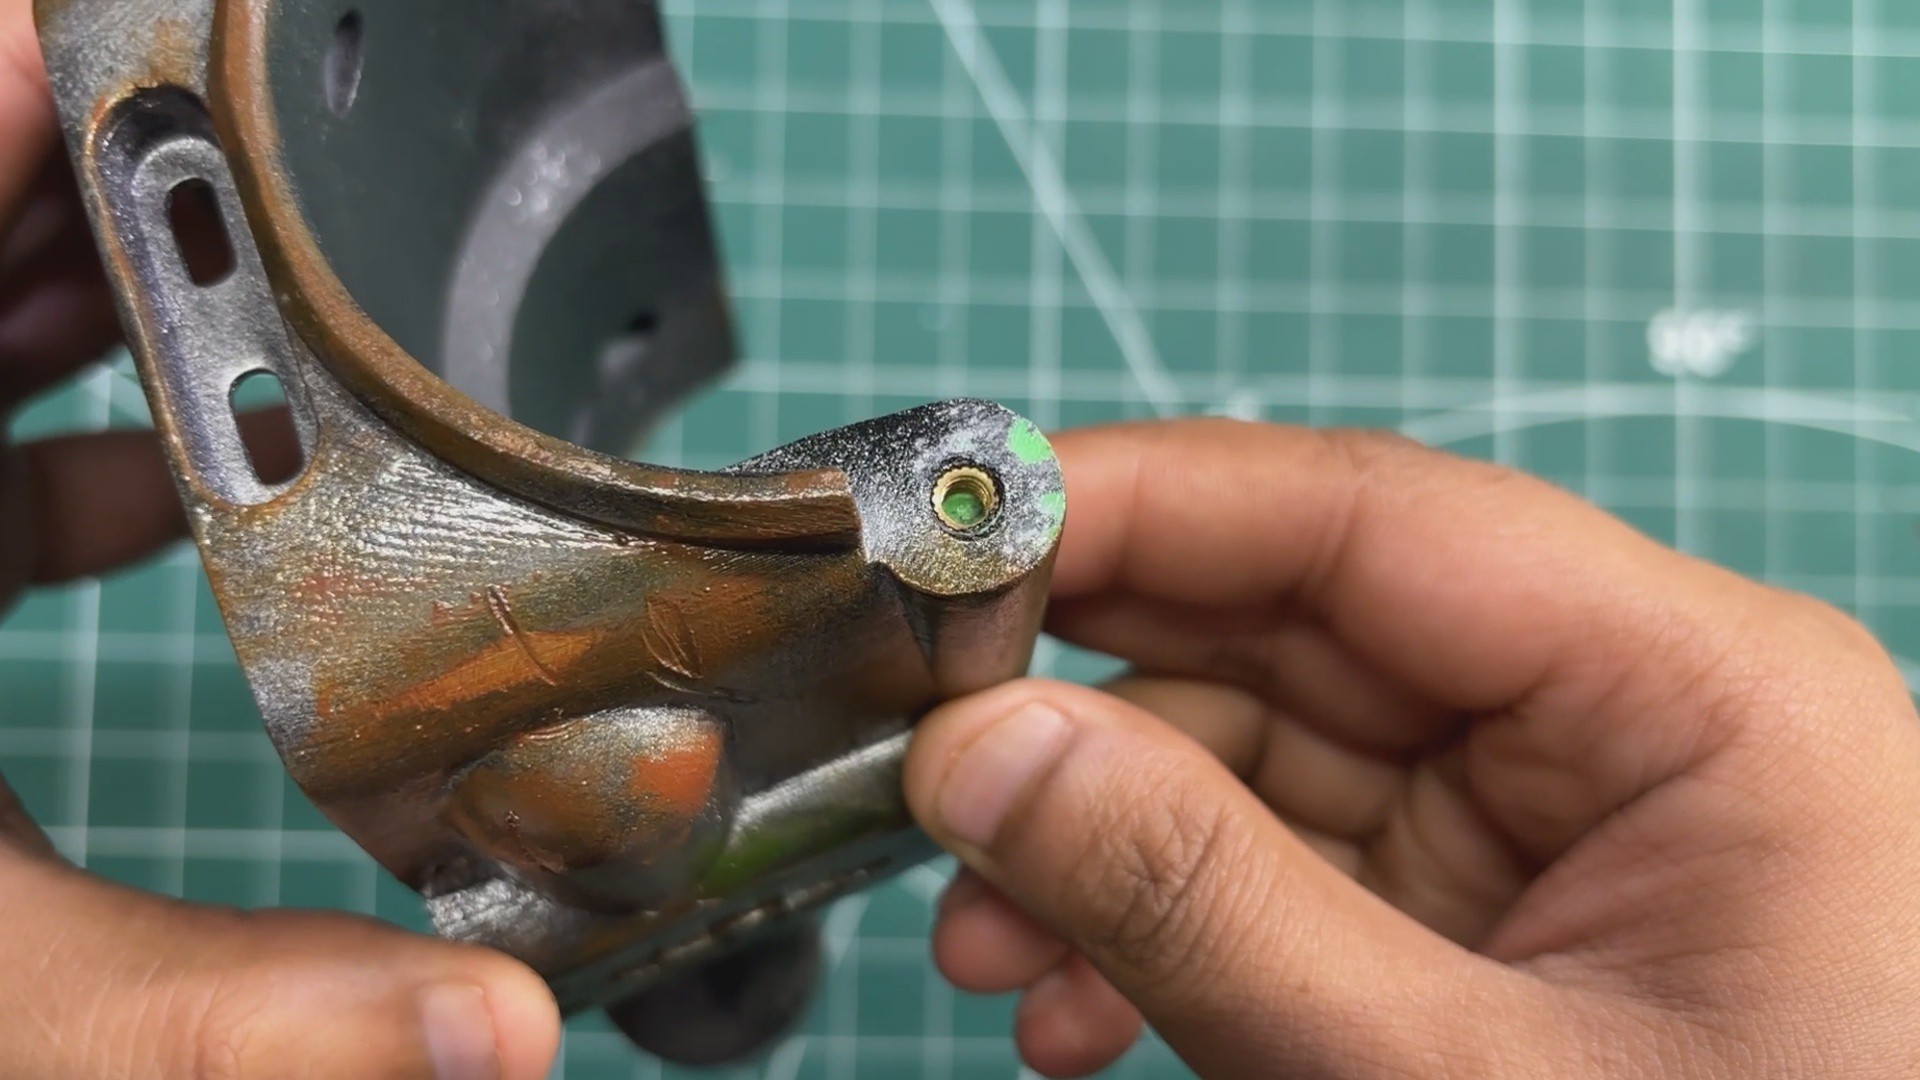
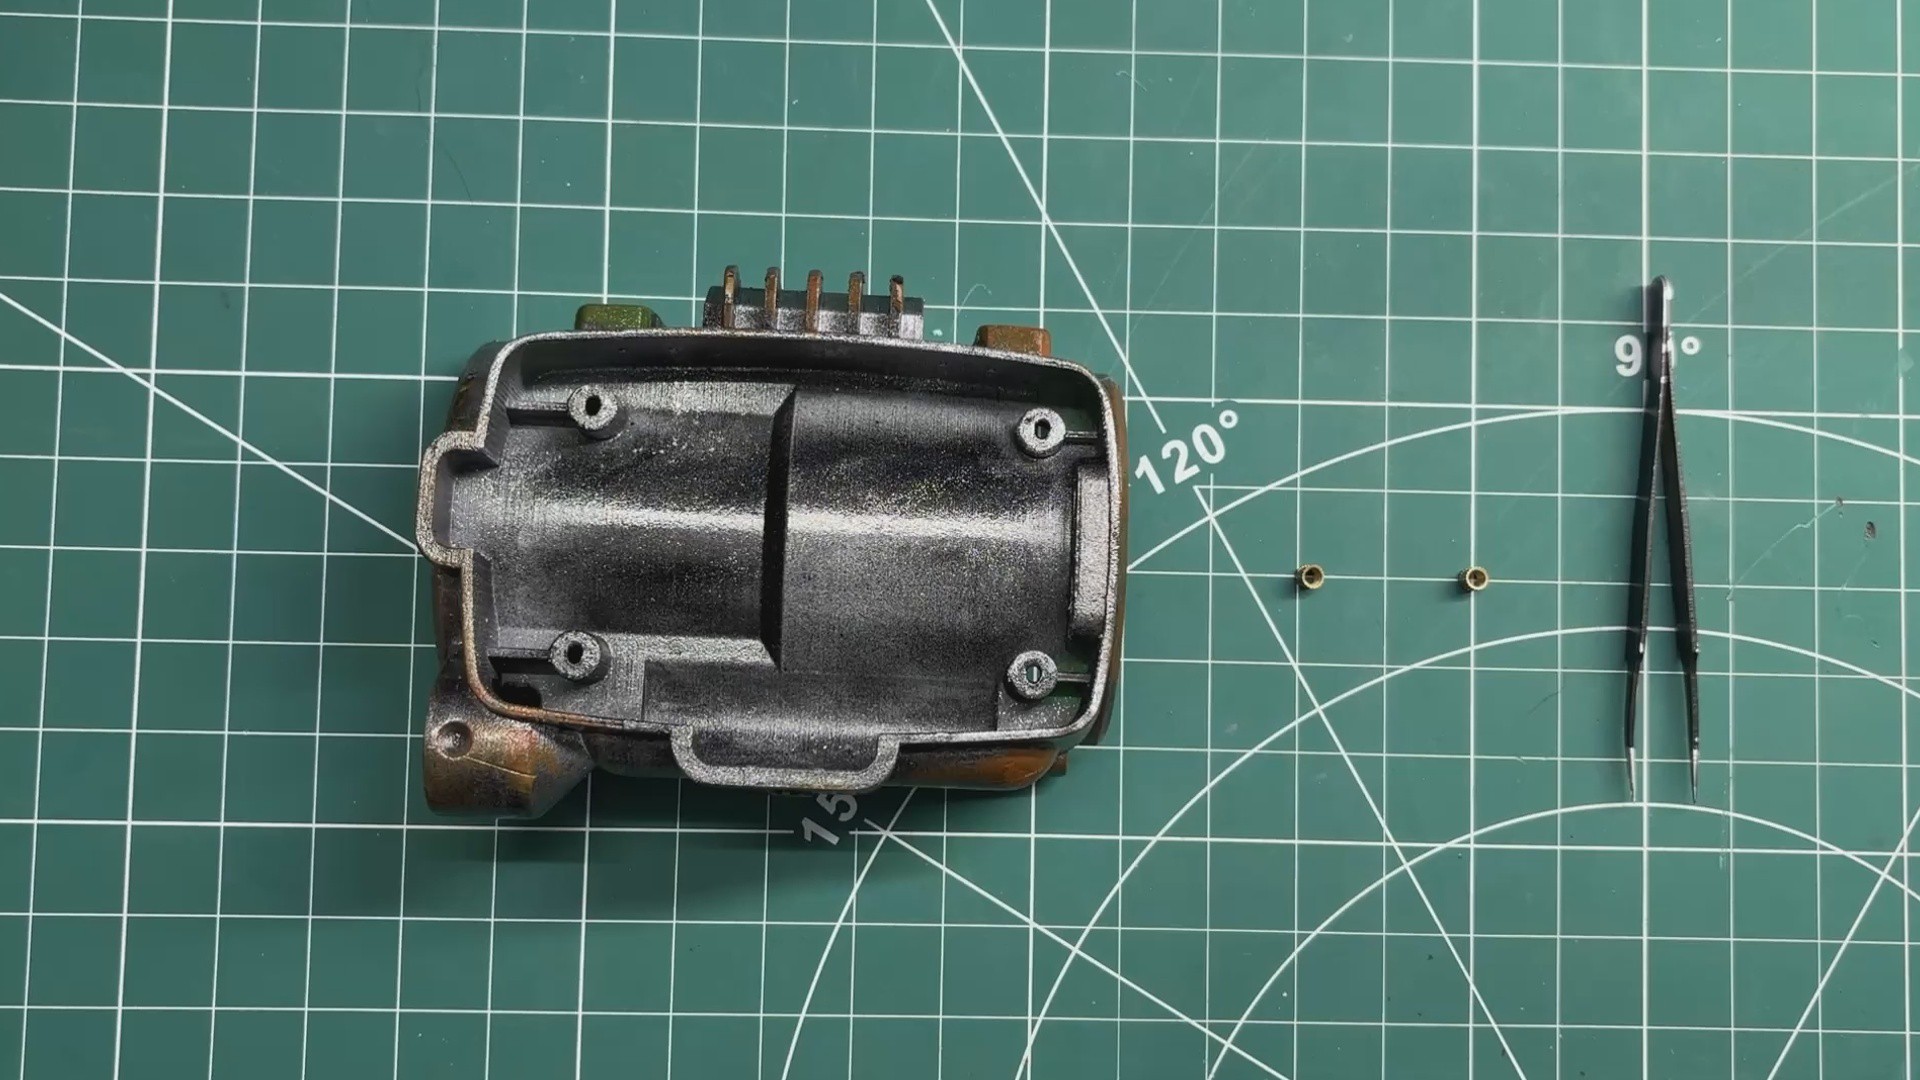
    To assemble the hinge mechanism, I added two M3 threaded inserts on each side of the main body.

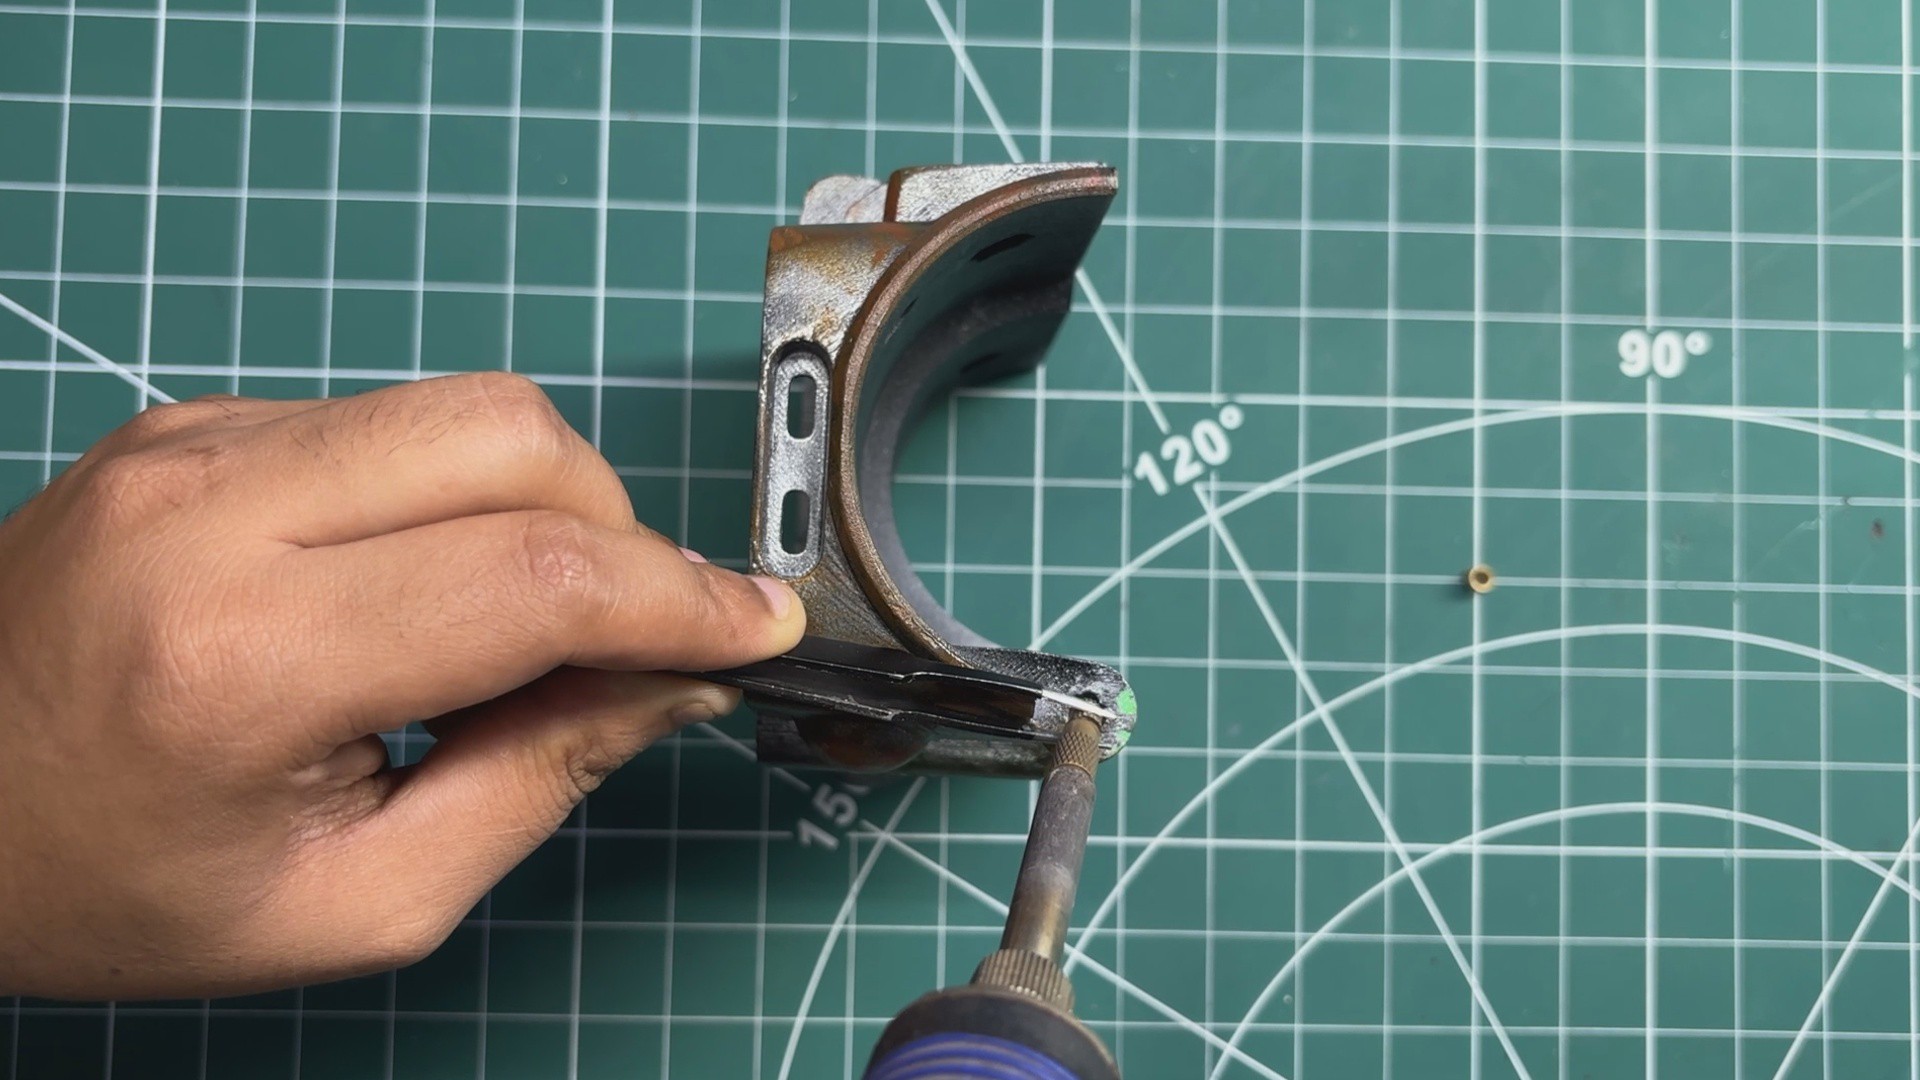
    I installed them using a soldering iron, with the temperature set to around 150°C. Using tweezers, I first aligned the threaded insert with its mounting hole.

    I then used the heated soldering iron tip to press down on the insert. The combination of heat and pressure softens the surrounding PLA, allowing the insert to sink into the plastic and become firmly embedded in the part.

    I repeated the same process on the other side, giving us secure threaded mounting points for the hinge assembly.

View all 4 instructions

Enjoy this project?

Share

Discussions

Does this project spark your interest?

Become a member to follow this project and never miss any updates