 Shubhan Mital
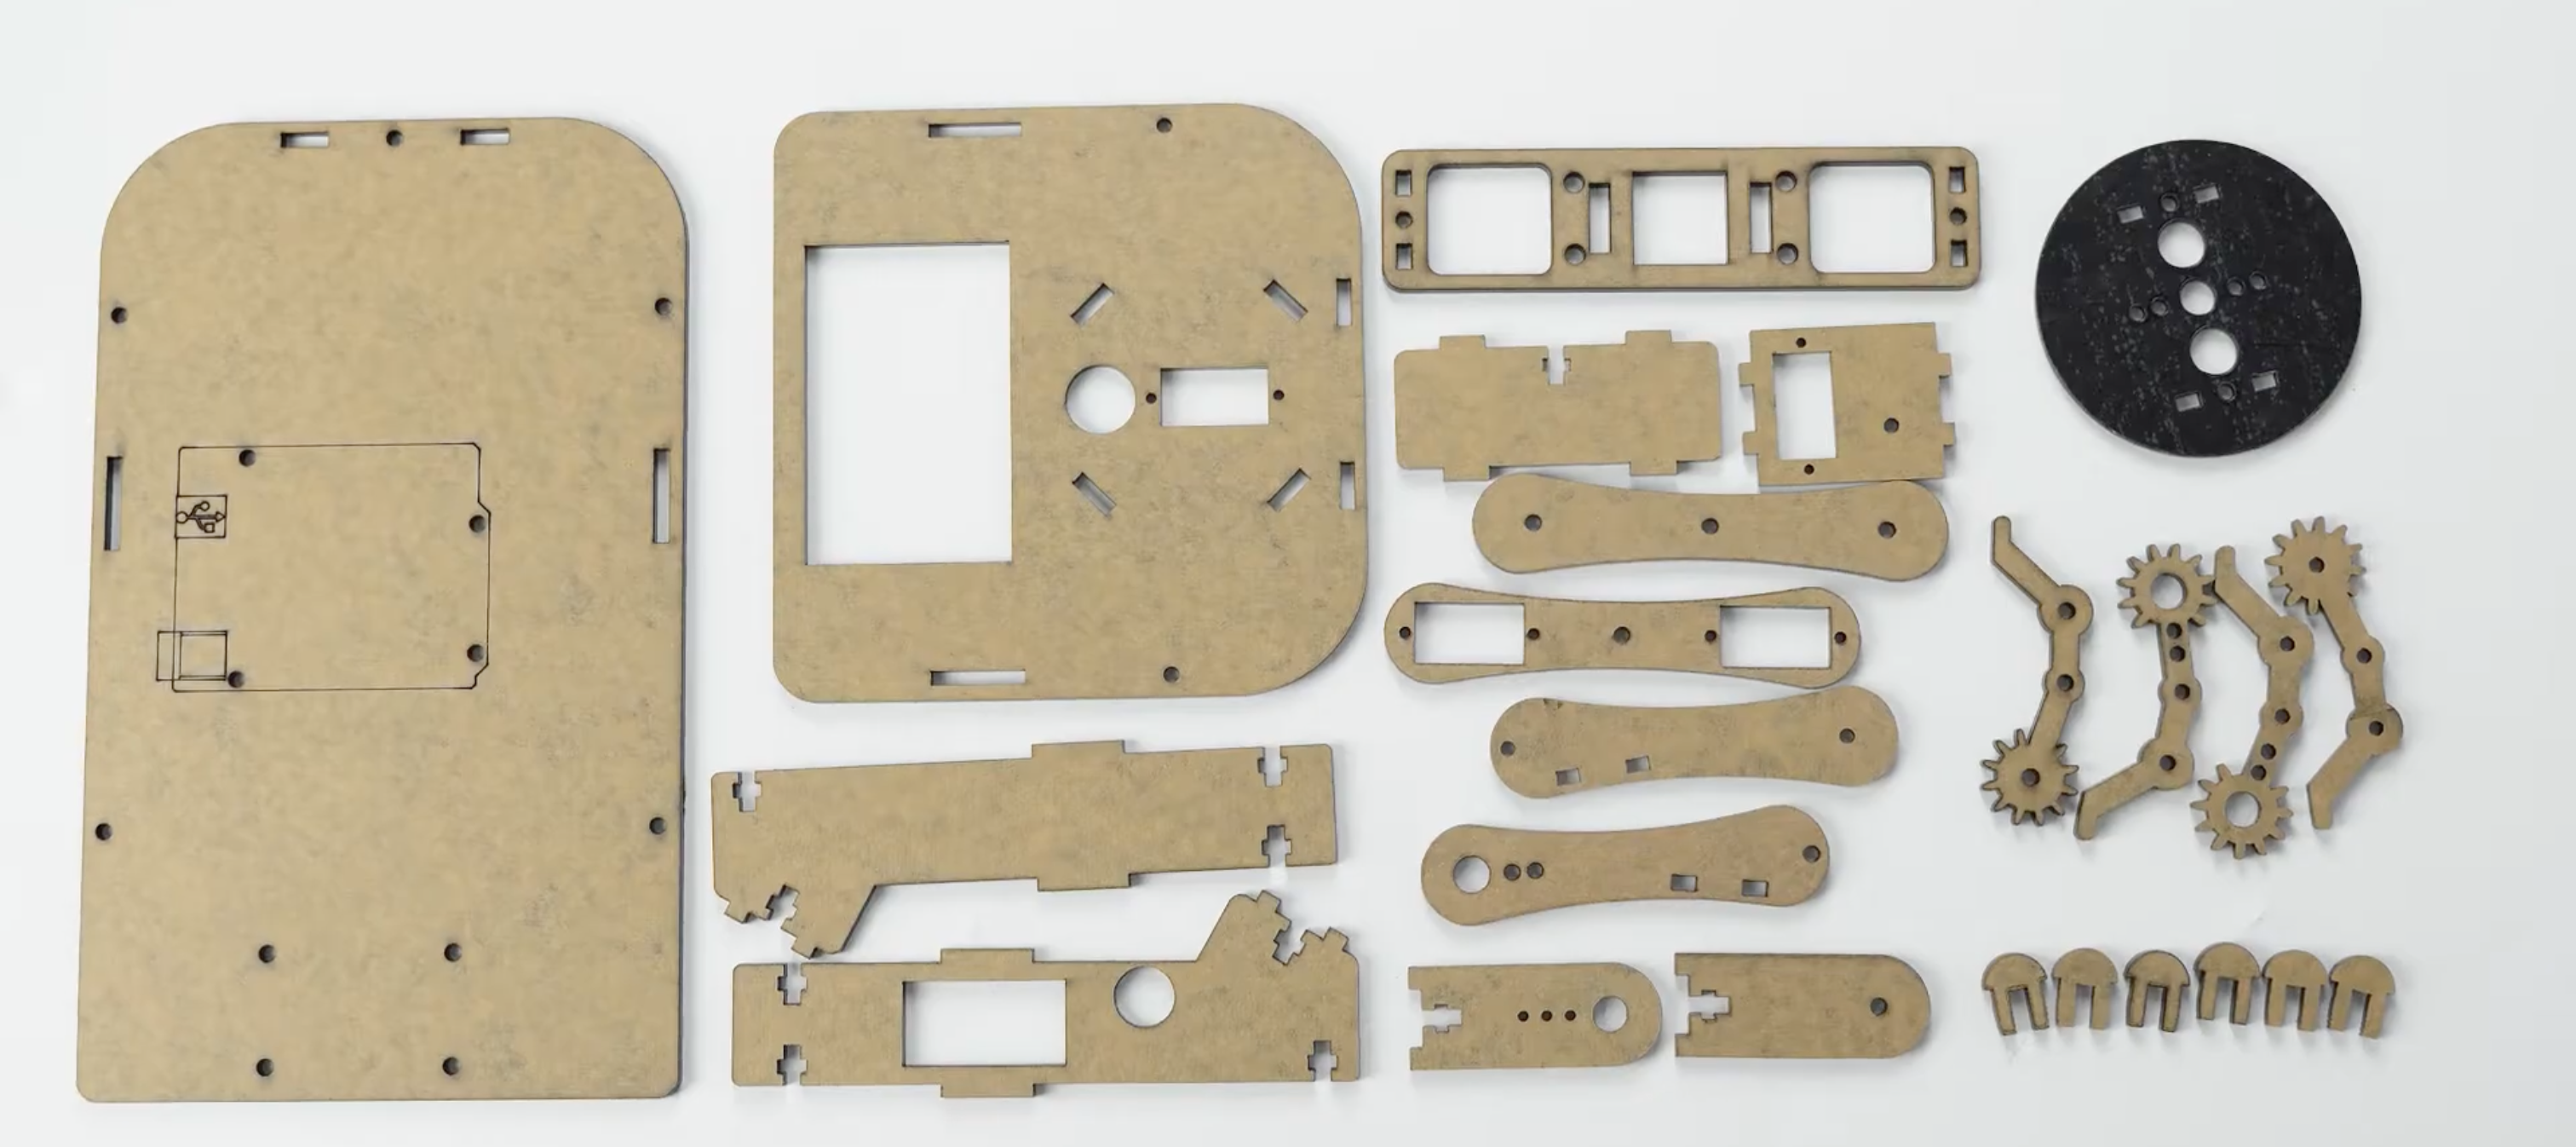
All the parts of the robotic arm to be assembled.
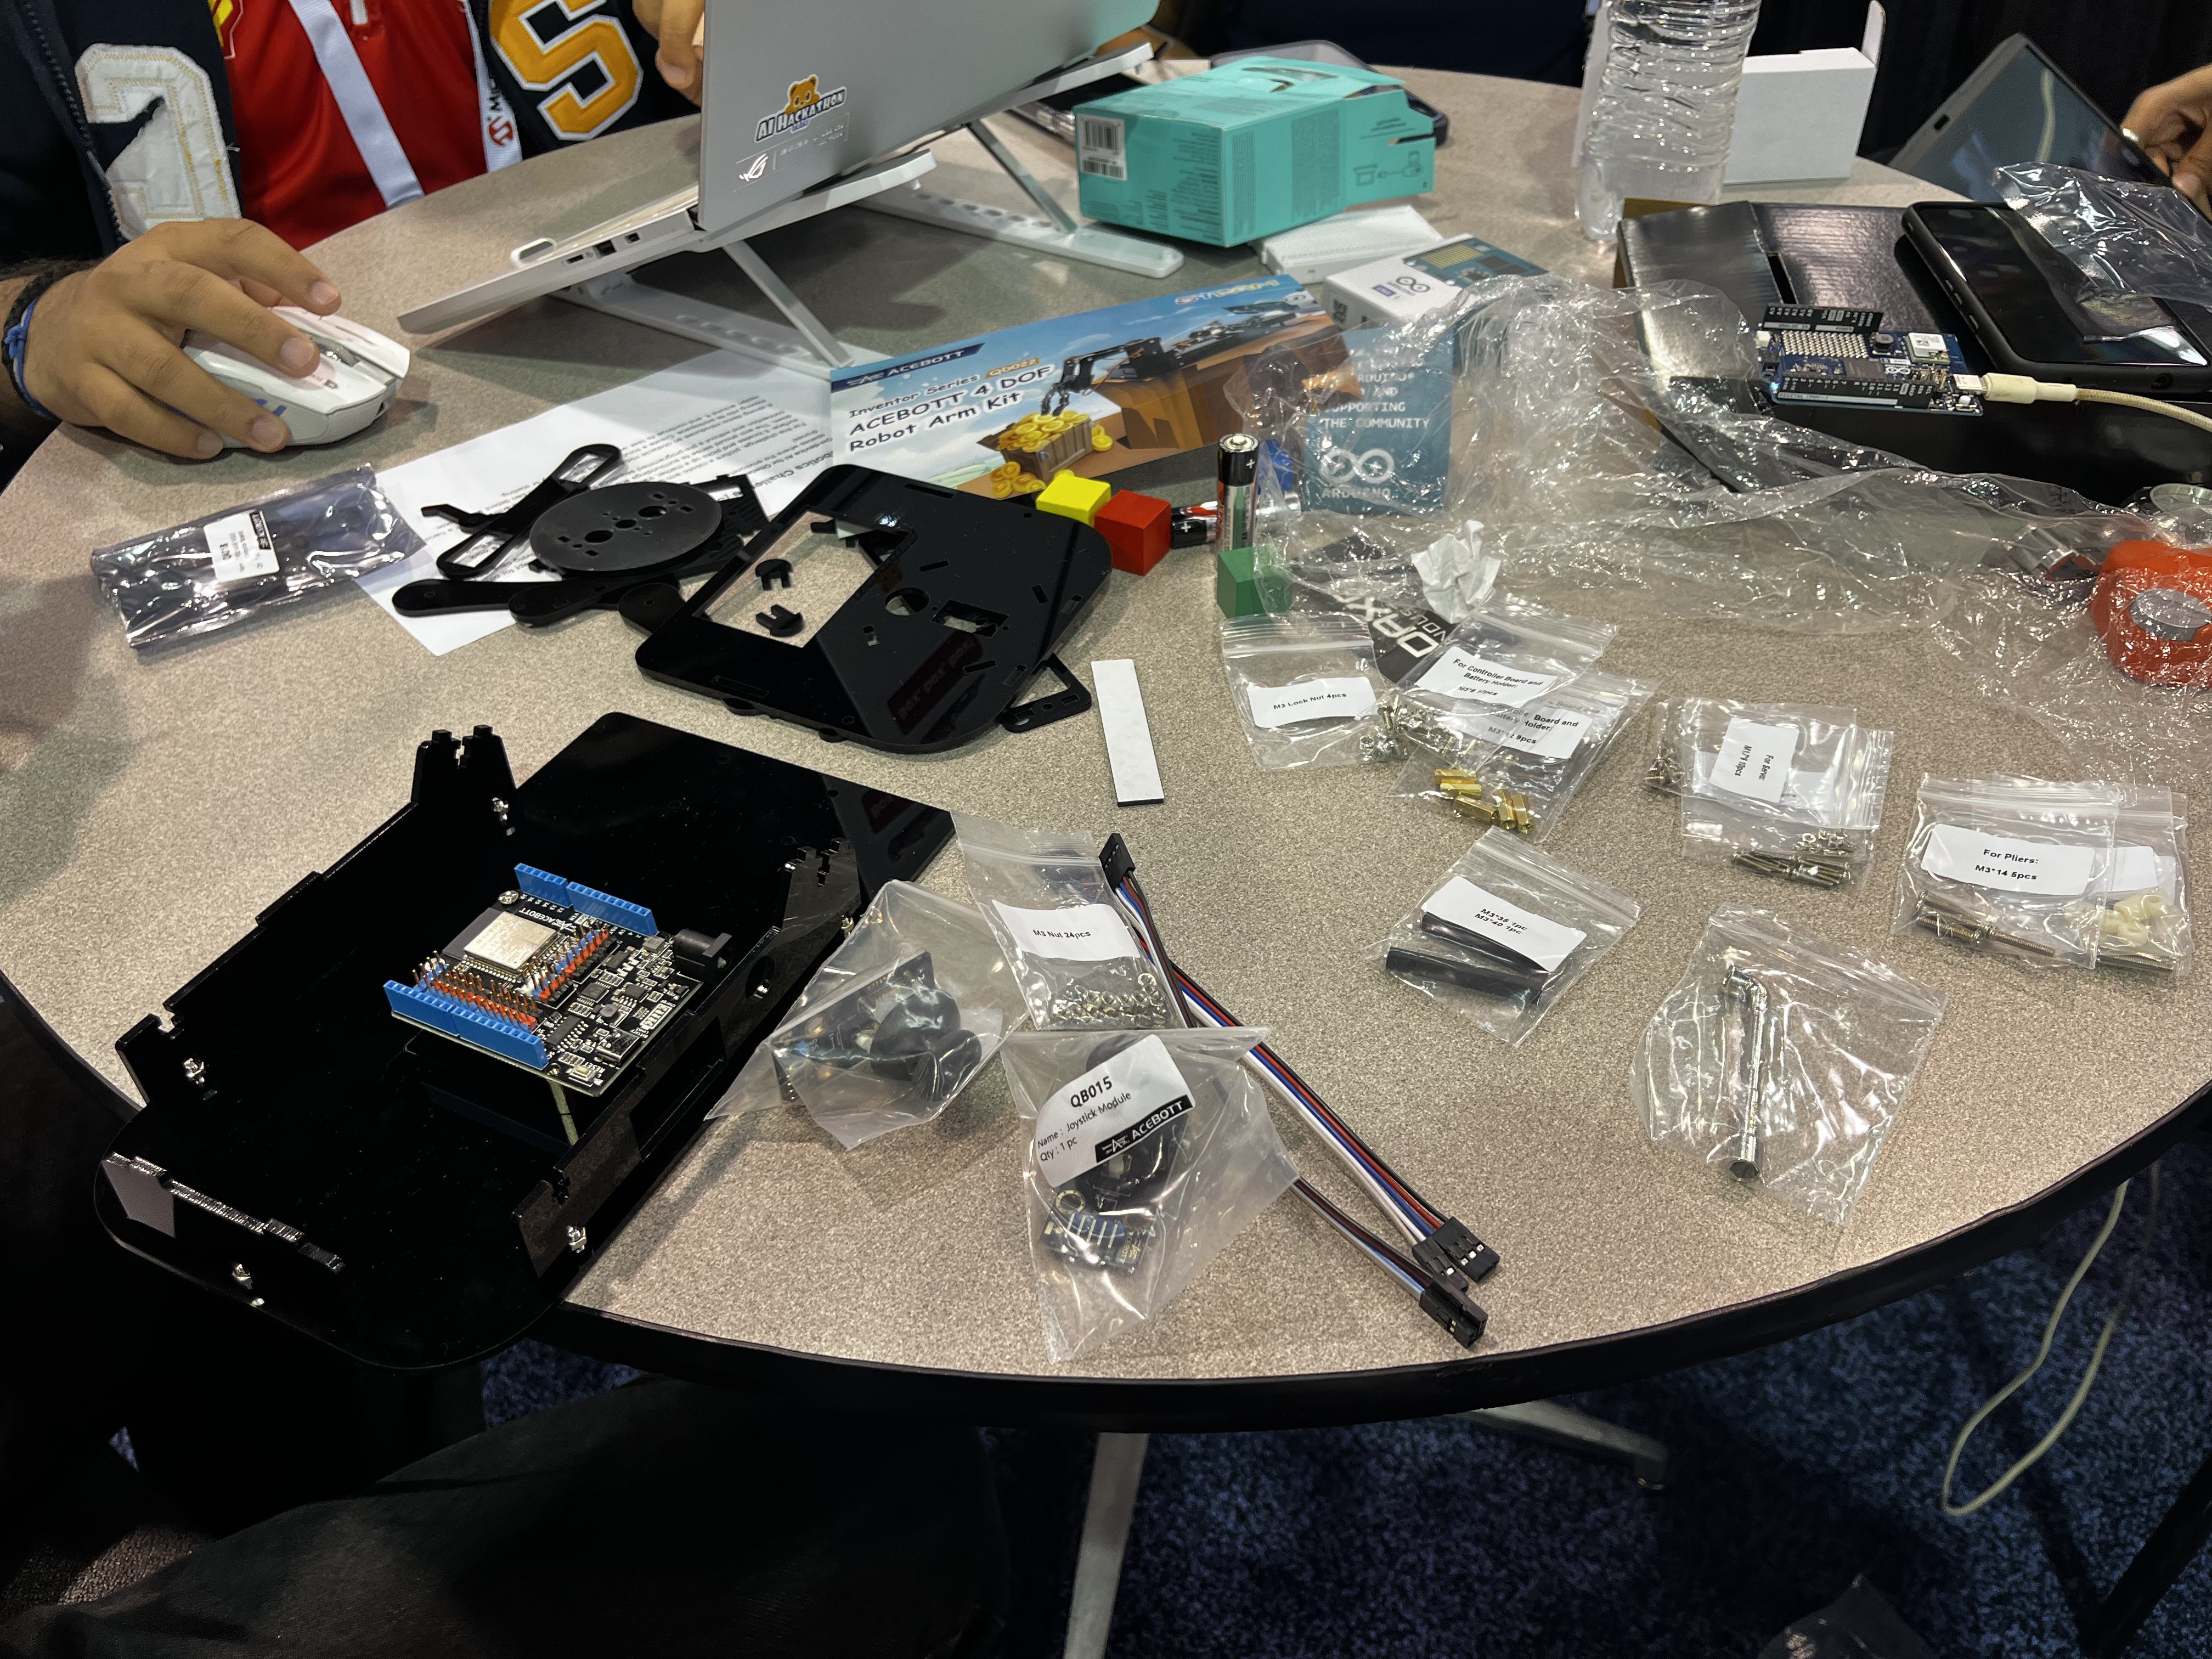
While the space was a little cramped up, we tried to lay out all of our components and assembled everything together while our other team members tried to figure out how to best make use of the Arduino Uno Q's AI capabilities for object detection and subsequent obstacle avoidance.
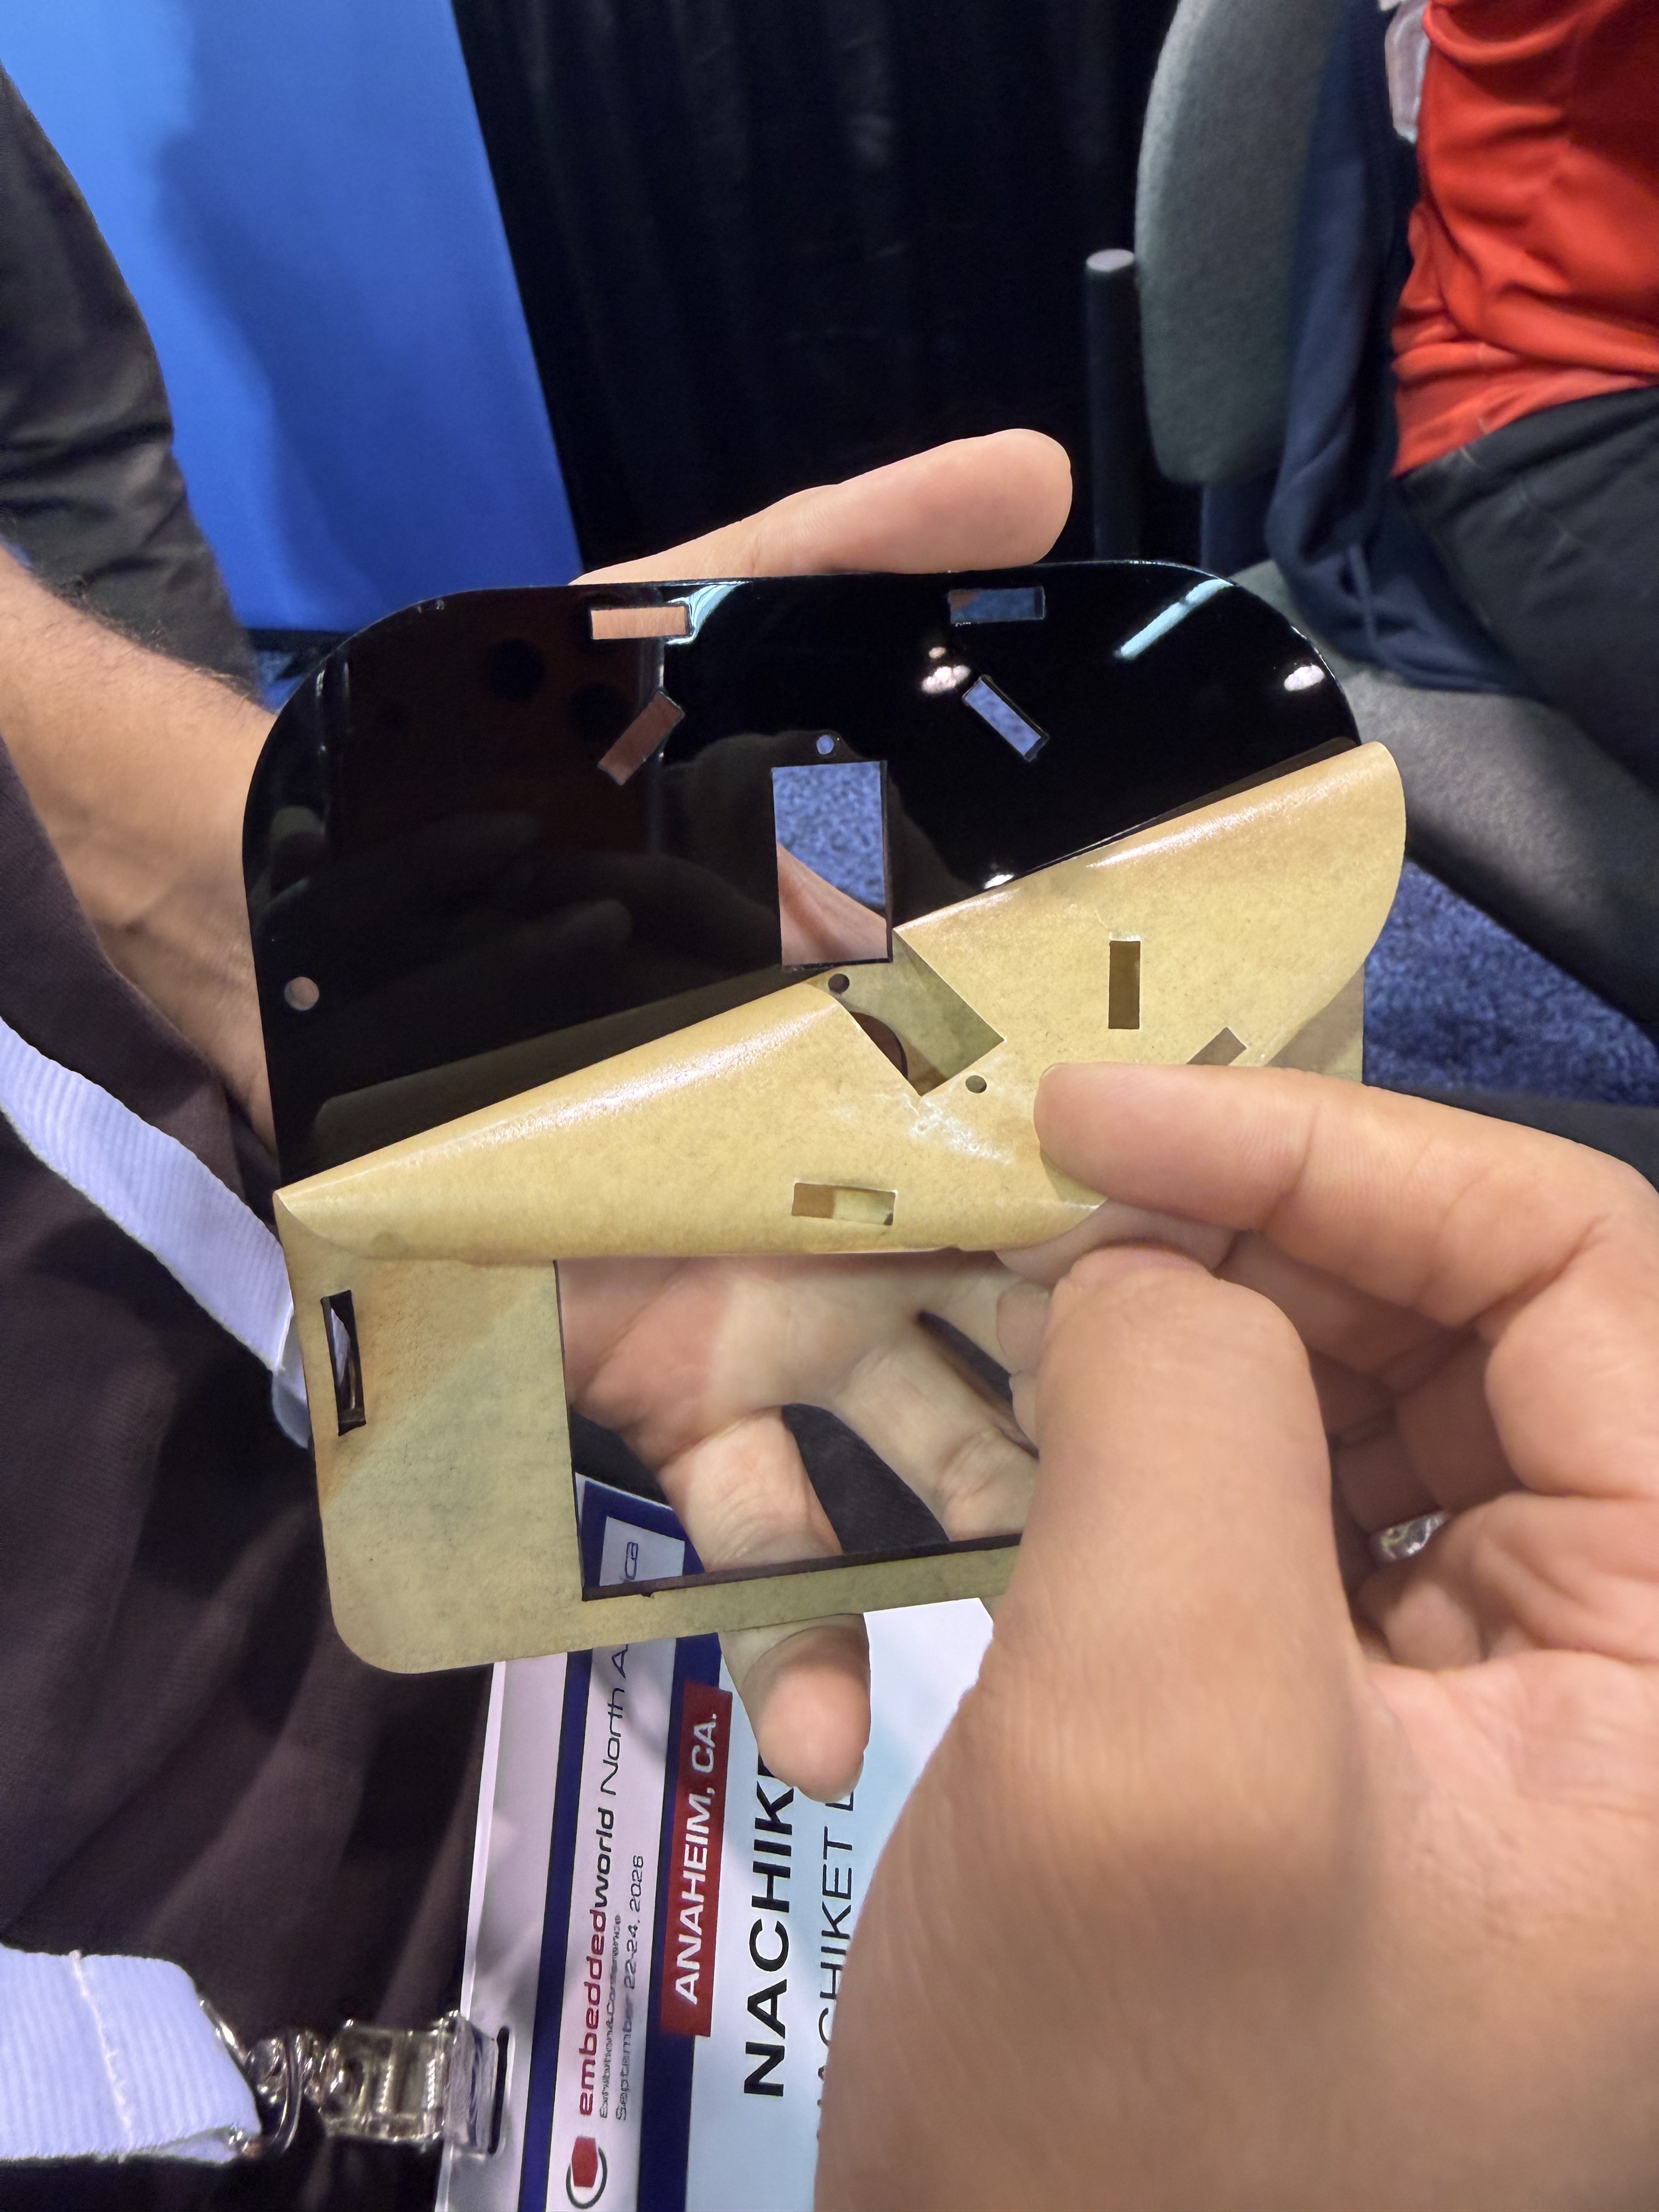
Putting all the wires together! Making sure we connect the right colored wires to their designated pins both on the components as well as the ESP32.
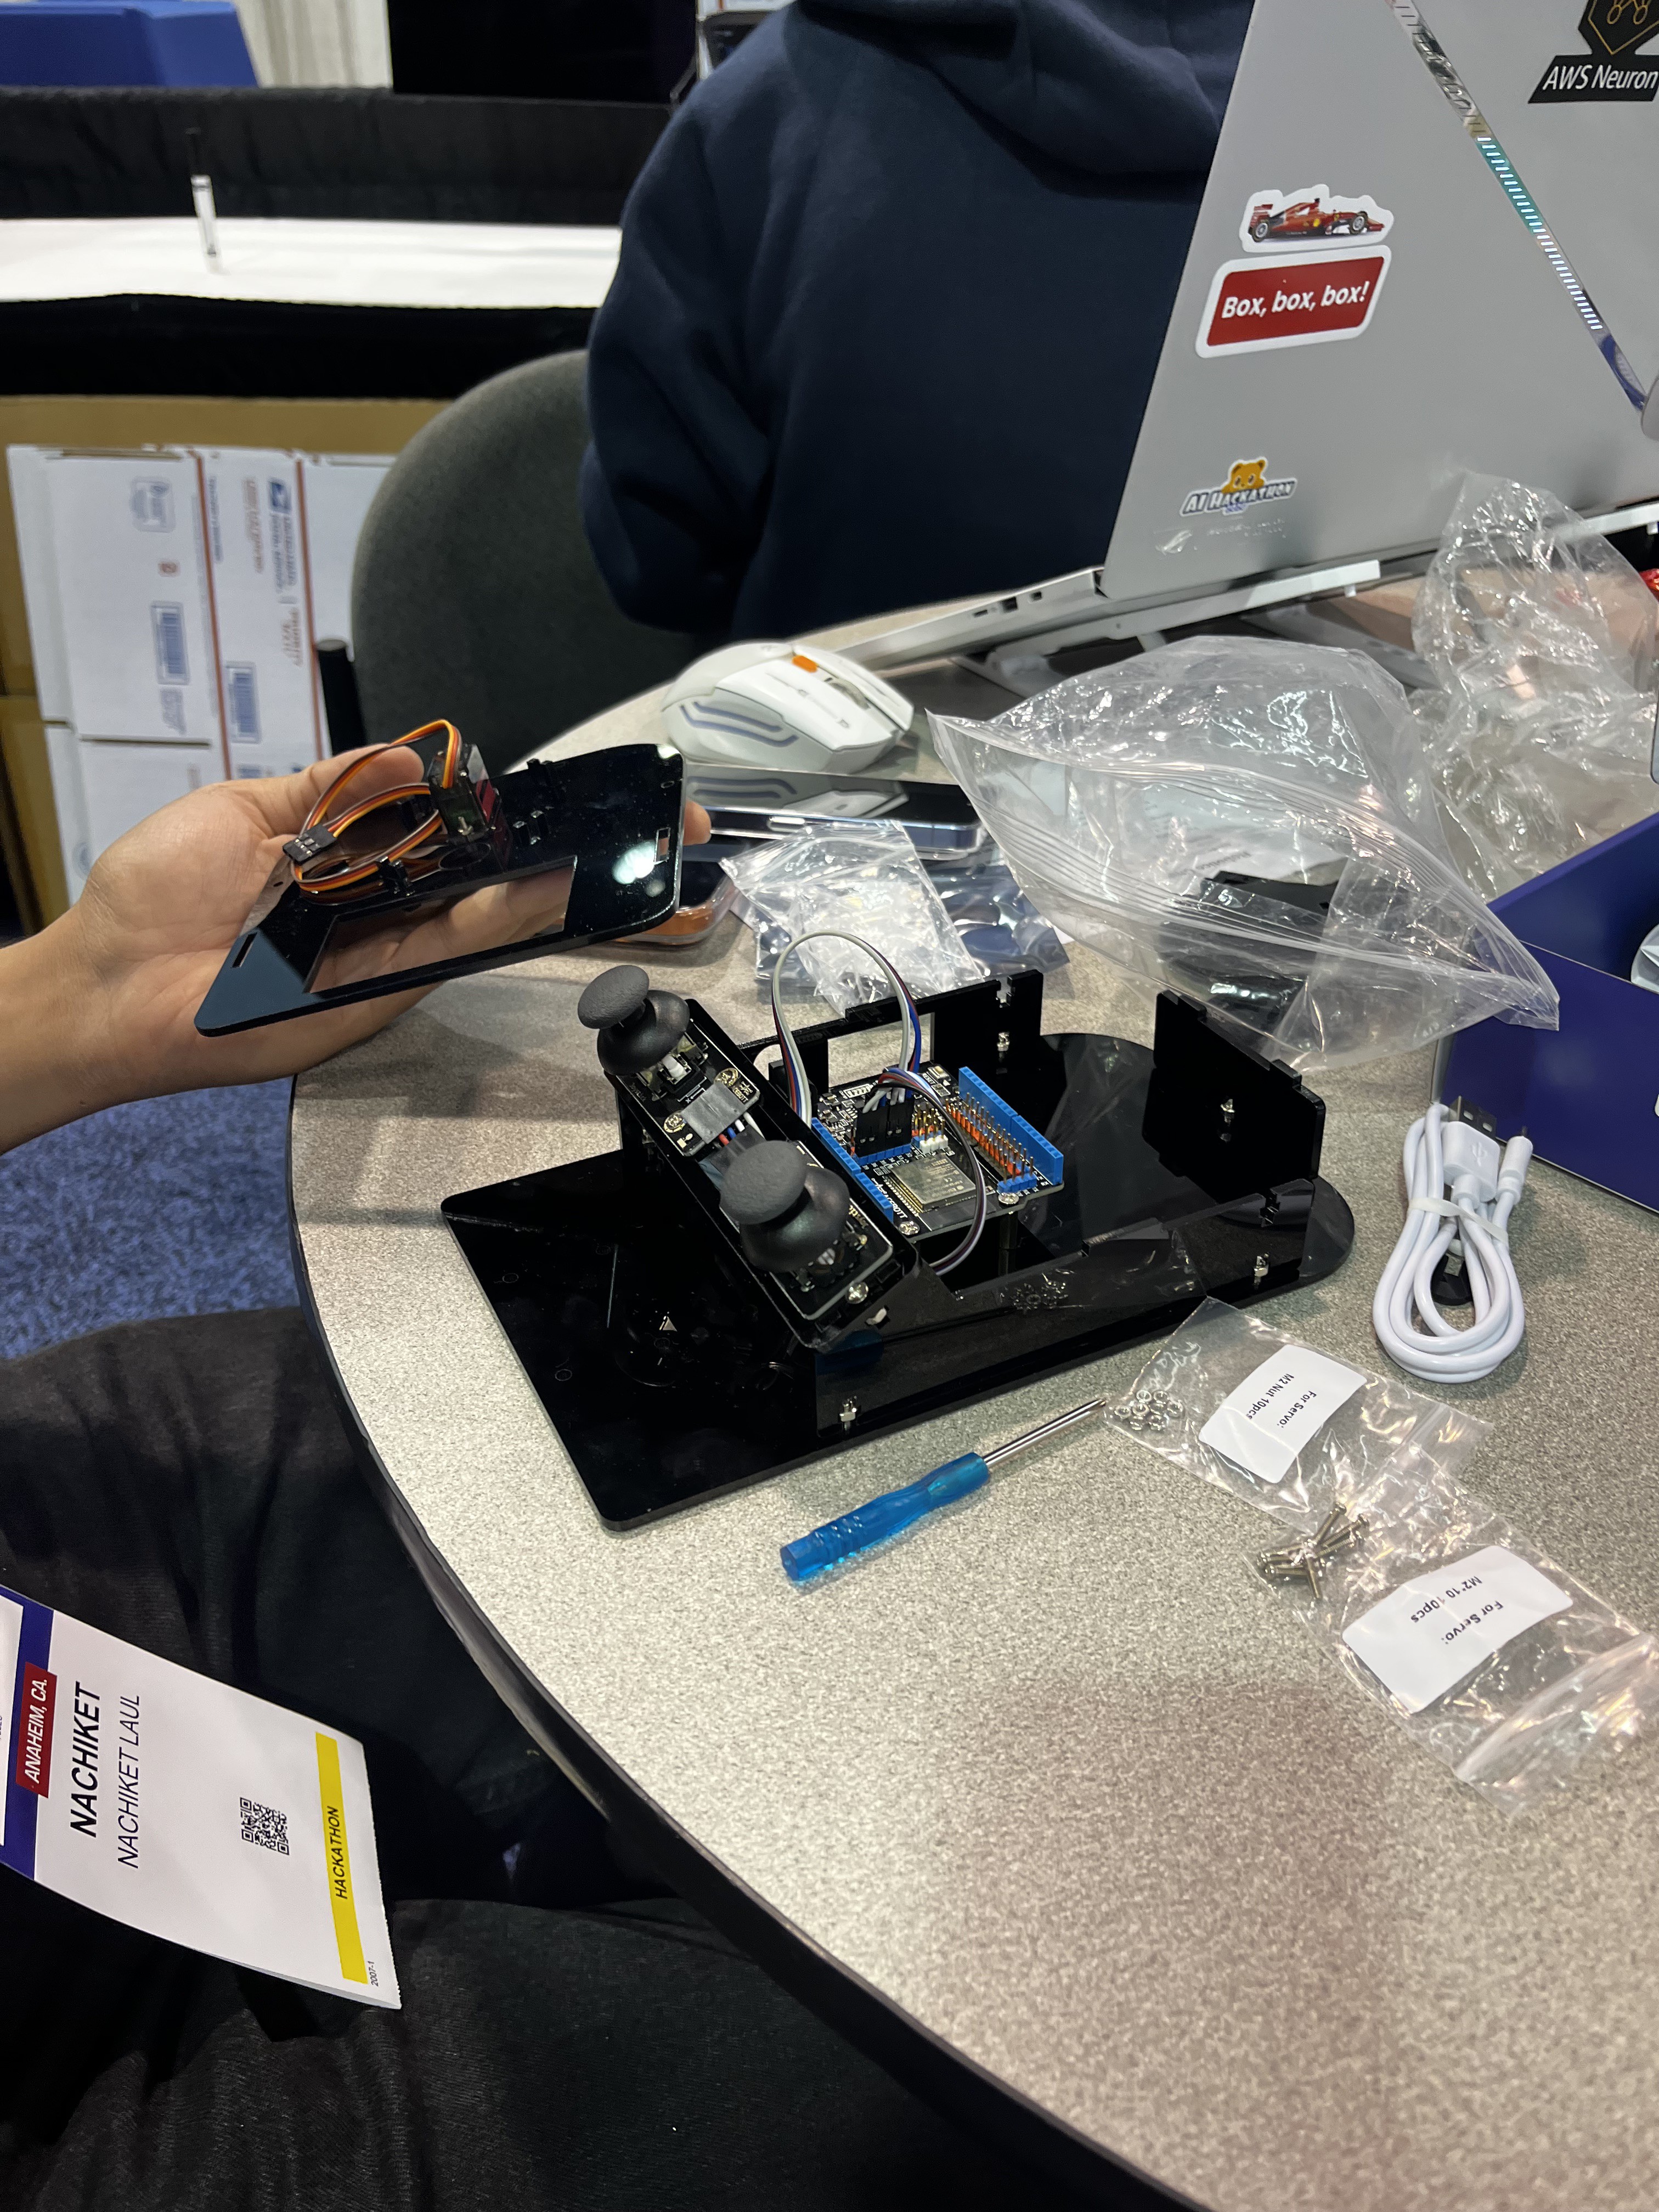
We tested the servo motors one by one, as it was mentioned in the documentation, to check each one before assembling it onto the robotic arm structure, we made sure they were initialised at the proper position so that any further steps or any untoward movement wouldn't cause any wear or damage to the motors.
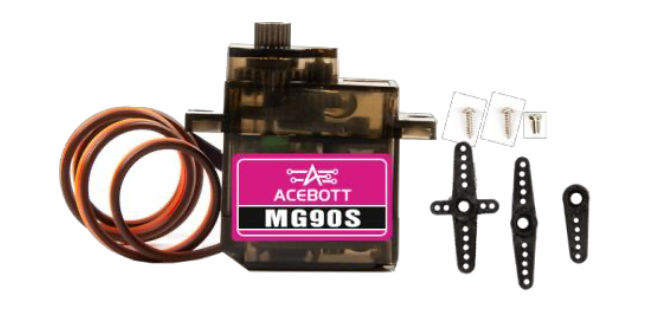
For initial prototyping, we attached the joysticks as well so that we could test how well the robotic arm was able to move around.
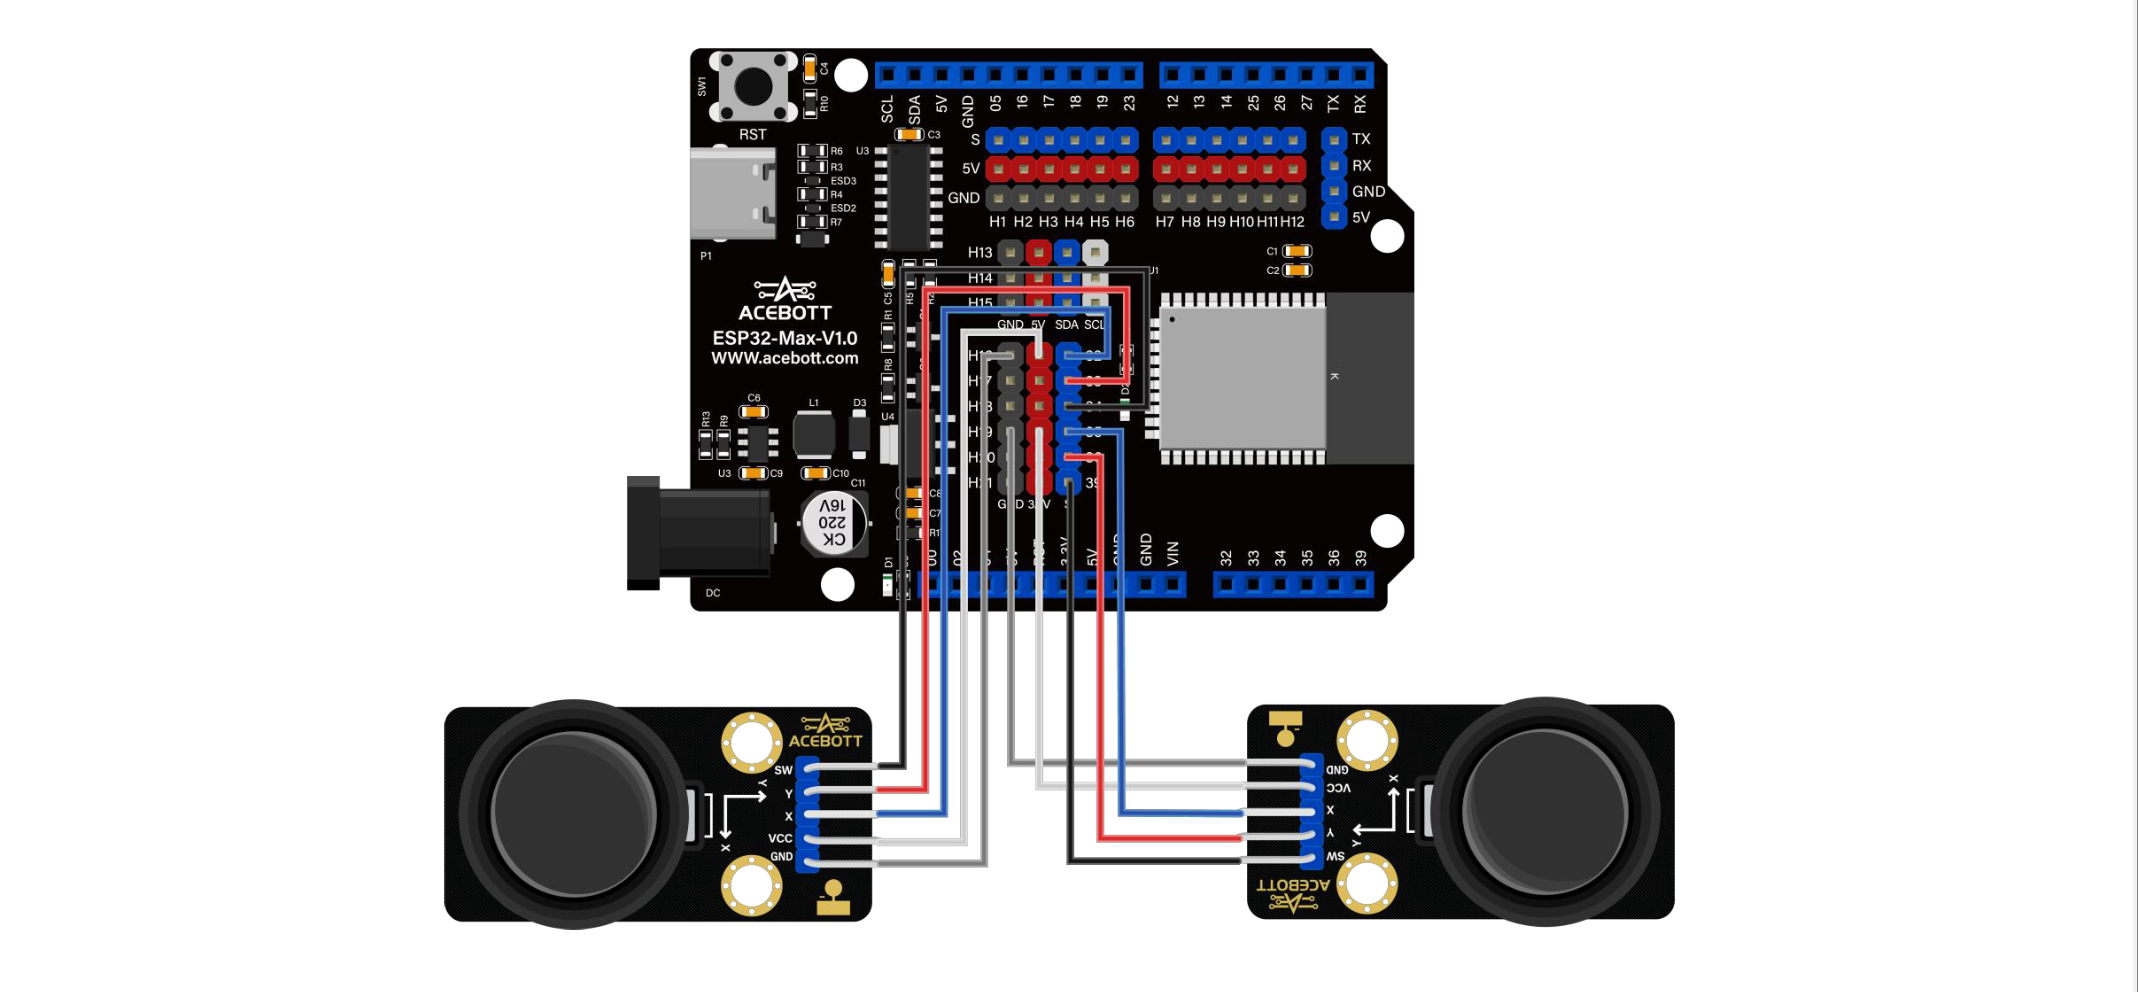
These were the wiring we followed for the joysticks accessories.
Discussions
Become a Hackaday.io Member
Create an account to leave a comment. Already have an account? Log In.