 WJCarpenter
Before I had found the Nissan part number for the switch blank, I was thinking about creating a replacement via 3D printing. I continued thinking about that even after I had the Nissan replacement part in my hand. I got out my calipers and started doing measurements.
Overall, it's a complex shape, but the complexity is mostly a stack of rectangular solids with the central cavity carved out. Those are all pretty simple. The only modestly complex sub-shape is the visible head of the part, which has a curved surface. Because of that simplicity, and to make the model available to the widest audience, I chose to do the model in OpenSCAD. I made the model parametric and added a few options that I needed for this project. The parameters might make it useful for someone to create a similar part with different dimensions or features.
The 3D model lives in this git repository: https://gitlab.com/wjcarpenter/3dprinting/-/tree/main/parametric-nissan-switch-blank?ref_type=heads. It's also published here: https://makerworld.com/en/models/3356038-parametric-nissan-switch-blank.
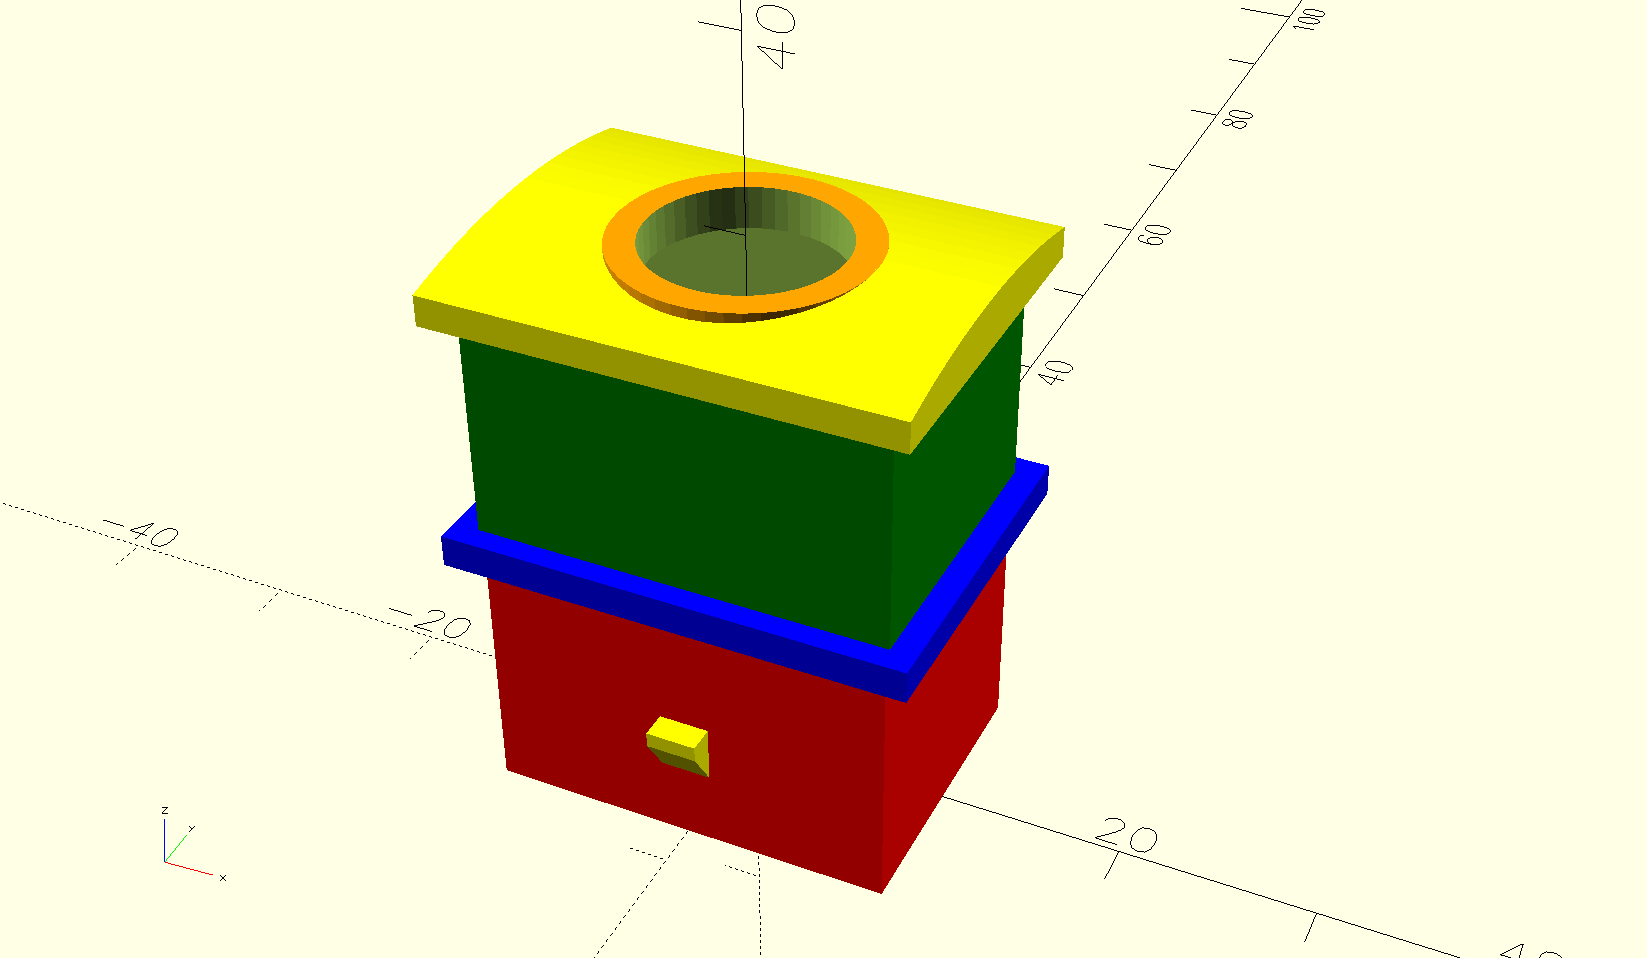
The internal cavity of the part is about 12mm in the shorter dimension. I decided that a momentary switch with a mounting hole of 10mm was about as big as I could go. Even at that, there is not enough room in the cavity to apply the nut to hold the switch in place. More about that below. Here's an image of the final rendered model with the hole created for the switch (surrounded by 13mm flat ring).
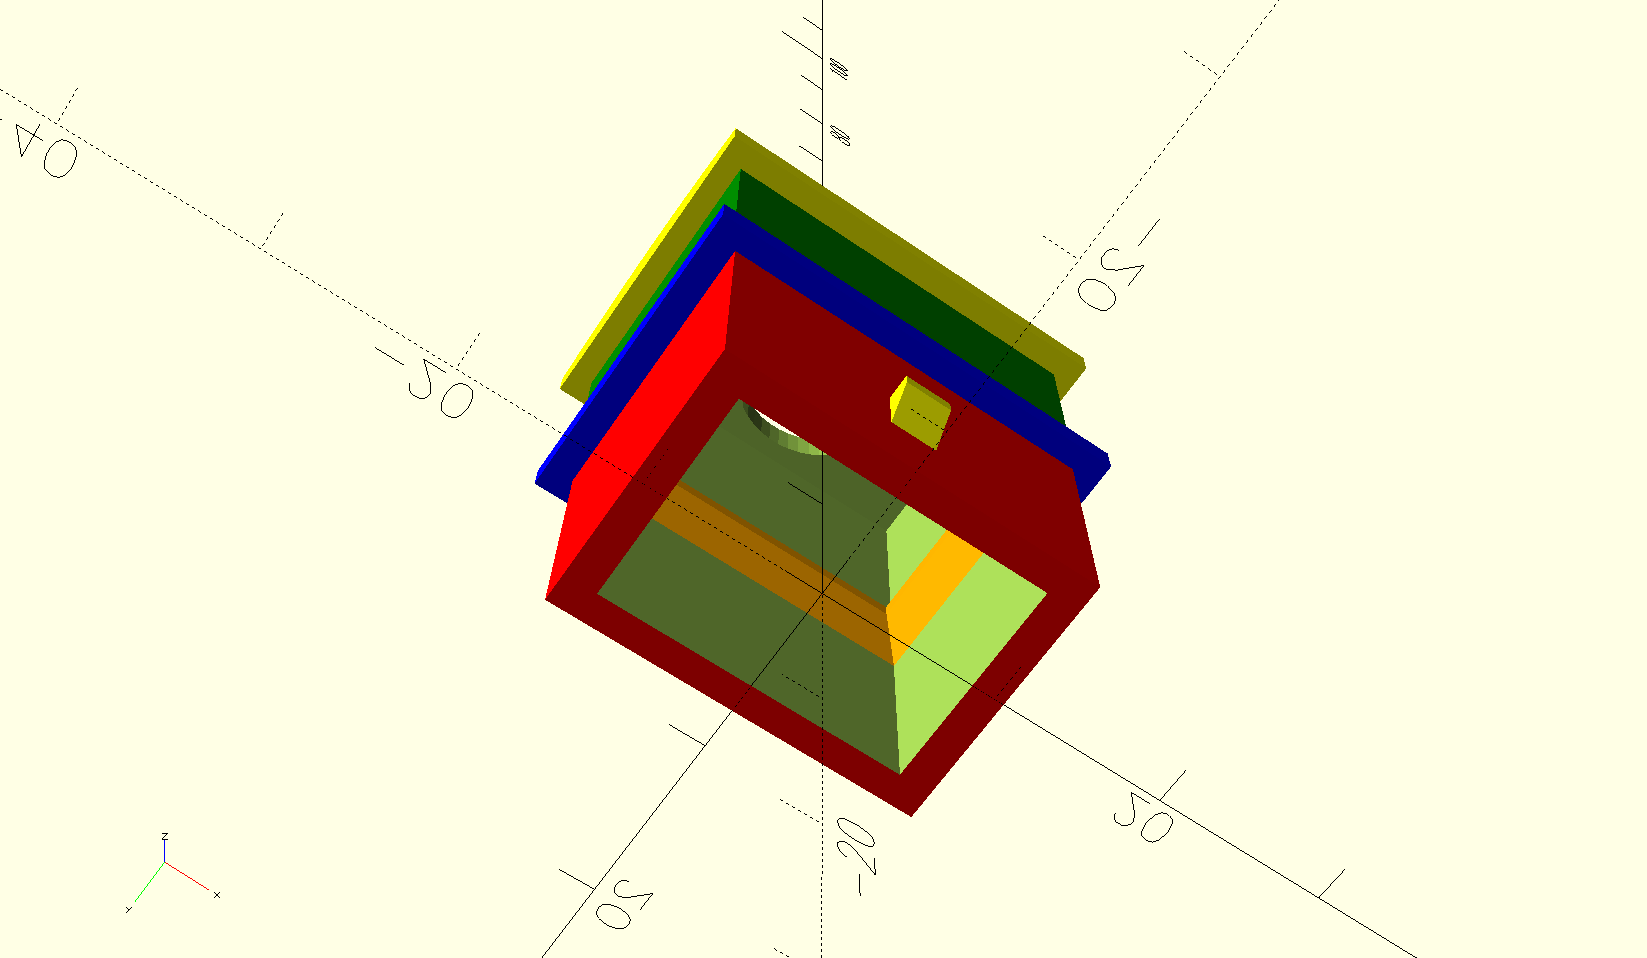
My plan was to use hot-melt glue (the 3D modeler's duct tape) to hold the switch in place. To give it some extra grip, I modeled some ledges inside the cavity. You can see them in orange in this view.
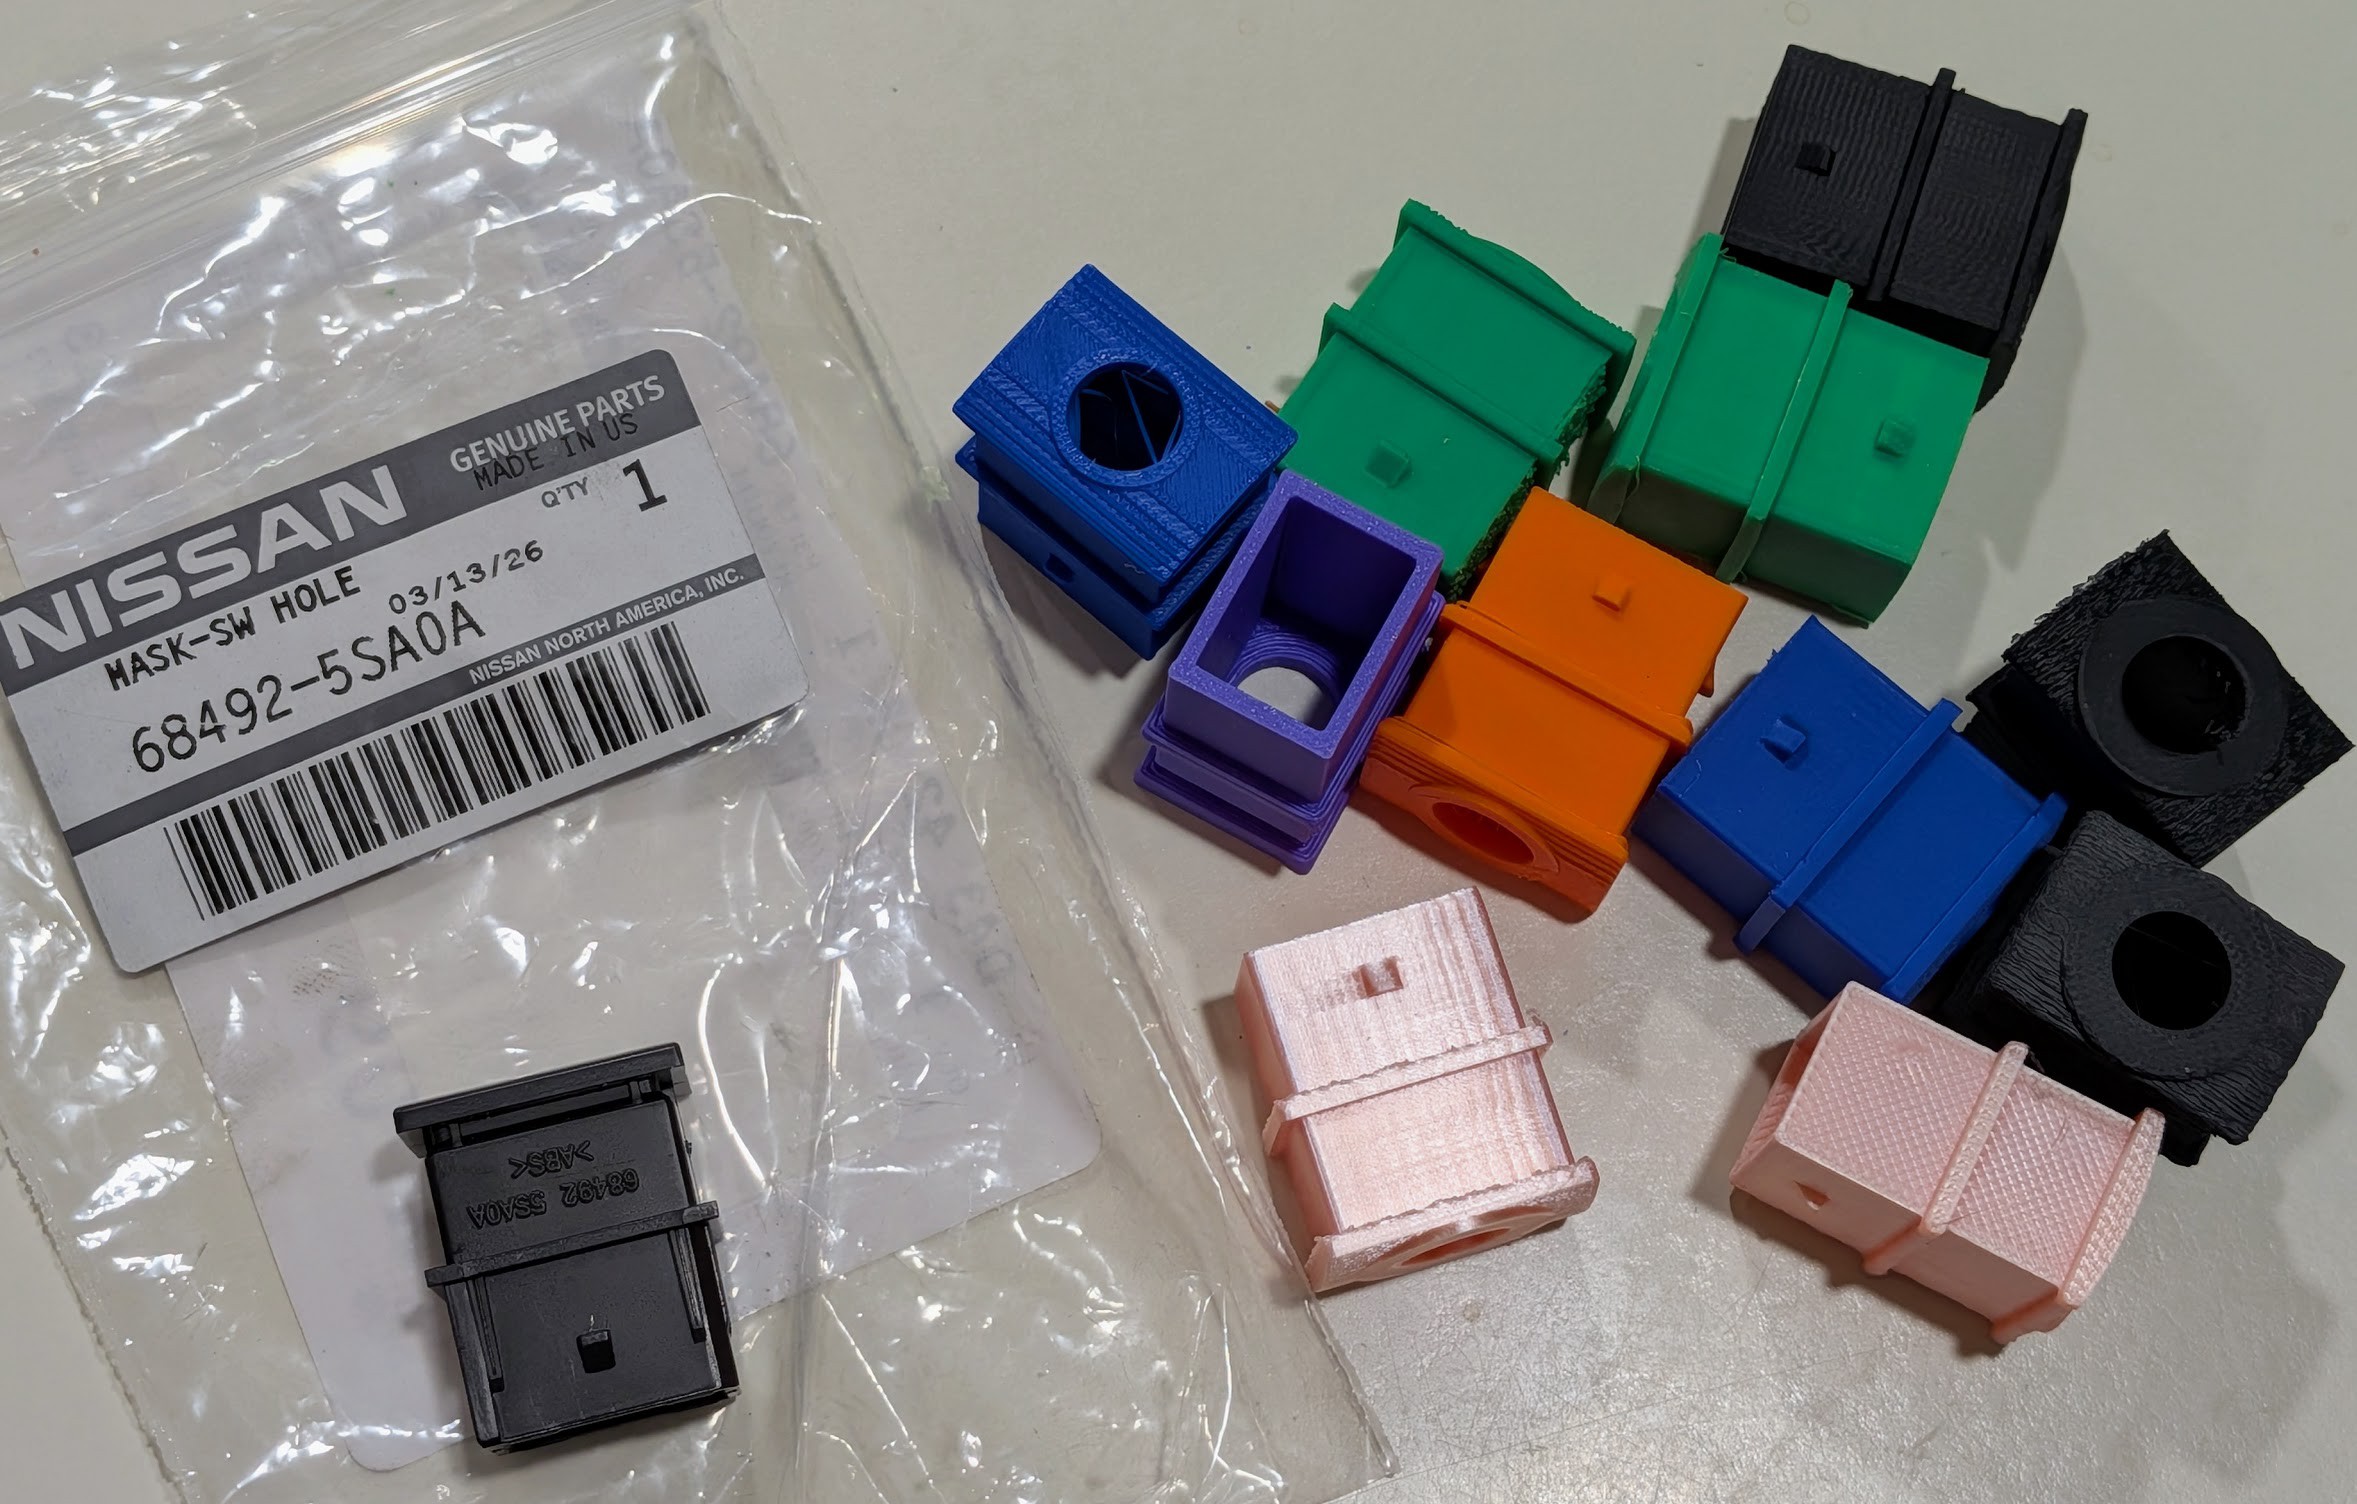
As with most 3D model designs, I knew I would have to iterate with test prints. That's to help dial in the dimensions and also to experiment with different techniques for getting the best surface finish on the visible head of the part. If you are interested, you can read about that via the 3D model links mentioned above. For your amusement, here is a team photo of my little menagerie of test prints. Each was printed with whatever filament was handy at that moment.
The Nissan part was injection molded with ABS plastic. My final print was done with black Sunlu PC-ABS filament. Here's a picture of it with the switch inserted and the hot-melt glue applied.
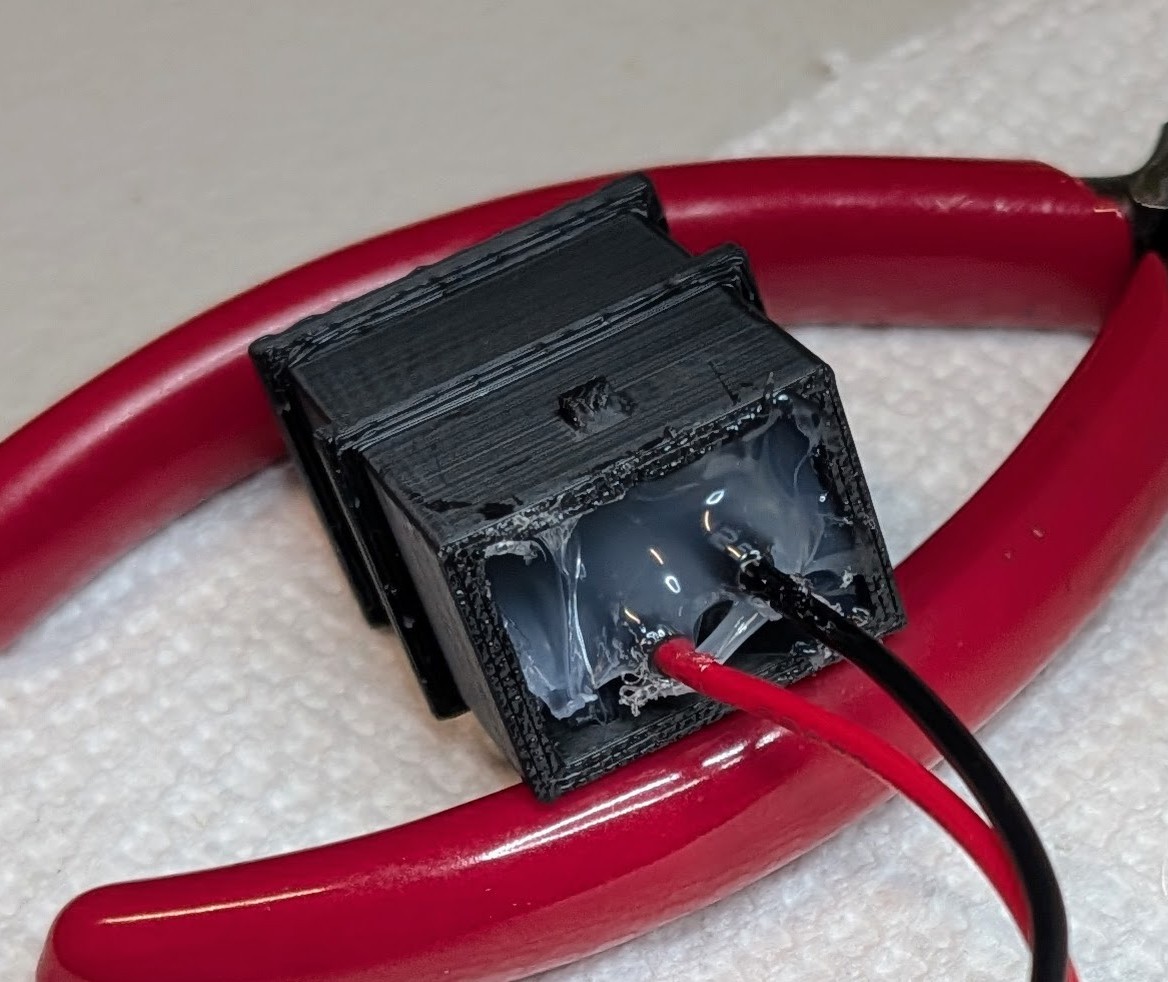
Ugly but serviceable.
Discussions
Become a Hackaday.io Member
Create an account to leave a comment. Already have an account? Log In.