 DiPDoT (Brian)


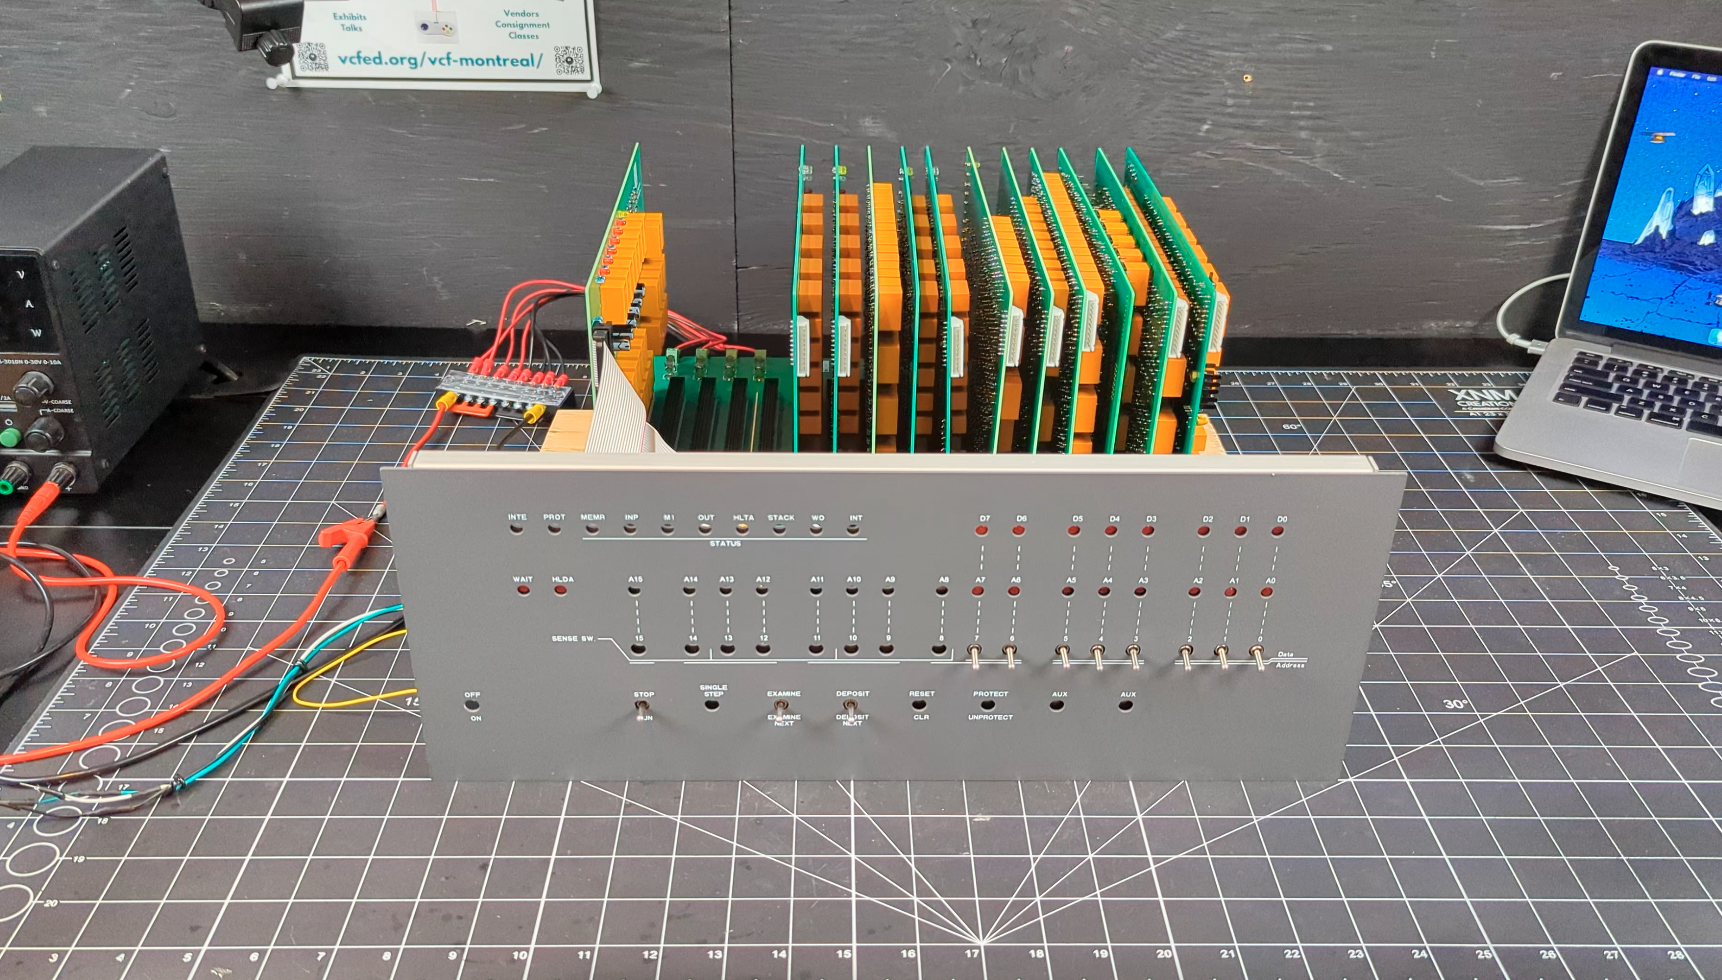
In the early stages of design, I knew that I wanted my relay computer to fit nicely into an Altair 8800 case, which meant making sure all of the cards are of similar dimensions. This also meant that I could use my existing Altair front panel to hold my LEDs and switches for the various operation functions, data-entry and addressing.
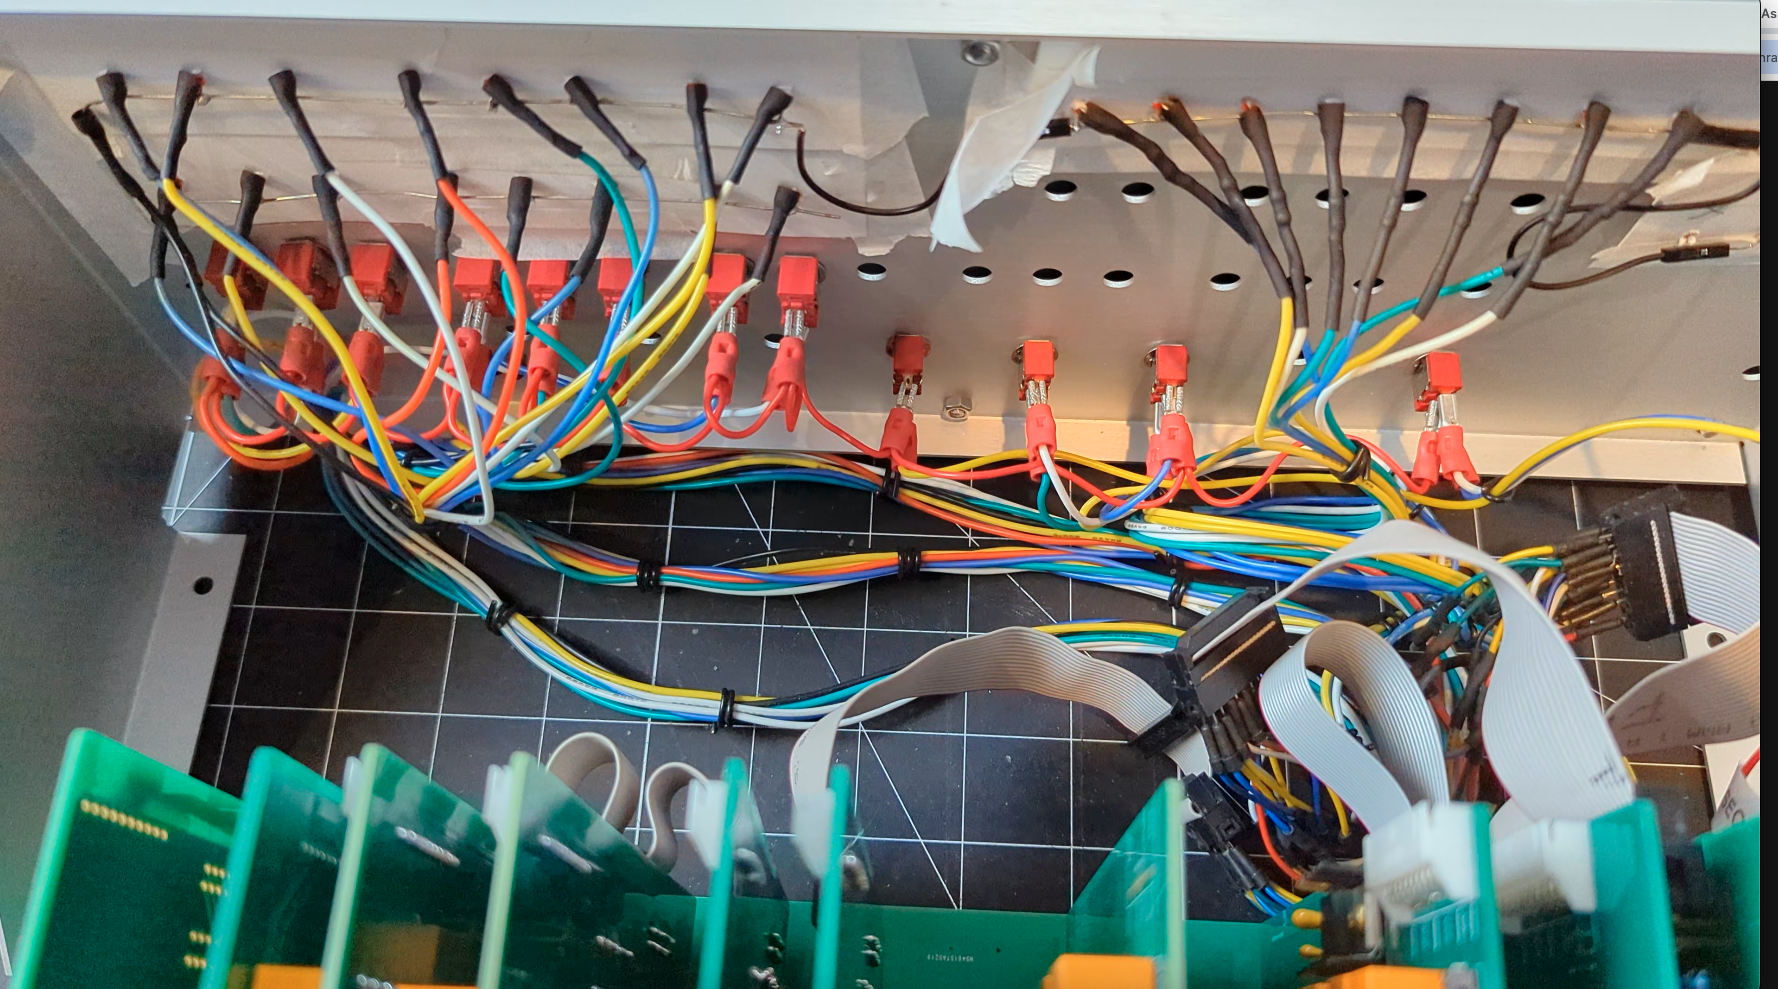
And for the most part this worked out okay, but besides having many addressing and other switches that I didn't need, I really wanted to tidy-up this mess behind the panel.
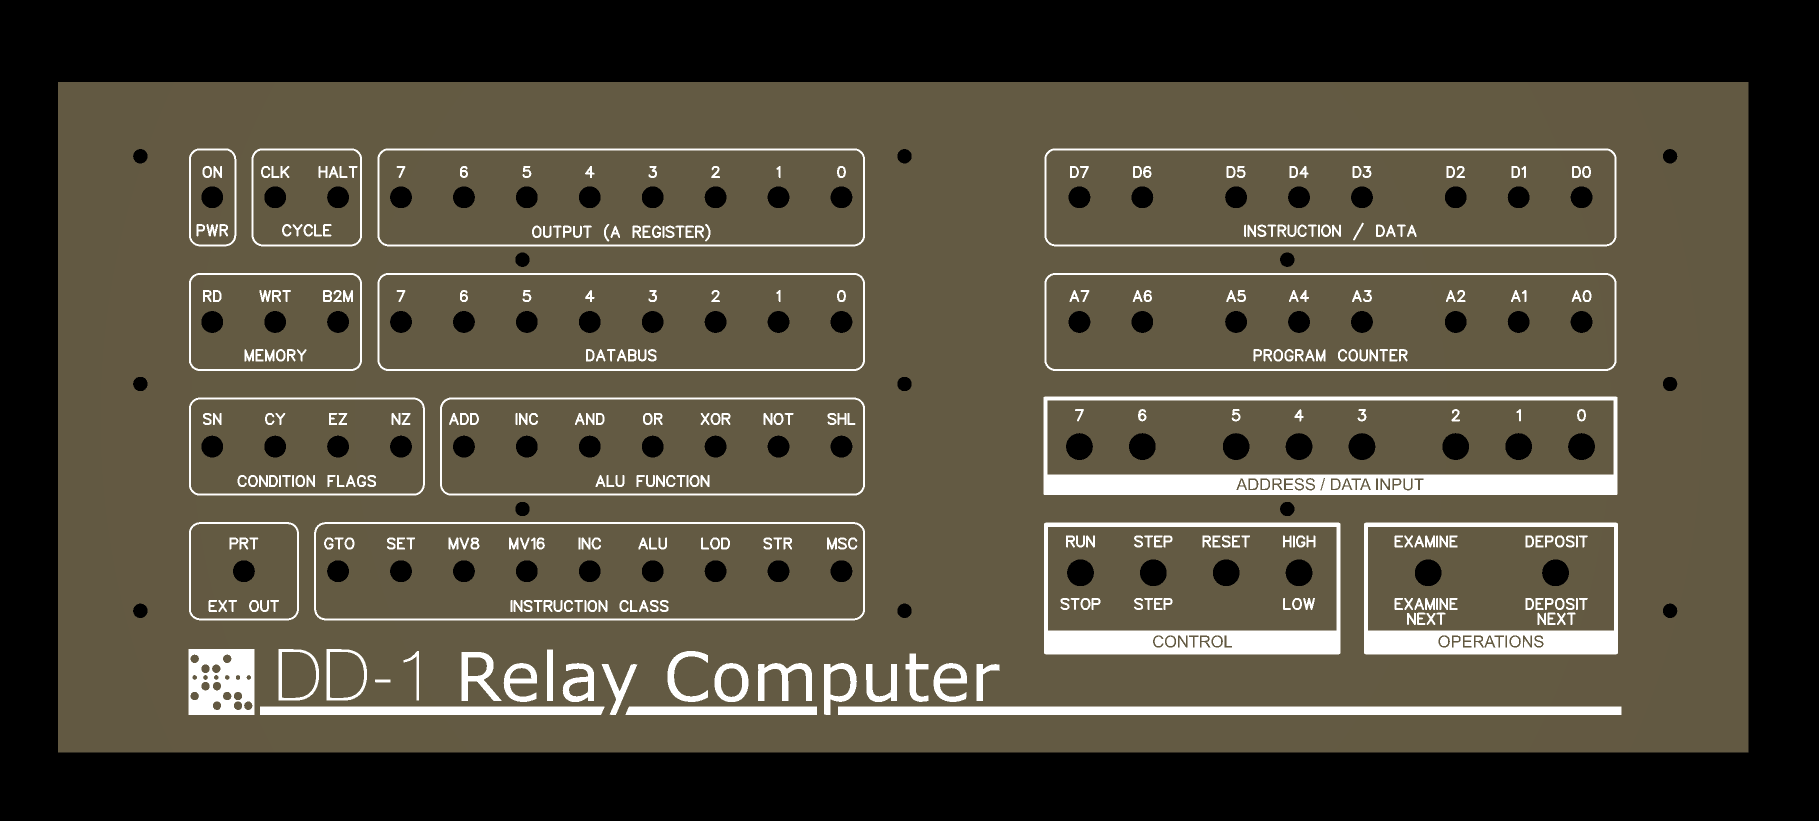
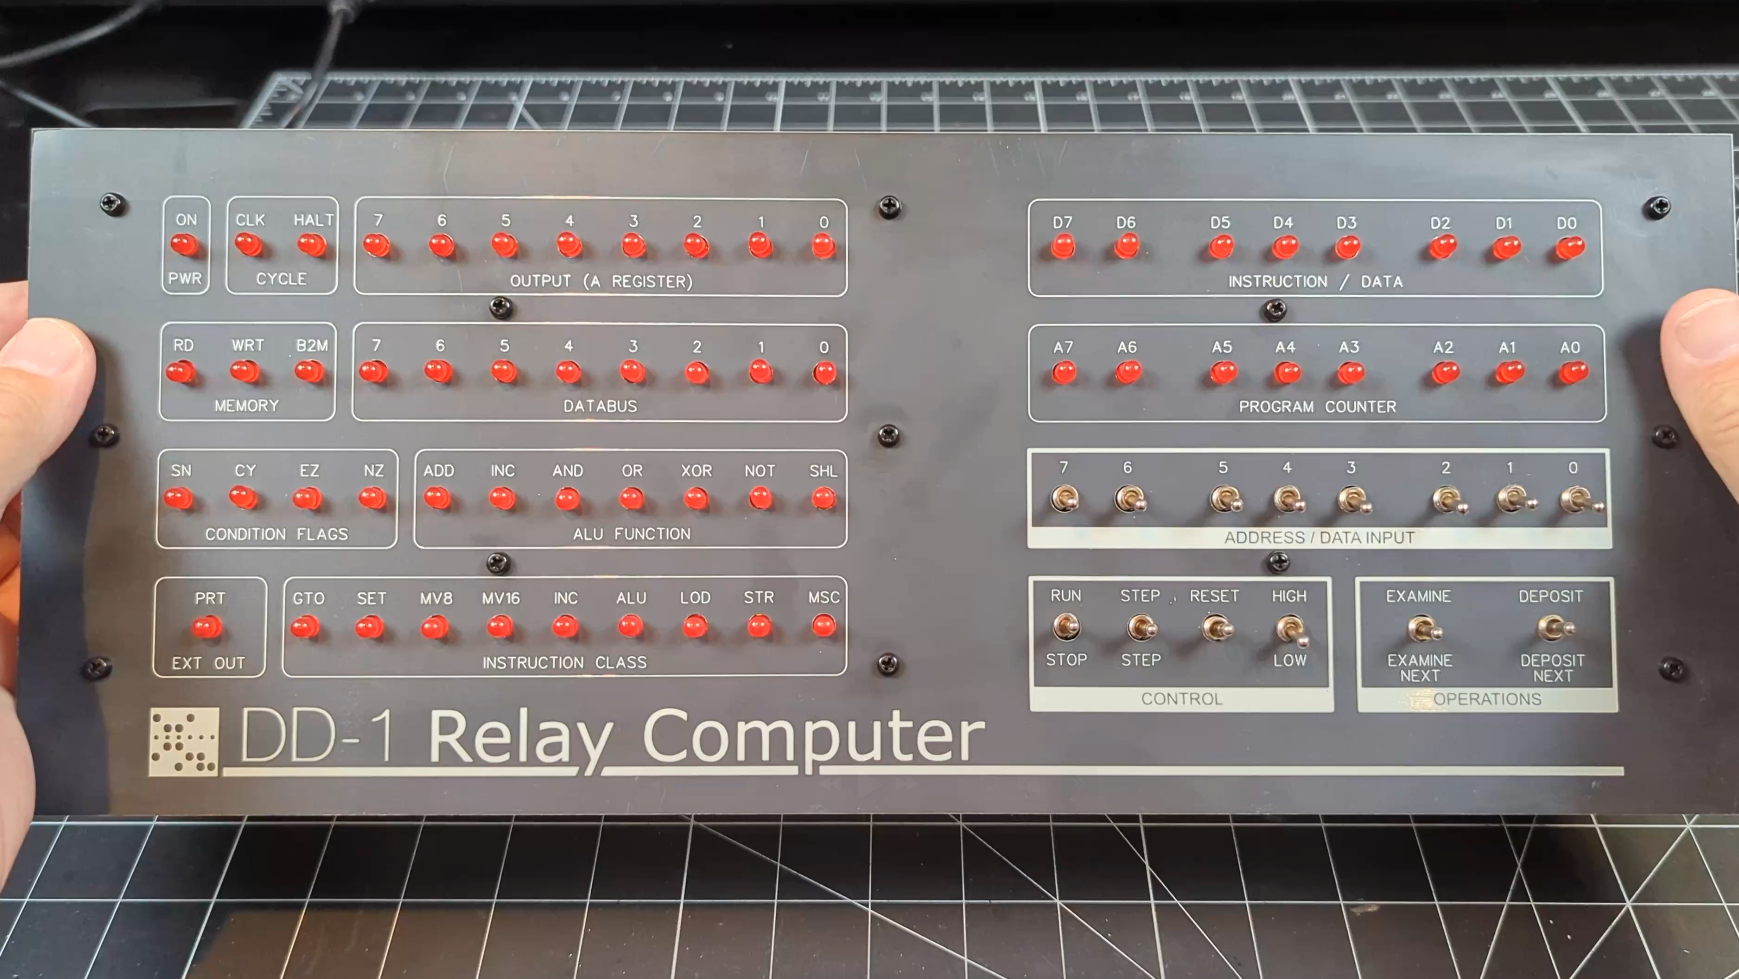
So it was on to designing the new "dress panel" for this machine, which turned out to be a lot of fun! I started by creating my own design duplicate of the current Altair panel. And then I started making all of my customizations based on what I wanted to see and do with this relay computer.
Once I was happy with the design, it was time to give it a name: DD-1
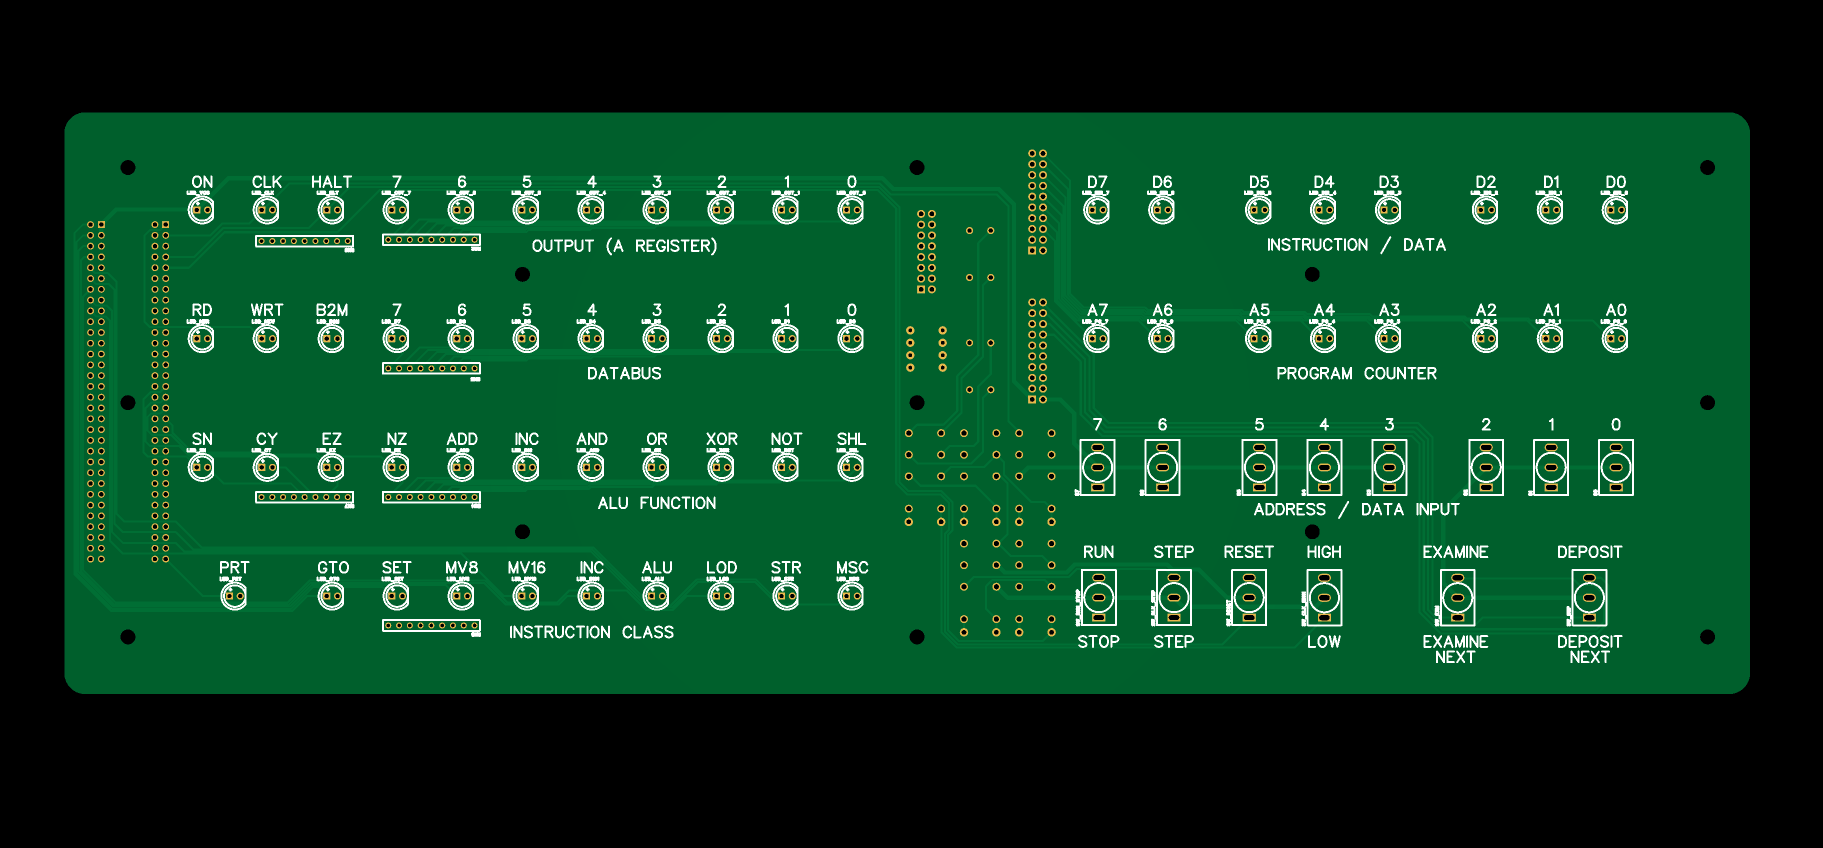
Next, I needed to design the PCB that sits behind the dress panel and holds all of the switches and indicators. After I was done, I noted that I had enough space in the middle of the board to house the system clock circuit.
Then, the designs were sent off for manufacturing, and arrived ready to assemble.
Although this PCB is fairly straight-forward, I had to remember that the PCB and dress panel will be separated enough to make room for the switches. This meant that the LEDs wouldn't be installed flush, but would need to be extended by their leads to cover the distance from the PCB to the front dress panel. So I "dry" installed the LEDs first with one lead bent to hold them in place. Then once the boards were attached to each other, it was just a matter of unbending the lead, extending the LED, and then soldering them all in place.
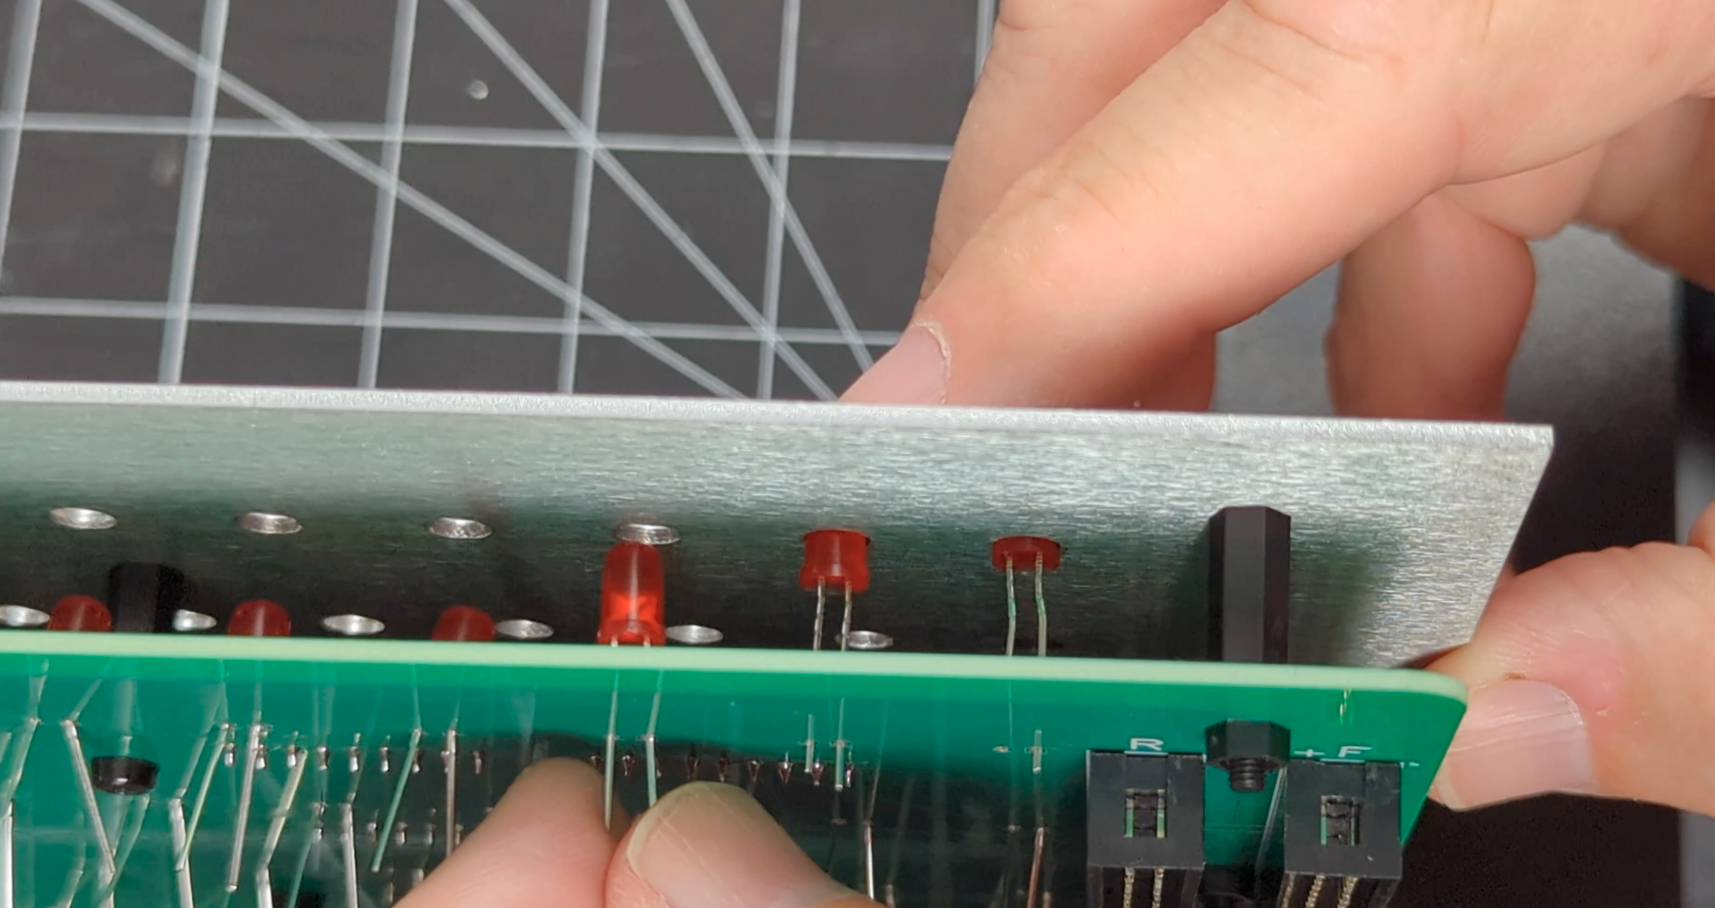
And with that, the new front panel assembly was completed. Woot woot!
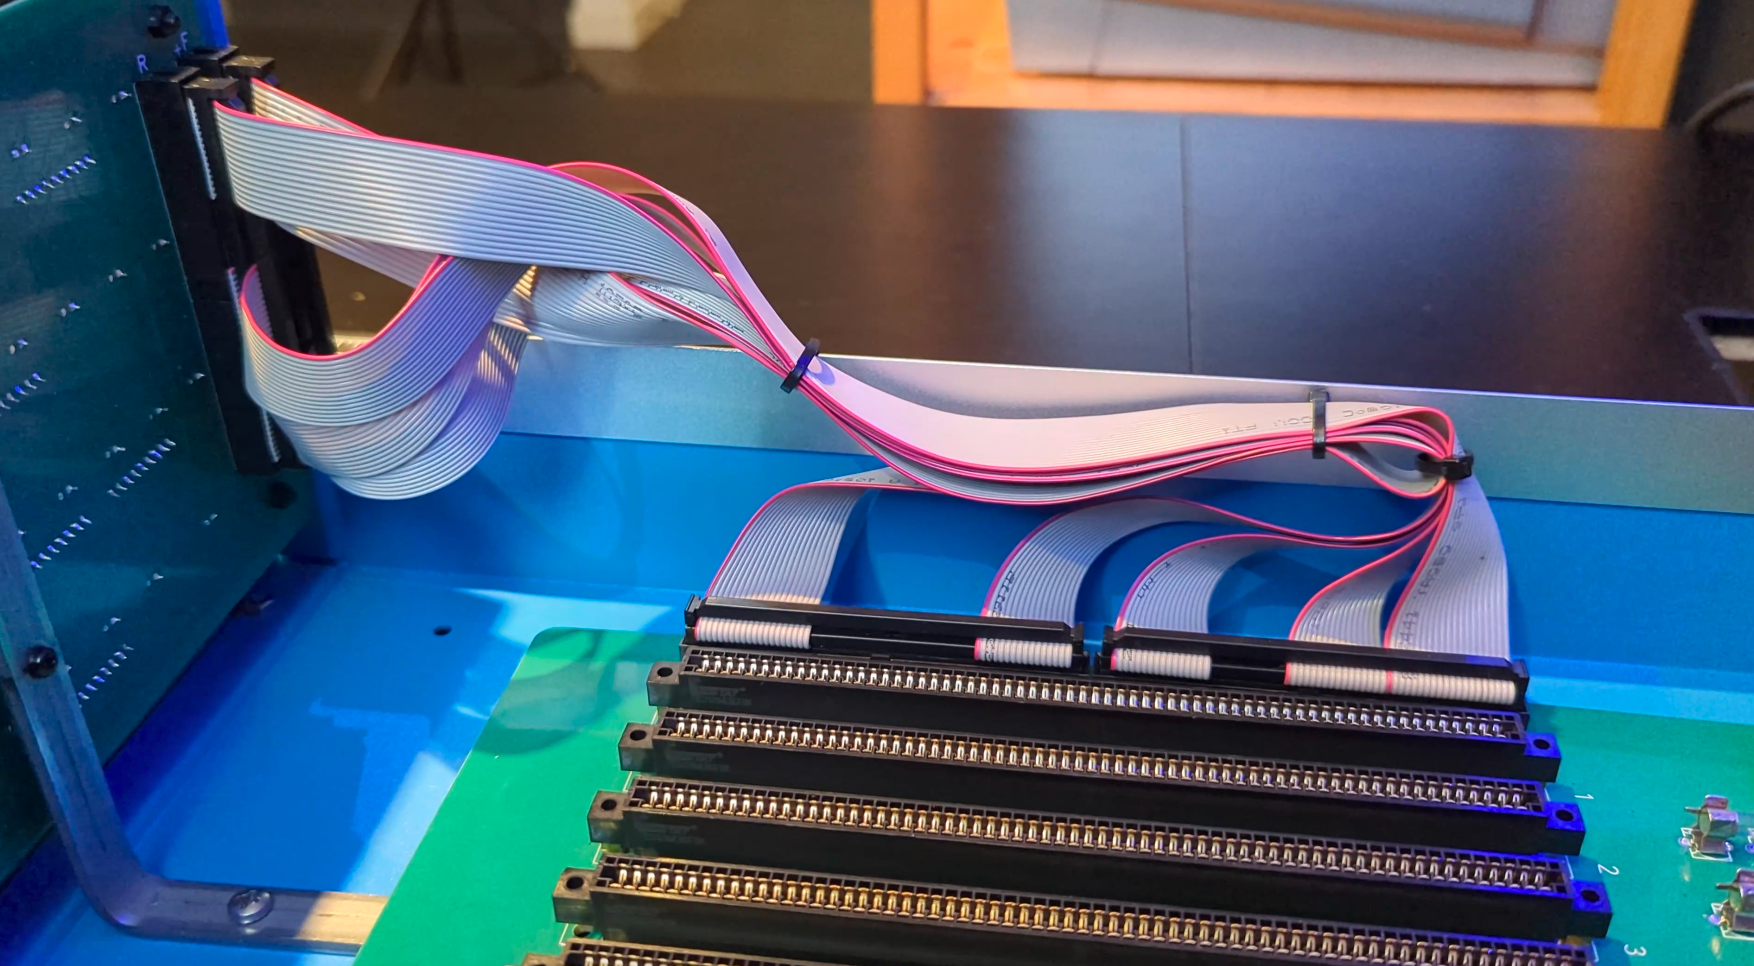
After cutting and drilling some simple steel L-brackets, I fabricated some custom ribbon cables that connect the backplane to the front panel.
And once the cards were all re-installed, it was time to enter a program and give it a test drive!
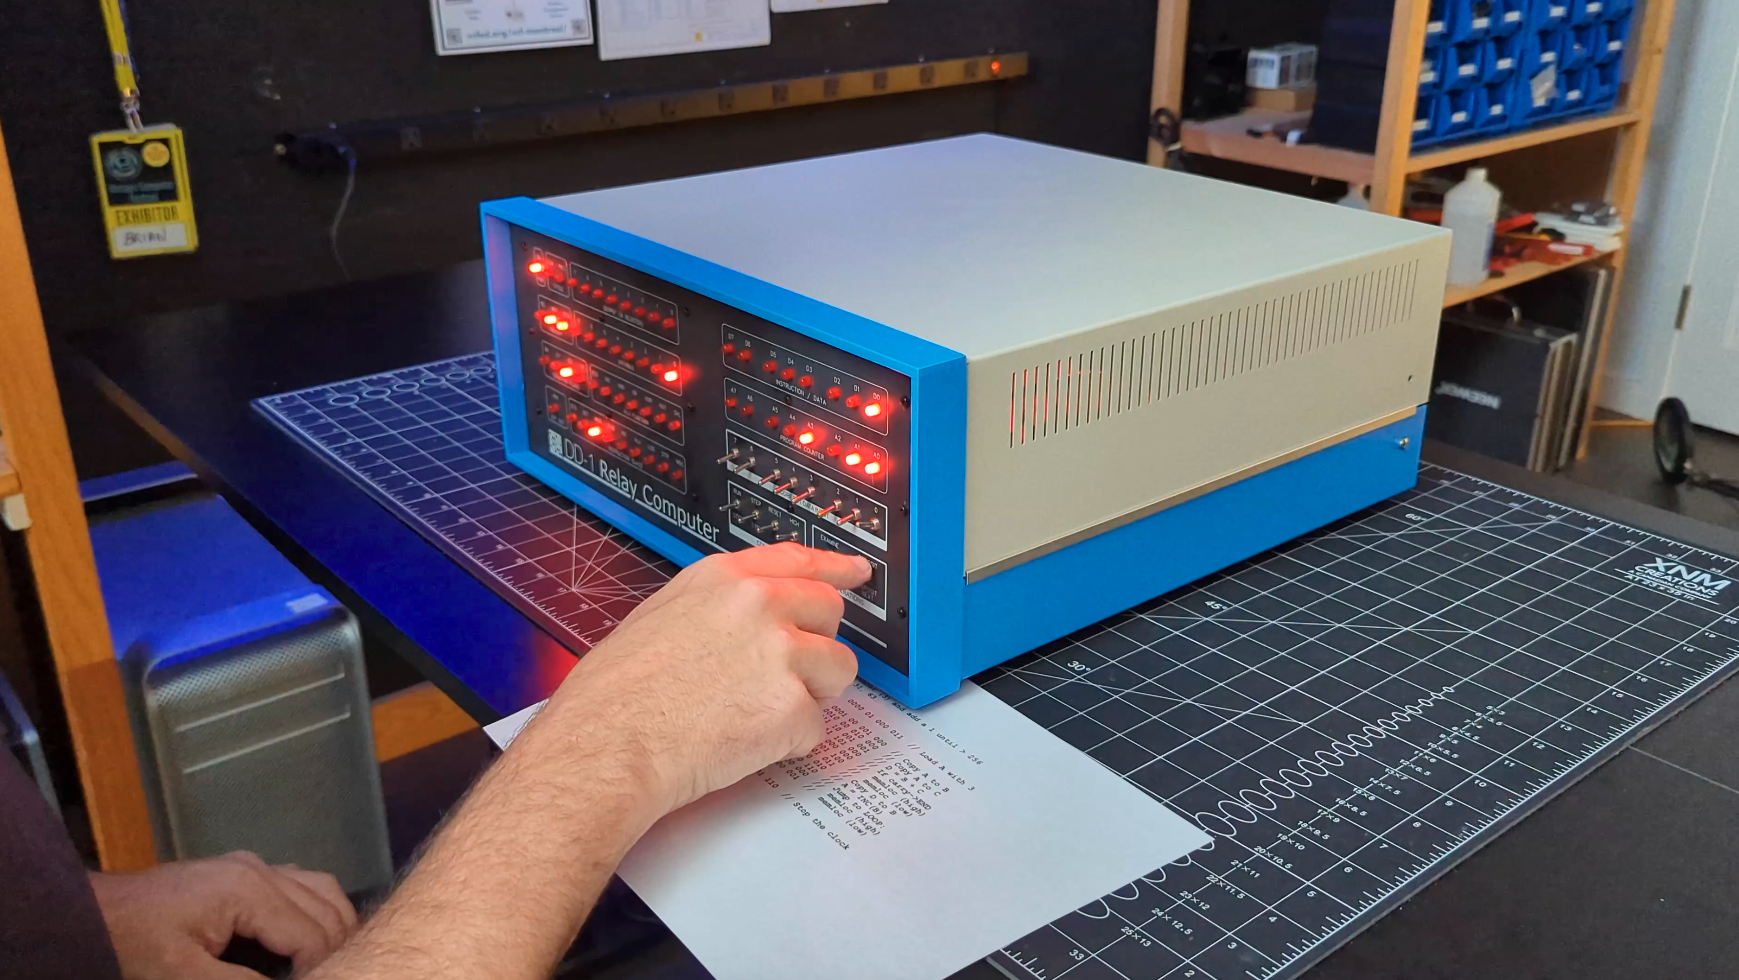
Overall, the new Front Panel assembly turned out exactly as I had hoped!
And if you're interested in seeing the entire journey of this front-panel project, here is the attached video: