lightwoheat


🛠️ Hardware Used:
Board: Seeed XIAO ESP32-S3
Expansion Board (optional): Seeed XIAO Expansion Board
Sensor: Adafruit LPS22 Pressure Sensor - STEMMA QT
Cable: Grove to STEMMA QT Cable - 100mm (also at DigiKey)
USB-C data cable
⚙️Links to Firmware and GUI:
Firmware: ESP32 Bit Pirate Web Flasher (thanks to geo-tp for the ESP32 Bit Pirate project)
Terminal: Bit Pirate Web Serial Terminal
GitHub: ESP32S3_BPIO2_I2CBridge
GUI: UXB-300 (Chrome or Edge on desktop)
Set up the XIAO: ( Flash | BPIO2 )
Flash: Open the web flasher in Chrome or Edge. Hold BOOT on the XIAO while you plug in USB, select Xiao ESP32-S3, then click Flash selected firmware.
BPIO2: Open the web serial terminal, click Connect and press any key. Then type:
HIZ > mode
Mode Number > 12
Configure SD card GPIOs for USB? [n]:
USB > adapters
Enter index (default 9): 8
BPIO2 GPIOs IO0..IO7 [1 2 4 3 6 5 0 7]: 1 6 5 7 2 4 3 0
The XIAO reboots into BPIO2 adapter mode and the terminal closes. The GPIO list puts I2C on GPIO6 (SCL) and GPIO5 (SDA), the expansion board's Grove I2C port. Press RESET to return to normal Bit Pirate mode.
NOTE: Avoid pressing RESET while you're using UXB-300. A reset takes the XIAO out of BPIO2 mode, and you'd have to repeat the BPIO2 step above to get it back.
Plug the Grove end of the cable into the expansion board's I2C Grove port and the STEMMA QT end into the LPS22.
Try it now:
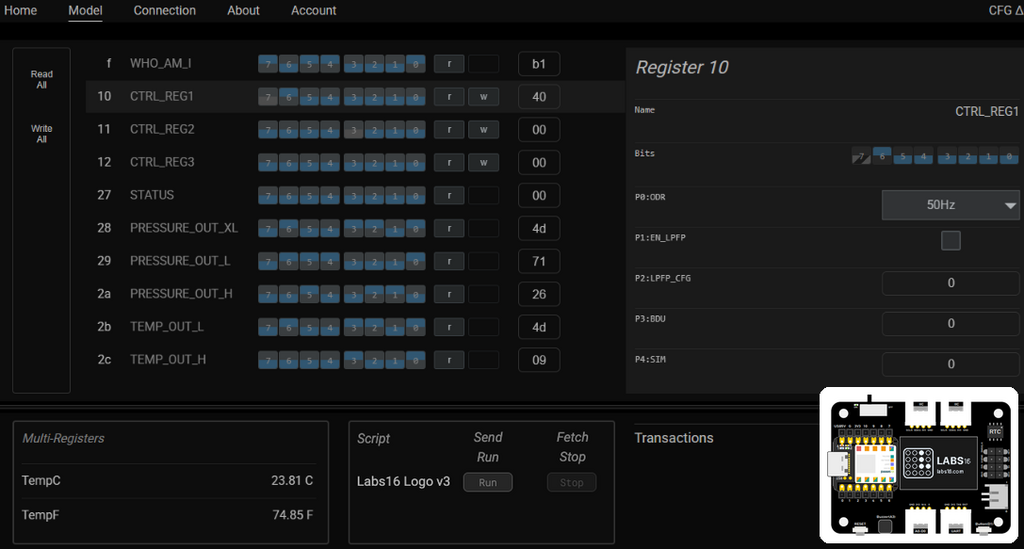
With the XIAO in BPIO2 mode and the LPS22 plugged in, open the link above. On the Connection page, click Connect, pick ESP32 Bit Pirate, and click Connect. Then on the Model page, click Write All (top left) to configure the LPS22 and turn on Polling. TempC and TempF update live.
Make it yours
Register free to unlock the Factory Projects catalog of ready-made ICs, then save and tweak your own copy.
Open UXB-300, click Create, then Browse and Register / Sign In.
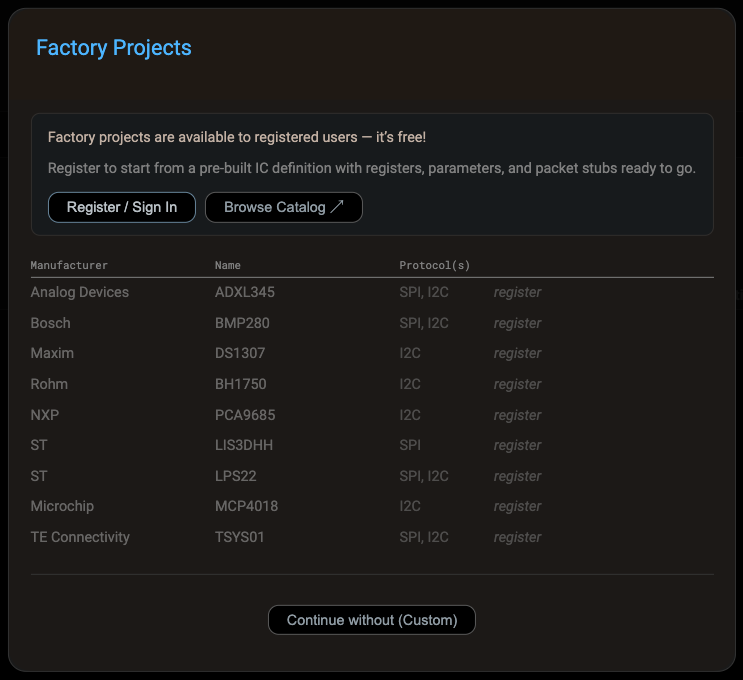
Signed in, Select the LPS22HB, set Device ID to 0x5D, choose Bus/Bit Pirate BPIO2 I2C and click Create.
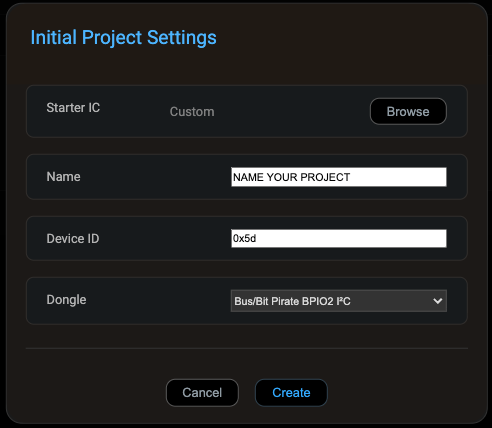
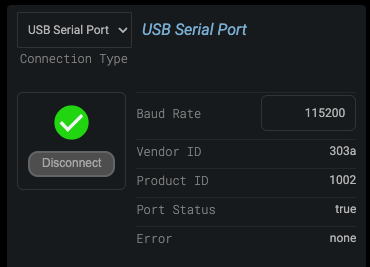
Now connect: on the Connection page, click Connect and pick ESP32 Bit Pirate.
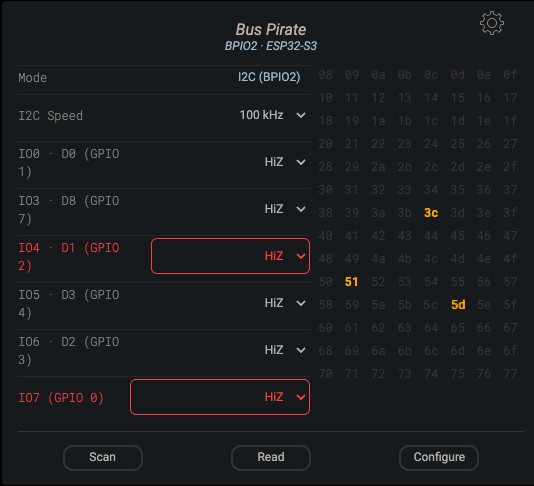
Click Scan, and the Adafruit LPS22 shows up at 0x5D (set IO4 and IO7 to HiZ first if you're on the expansion board).
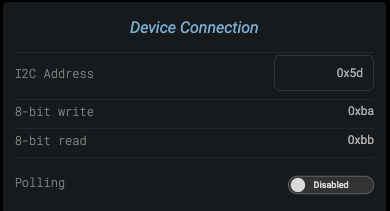
Set that as the Device Address.
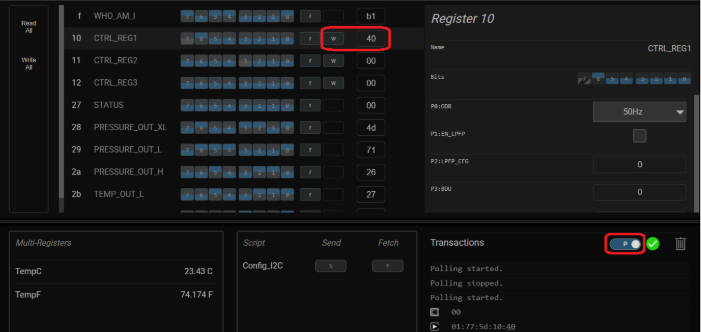
A fresh project starts the LPS22 as its power-on-defaults, so wake it up: in Backstage, type 40 into CTRL_REG1 (0x10) and press Enter.

Read registers 0x28-0x2C for the raw pressure and temperature bytes.
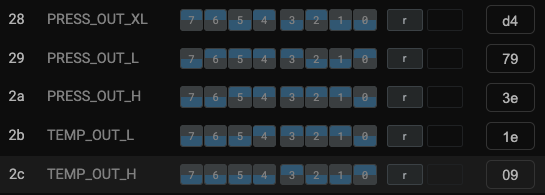
to watch them live, open the Editor, change Access on 0x28-0x2C from Read to Poll and set the Poll Rate (500ms is a good start).
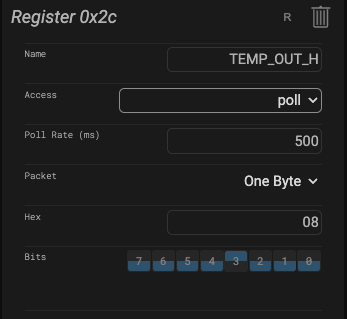
Then switch on P (Polling) under Transactions.

THAT"S IT: the pressure and temperature calculations now update in real time.