 Mile
MileHere are two gifs showing working first prototype of Led Matrix watch. Gif on the right shows led matrix under neutral density filter (ND16) that is used in photography (got it from eBay). Plan is to cut filter into shape and put it over led matrix when in enclosure. Filter is 1.8mm thick.
 |  |
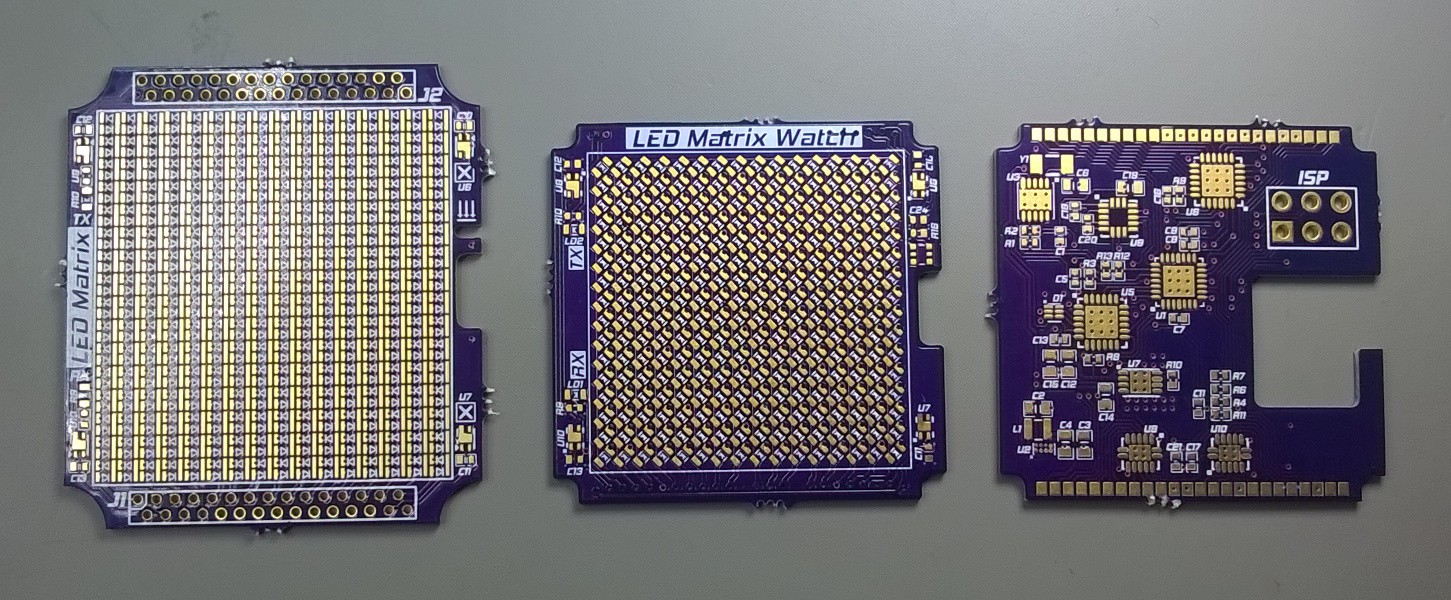
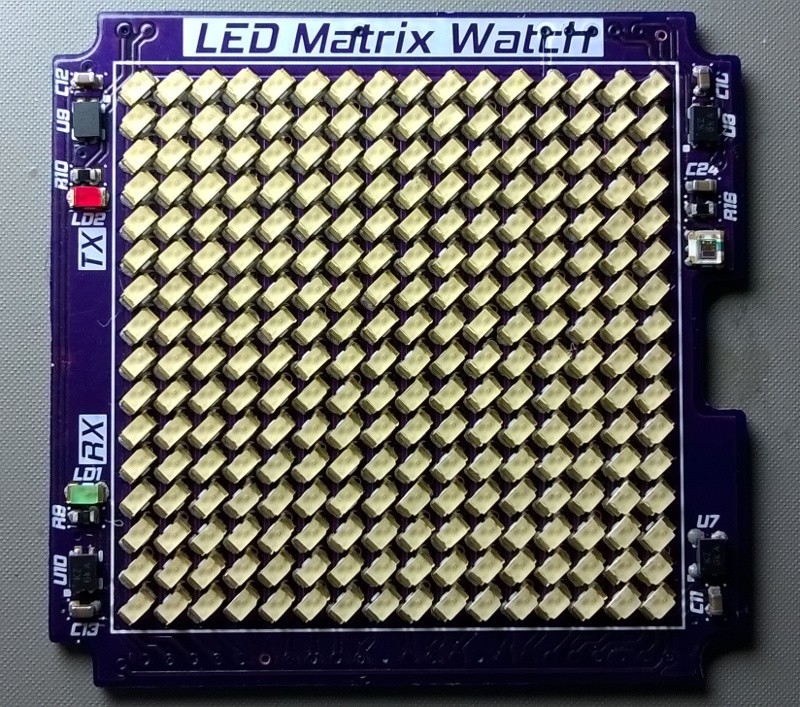
Next up, you can see pictures of the new PCBs. PCBs are made by OSHPark. Some changes introduced from the first version are:
- Optimization of components - capacitors (some 0402 caps changed to 0603 to reduce cost)
- TH connections replaced with SMD pads
- Reduced size so that smaller and more ergonomic enclosure is possible
- Accelerometer changed from LIS3DHTR to MMA8452QT
- Shift registers changed from 74HC595 to 74HC164
- Led driver changed from TLC5928 to TLC59282 (more current to drive leds)
- NCP170 LDO repleced by high efficiency buck converter TPS62743 (WCSP package)
| Led Matrix | Motherboard | PCB spacer | Backplate |
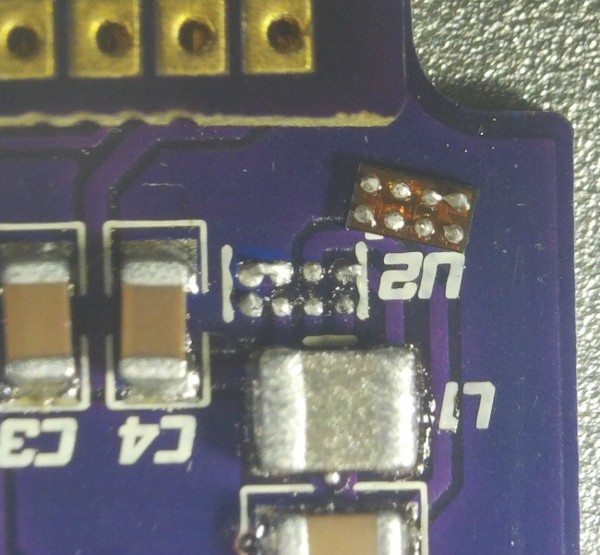
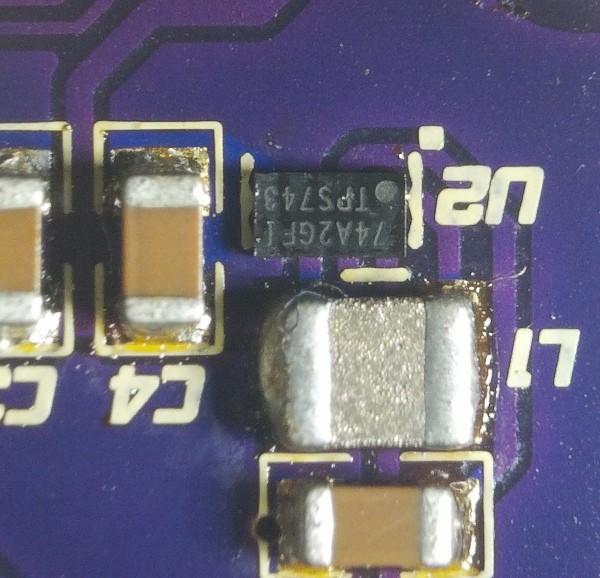
There were no major problems with PCB assembly. All components reflowed nicely, except U2 that was shorted. Short was due to stencil being too thick so there was too much solder paste on the footprint. Also there were two mistakes on the PCB so they need to be corrected. PCBs on OSHPark link have all those mistakes corrected.
- VSEL pins of the TPS62743 were tied to the ground which gave output voltage of 1.2V and I needed them to be tied to input voltage to give output voltage of 3.3V. I disconnected traces from ground plane and connected them to input decoupling capacitor via thin enameled copper wire.
- MISO pin was not connected to ISP header, therefore jumper wire is needed from MCU pin 14 to ISP header pin 1. Jumper is need only while programming via ISP. After programming bootloader all programming is done via USB.
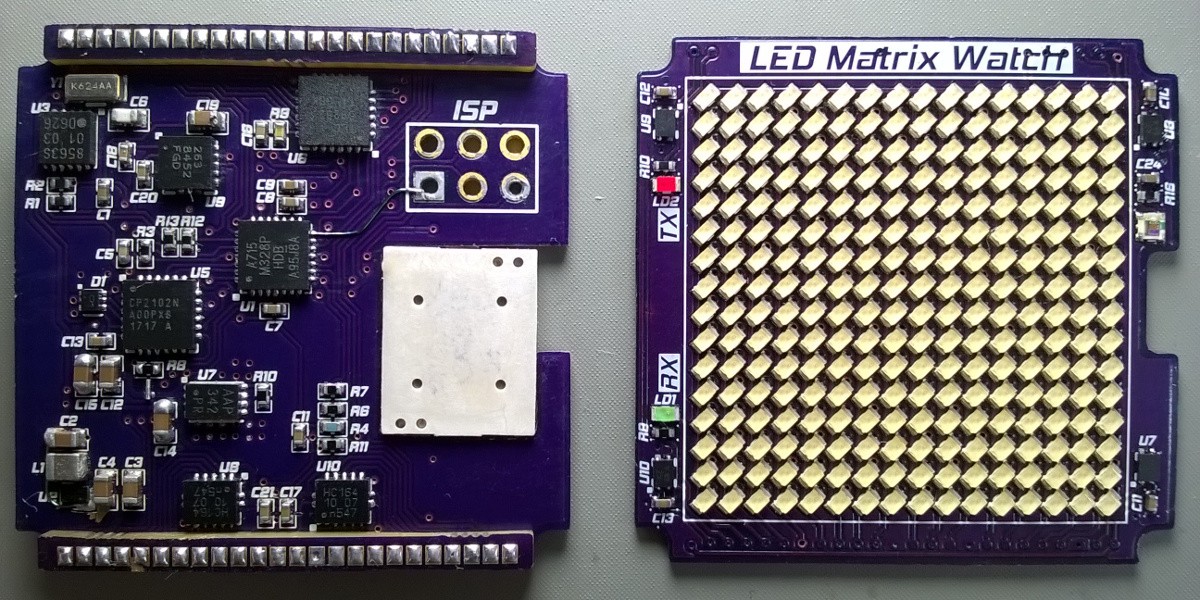
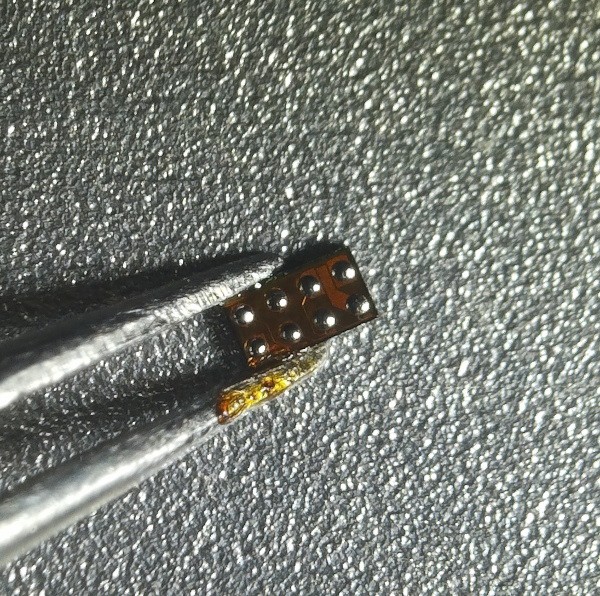
- Reworking shorted U2 (WCSP-8, 0.4mm) - Desoldering shorted component, cleaning pads with soldring iron and soldering component with hot air station (with addition of flux).
 |  |  |
Enclosure was modeled in solidworks and ordered from i.materialise.com (price was 15EUR for one piece). Enclosure was printed using SLS printer in black polyamide and polished after. Few pictures to test if all fits together:
 | 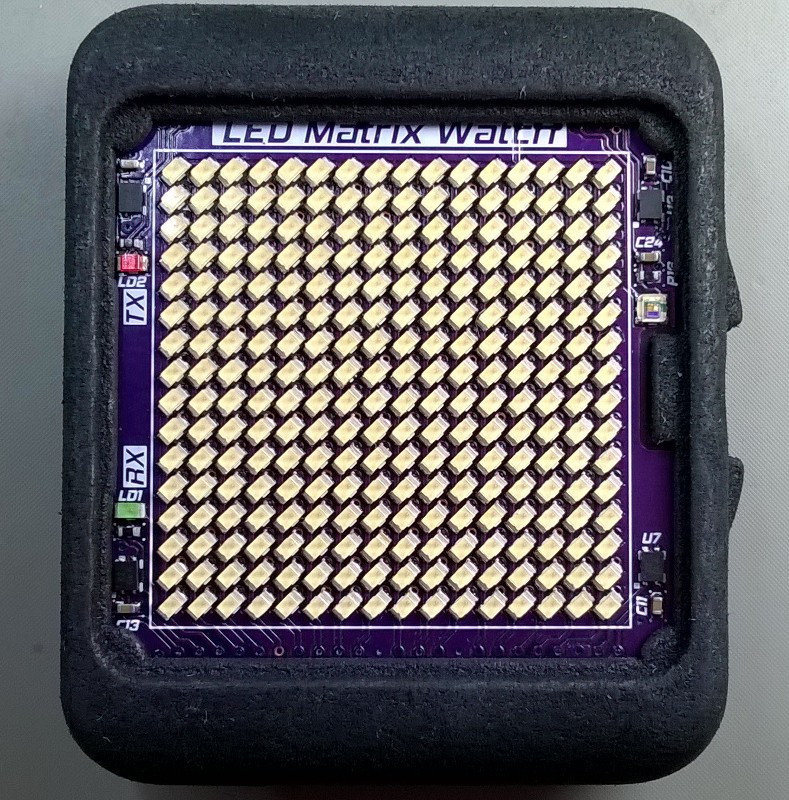 |
Discussions
Become a Hackaday.io Member
Create an account to leave a comment. Already have an account? Log In.