My stock was getting low, so I faced the question whether I would just build more of the rev 5 boards, or if I was going to make any changes.
I'm very happy with the LiFePO4wered/Pi+, and my customers seem to be happy with it as well, but one thing that still bugged me was heat generation in the asynchronous charge converter using the CN3801. The asynchronous rectifier's Schottky diode drop is set in stone by physics unfortunately. Since the diode is always going to have 0.5 V or so across it, power dissipation quickly gets high as currents increase.
So I had been on the lookout for a drop-in replacement that would use a synchronous converter. In a synchronous converter, the rectifier is implemented by another MOSFET driven by PWM, which reduces losses a lot due to the low RdsON of the MOSFET.
For instance, when using a Schottky diode in an asynchronous converter with a charge current of 4 A, the 0.5 V drop would cause power dissipation of 2 W. When instead using a synchronous converter with a MOSFET that has an RdsON of 11 mΩ, losses would be reduced to 0.176 W. A huge improvement!
I finally found a drop-in replacement that would mostly be transparent to the user in the TI BQ24650. It is a synchronous converter, but for the rest it has all the features I could provide with the CN3801, such as smart current sharing, MPPT for solar and to protect weak power supplies such as PC USB ports, and similar charge LED behavior. In addition, the current sense regulation voltage drop is only 40 mV, versus 120 mV for the CN3801. This may not sound like a big deal, but due to the way the smart current sharing works, part of the current sense resistor is in series with the battery when the system is running from battery power, so any reduction in voltage drop there is beneficial.
So I designed a rev 7 layout, ordered boards and parts and finally found the time to build it today:
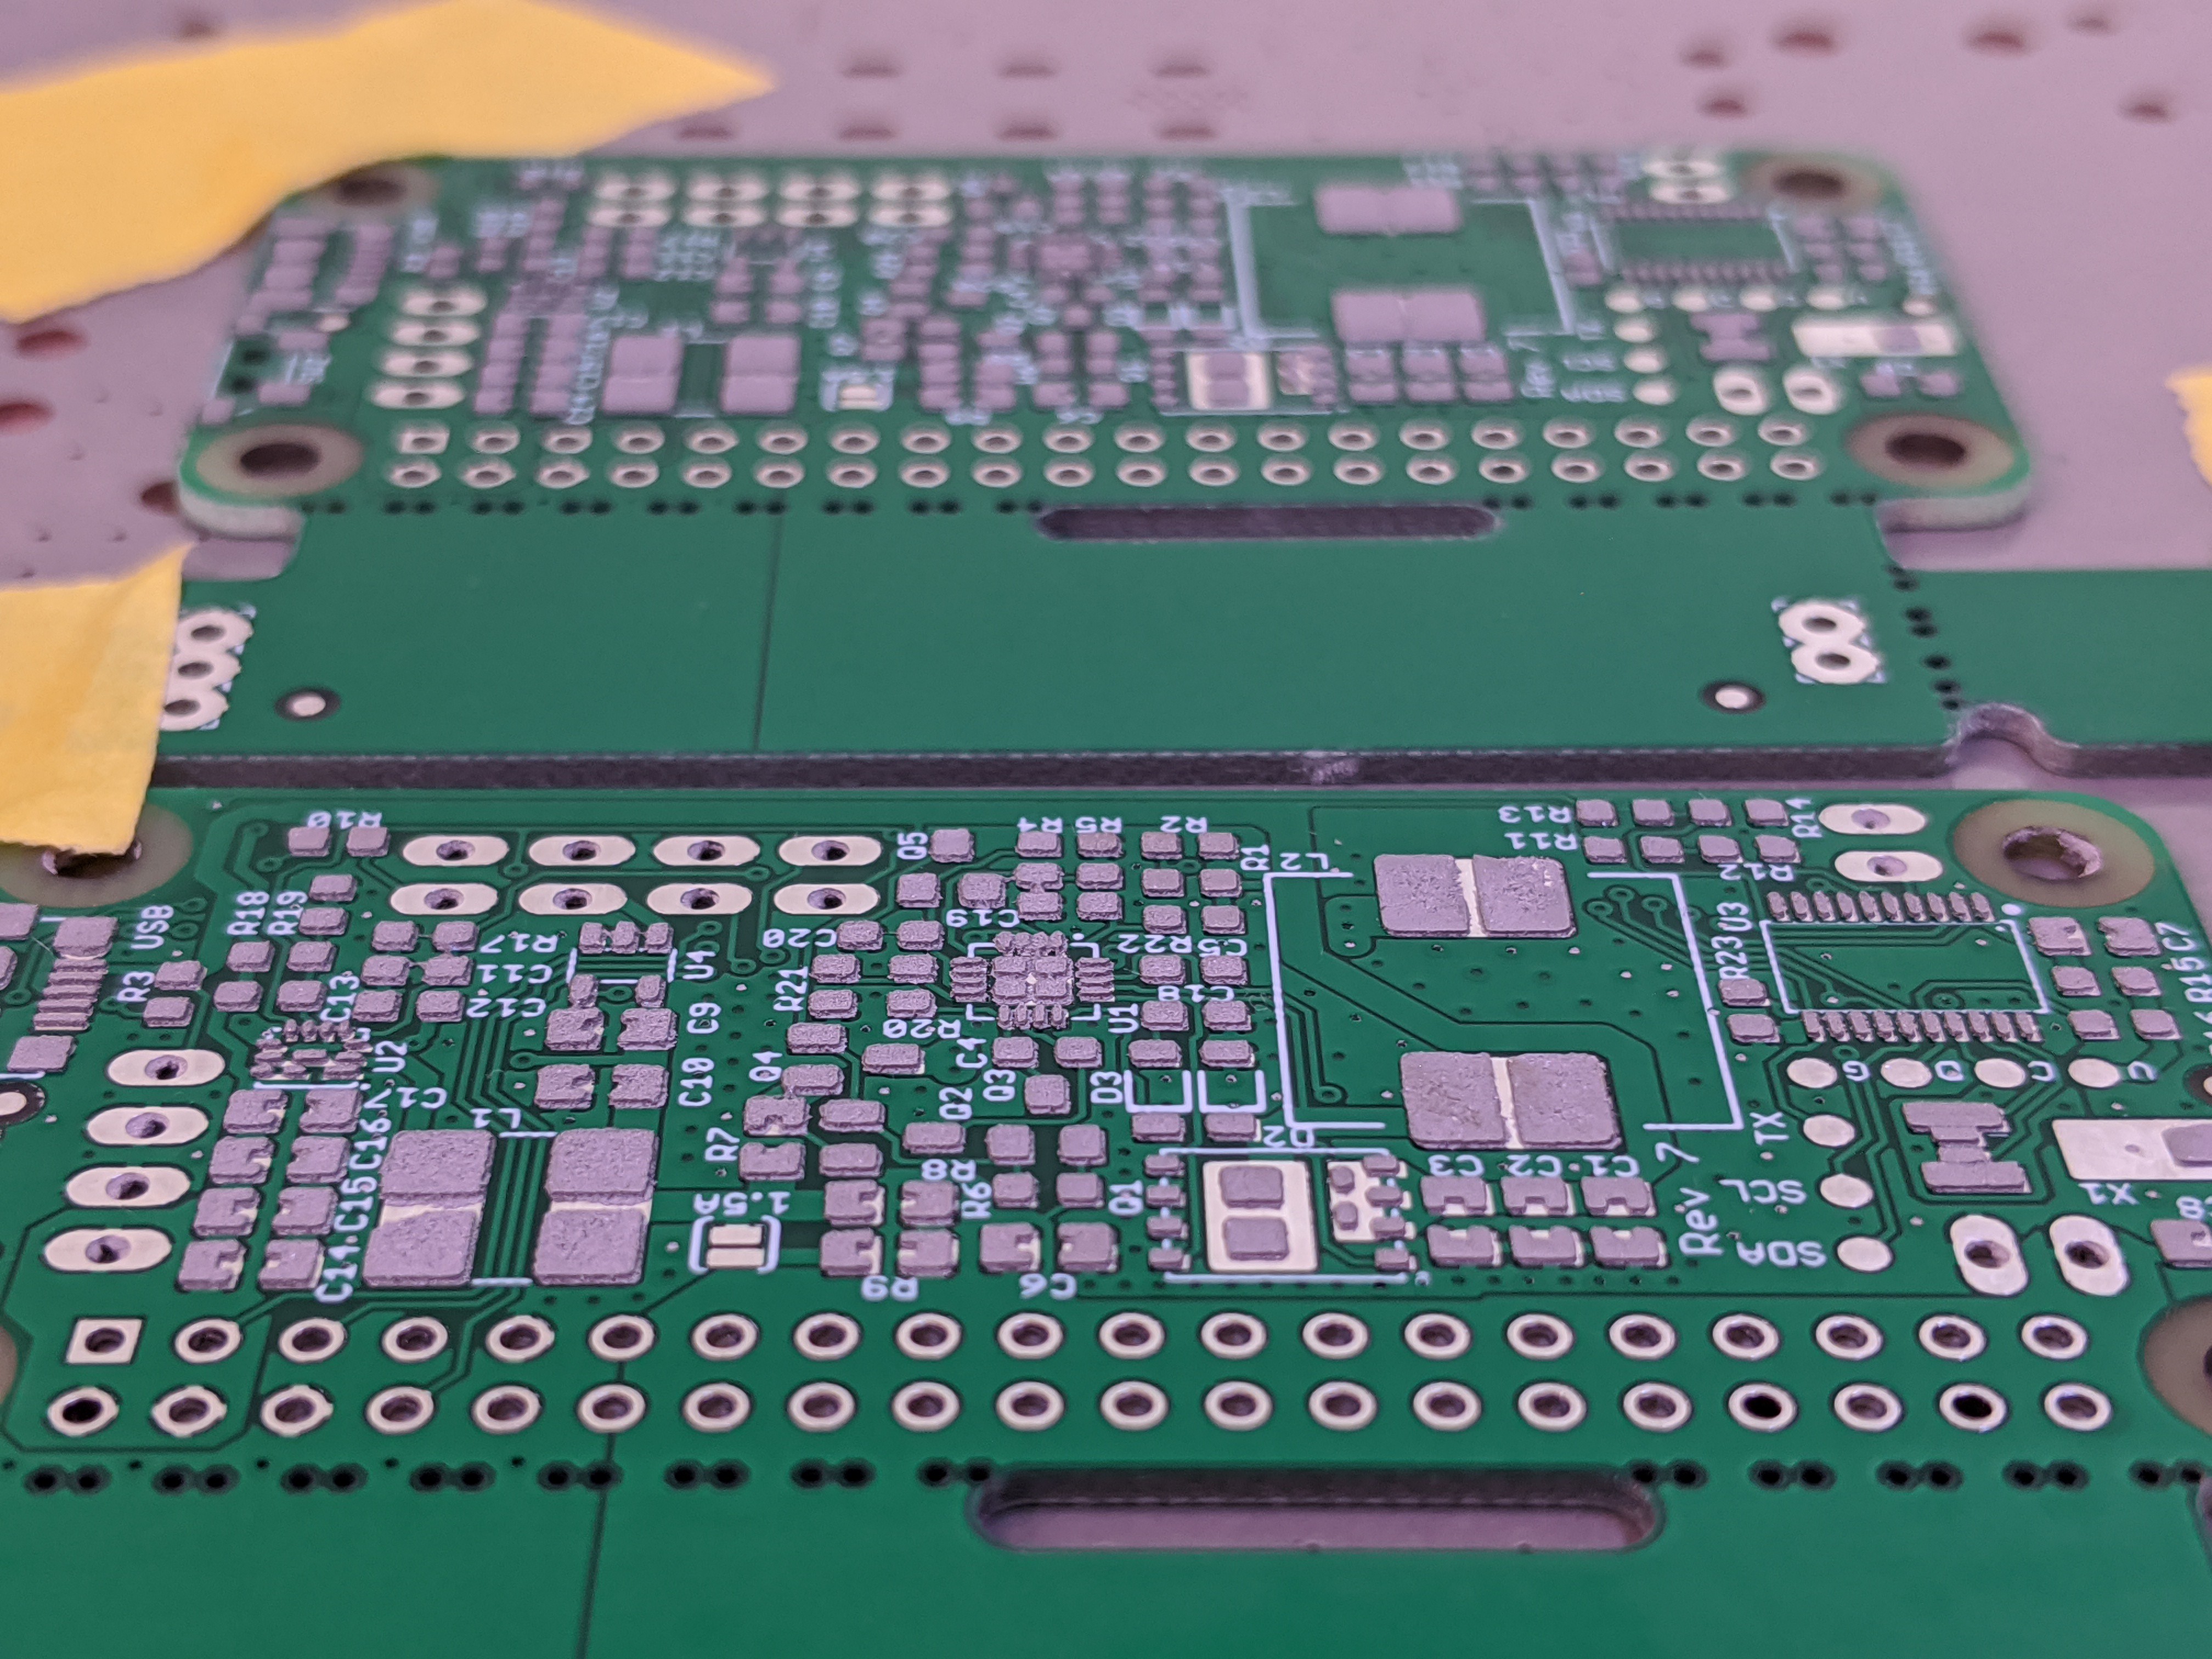
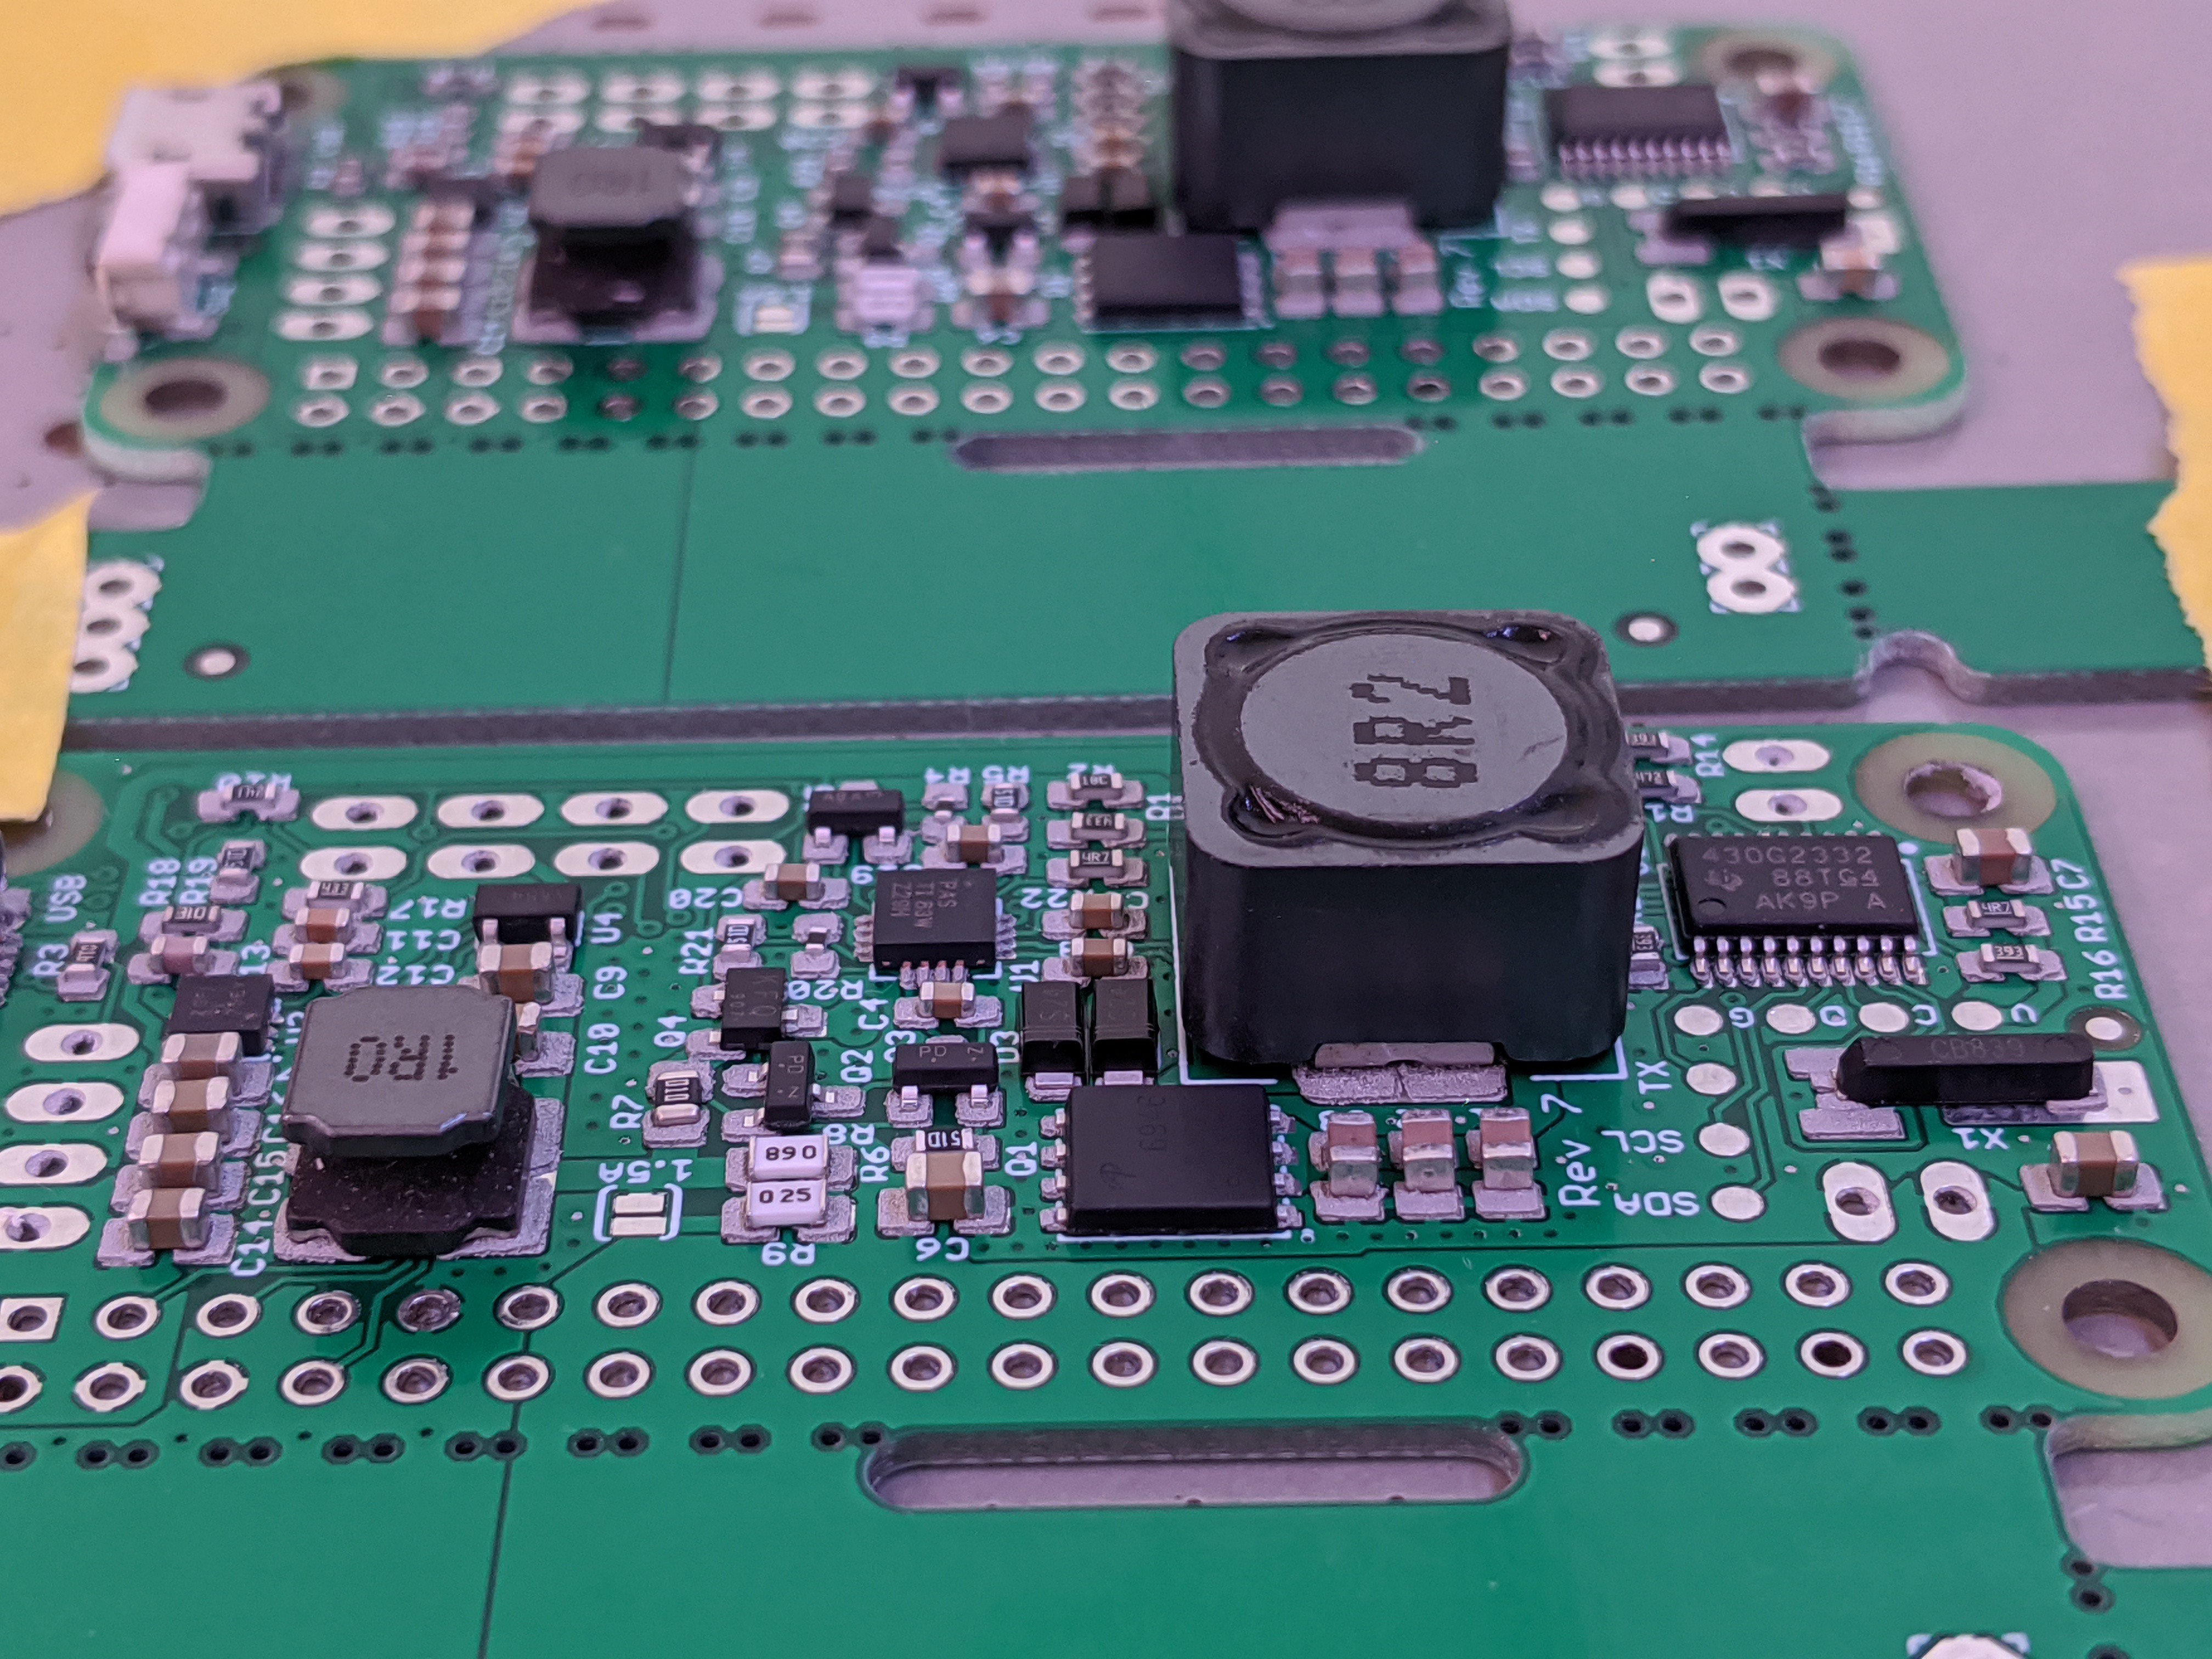
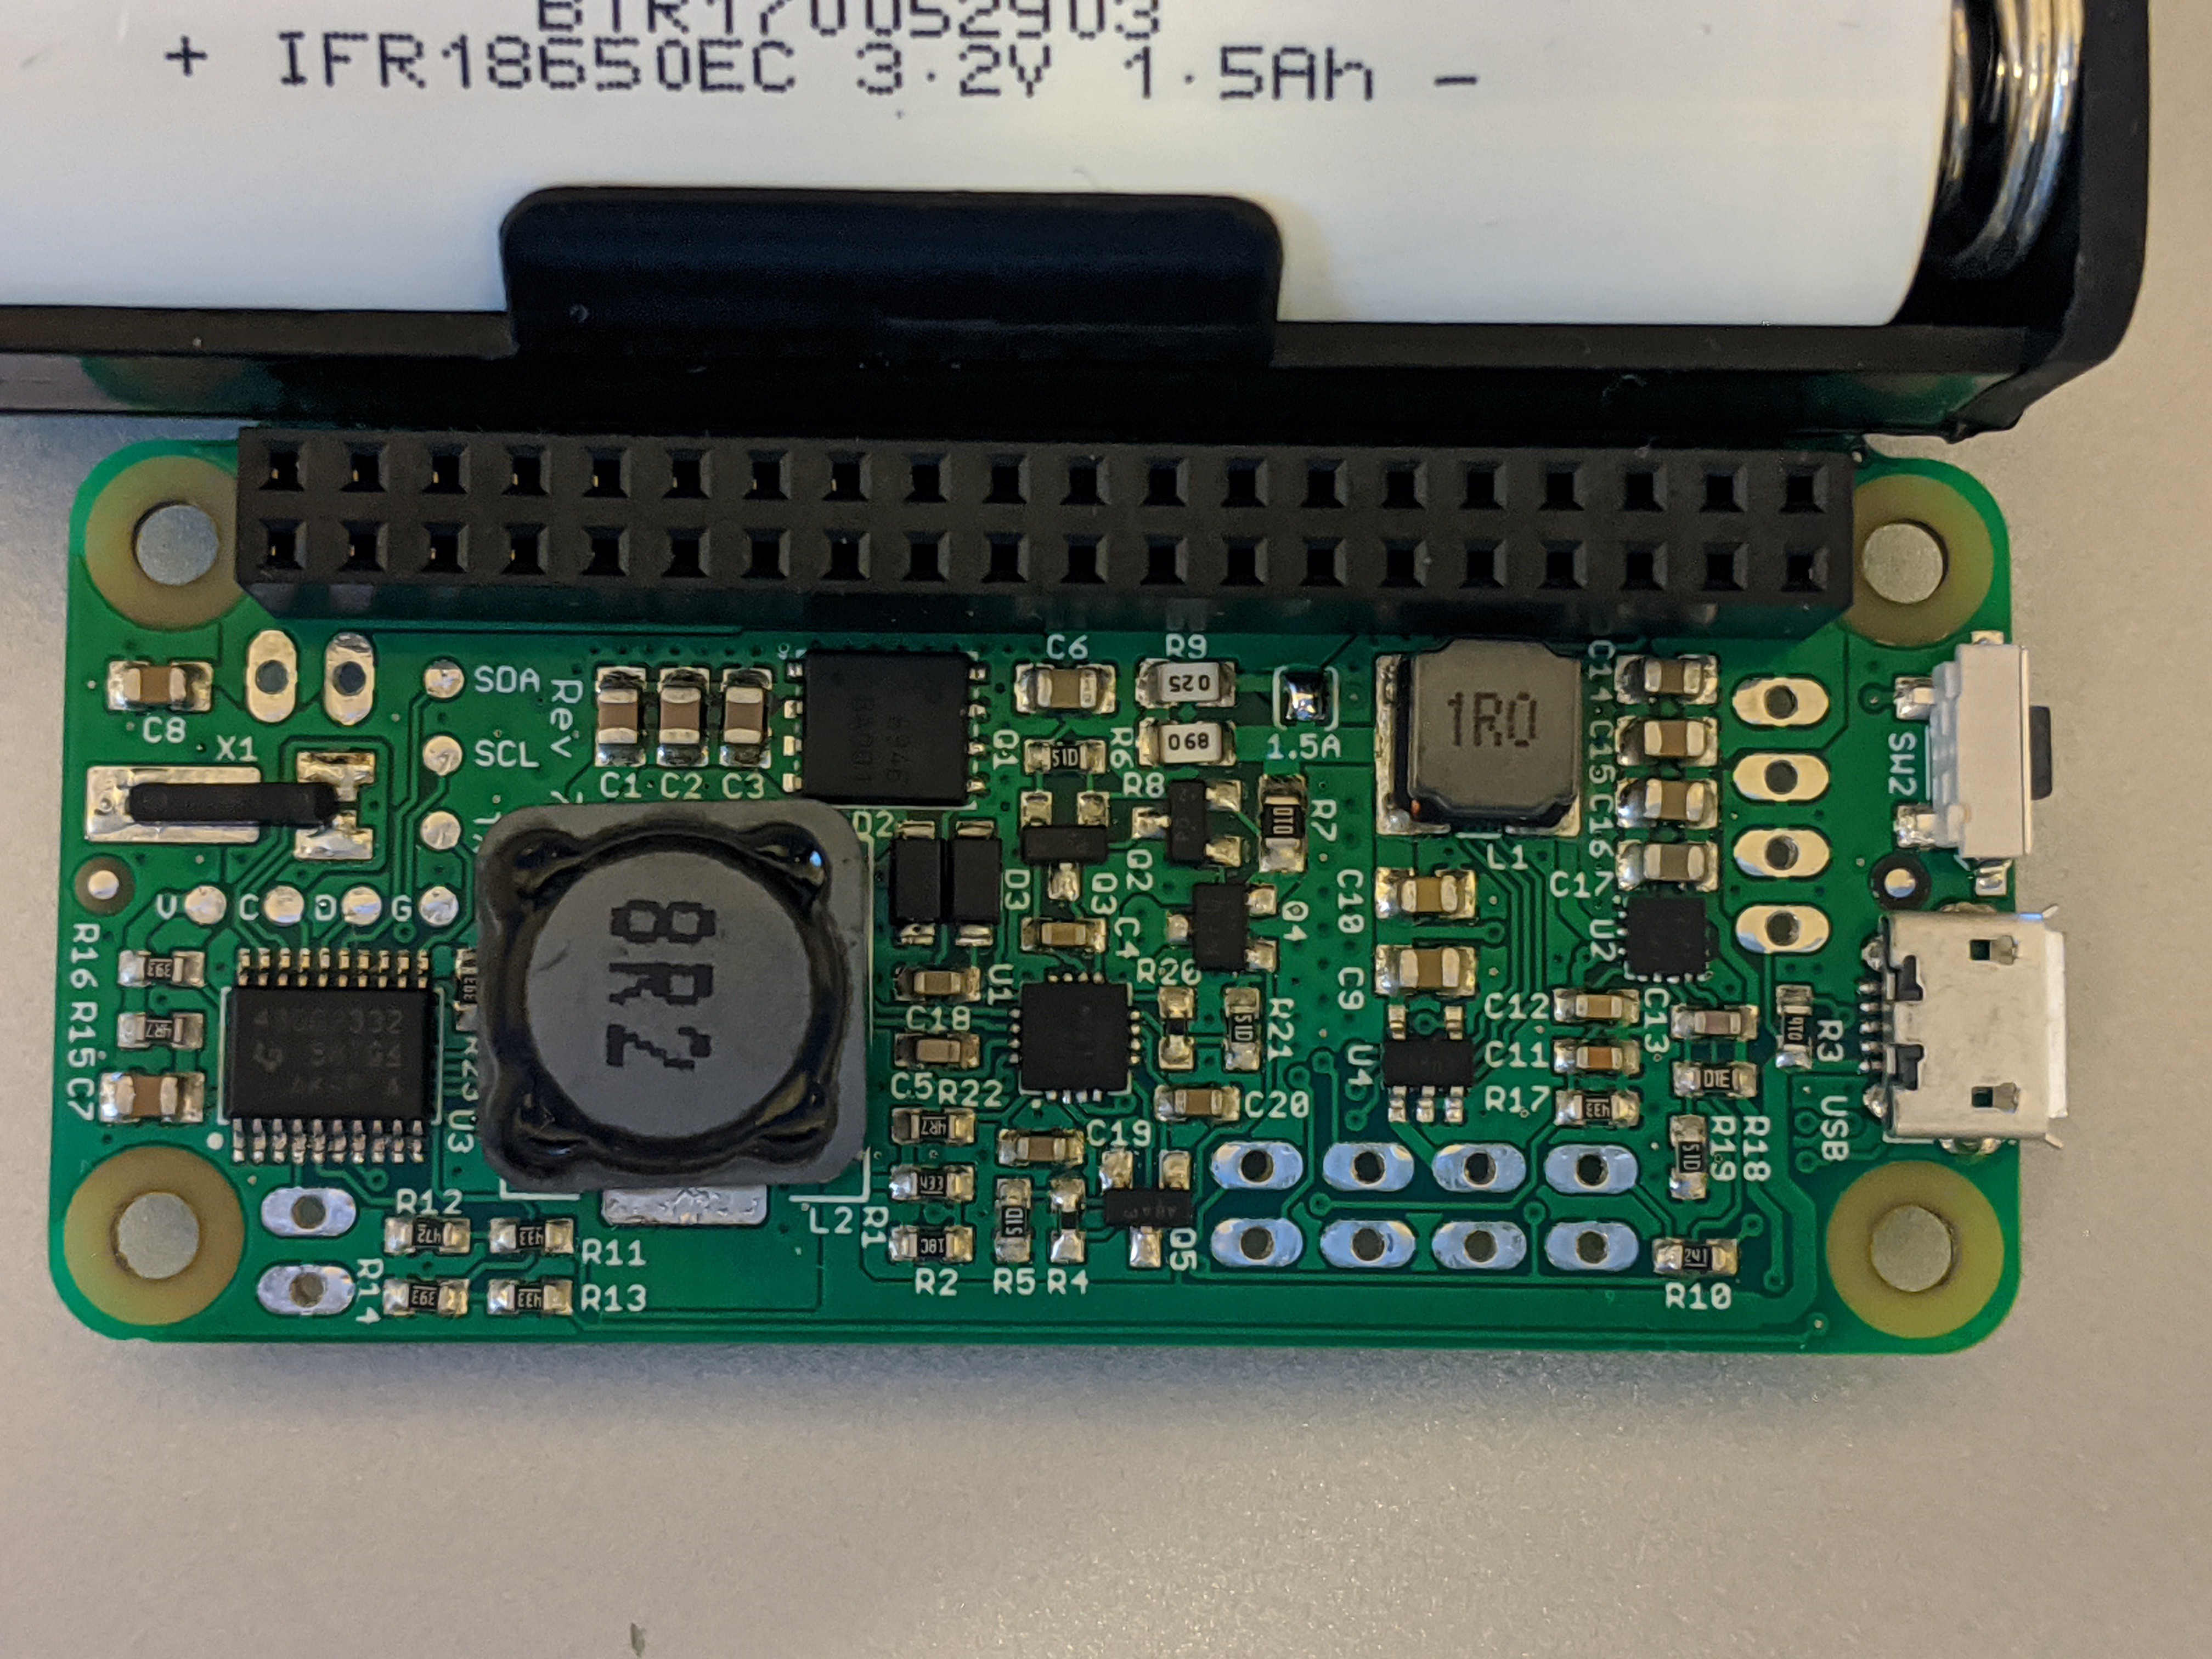
They worked right away!
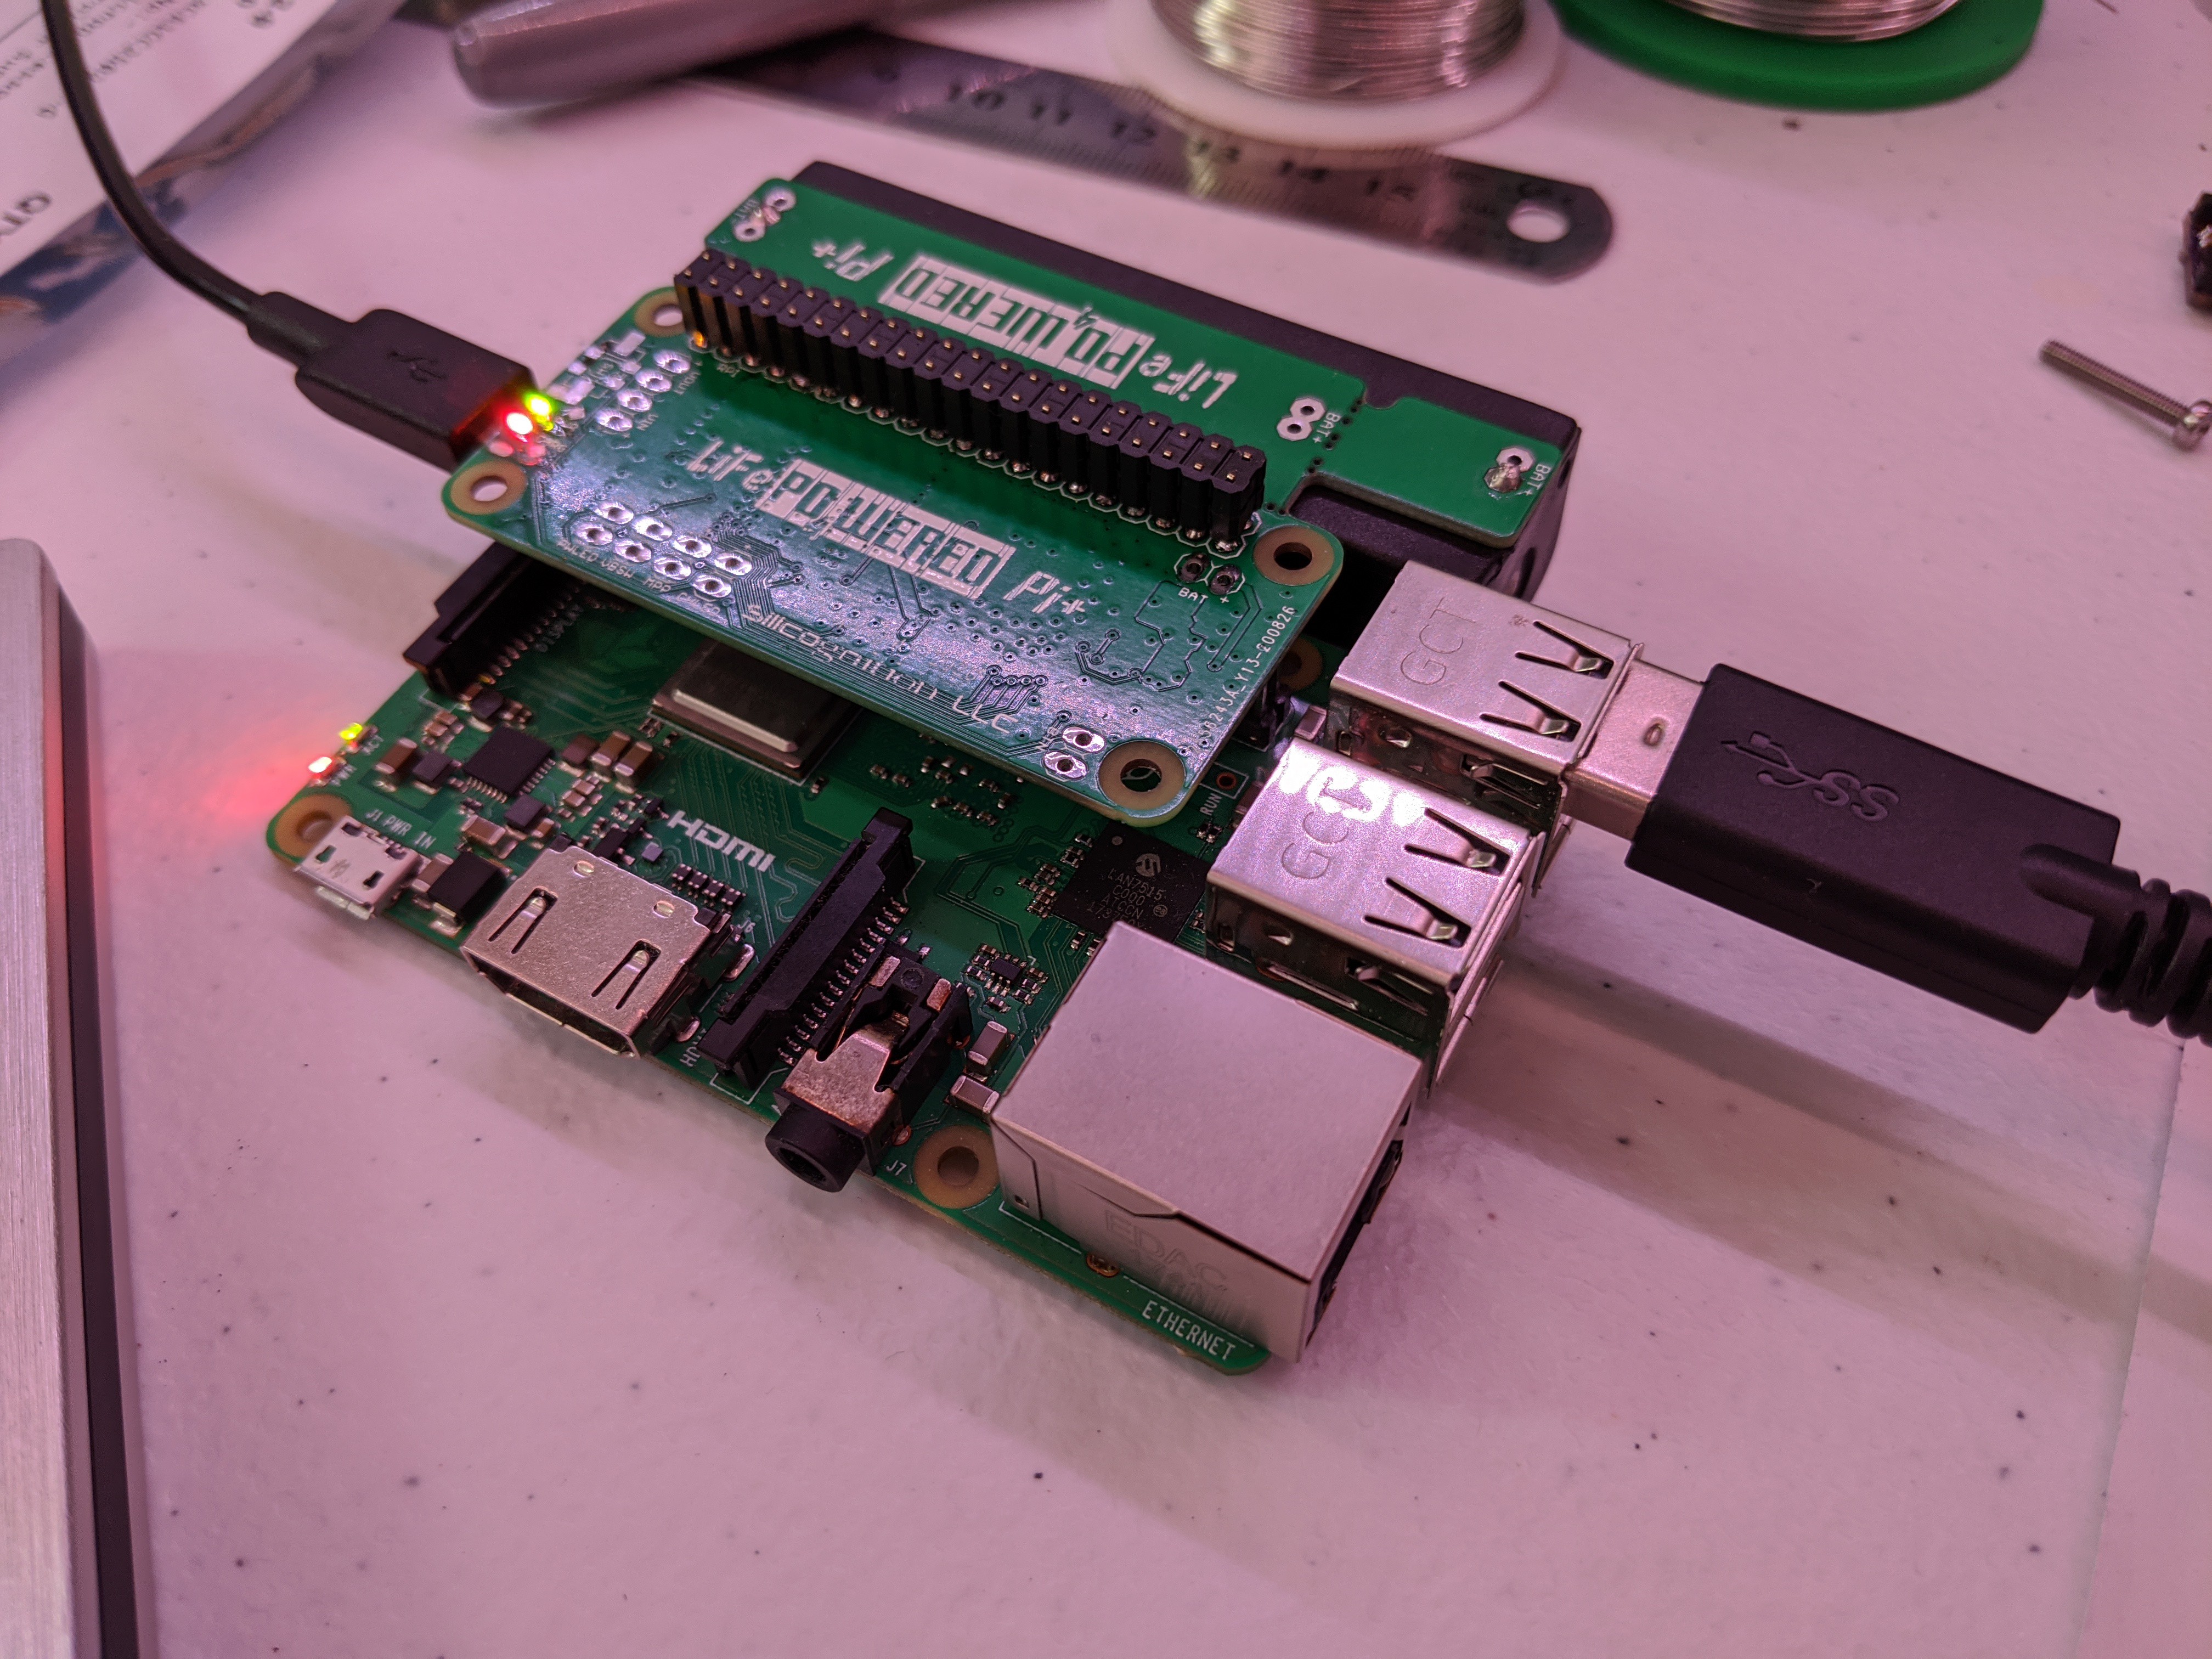
Power down current looks good, still ~4 uA with the same MOSFET disconnect circuitry as before. A prototype with 14500 battery was able to boot a Pi 3B+ from battery power, something that didn't tend to work with the rev 5 design and 14500 battery. Likely the lower current sense resistance makes the difference here. The MPPT feature seems to work and kept the input voltage at 4.69 V when powered from a laptop's USB.
Time to check heat production at higher load. Let's first run it with a Pi under stress test:
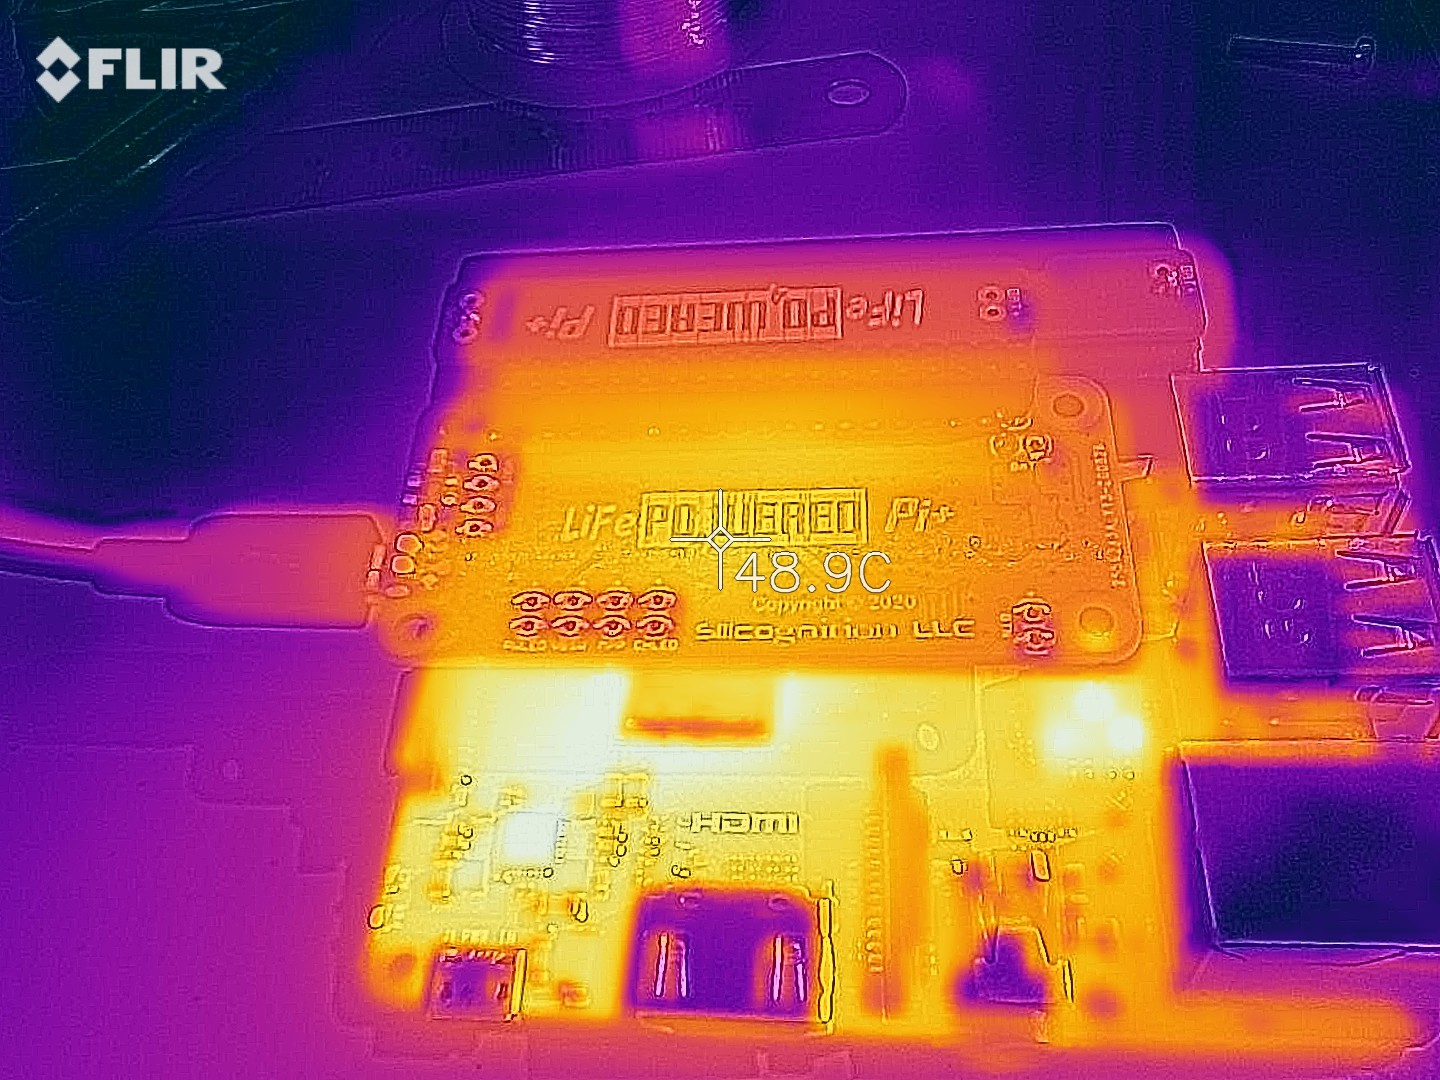
Heat production is minimal, there are no hot spots on the board. Likely the board is mostly heating up from the Pi baking under it. Let's add a little more load in the shape of a USB hard drive:
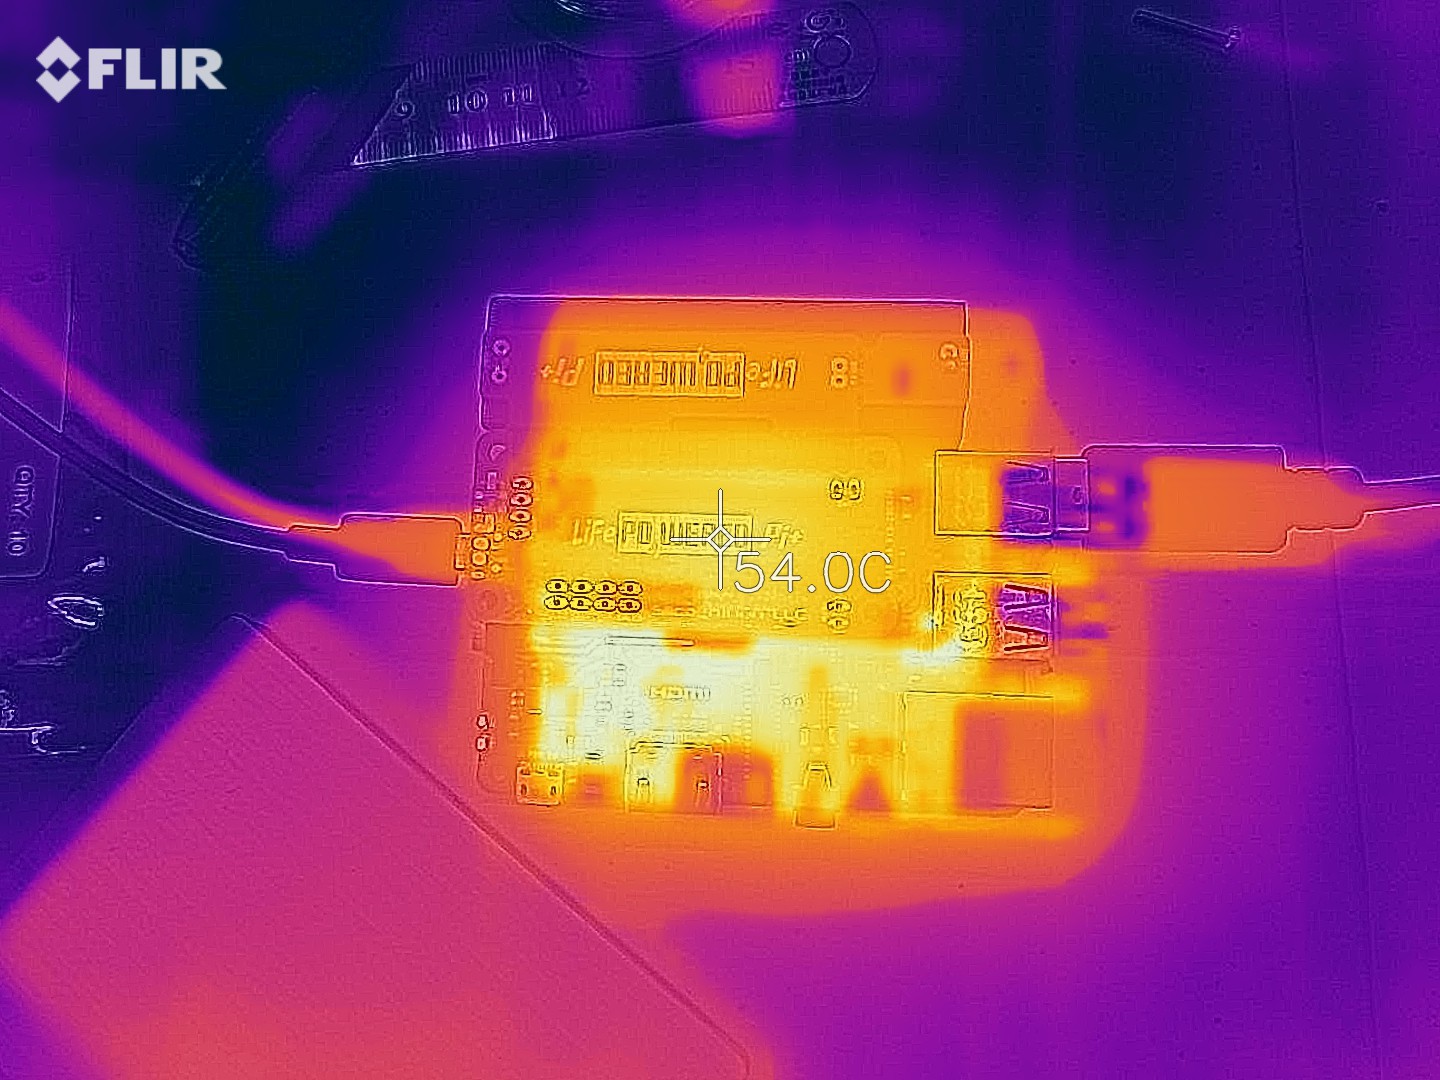
Not much difference. OK, let's take off the Pi and attach my electronic load instead, pulling 2 A:
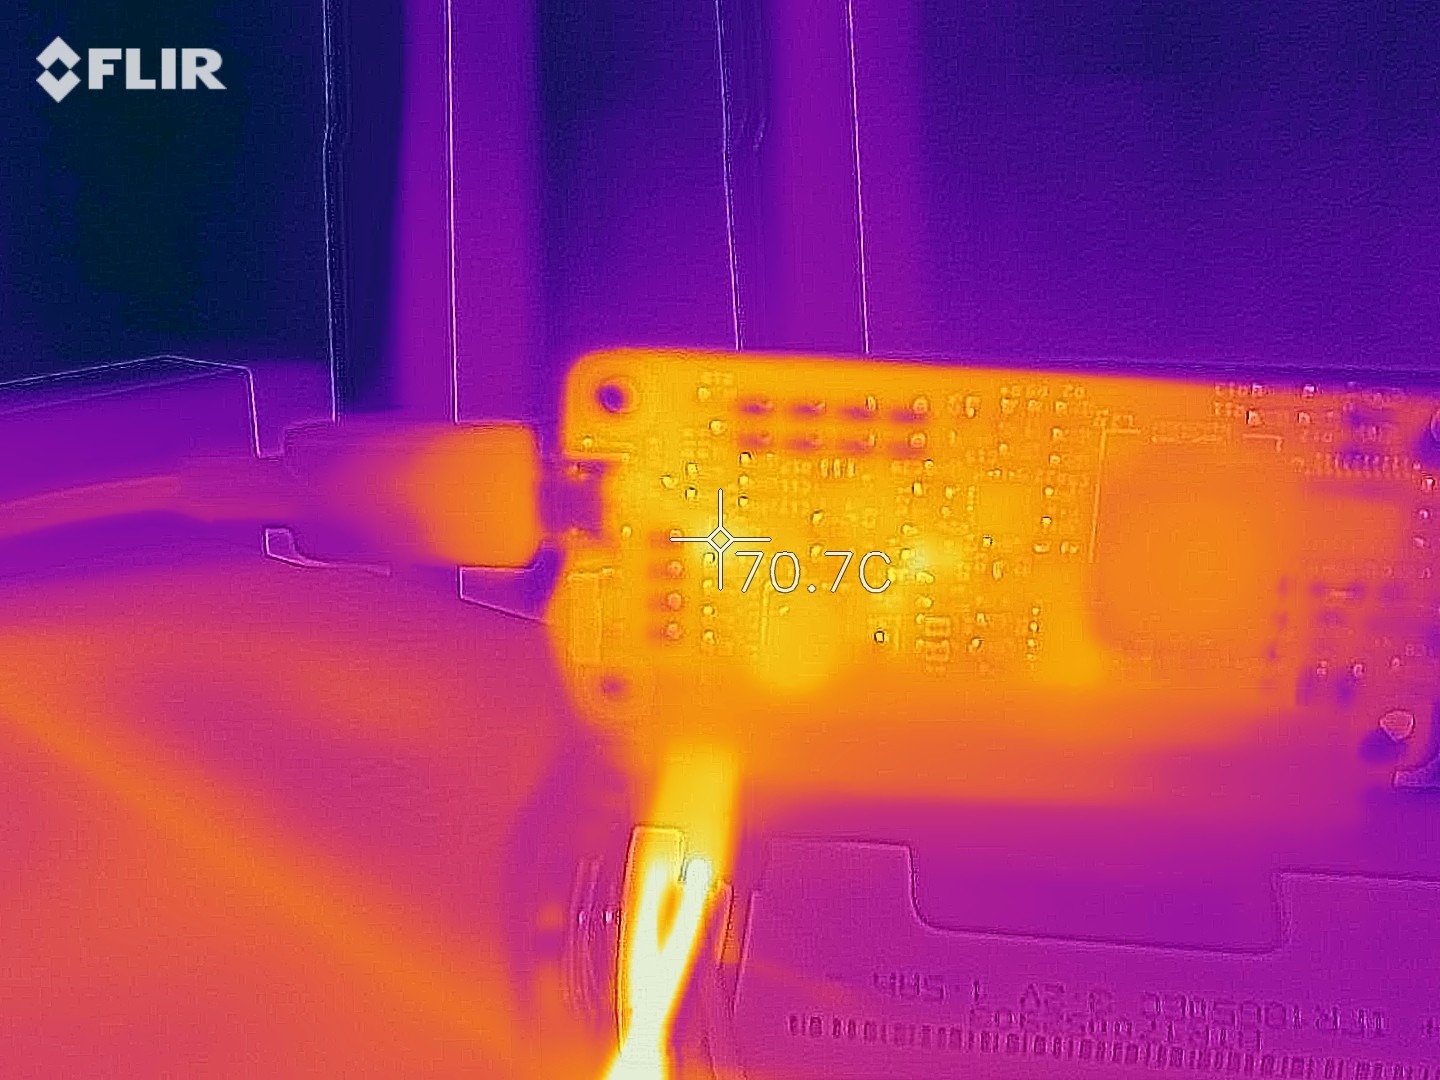
The hottest spot is the TPS61236P boost converter, at 70 °C. There is hardly any heat being produced in the charger section. Compared to the same test done on the asynchronous design, this is a big improvement. This is all done with 5 V input power, if you want to compare. The boost converter is cooler, 70 °C vs 85 °C before, likely because with the asynchronous converter the board was just hotter overall.
Let's push the current up to 2.5 A:
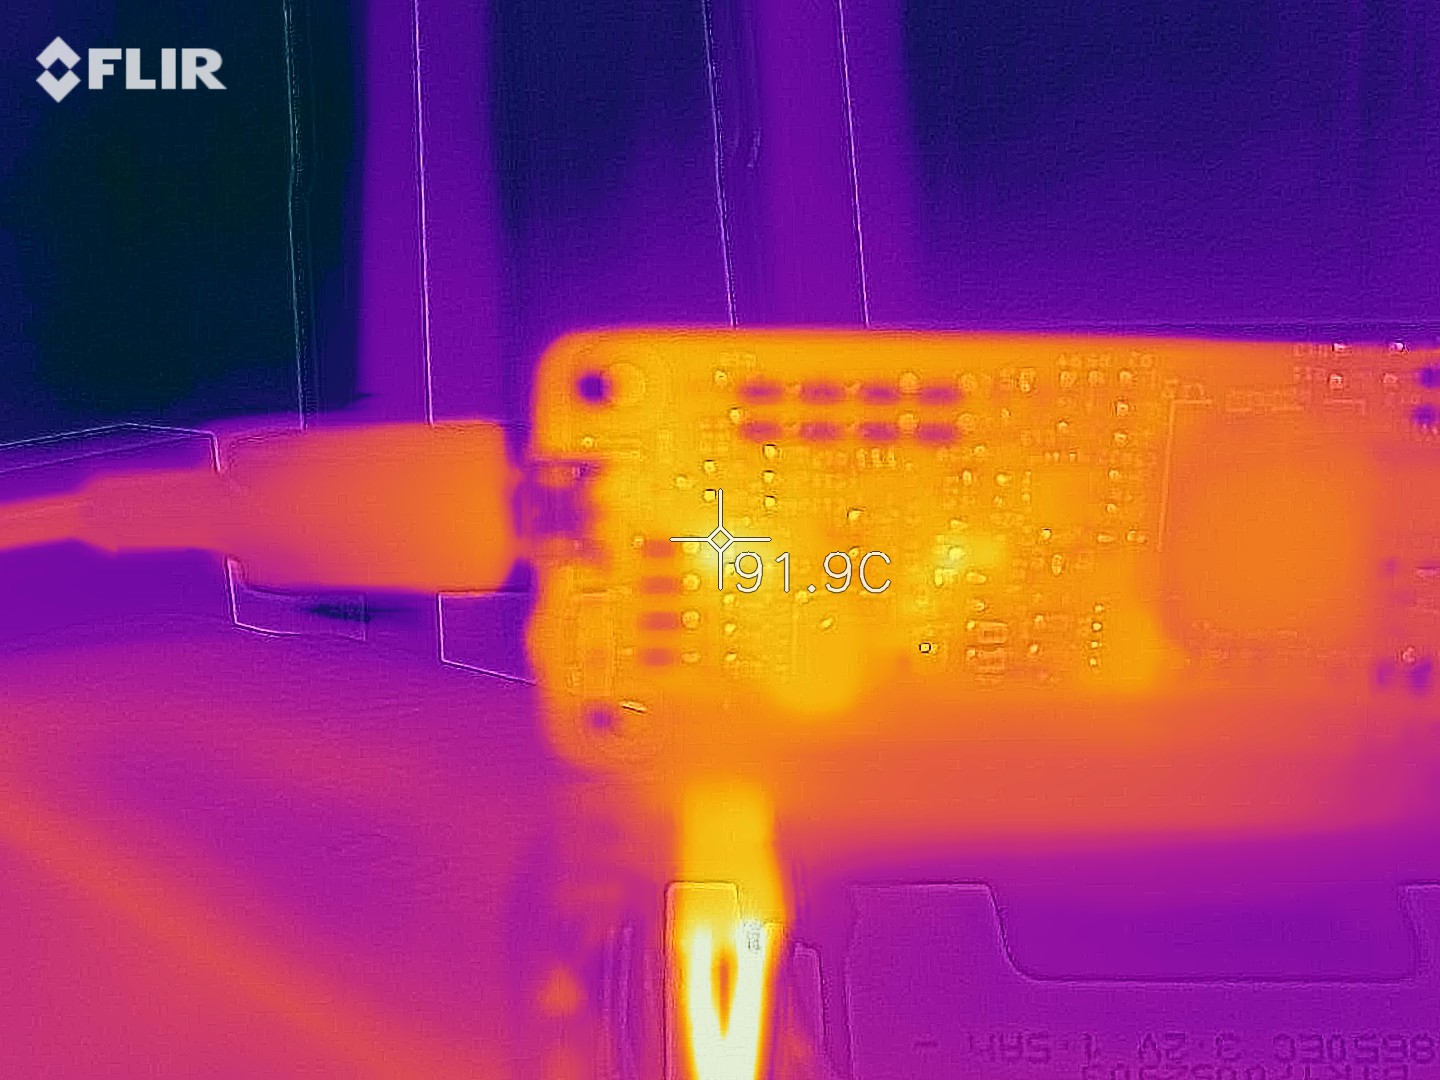
This load is not in spec (2 A is the specified max), but the board handles it, and no hot spots in the charger section. Notice the load wires in the front glowing though. I should know better than to pull this kind of current through some cheap Dupont wires. I stopped the test when the wires started to smoke. :)
I have not noticed any downsides with this change yet (except somewhat higher cost), so things are looking good for this change. But there's still a bunch of testing to do before I pull the trigger on it. The next test up is high load current with high input voltage. This scenario would produce the highest amount of heat in the asynchronous design, let's see how it does with this new synchronous design.
 Patrick Van Oosterwijck
Discussions
Become a Hackaday.io Member
Create an account to leave a comment. Already have an account? Log In.