 Scott Clandinin
Now that the general enclosure/scale was complete, the next step is building the inputs/outputs into the design, and soldering it all up.
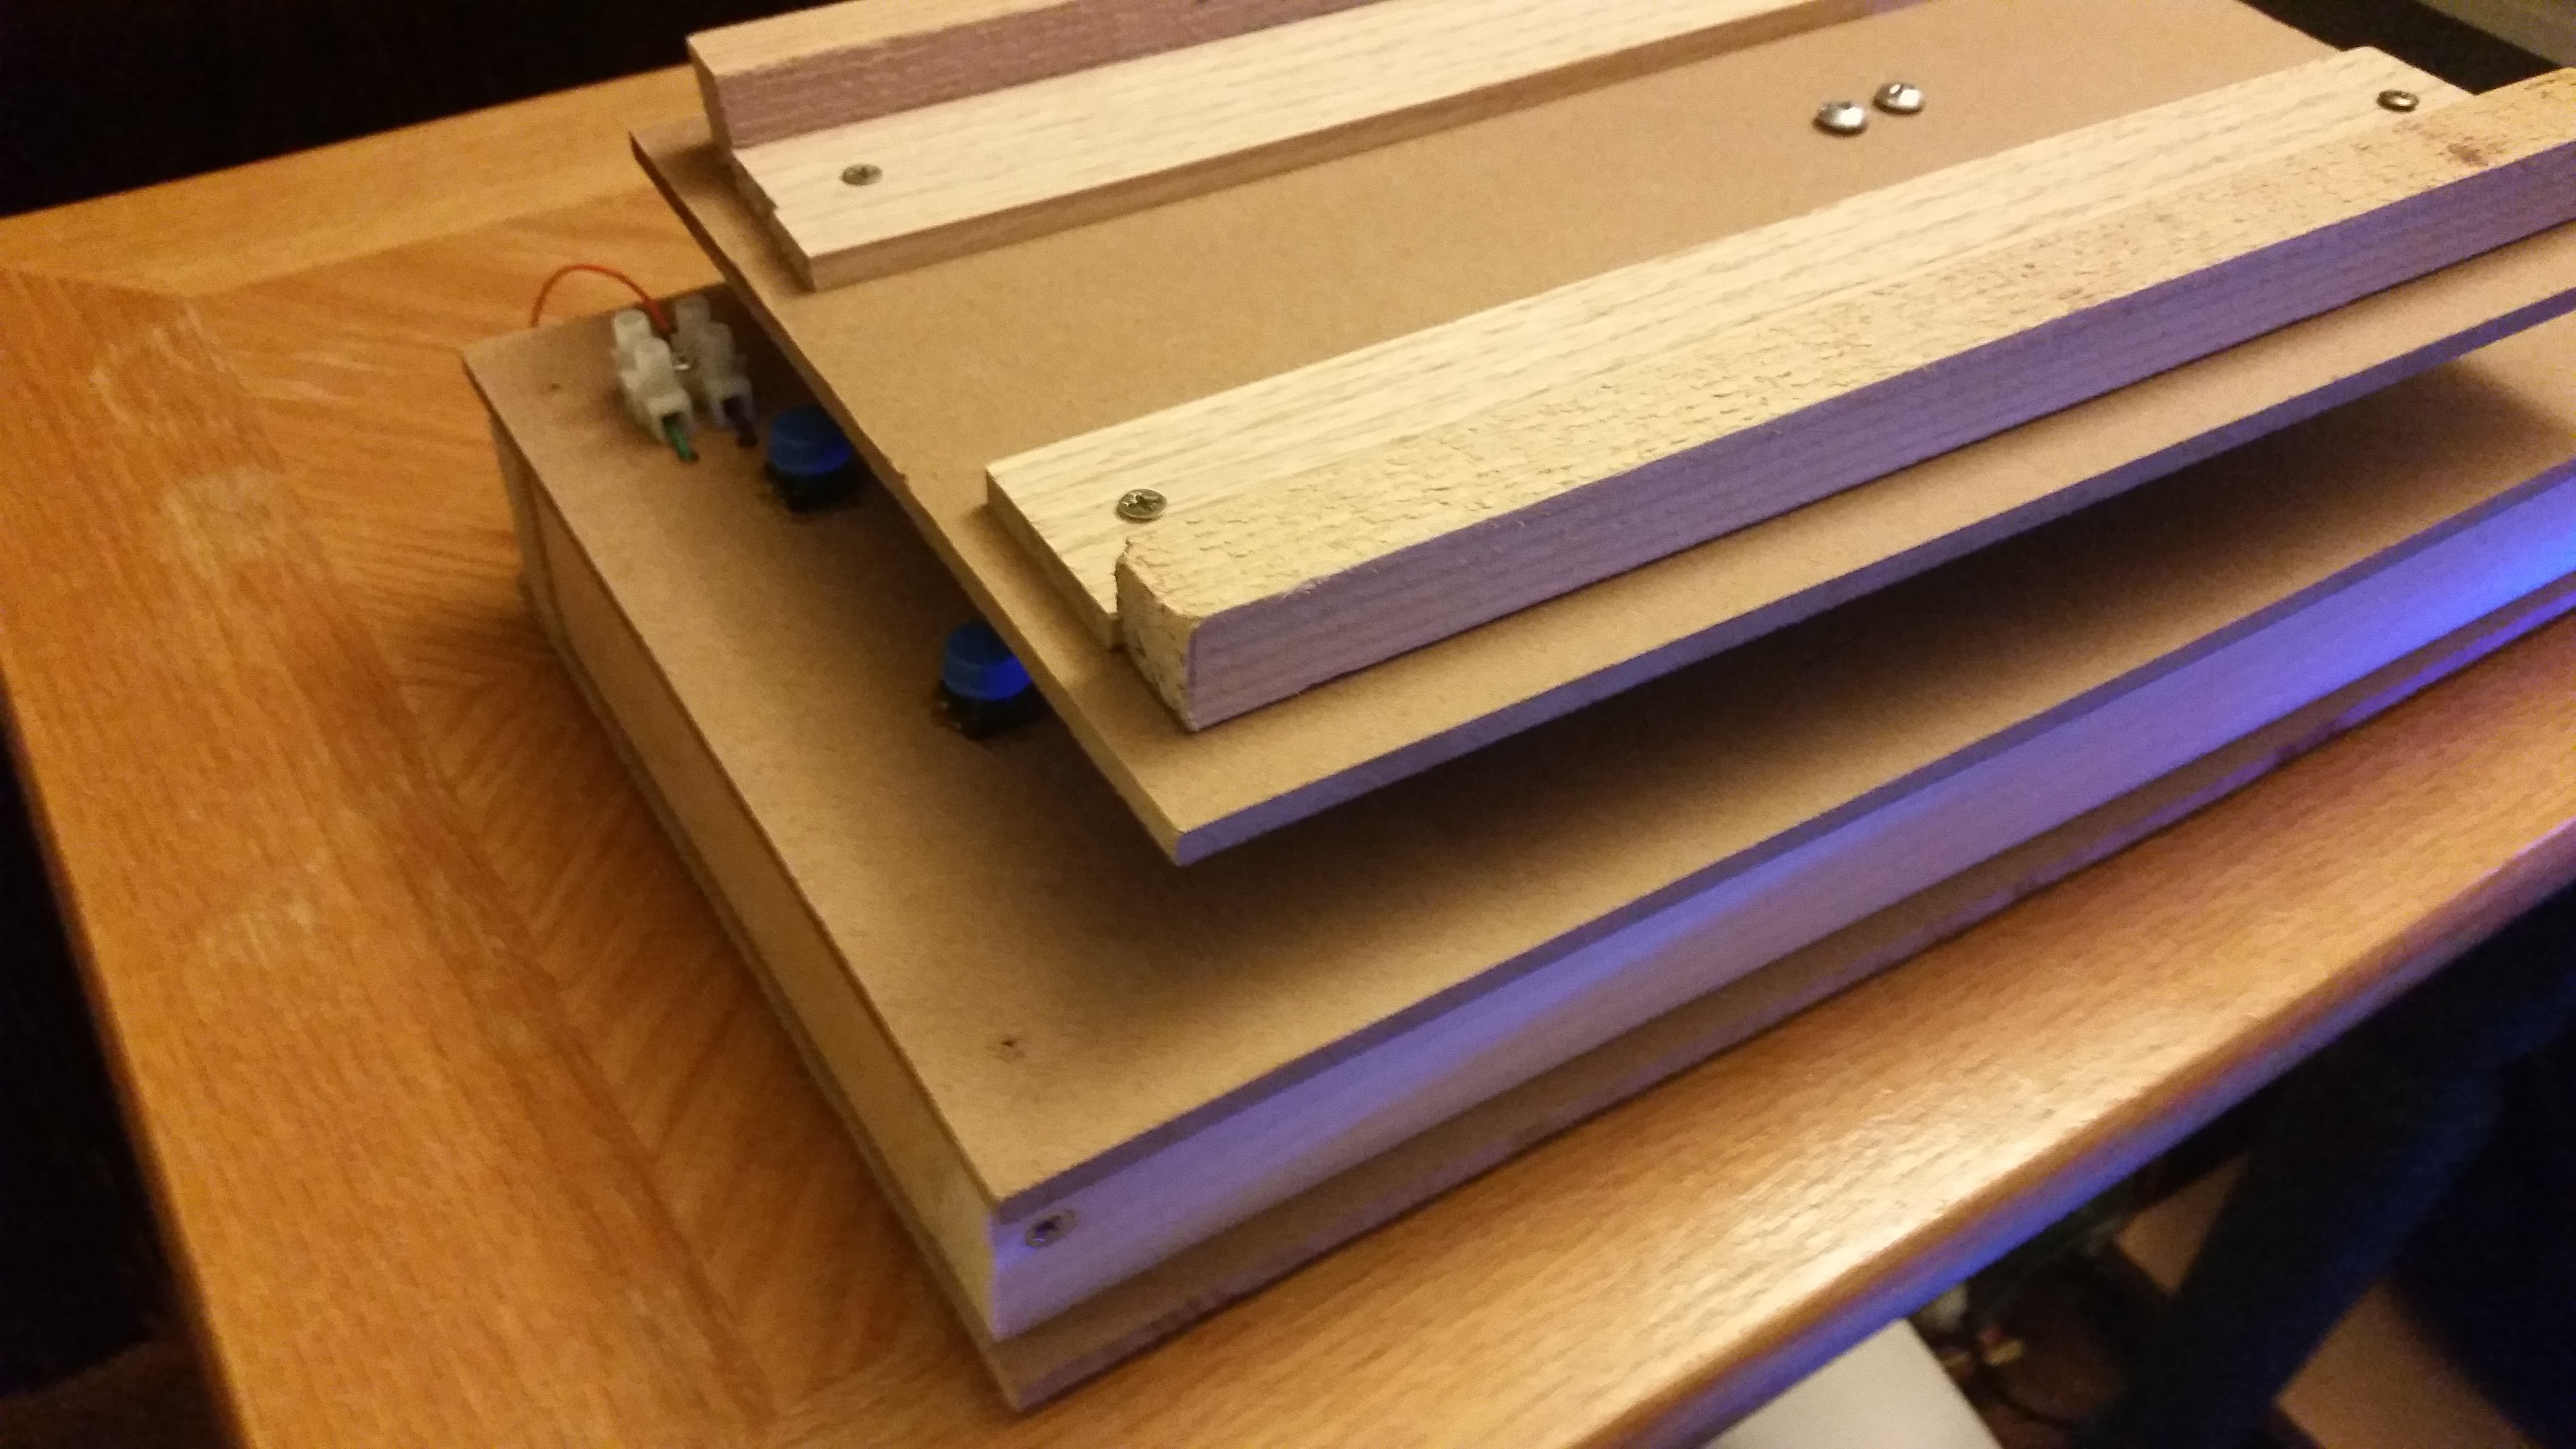
The two buttons are for calibrating the empty and full water reservoir weights. I chose to semi-hide these to limit the chance of accidentally resetting calibration. The screw terminal is for connecting and disconnecting the mask hanger signal (the jumper was to simulate button press).
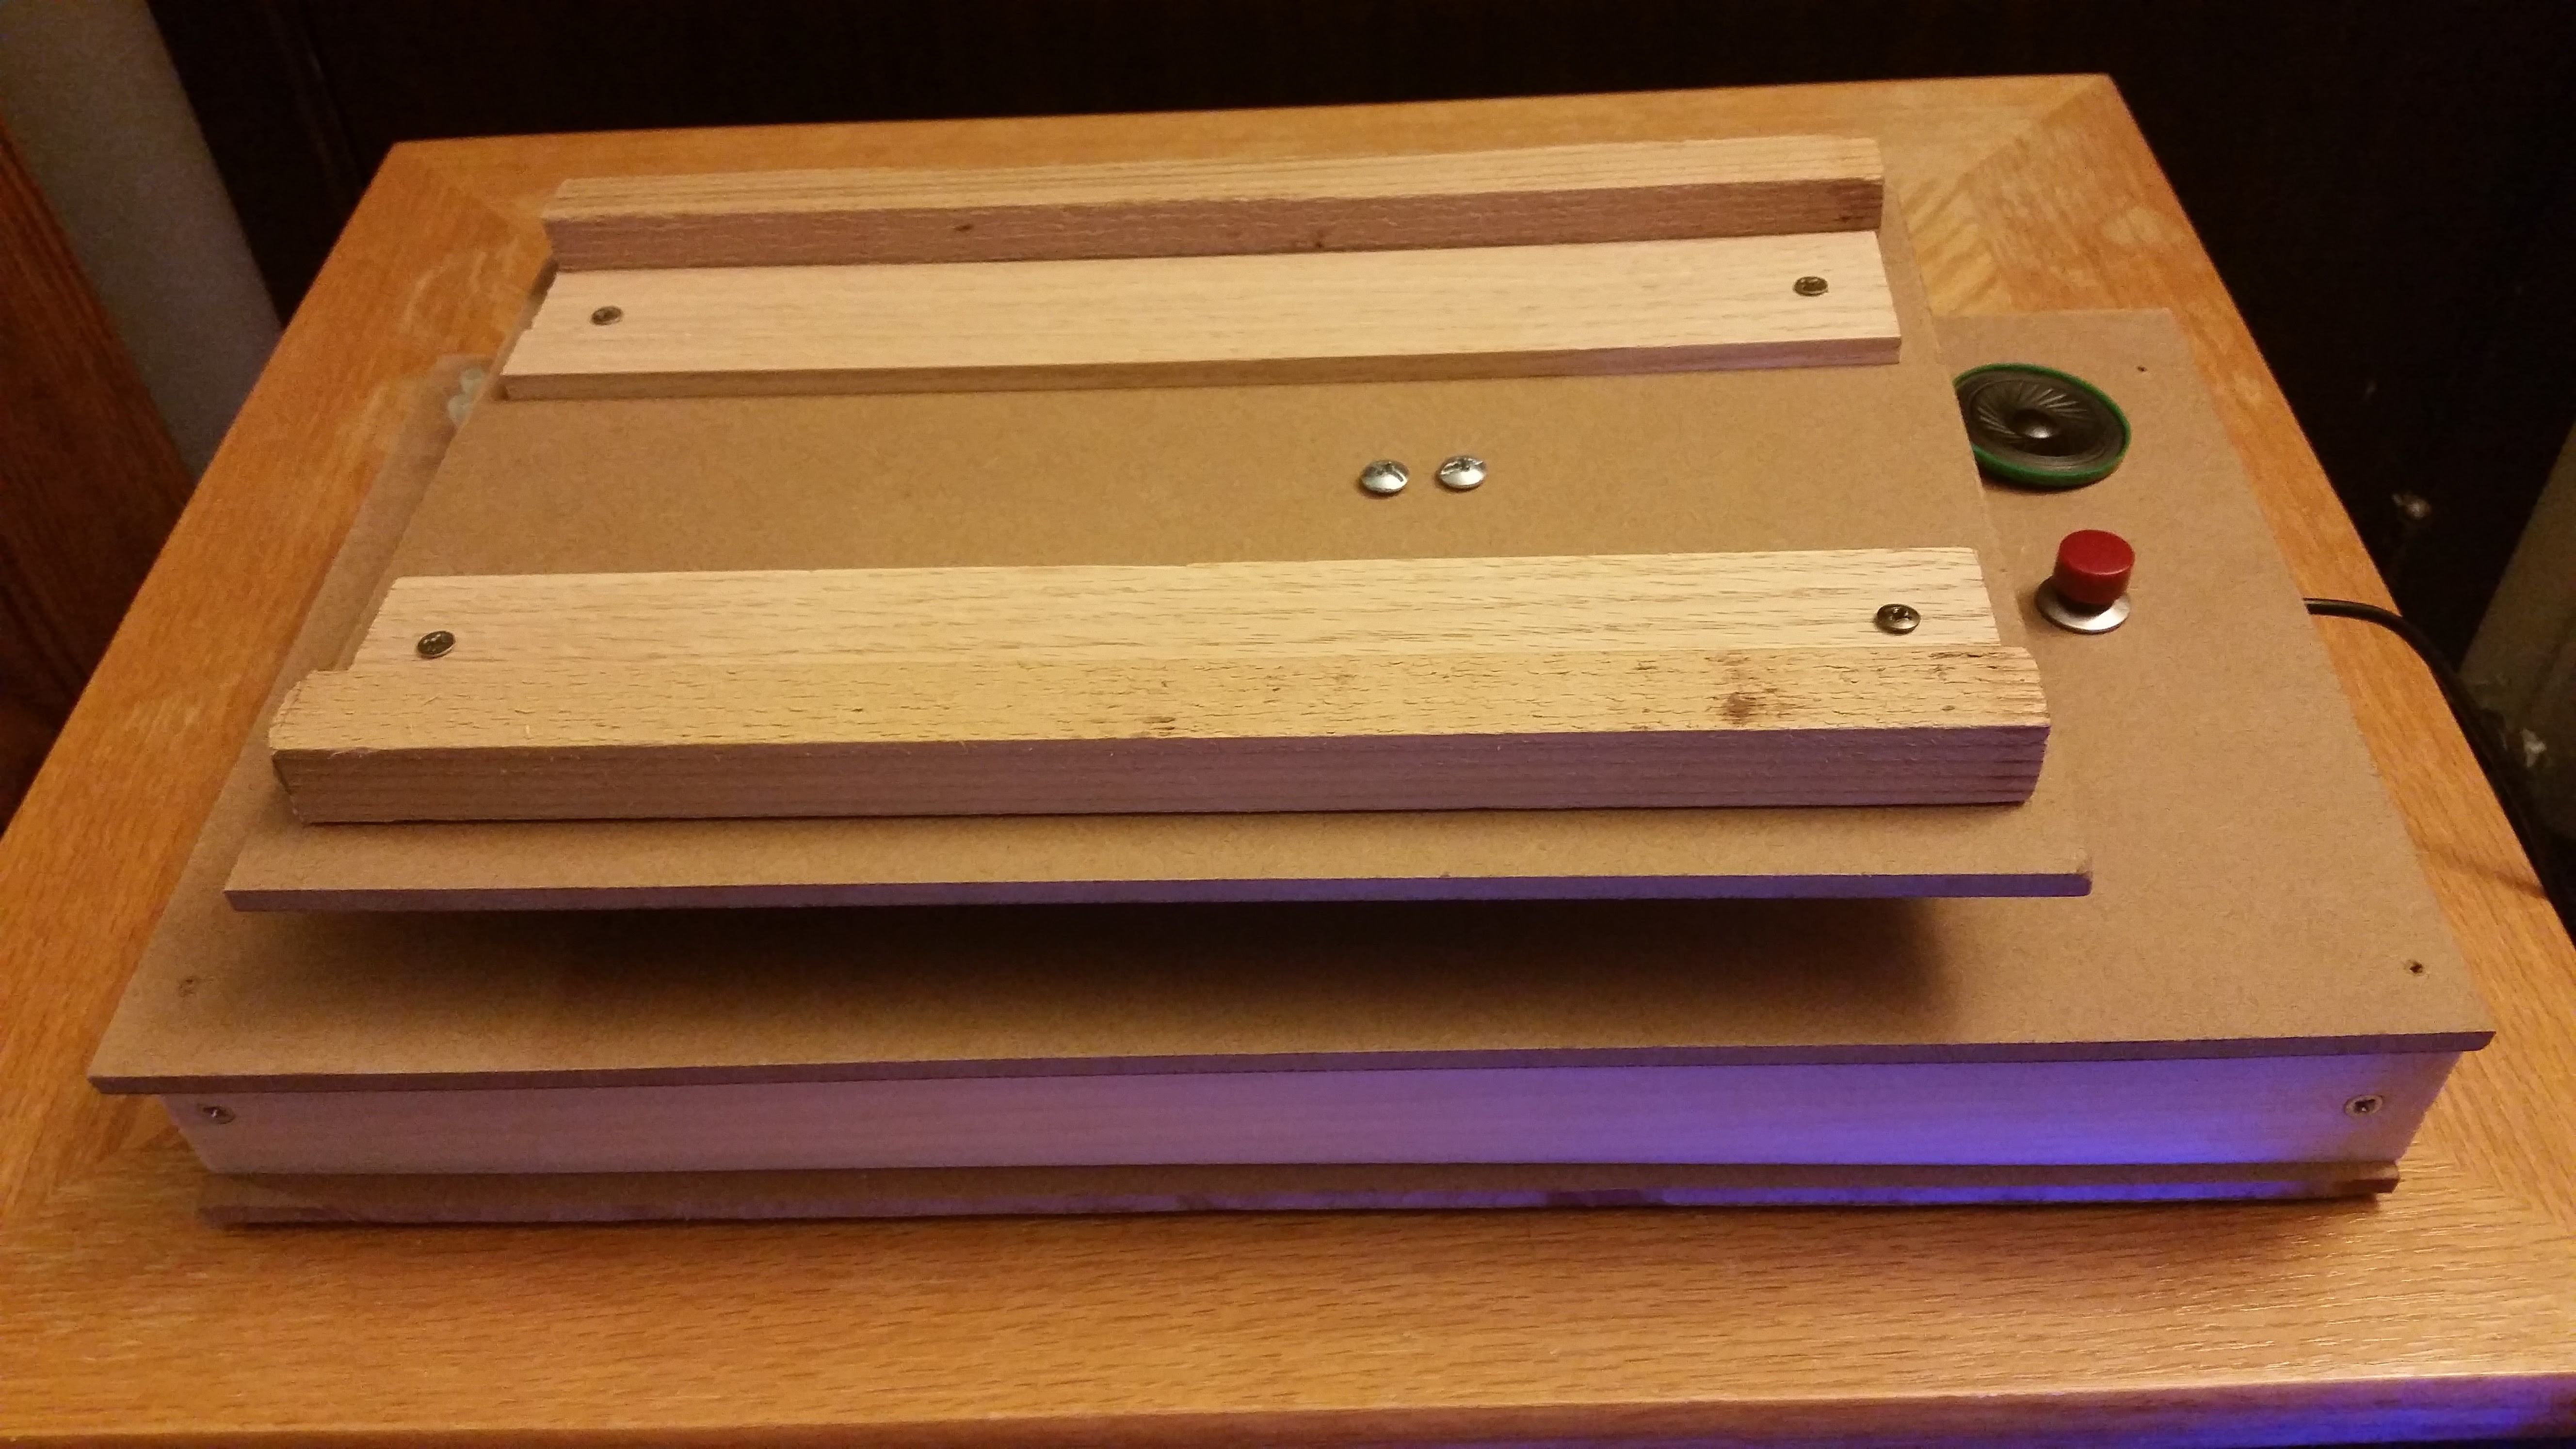
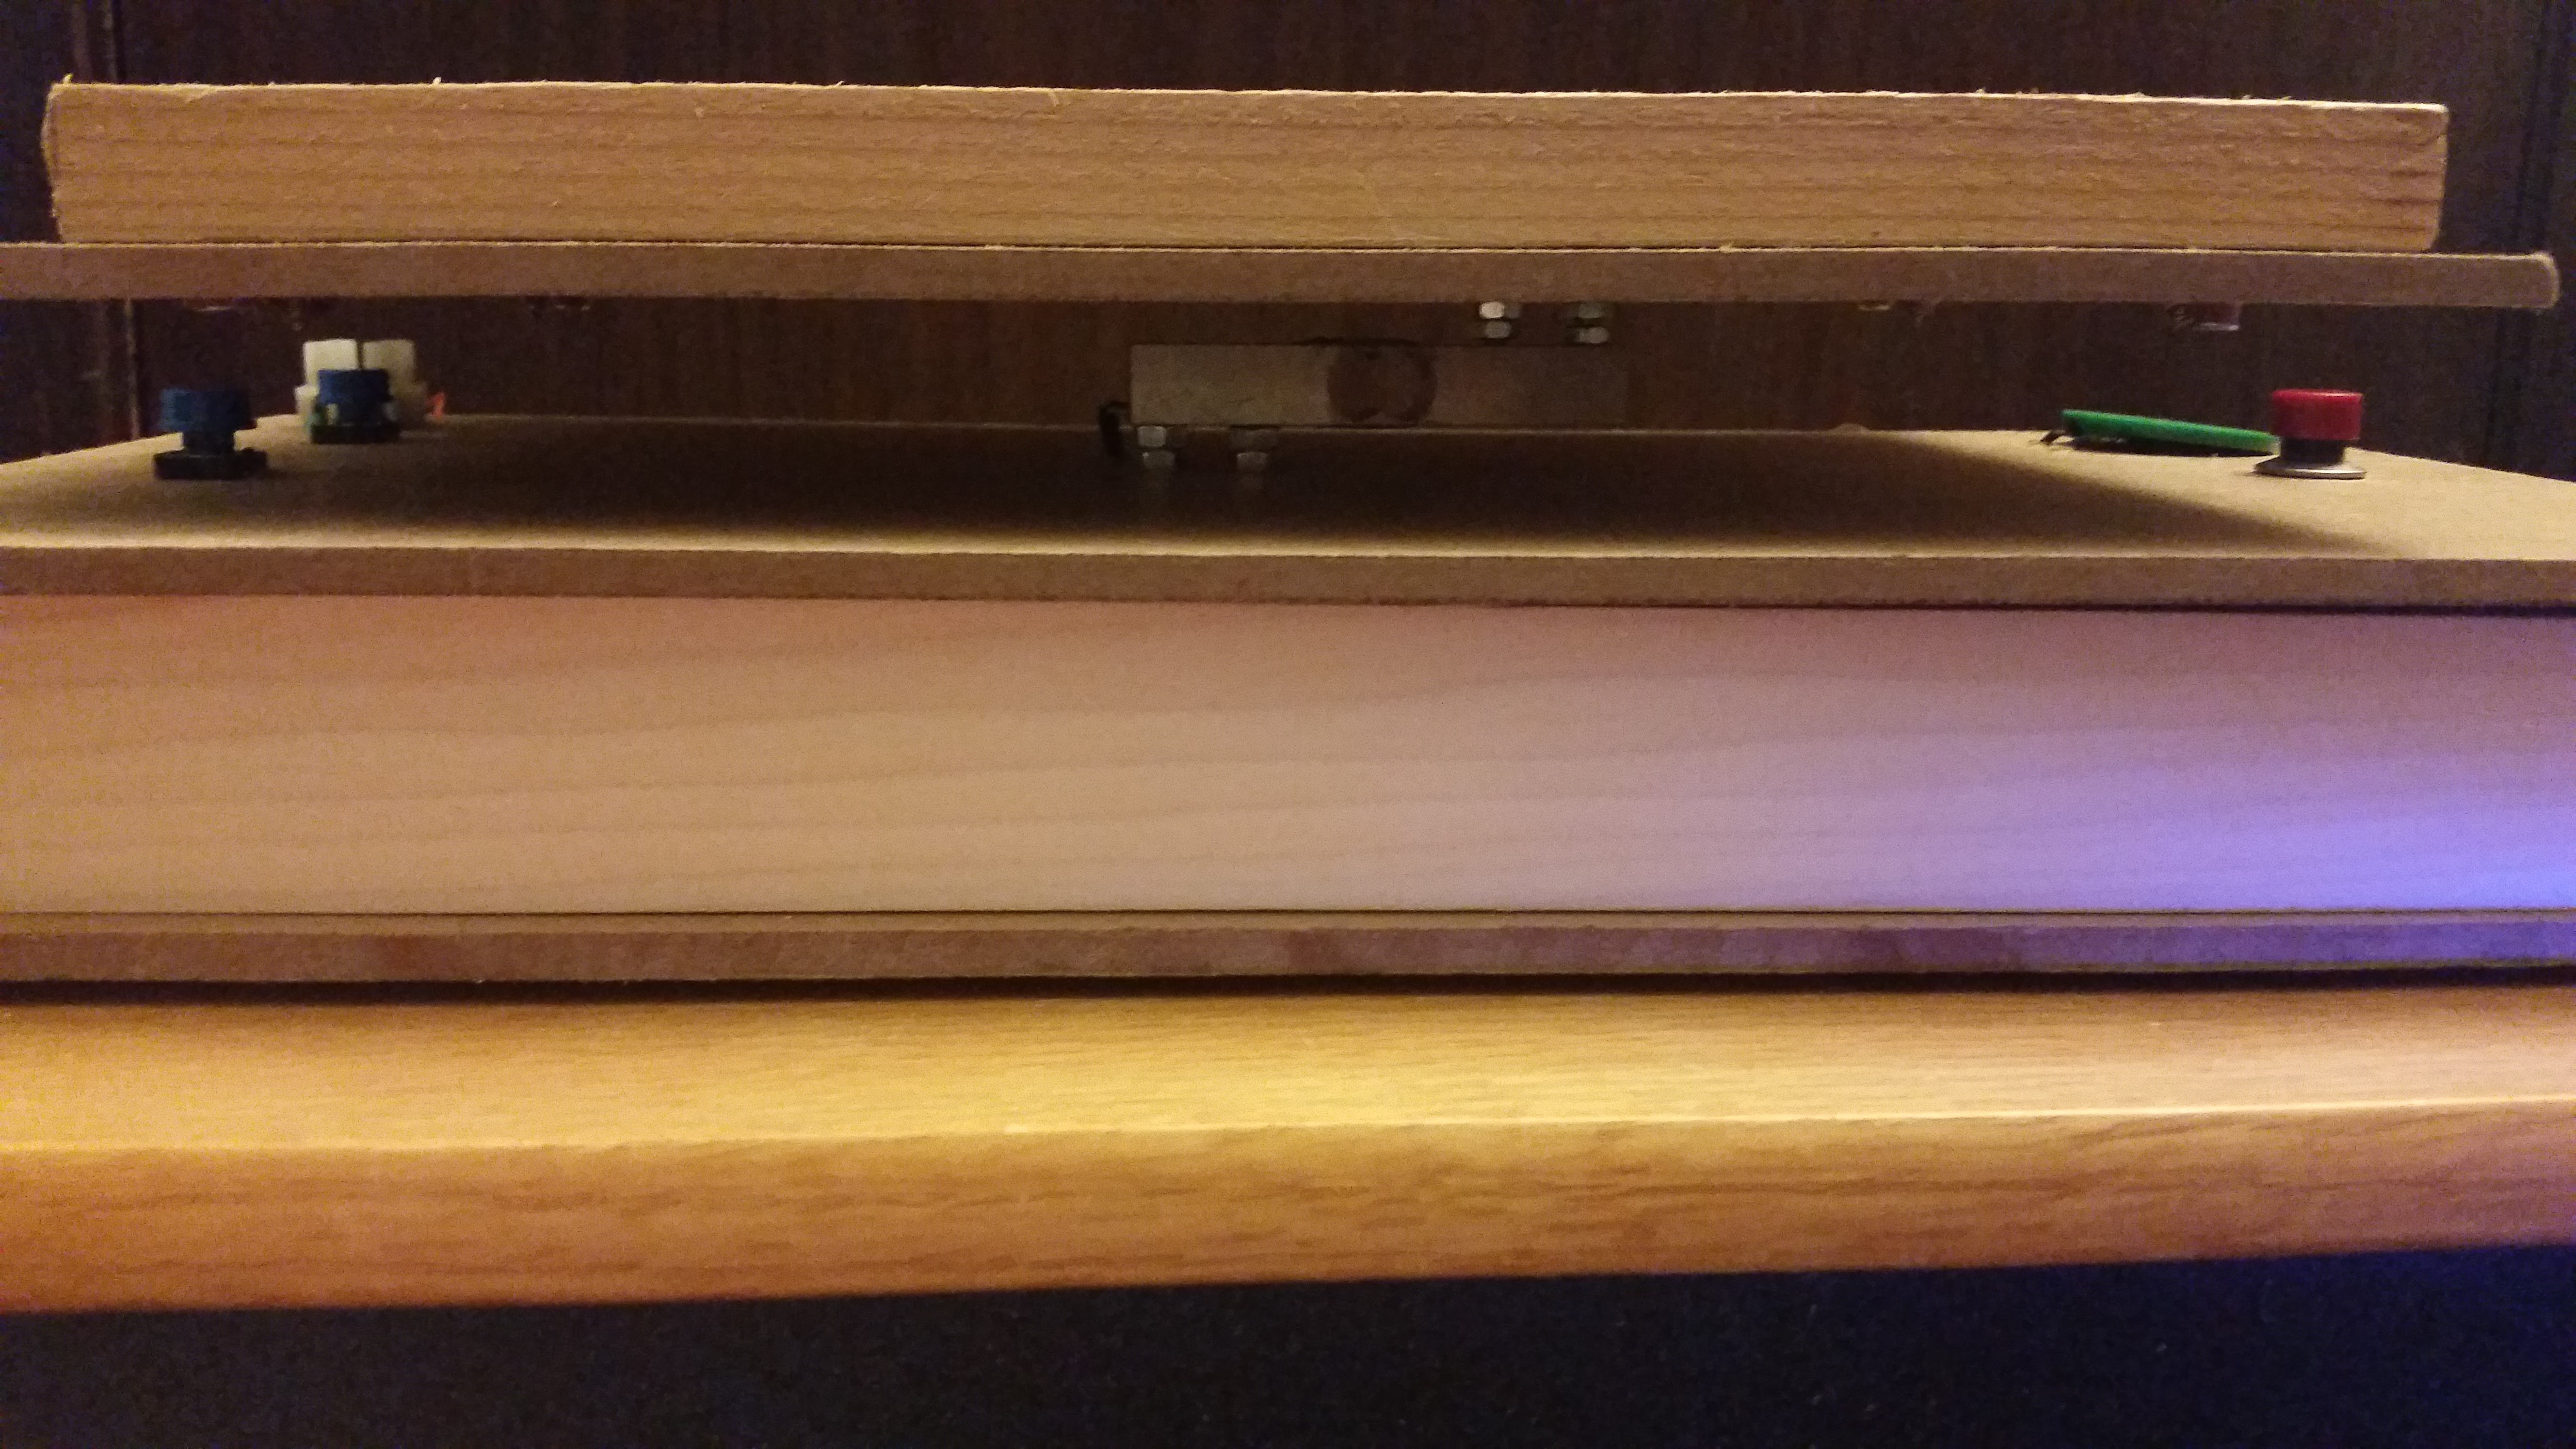
The rails on the top were an afterthought to ensure that the CPAP machine would not move around and would be level.
Soldering
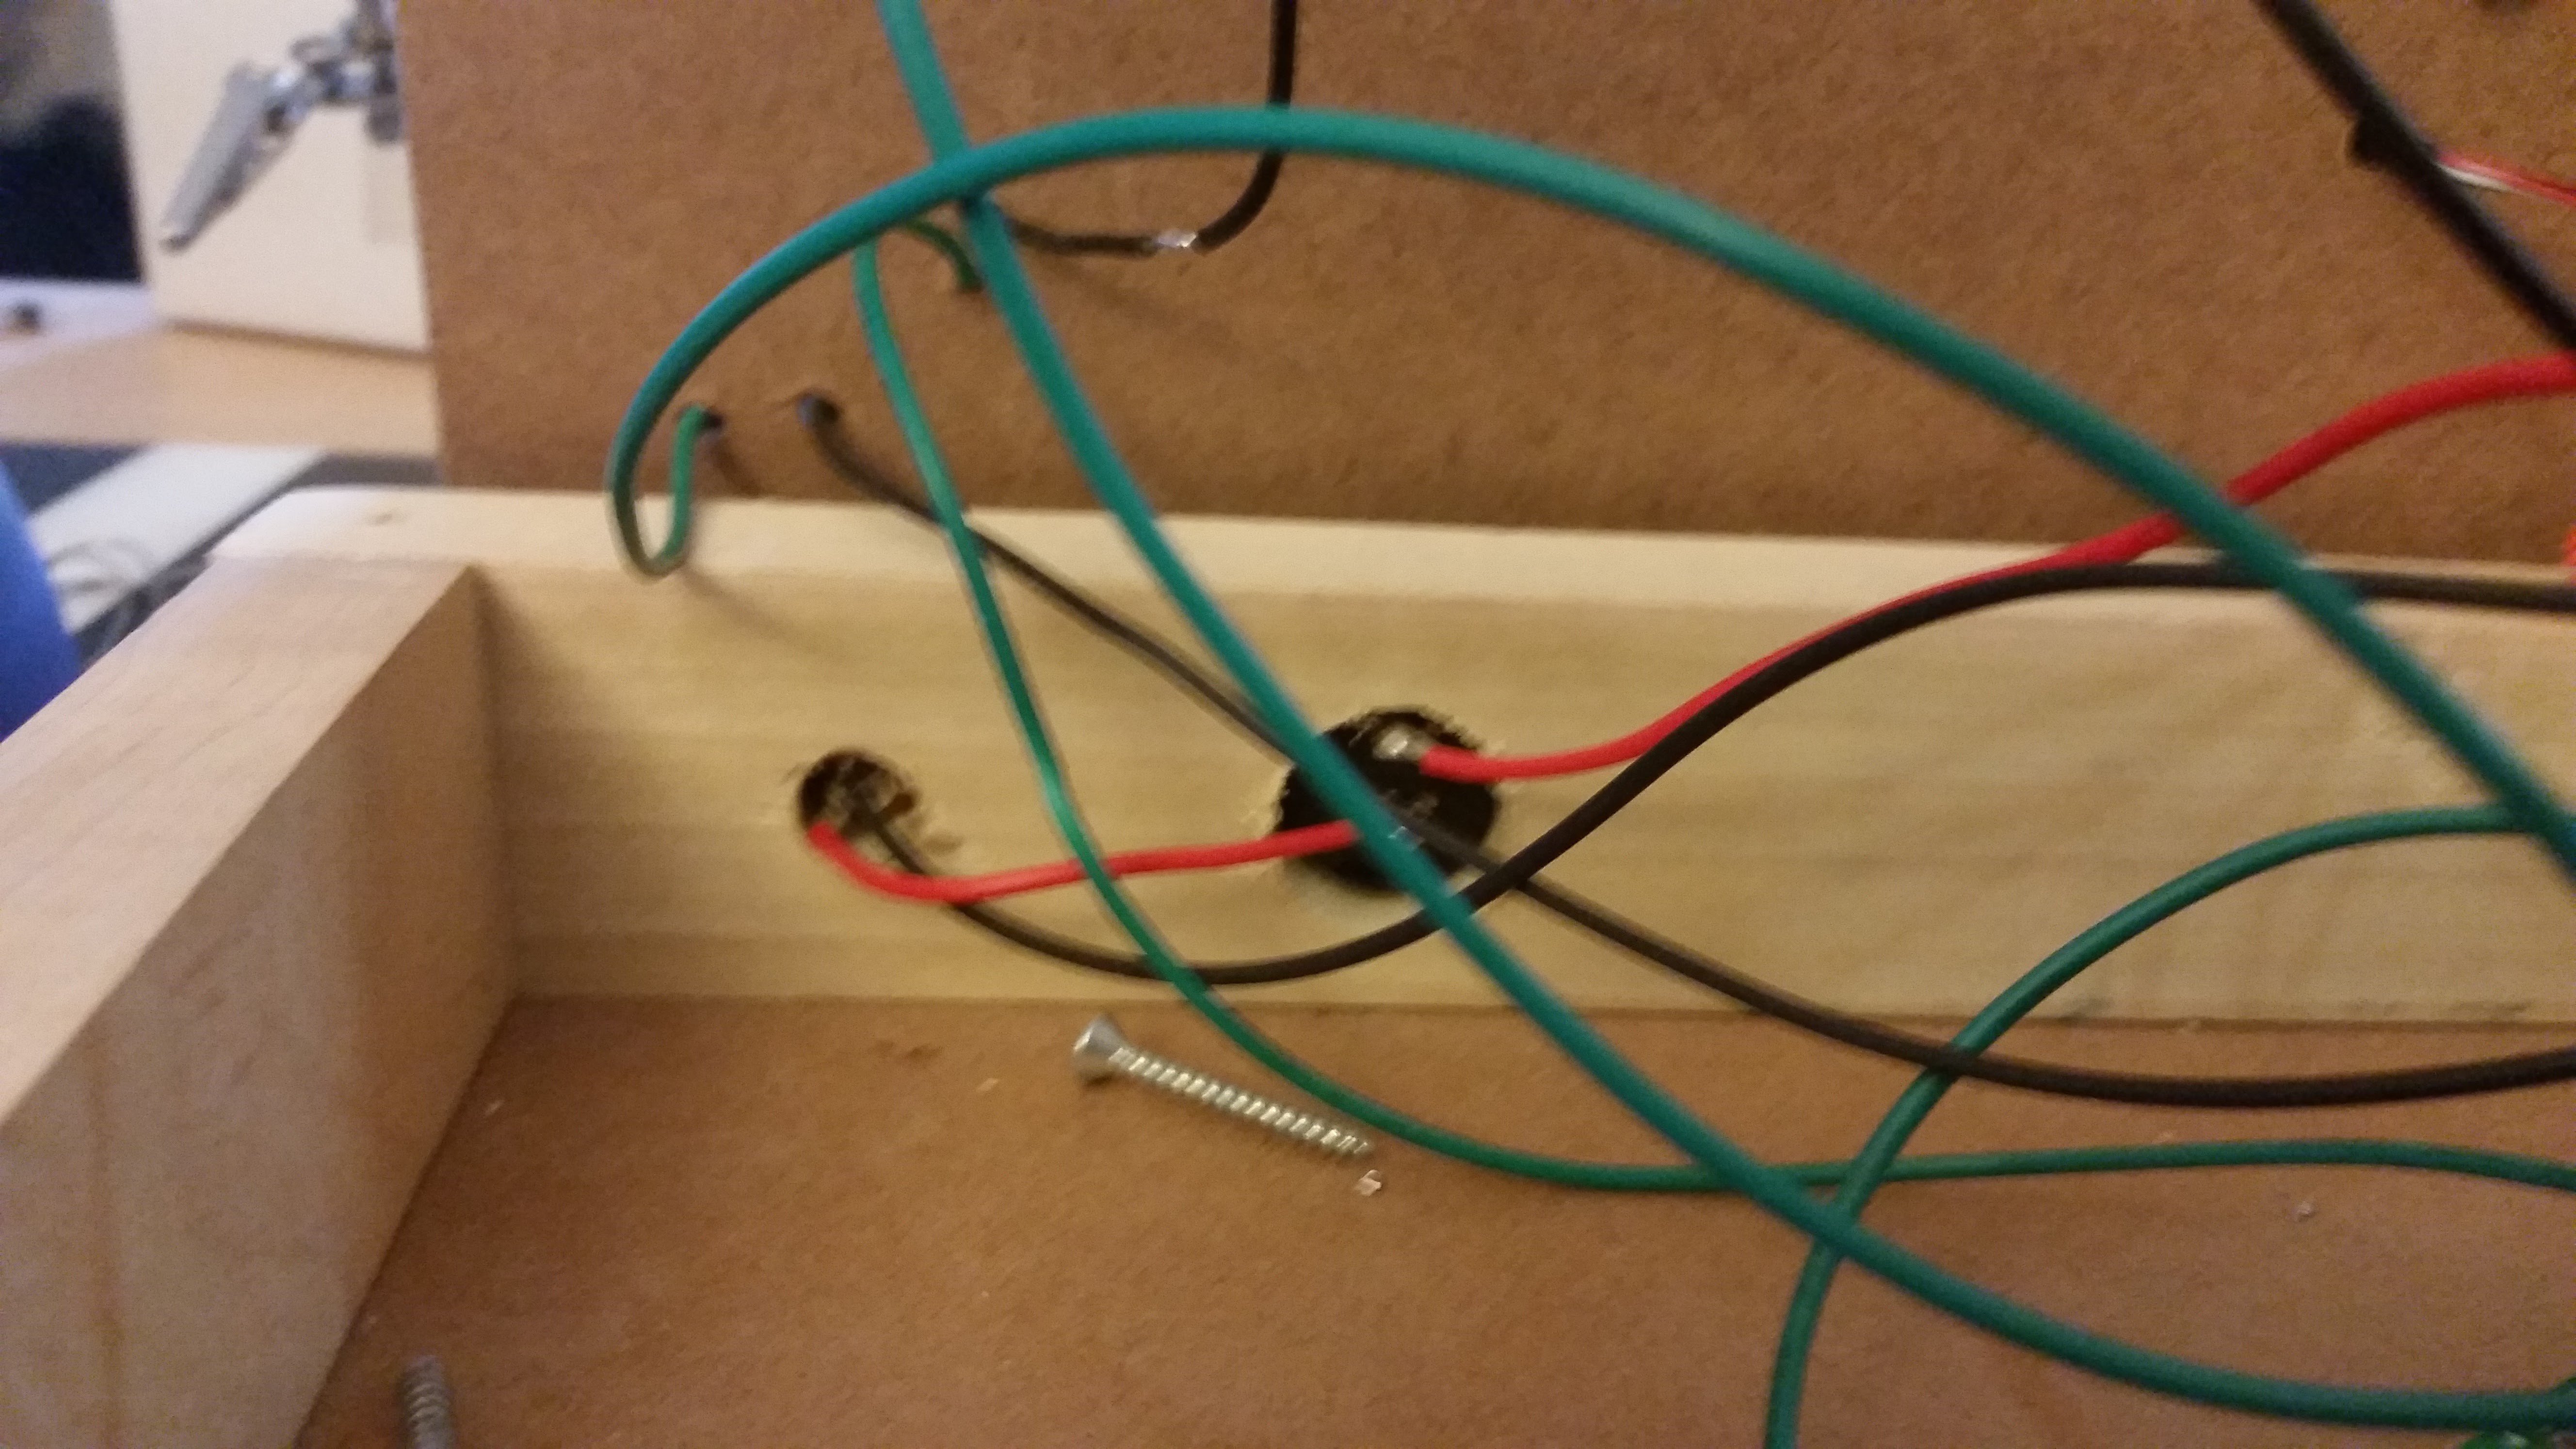
Power jack and switch.
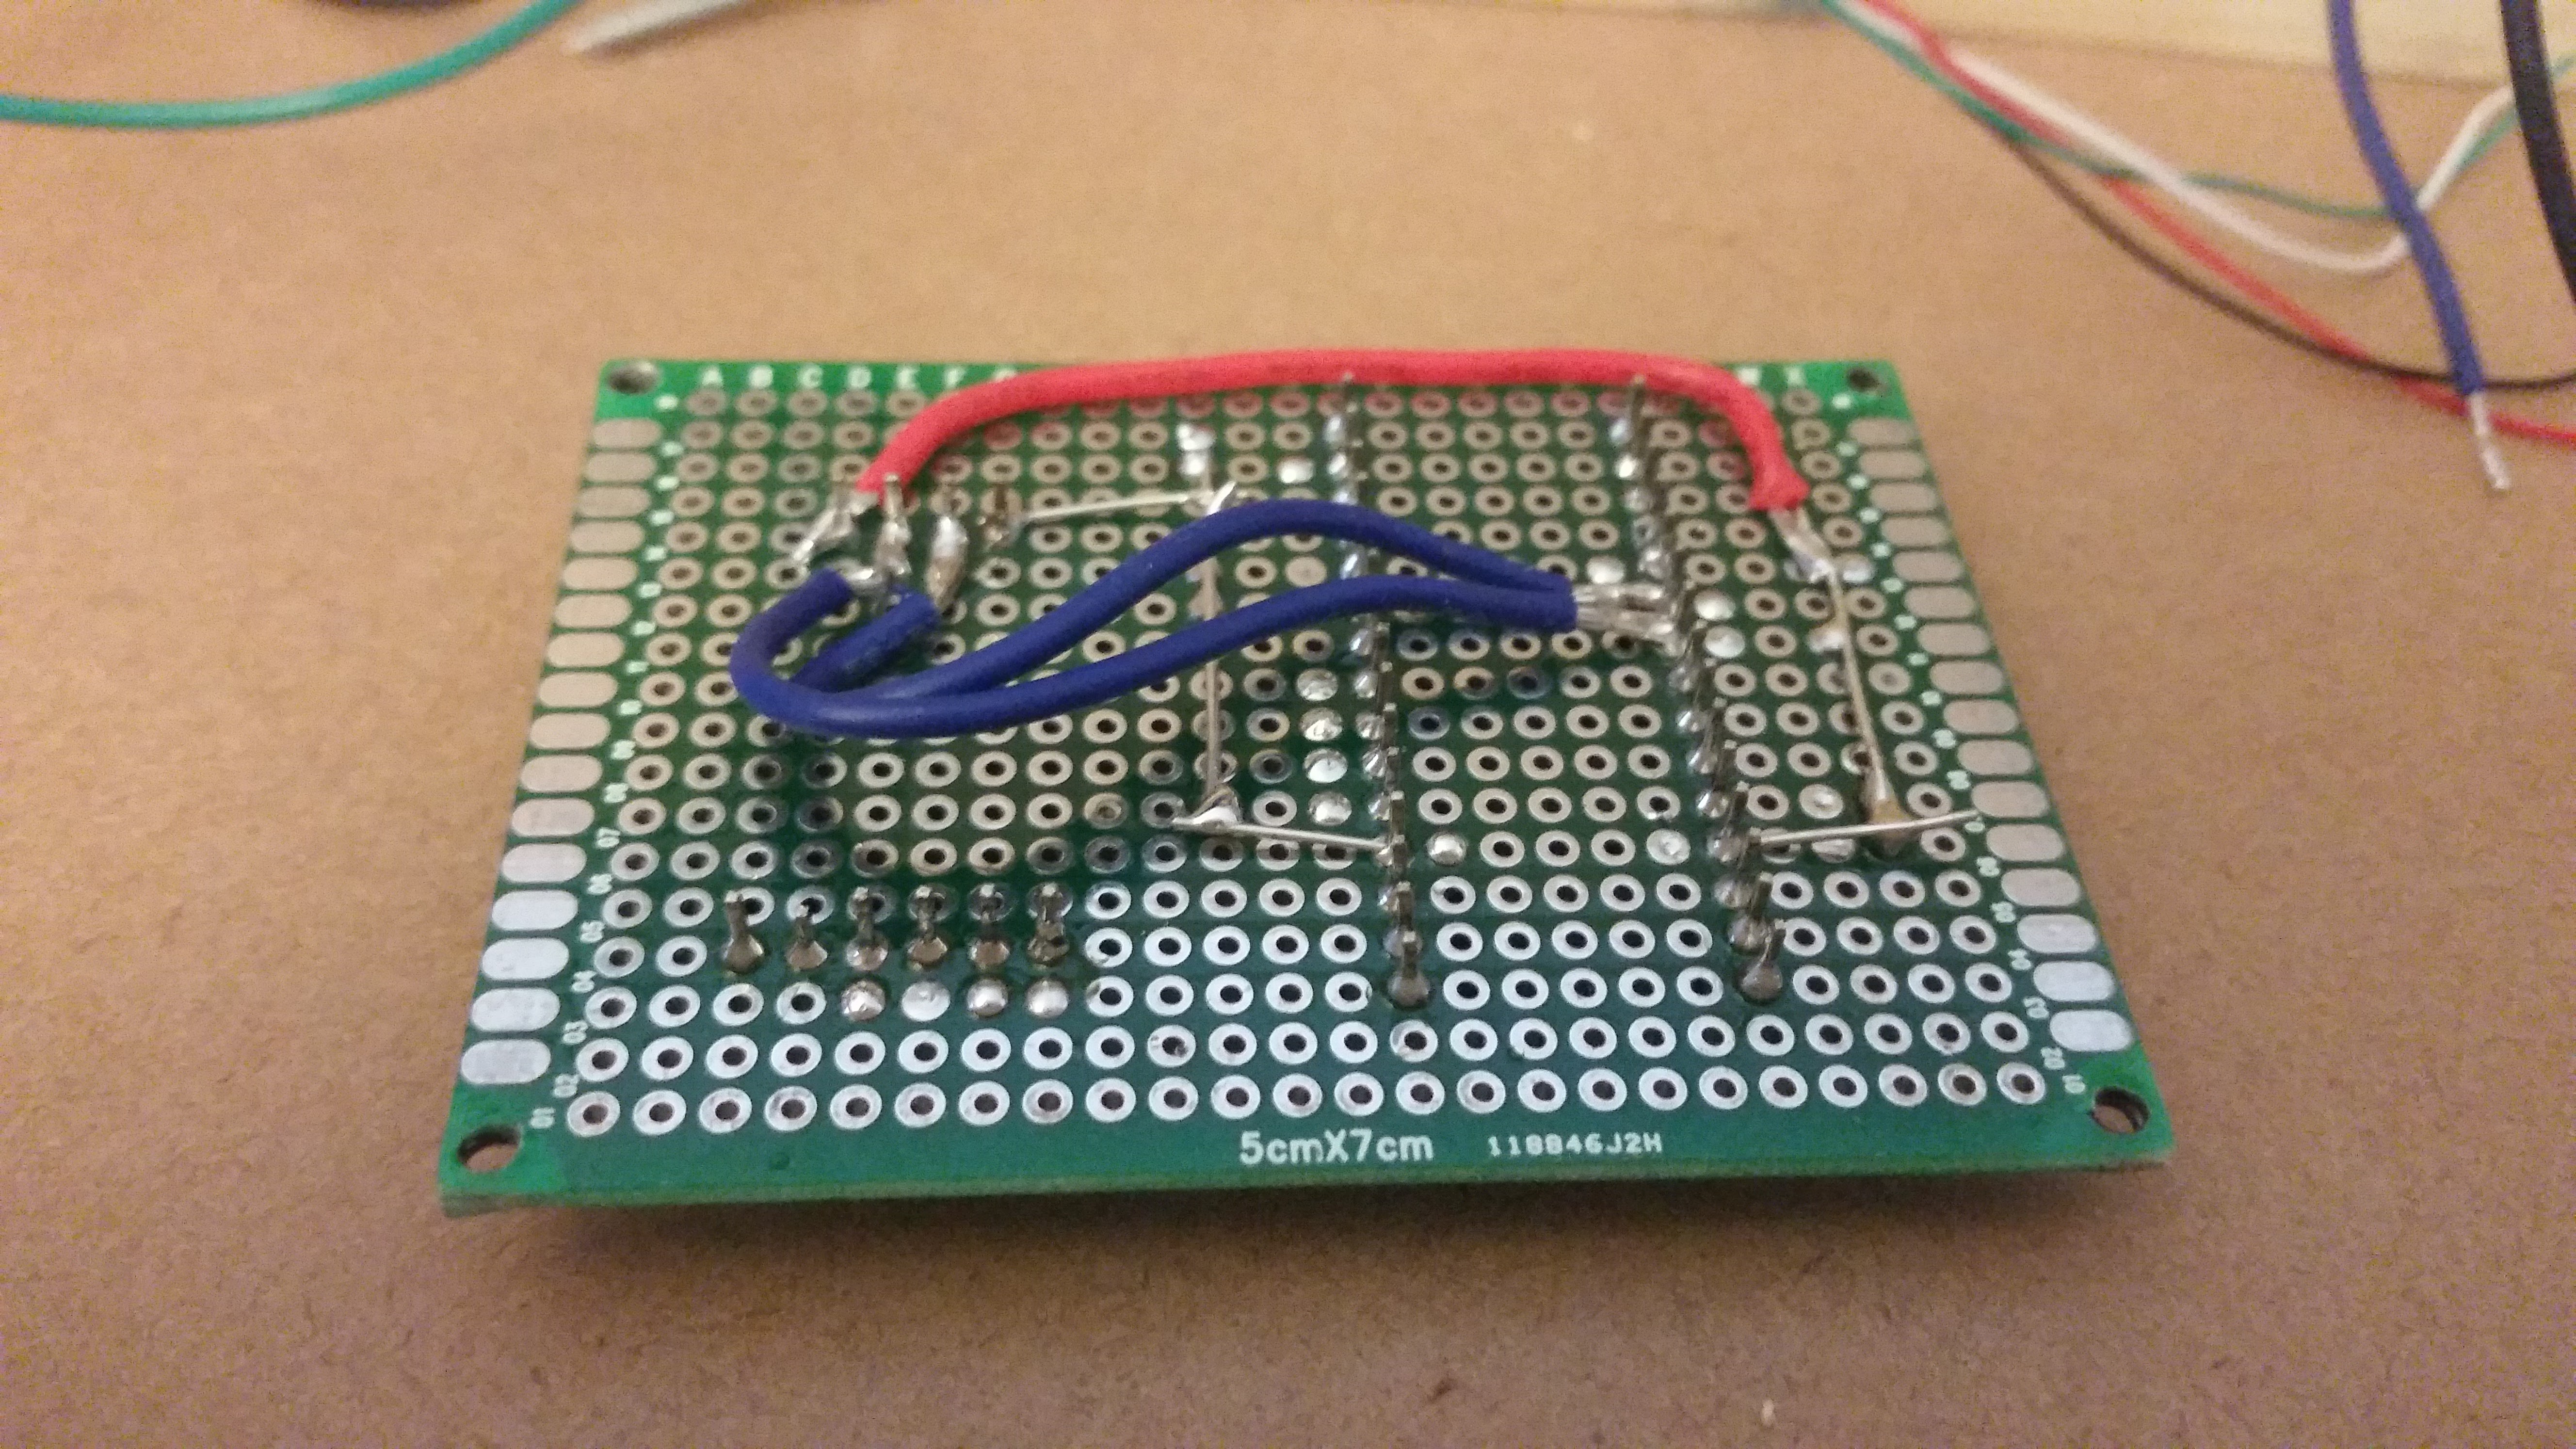
The board consists of an Arduino Nano and the load cell amplifier.
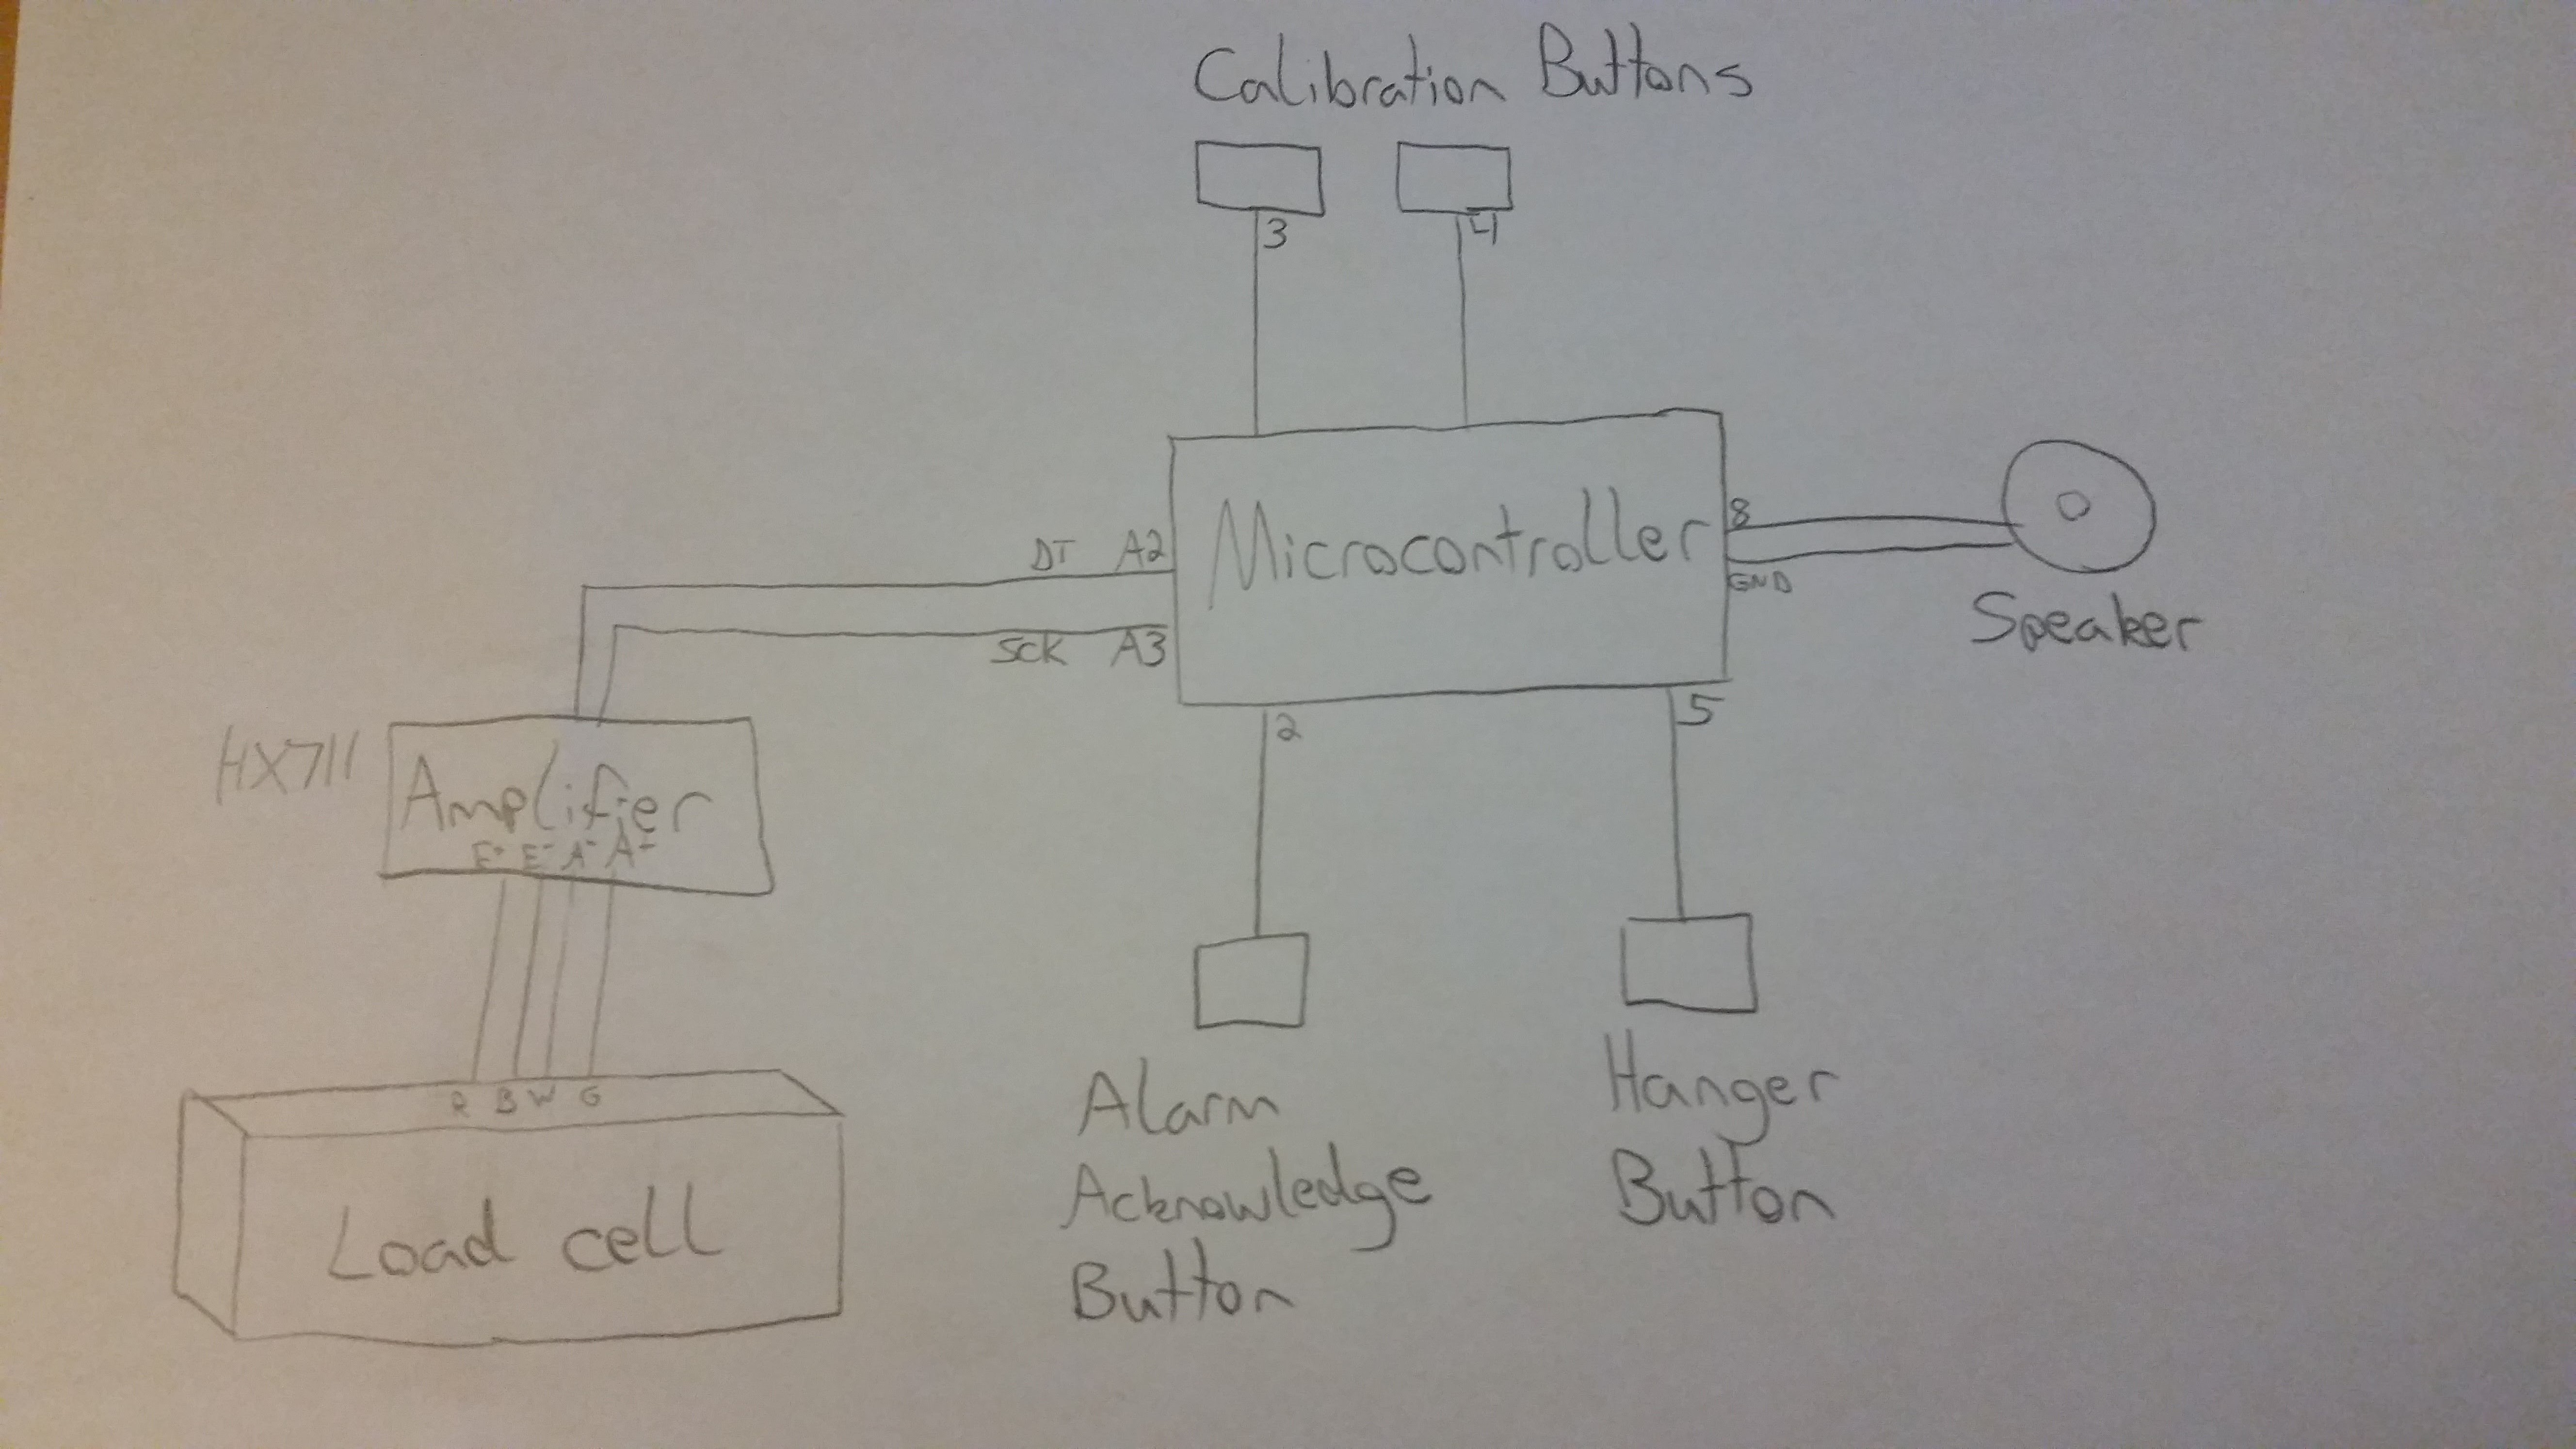
Revised block diagram showing connections to microcontroller.


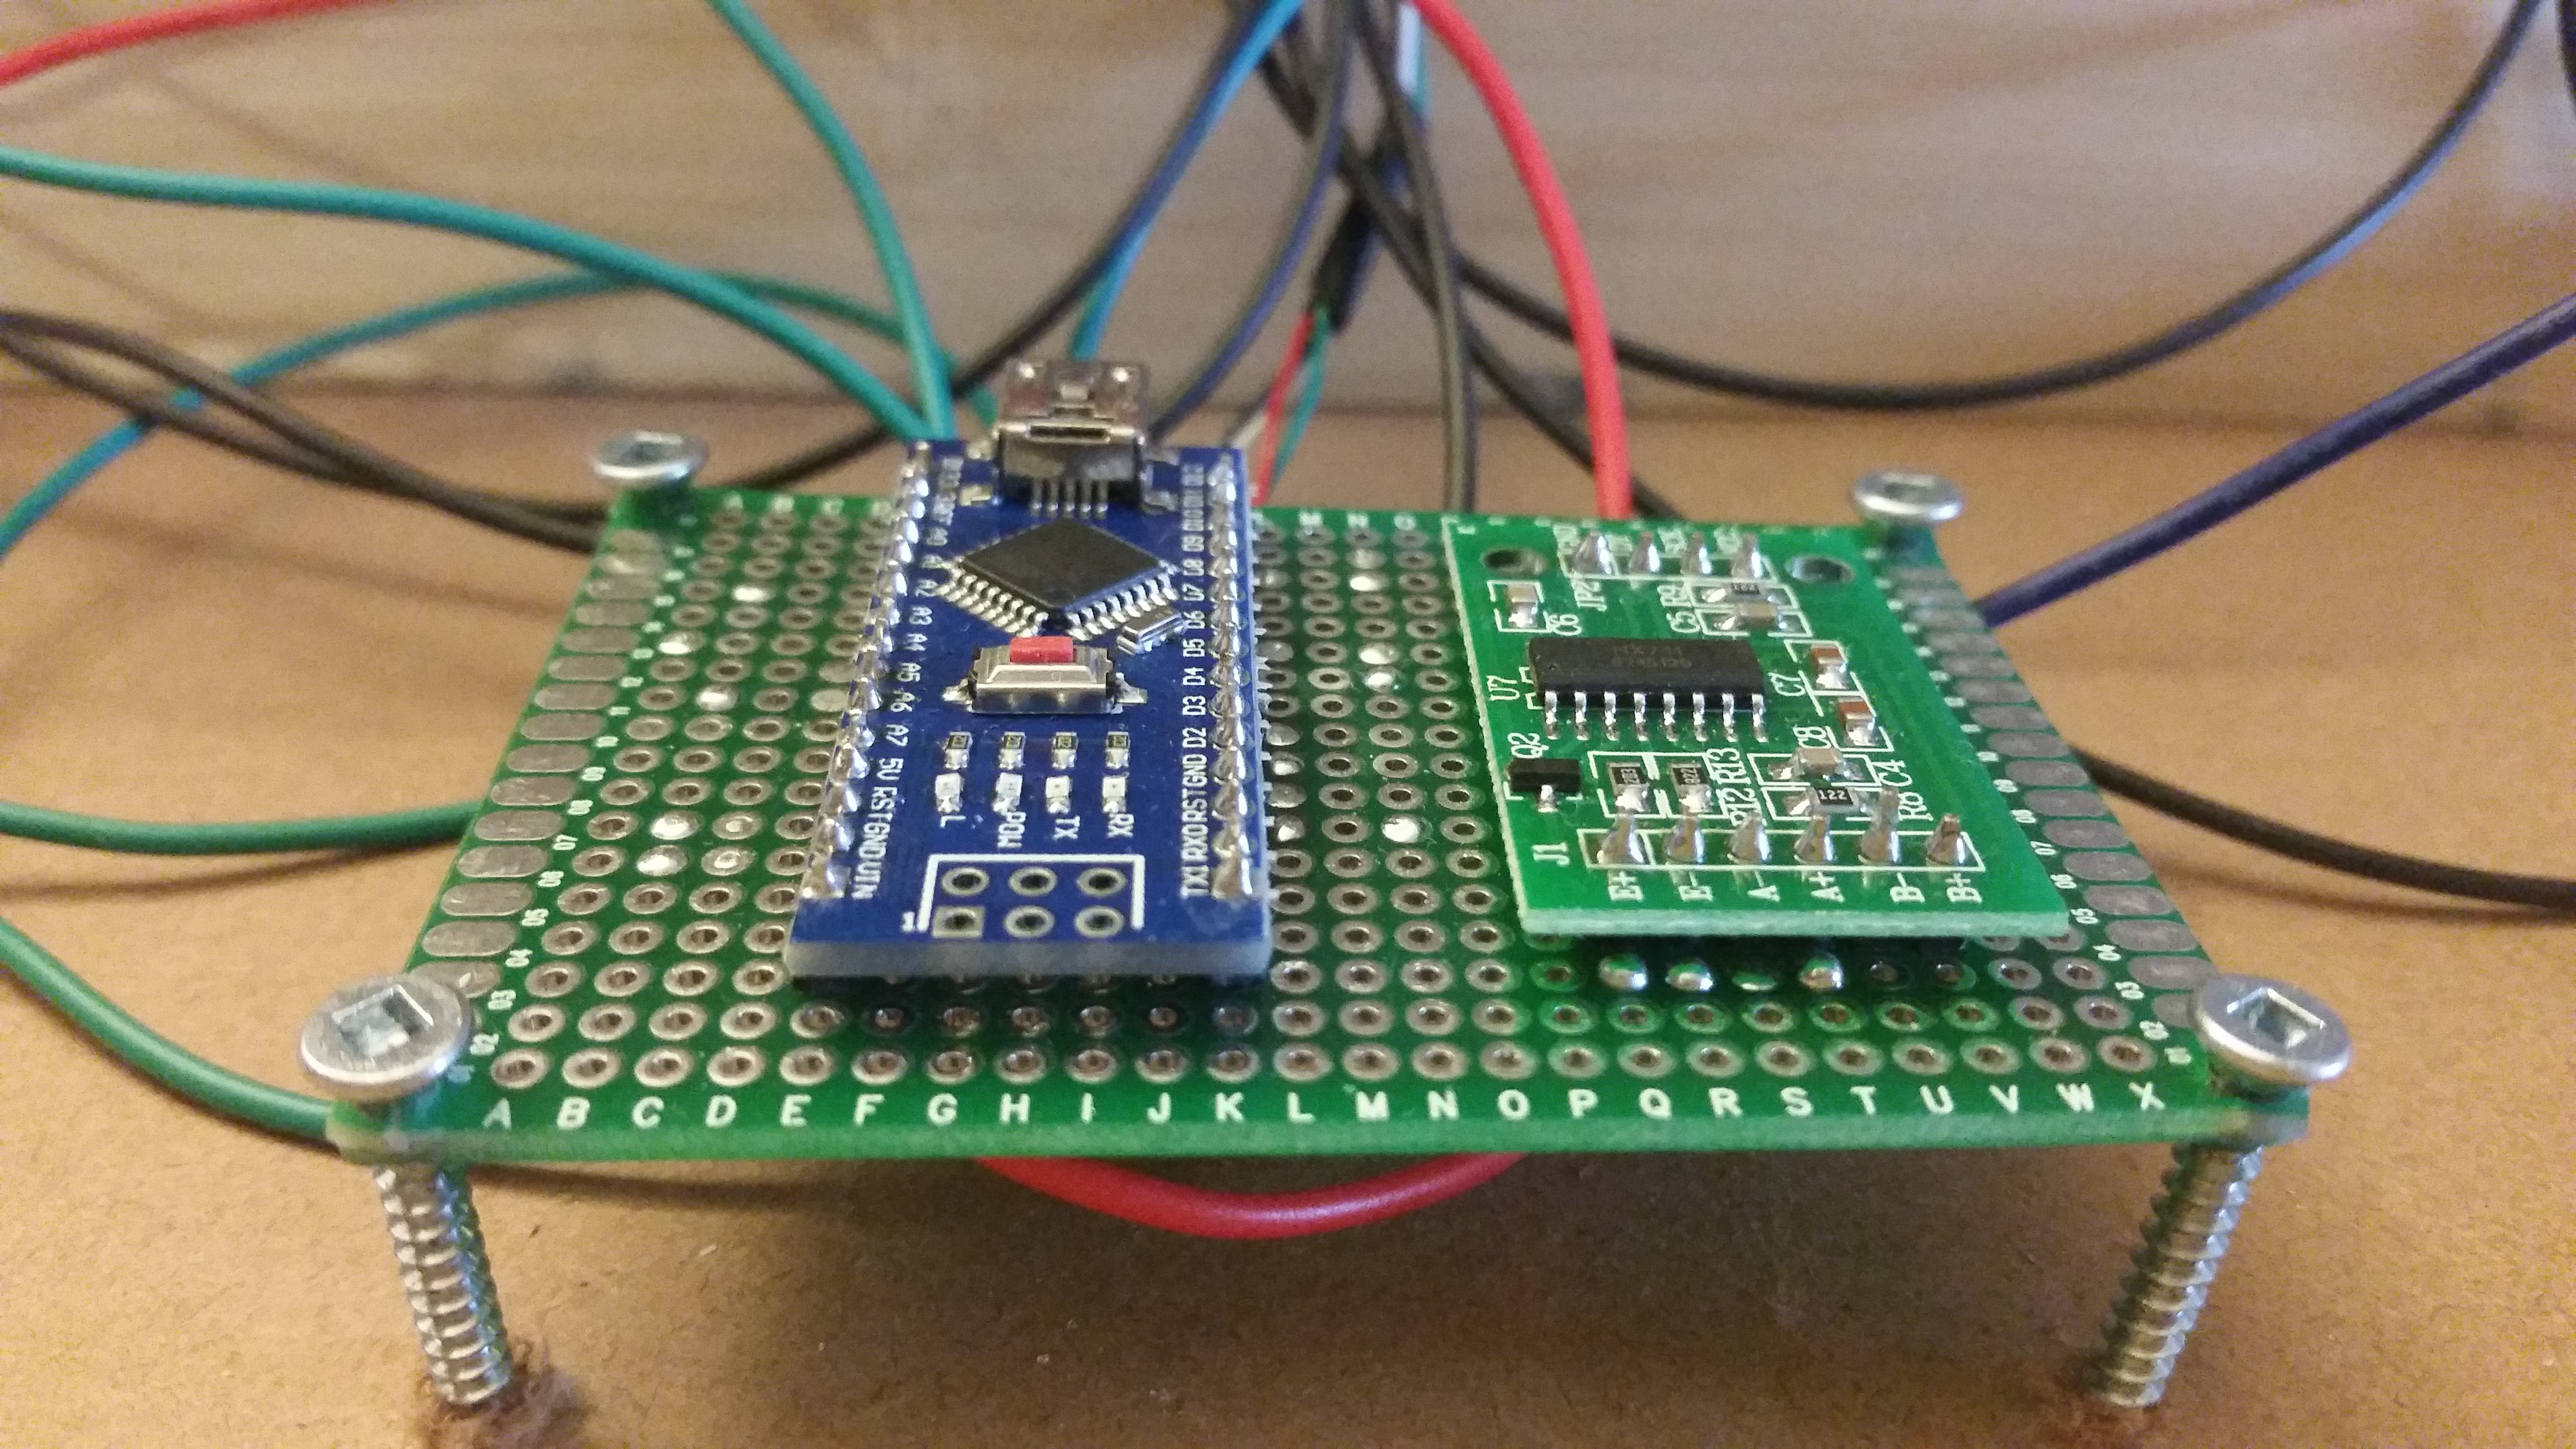
Not the prettiest standoffs but it works.

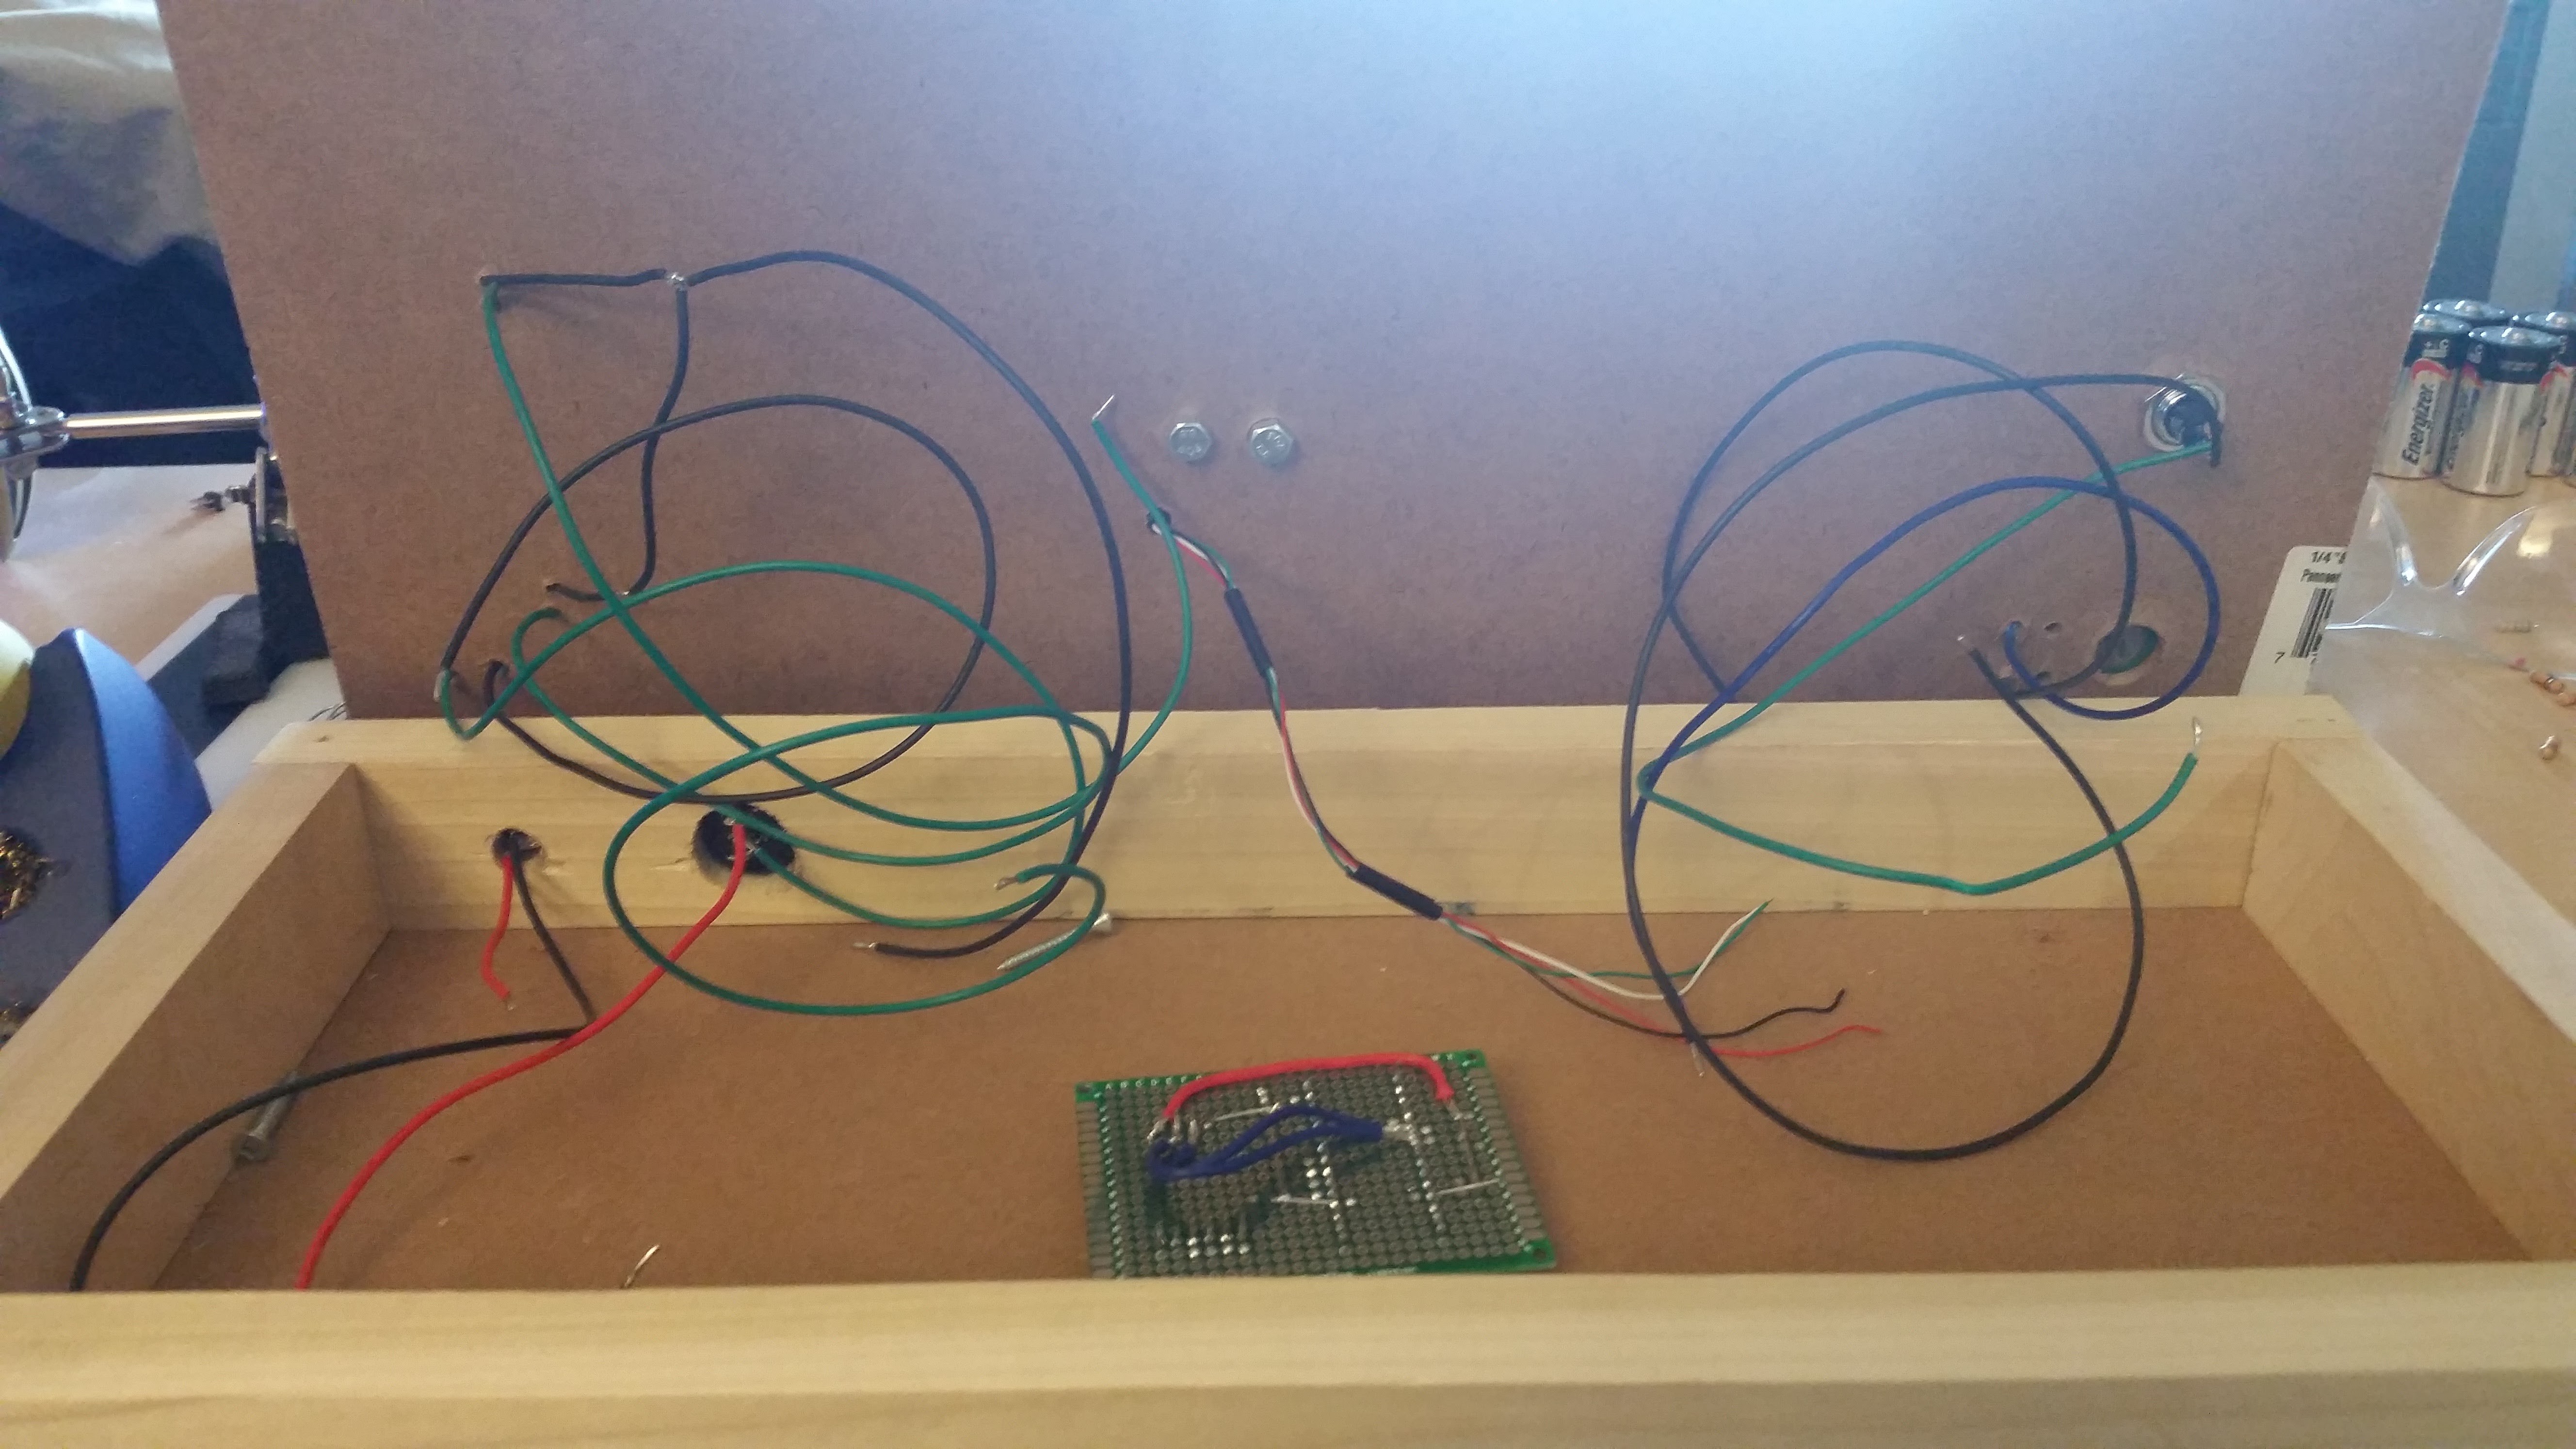
Hardware complete!
Discussions
Become a Hackaday.io Member
Create an account to leave a comment. Already have an account? Log In.