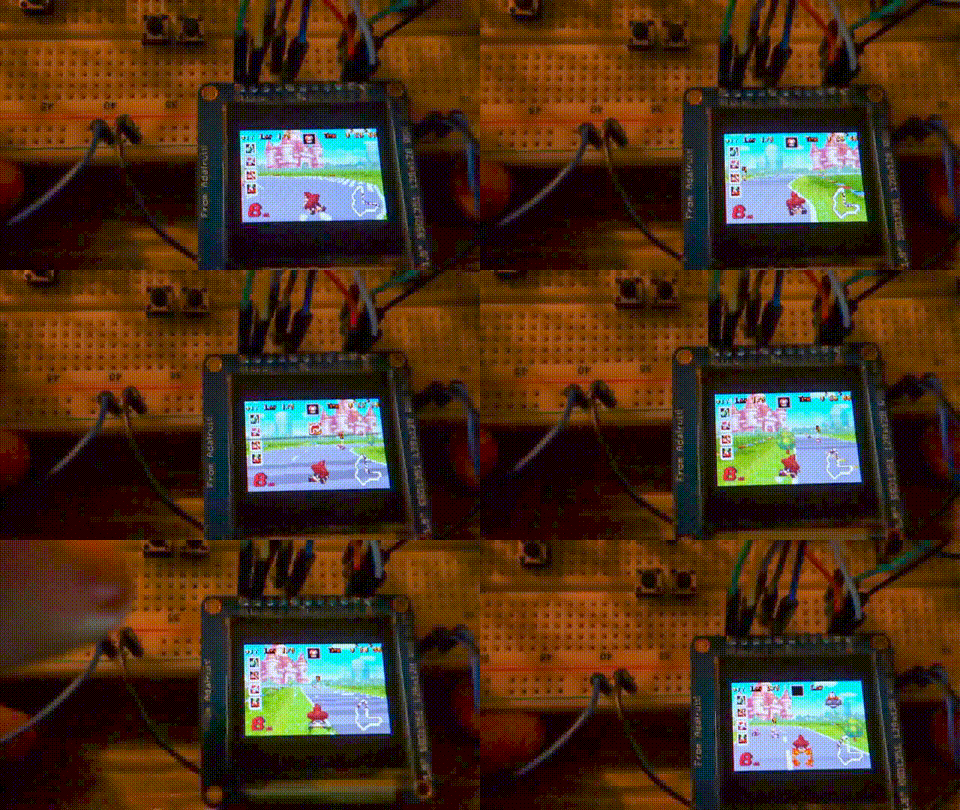
At the time when these lines are written, the project prototype has been fully validated except for the sound. Granted, design-wise the prototype is much closer to a bomb than to a keychain, but believe me, after all the work it involved, it has never been so rewarding to play some good old fashion SuperMario Kart (GBA).

However there is some catching up to do before getting into the fonctional prototype.
This first log describes the main components of this project:

- Let us start by the most important component: the processing unit. After looking online for the best fitted computer module (nice comparison of modules at the end of this page), I believe the most suitable solution can be found in the Intel Edison module. For around 50$, you have a module of 35.5 x 25 x 3.9mm with a beefy dual core 500Mhz processor (based on an x86 architecture), 1GB of RAM, 4GB of flash storage on board, bluetooth, wifi, a power management unit, and many interfaces: usb, sd card interface, SPI, 2 I2C, 2 UART, I2S, and 12 GPIOs.
Agreed, it is expensive but it is either this or building its own processing unit (which I simply do not know how to do), or opt for a way bigger solution. I sincerely hope Intel will decrease the price of their module, especially since it is out for some time now.
- The second main component of Keymu would be its screen. For this part I realized very quickly that, as for the processing unit, there were not many possible solution available. The size constraint makes it only suitable for screens up to 1.5" to 1.6" maximum to be considered. The Edison does not have display interfaces such as MIPI or MCU, so the only way to command and send data to the screen was with SPI. With difficulty, it is possible to enable DMA on the Edison (I'll get into this later), allowing to communicate in SPI up to 25Mbit/s. Using RGB 565 (2Bytes per pixel), at 25fps, the maximum squared resolution reachable with SPI is then given by sqrt(25000000/(2*8*25)), that is to say 250x250. Other requirements were the display depth and the minimum size of the flex connector (it had to be long enough to turn around the hinge). After searching everywhere I could think of, I could not find a screen meeting all the criterions. The closest I found was an SSD1351 OLED screen but a concession had to be made on the resolution since it is only 128x128. There is a very good point to this screen tough: it is very easy to prototype with since Adafruit sells its very own breakout board.
- The rest of the components are represented in the block diagram above. They were relatively easy to find once the final design was decided so I will not spend too much time on it. The only thing I would stress out is that "easy to find" is never given when building a product so small. Everything need to be thought of in advance, and my advice is to have a VERY good idea of your final design before getting the components and vice-versa when building the design. Yes it is a vicious circle but it is the way of small, optimized packages such as Keymu: the mechanical design and the choice of components are interconnected and need to evolve at the same time.
This is it for this first log, the next one will be, I think, about describing more in details the advancement of the project and giving the roadmap.
 c.Invent
Discussions
Become a Hackaday.io Member
Create an account to leave a comment. Already have an account? Log In.