Close
0%
0%

A Wearable, IoT+ANN Dev Board for Body Sensing

An integrated wearable IoT, Cloud, and Machine Learning Platform for Human Computer Interfaces

Similar projects worth following
This project page is being continued on another page, which makes this page defunct, as I've started a new one for it to enter the hackaday prize. You can like and follow it here: https://hackaday.io/project/110479-bodihub

This is my very first development board project. After shrinking about 15k worth of equipment to a custom board the size of a credit card that can read your muscle signals, to winning TechCrunch Disrupt's 2015 Hackathon with an IoT device that tells my Dad if his stove is still on, you'd think this kind of stuff is old hat for me.

I've made various circuit boards in the past, but they've all been bread boarded & hand soldered. When I made my SEMG wearable pod, while I created the circuit design, support electronics, and software, I had my buddy take care of the PCB lay out and soldering.

I used to roll my own hand soldered, slag jumpered bread boards as components. Like these.
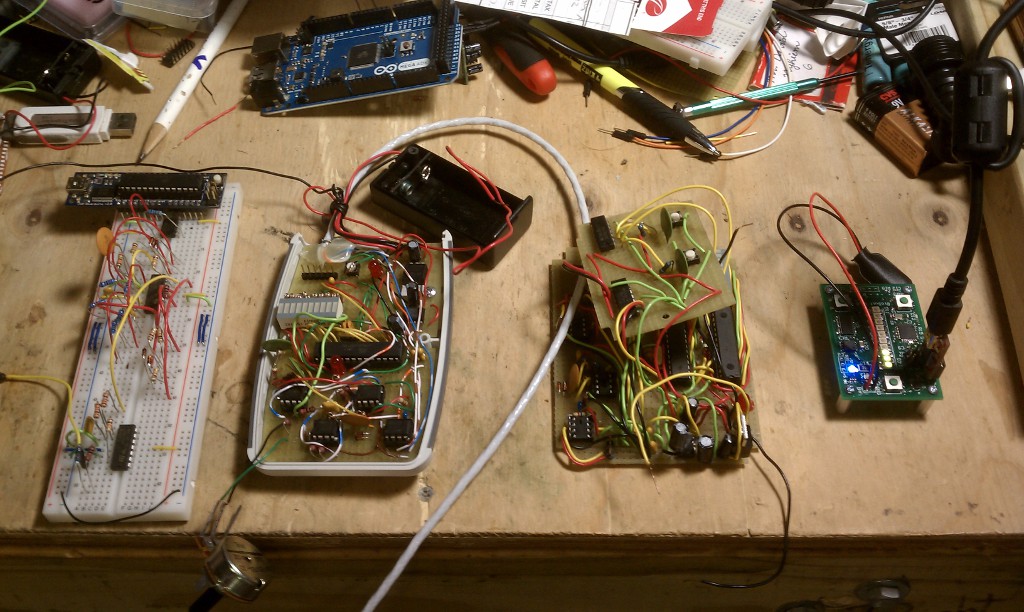
It looks janky as hell, right? But guess what ! It still worked. This is my usual progression when it comes designing and manufacturing circuits. This method has lots of issues like accidental shorts, which is why every time I look at someone's project, and see these gorgeous, well laid out, manufactured, smd soldered component boards, I get a little envious.

So why a development board? A lot of what I do involves body sensing, and with IoT in the mix, that makes for some interesting requirements.The interesting thing is when you do a search for wearable development boards, literally two things come up, and then my hackaday blog about making one. And to top it off, the two that come up are A.) Yet another watch, and B.) A board you can stick in a watch, and doesn't have the requirements that I want (wifi/bluetooth/lots of analog ports). So it makes sense for me to roll one out.

But I don't want to make yet another generic arduino esque board in the millieu. This one will be wearable, mesh capable, and talks to the cloud. And it has an educational purpose, and serves as the foundation for other projects, like helping my researcher friend studying Rett syndrome, a rare, neurological degenerative disorder.

So the first thing I do whenever I start a new project, is I figure out what it needs to do first. These are my requirements.

  • It needs to be wifi/bluetooth capable. Since I'm very well versed in Arduino's java like syntax, and C++, I went with Espressif's offerings, the ESP8266 and ESP32. Since the ESP32 isn't yet mature Arduino wise for most people, I'm gonna start first with the ESP8266.
  • Arduino compatible. I like having tons of libraries available, and a massive community to support. I don't like waiting to call an engineer on the phone to get answers.
  • The problem with the ESP8266 is it has only one analog port. Which is fine for all the freaks out there that are into blinky lights, because for blinky lights all you need is GPIO, and most of the time you only need one. But I do a lot of analog sensing. I'm also not into blinky lights (I'm into FIRE. Yes, I'm that kind of freak.)
    So I'm adding an ADC chip.
  • I'm tired of using my USB to TTL converter port and loose wires to the ESP8266, so I'm incorporating a USB to TTL converter chip, like the CP2104. Which means it'll have a straight up micro USB port. Hell yes!
  • I want this to be wearable. If you look at my SEMG sensor, it's something you wear on your clothing. So I'm looking at putting it into a wearable, and sew-able form factor. Or at least velcro-able
  • It needs to be powered by 3.3V, with as little power requirements as possible.
  • Have a usb charger control circuit that can connect to a lithium ion battery pack, because that's also been a pain in the ass to replace AAA batteries every time.
  • Unlike the lilypad, which is also my inspiration, I'm not a fan of sewing wires into clothing. Mainly because I suck at sewing, though you wouldn't know it when you look at some of my wearables (Thanks Mom!!!). So, it's going to have cable pins with locks on them. I want to dasiy chain sensors across the body to the board, which means I2C is ideal, SPI also works, BUT you have to becareful with some analog applications because ribbon cables are notoriously noisy at picking up random signals. 
  • Use...
Read more »

  • 1 × esp8266
  • 1 × esp32
  • 1 × cp2104 Interface and IO ICs / USB
  • 1 × Analog to Digital Converter, I2C bus Capacitors / Aluminum Electrolytic
  • 1 × Charge controller chip

View all 7 components

  • Assembling the Board Part 1: Fried Board Recipes

    Casual Cyborg03/23/2018 at 20:42 0 comments


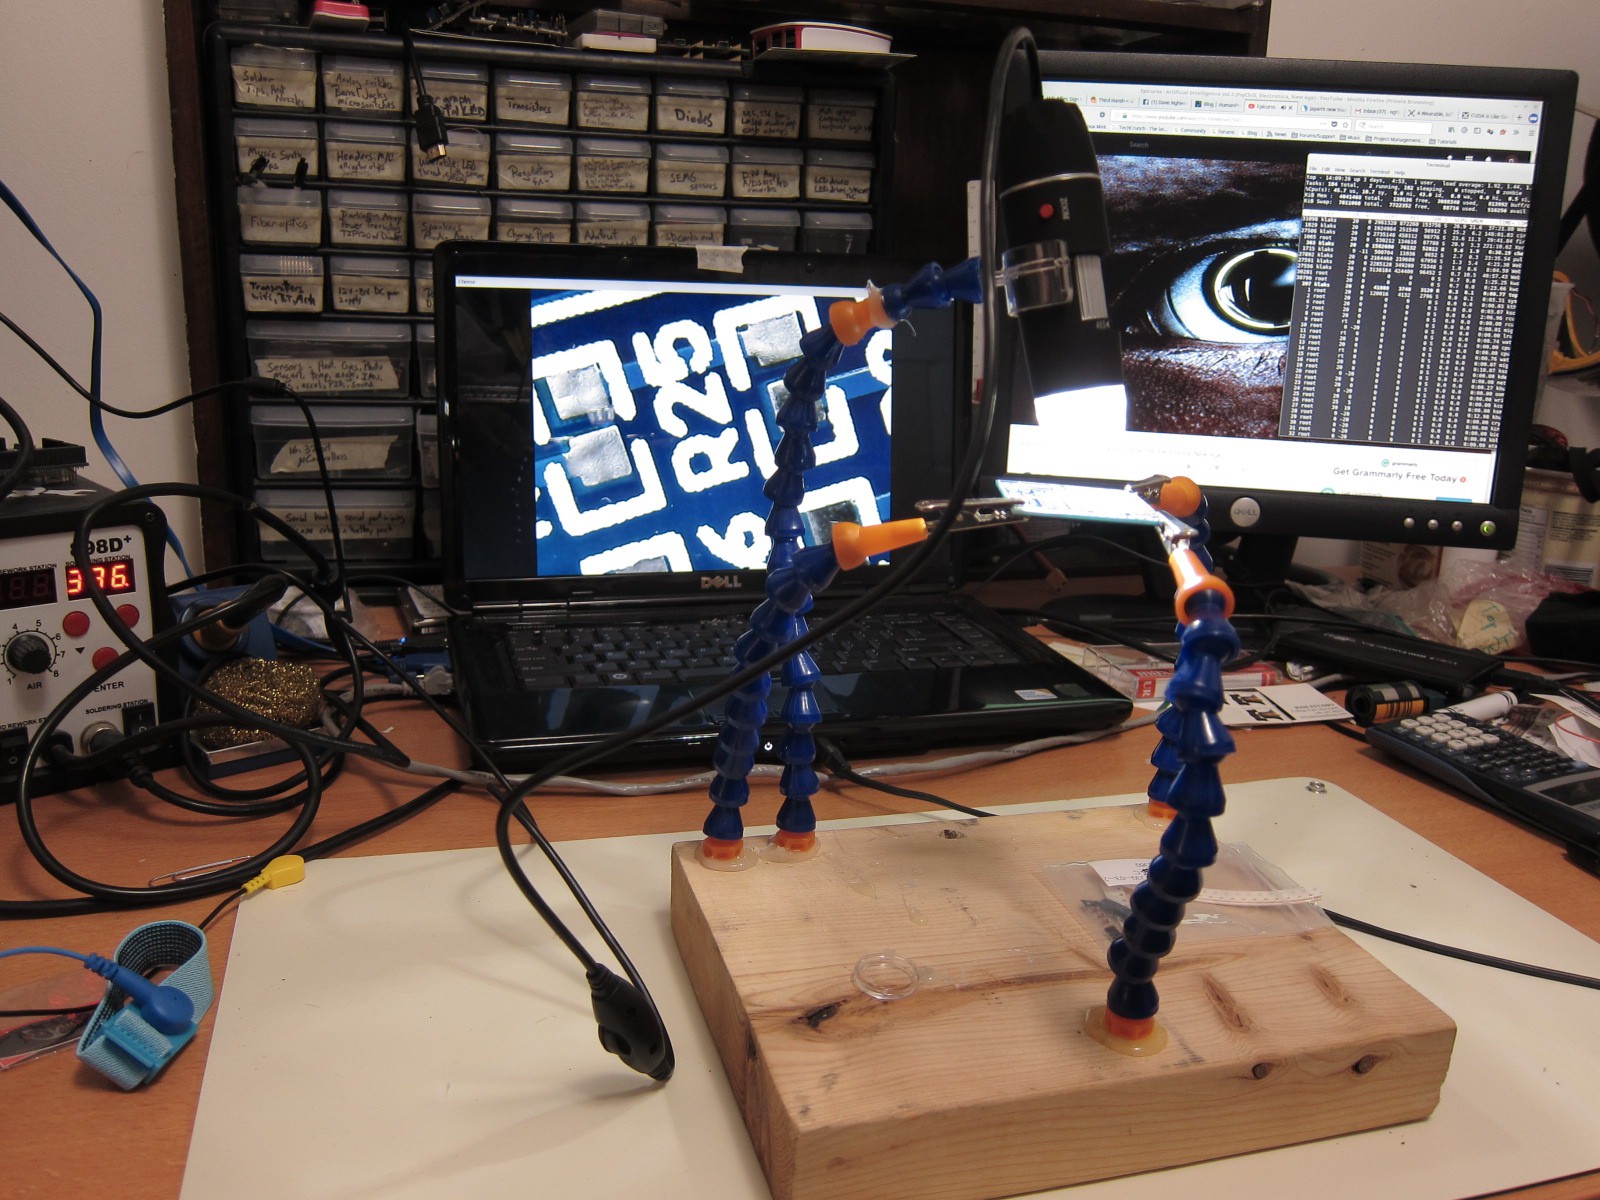
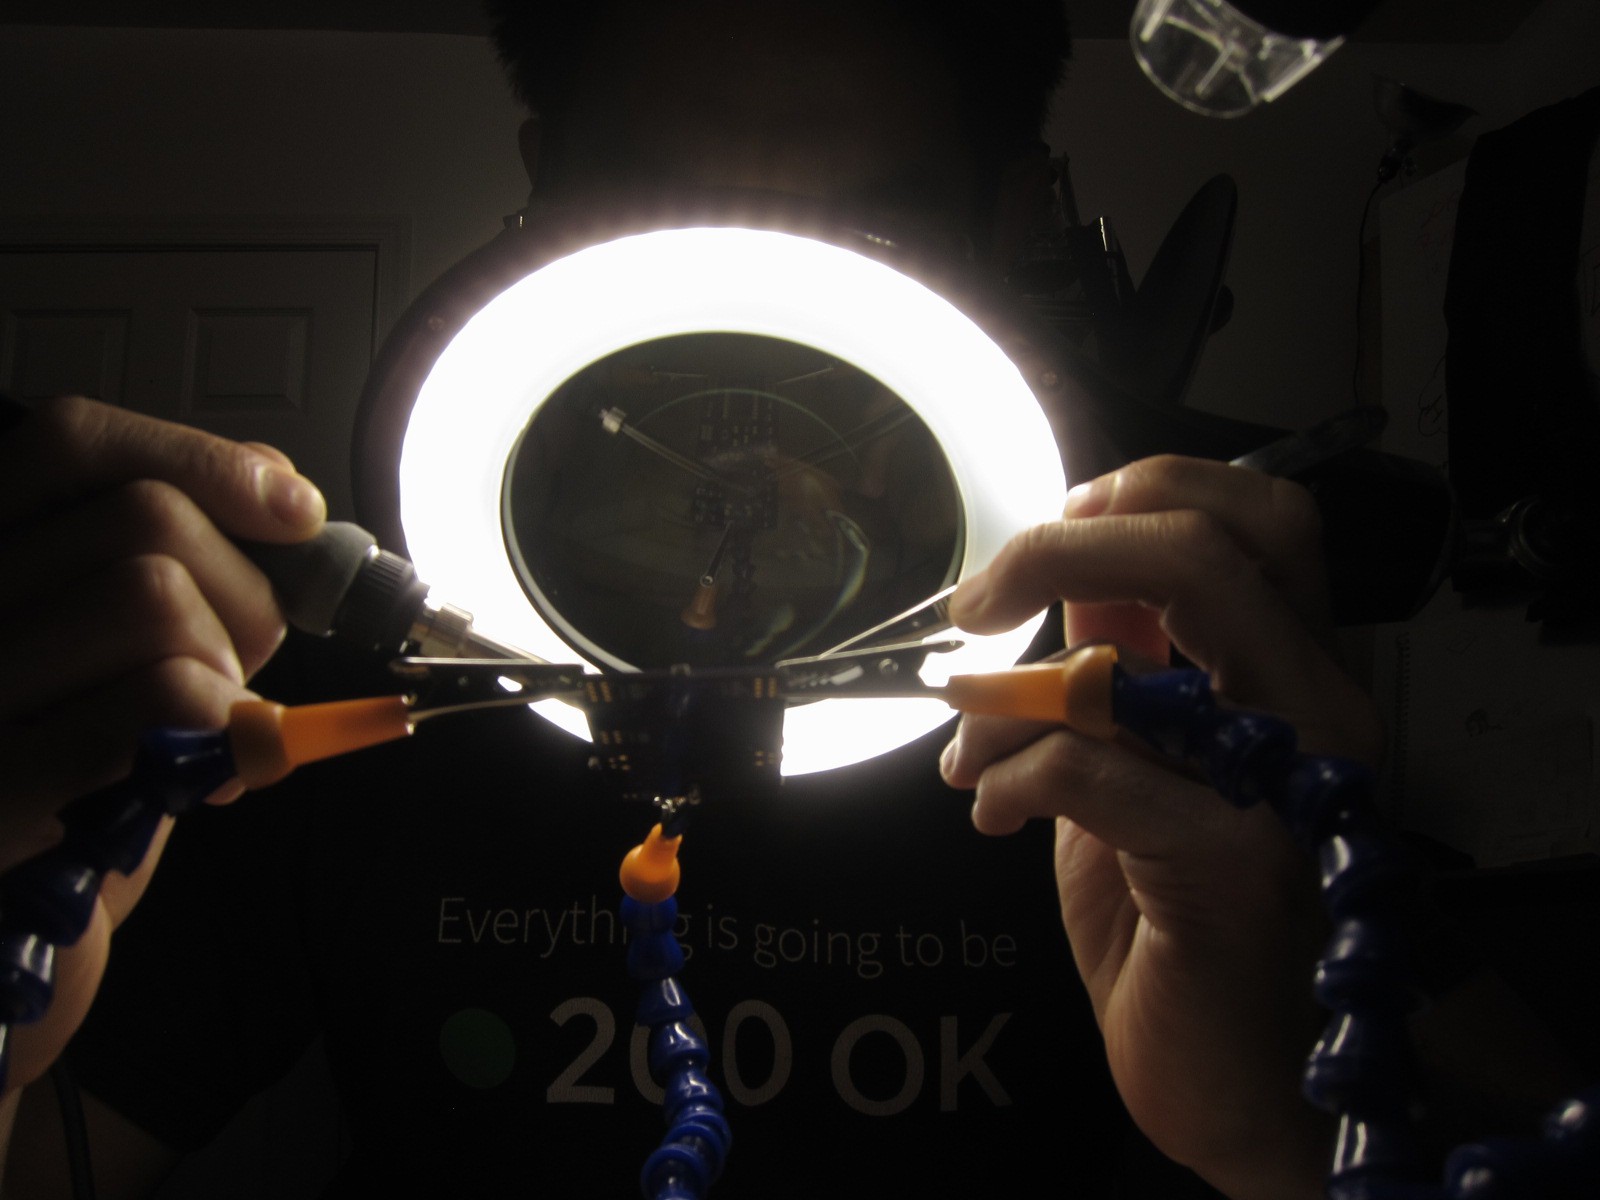
    I got started yesterday doing SMD soldering for the first time. That 3rd hand you see above is my Frankenstein creation of some requirements I have for how I do my work.

    Before I attempted to my boards, I used a cheapie practice board that I got from ebay, which shipped from China, and a whole bunch of youtube instructional videos. This was my first time doing SMD soldering, so naturally, I was a little concerned. I started off with a cheapie 2 dollar SMD practice board I bought from ebay to get develop SMD soldering techniques. In the process, I learned a few things.

    • You almost never need the very fine pencil tip. The chisel tip is actually the primary soldering tip you want to use.
    • The SMD rework station hot air gun is a god send. When I saw those QFN packages with the under chip heat sink, the first thing that came to my head was, "Ah crap, I don't have a toaster oven. How the hell am I supposed to solder this?!" Thank God for youtube. I used this instructional video. By the way, anyone know what the background song is? Post below. It's dope.
    • Flux is the magic sauce when it comes to doing SMD soldering
    • Assemble and test each sub system first, before completing the entire board!!!

    That last lesson I learned the hard way. I made a mistake during the bill of materials order, because mouser.com ran out of a micro USB B connector that I specifically wanted. They were on hold for six weeks. So, in a last minute, and very dumb decision, I hastily checked the data sheet and found what I thought was an identical part since it had the same numeric code number, with just a single letter substitution, an M for an R. They're SMD Hirose USB micro B connectors.

    What I got in the mail was actually the reverse of what I wanted, where the VDD and GND were switched! What happened next was predictable. I fried my CP2104 chip, and my power transistor chips.

    After figuring out what had happened, I immediately checked, and found that Mouser had just gotten the new order of what I wanted in.


    After a lot of creative language spewing, I made another order for the parts. So lesson here kids, don't make a last minute change thinking that the part should be compatible. You'll just end up losing more time and money. You're better off finding another source, or waiting till it actually comes in.

    In the mean time, I'm going to assemble a bunch of these neural network boards I have laying around as practice. Updates coming up next week, so stay tuned!

    Hard at work manifesting a crazy technology idea. On to next week when I get the right parts in. Stay tuned!
  • How to Setup an SMD Workstation for Less Than $180

    Casual Cyborg02/27/2018 at 23:37 0 comments


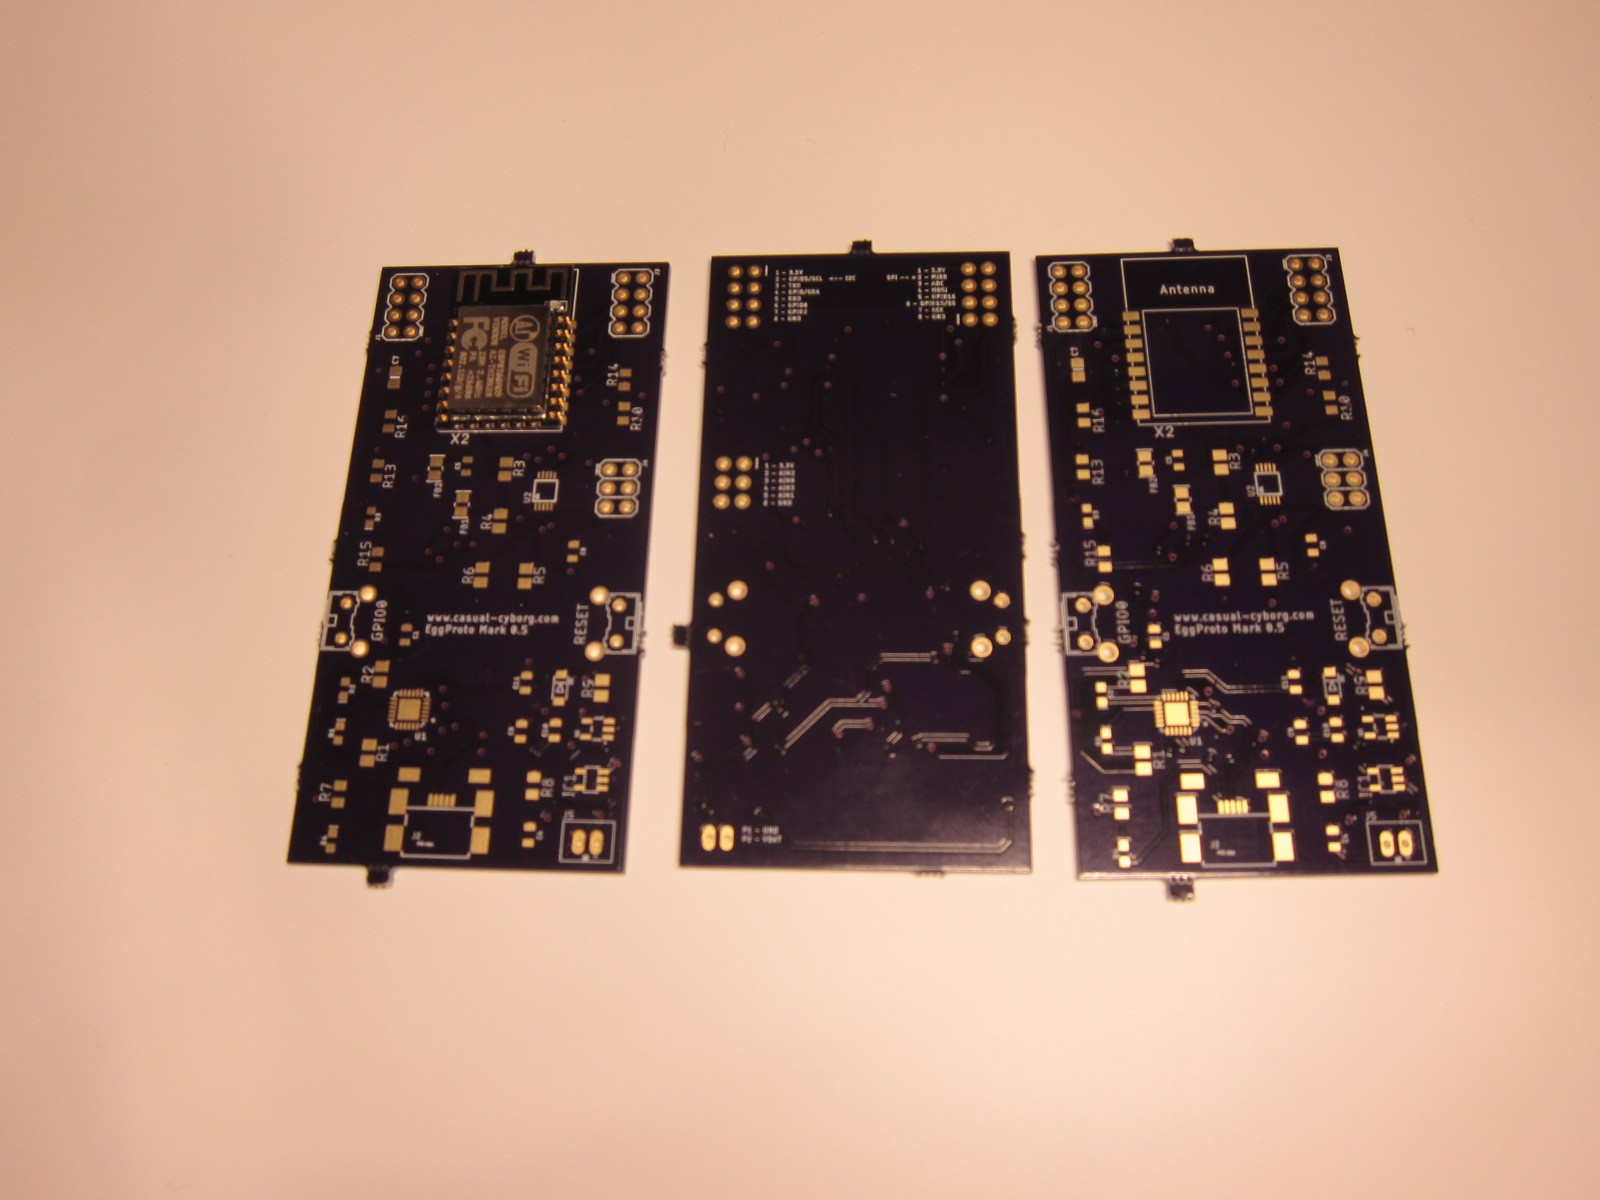
    I got back this afternoon from a trip to see my folks to celebrate the Lunar/Chinese New Year, and guess what I found at my doorstep! The wonderful people at OshPark sent me my bright, new, and shiny printed circuit boards!

    Next thing I'm going to do, is I'm going to follow this great "what to do after you get your PCB's," by Bhavesh Kakwani. 

    While I was waiting for the PCB's to come in, I also went ahead and made the order at Mouser. And for a whole bunch of equipment from ebay. What I wanted to do was to put together a cheap, SMD/SMT soldering workstation for less than $180. To do that, you need the following.

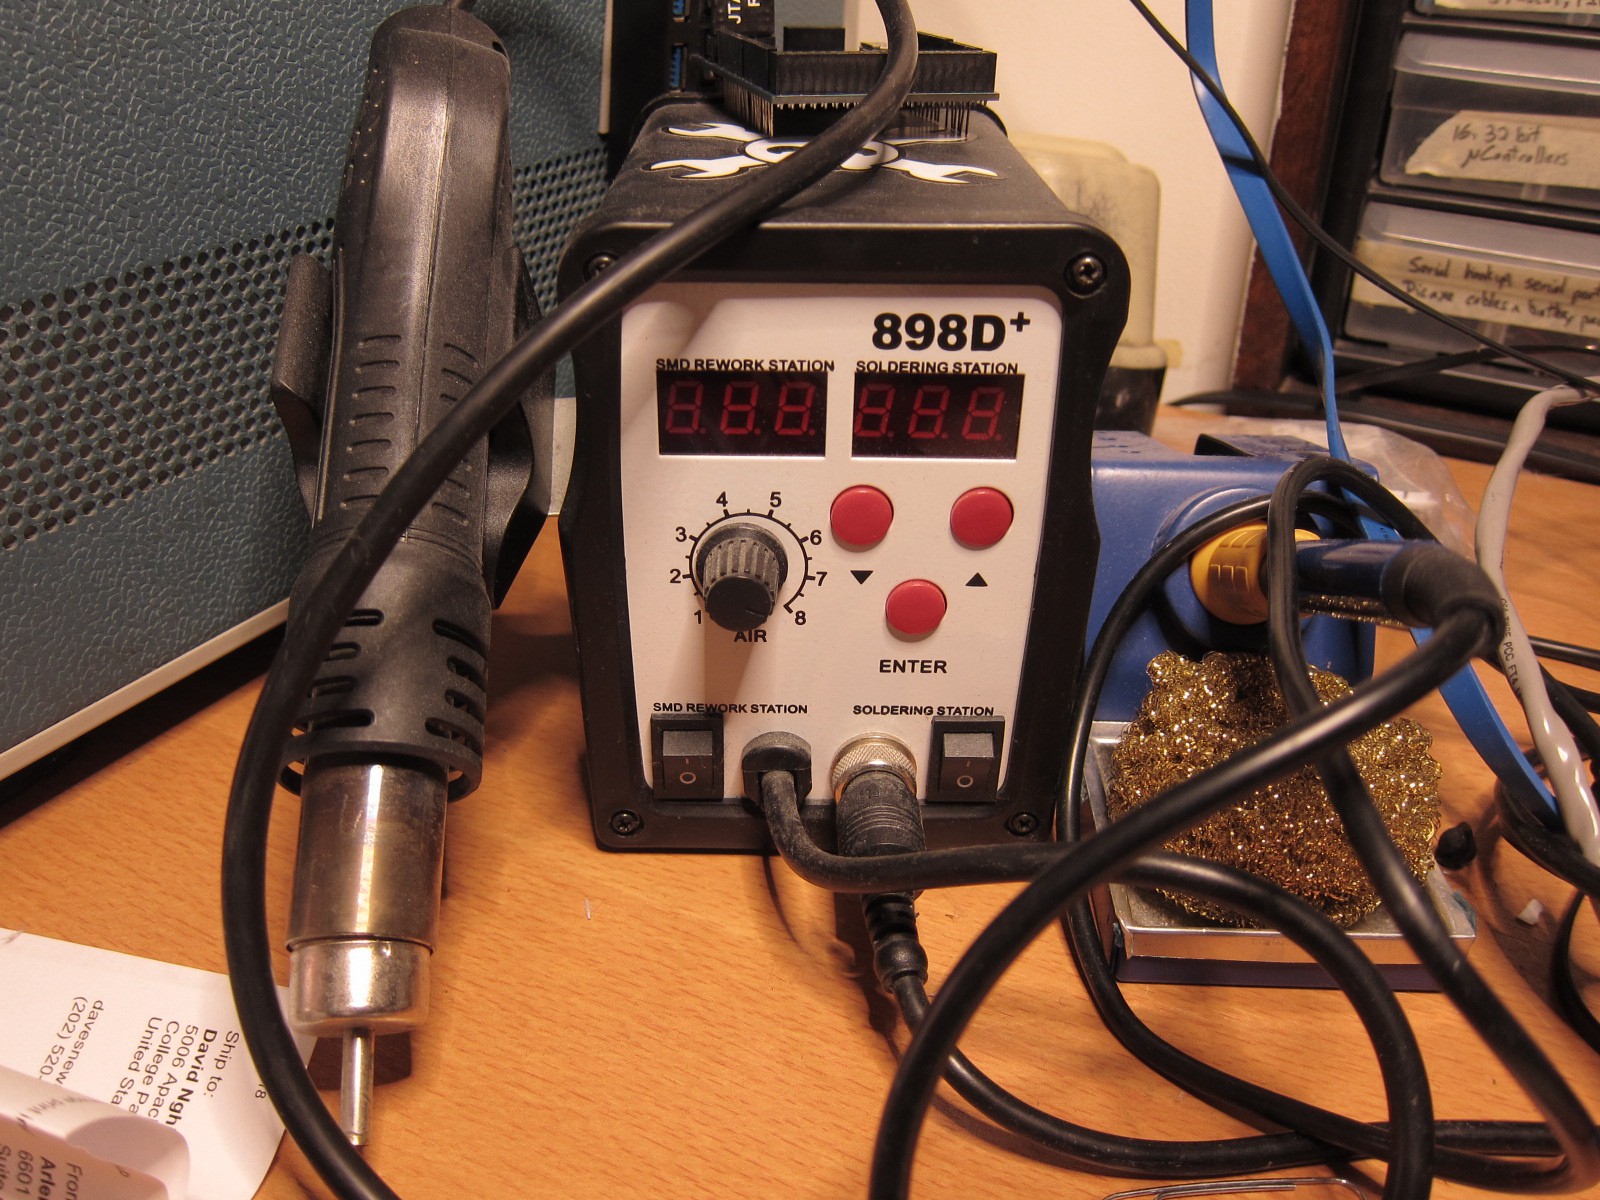
    • An SMD rework station. I got one of these, an 898D+ SMD rework station for around $65. You can get them off of Ebay or Amazon. I've worked with the 898D+ and overall, they're effective units for the money. I did have a problem with a crappy iron that broke, but I found another one for around $15. The system is Hakko based, so you'll want to get Hakko tips for them. Overall, I've been pretty happy with it's performance, and I've done a lot of soldering. The 862 is another decent one as well. They may not be Hakko or Weller, but they're sufficient until you can afford the higher end models.
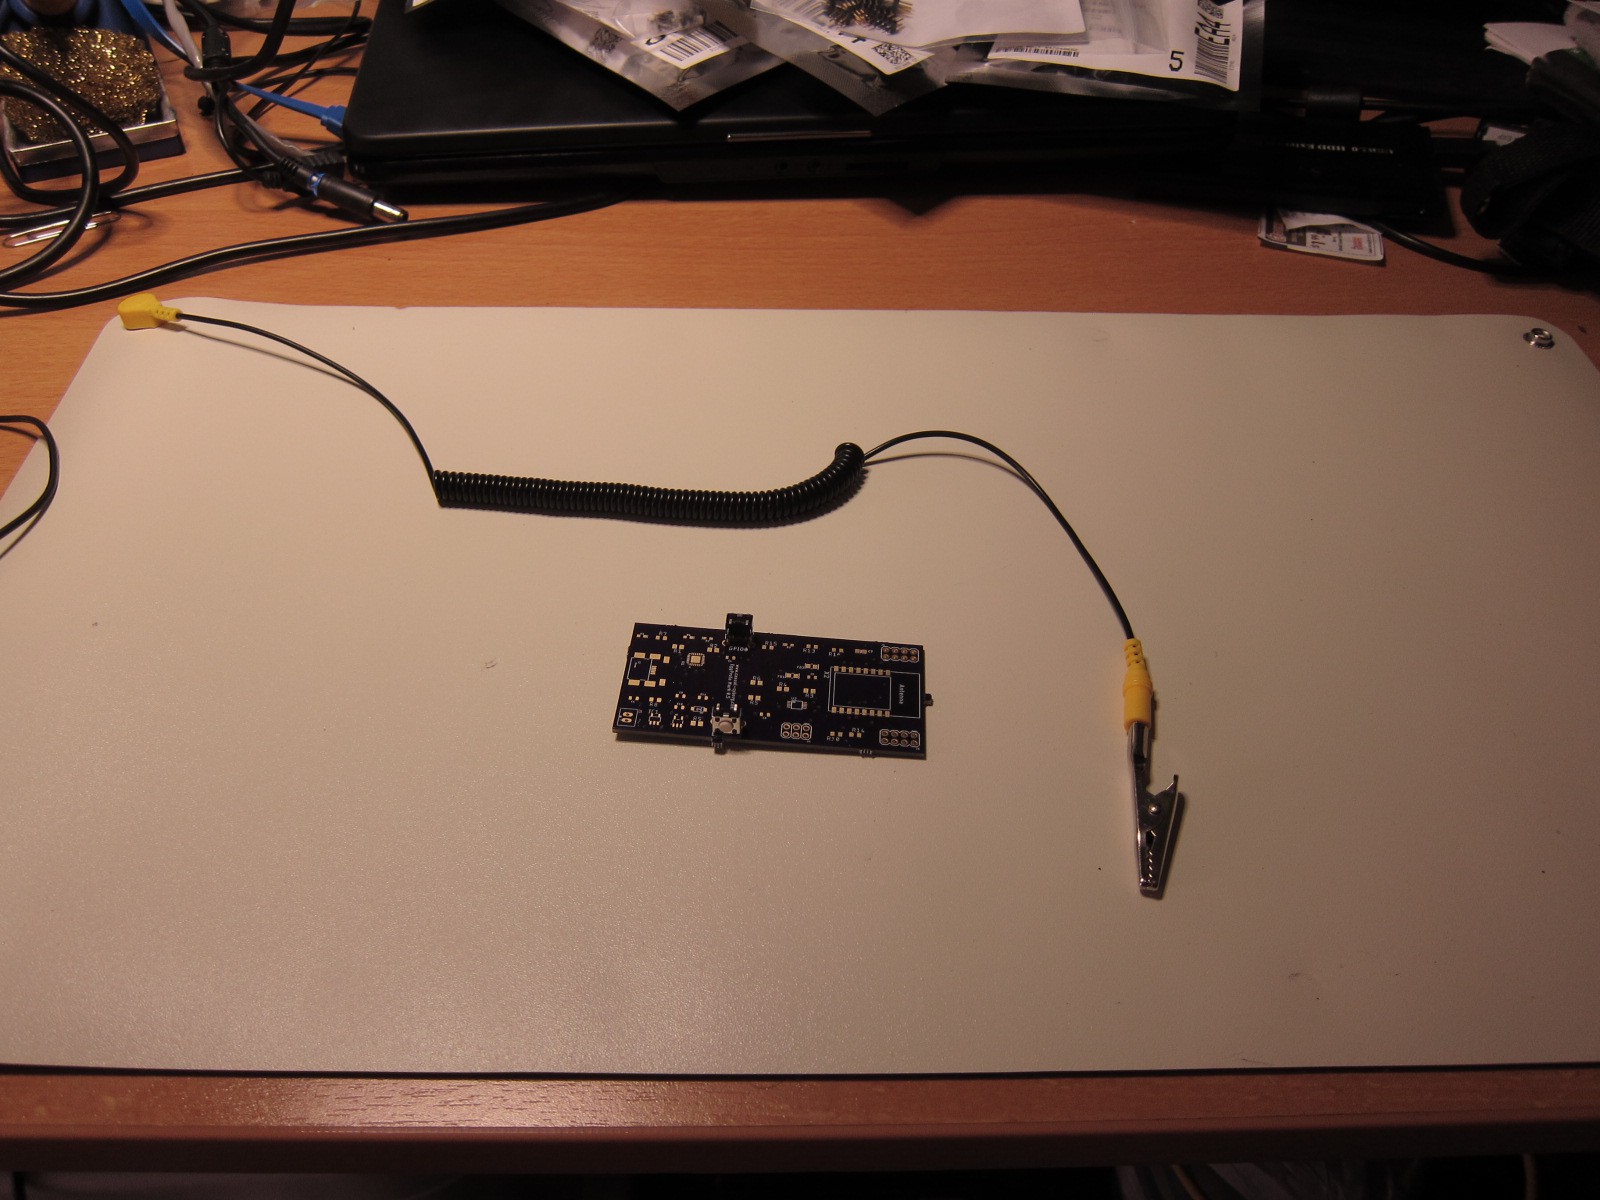
    • An anti-static ground mat. Last thing you want to happen is to put your component on, only to find out it doesn't work. Now, figuring out whether you fried it by static, or by overheating is another story. But, at least you can eliminate a variable by getting rid of static as a culprit. These can run for $13. I got one that's about 11.8" X 21.6".
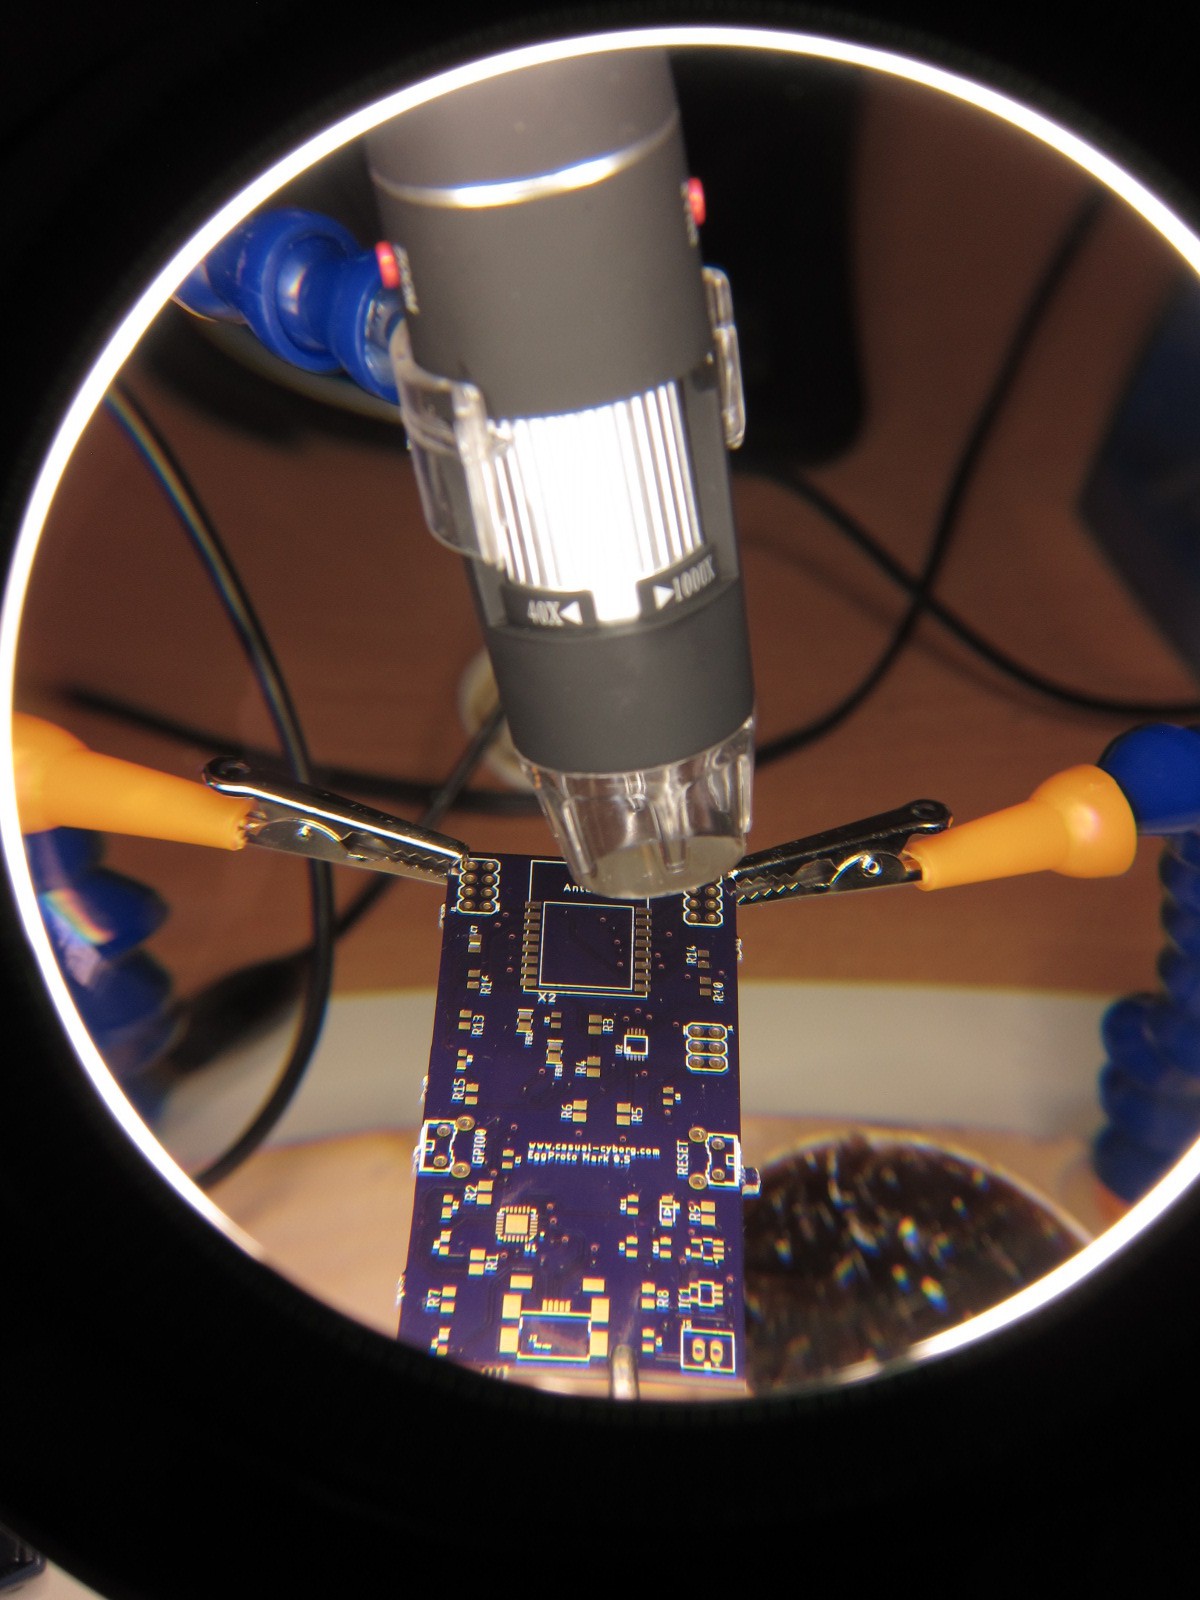
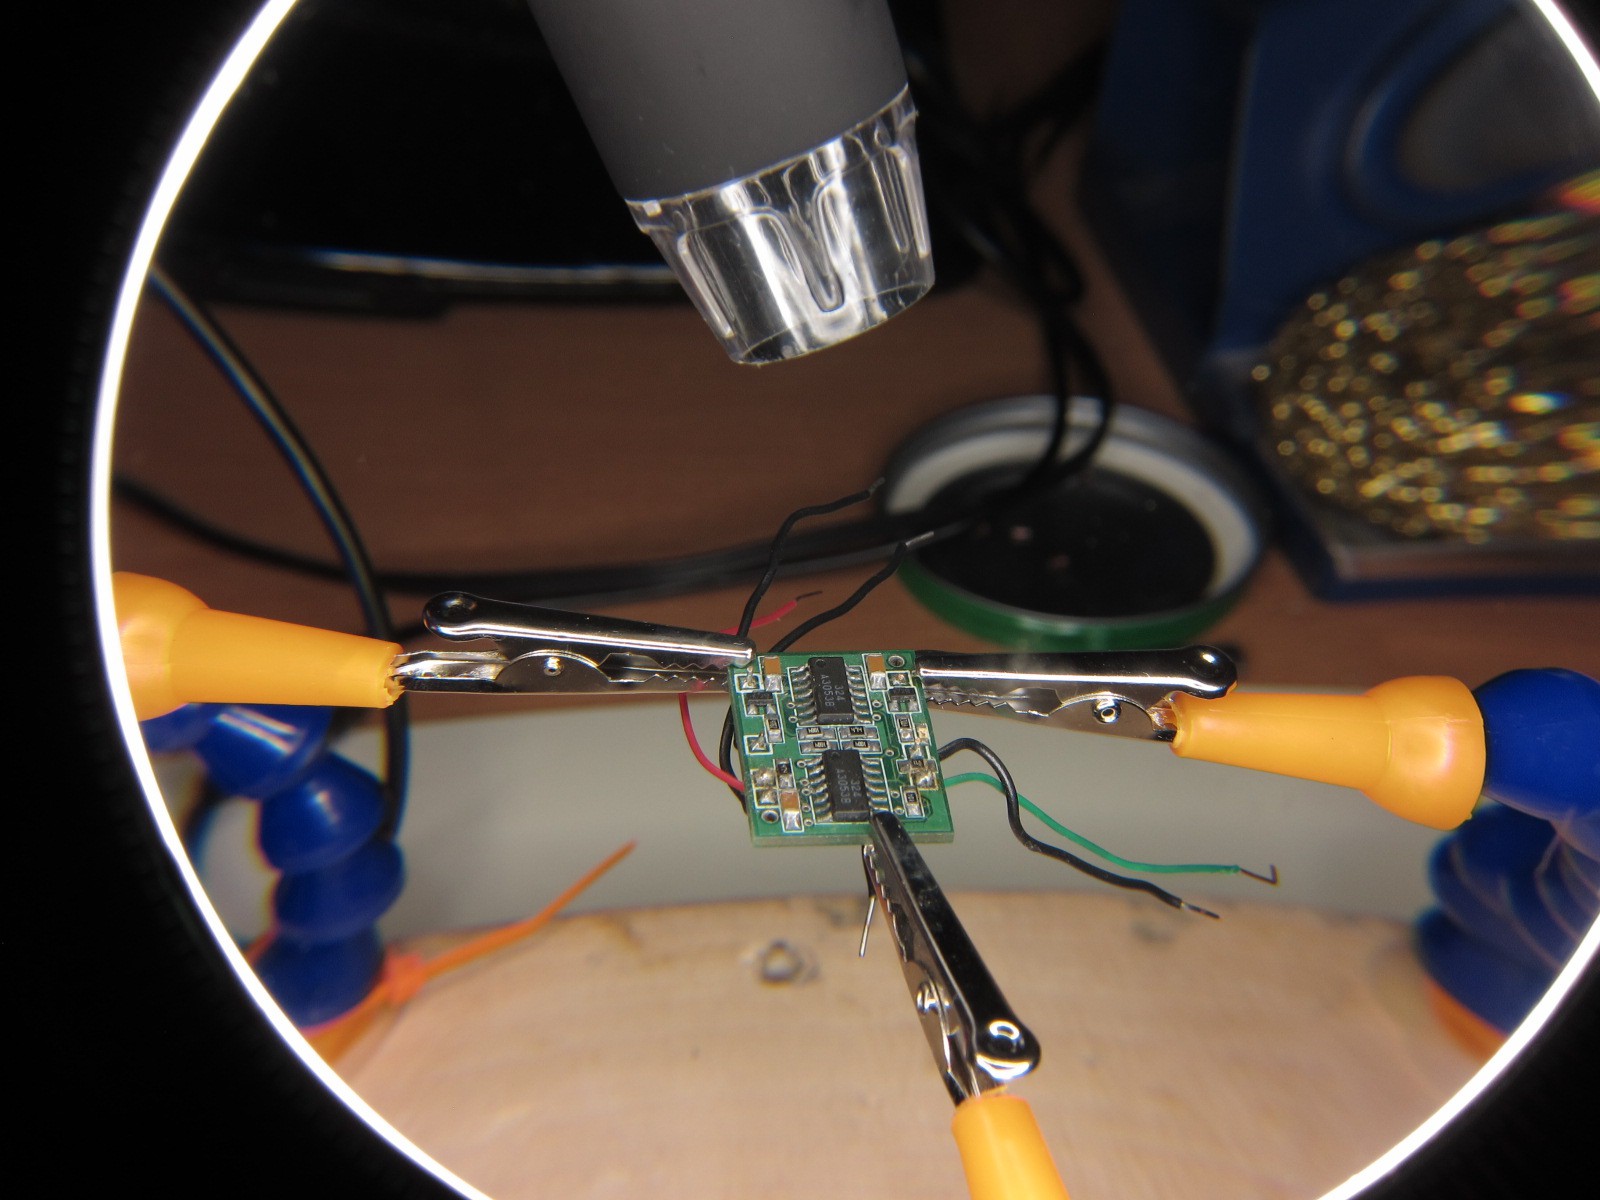
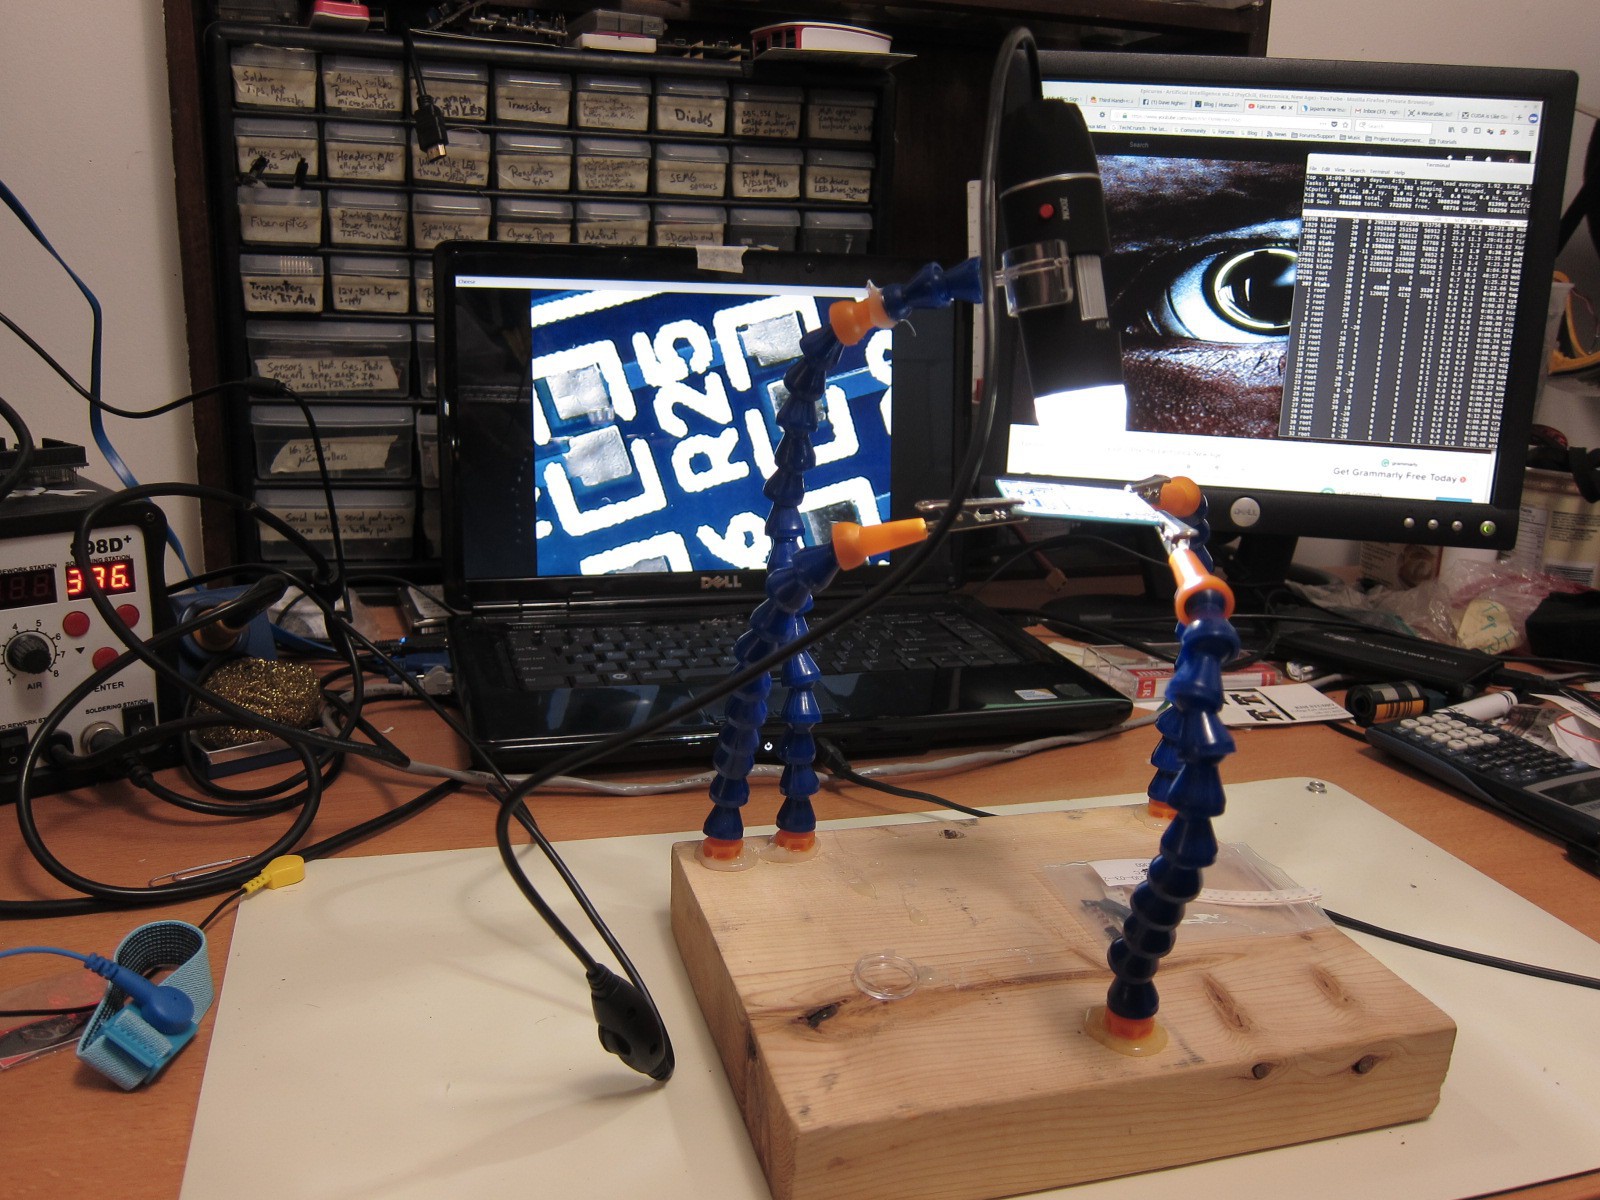
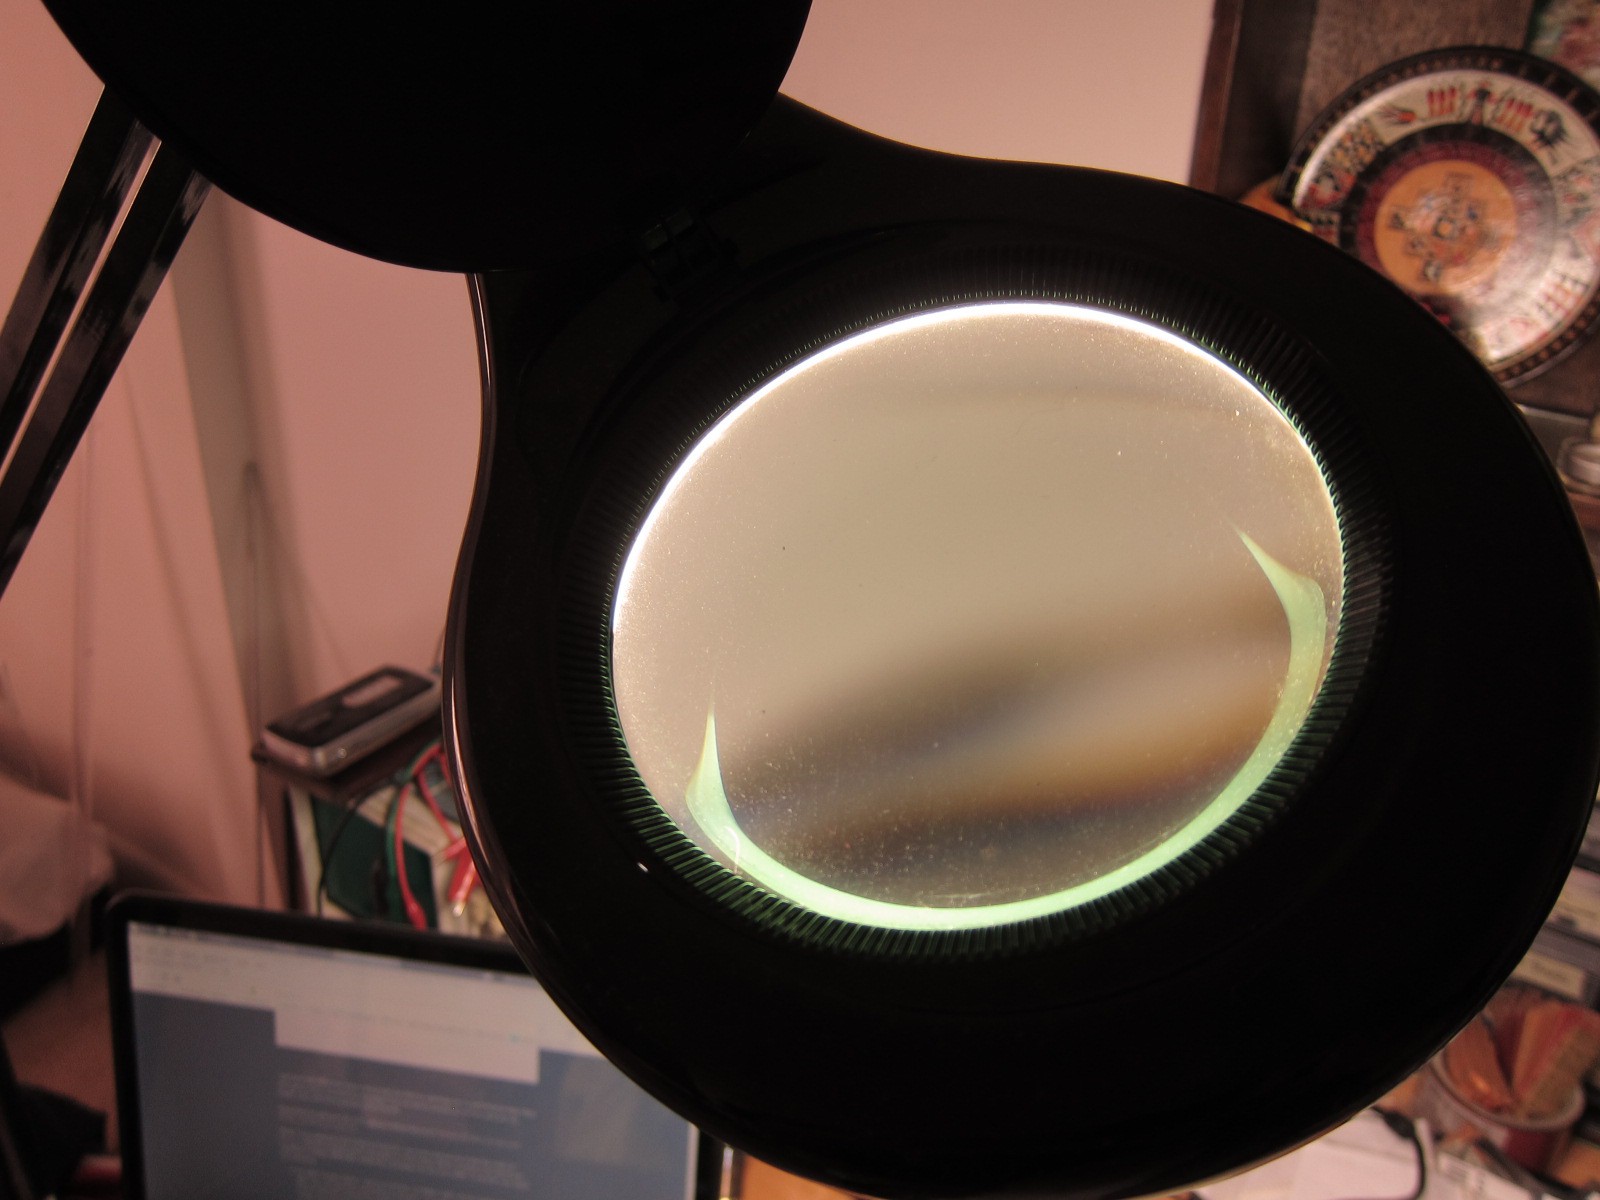
    • A third hand. Considering how crappy all, and I mean all of the third hands you can buy are out there, I made my own using some liquid coolant pipes, alligator clips, and a wooden base. I also wanted to use a flexible microscope that I can check the solder points after wards. But I don't use the microscope while I'm soldering. For that, I use a desk top magnifying glass arm with LED lights. Kind of like what a dentist office has.
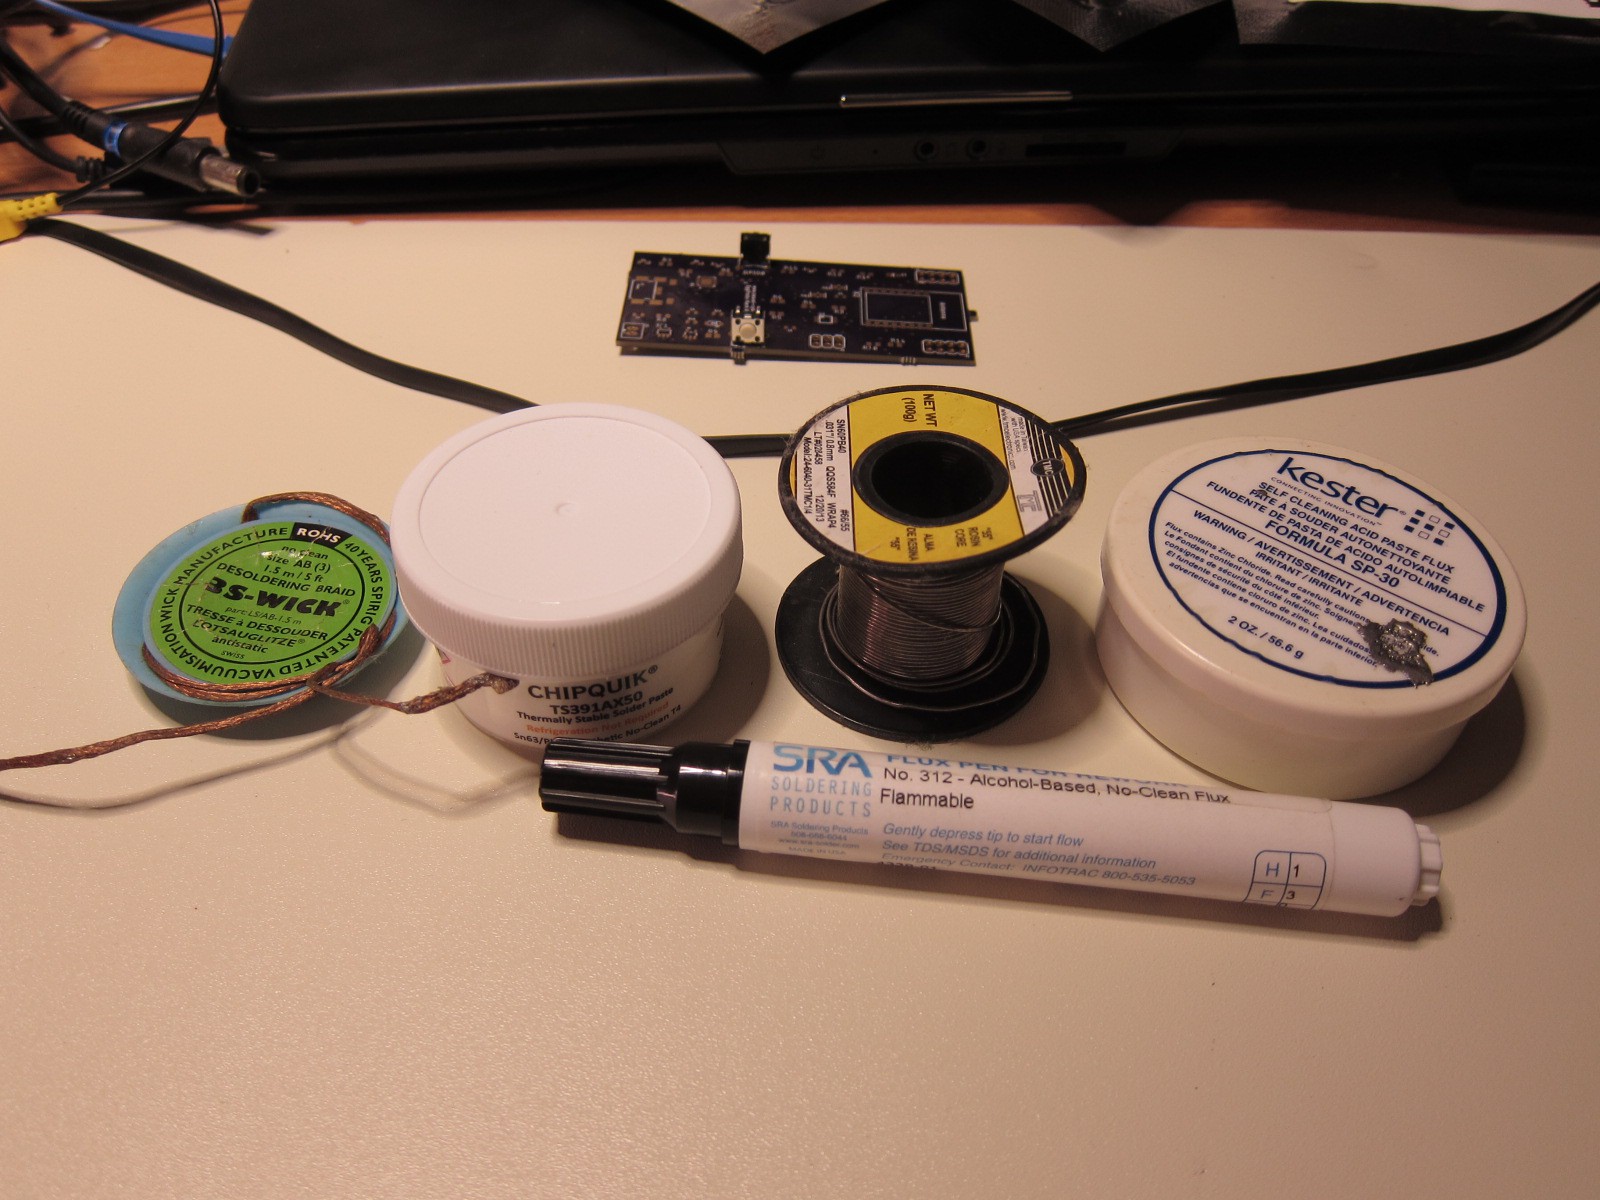
    • Liquid flux. I use both the resin flux paste, and the liquid stuff. The liquid stuff is preferred for SMD/SMT soldering because it doesn't leave as much of a mess behind. Usually you can get these for about $10.
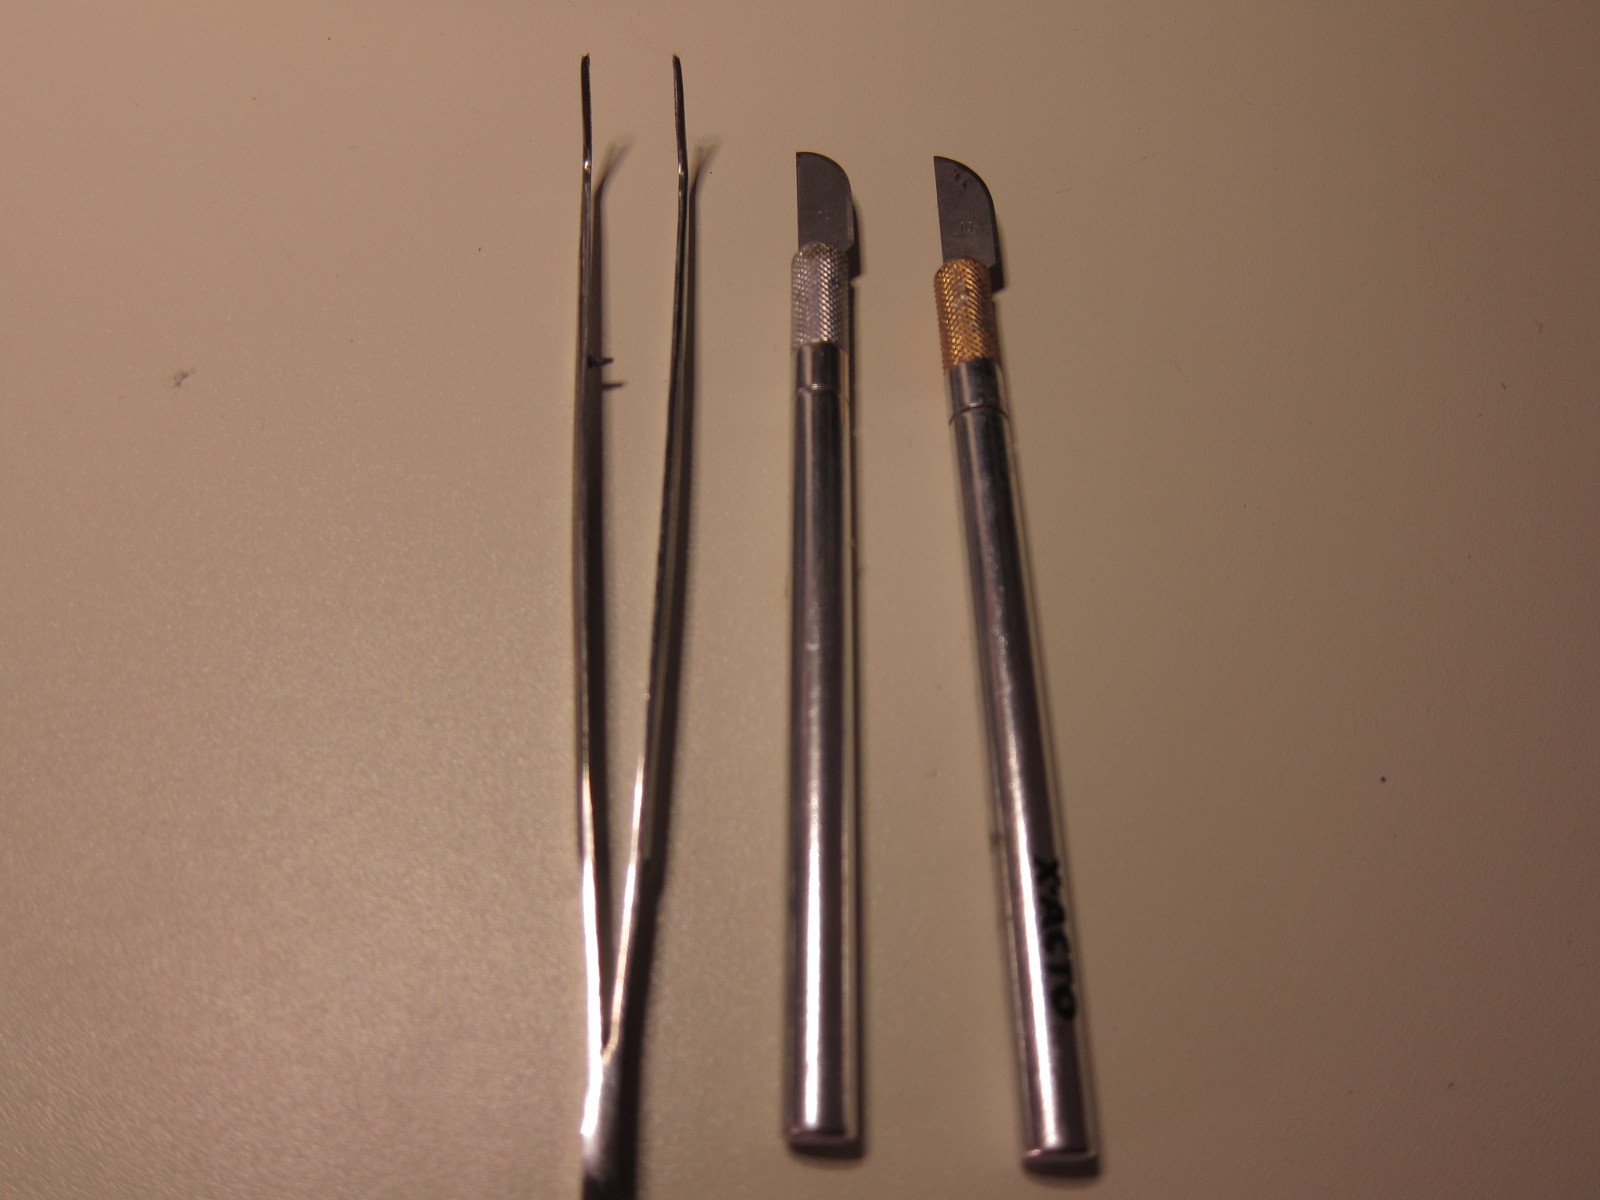
    • Long handle tweezers - the kind you pick up stuff with, not pick your nose with - and X-acto knives. For obvious reasons. Make sure they're non magnetic.
    • A grounding strap - Keep reducing the static variable! $10.
    • Solder. Now, I know the folks out in the crazy regulated countries like Europe are going to espouse non leaded solder. But given what I've experienced between leaded and non leaded, I'll take leaded, hands down. Last thing I need is busted joints and solder points going bad. I flows a lot better. Here's the thing about lead, humans evolved with it for practically forever. Lead is really an issue when it's been ground up into a very fine form and you ingest it. The chances of that are slim, as long as you wash your hands. Wash your hands! And you'll be just fine. $10. If you live in Europe or some other crazy over regulated place, you're stuck with non leaded solder, there's a bunch of how to guides that you can look up to make your life a little easier.
    • Solder wick. You can this for about $6-$10.
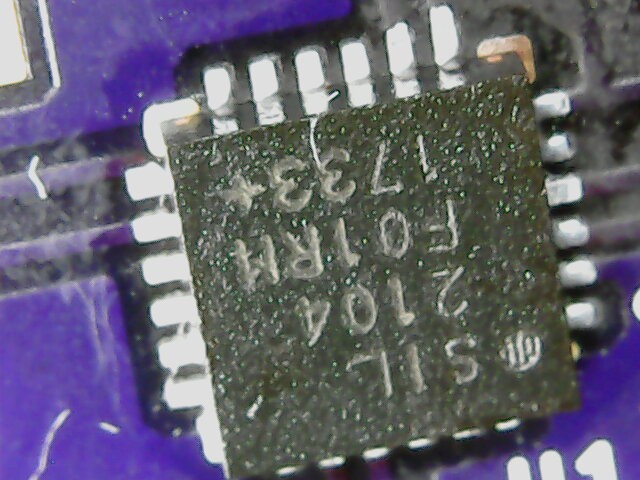
    • A stereo microscope. These things can cost over $200, so I created an easier solution. I got a a portable USB digital microscope off of ebay for $10, and I have my lab setup with the monitor right in front of my face. $10
    • A swing arm magnifying glass with LED lights. I have one of these, and man, does it make for much easier viewing of the circuitry! $33
    • A third arm. I hated the ones that are out on the market, so I made my own out of a block of wood, 2X6, a bunch of water cooler pipe house with alligator clips. It works so much better! $10 for the wood, pipes, and alligator clips.
    • Good working music. I usually listen to the Suicide Sheep youtube...
    Read more »

  • The PCB layout, tools, cloud software, and artificial intelligence

    Casual Cyborg02/04/2018 at 08:03 0 comments

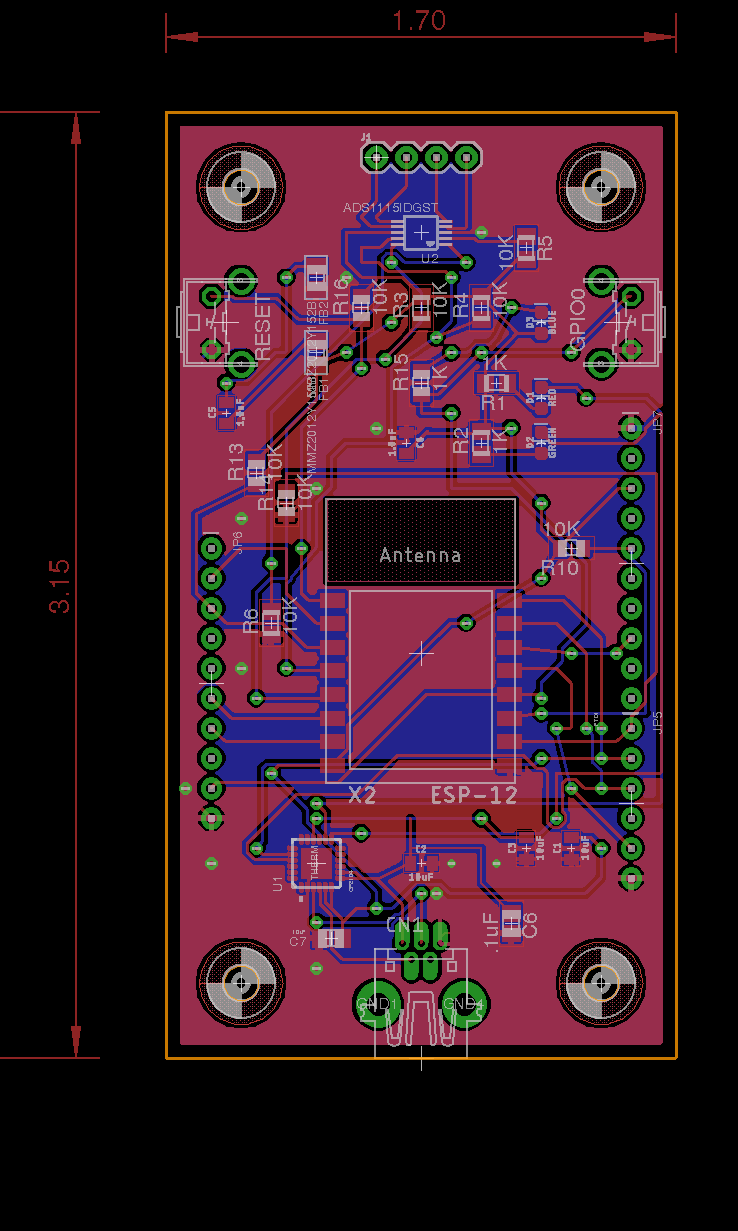
    The circuit board layout is done! I did it! I've completed my first PCB, which I did in EagleCAD, and I used this set of tutorials from Sparkfun.

    I come from a background in gEDA. EaglePCB is functionally the same as gEDA, and far far better for generating the PCB image file than gEDA. The best part are the vast libraries, though for safety sakes I've been laying out my own custom footprints. But the first iteration of the PCB design is complete! The circuit board is below.

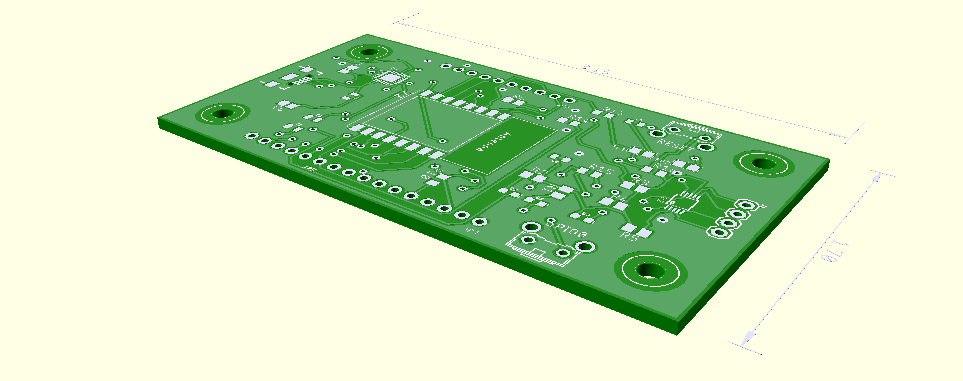
    And here's a 3D rendition of it, using a process of exporting the eagleCAD gerber files, then using the eagle-pcb package from github to export a file that's compatible with OpenSCAD.

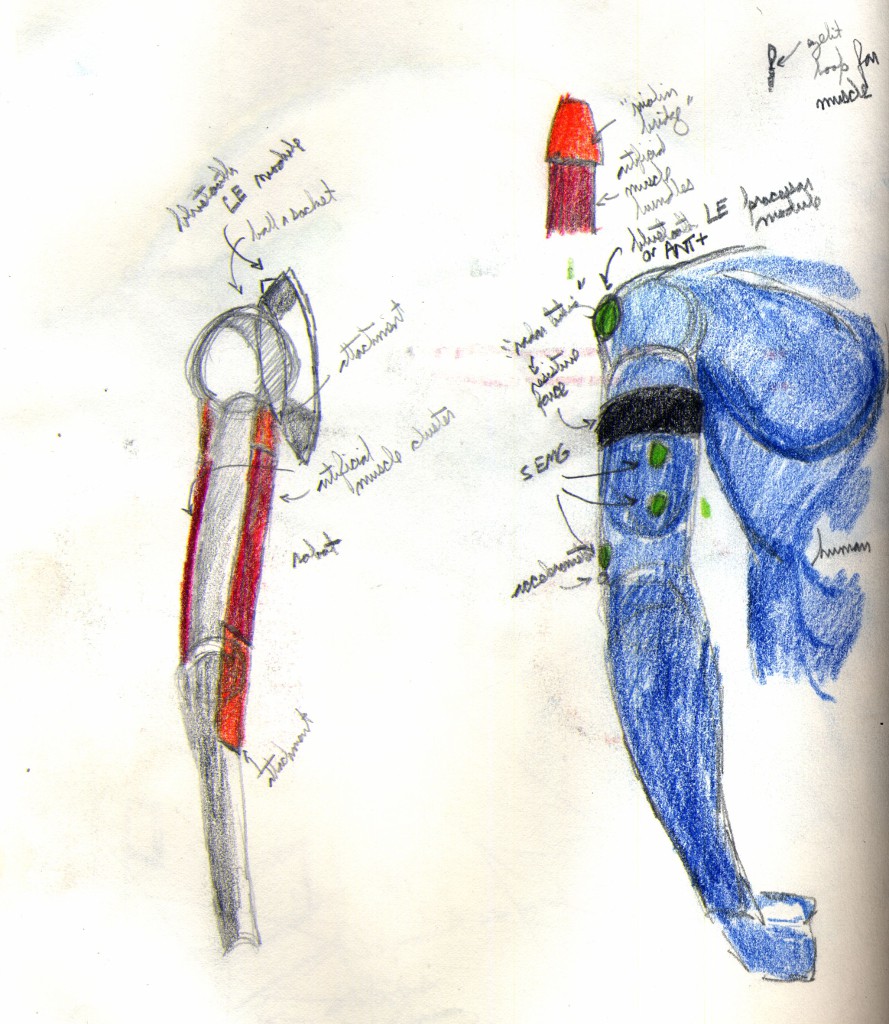
    The dimensions of the board are 3.5 inches by 1.7 inches, which makes it very easy to integrate into clothing. That's without a battery though. Since this is my first iteration, and I just want to make a bunch to test out some concepts, I already have the 2nd iteration in mind to go. The other thing is starting out, I haven't integrated some of the geometrical concepts into the pod design yet. It's important functionally for me to have this comfortable for a physically active person, so having the circuit be as small as possible, while accommodating room for a battery pack and being wearable is important. Consequently, it has to conform to a set of guidelines that I developed when I made SEMG sensor suit. This is my hand drawn art concept for the positioning and pod design. The positioning is based on my athletic experience - I'm a long time martial artists of over 15 years.

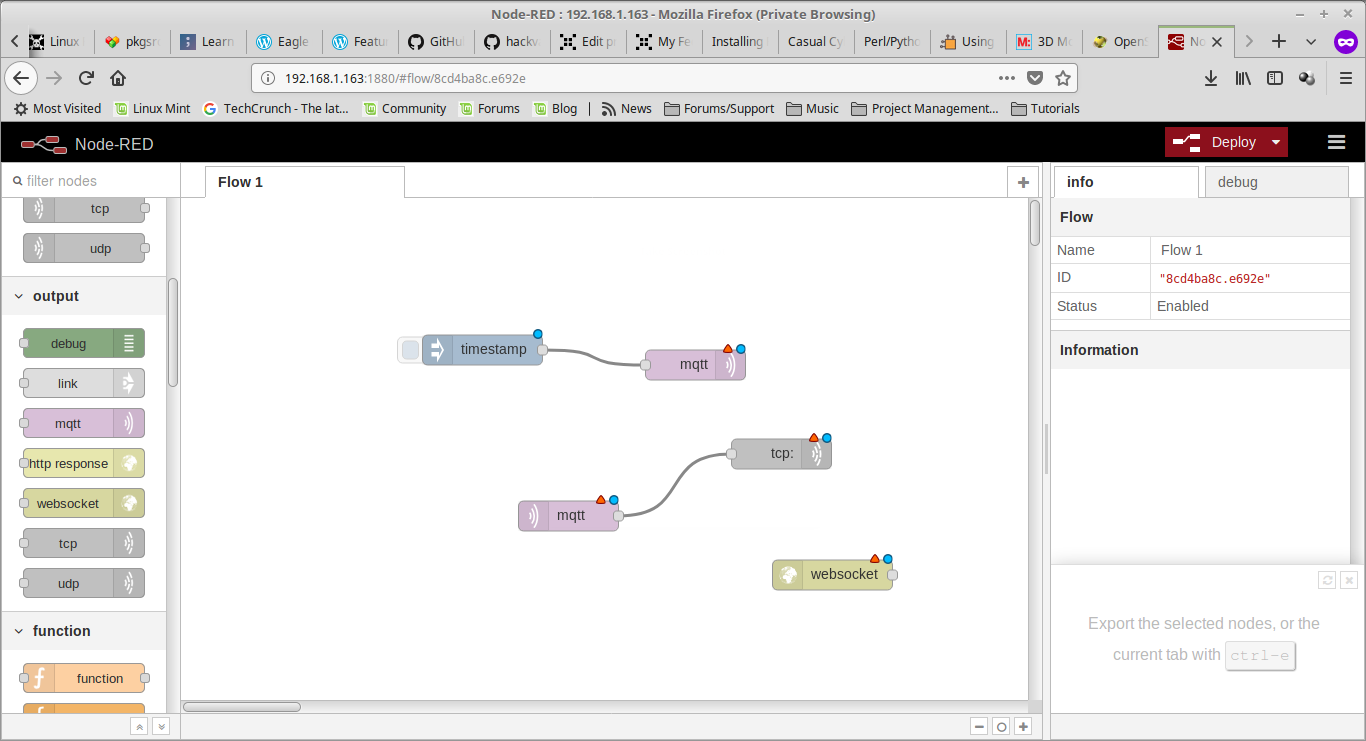
    Also, and this is an important part of this concept, I have the cloud software up and running. I'm using the open source IoT framework Node-Red to make it easy for students, and Makers in setting up their hardware/cloud interface platforms.


    Node-Red is a great piece of open source software for general, GUI based interfacing with Internet of Things platforms. What I'm going to do next is have a bunch of local college of engineering students use my platform, and see what use cases crop up, and develop some custom software in Python to interface with Node-Red for a more specific cloud processing platform. Since much of my work was on human biosensor data analysis, it would have functions that collect baseline data, maximums, minimums, does basic statistical analysis like root mean square, and what I really want to incorporate is the use of neural networks to function as a second "spine."

    Replicating a basic neural network - because let's face it, I'm not going to recreate the human neural net system in its entirety, at least not presently - doesn't involve a lot of neurons. For that, in the beginning I'll integrate something like tensor flow or IBM's Watson on the backend. But what I really want to build and integrate is a wearable neural network interface with the wearable IoT device. So, I'm starting off with the Neuromem Biomorphic BrainCard. Which unfortuately isn't being made anymore. I lucked out because I've been following hardware neural networks since the 1990's, starting with the ZISC architecture of chips. I have this bad boy in my possession.
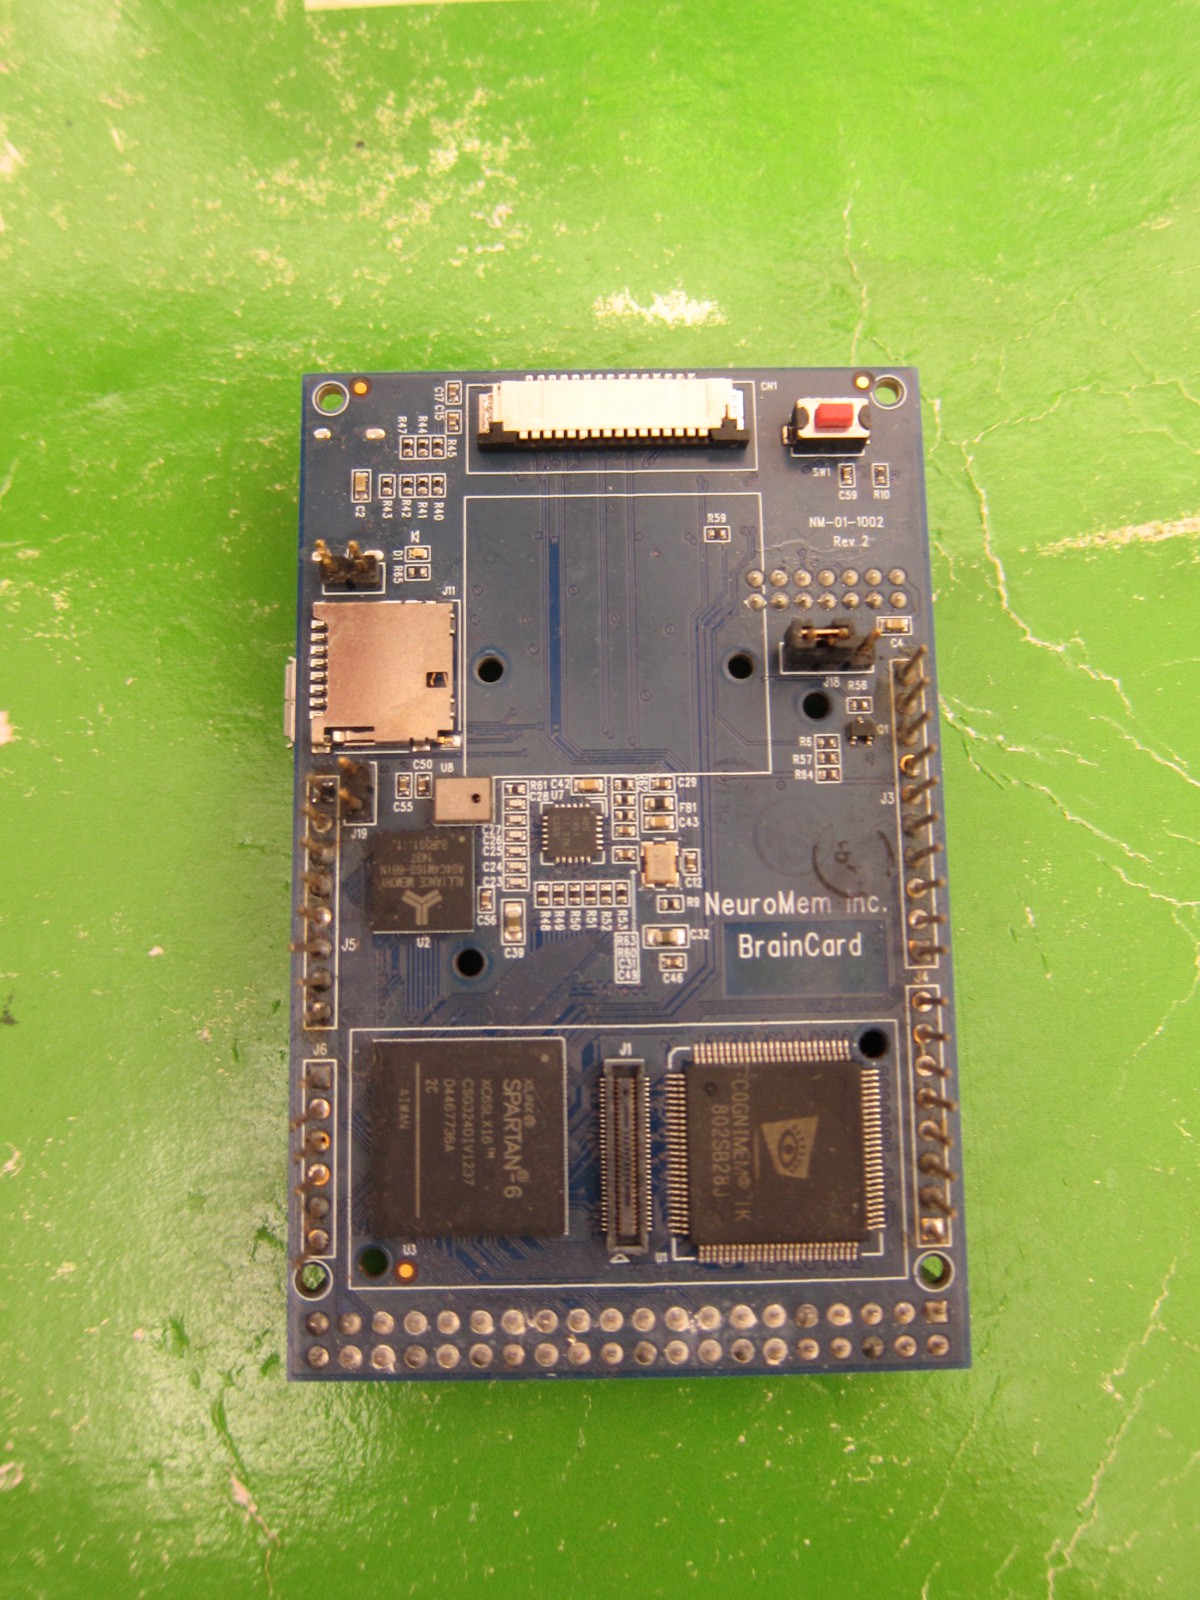
    It has a whopping 1024 neurons, which honestly for what I'm trying to do, could be overkill. Not to mention the chips are kind of expensive. So, while I'm integrating this, I am looking at either the Intel Curie, which has 128 neurons, and you can get on an Arduino 101, or, better yet, I've been evaluating the nm500, which comes with 512 neurons. That might just be the right size that I'm looking for.

    And since I'm synthesizing Man and Machine on such an intimate level, which brings this far more inline with my original vision, the wearable, synthetic human neural network and sensor suit, it actually...

    Read more »

  • Revisiting the SynthaSense Suit, Mark 2 Concept

    Casual Cyborg06/19/2017 at 17:36 0 comments

    I have several hard core body sensing projects, one of which got me a lot of internet exposure back in 2015, which is the SEMG sensing suit.

    Control Stuff With Your Muscles, SynthaSense Suit, Mark 2

    I went back over the last log that I entered for it, and yeah, basically what I'm attempting to do here is to create the foundation for a much broader based body sensor suit that's user accessible to hobbyists and hackers. Some of the primary goals are still the same. These are the Mark 2 suit's primary goals.

    • It needs to be 32 bit
    • It has to have an RTOS
    • It needs to have a neural network
    • It needs to be wifi and bluetooth LE capable
    • It needs to be mesh capable

    So, no, there won't be any SEMG sensing capability on board like my previous project. And it will output the data for a neural network that runs on the cloud, as opposed to hardware, which, by the way, I'm not opposed to doing on board - I have a neural mem card, which has 1024 neurons. It won't have an RTOS, as it's straight up Arduino/C/C++, it is mesh capable, and it is wifi and bluetooth capable.

    You can see the long term conceptual end point in this entry in my SEMG log.

    Moving the Synthetic Spine Muscle Suit Forward

    Essentially, the IoT wearable Development Board is the nexus and essential platform for the suit. Kind a neat how it all ties together!

  • Useability Testing: Finding Out Channels, And Is it Really Wearable?

    Casual Cyborg06/15/2017 at 19:11 0 comments

    The next part of prototyping is figuring out if this is really useable for most kinds of wearables. When you do a search for wearable IoT development board, and this is kind of funny, there are two things that show up, and then my project on google. In terms of competition, I am not a fan of what's out there right now. First, there's another watch.

    I f--king hate watches. Unless I'm using a watch to tell time or help me with my diving, I f--king hate wearable freaking watches. The next is this chip thing from NXP. It's small. It's got sensors. It's designed to be stuck in a watch. In fact, in terms of the competition, they're all designed to be stuck in a watch, and worse, they're all freaking bluetooth. Not a fan of bluetooth. Tell me, how many devices can you pair with bluetooth? Oh, what's that?

    JUST ONE?

    NOT A FAN.

    Nothing out there has what I want. I want connectors. I want hackability. I want sewability, I want velcro ability, I want wifi, I WANT MESH to get multiple data reads from multiple devices, I want daisy chainability, and most importantly, I want SIMPLICITY, and EASY access to lots of already done libraries, and already done sensor boards and devices.

    You want to know why? Because:

    A.) I'm a hacker, and a down and dirty prototyper. I want to get the proof of concept out the door and tested so I can improve it really really fast. I don't want to waste my time outside of what I know, which is Arduino and Processing. And C/C++/Python.

    And B.) Because I'm a lazy programmer. And guess what. Lazy programmers are the best kinds of programmers, because they'd rather get shit done fast, efficiently, and working well, so they can do other stuff. I don't know everything. Who needs to know everything when Arduino forums have answers for everything? I don't want to have to call some engineer to get my answers, when I can get it really fast on the Arduino forums.

    But there's one other thing for me. I'm an anime fan, and I'm an anime fan of a particular series. That series is BubbleGum Crisis.

    As a woman once told me, it's basically "Chick Iron Man." In the Tokyo 2040 series, at one point when the main protagonist is talking to the mysterious Sylvia Stingray, she's instructed that her inner suit is embedded with sensors that talk to the mecha suit. And in a lot of ways, that's the concept I'm prototyping.

    Not another Motha F--kin Watch Wearable. How many people out there are still wearing their Fitbit after six months?! Then again, I'm not addressing that segment at all, so, you know. They're not the ones I want.

    What I do know is I want something that I can wear in a suit, a glove, a kick pad, a helmet, a mask, etc.

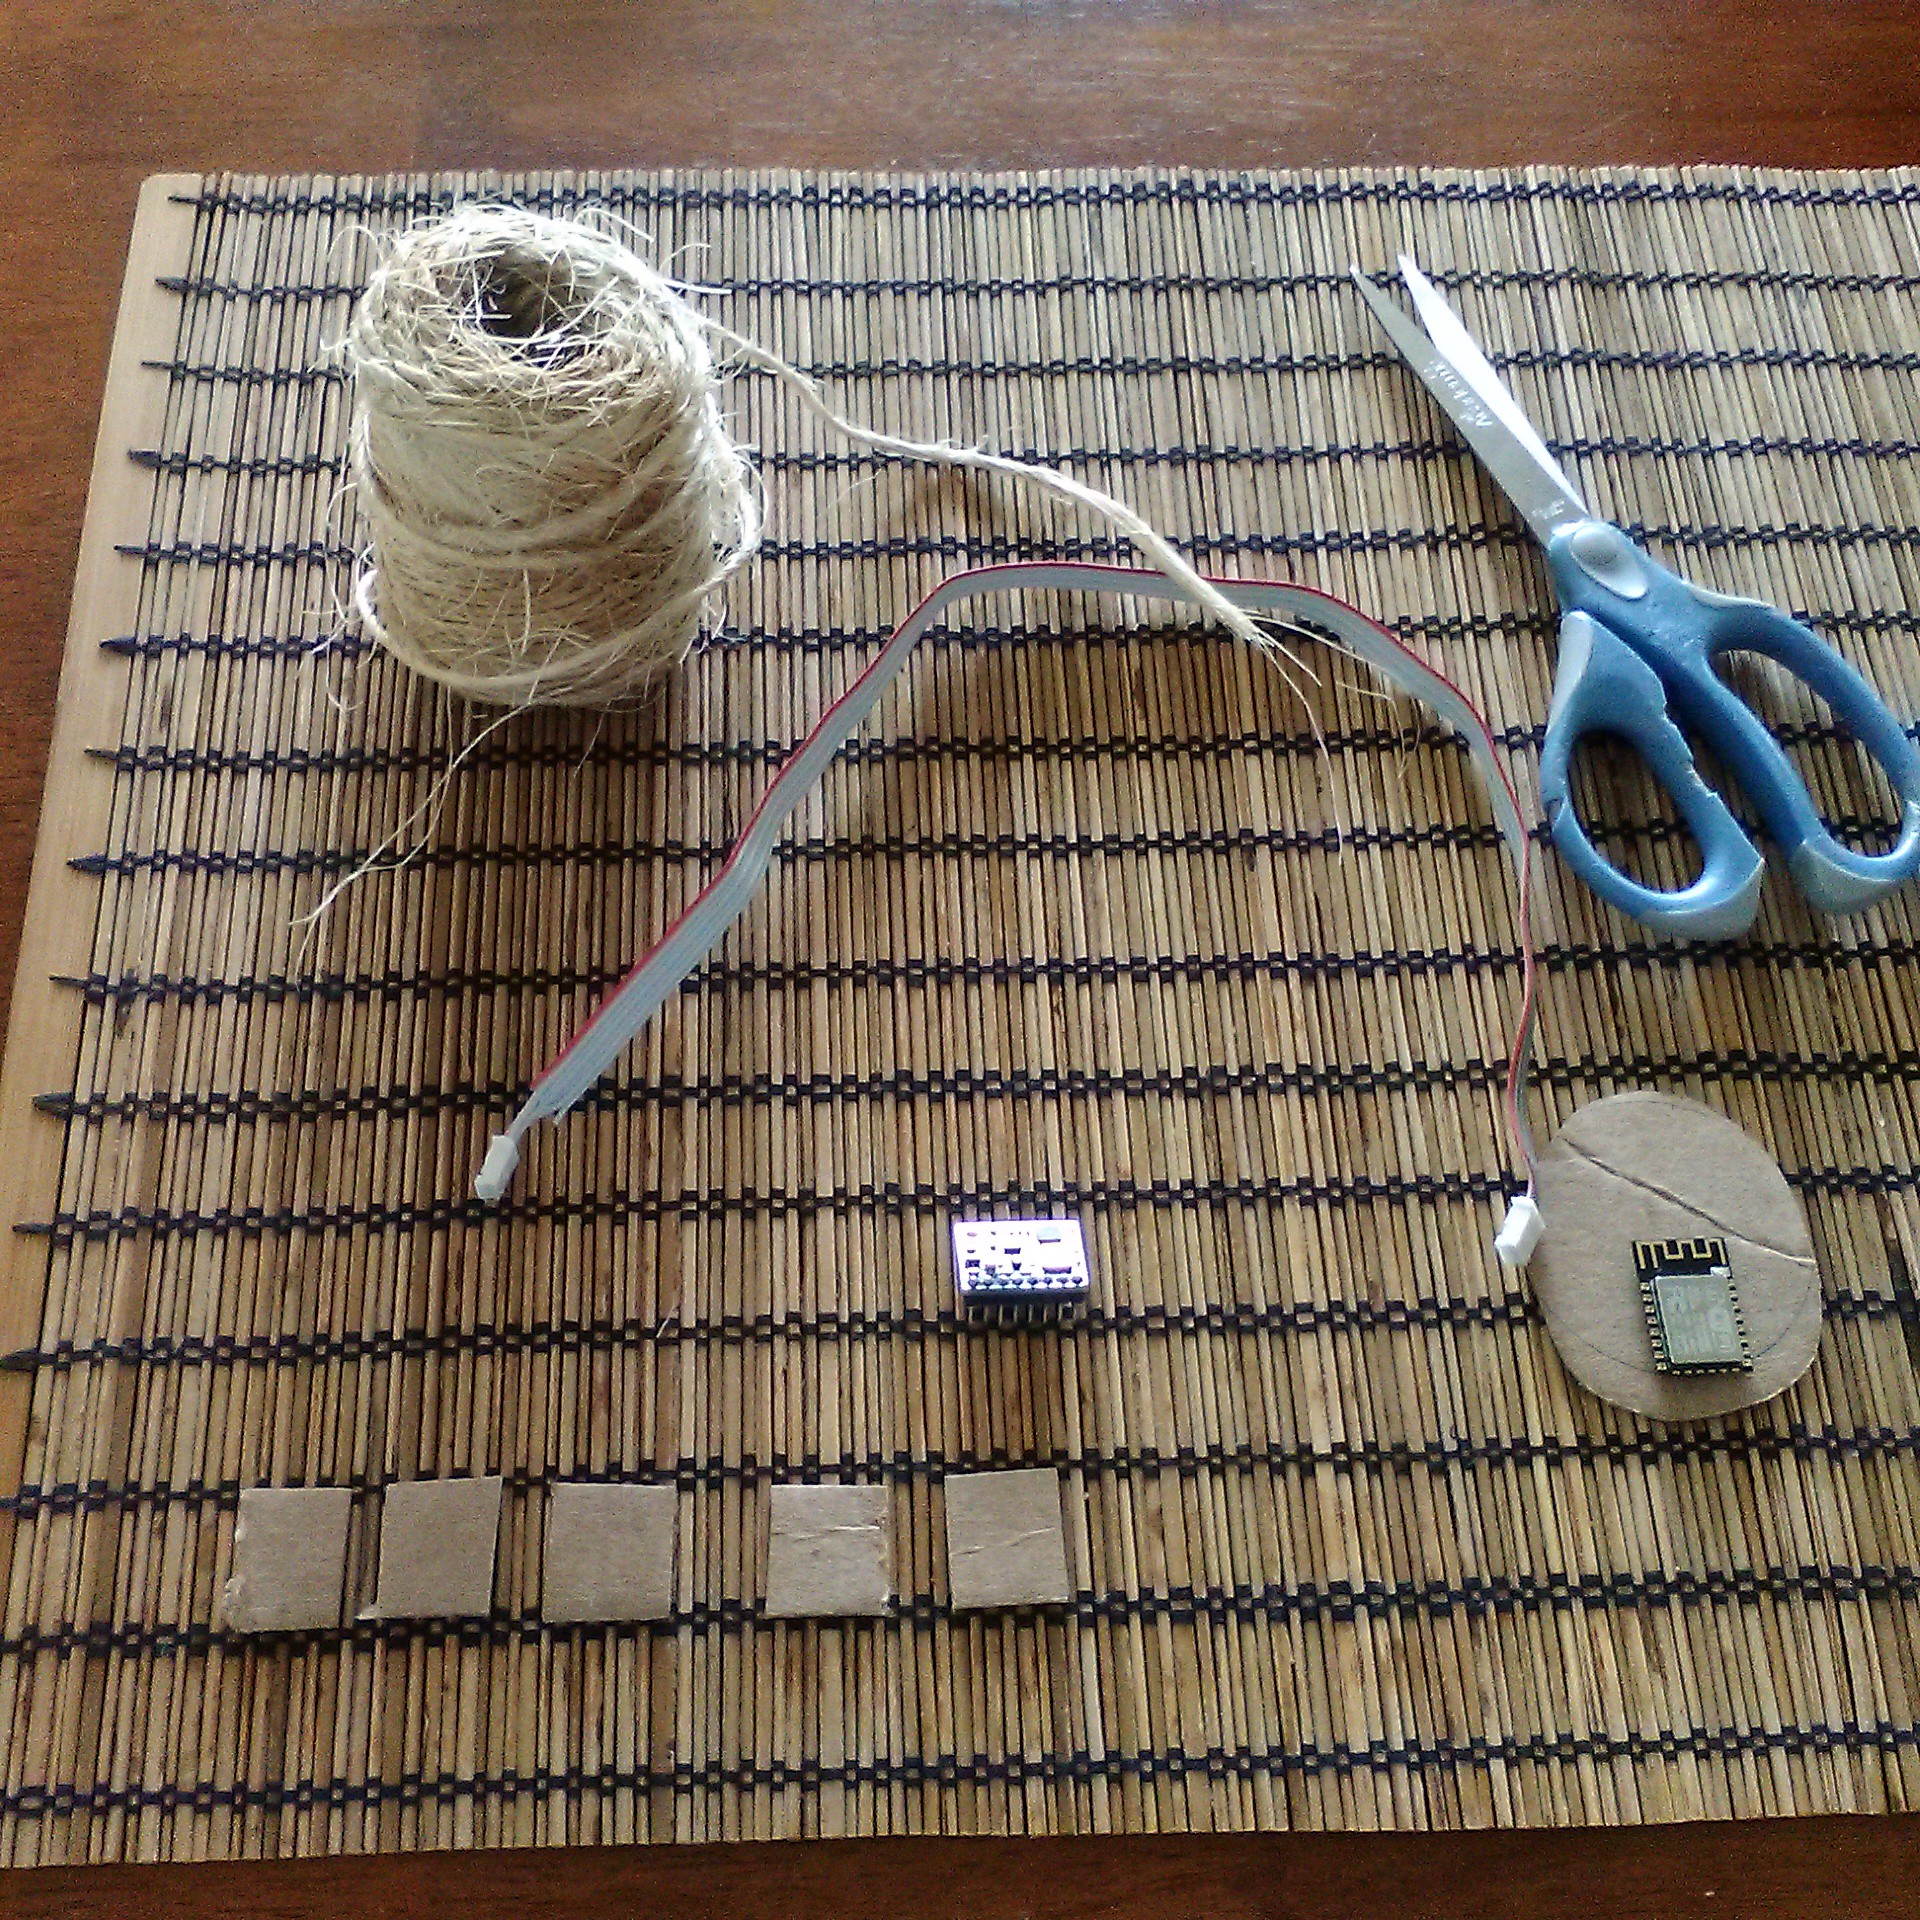
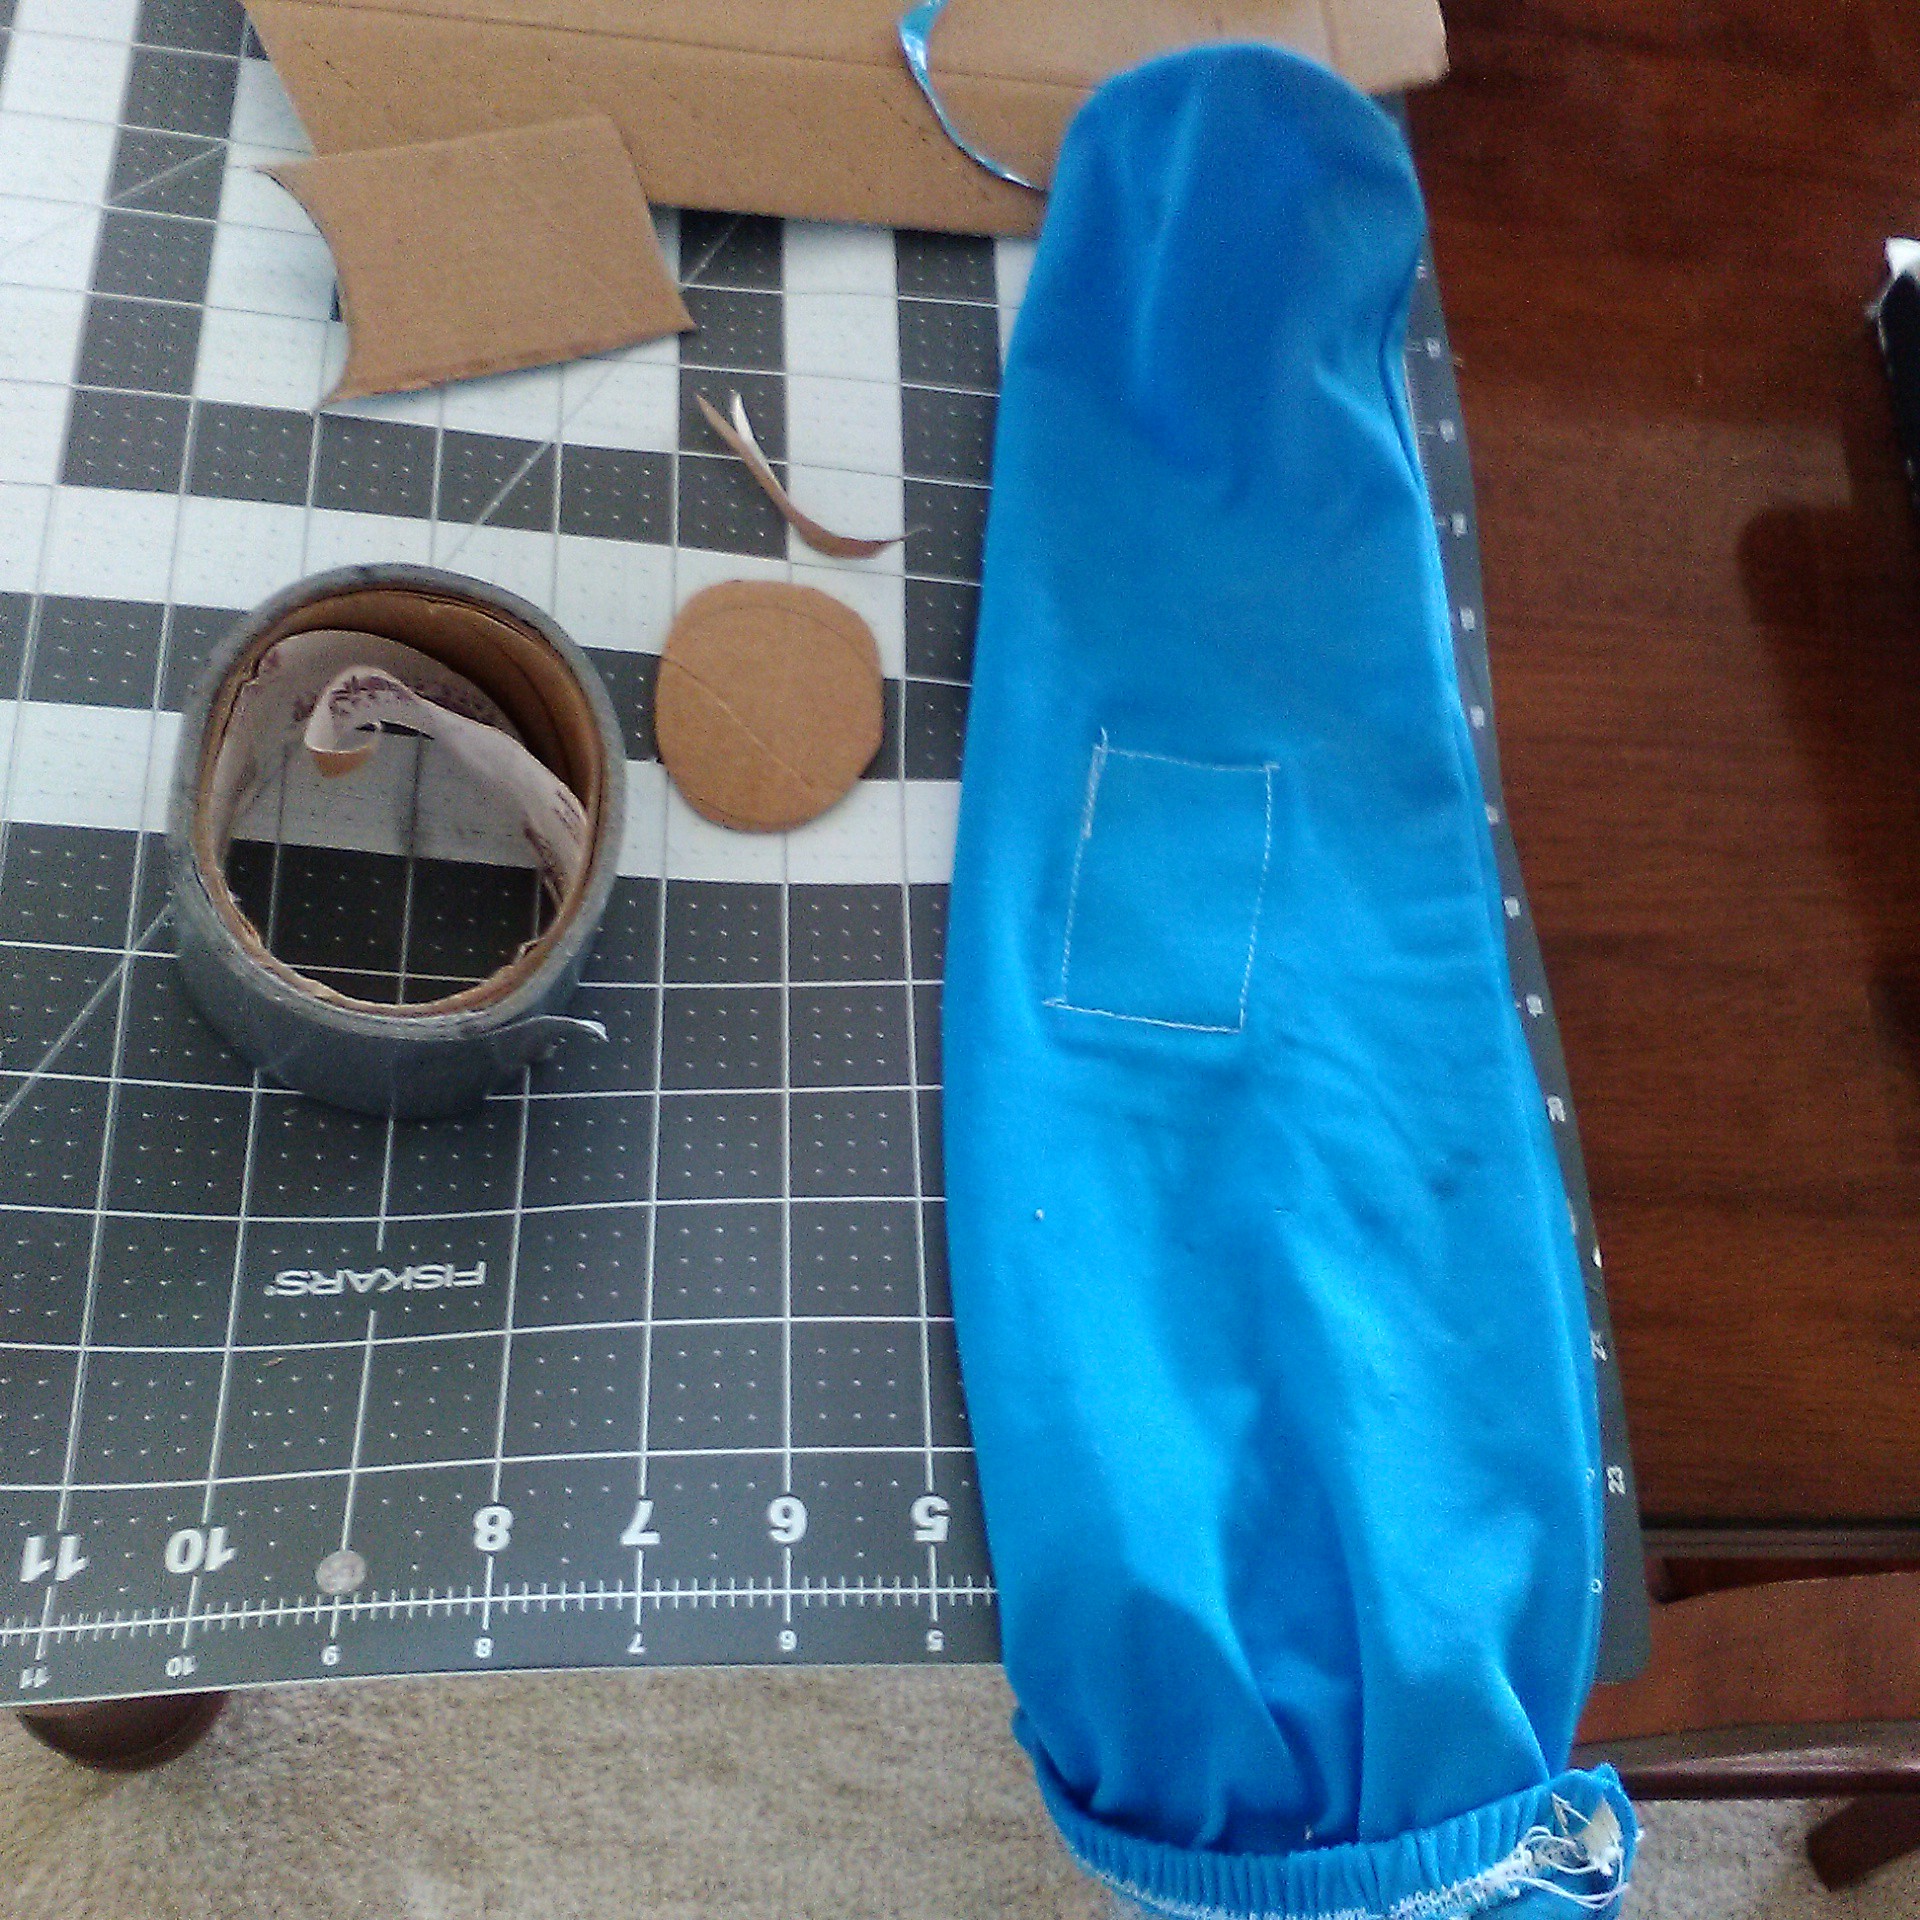
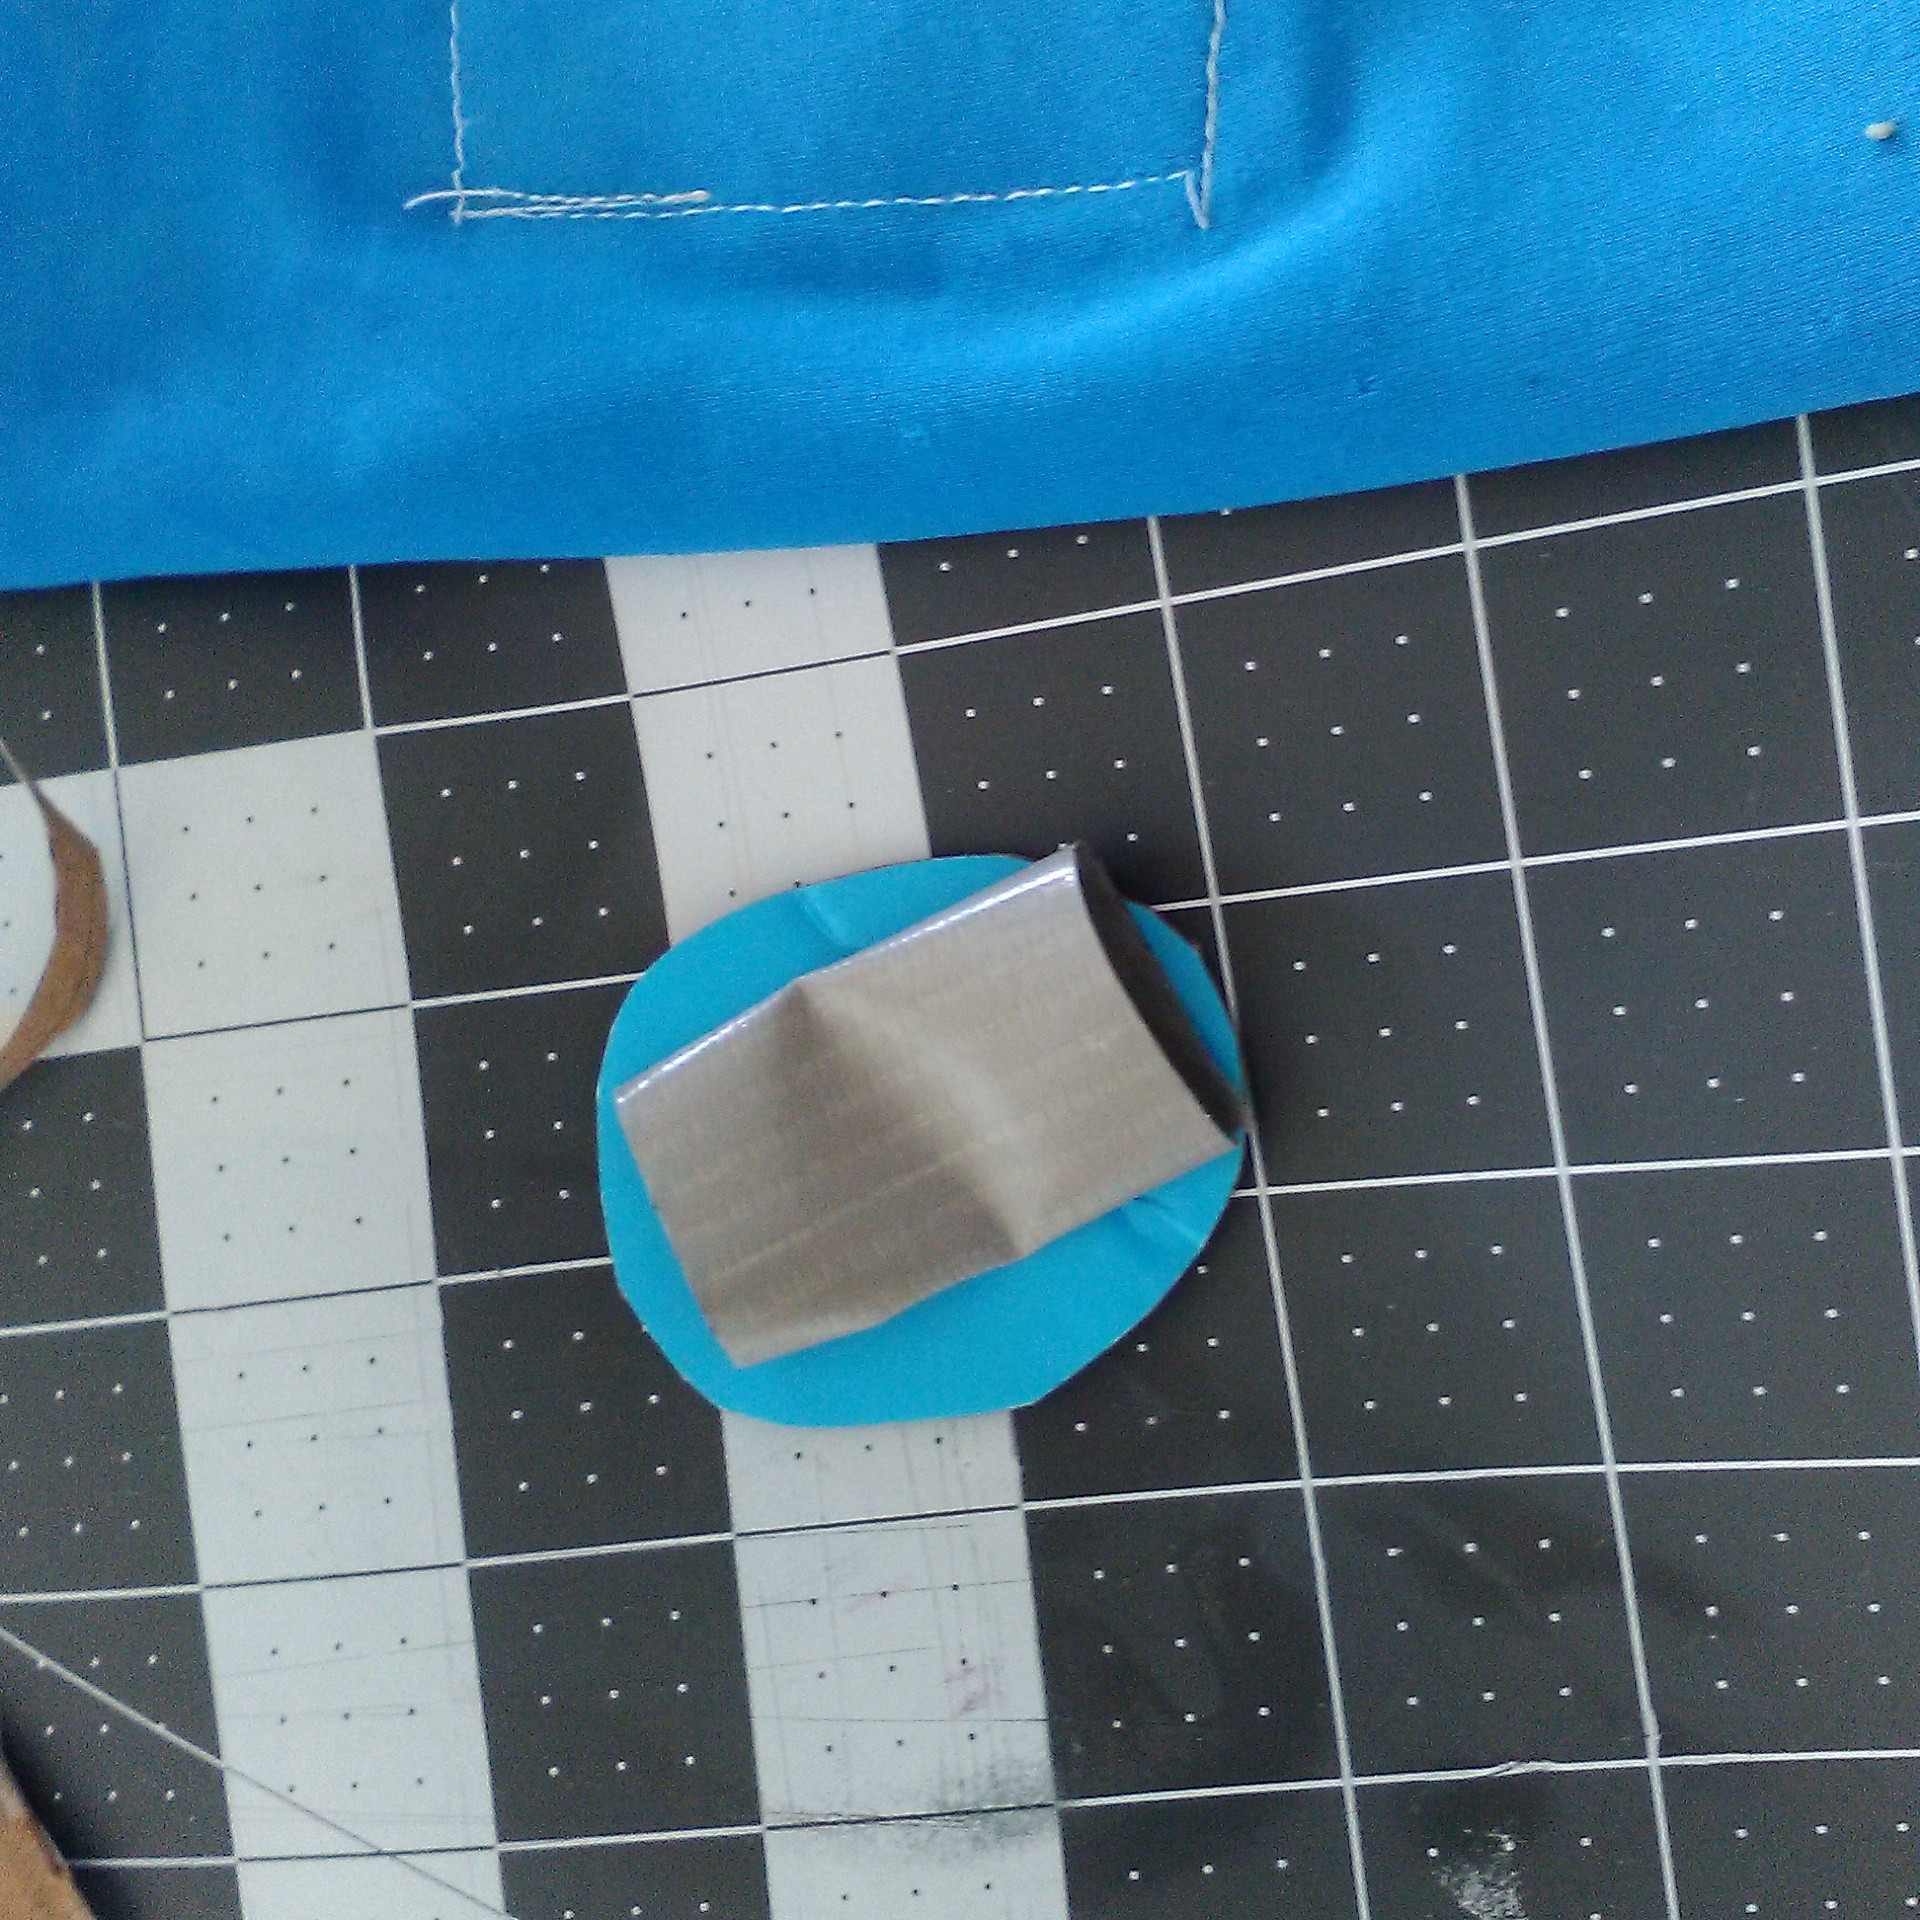
    And continuing on with the Tom Chi methodology for prototyping, aka prototyping like a 7-10 year old, I did this set of tests with these magic materials: cardboard, duct tape, and hemp twine.

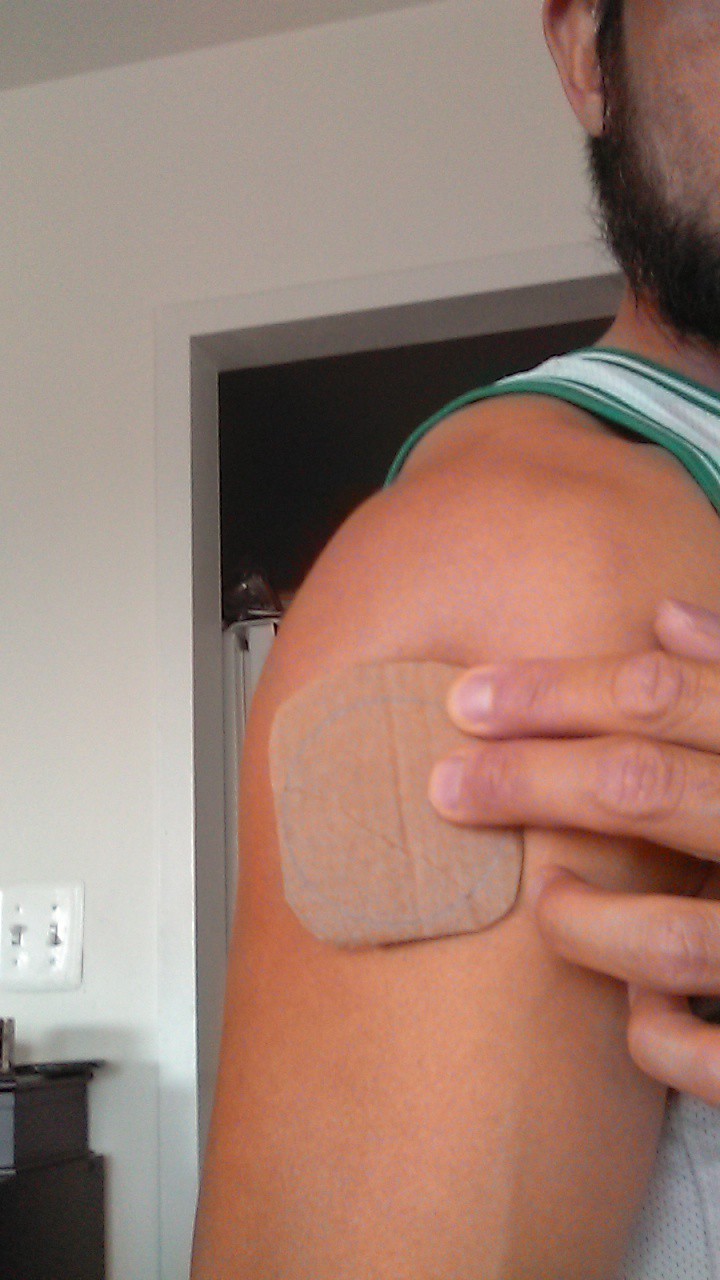
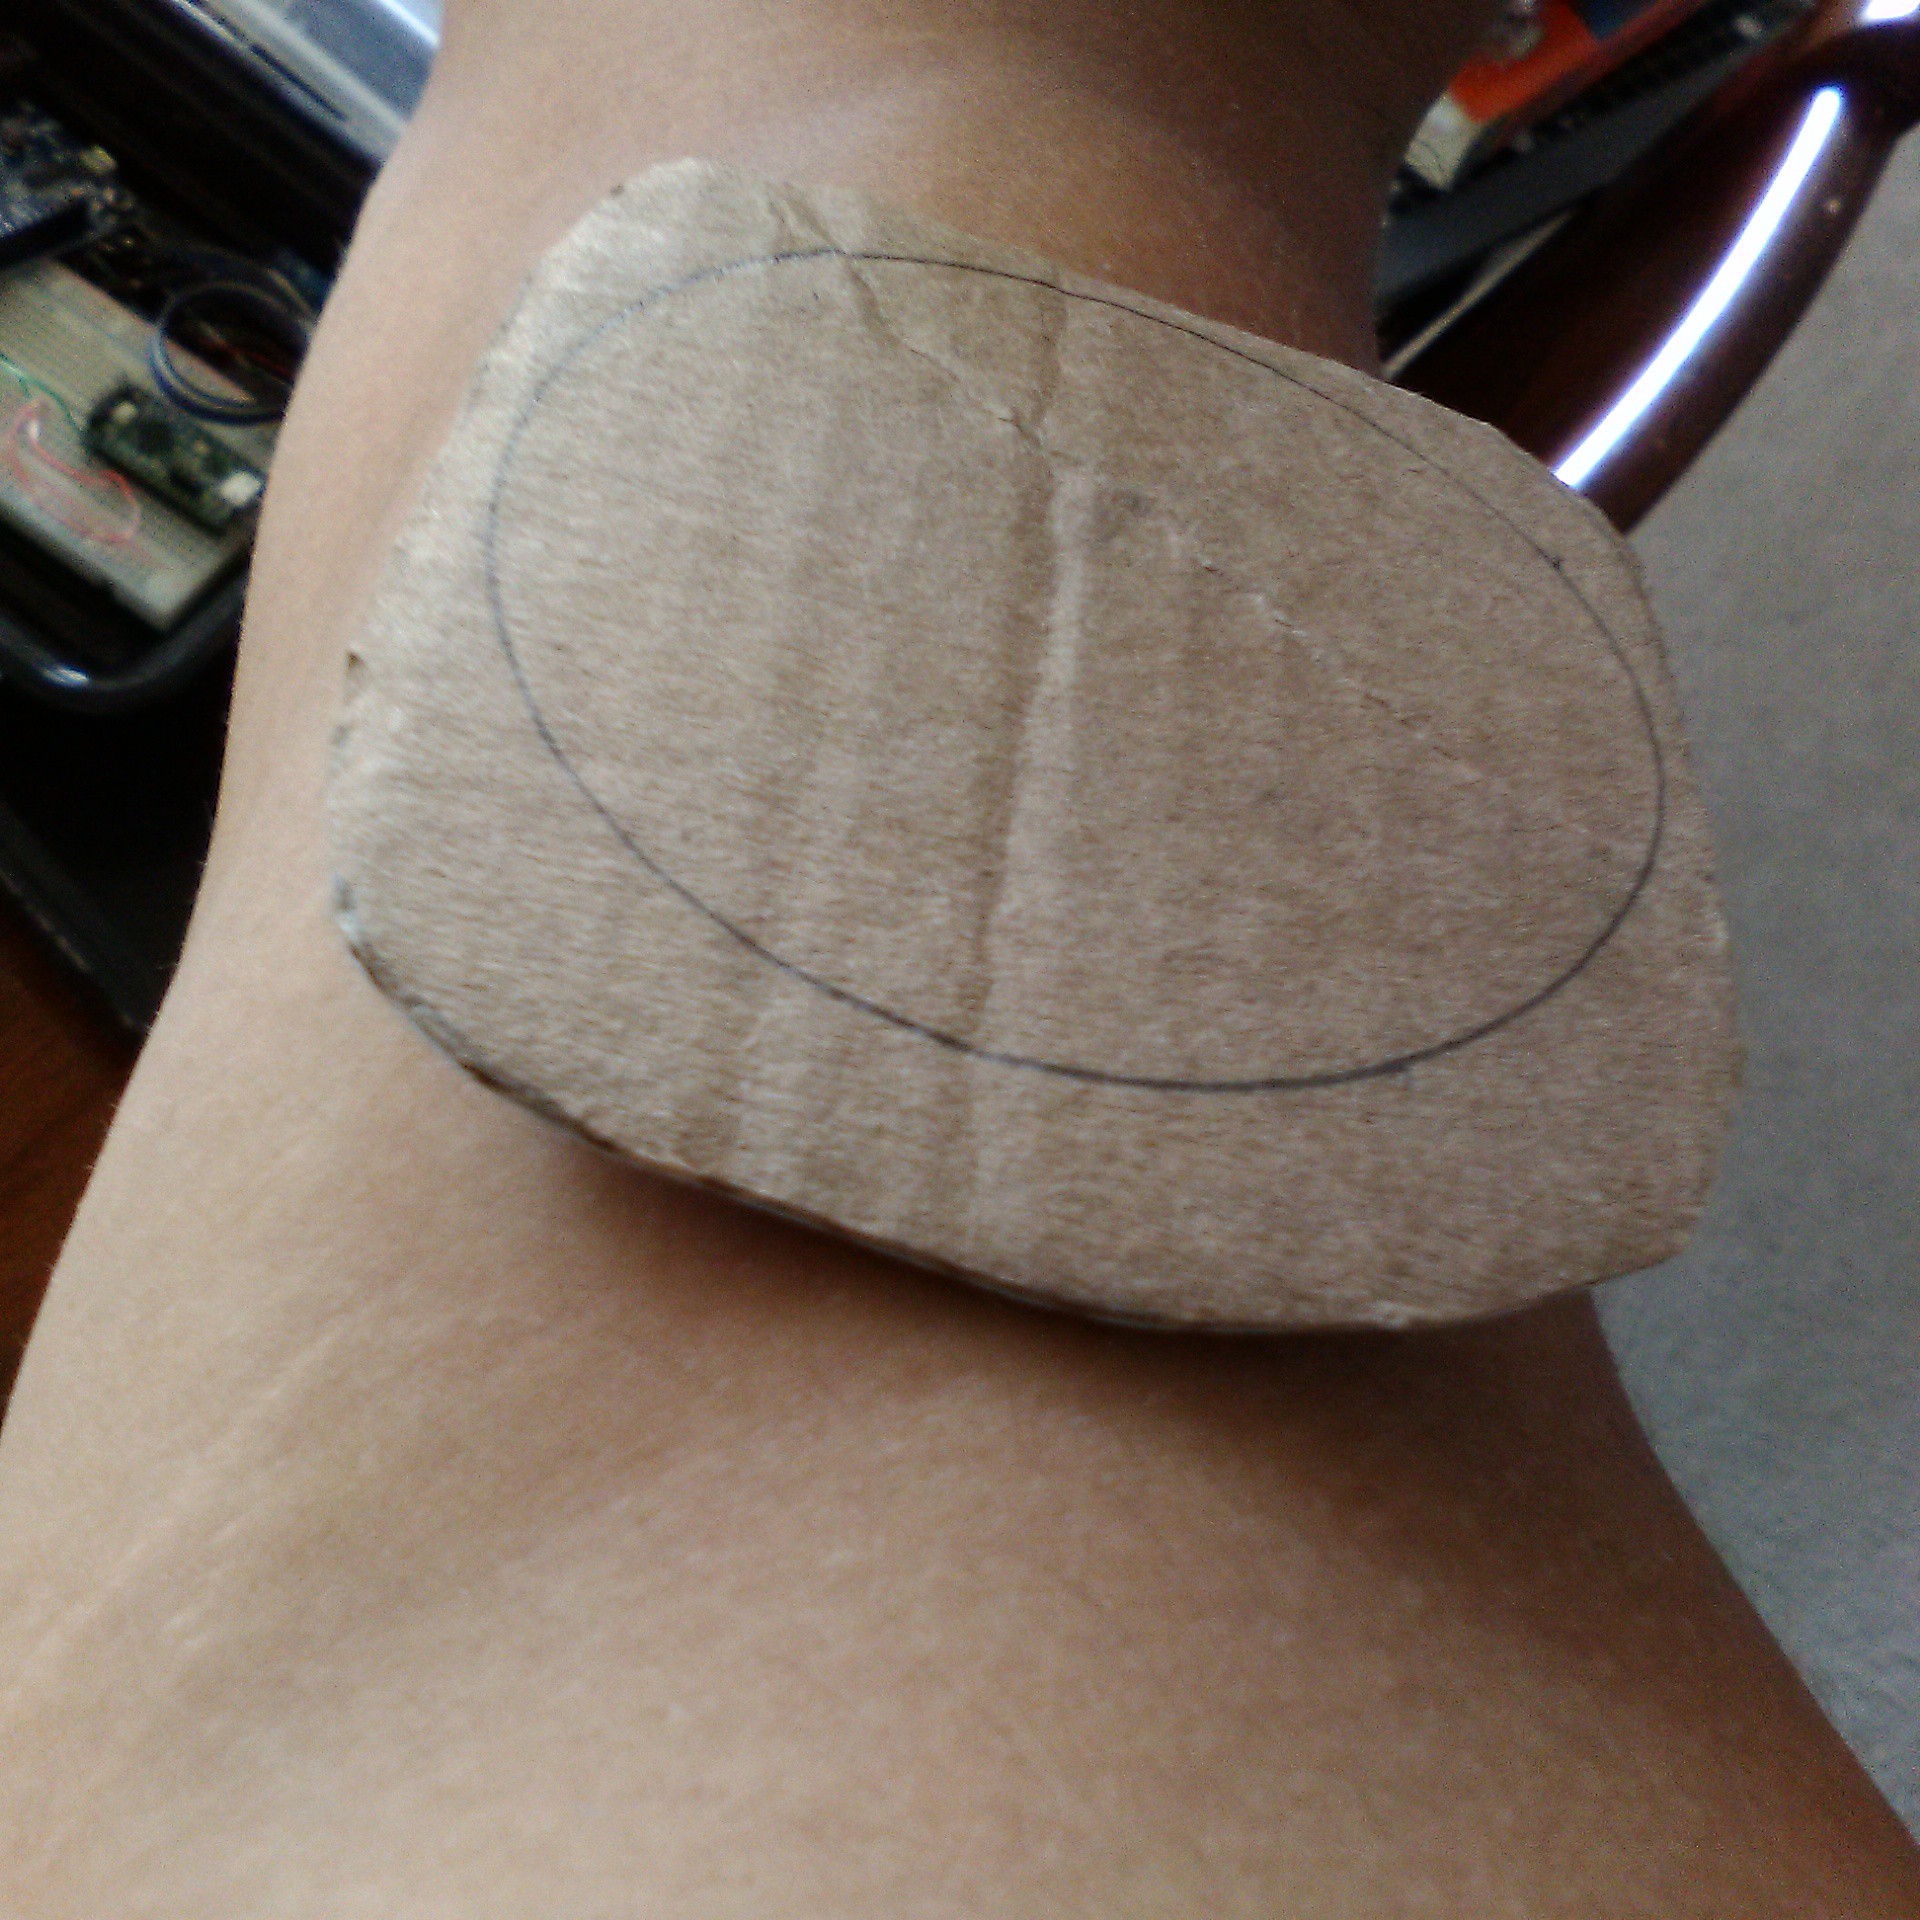
    You can see the egg shaped prototype, and the squares are simulating GY-88 IMU sensors. Part of the objective behind this session of prototyping is figuring out how many channel connectors do I want to put on the board. Given that the distances the sensors are communicating aren't long, both I2C and SPI would work. The advantage of I2C would be one less wire (SDL, SCK, GND, VCC) vs. SPI (CLK, MOSI, MISO, GND, VCC). But coding wise, and instrument wise, SPI has an edge, while ease of use wise, I'd give it to I2C. This is part of the engineering logistic thought process that you have to go through when making your concept real.

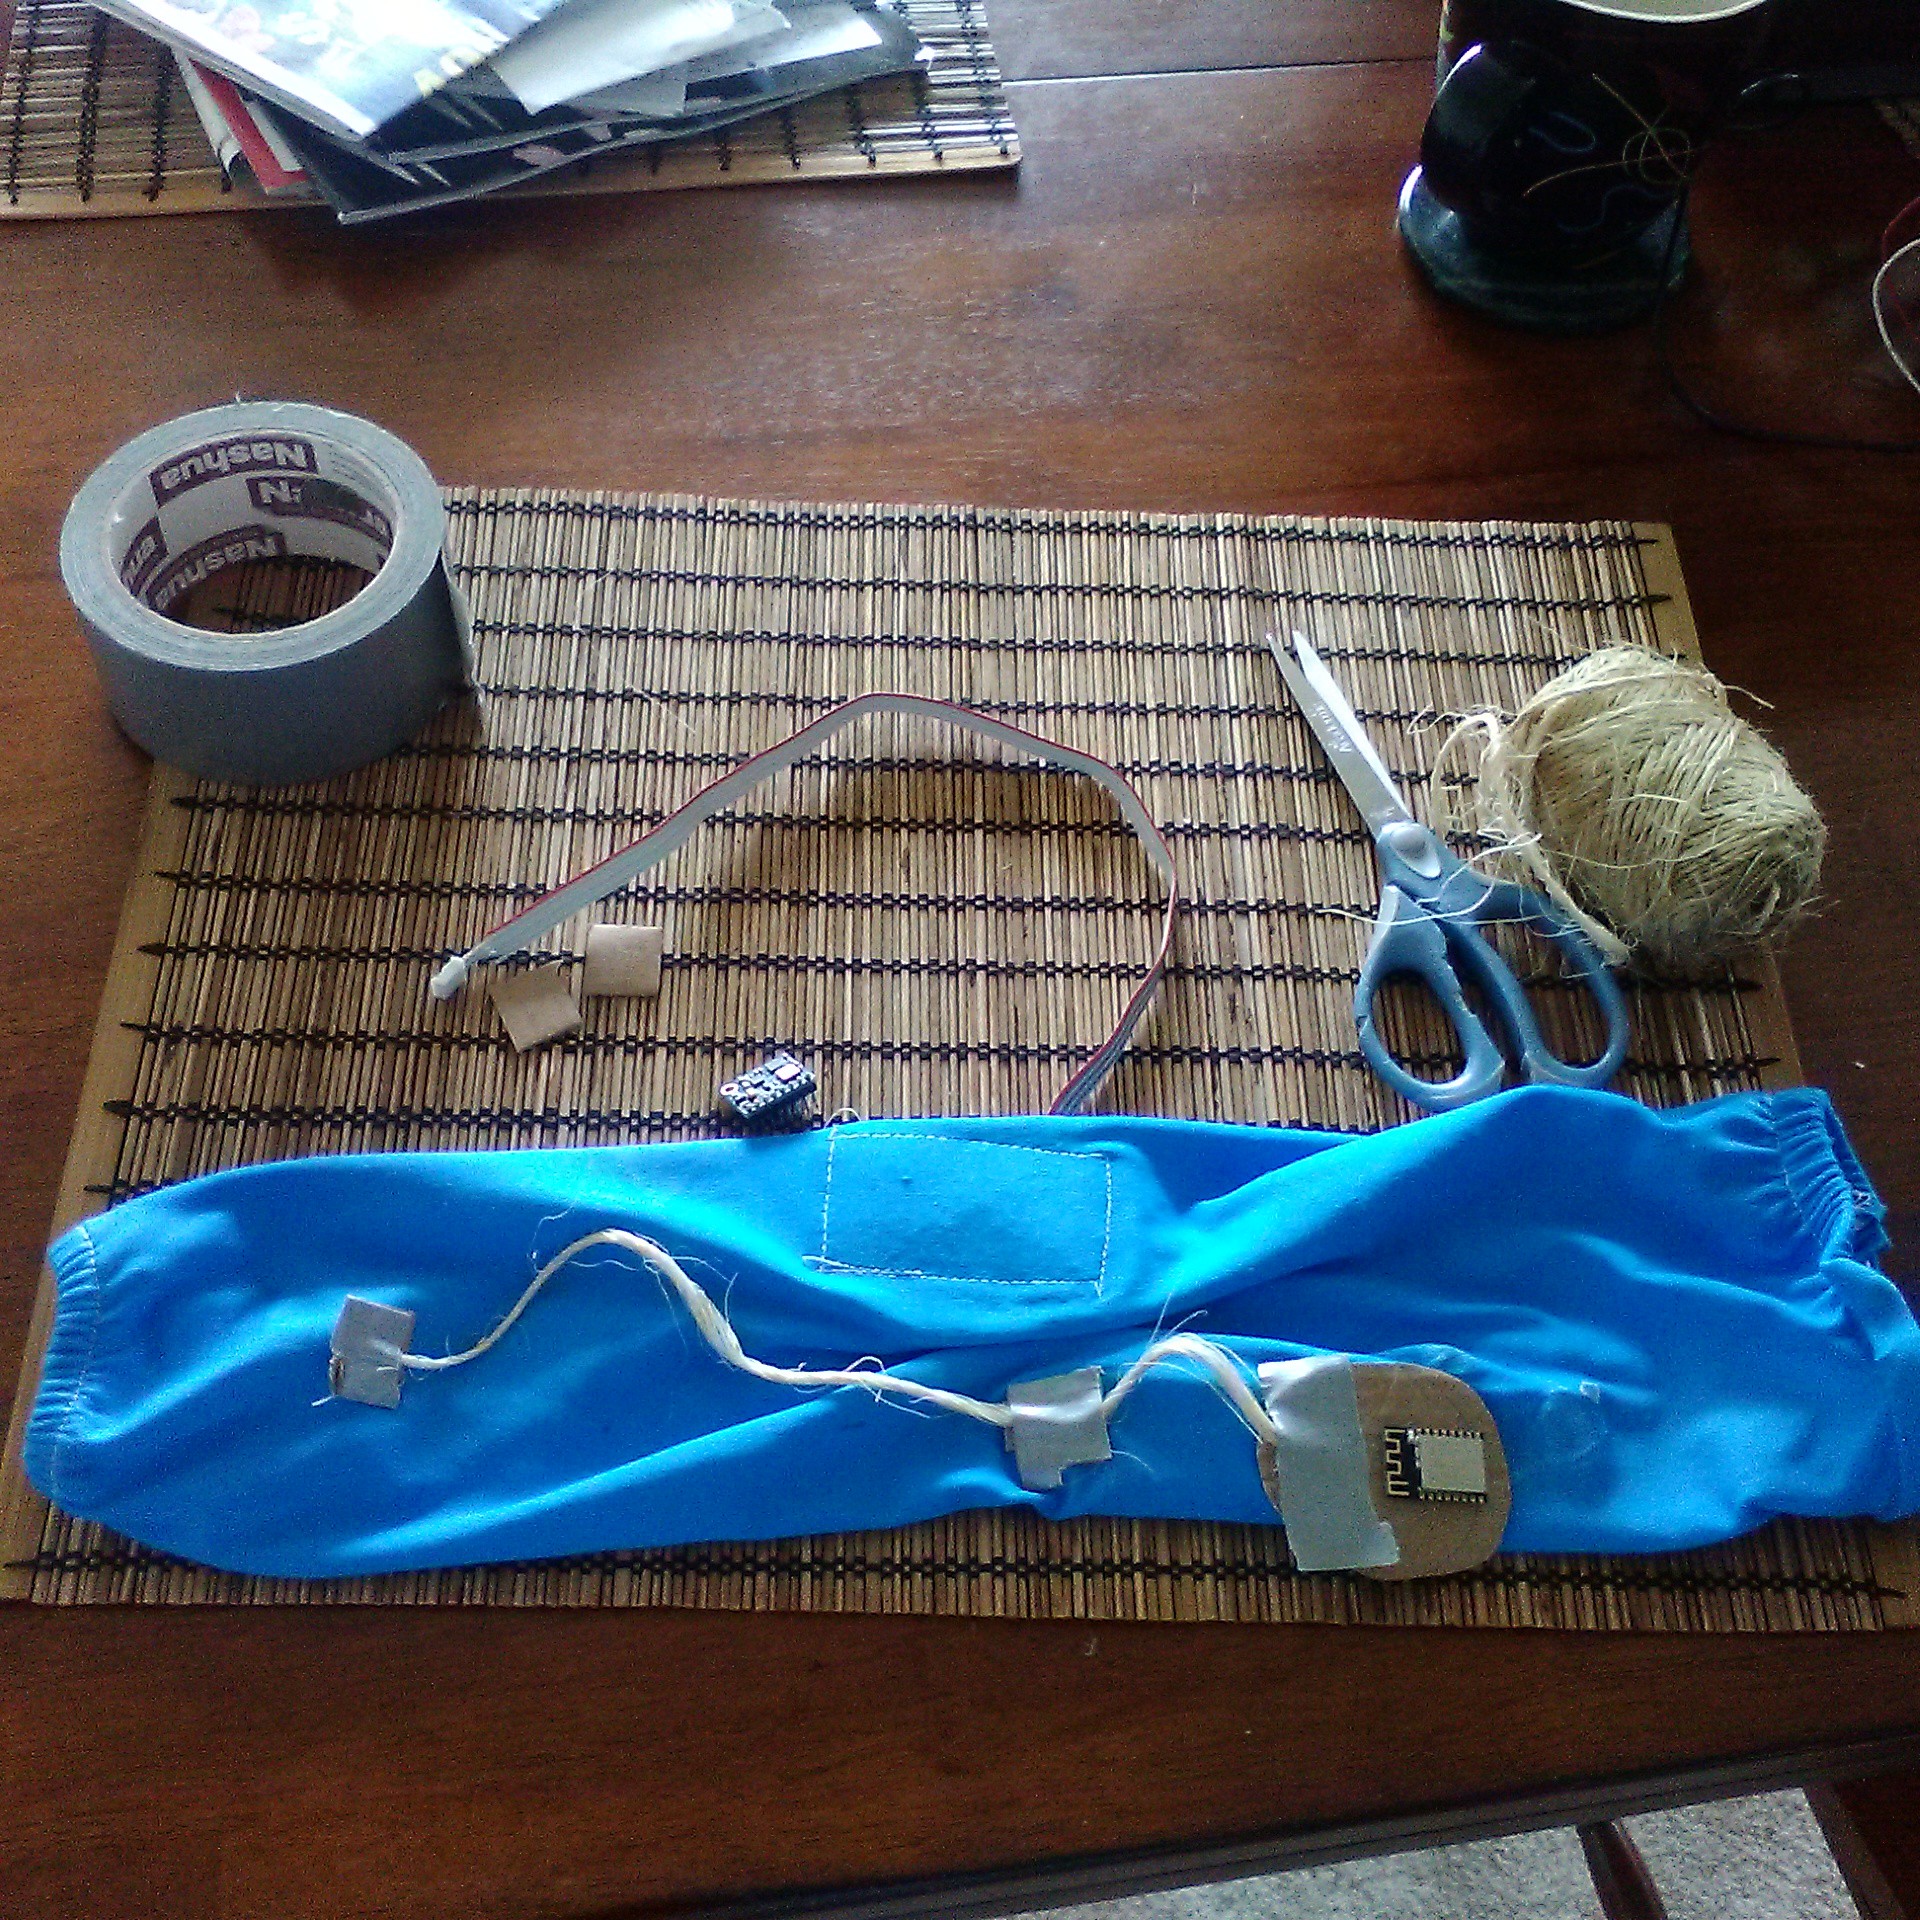
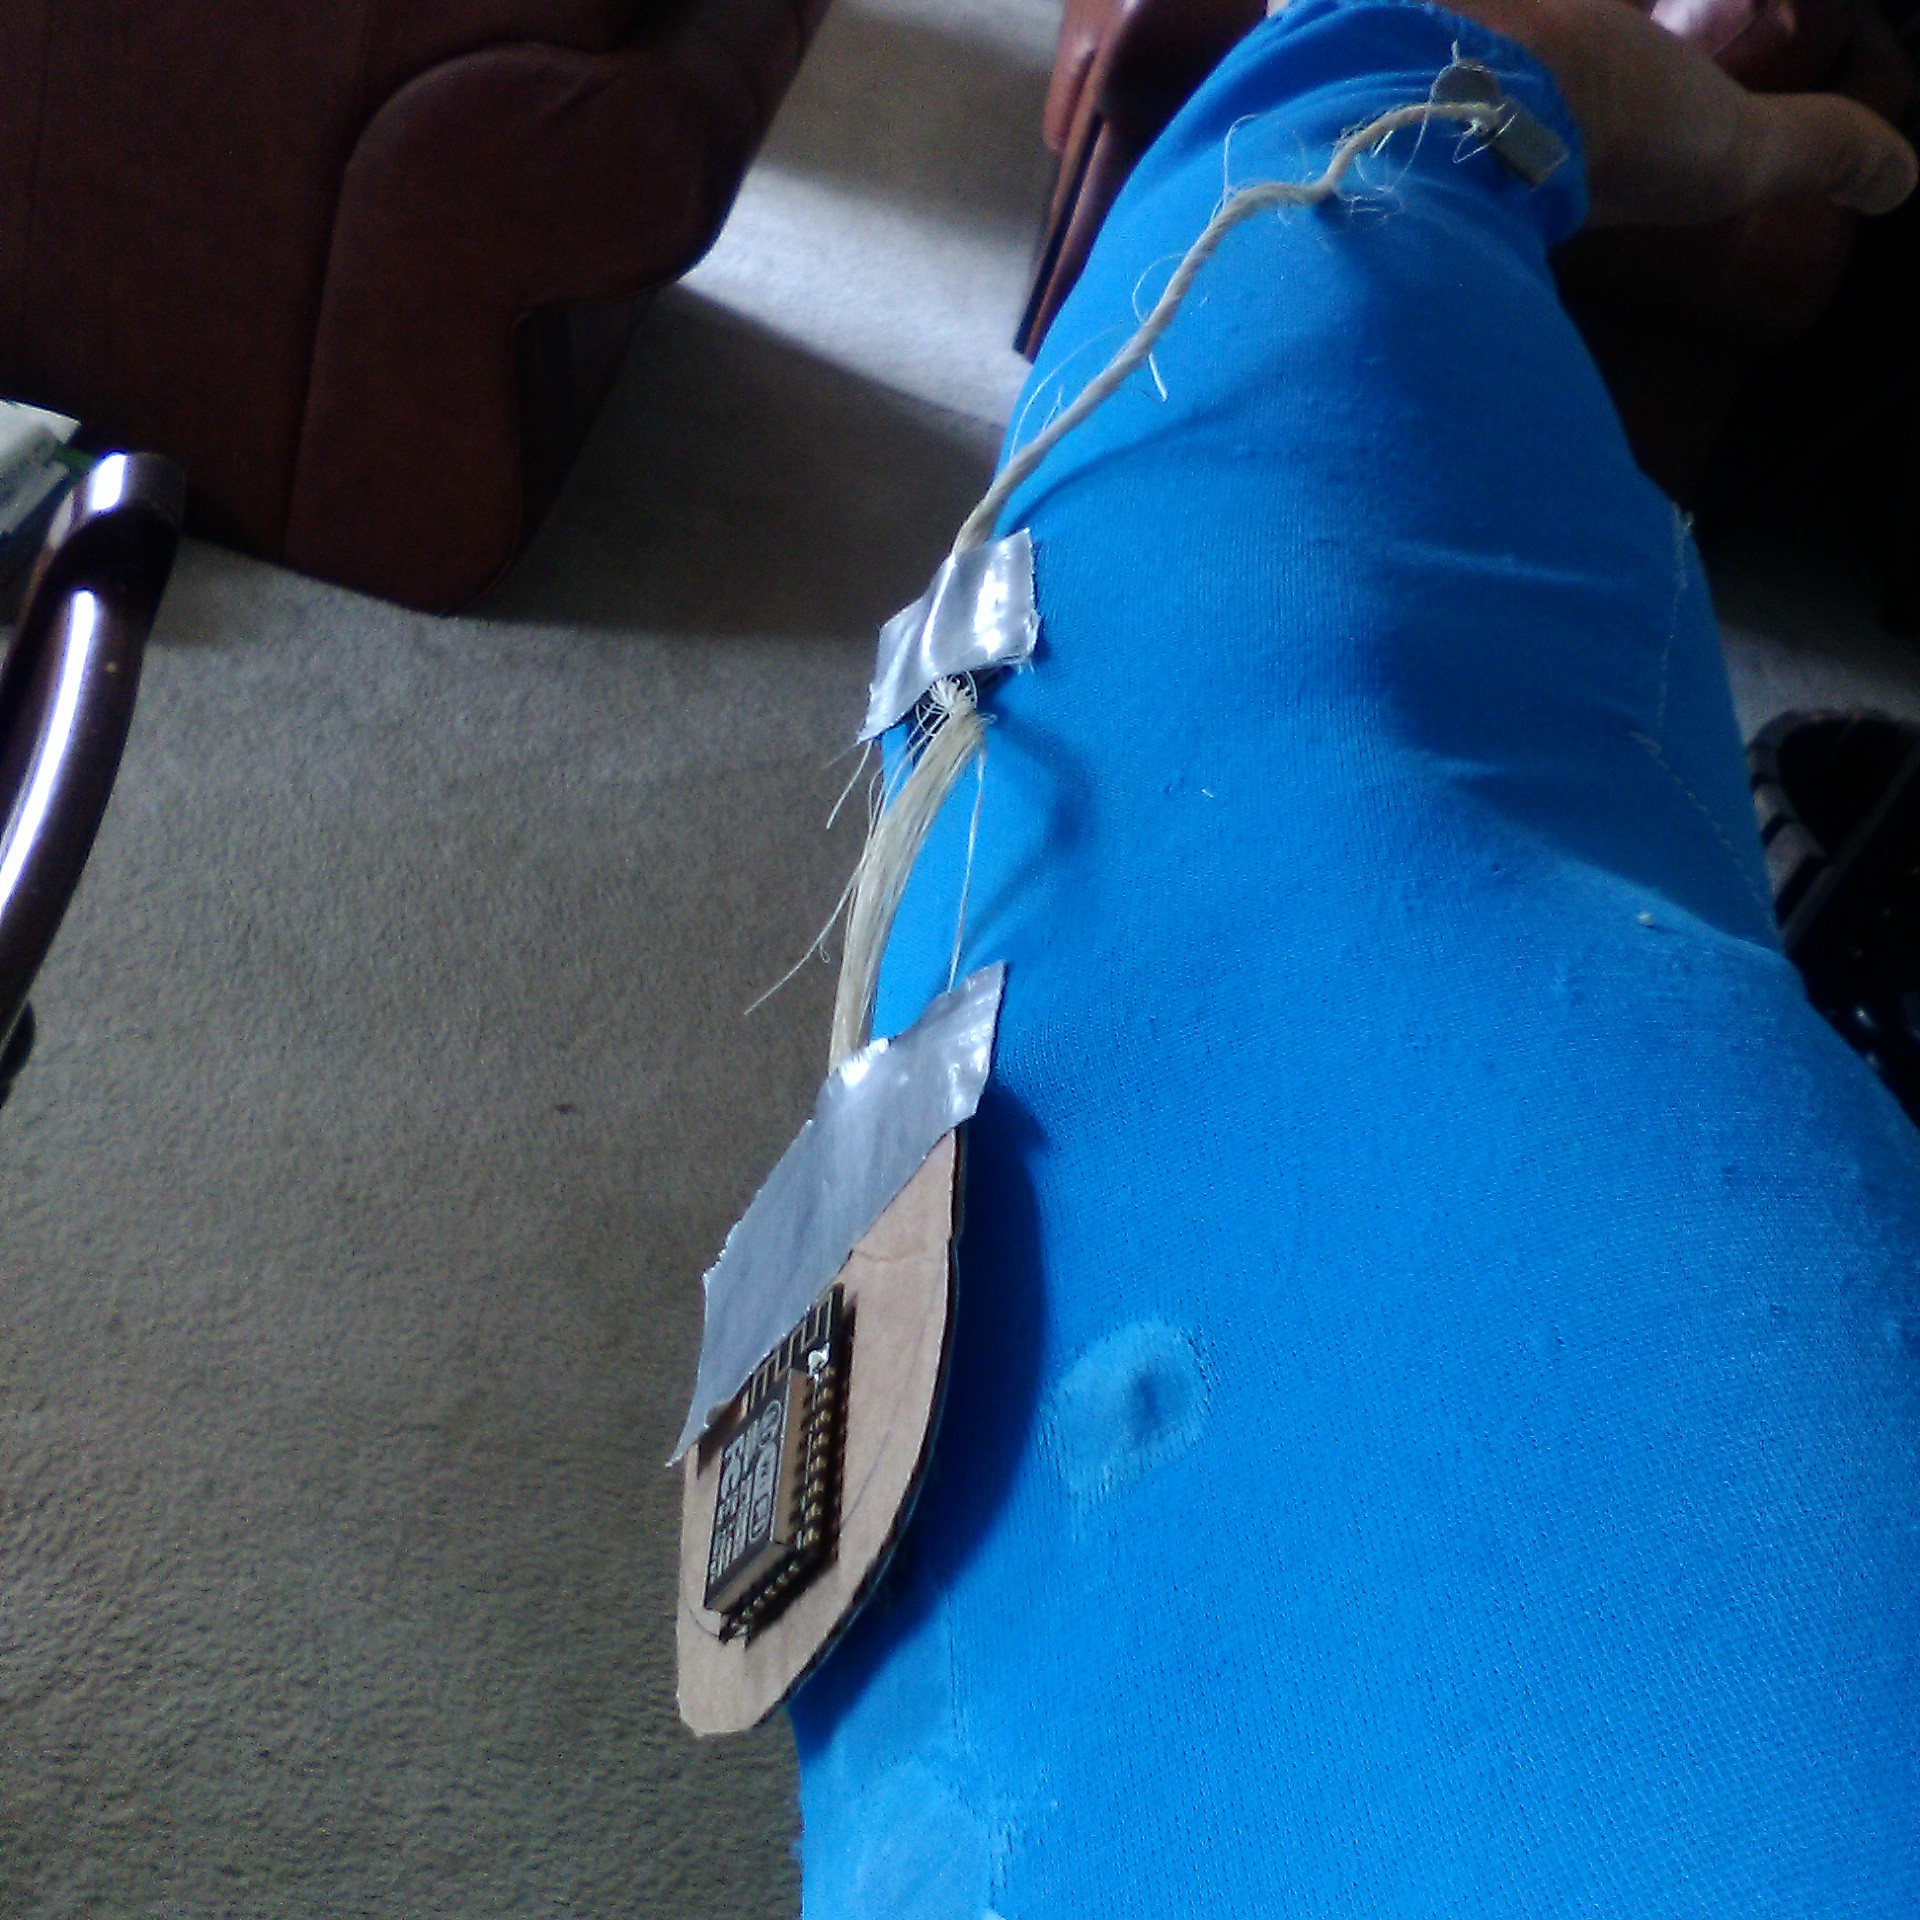
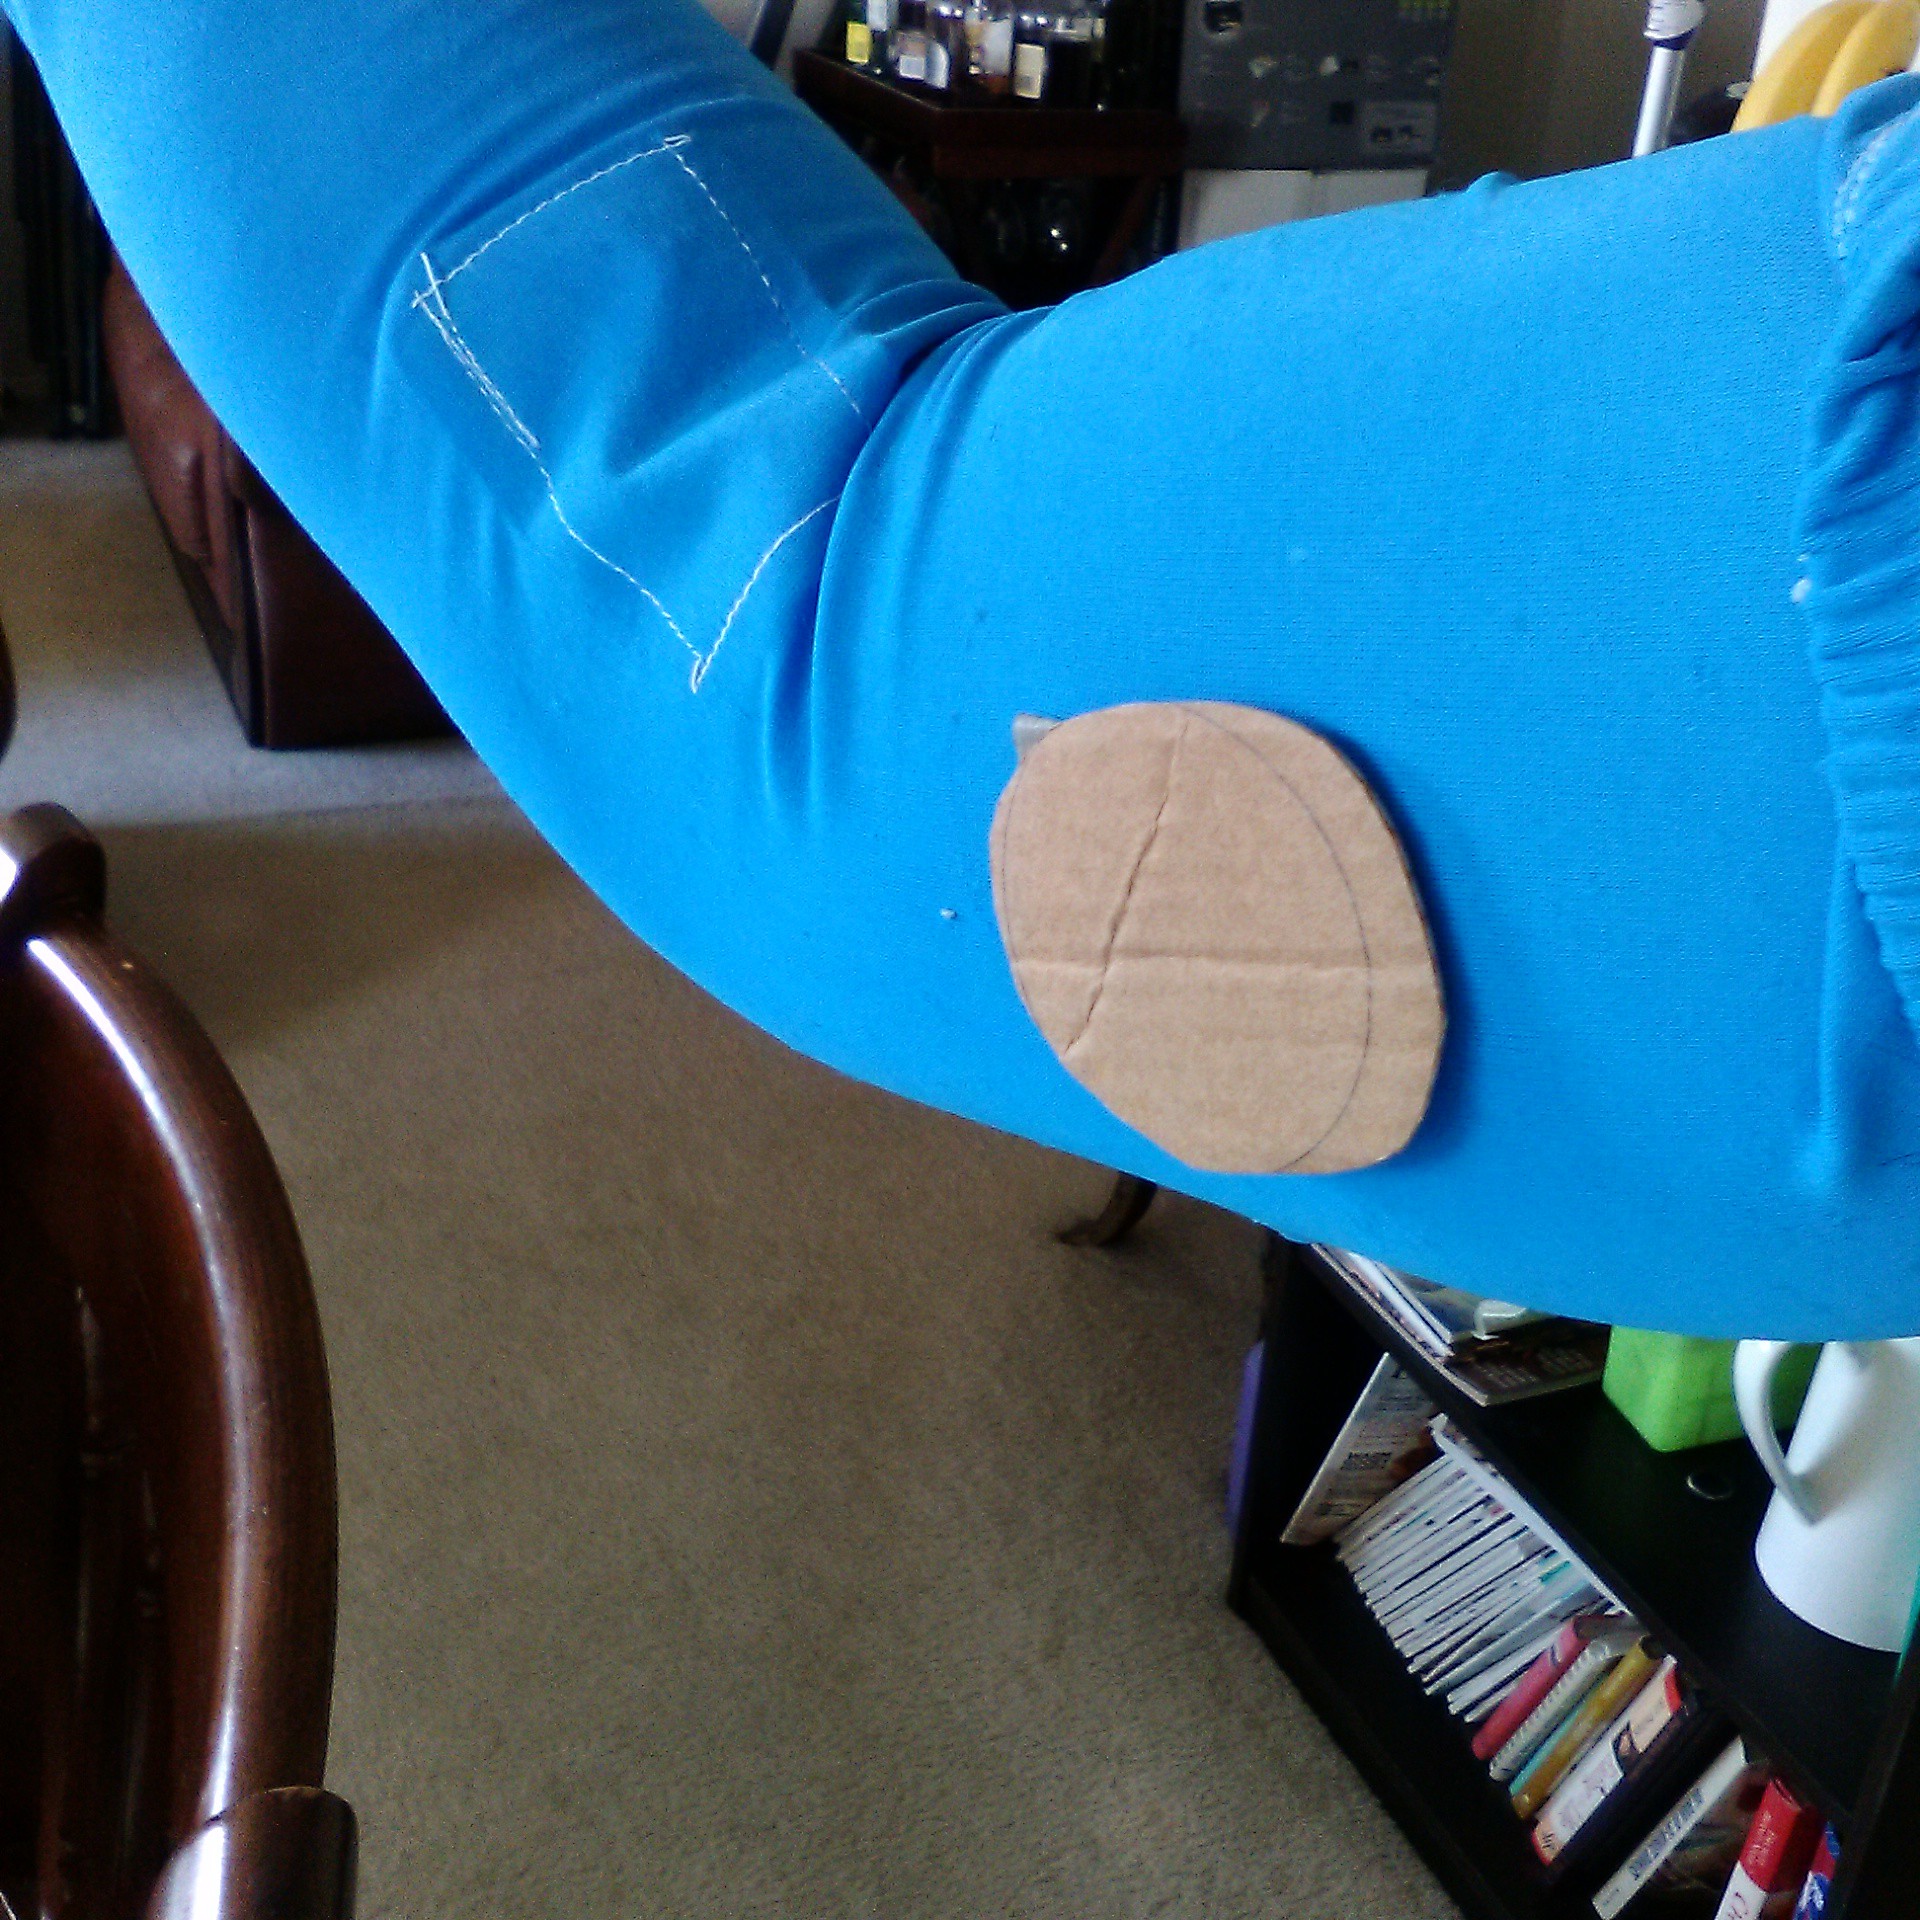
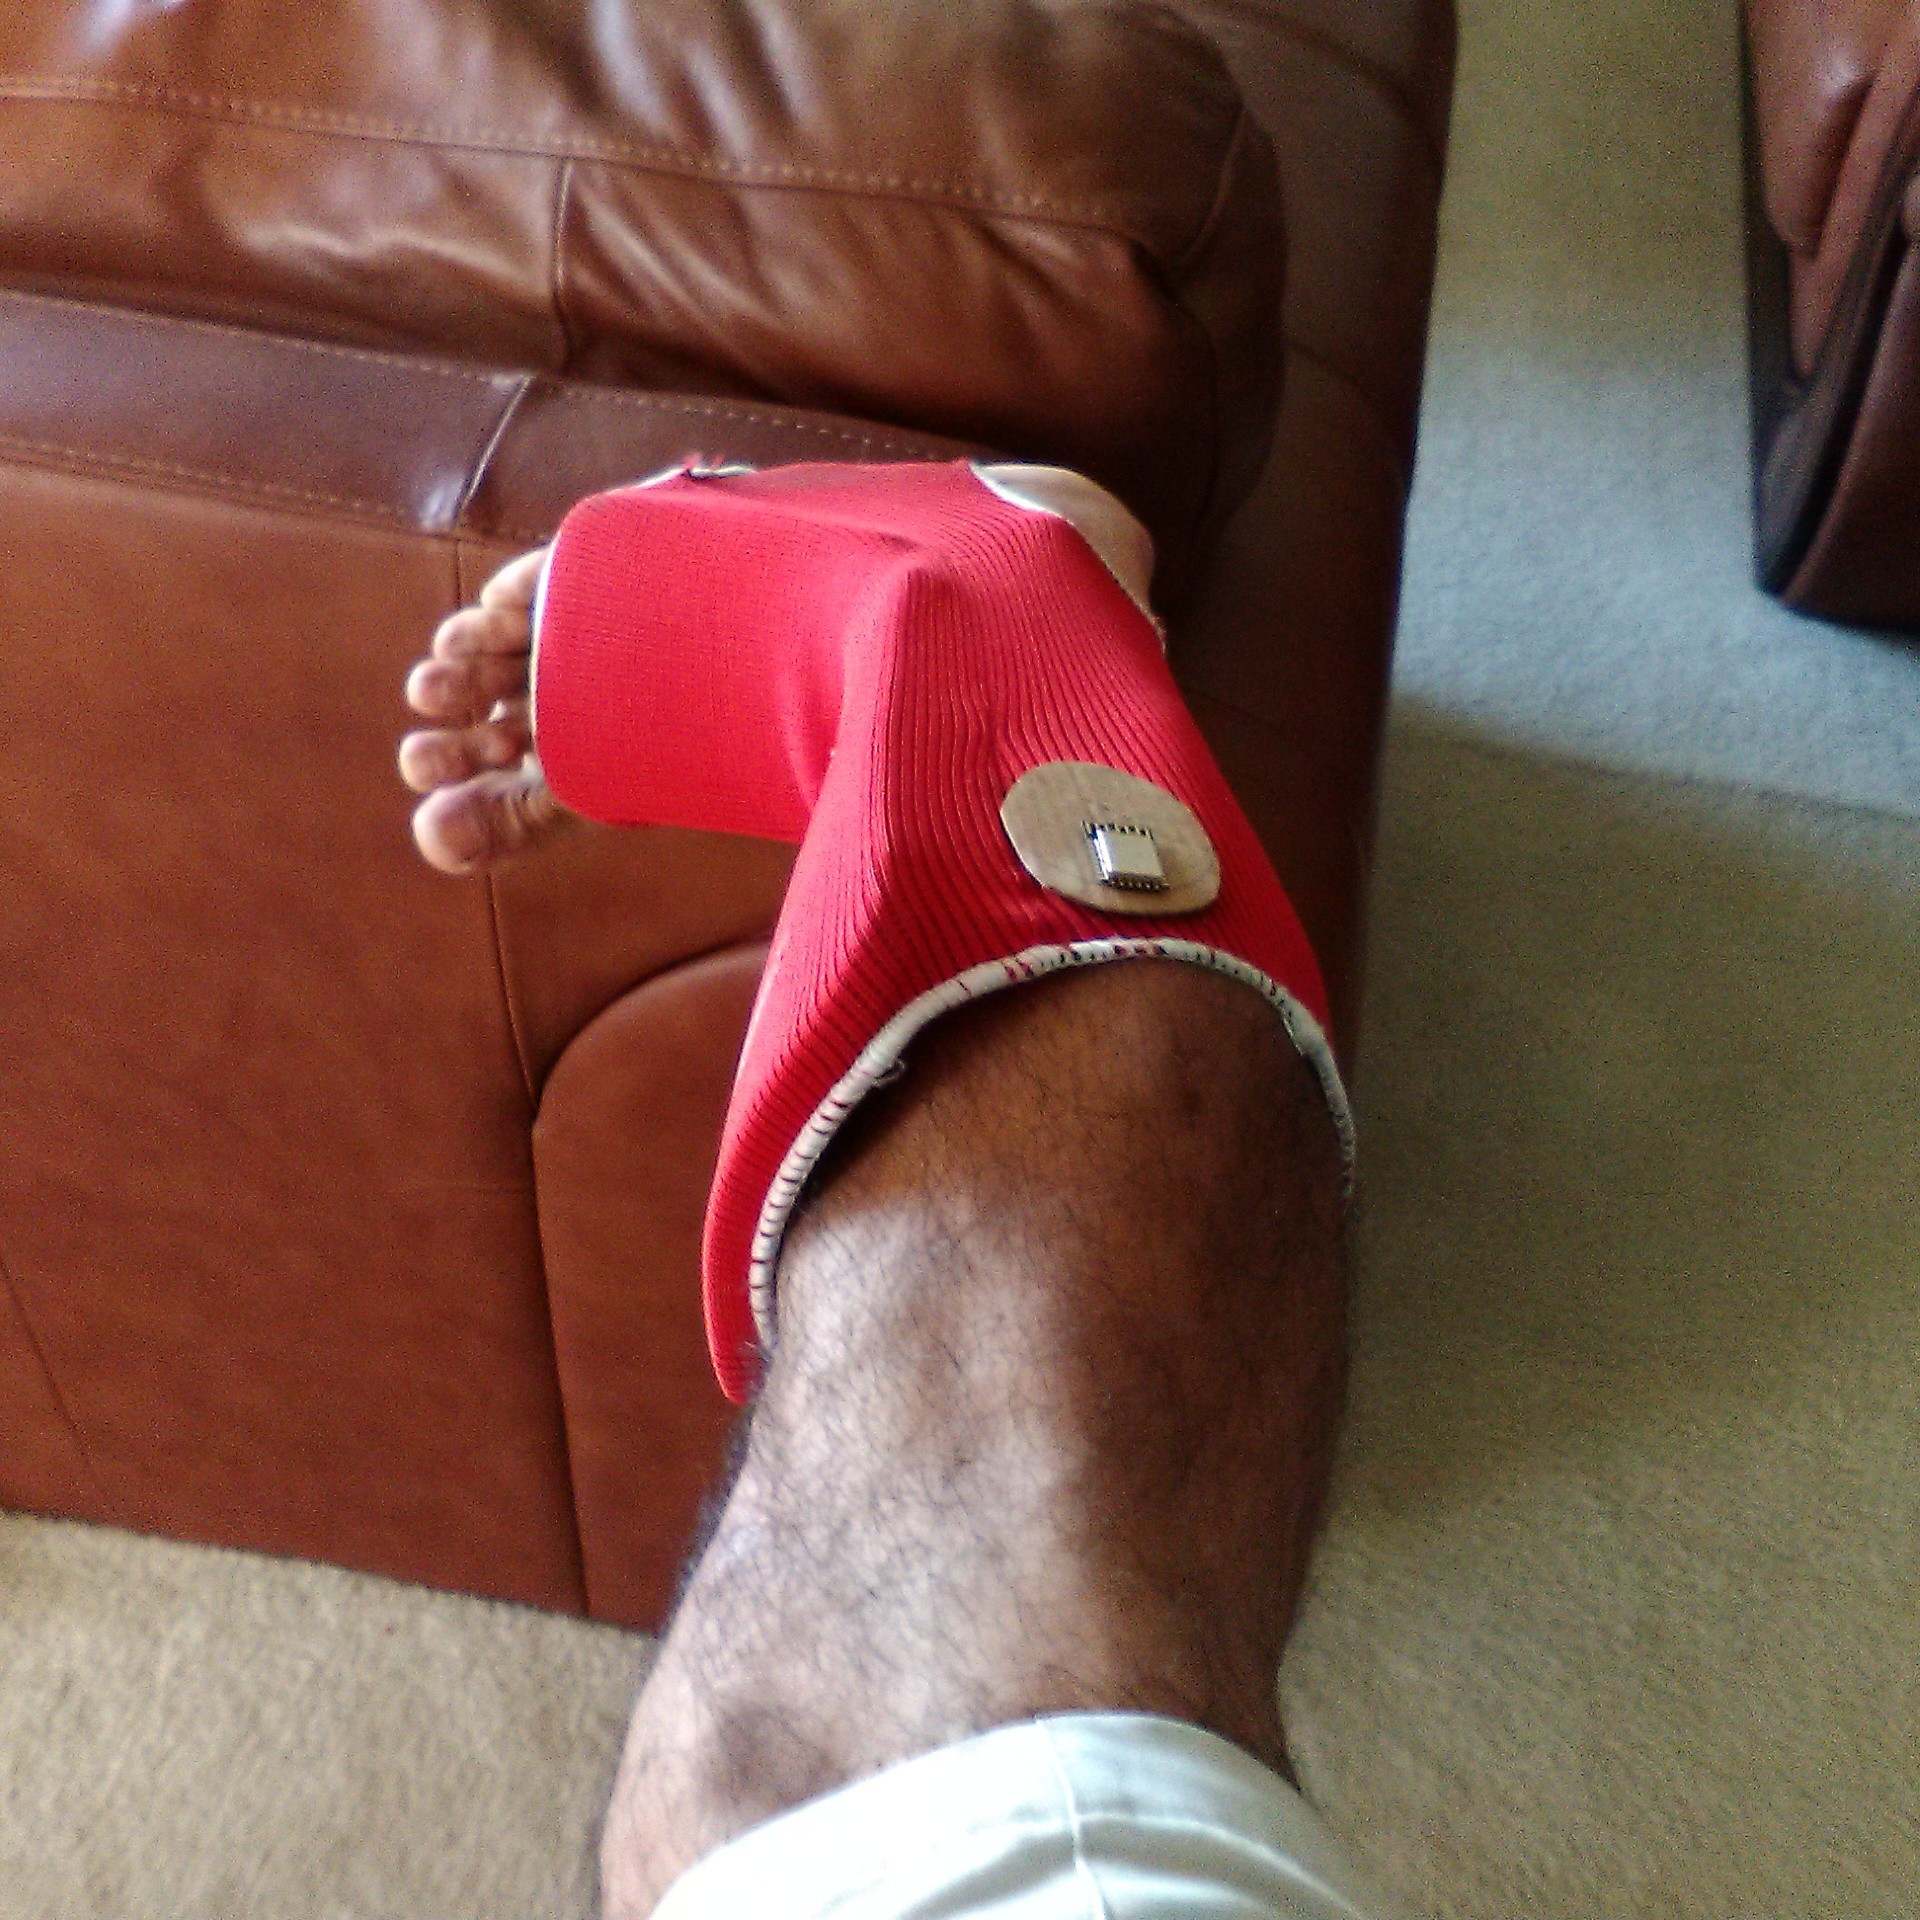
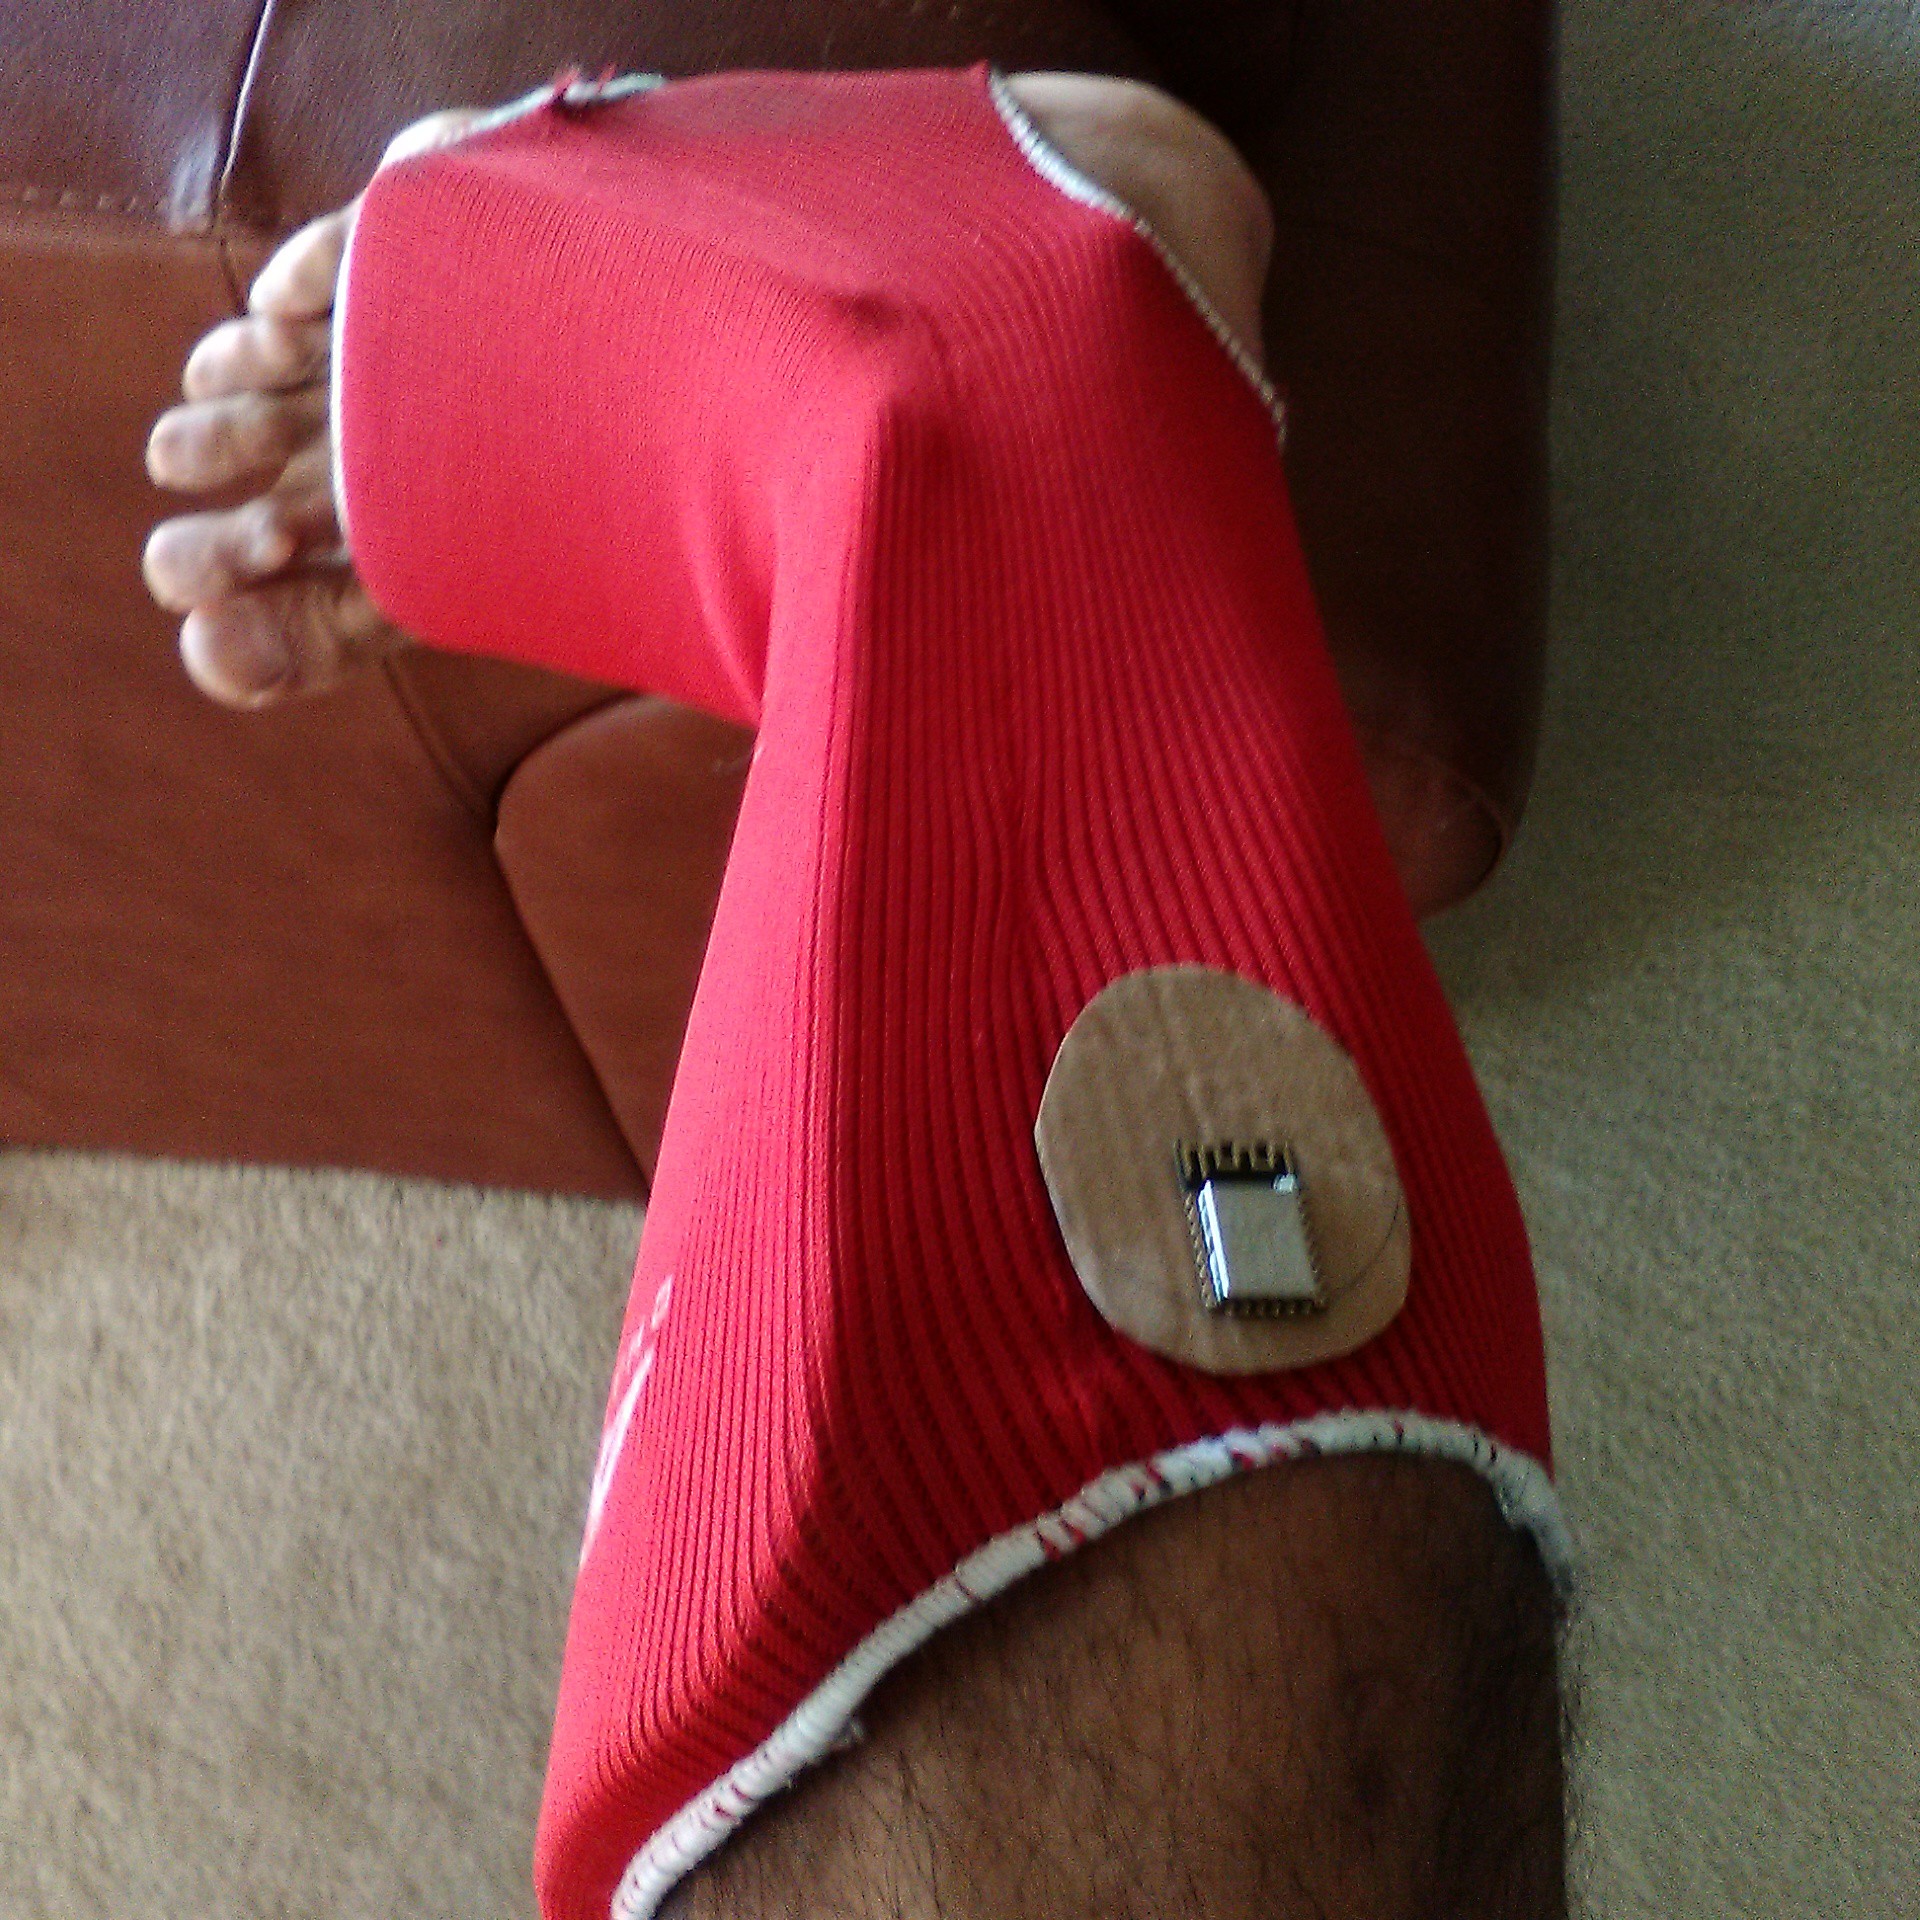
    Next, I wanted to test out cable lengths, and sensor placement using the sleeve.

    And here's a video demonstrating what the useability test is like.

    So far so good! I learned that it was comfortable, the movement wasn't constrained, and having the wiring on the sleeve with sufficient give worked fine. But I'm not out to build just a sleeve. It's like the smack talk from Iron Man in Marvel vs. Capcom when he faces Nathan Spencer, the Bionic Commando.

    "Just the Arm?...

    Read more »

  • Rapid Prototyping the Entire Unit with the Batteries

    Casual Cyborg06/12/2017 at 00:21 0 comments

    So far so good! We've got the circuit up and running in bread board format, and we now have a general PCB circuit board shape. But there's one other thing that needs to be addressed. Power. How the hell do you run this thing without power, right? Now, given that the form factor for this board is compact, the last thing I'd want to do is to stick either AA or AAA batteries on there. Those are ancient, obsolete form factors, and they make absolutely no sense for use in wearables, other than their ubiquity. Quite frankly, someone should put those form factors out to pasture, along with the horse and buggy.

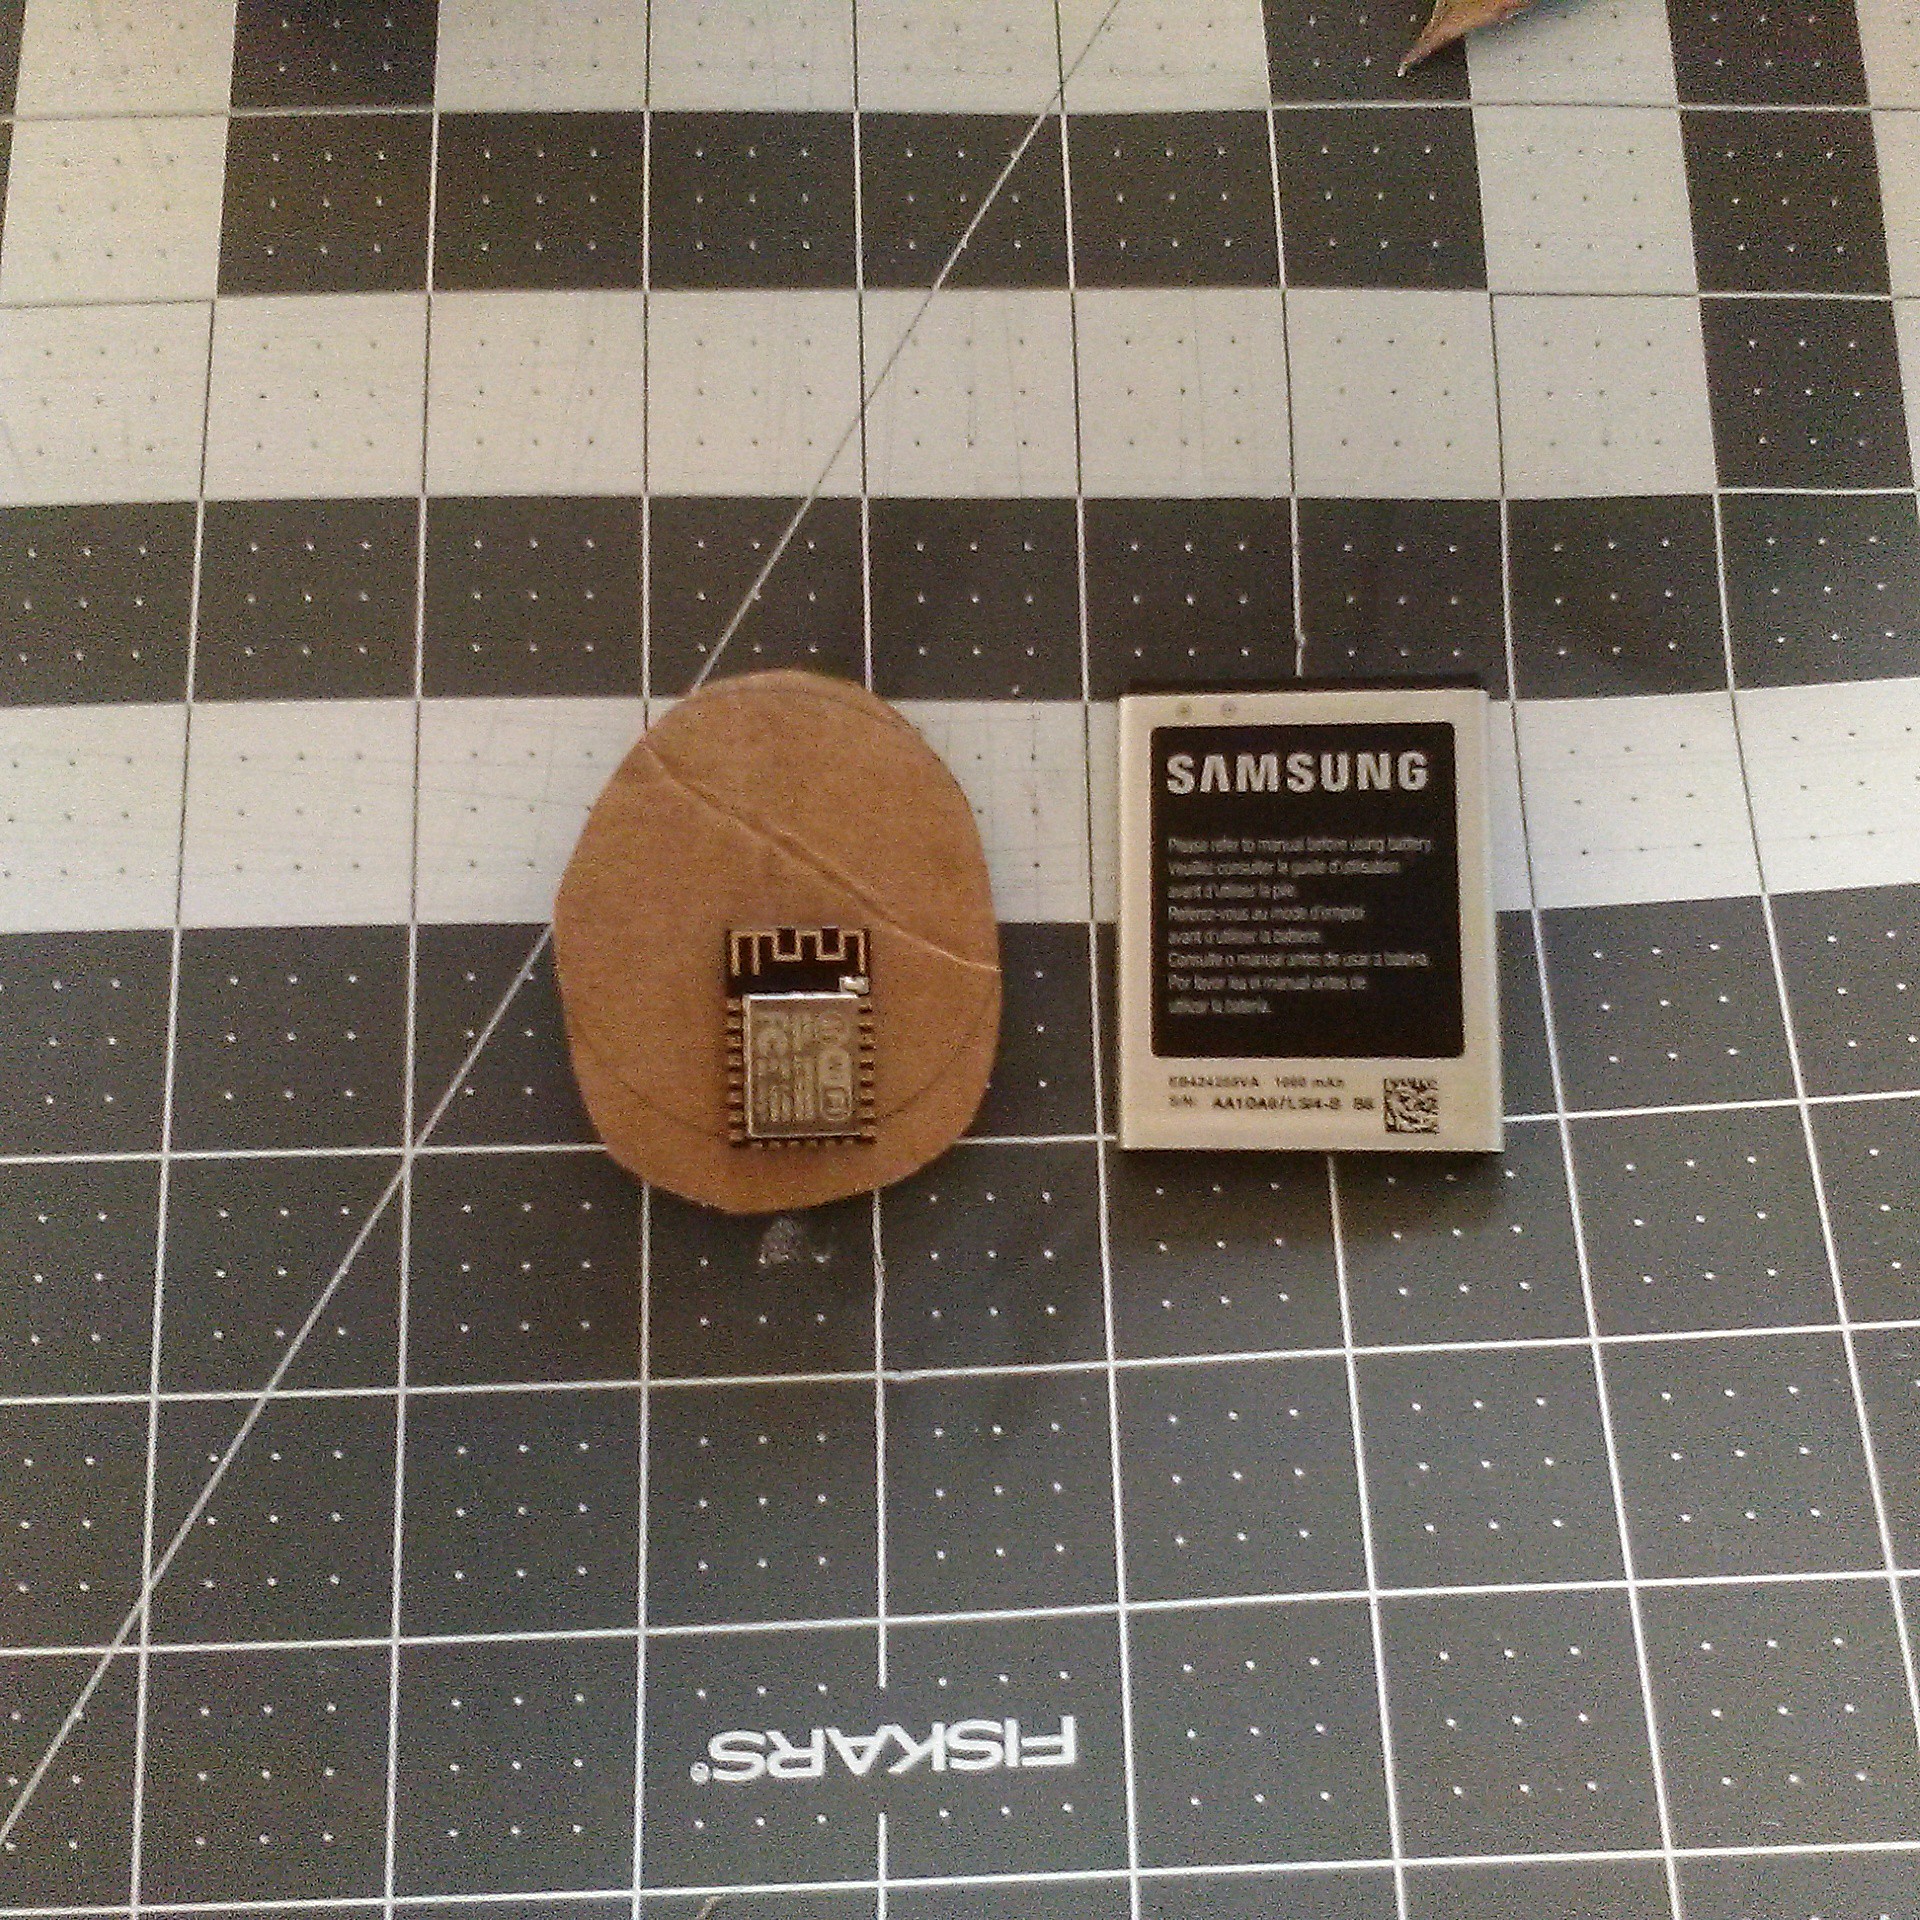
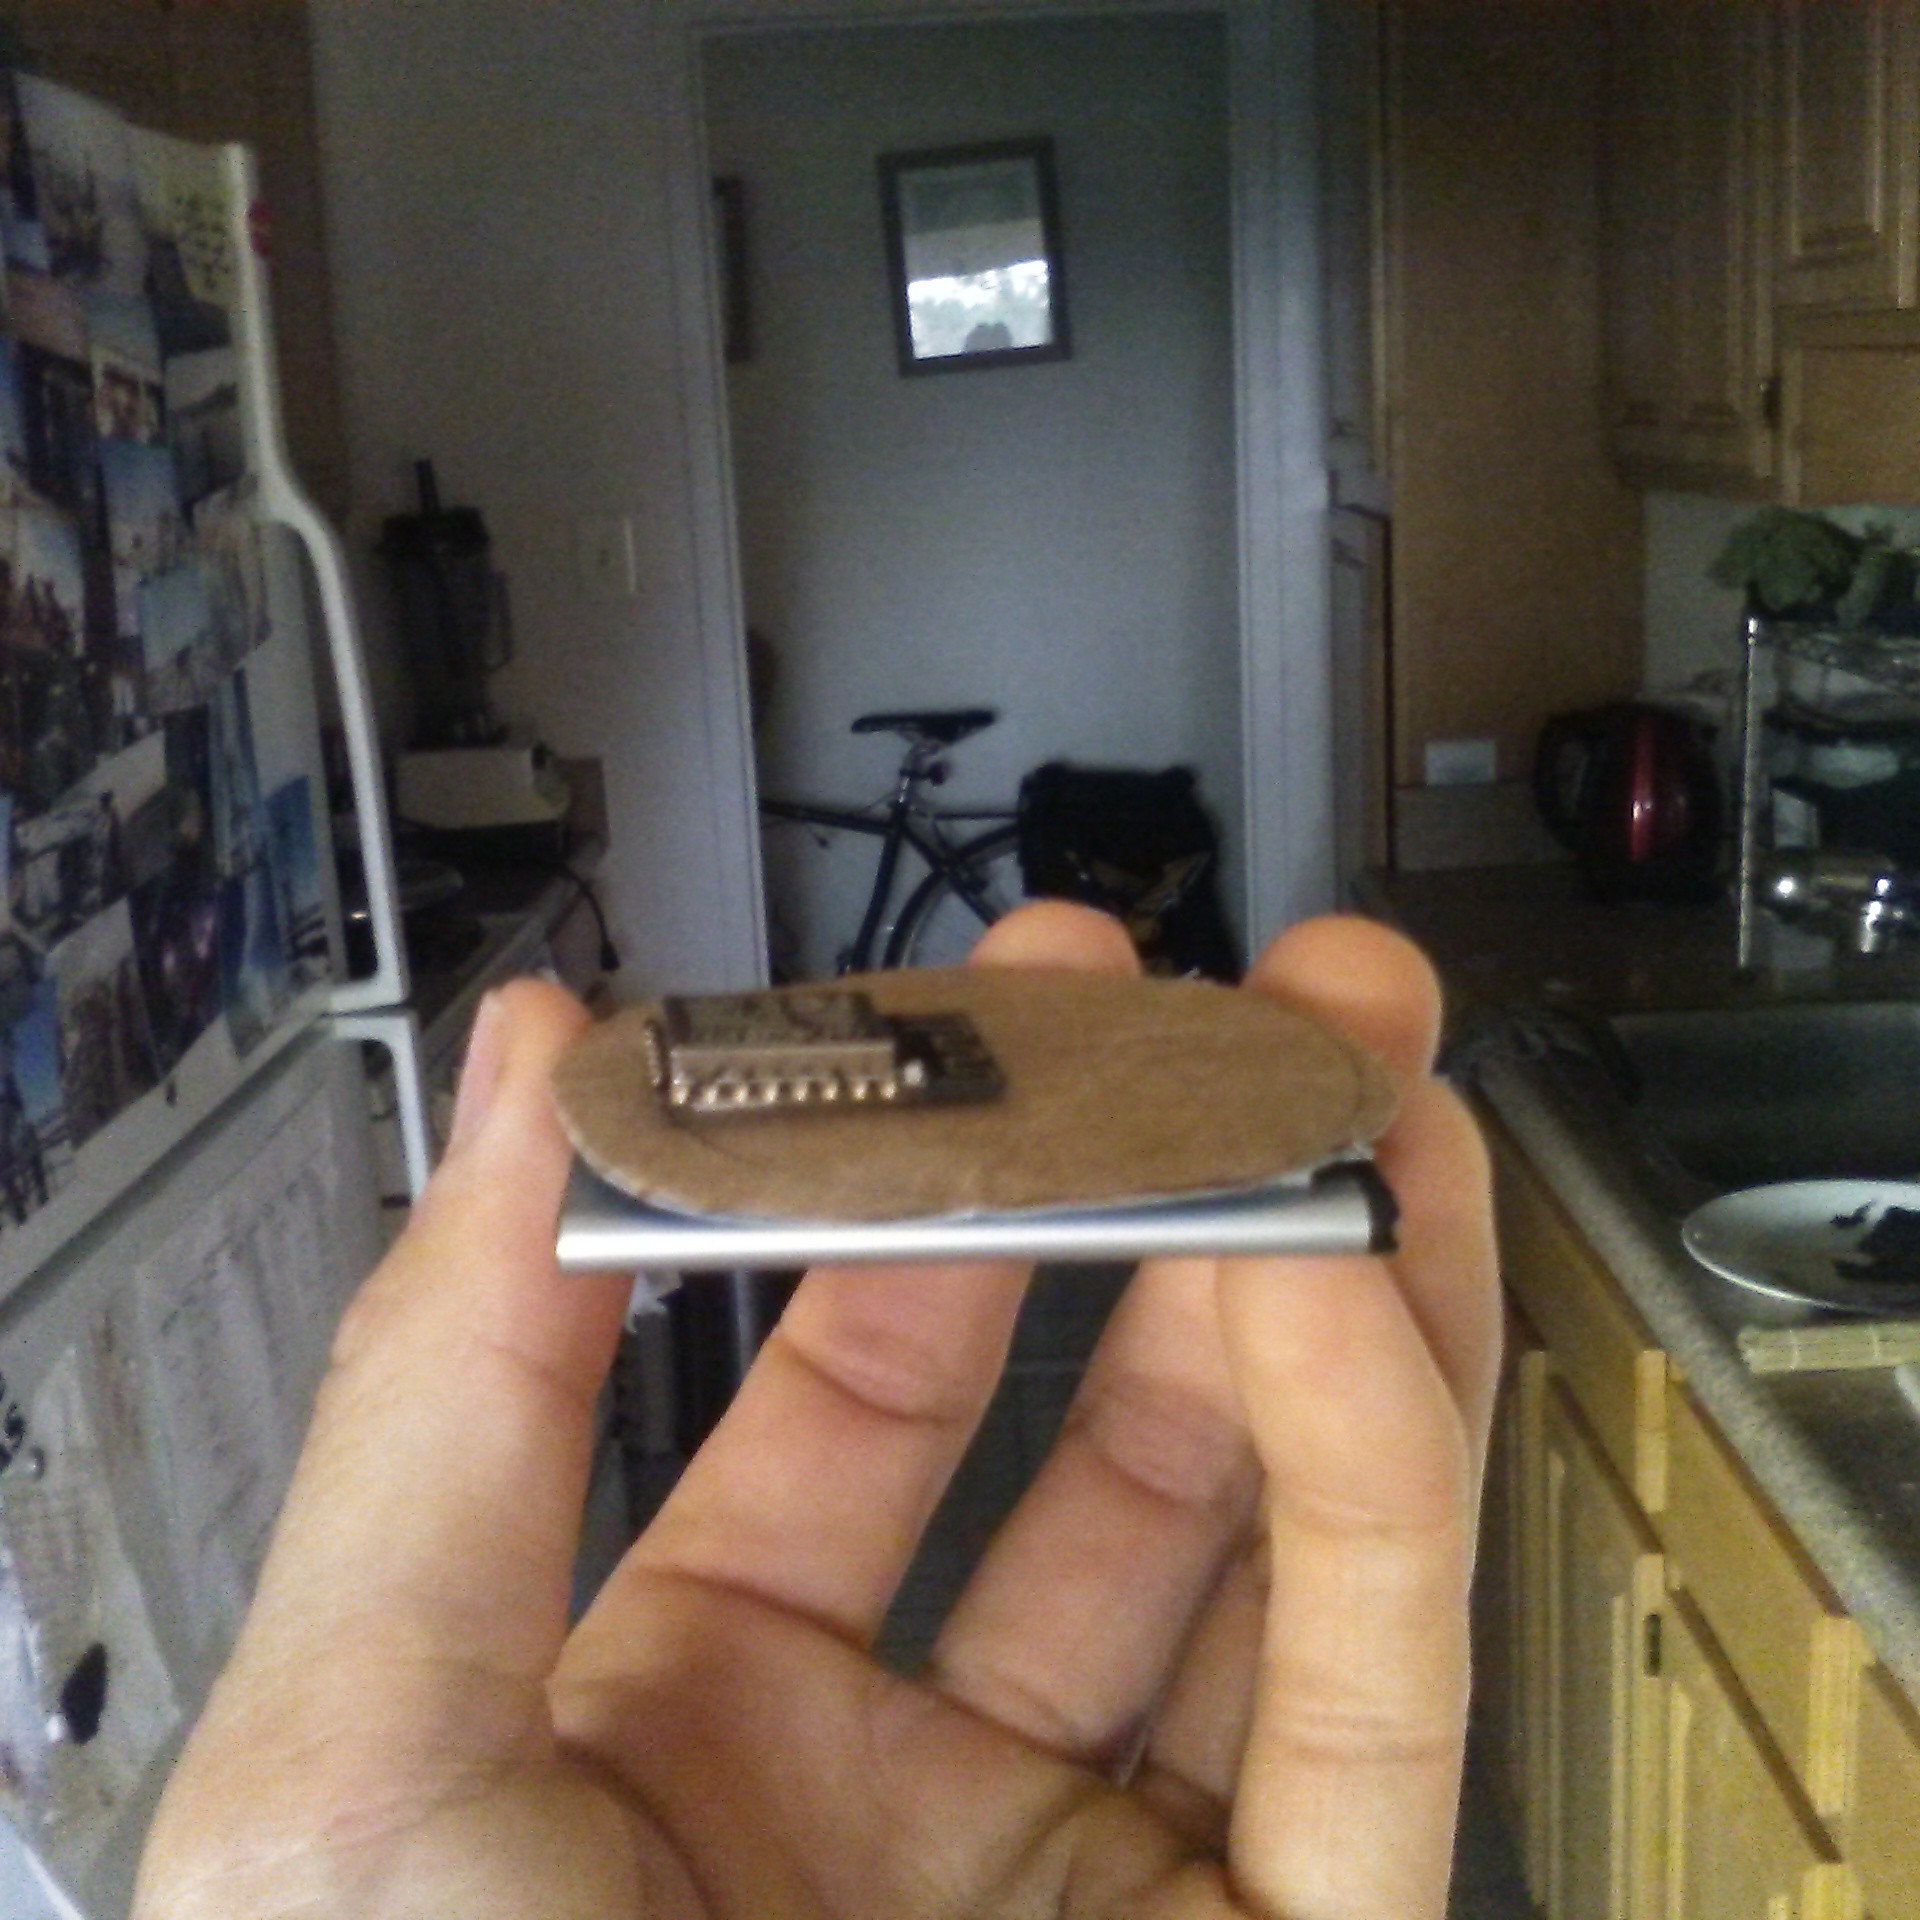
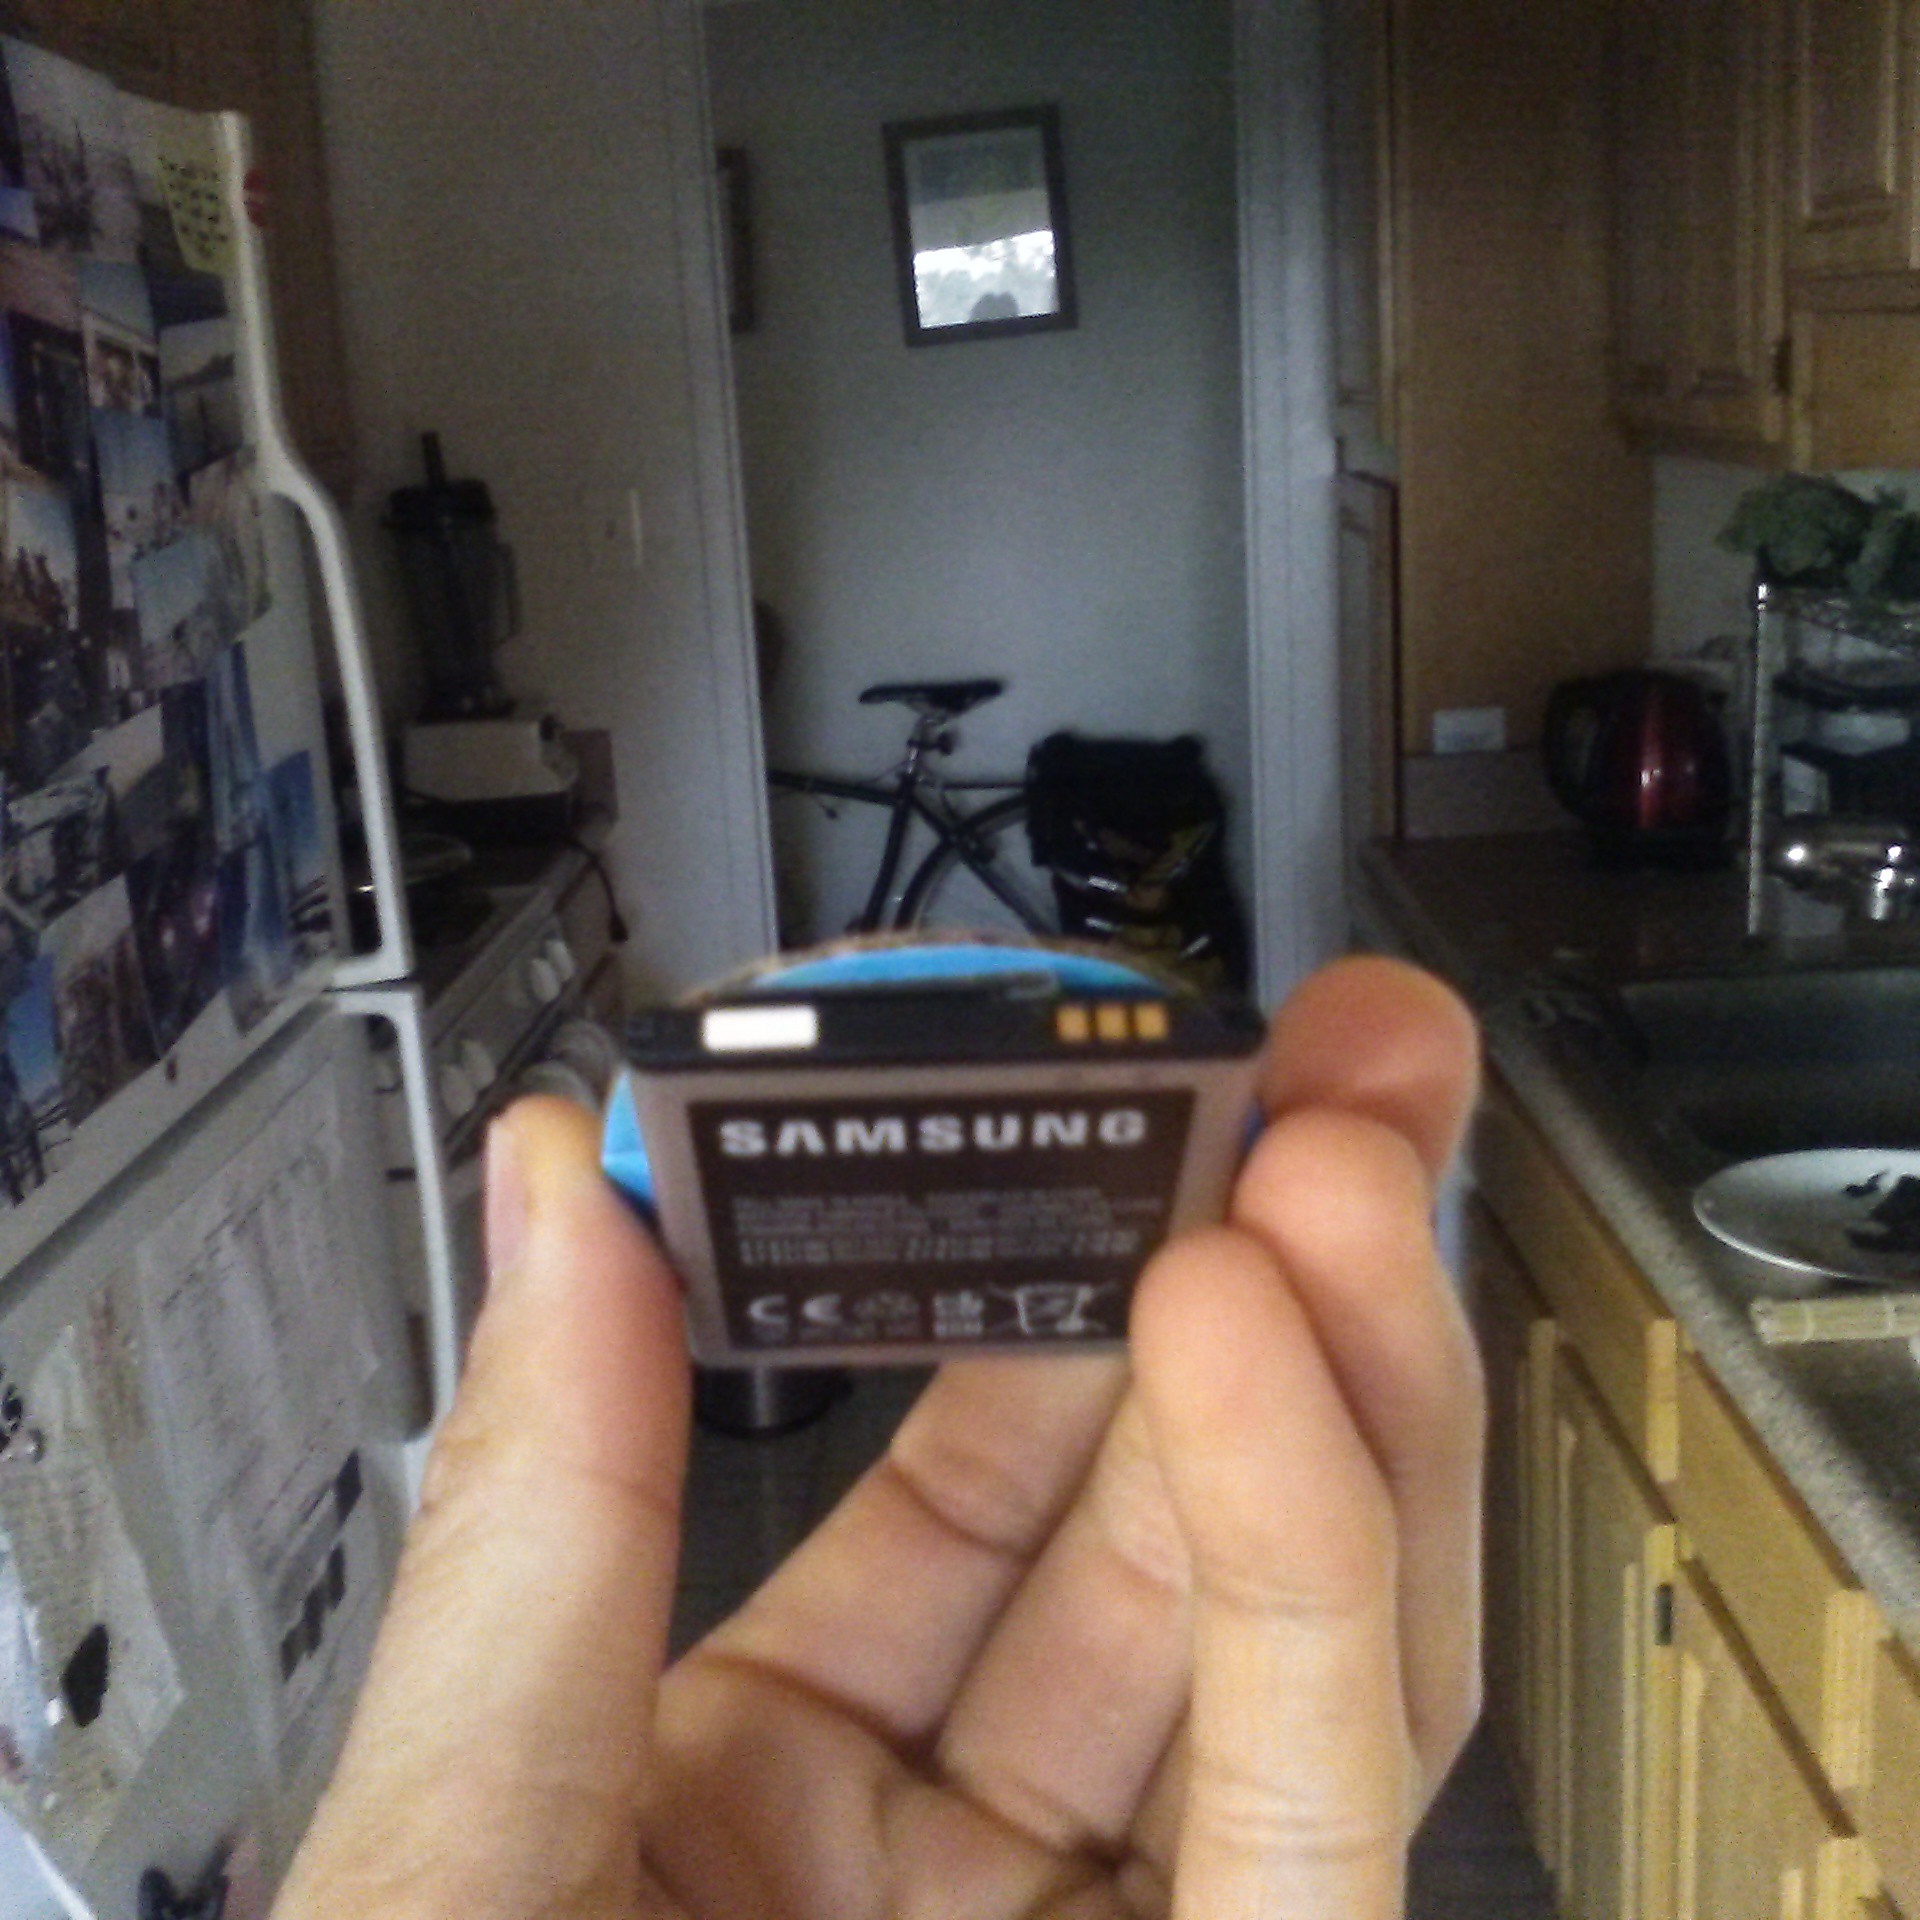
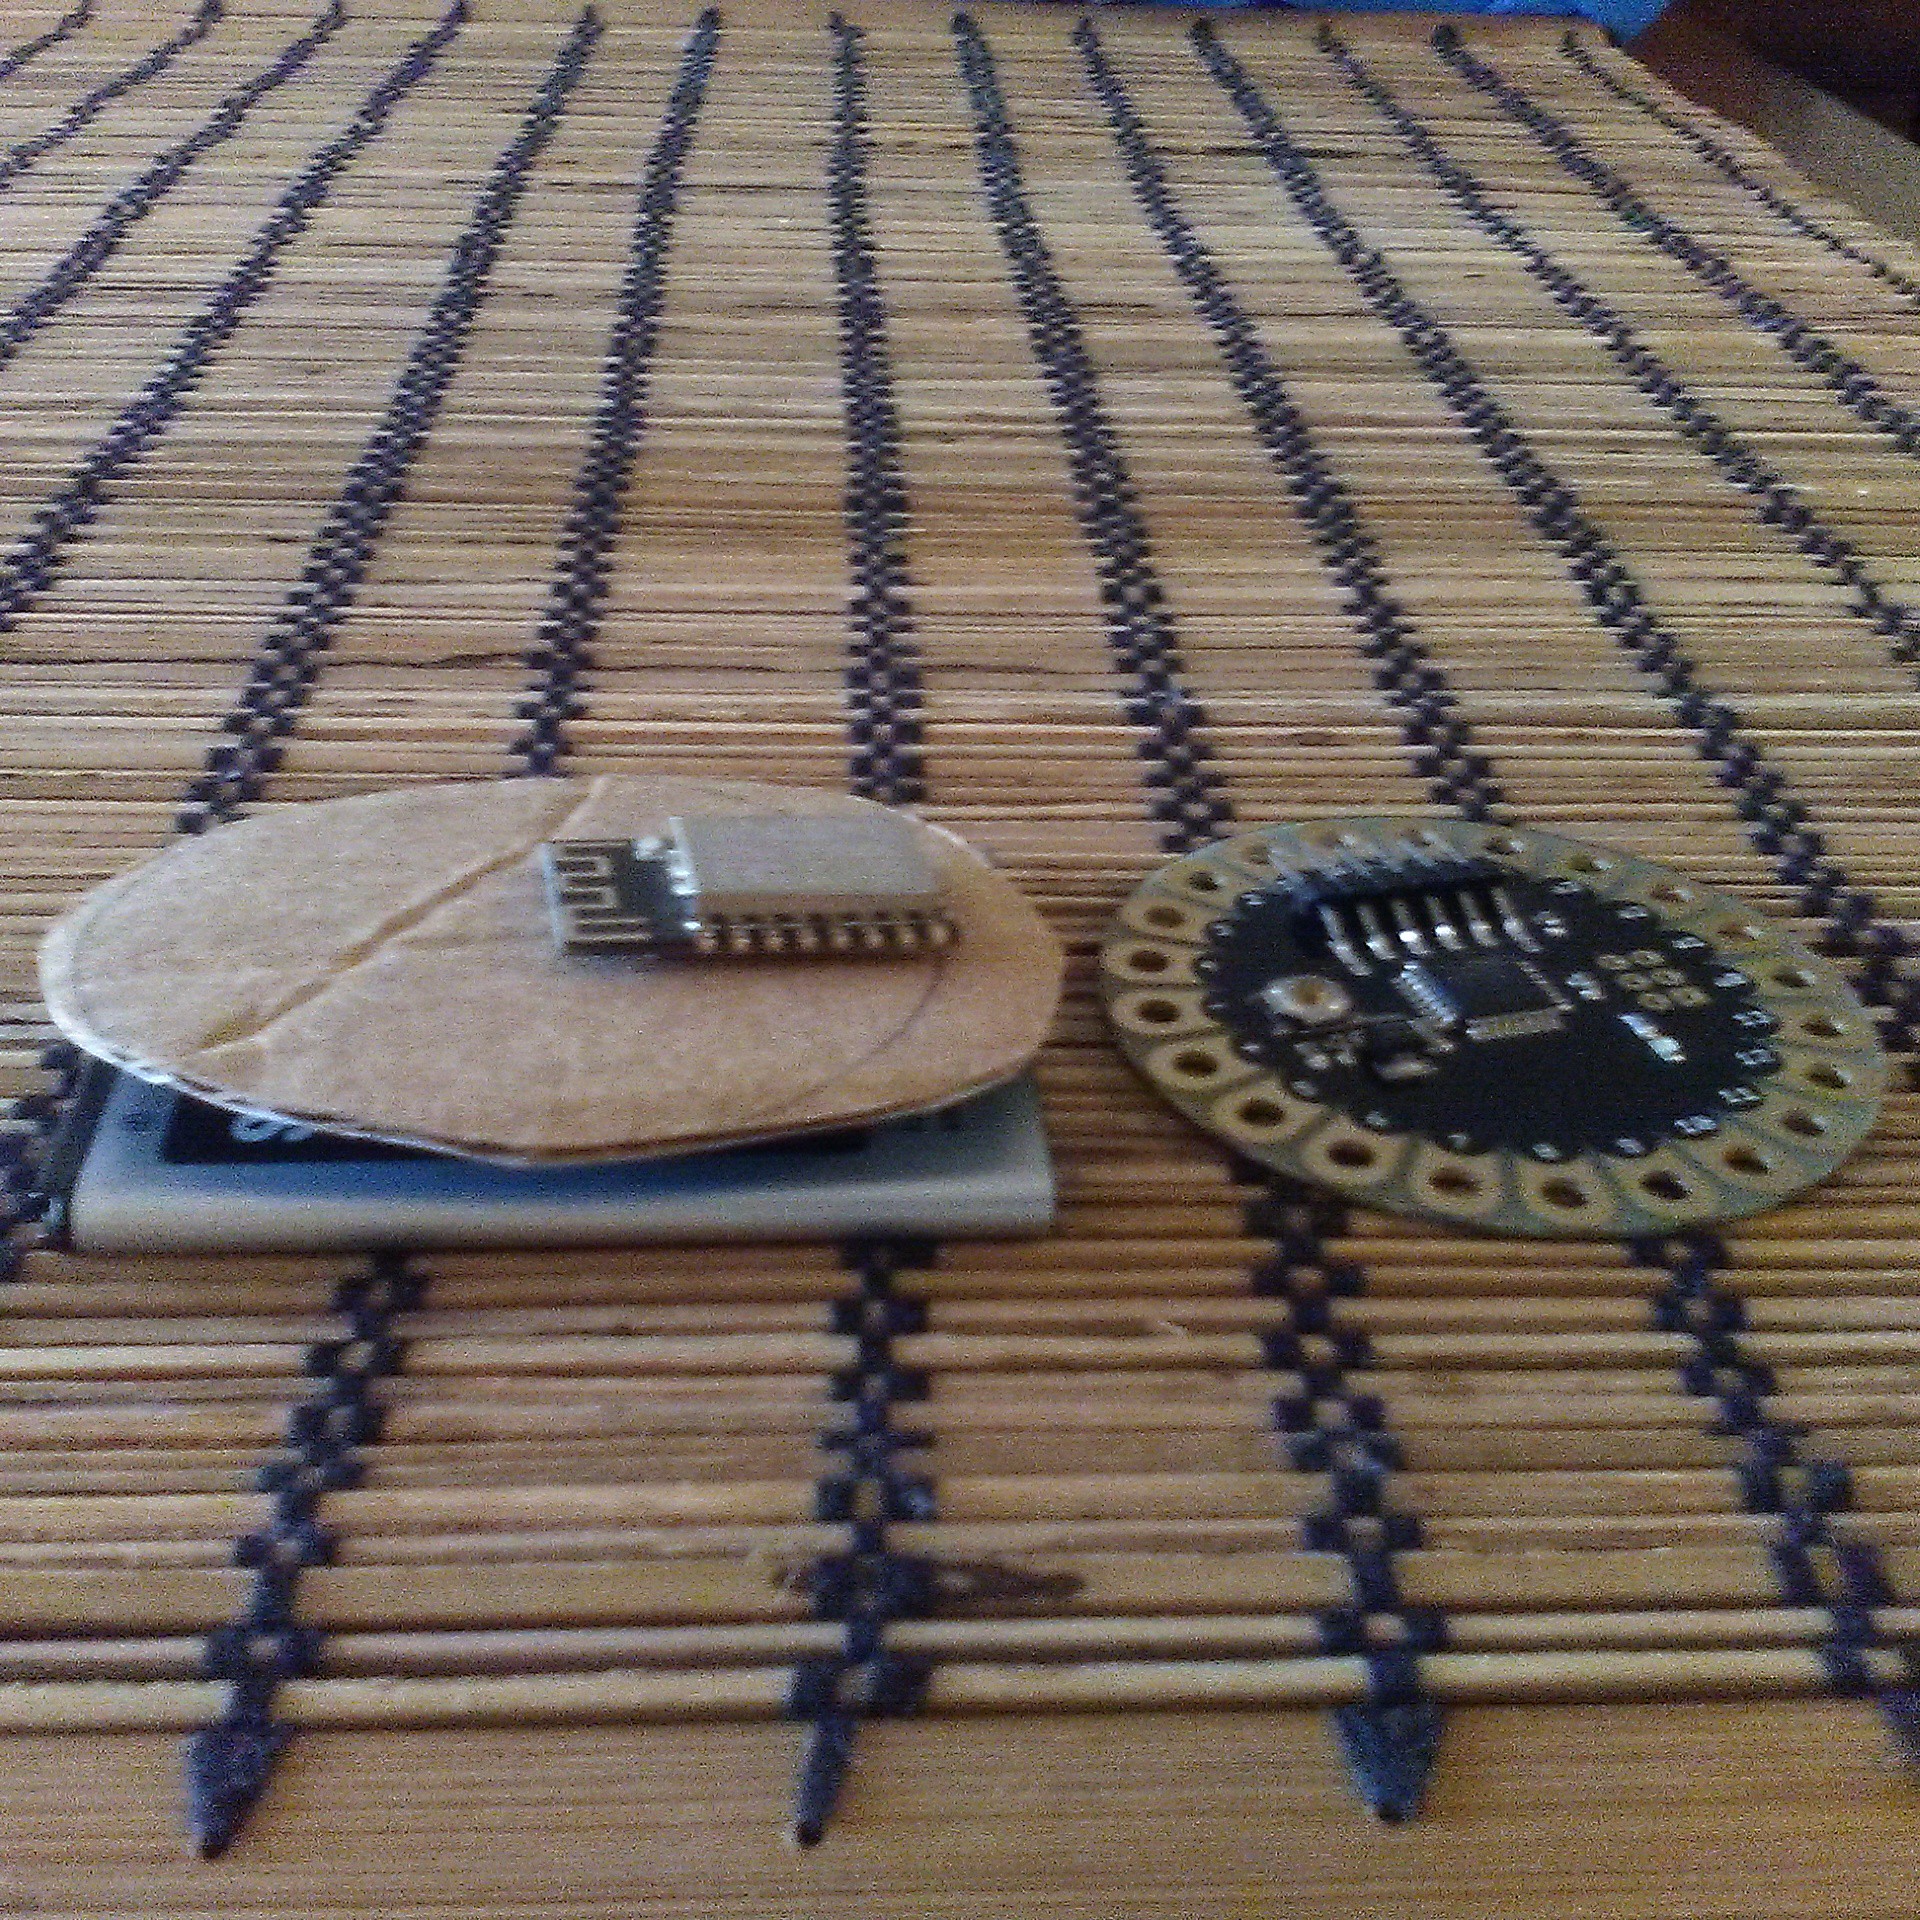
    Now, luckily, just two weeks ago my cell phone shorted out in the rain - actually it was my sweat -, so not only do I have a paper weight, I do have a functioning lithium ion battery that has a lot of juice, and it also has the right form factor for what I'm buiilding. So how do we go about prototyping this? Same thing, with cardboard and duct tape

    Next we stick em together like a sandwich.

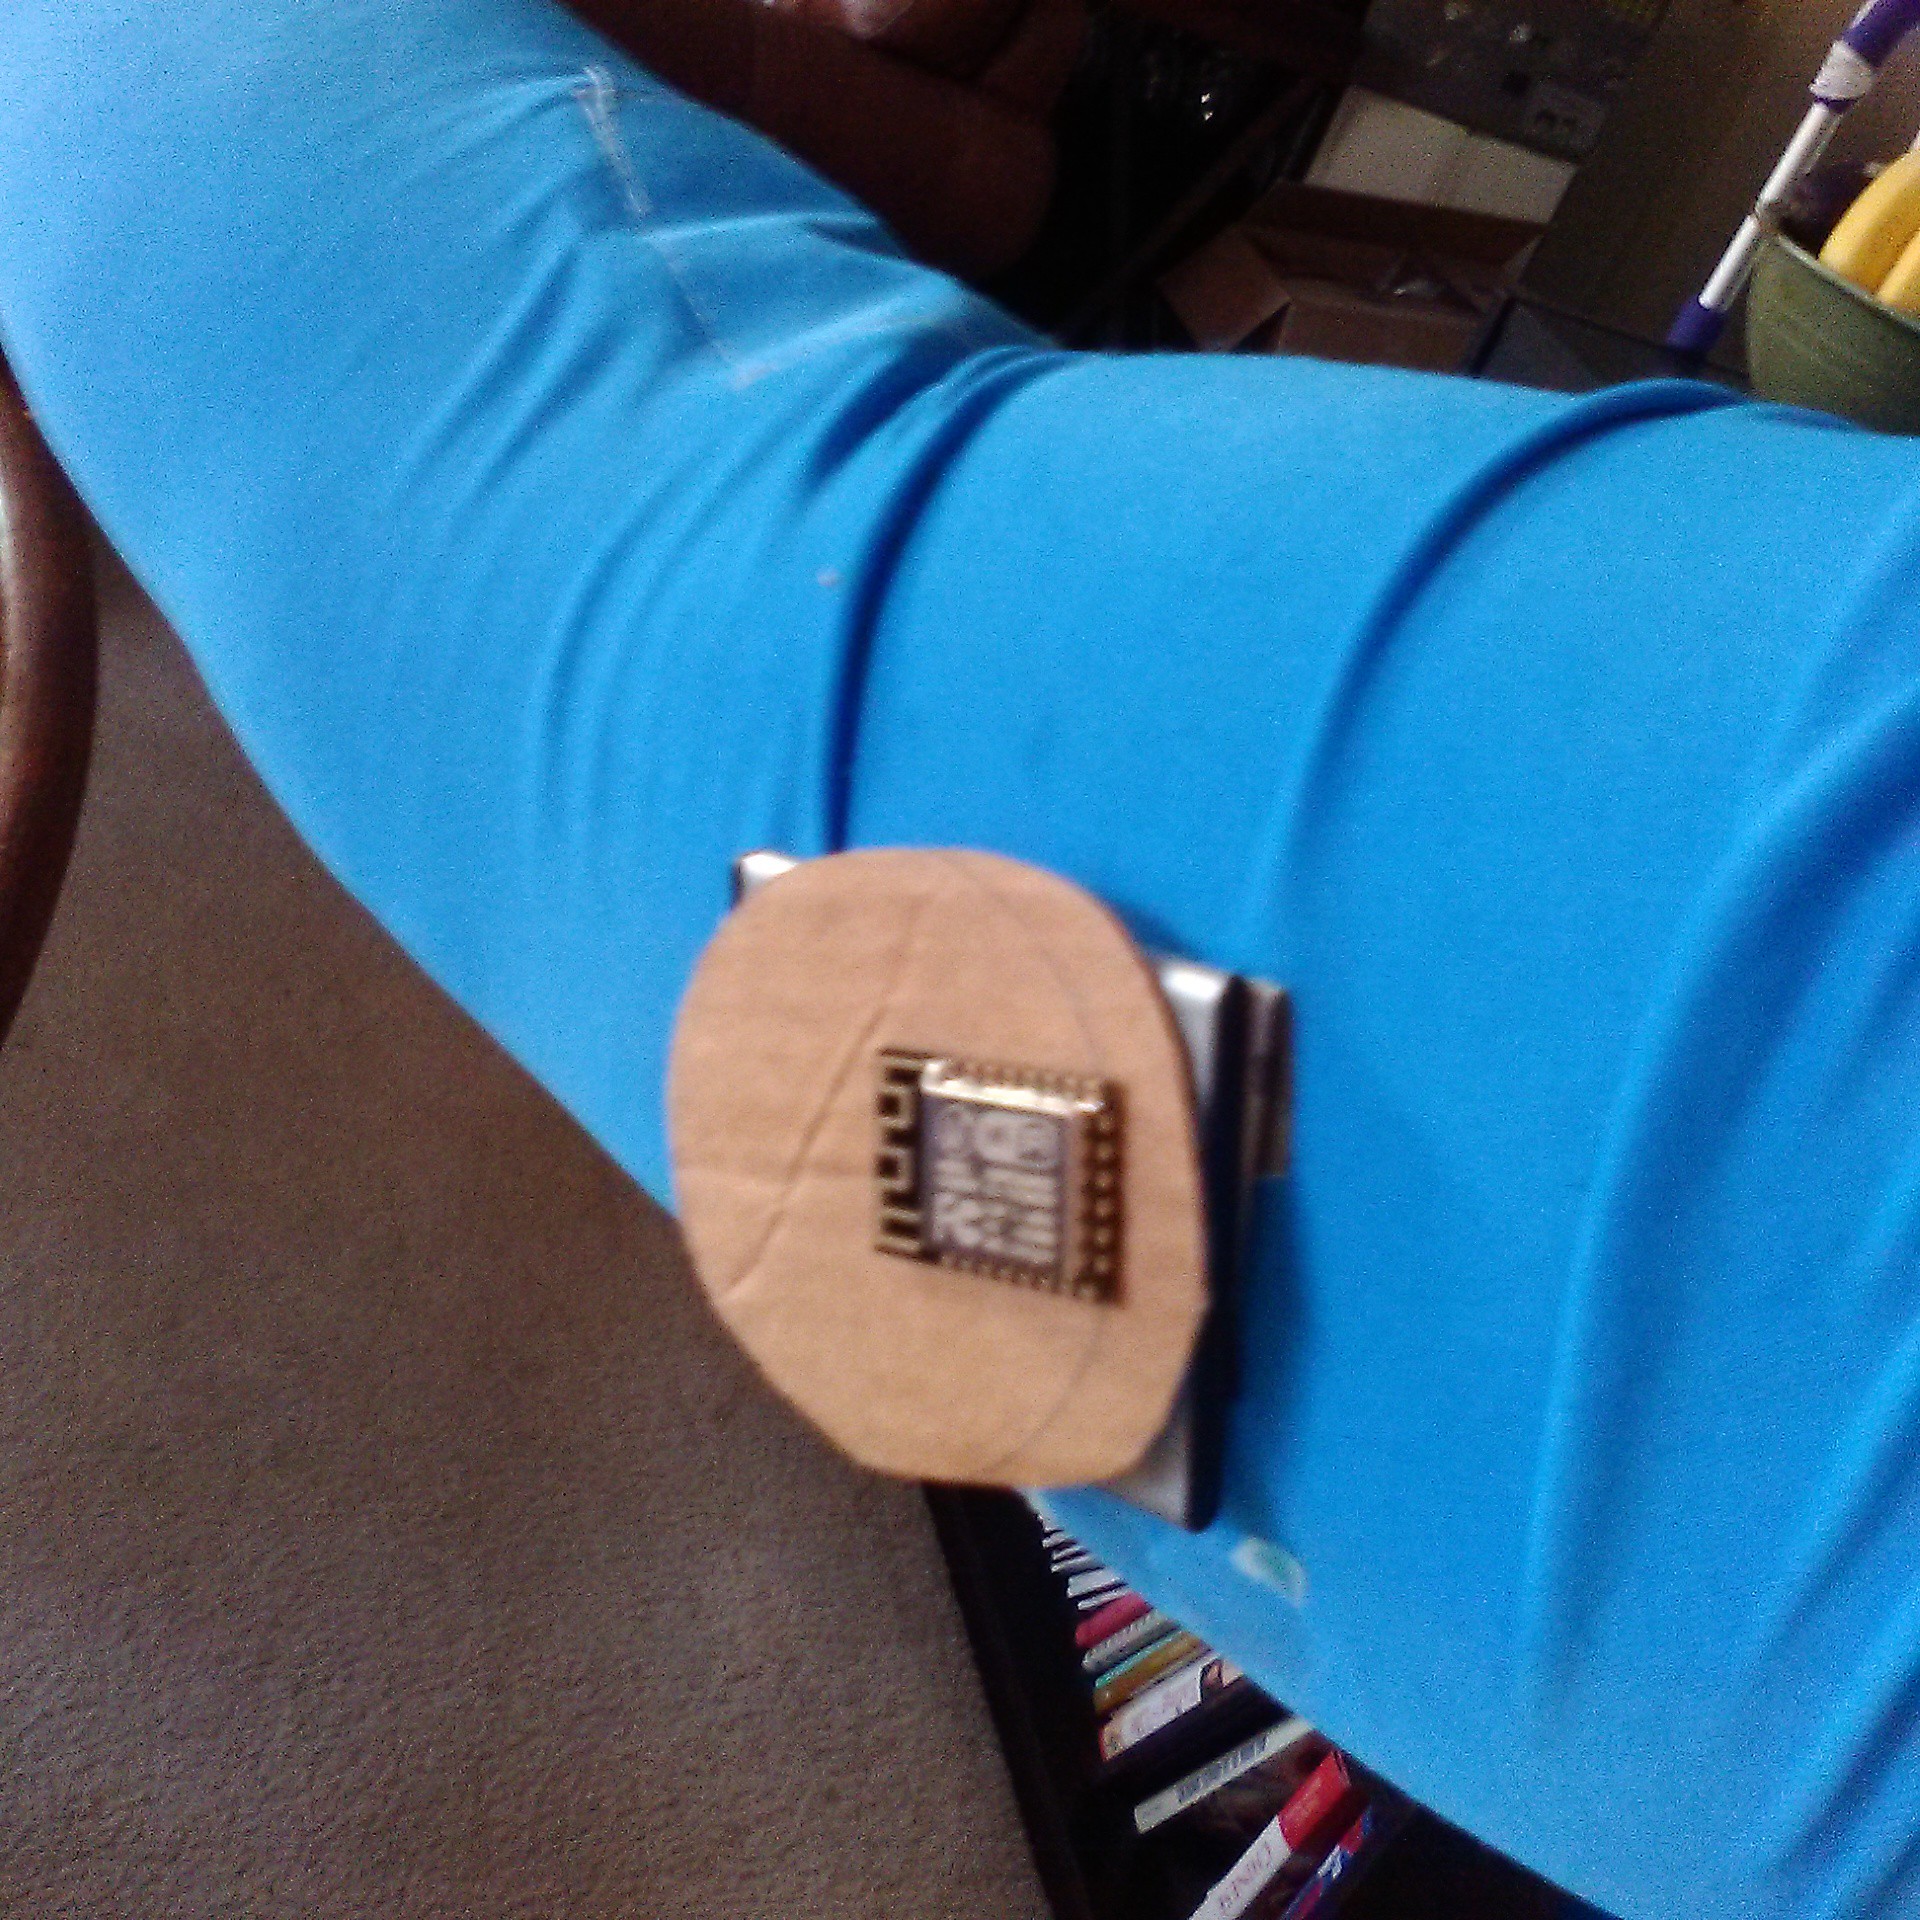
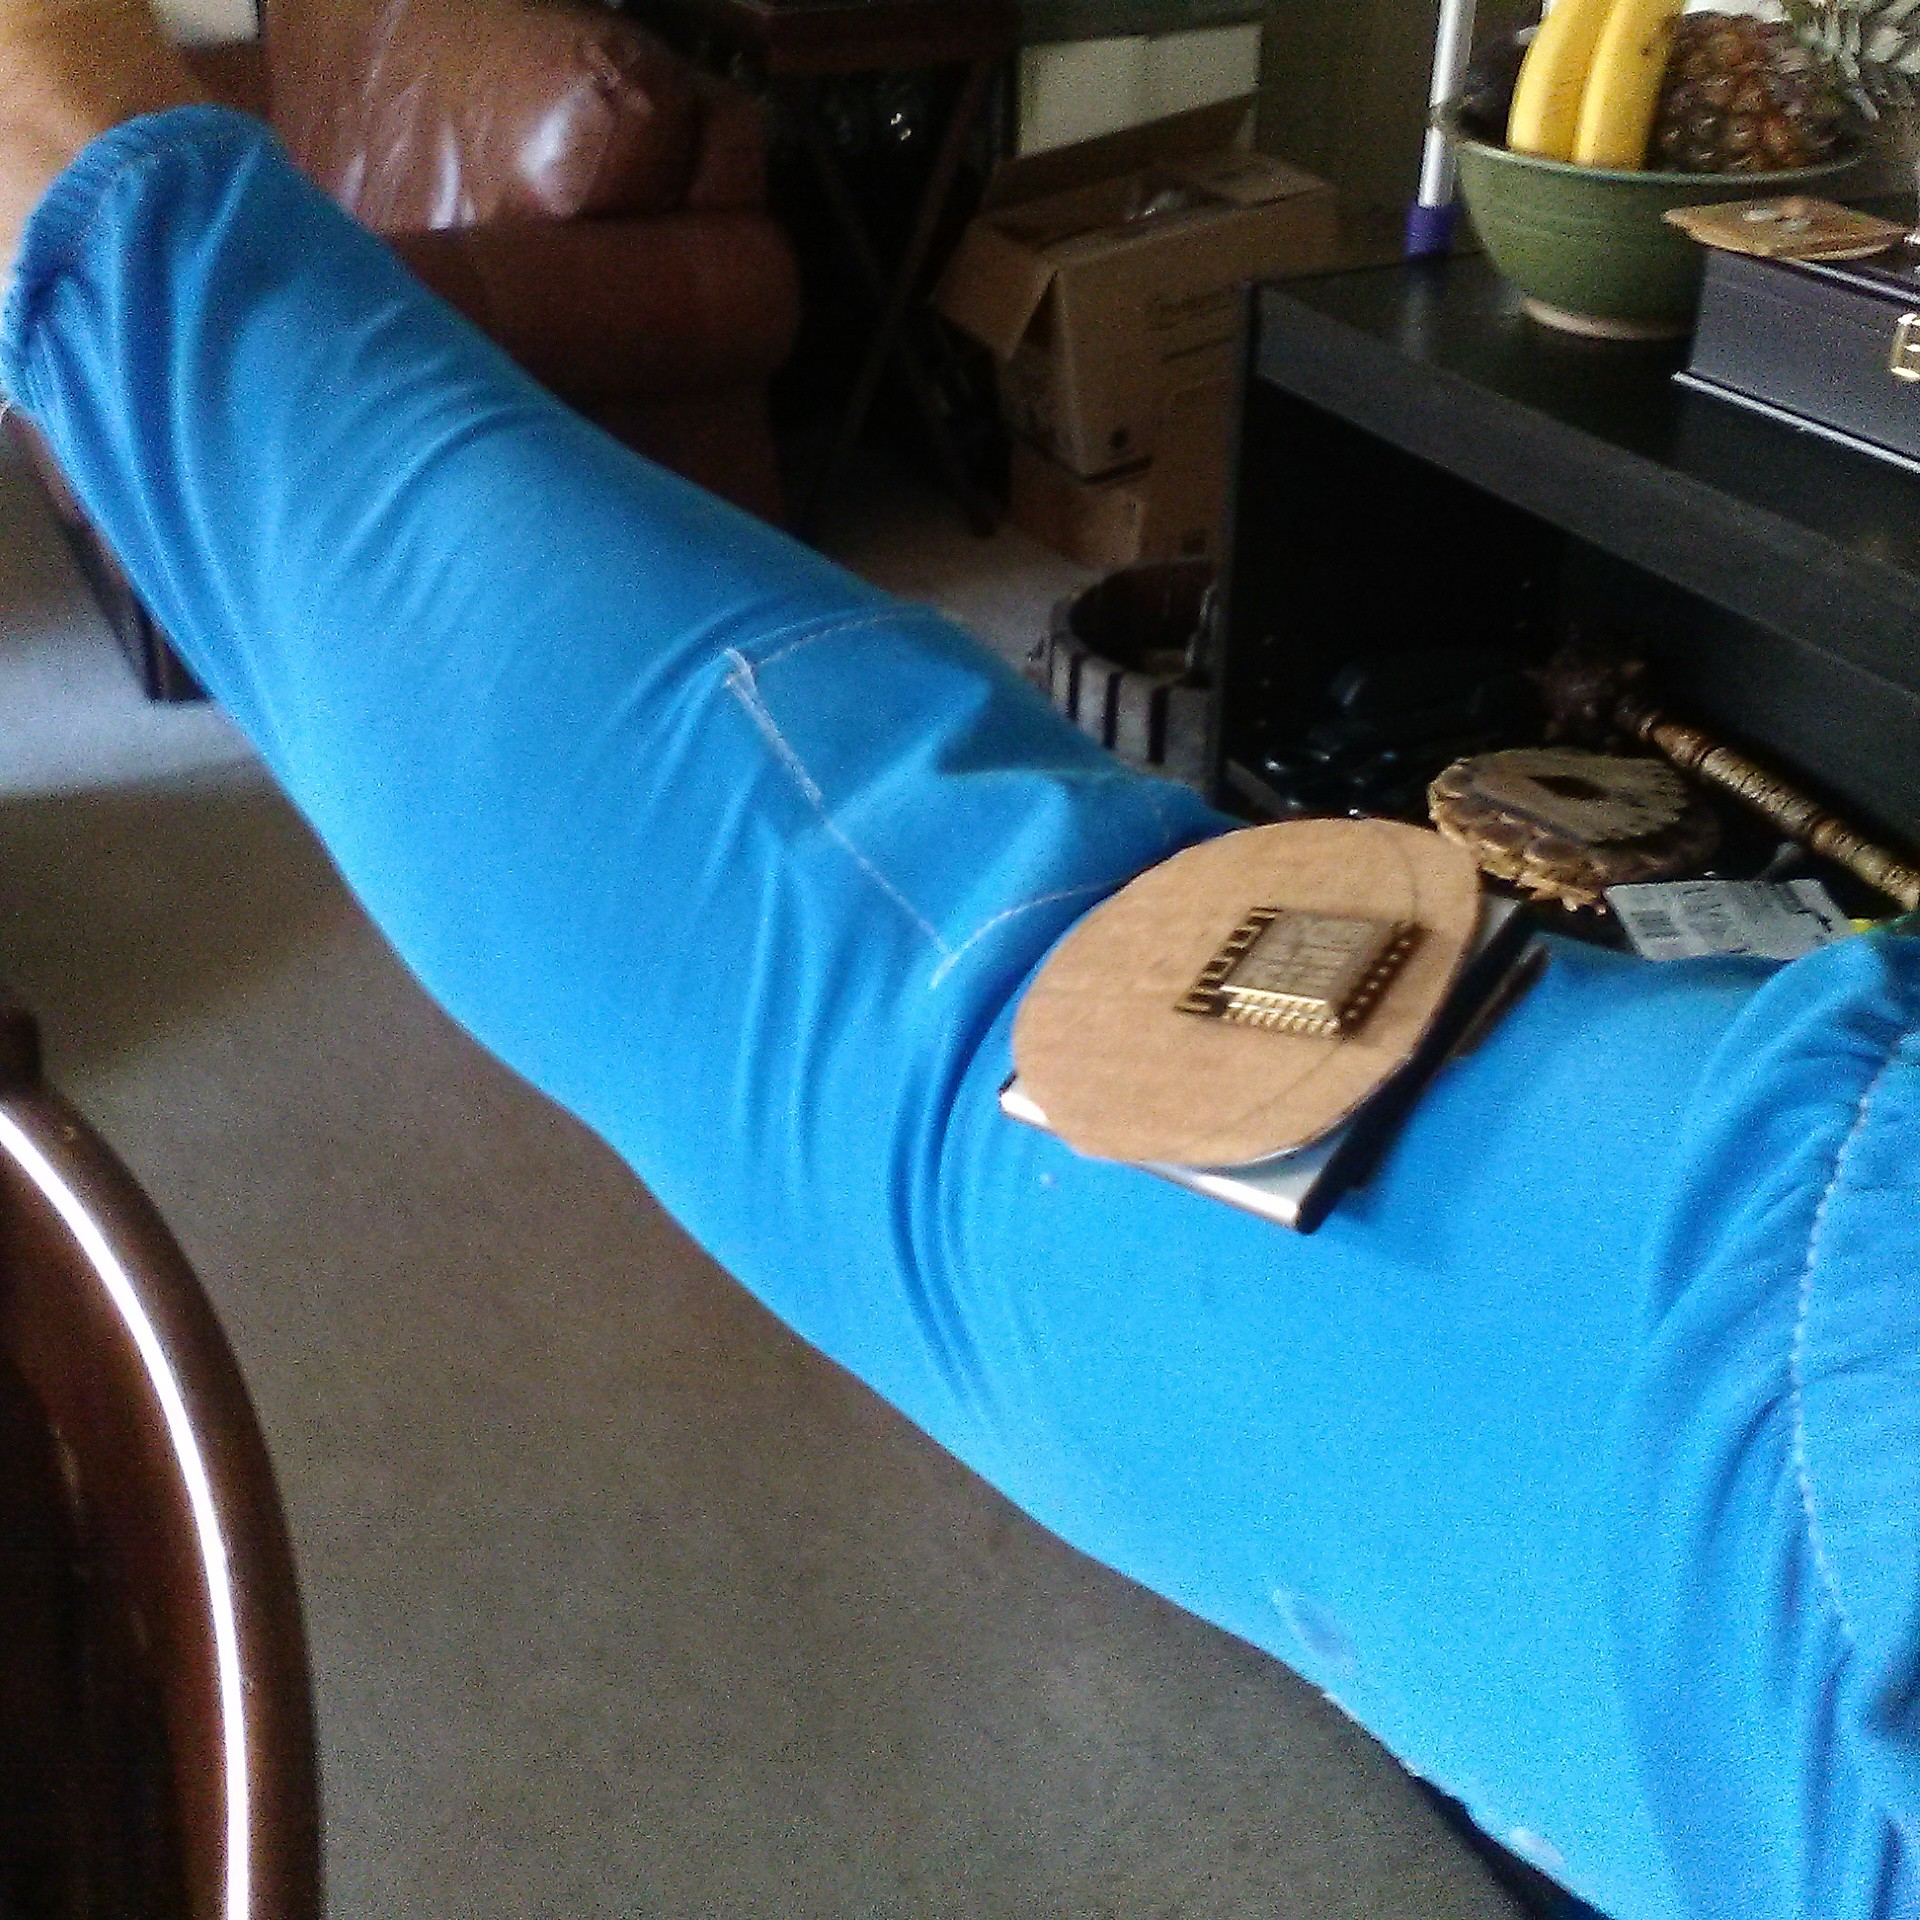
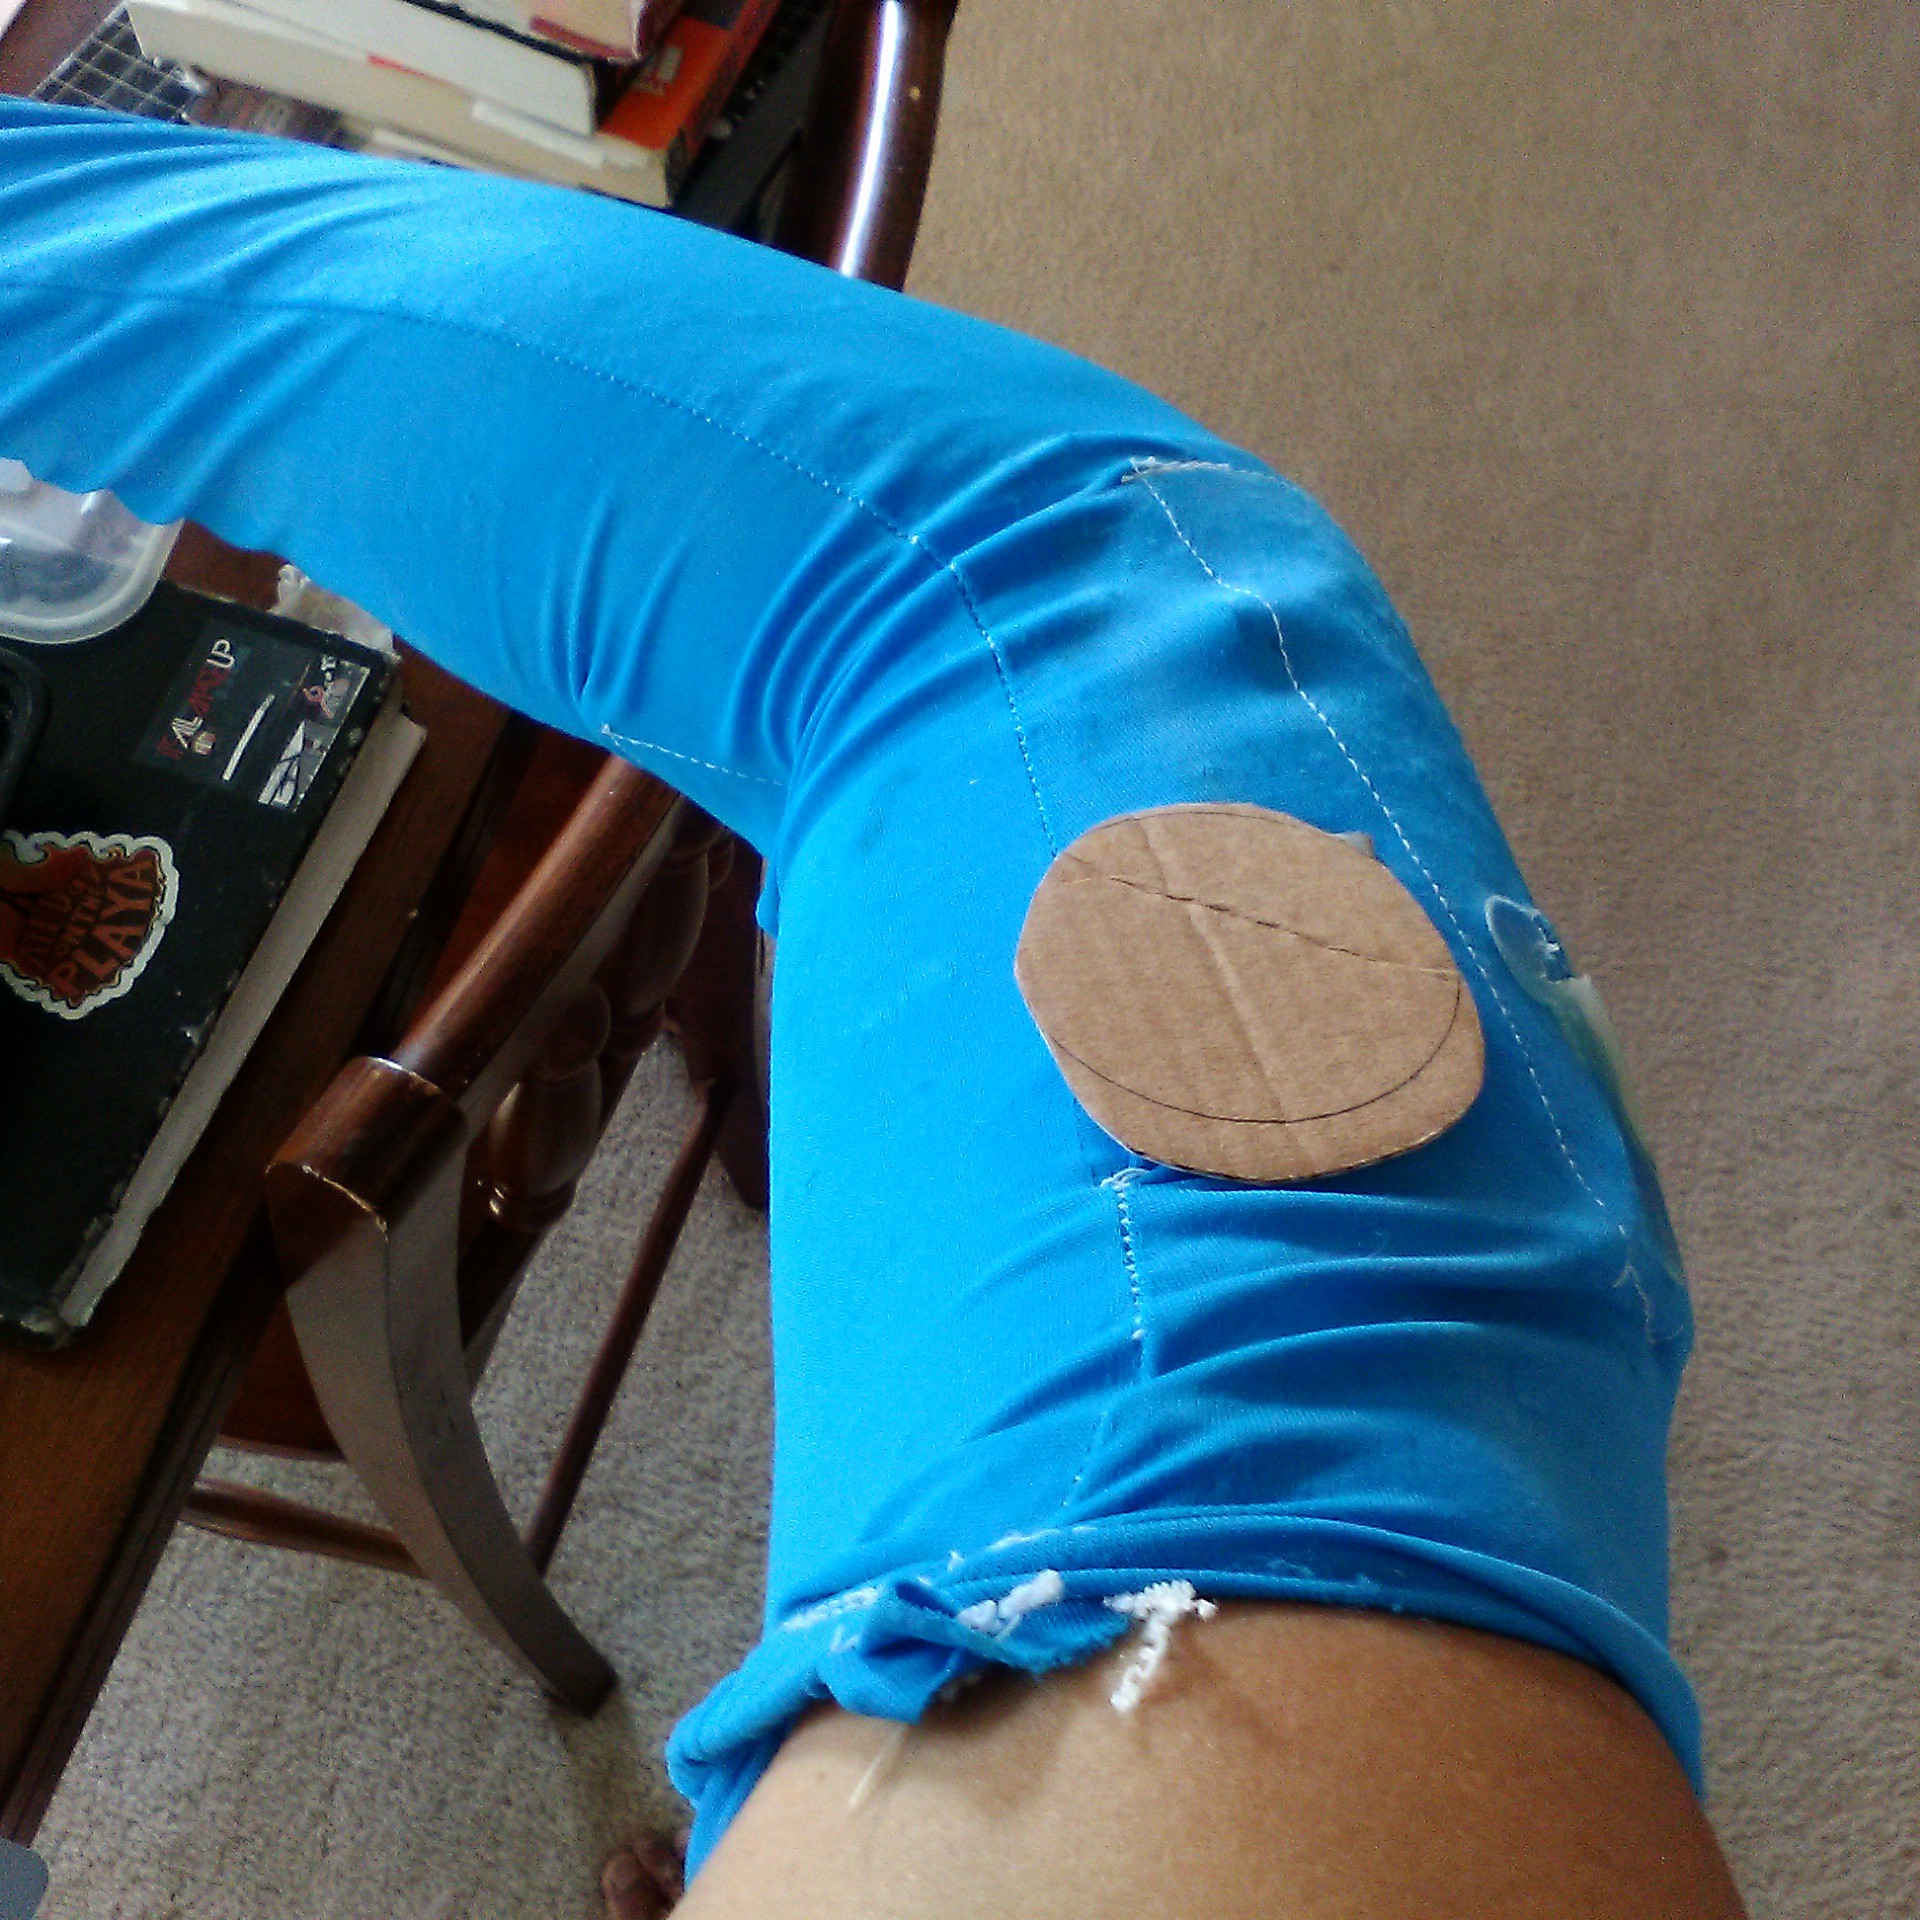
    Then we test em on all angles on the sleeve.

    So far so good! It's reasonably comfortable, although I can see that the weight can be a factor in many other garments, which is why part of my pre-requisites in building this thing is to have cable attachments that can lock down so they don't come undone very easily.

    Next up! How do you know you're fulfilling your primary business functional requirements? In fact, do you even have any? I'll show you how I came up with my business/functional/technical diagram, and how it translates into building this thing. Also up is circuit lay out and design! Yay! I'm already almost to PCB stage!

  • Usability: AKA How to Effectively Rapid Prototype Like a Seven Year Old

    Casual Cyborg06/11/2017 at 23:41 0 comments

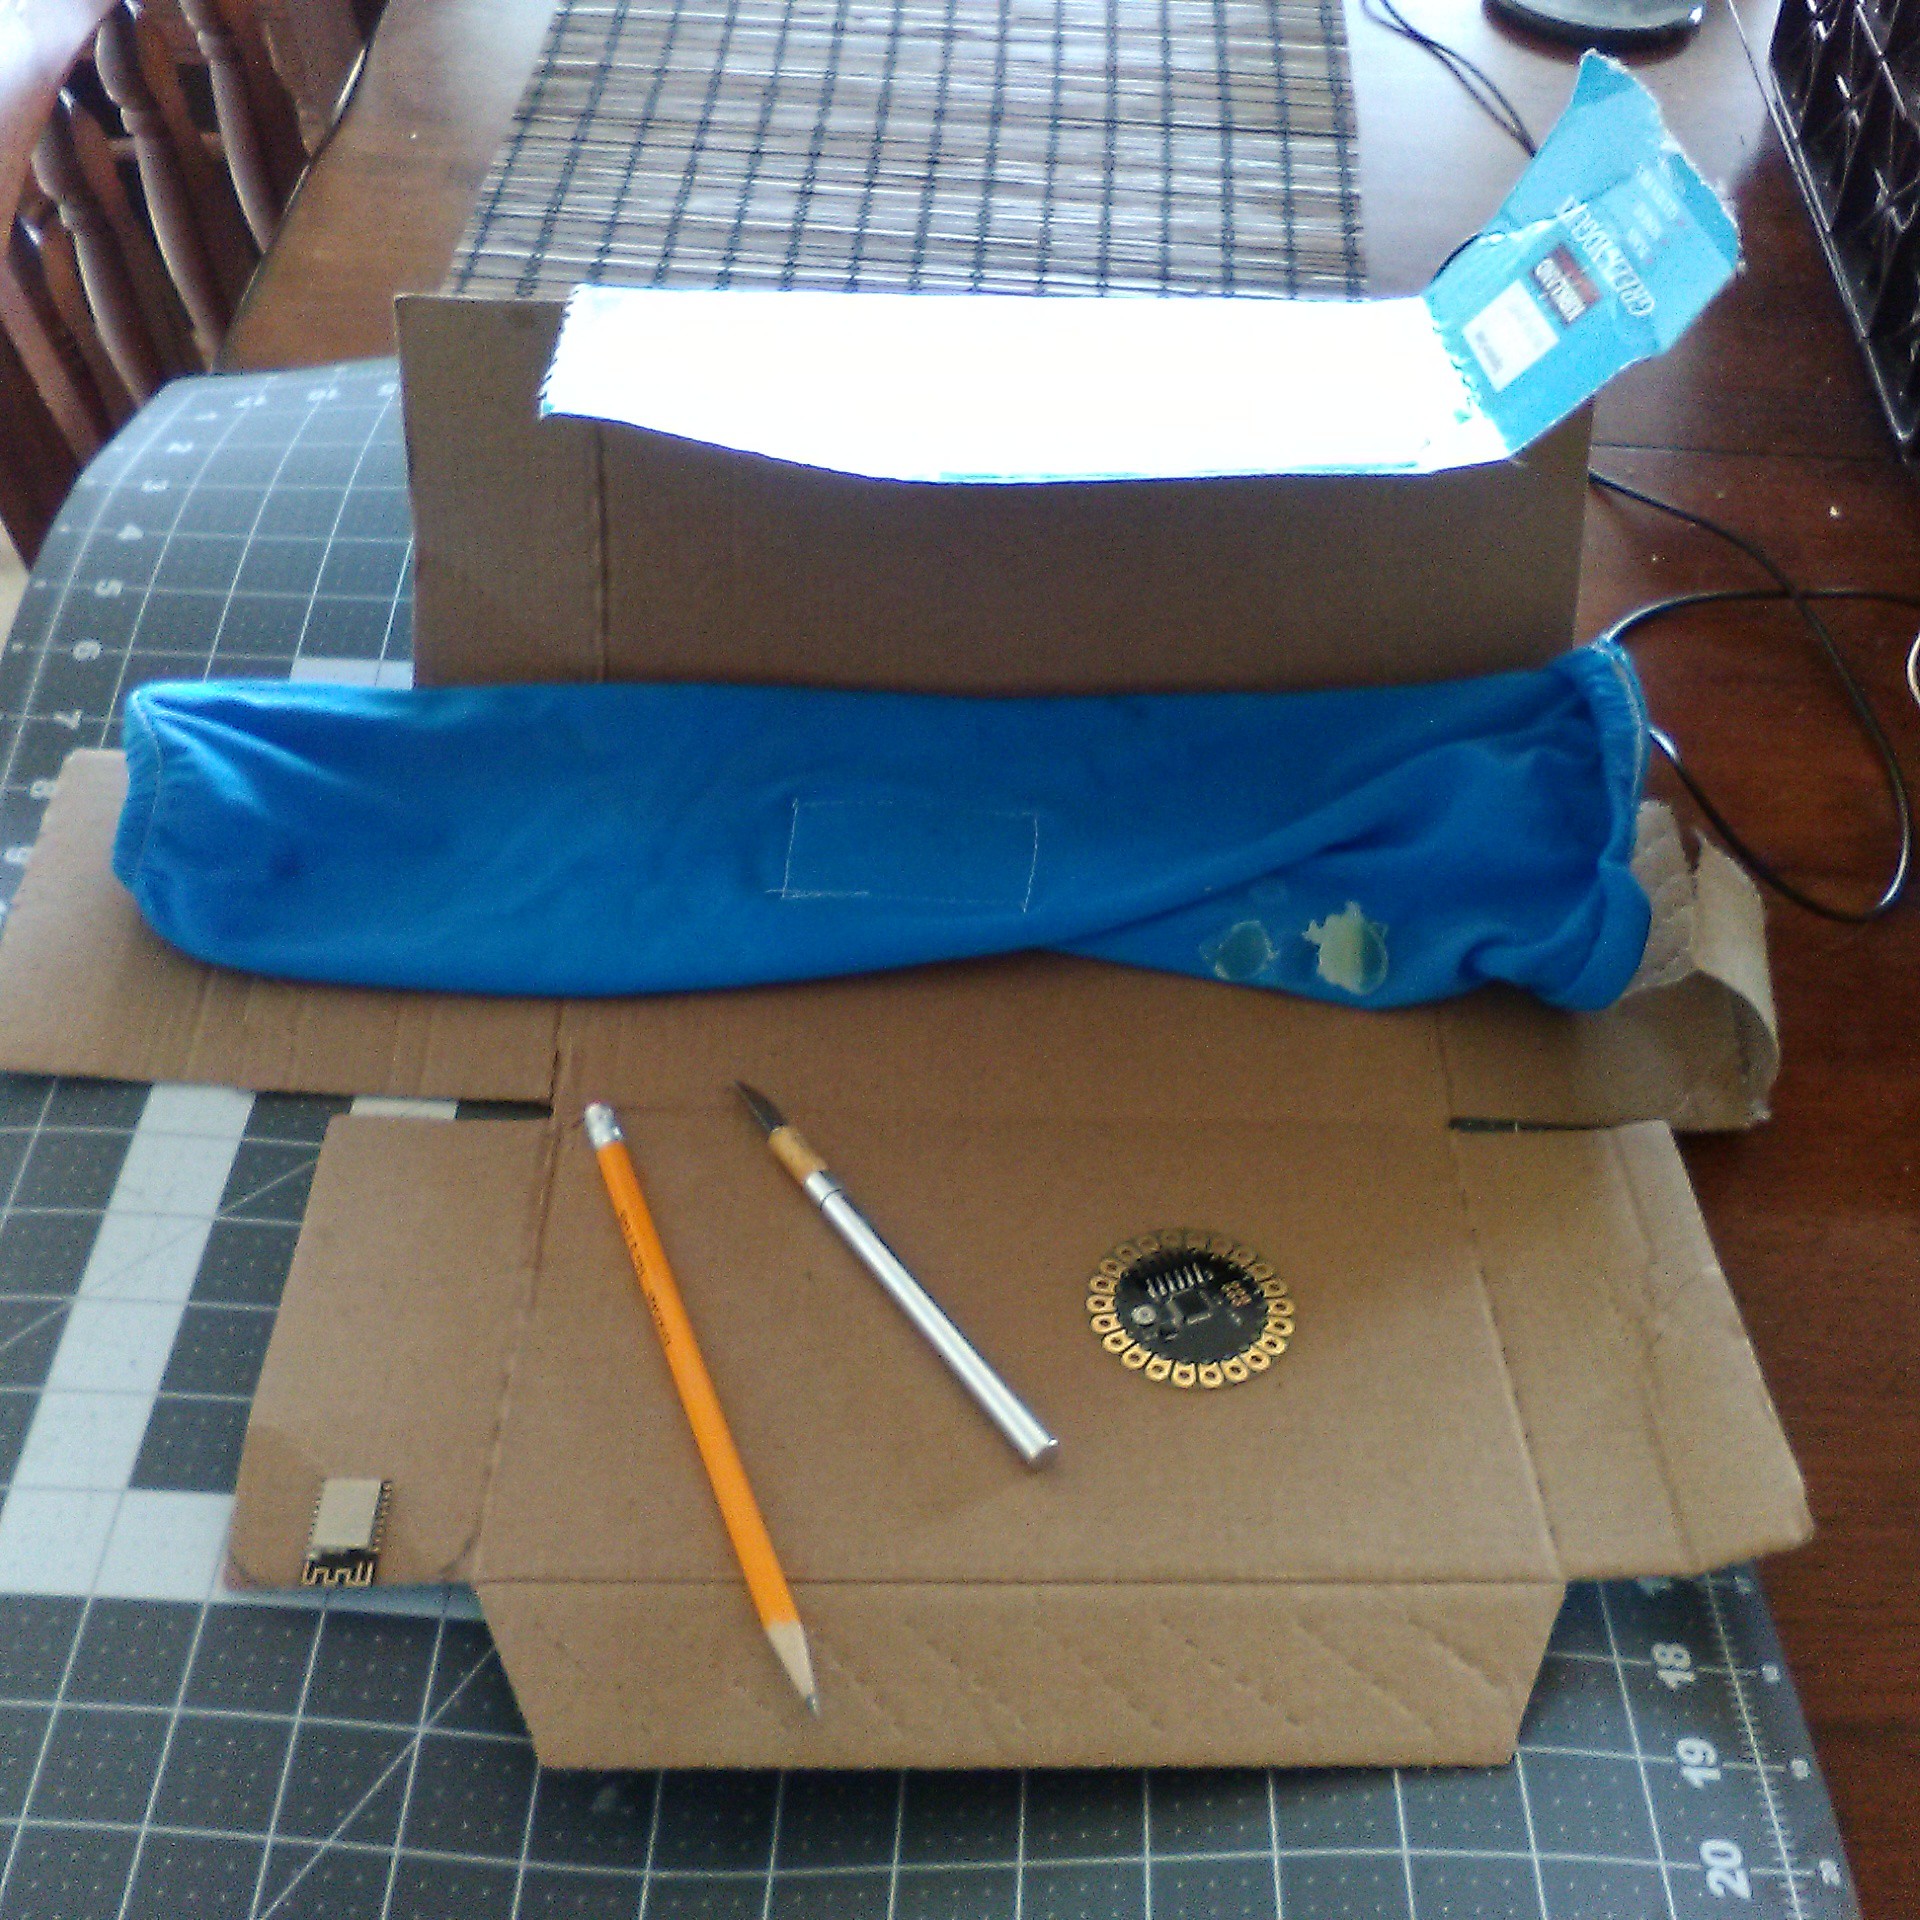
    In my previous development log, I did what I do really well, which is prototype the circuit that I want to build. Yay (bored version). You can tell from my attitude towards that this is old hat for me. What's new is learning to prototype like a 7 year old kid again. To do that, I broke out the cutting board, scissors, cardboard, and duct tape. What was my goal of this? It's to find the most useful shape that works for the things I want to do. Break out the kiddie tools!

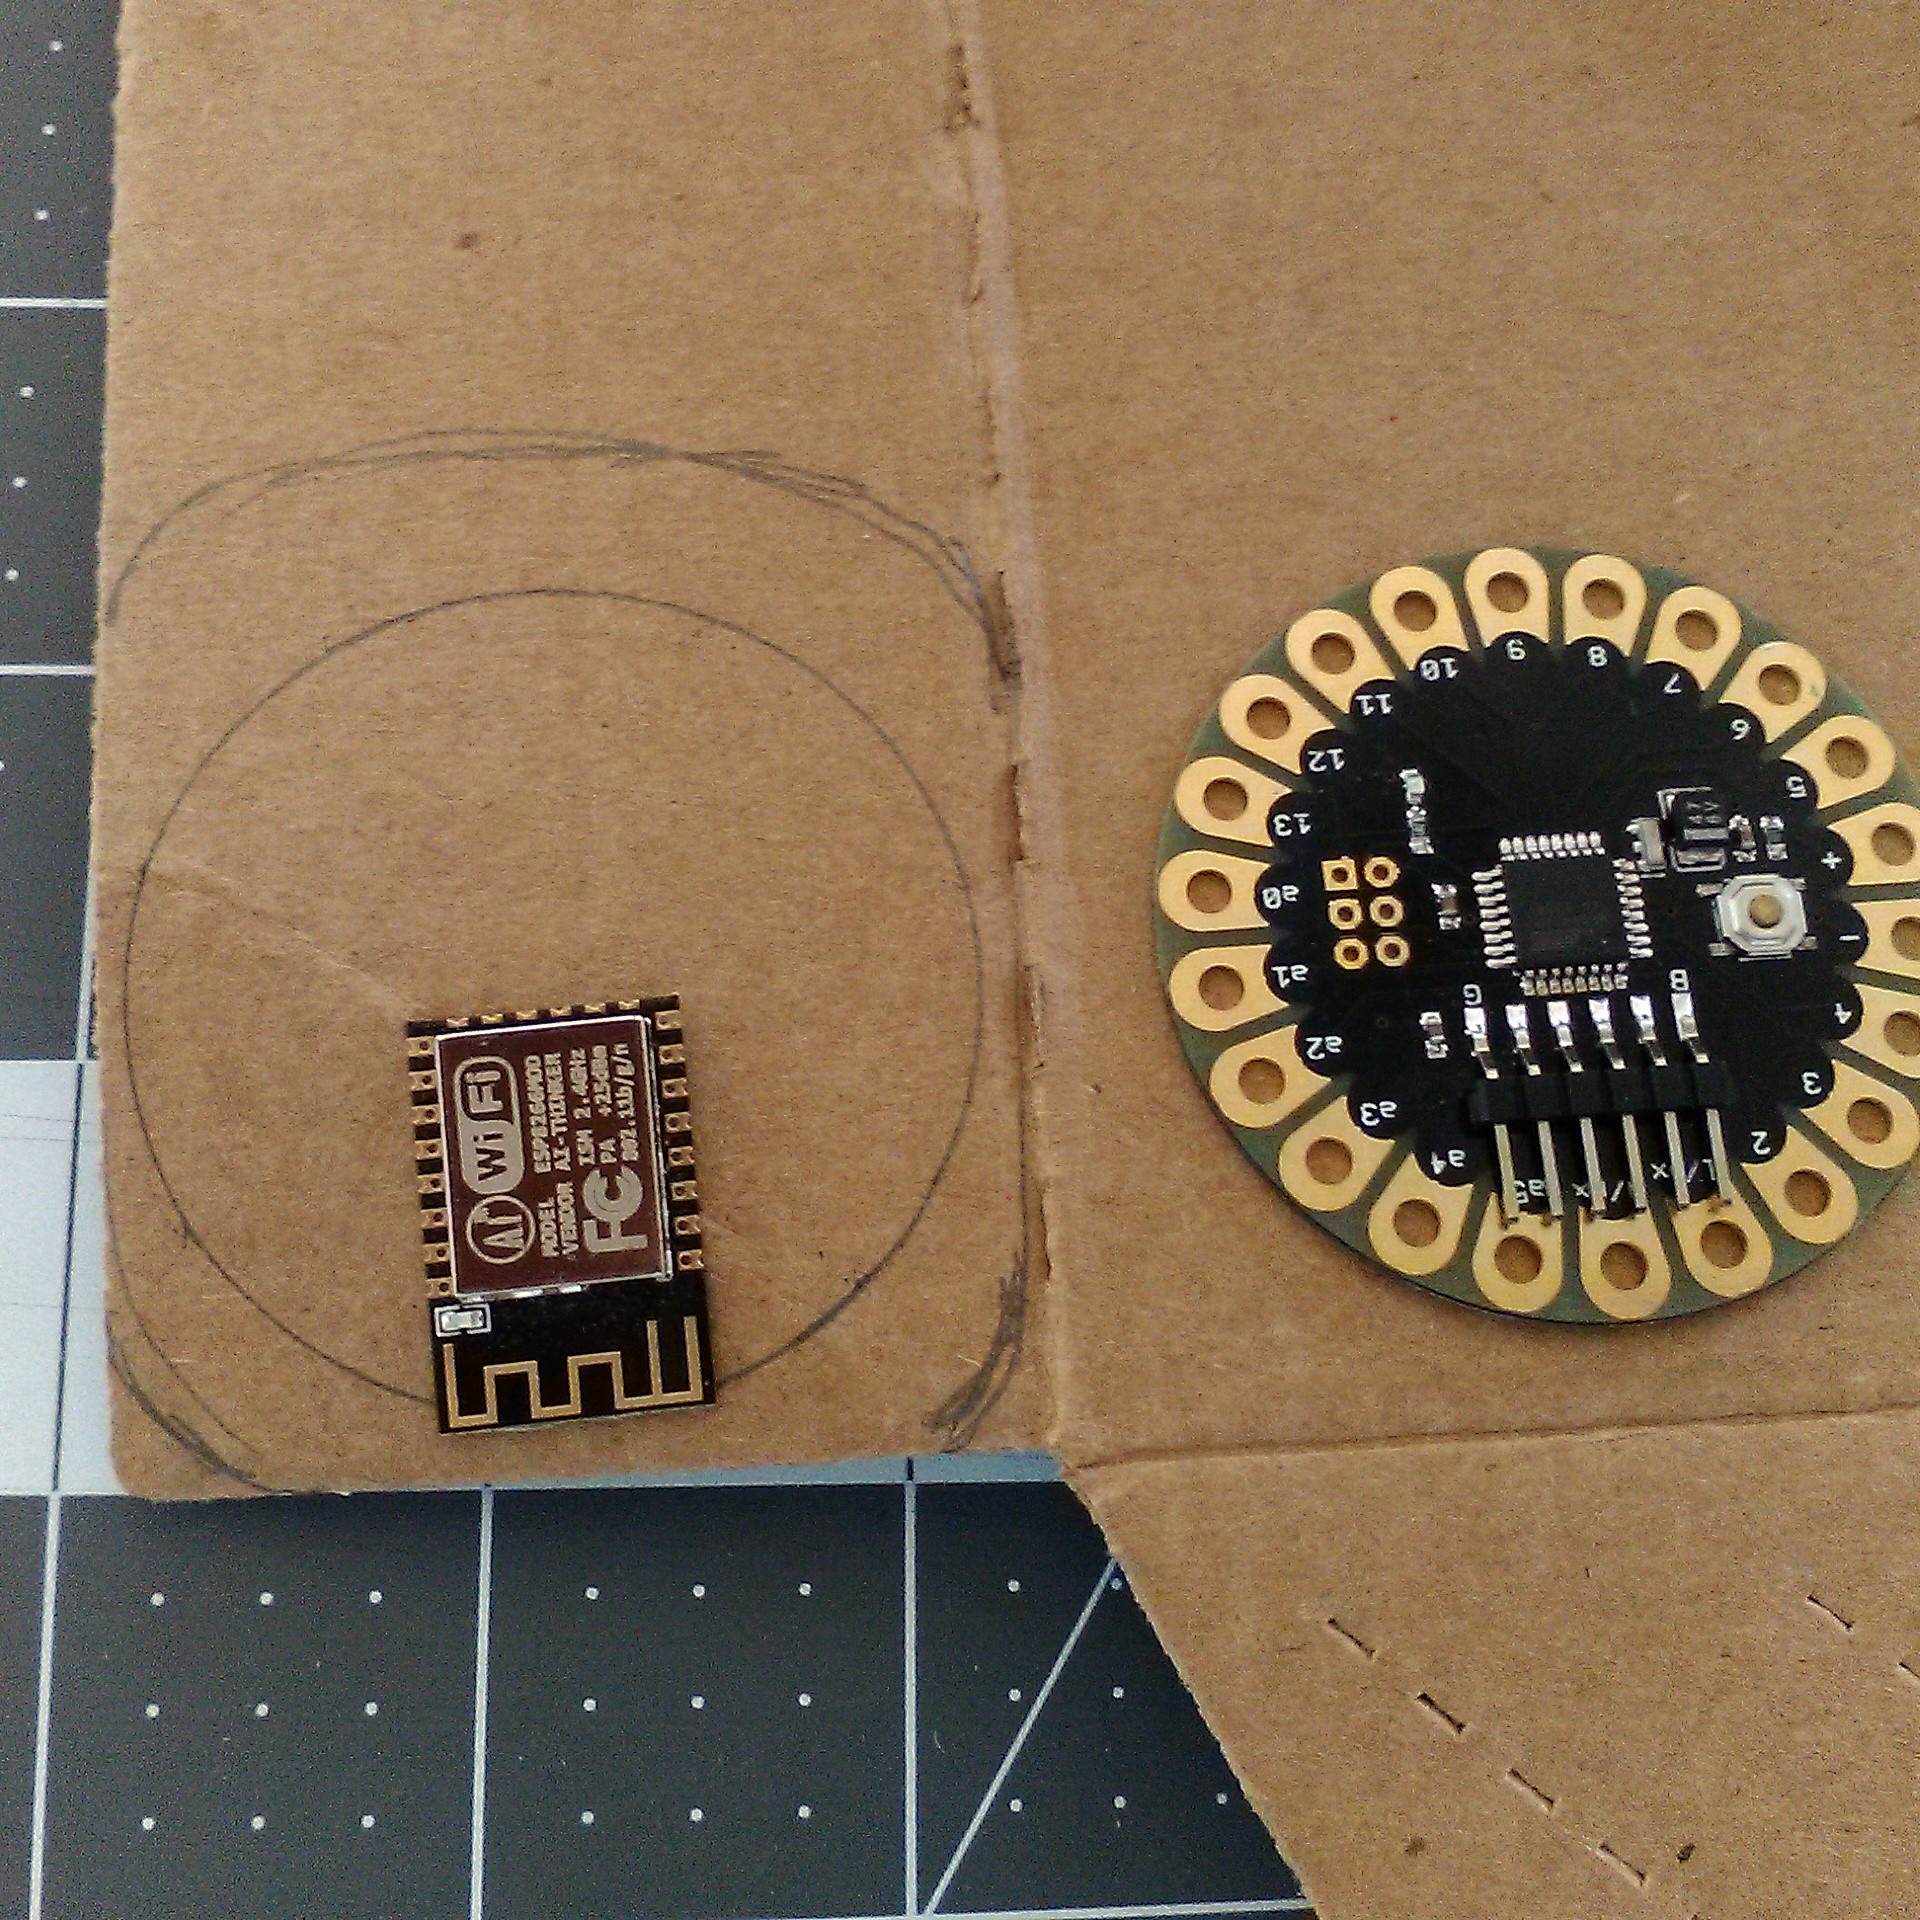
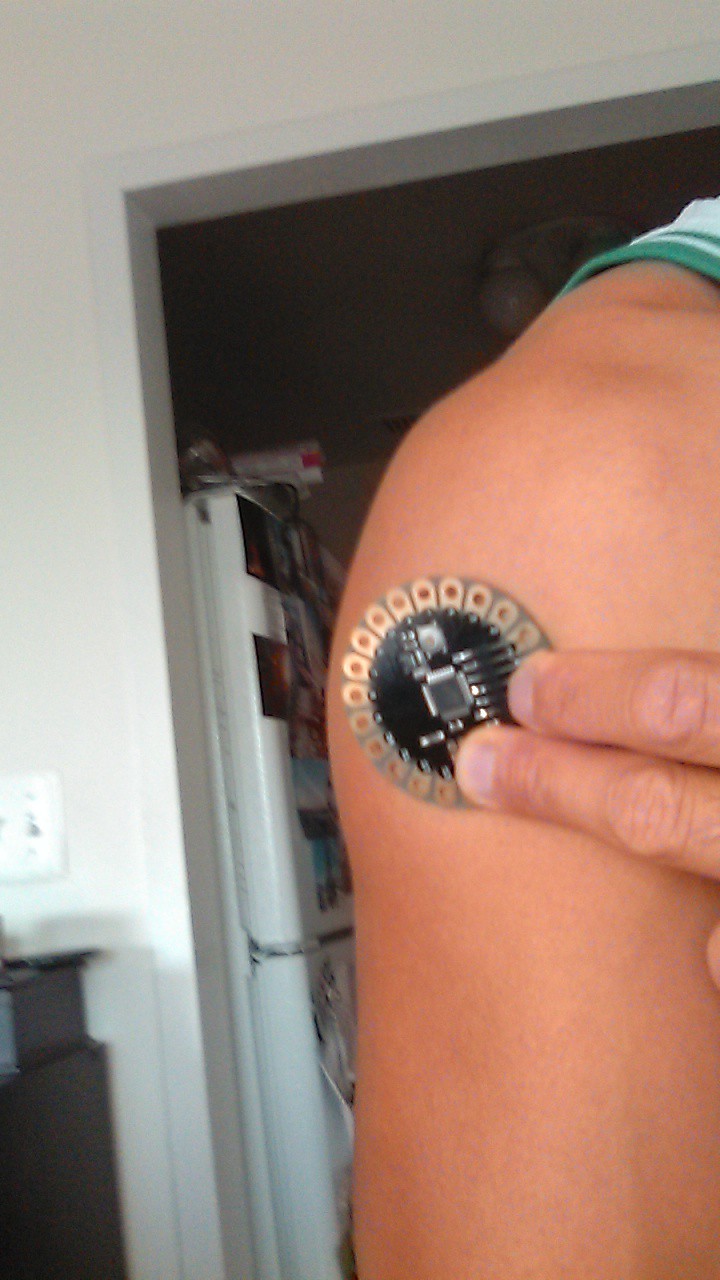
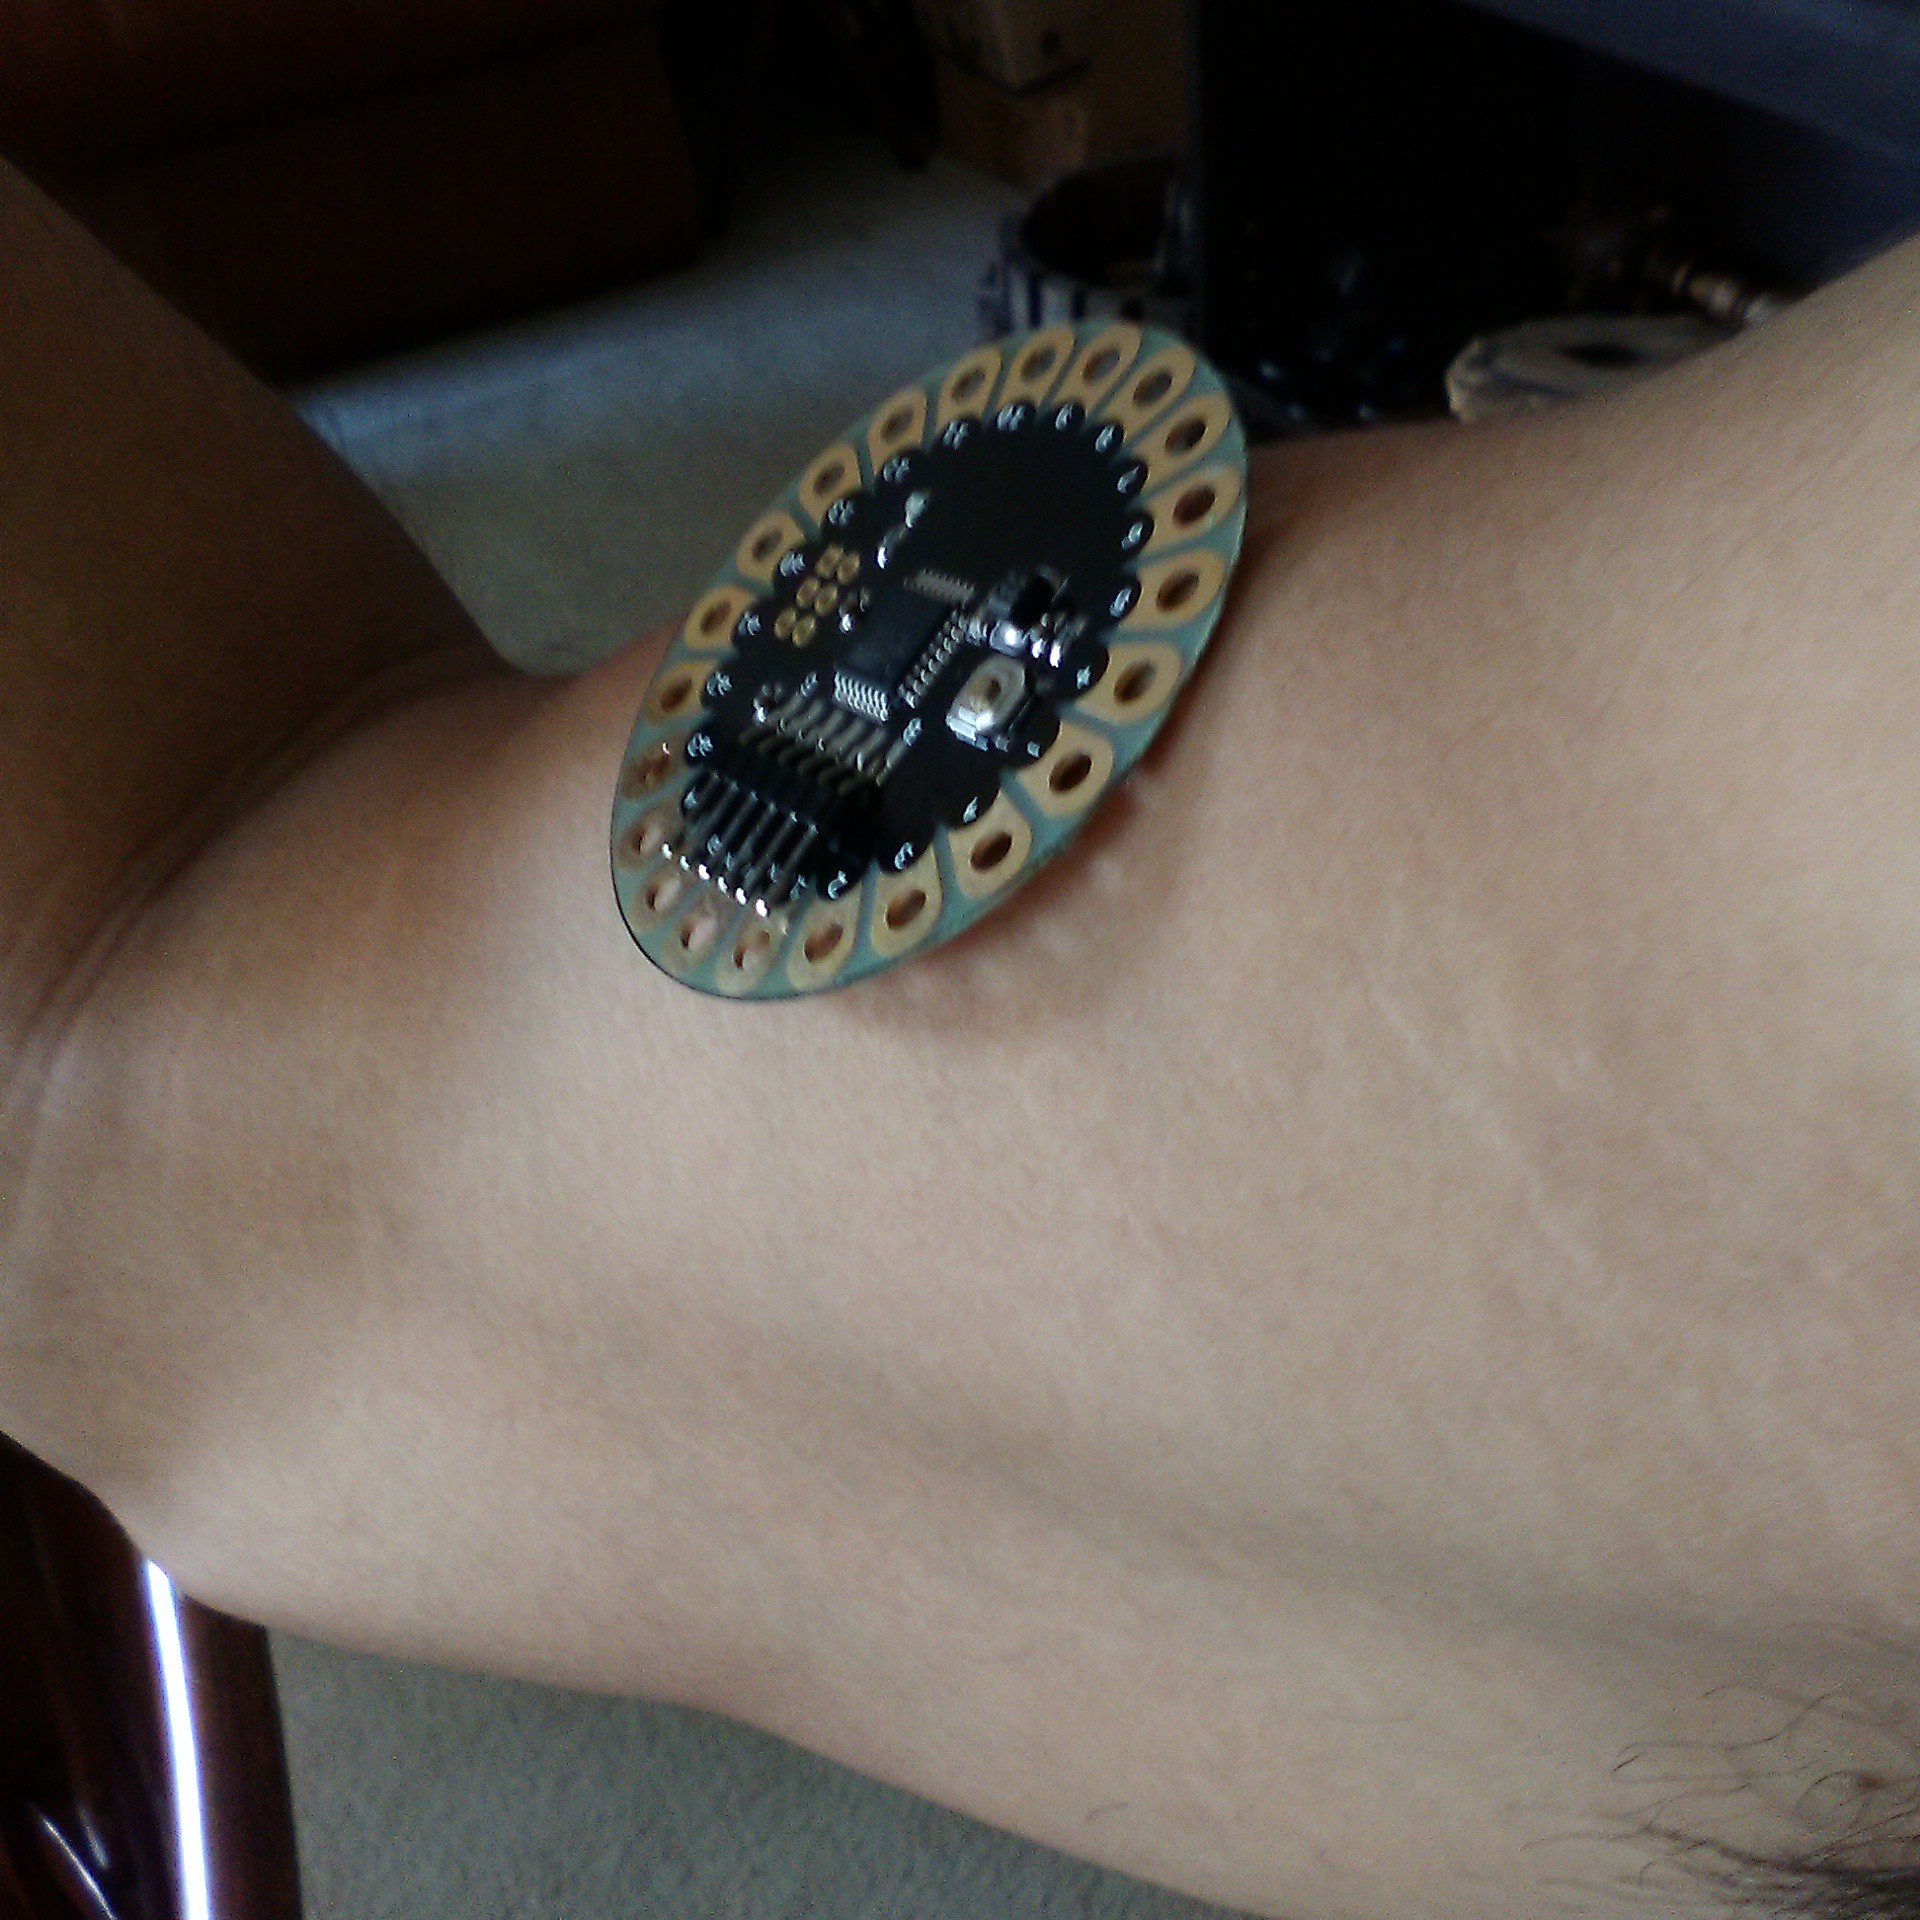
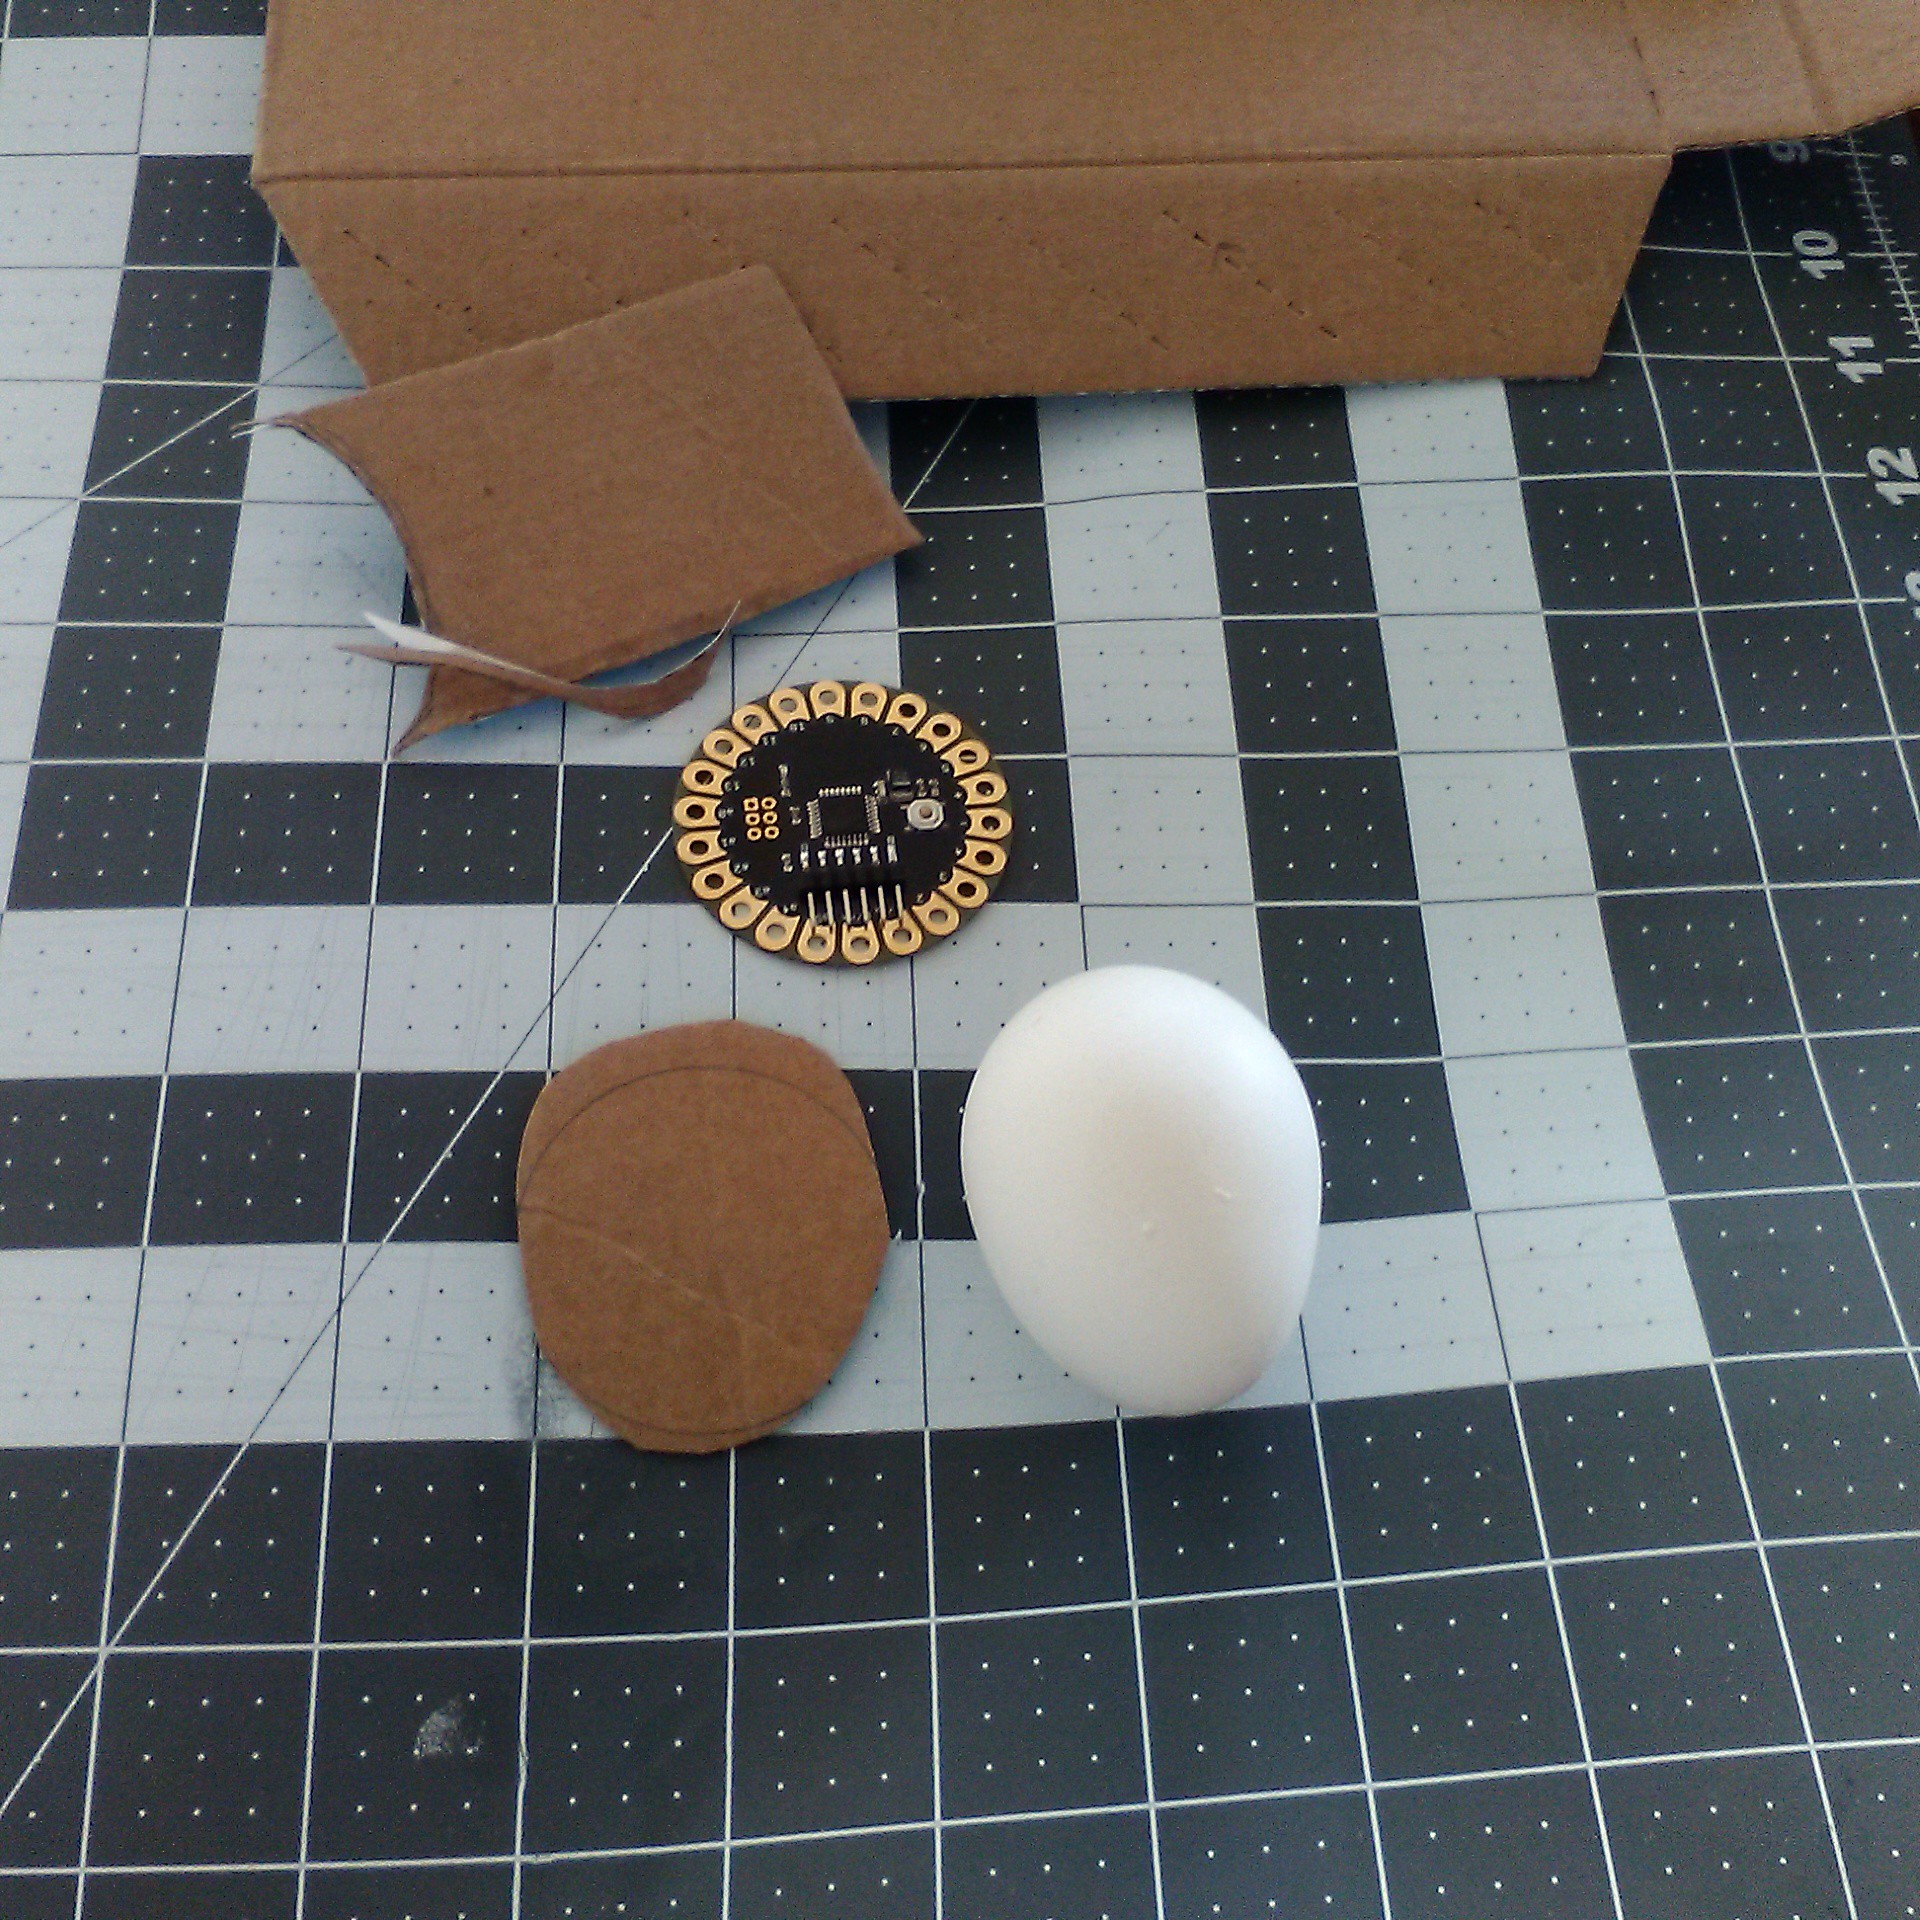
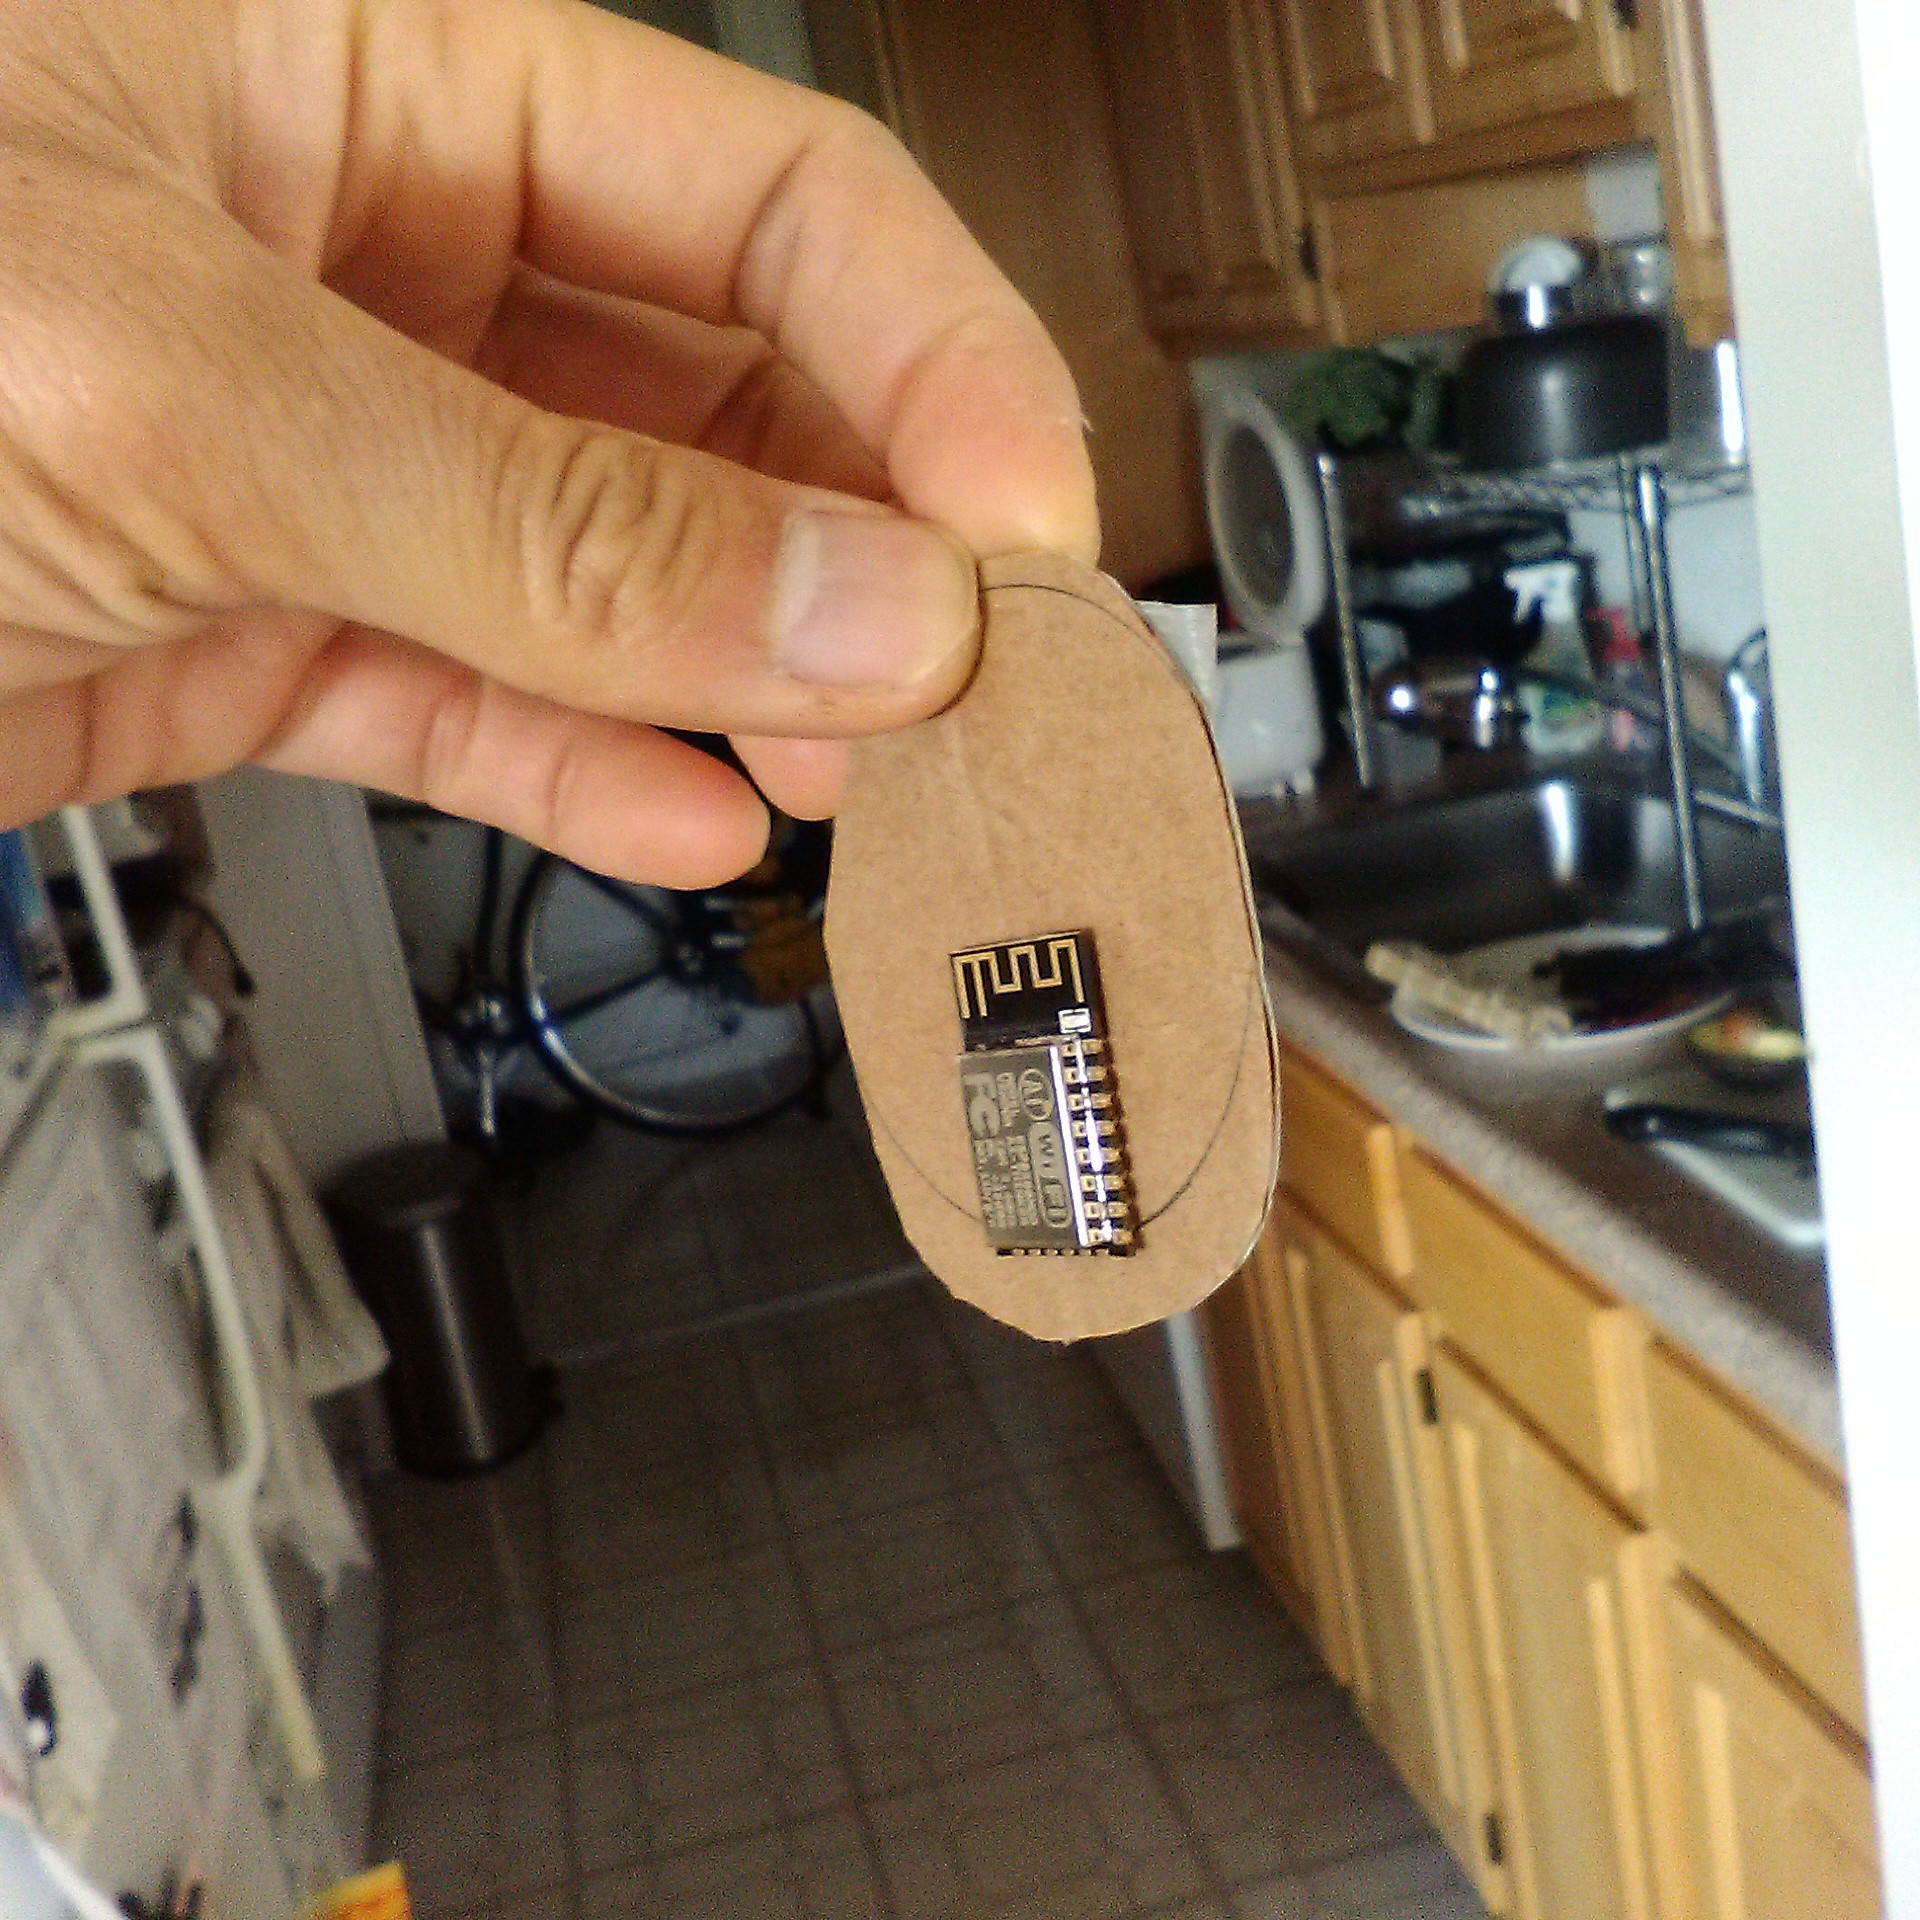
    These are my basic tools. I also have an Adafruit lilypad which is specifically designed to be wearable, and an ESP8266 SOC. I'm using that to add some weight to the cardboard form. Time to cut out the form!

    Now, I'm using the Lilypad as my reference because it's the first wearable development board that ever came out in the market. And it was designed specifically to be sewable into a garment. I'm not going to argue the utility of that, but given that I have a larger number of components on the board, I wanted some more space. I need space for the analog chip, the USB to UART chip, and connectors. So I drew out a pattern that was a bit more spacious to try out. Then I cut it out, and started seeing how it would feel against my skin.

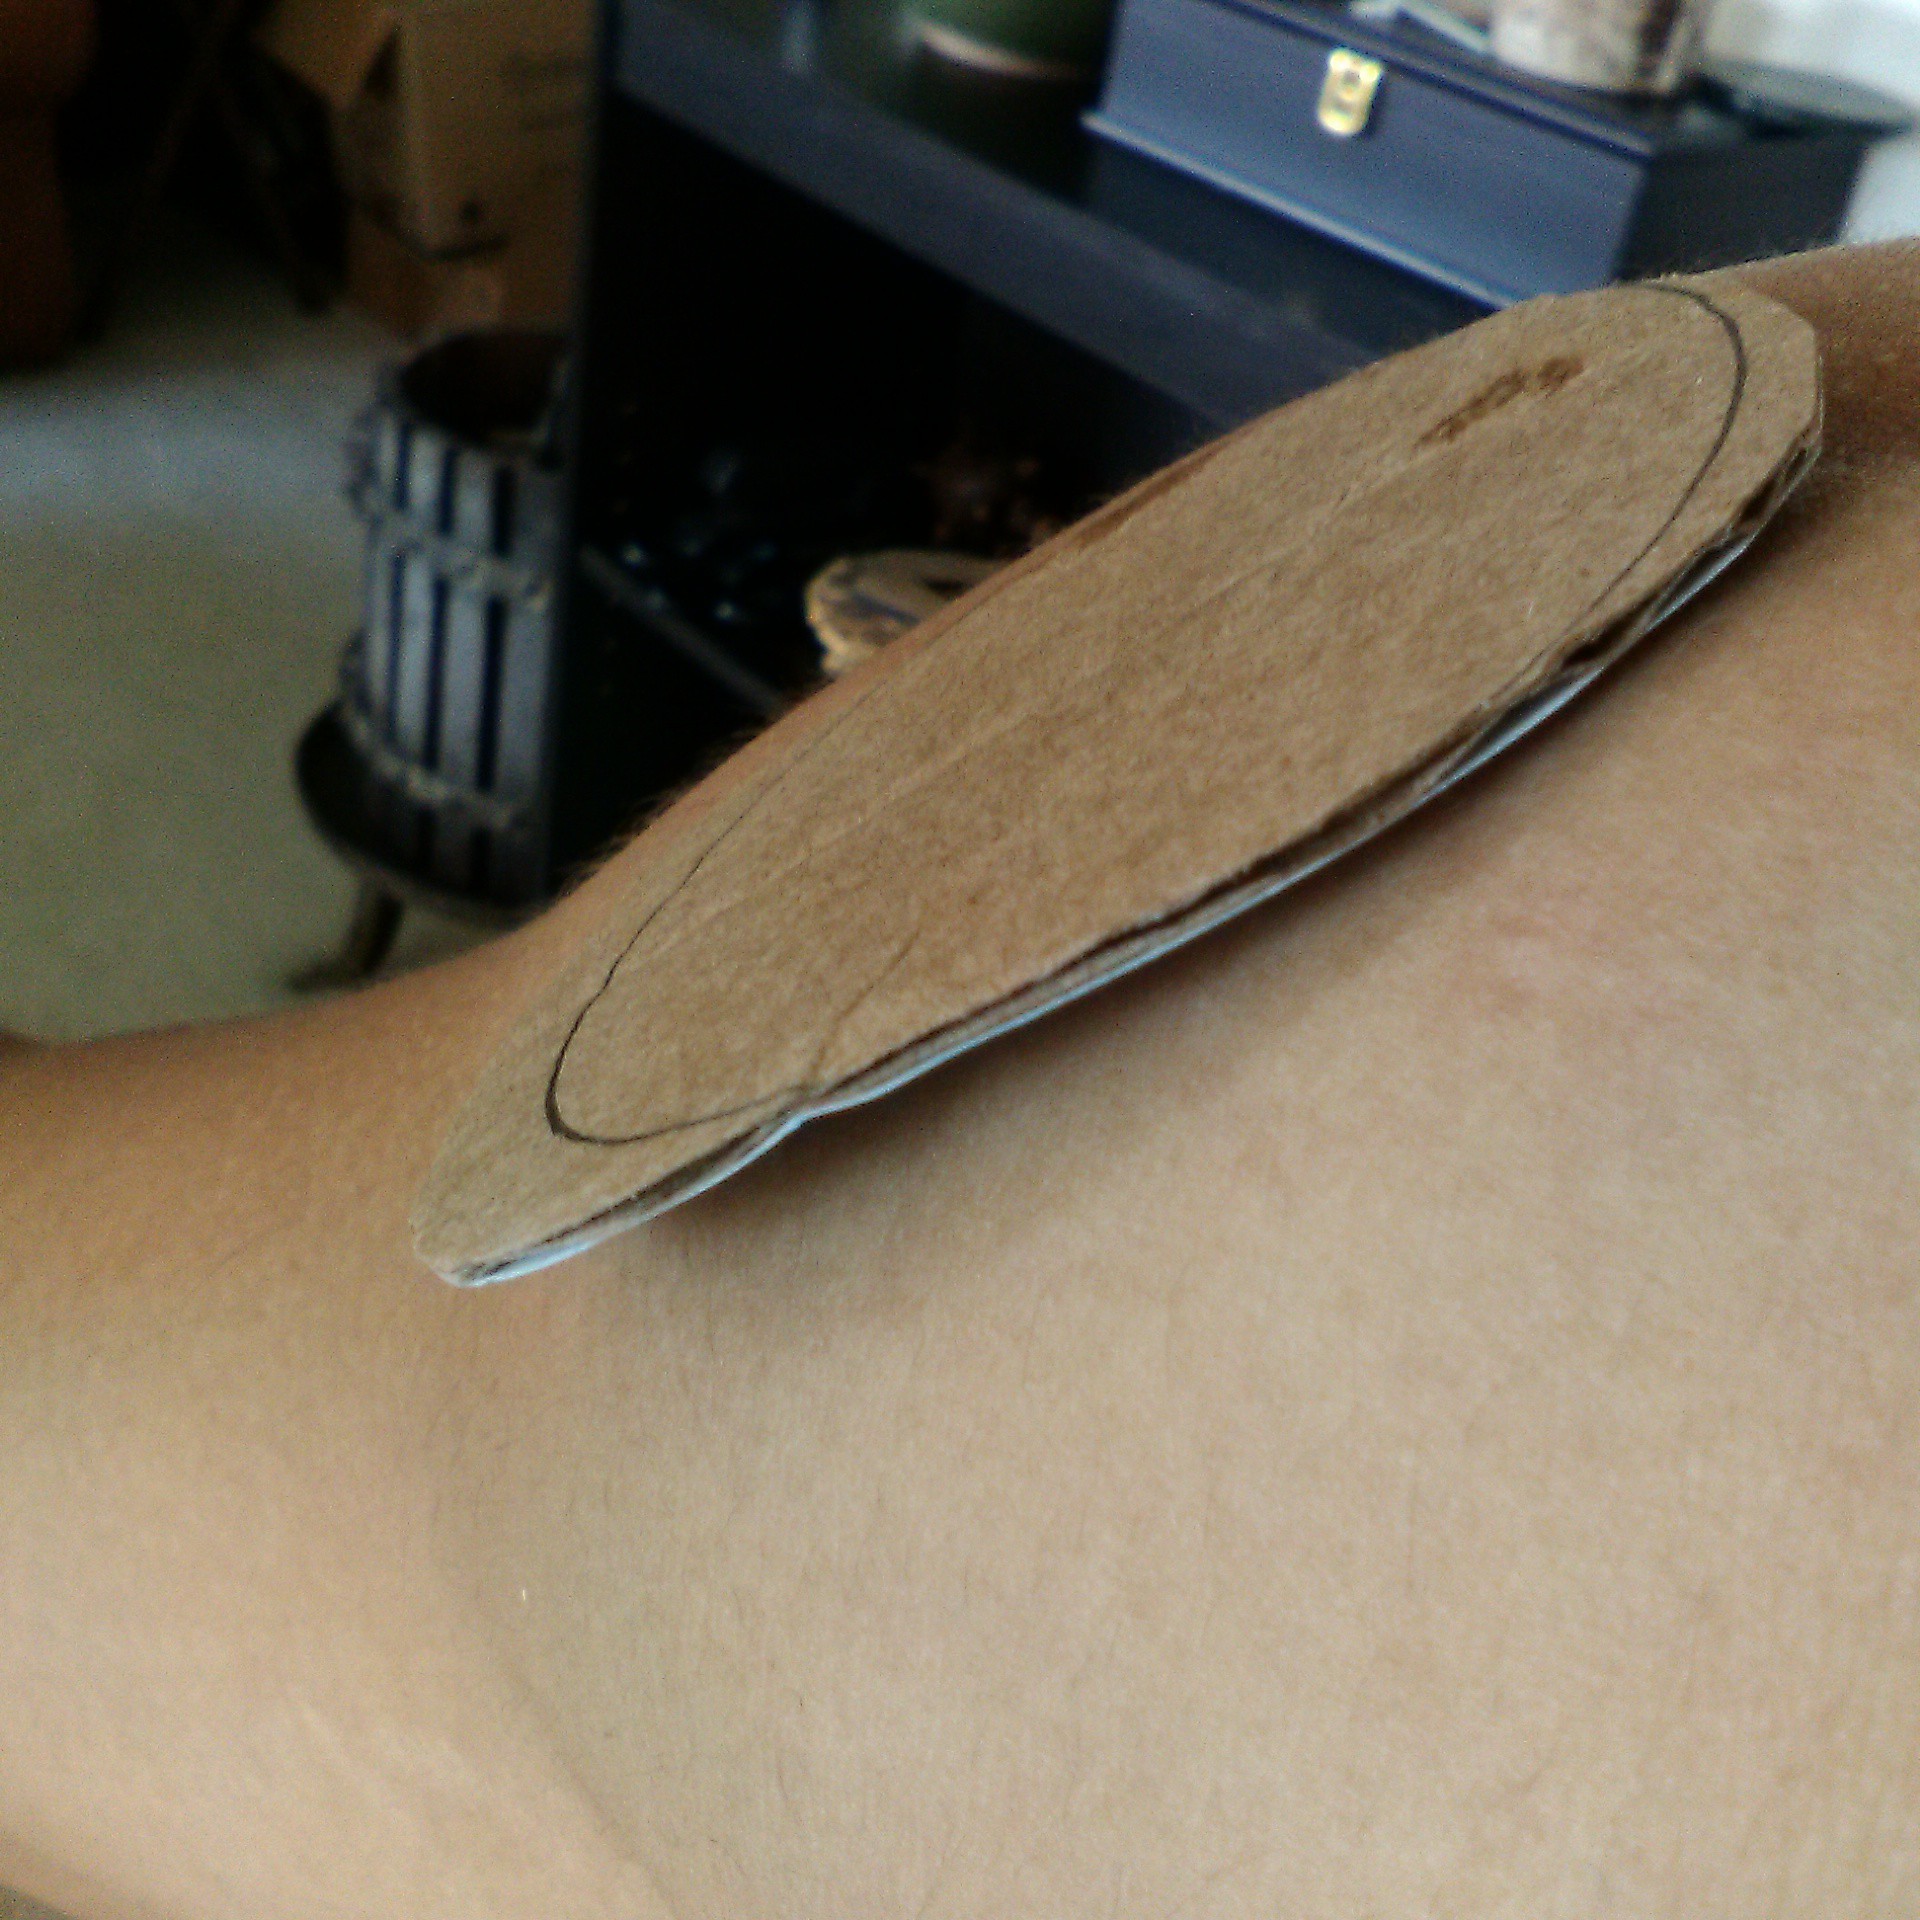
    Right away, you can see some problems. It's large and flat, which means it's going to have some overhang due to the curvature of my muscles and body. But the Lilypad also suffers the same problems as well.

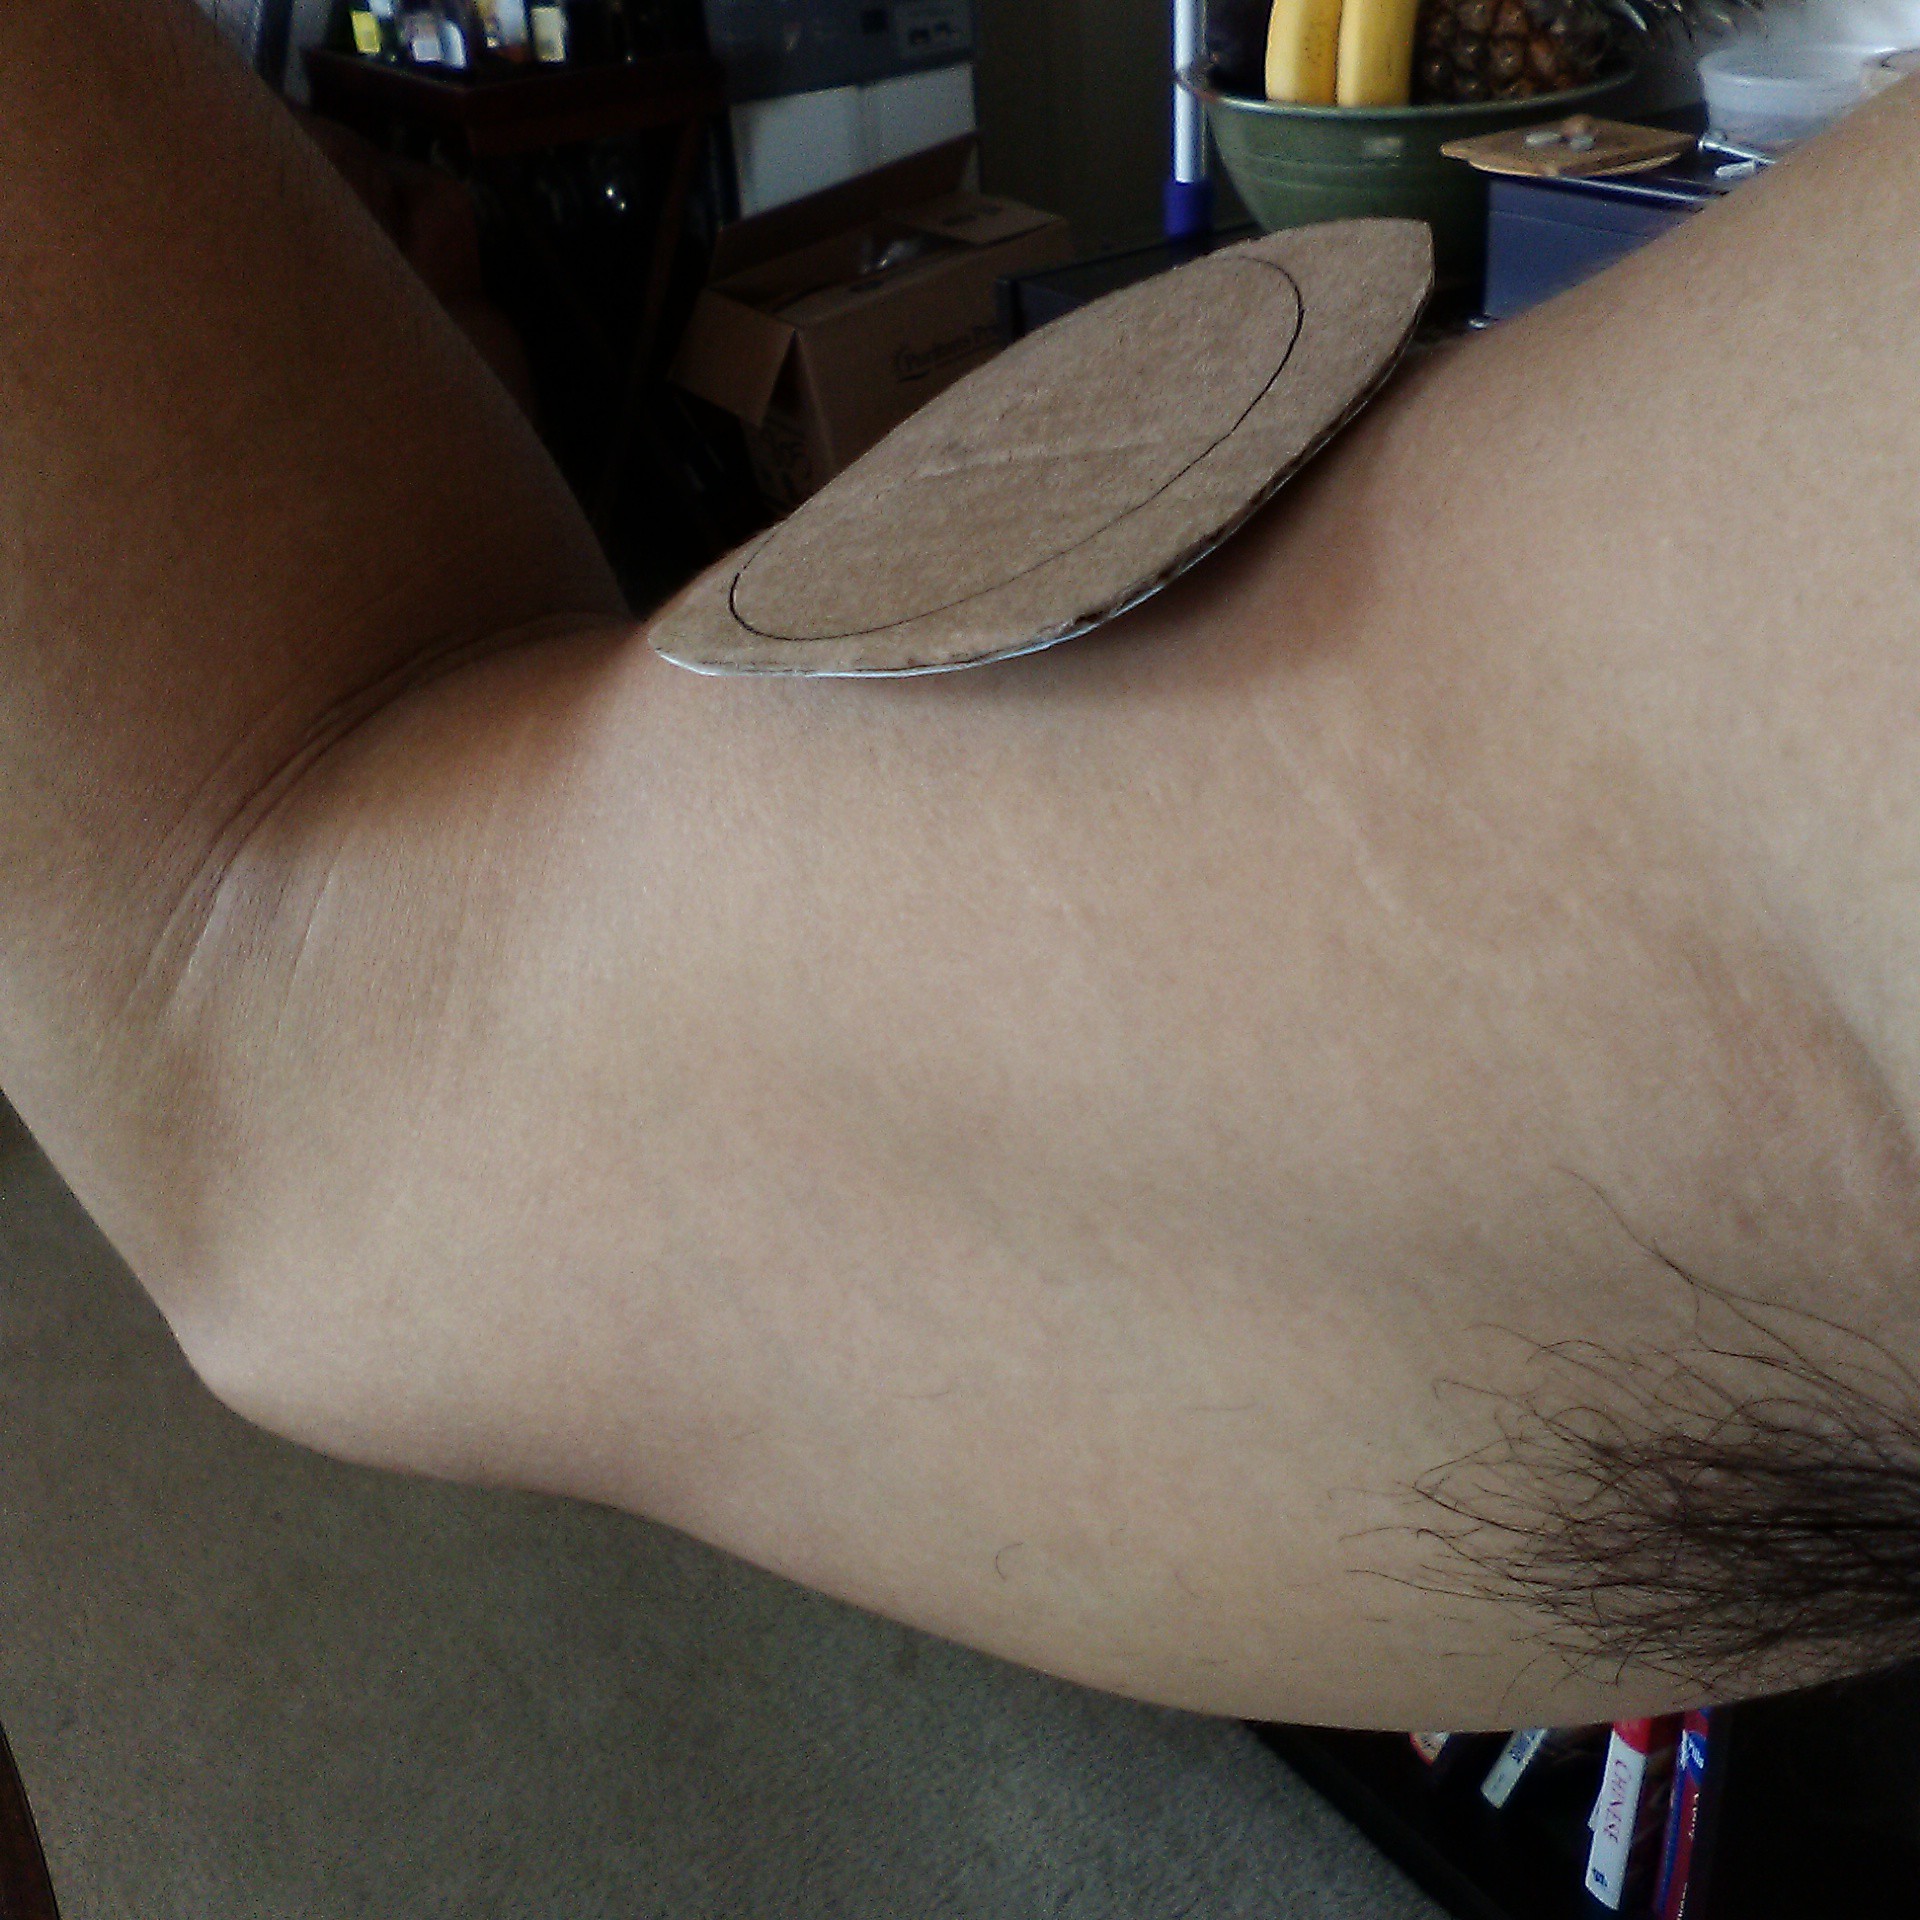
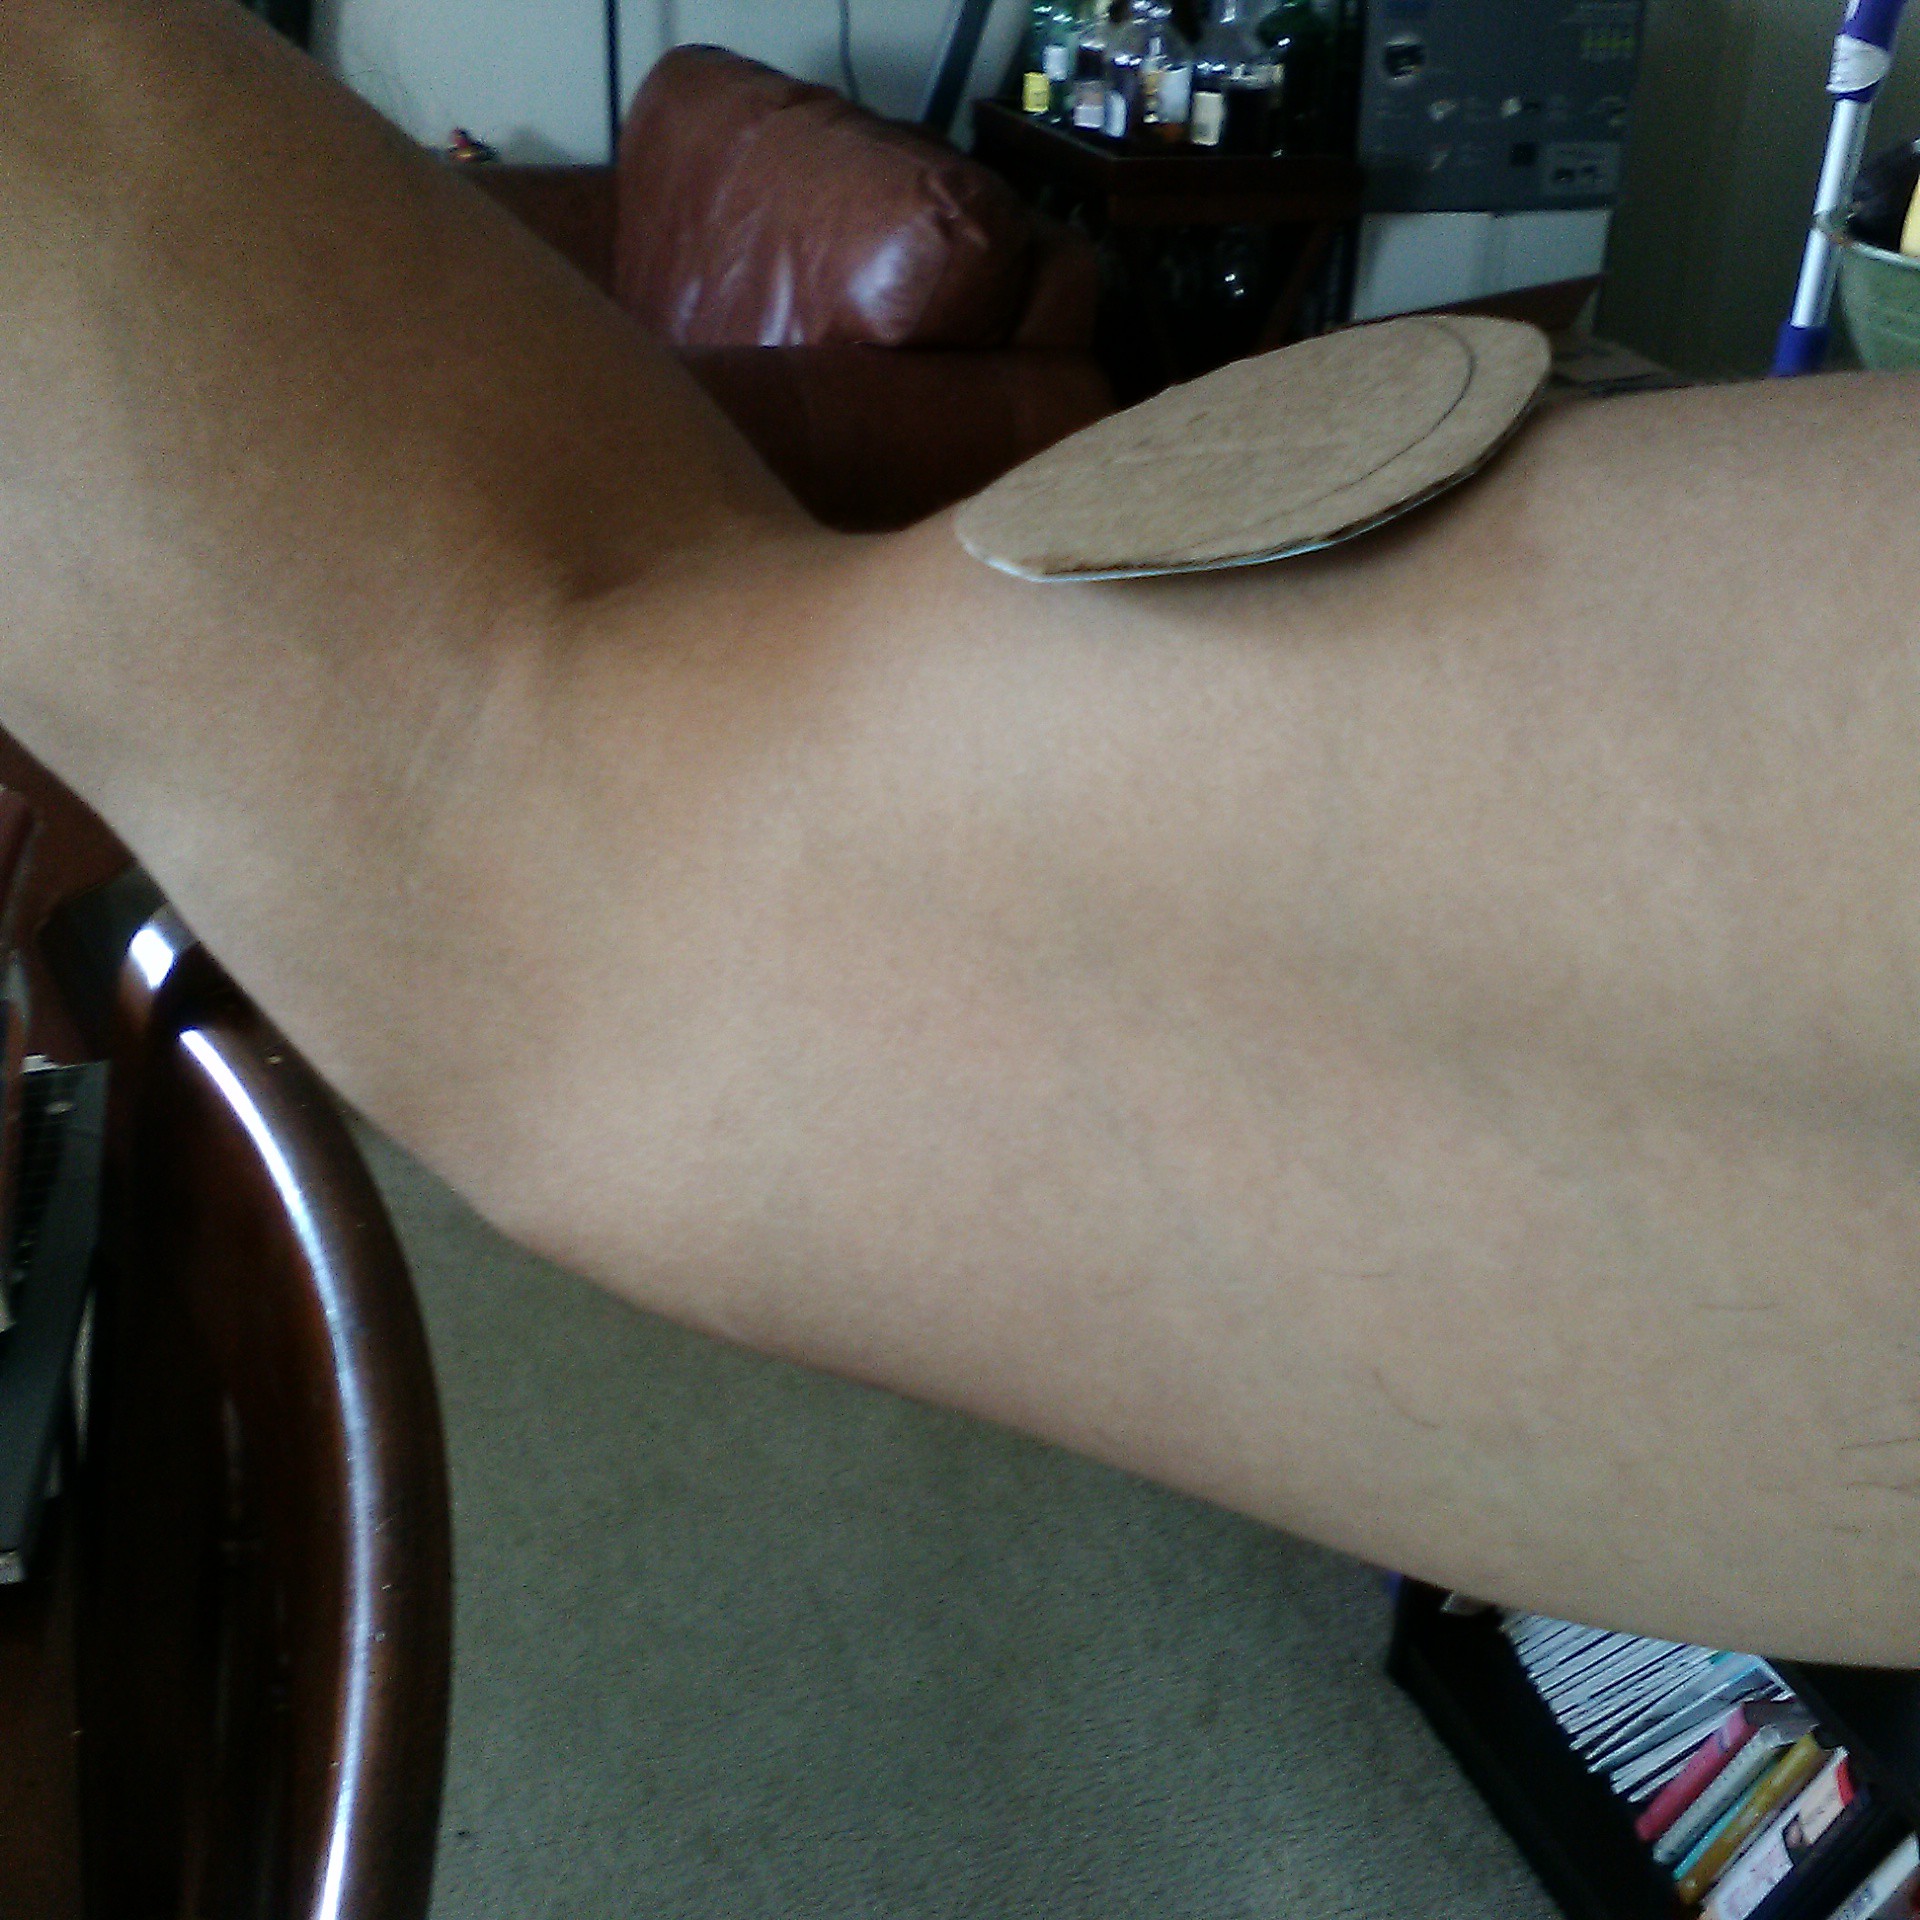
    To make it more apparent, I tried balancing it on my biceps.

    You can see there's a lot of overhang. But the Lilypad also has the same set of problems as well, due to its geometry.

    Since both shapes have issues, and in keeping with the Shanzhai theme, I decided to copy from the best source out there. Mother Nature. Biomimicry is one of my favorite sources of inspiration. And as the old saying goes, "Good artists copy. Great one's steal." Now, in this case, I grabbed something from my secret source of creativity. That's my refrigerator. And I grabbed this.
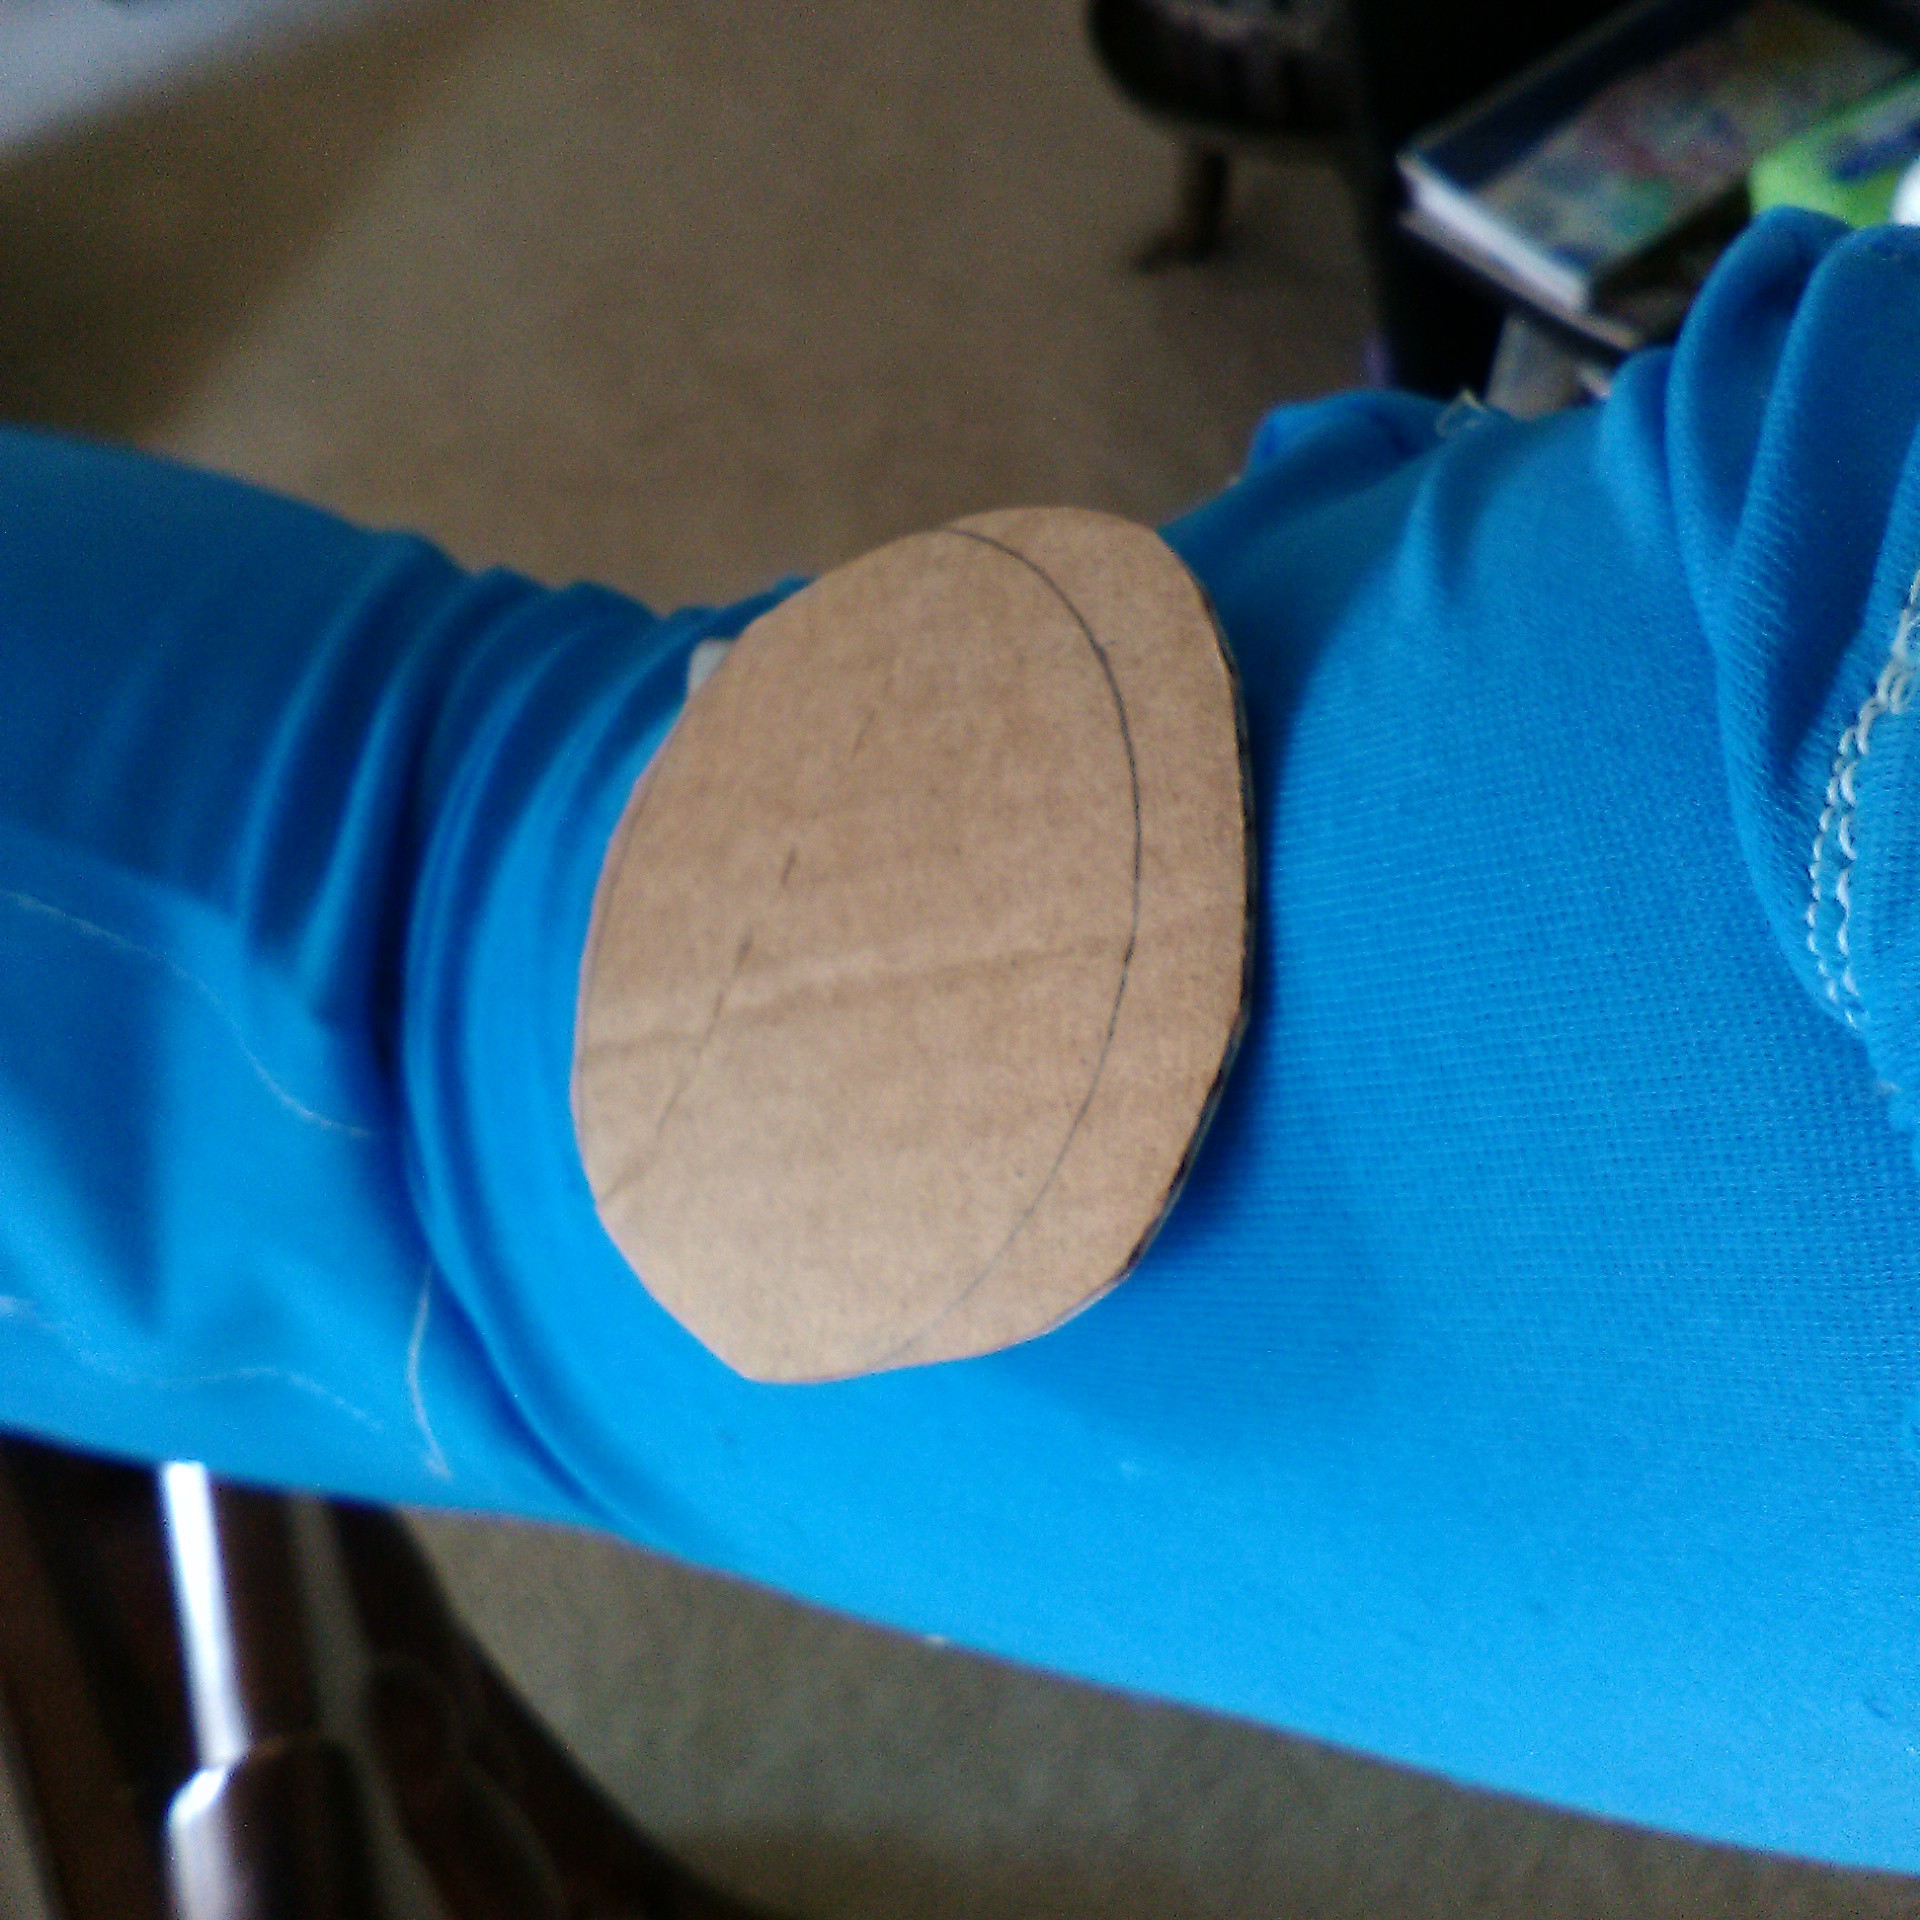

    I grabbed an egg! Next, I balanced it on my arm to see if there were as many gaps and areas that might catch.

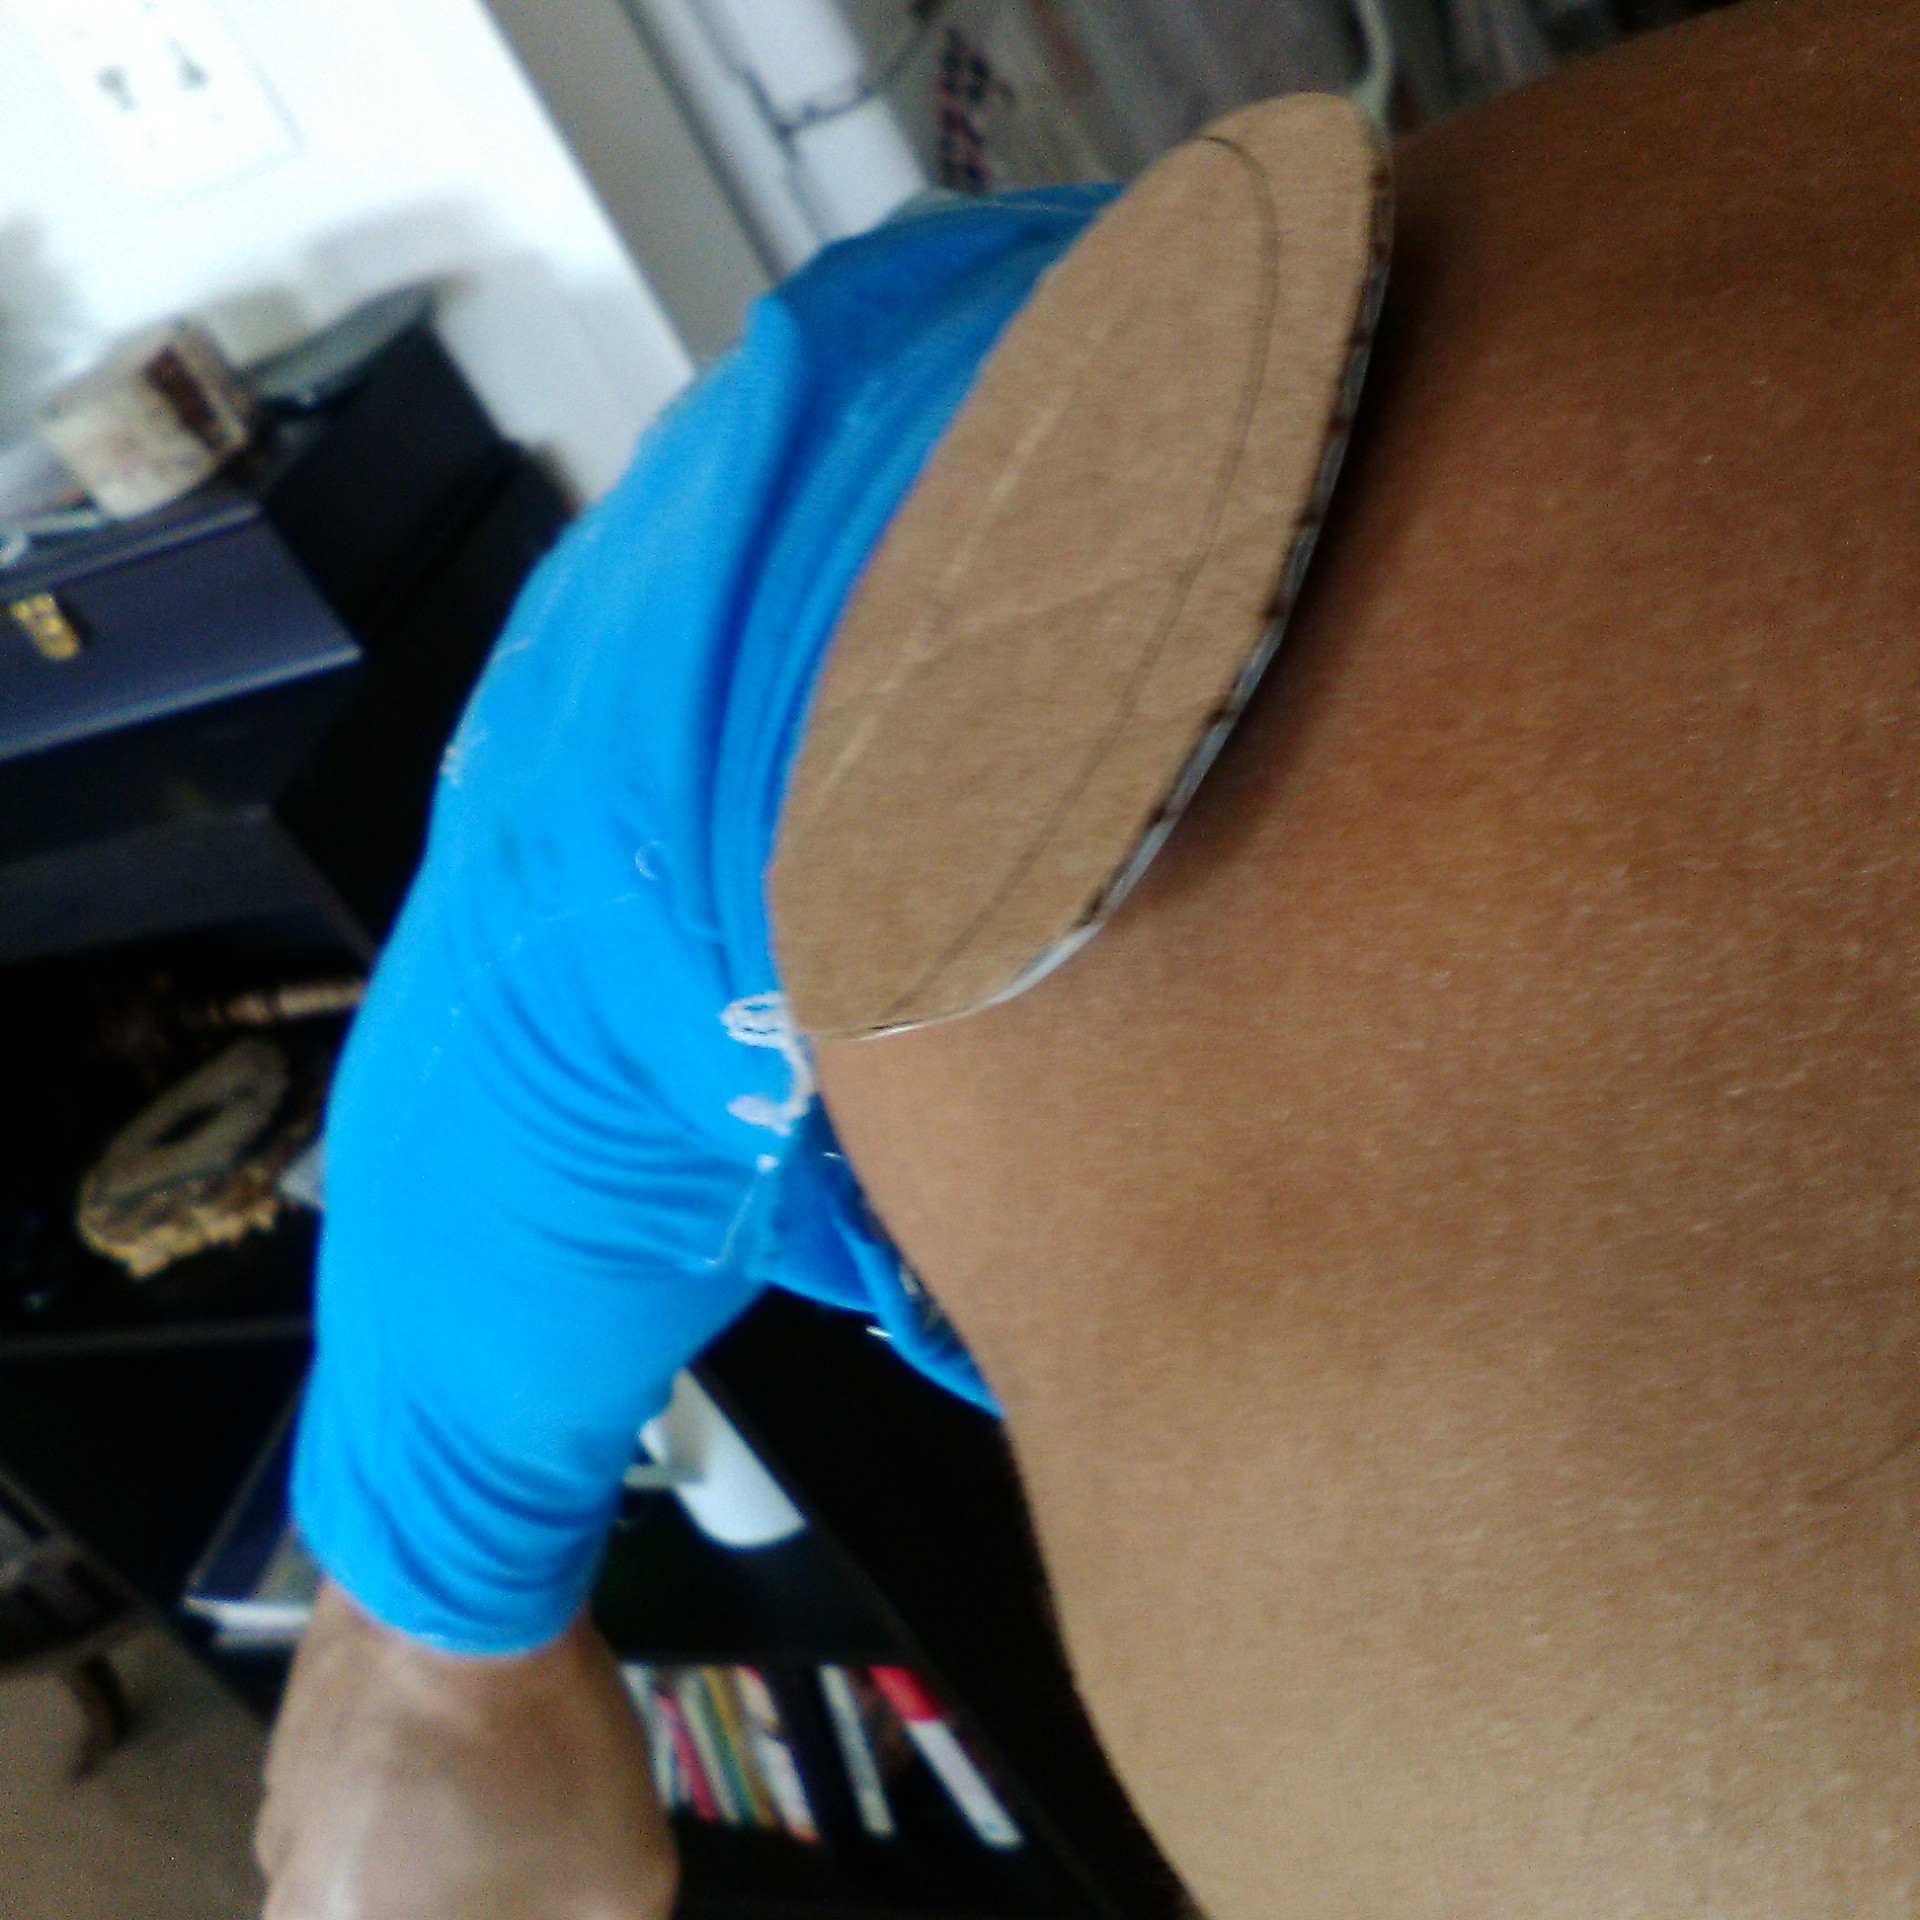
    There's a lot less gap and overhang using this design. But balancing cardboard on my muscles isn't the best way to test usability. So, I grabbed a left over arm guard sleeve from my SEMG Board, and used that to model where I'd wear this thing.

    The next key prototyper tool is the thing that holds the universe together. Duct tape!

    And then I tried several different locations to get a feel for the prototype.

    I also wanted to see how it would feel on my shoulders.

    Doing this is fun, and really fast. Not to mention you can iterate so fast just to see if it's usable or not. To make this a bit closer to reality, I duct taped the ESP8266 chip to the board.

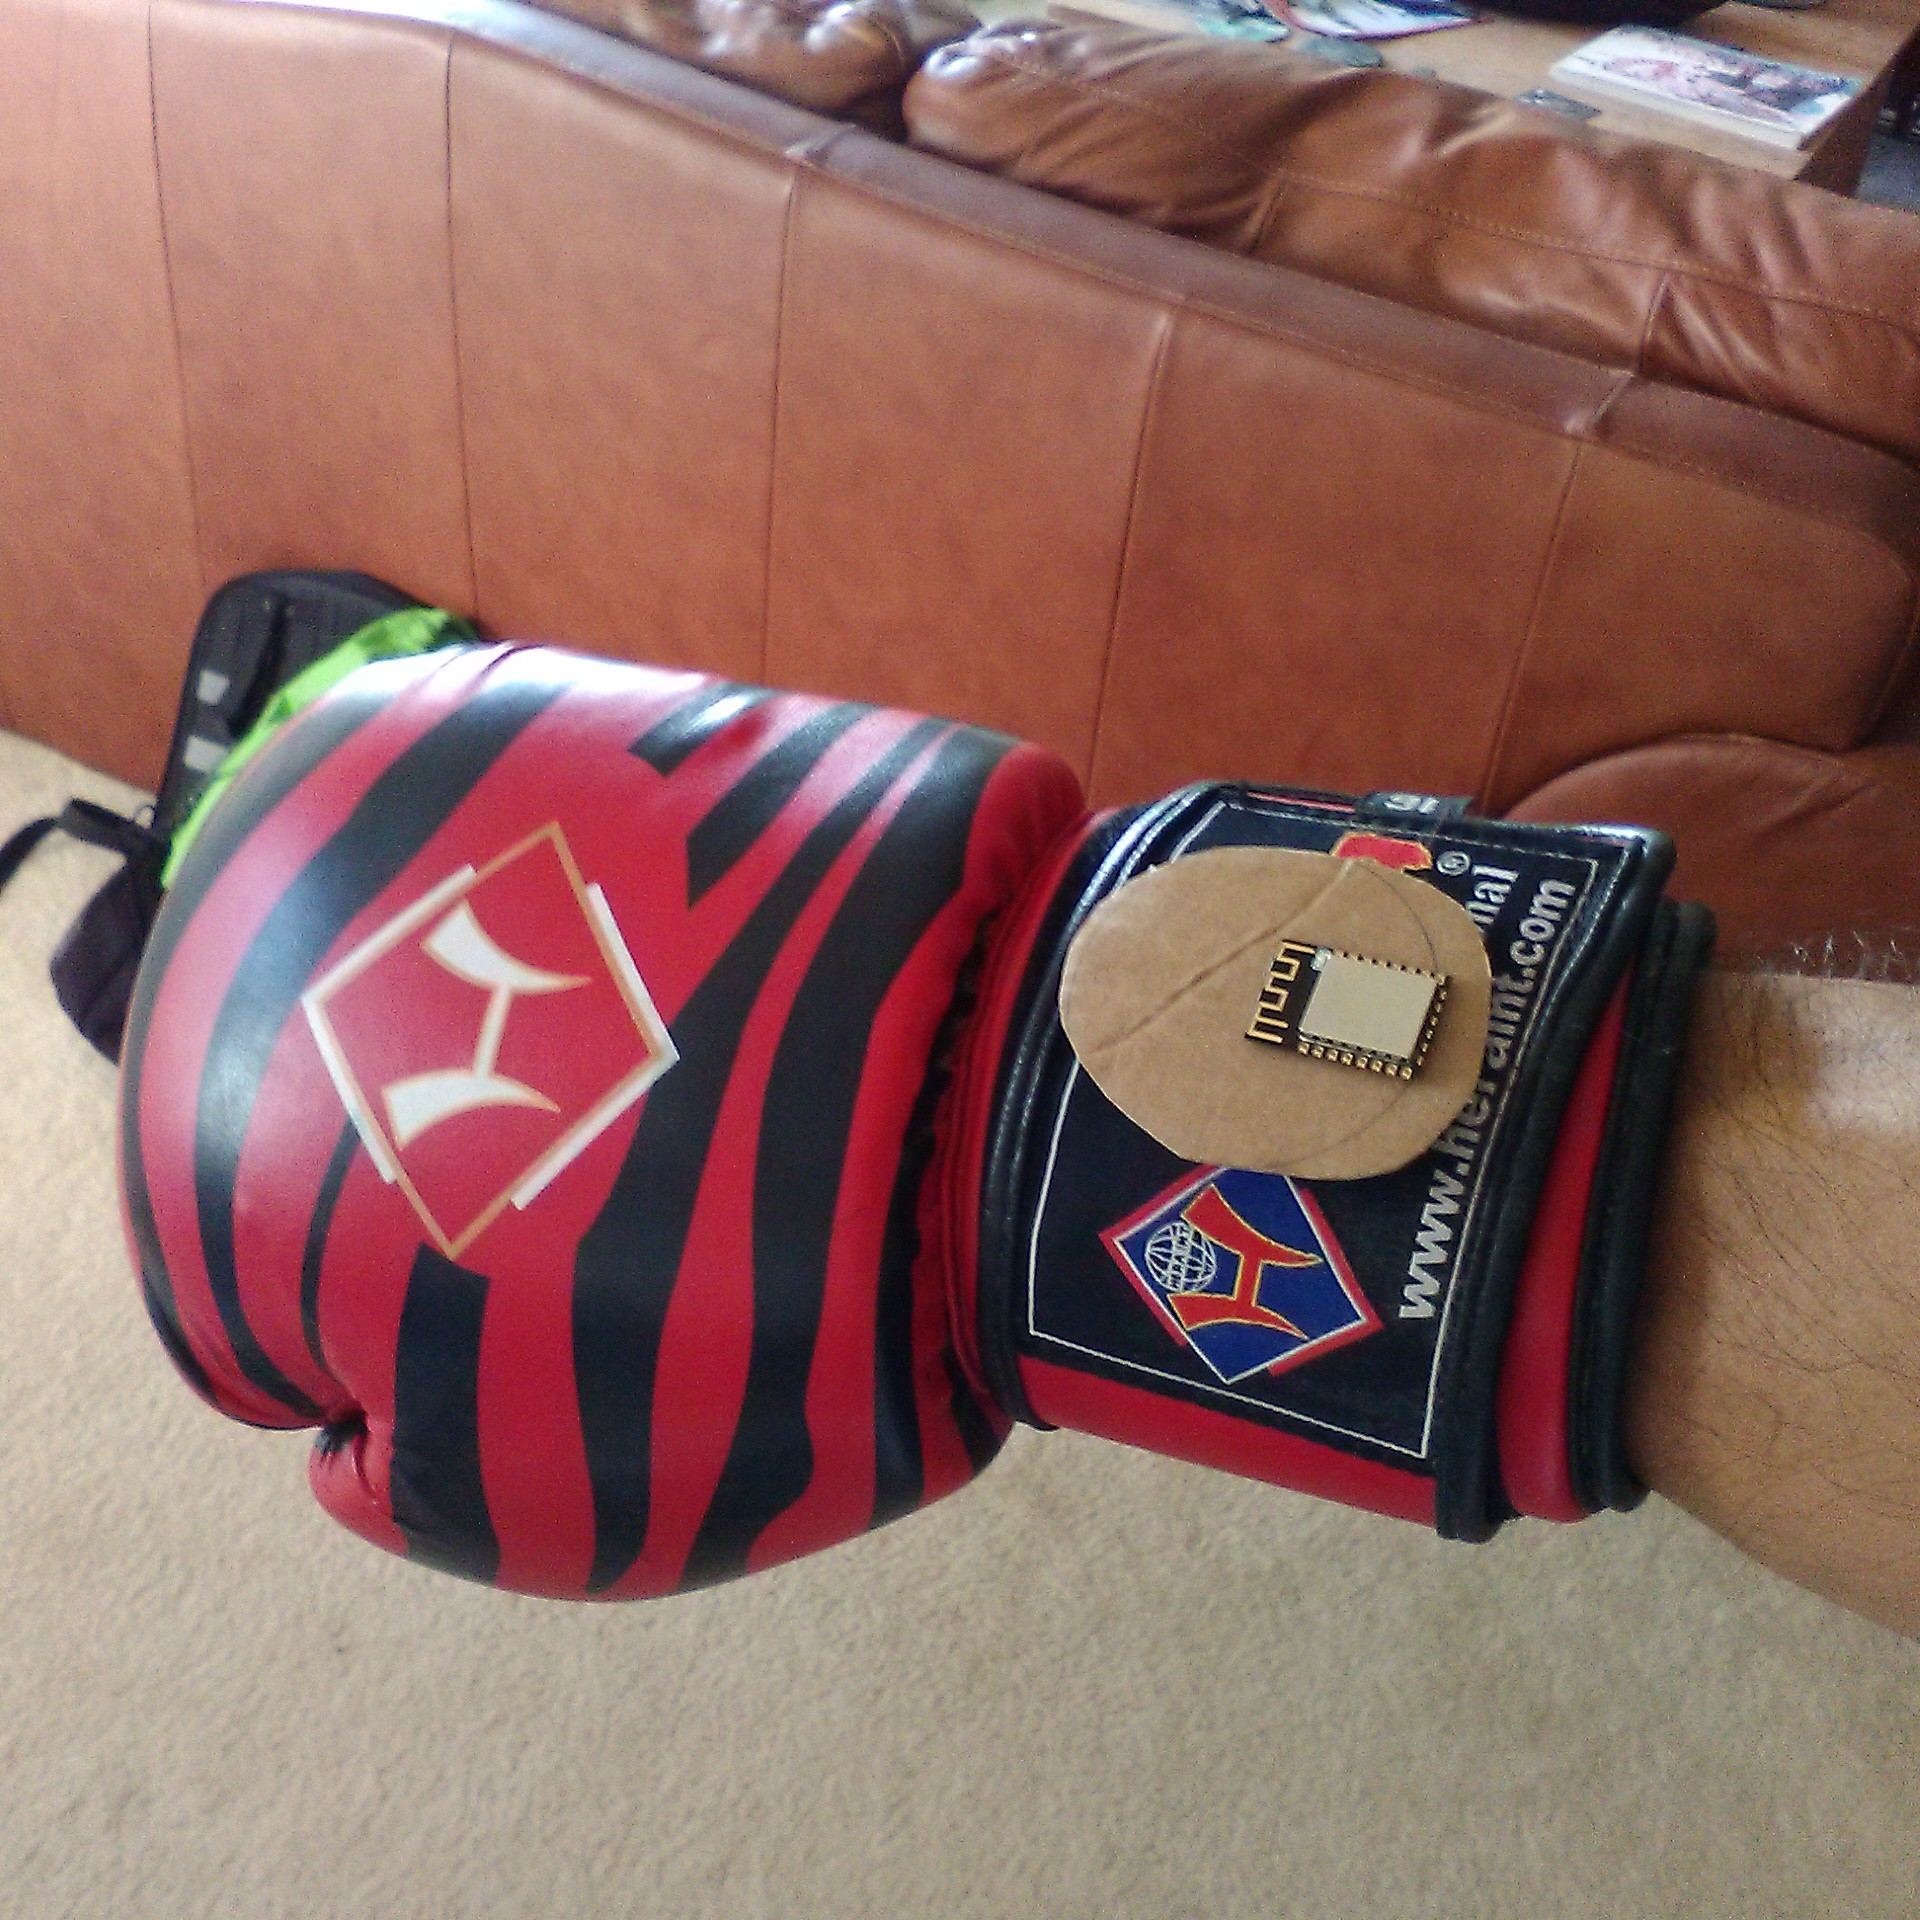
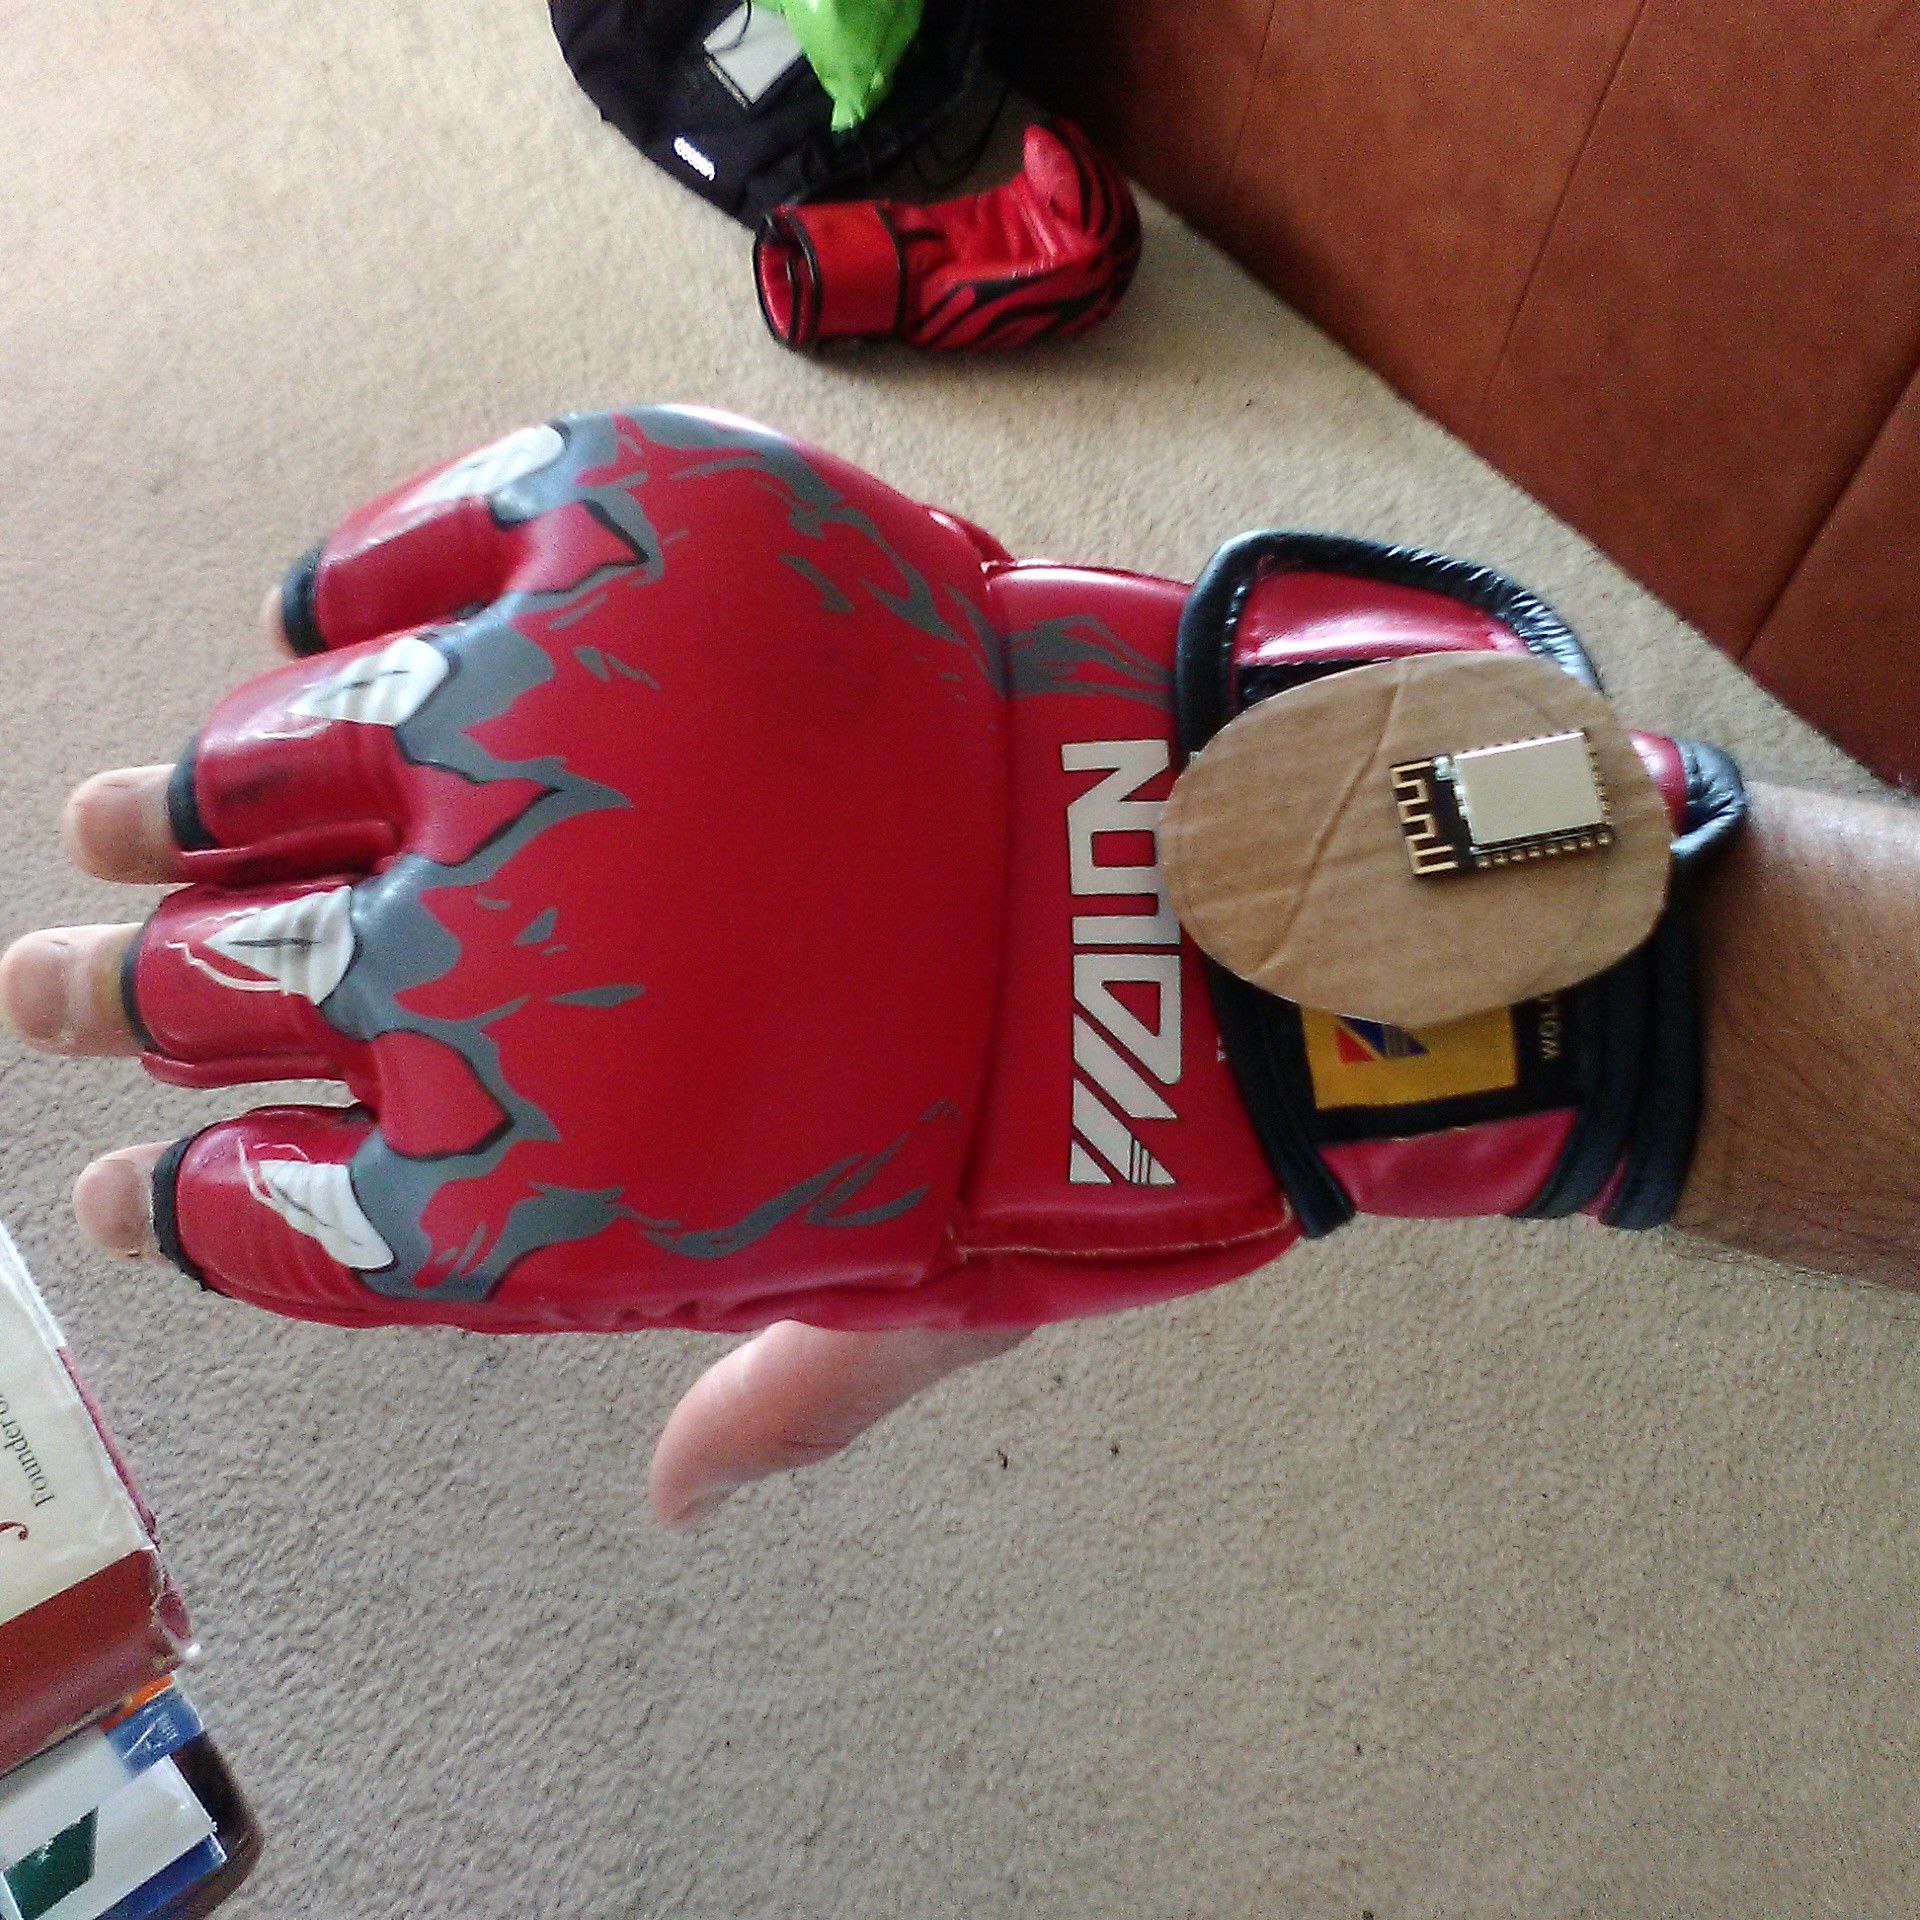
    I also don't want to use this just on fabrics. I'm a kickboxer who somehow managed to preserve his brain cells for really high end technical work. Anyway, I want to be able to use this thing on my kickboxing equipment.

    A few months ago, while doing side kicks, I broke the heavy bag in the gym. That naturally made me curious. Just how much force was I exerting in my kicks? And how would I measure and assess that? Ever watch National Geographic's Fight Science? I watch it avidly, especially since I'm a 30 year martial artist.

    Watching that made me think, how would I be able to measure my speed, acceleration, and impact forces in a compact package without much of the specialised and expensive equipment that they have access too. So naturally, in terms of useability, I need to be able to mount this to my workout equipment. Like below.

    This one's really critical. I'd like to be able to sew it onto my shin and instep pads that I kick with, but in a way where I'm not going to run a high chance of hitting someone with it.

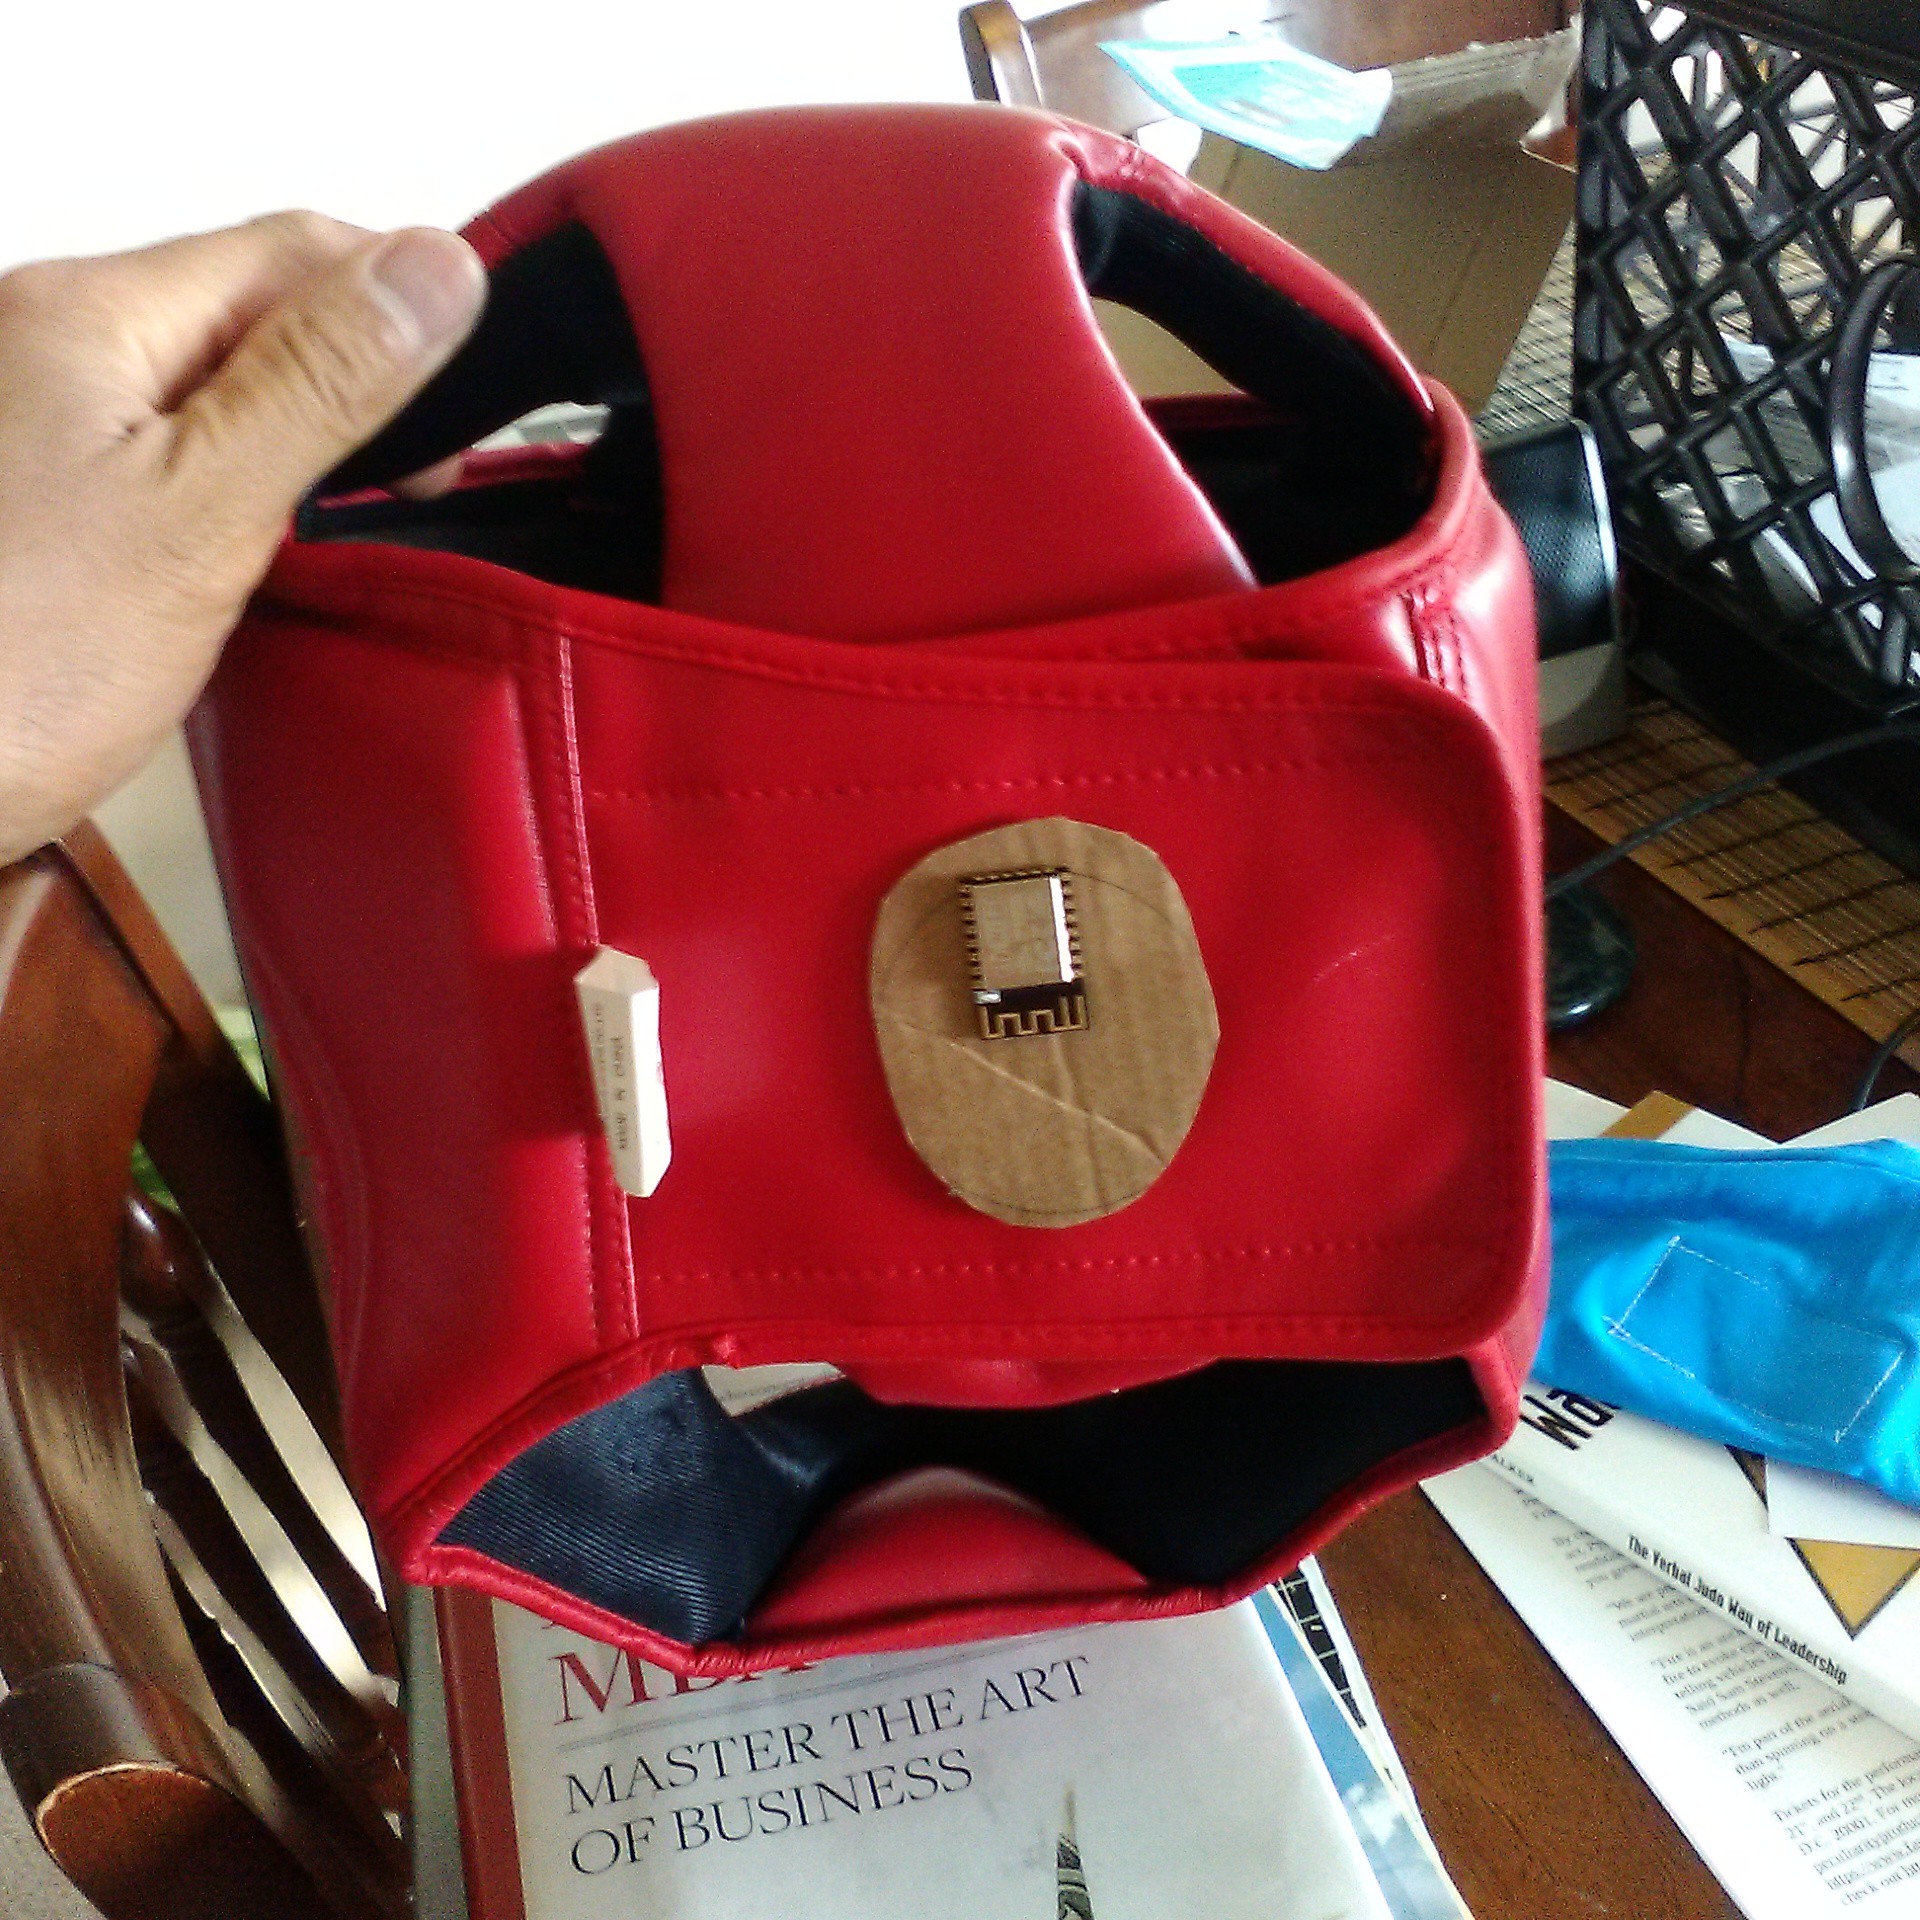
    I also want to use it on my head gear too.

    I've also done some grappling. Now while I would LOVE to do lucha libre at some point in my life, for the mean time, I'd like my masks to at least have the capability to connectivity.

    And...

    Read more »

  • Rapid Prototyping the Circuit

    Casual Cyborg05/18/2017 at 15:05 0 comments

    One of the biggest problems with just having engineers come up with stuff is the fact that most engineers are completely inept in delivering usability. A lot of technology types, and not just engineers, get en-amored with what I like to call "techno-fetishism", where the idea of the technology completely overwhelms and supersedes what the technology is supposed to do for the user. It's a common affliction, and one that I've always tried to stay cognizant of. One of the ways I keep a mental check on that is to remember that Technology, is derived from the Greek word techne, which means "useful art."

    Ironically, despite all this clamoring for more "STEM" education, at the expense of Art, the fact is that Technology's root is in ART. And art, is the expression of human creativity. Which brings me to the topic of this project log. Rapid Prototyping. When I mean rapid prototyping, I mean really rapid f--king prototyping.

    Sometime back in November 2016, I went to an entrepreneur conference in Washington D.C. that's run by my buddy in the well regarded Mentor Capital Network.
    During the conference, there was a seminar on rapid prototyping run by a former google Xer, Tom Chi.
    It blew my mind. Here's an example of what I saw.

    I came away from the seminar with my mind blown, and with the understanding that at heart, when you're trying rapid prototype something, it actually isn't the technology you're looking to prototype.
    It's what the technology is supposed to do that you're trying to prototype. And that means you don't need chips, solder, and circuitry, or code, screens, and programs, or even cut metal and nuts and bolts to rapid prototype.

    What you need is the mentality of a seven year old, some paper, parts, and cardboard, and some imaginative time. The revelation blew me away. Suddenly, some of the projects that I was working on no longer looked like huge, hard to surmount challenges with big budgets, lots of tricky components, and nights of headaches. They were projects I can rapidly create using note cards, pens, and friends. Because in this method of rapid prototyping, you're not shooting for technology. You're shooting for what the technology is supposed to do.

    And in my case, for rapid prototyping this wearable IoT device, what it's supposed to do is be comfortable while wearing it, easy to recharge, and do useful stuff. So the most important element is to be comfortable while wearing it.

    To get started with that, I went to what is probably the first material most people start with when making something. Paper. Or in my case, cardboard.

    But of course, while cutting out cardboard and sticking it on a shirt is cool and all, I also do enjoy getting the actual hardware working. Which is this.

    This takes care of the actual circuitry. It's pretty simple, and that's the whole point of this exercise. This time, the point isn't how much more innovative I can be in the electronics design. The point this time is speed to create the product, and then get it into the market to see how it'll do.

    However, just having working guts isn't enough when it comes to good design that's you know, not just for engineers. That's one of my pet peeves when it comes to technology. All too often, the idea of making something USEFUL gets sacrificed to make something a techno DOODAD. For good design, that's when you need a good form factor. And that's where cardboard, hot glue, and modeling clay comes into play. And a bicycle or other kind of shirt you don't mind trashing up.

    Which is up next!

  • The Art of Shanzhai

    Casual Cyborg05/16/2017 at 21:05 0 comments

    Shanzhai, or (现代汉语词典/現代漢語詞典), has two meanings. A fenced place in the forest, Villages in the mountain that have stockade houses.

    Shanzhai is used as a metaphor to describe bandits who oppose and evade the corrupted authority to perform deeds they see as justified. One example of such bandits is the story of Outlaws of the Marsh (水滸傳)

    Shanzhai also means "Mountain Bandits." And in today's modern era China, especially in Shenzhen, it's usually related to illicitly copied electronics. I recently finished reading a great book, The Misfit Economy: Lessons in Creativity from Pirates, Hackers, Gangsters and Other Informal Entrepreneurs. written by Alexa Clay and Kyra Mya Phillips. In the book is a chapter titled, "Copy," which goes into detail about the Shanzhai culture. You can also read this great article about it in the Atlantic. Shanzhai: China’s Collaborative Electronics-Design Ecosystem

    The Copy Chapter brilliantly investigates the Shanzhai culture of Shenzhen, the electronics manufacturing capitol of the world.

    Essentially, the Shanzhai culture of pirated electronics means exactly that, they directly copy the electronics of competitors or leaders in the market. But what so many casual observers miss after just relegating the copiers to a footnote, is that after the shanzhai copy, they iterate, and they have to iterate fast, because other's are iterating right behind them. They're always looking behind their back, because they know that if they can copy, someone else is copying. So on top of the copying, they have to create something new. In other words, by iterating, and not just copying, they're creating new innovations. Vastly whole new innovations and product categories. In fact, about 26% of Silicon Valley's IP comes from Shenzhen.

    You can learn more about the fascinating Cyberpunk/Hardware Hacker collision in this Wired Documentary about Shenzhen, guided by Bunny Huang, the creator of the world's first open source laptop.


    So, after many years of coming up with my own original designs and crazy innovations, I'm going to take a page from the Shanzhai book with this project. The reason for that is simple.

    In this case, I'm not going for simply innovative. I want to fast track this thing into production.

    For too long, I've stayed stuck in development, creating innovative devices, but because of scarce resources (money) spent on development, I was never able to get into production, let alone see if there was a market for what I came up with. In production is where you get into the business end of things, like sourcing suppliers, discovering a market, price discovery, marketing and sales, etc. I want to get to that point of the learning curve. Considering I've been doing development innovation for, oh, forever, I think it's time for a change.

    Really, I'm sick of Development Hell.

    I want to fast track the development, and get right into the production. For me to do that, that takes some Shanzhai.

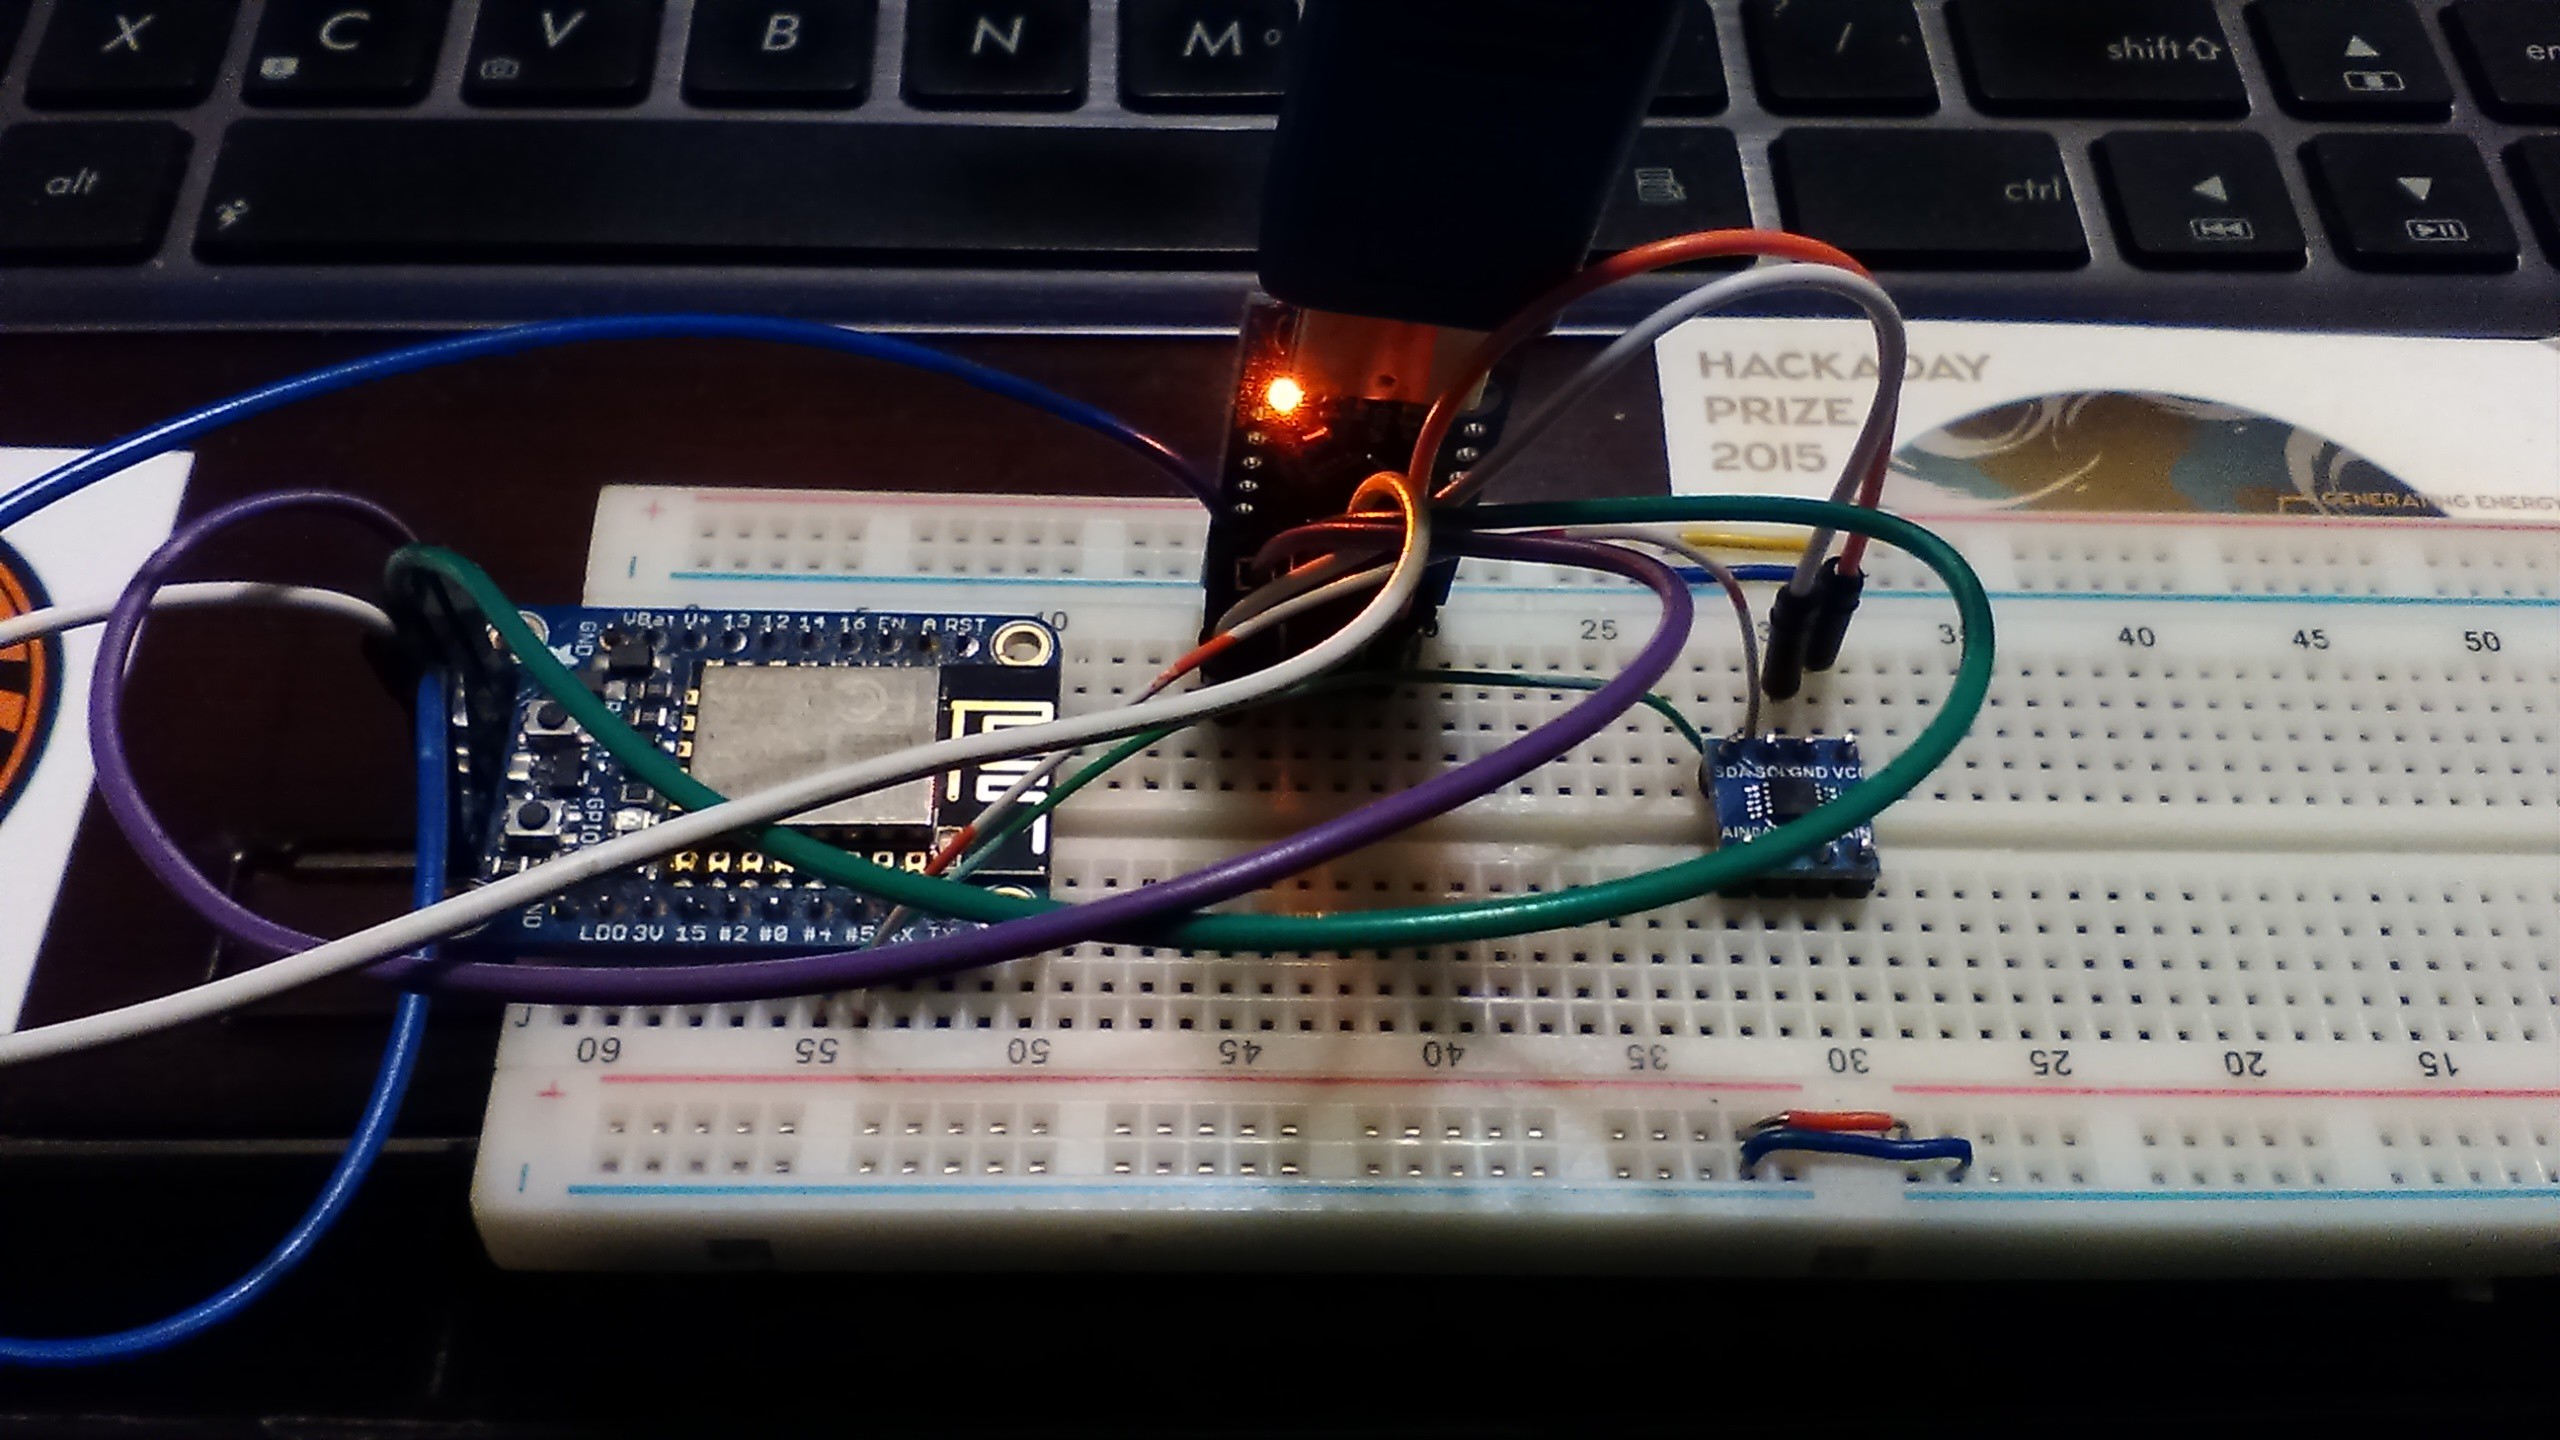
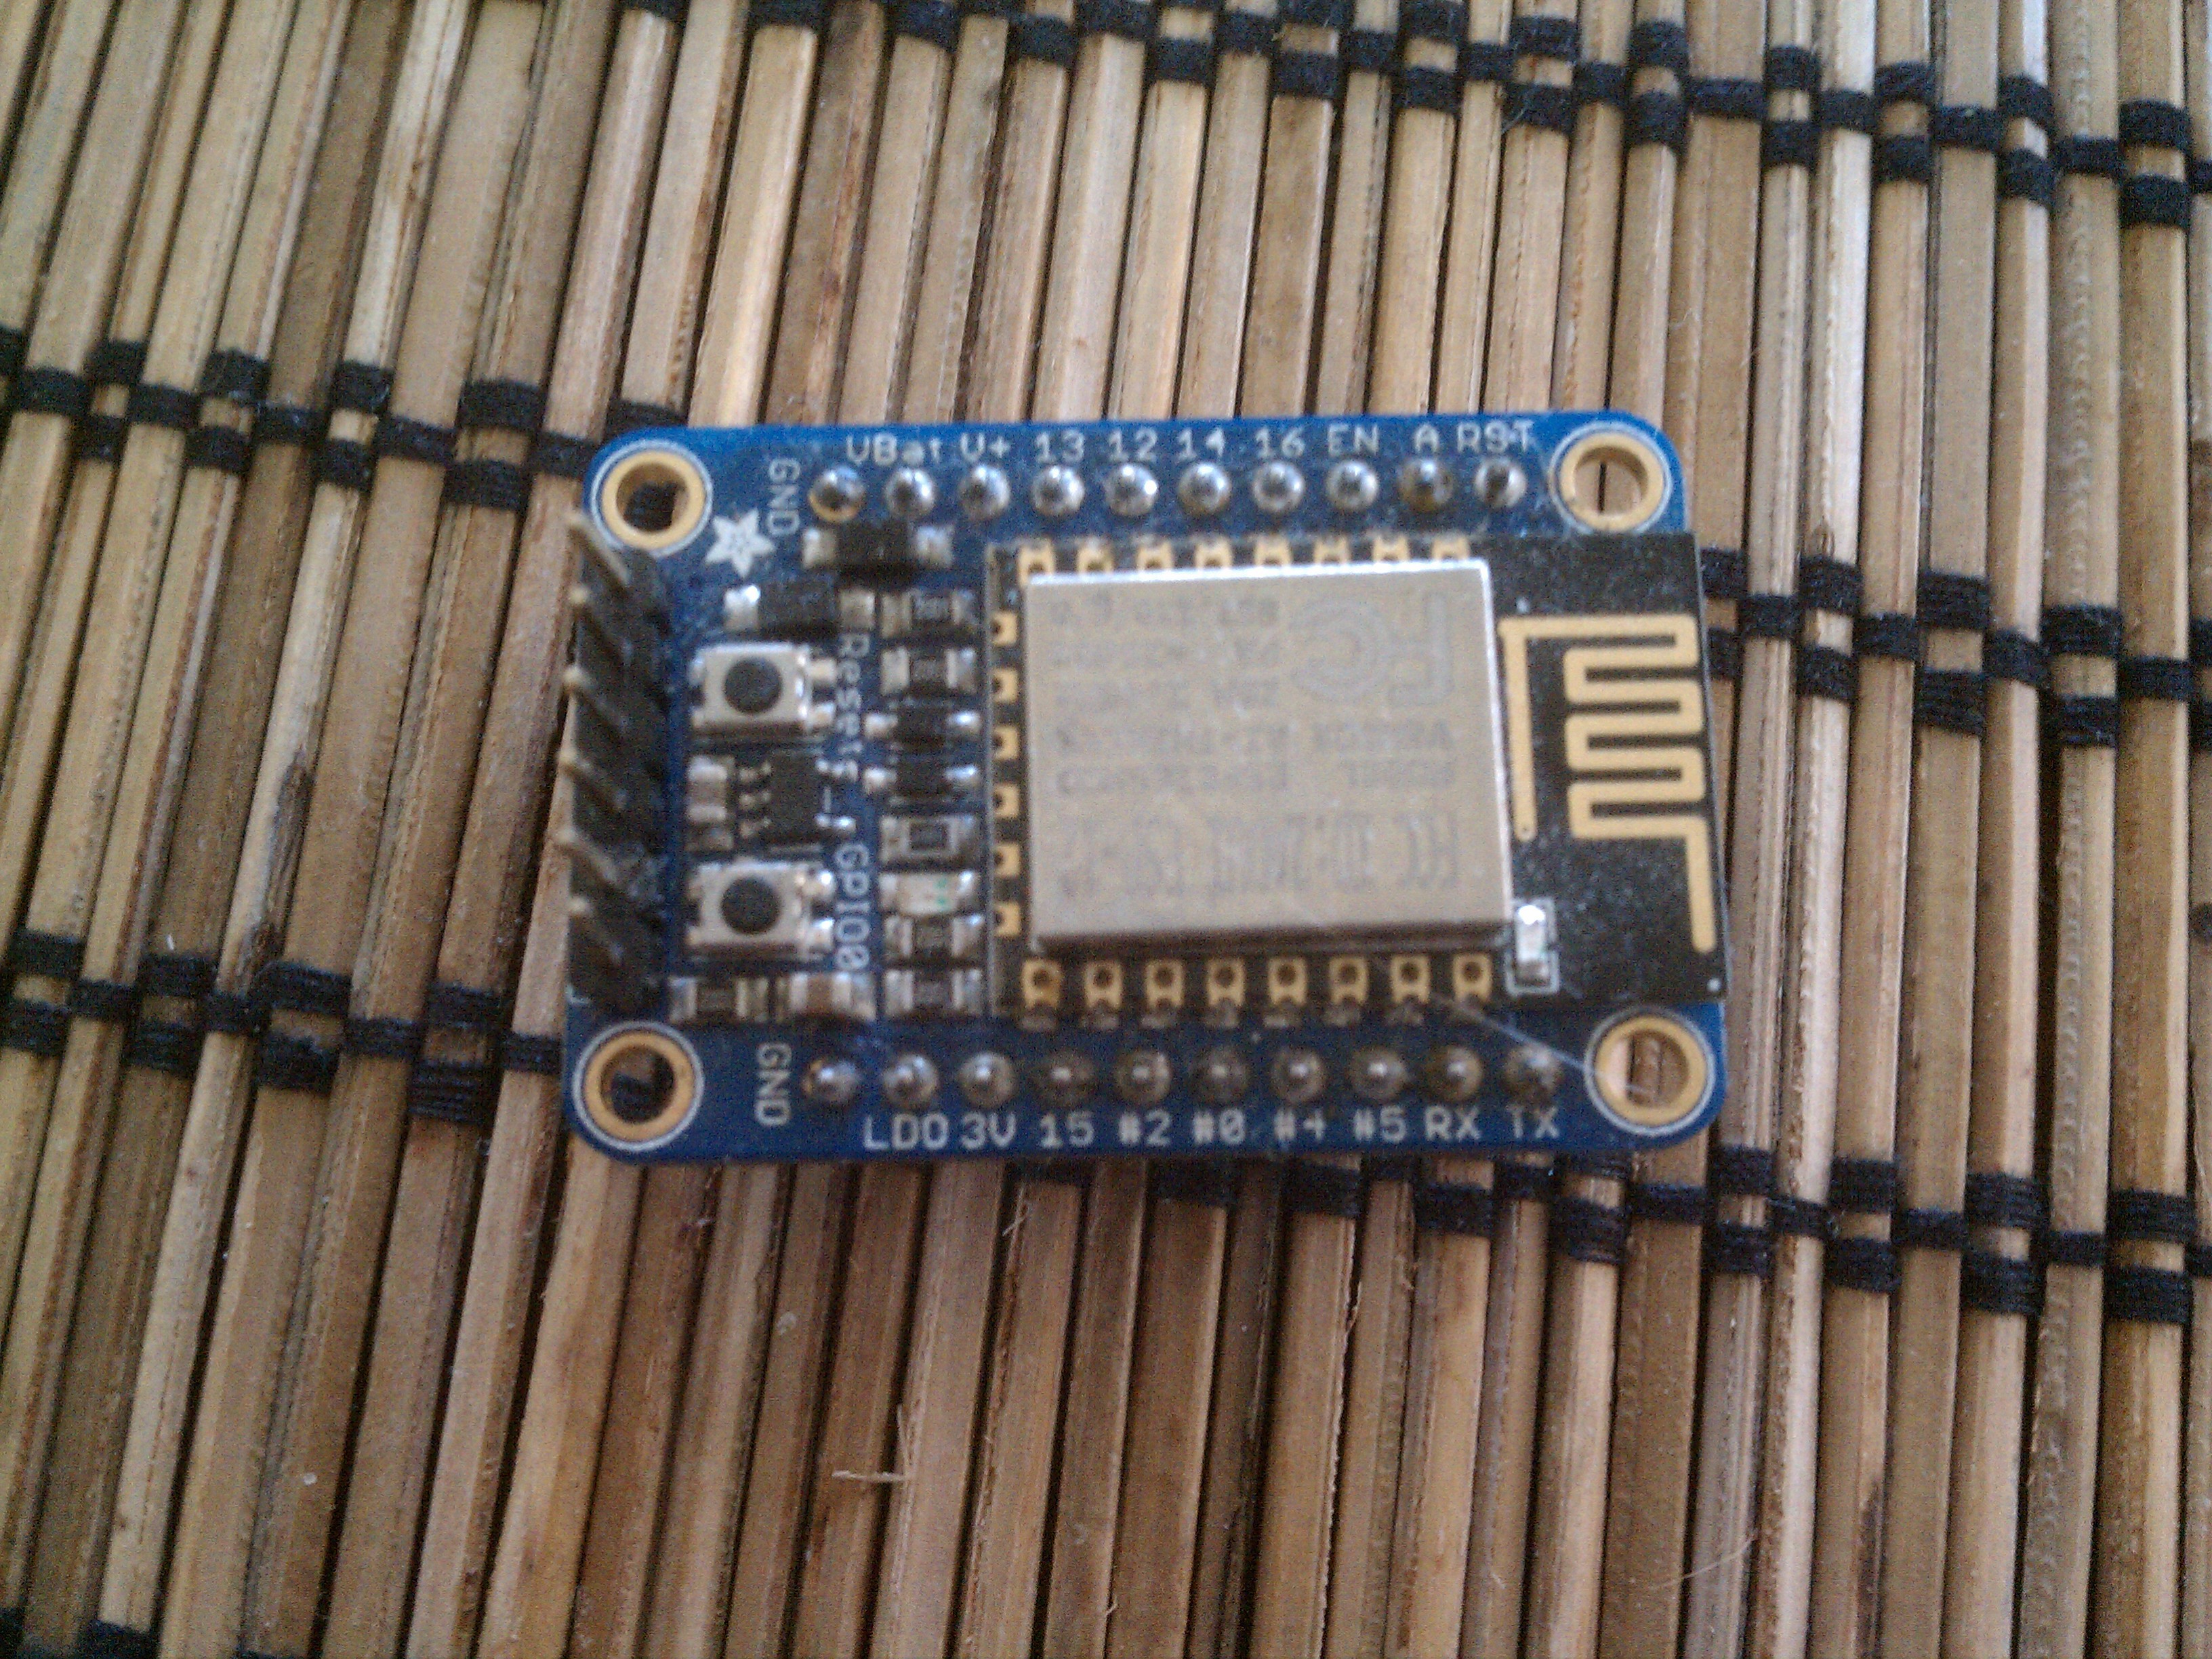
    First, let's start with the basic design of the ESP8266 board. This one has all of the support electronics, which themselves are required from experiments of just the standalone esp8266 chip that you can find all over the web. I'm using the Adafruit Huzzah ESP8266


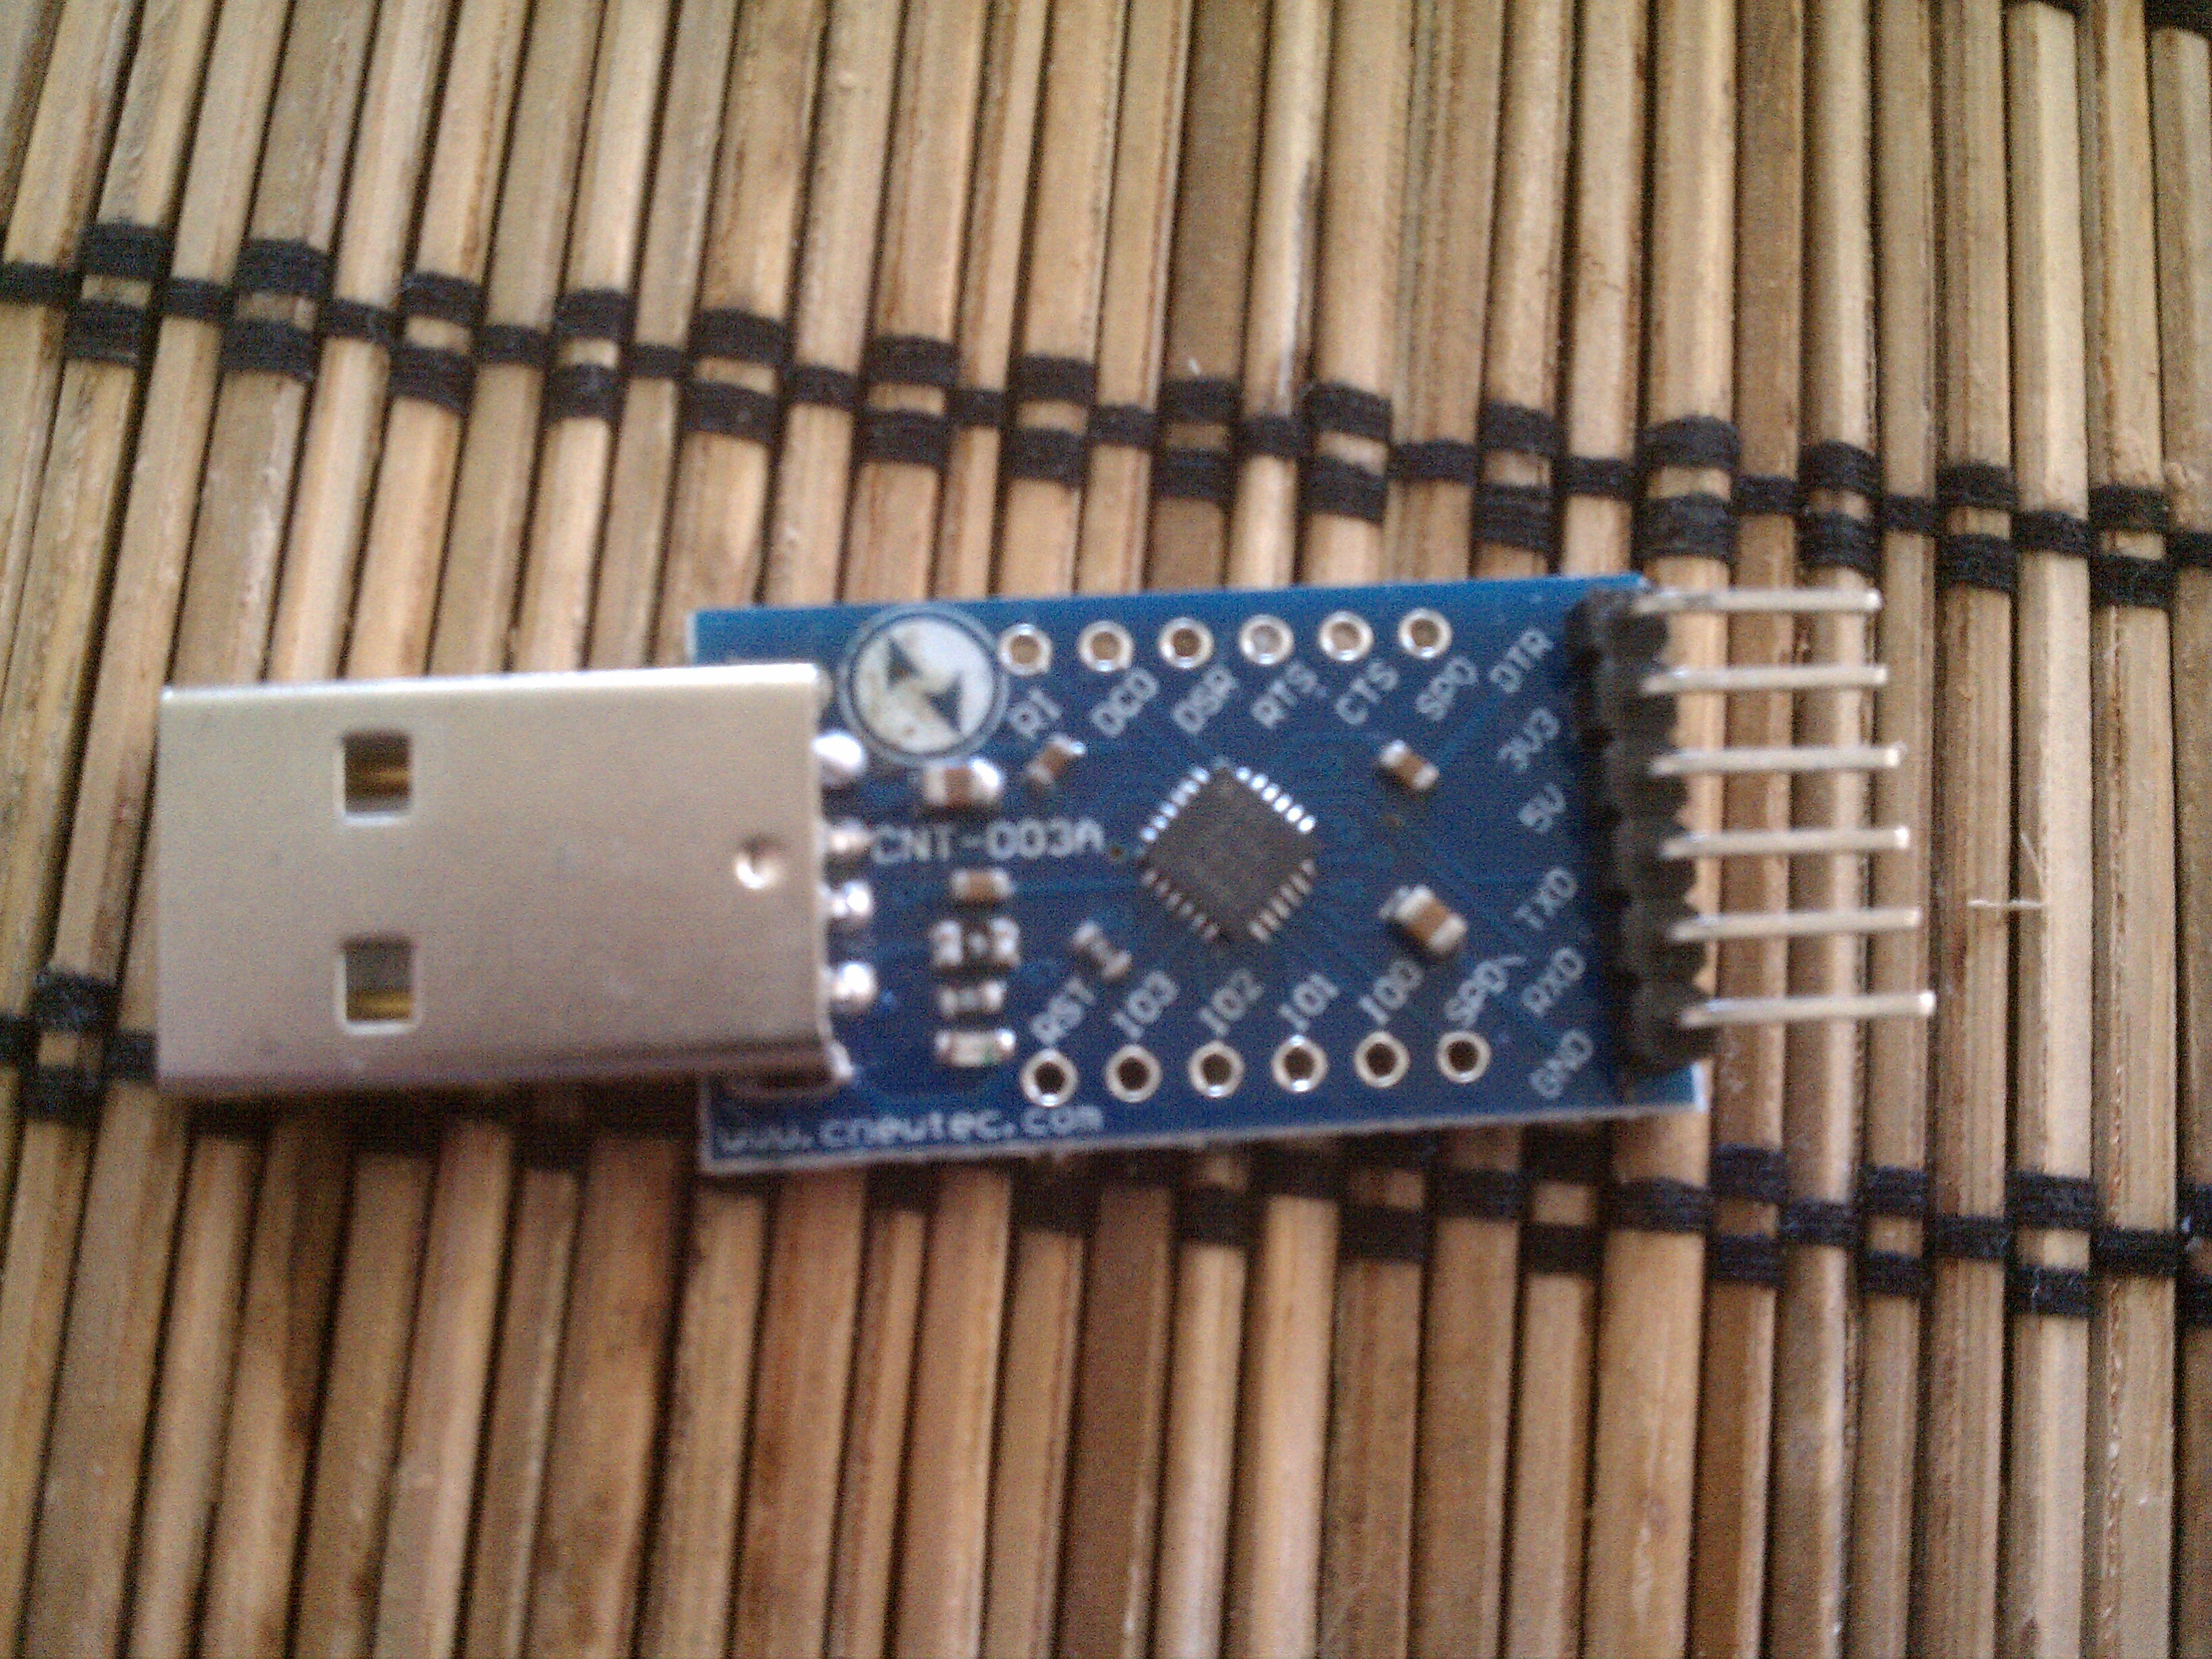
    Next to the ESP8266, I'm using a generic breakout board for the CP2104 USB to UART chip.

    It's a fast USB to UART chip, as I want the development board to have an onboard USB interface for easy programming.

    Next up, I want to have more analog inputs. The ESP8266 only comes with one analog input. That's not enough for my needs, given that I want to make the ESP8266 essentially a central point for several data streams coming in from analog sensors. So, I'm including an ADC chip to communicates via I2C. It also has four analog ports that operate at 12bits. The ESP8266 has a single  analog port that operates at a peasely 10 bits on a 0 -1 V range. That's insufficient...

    Read more »

View all 9 project logs

Enjoy this project?

Share

Discussions

Rollyn01 wrote 05/18/2017 at 07:09 point

Just a random thought but have you given thought about using multiplexing the analog port? Maybe it is possible to use a few sensors that are modulated and mixed into one signal. You could allow for switching to focus on one sensor at a time through additional hardware or tuning through software to filter each sensor's individual signal. Just a thought around that issue of only having one analog port. It might add bulk, but I'm sure you're skilled enough to make it work.

  Are you sure? yes | no

Casual Cyborg wrote 05/18/2017 at 15:03 point

I have thought about multiplexing the analog port on the dev board, and actually, I'm open to making two prototypes, one using that concept, and the other using an add on Analog device. Thing is though, I do like higher ADC resolutions, being experienced in body sensing. Given how cheap it is these days to make your own prototypes, it's not that much extra for me to give that a go.

  Are you sure? yes | no

Rollyn01 wrote 05/18/2017 at 16:00 point

I can see why you would favor resolution over multiplexing. In the end, it might require an amplifier and oversampling just to keep up resolution. Not sure how that would play out (not knowledgeable with this particular micro to say for certain). However, with a bit of tweking, I'm sure that is a limitation that can be easily overcome. What add-on analog device are you thinking of using? 

  Are you sure? yes | no

Casual Cyborg wrote 05/23/2017 at 18:06 point

Hey Rolly, 

Right now, it's a toss up. Everything boils down to cost/benefit ratio's. The 10 bit ADC's are generally cheaper, , and you get a lot more ADC ports, but you're also at 10 bit. And you're right, amping the signal a bit for more bandwith for better sampling comes into play. For Rhett syndrome kids, currently what they're measuring is lung volume, using chest/thorax capacity measurements. That means a measurable band across a large cross sectional area. The problem is not a lot of sensors today are particularly accurate for measuring cross sectional area changes, and a lot of that is also noise (kids shuffling around, getting itchy, moving the shirt, etc.) So while on one hand I'd love more sampling resolution, I also have to deal with things like kid's movements causing noise spikes, or general imperfections of the sensor inaccuracy.

But it all boils down to money, so less money for more bang for the buck is what I defer too. Right now I'm looking at the MCP3004 because it's relatively cheap, and has 4 ADC ports, and it's SPI.

  Are you sure? yes | no

Similar Projects

Does this project spark your interest?

Become a member to follow this project and never miss any updates