Before showing the molding process, it'd be helpful to be familiar with the terminology associated with the gating system for metal casting.
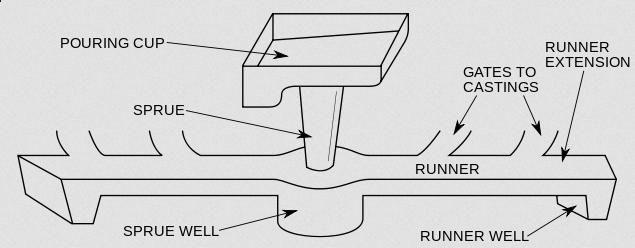
Elements Of A Gating System:
Pouring Basin [cup]:
This is where the molten metal employed to manufacture the part enters the mold. we use red bull cans to extend the sprue into a basin, as pictured.
Down Sprue:
From the pouring basin, the molten metal for the casting travels through the down sprue. This should be tapered so its cross-section is reduced as it goes downward.
Ingate/Choke Area [Sprue Well]:
Once at the sprue base, the molten material must pass through the ingate in order to enter the inner area of the mold. we make these areas as small as "reasonable" since we later have to dremmel this part off.
Runners:
Runners are passages that distribute the liquid metal to the different areas inside the mold. We use at least one runner, to access the gate on the bottom of the object.
Main Cavity [Actual casting]:
The impression of the actual part to be cast is often referred to as the main cavity. this is the space left over after the PLA part has burned away.
Vents:
Vents help to assist in the escape of gasses that are expelled from the molten metal during the solidification phase of the metal casting process. Typically just a thin shaft from the top of the mold is made to the main cavity.
Risers:
Risers are reservoirs of molten material. They feed this material to sections of the mold to compensate for shrinkage as the casting solidifies. We are not yet using risers in any of our castings.
Plan the placing of gates and runners. Materials used include a cutting board / hot glue / xacto knife / styrofoam.
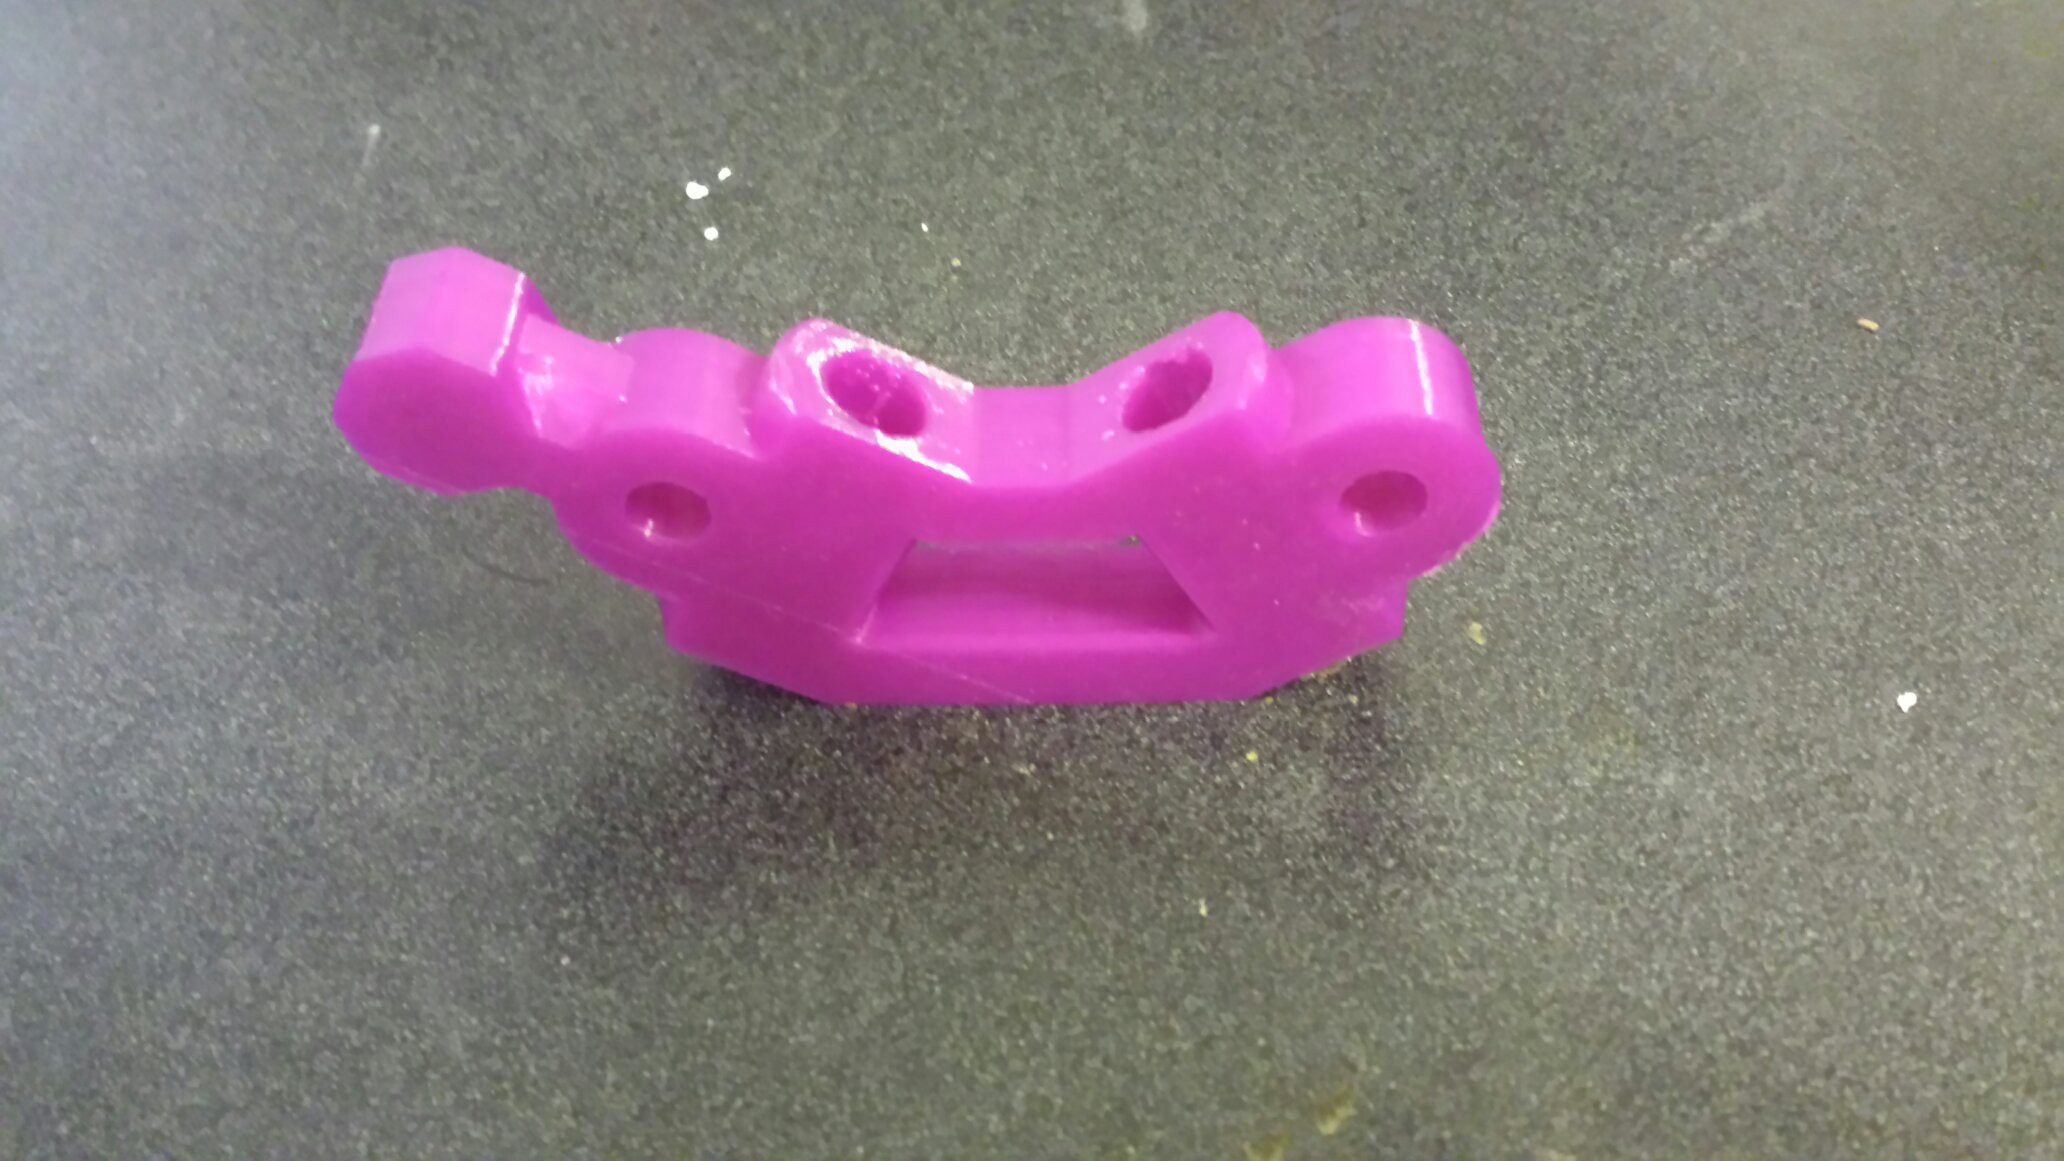
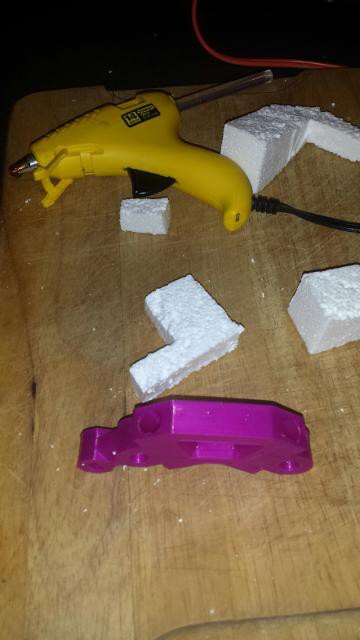
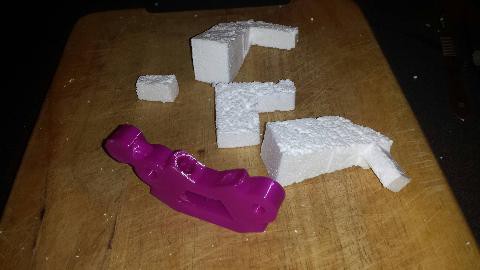
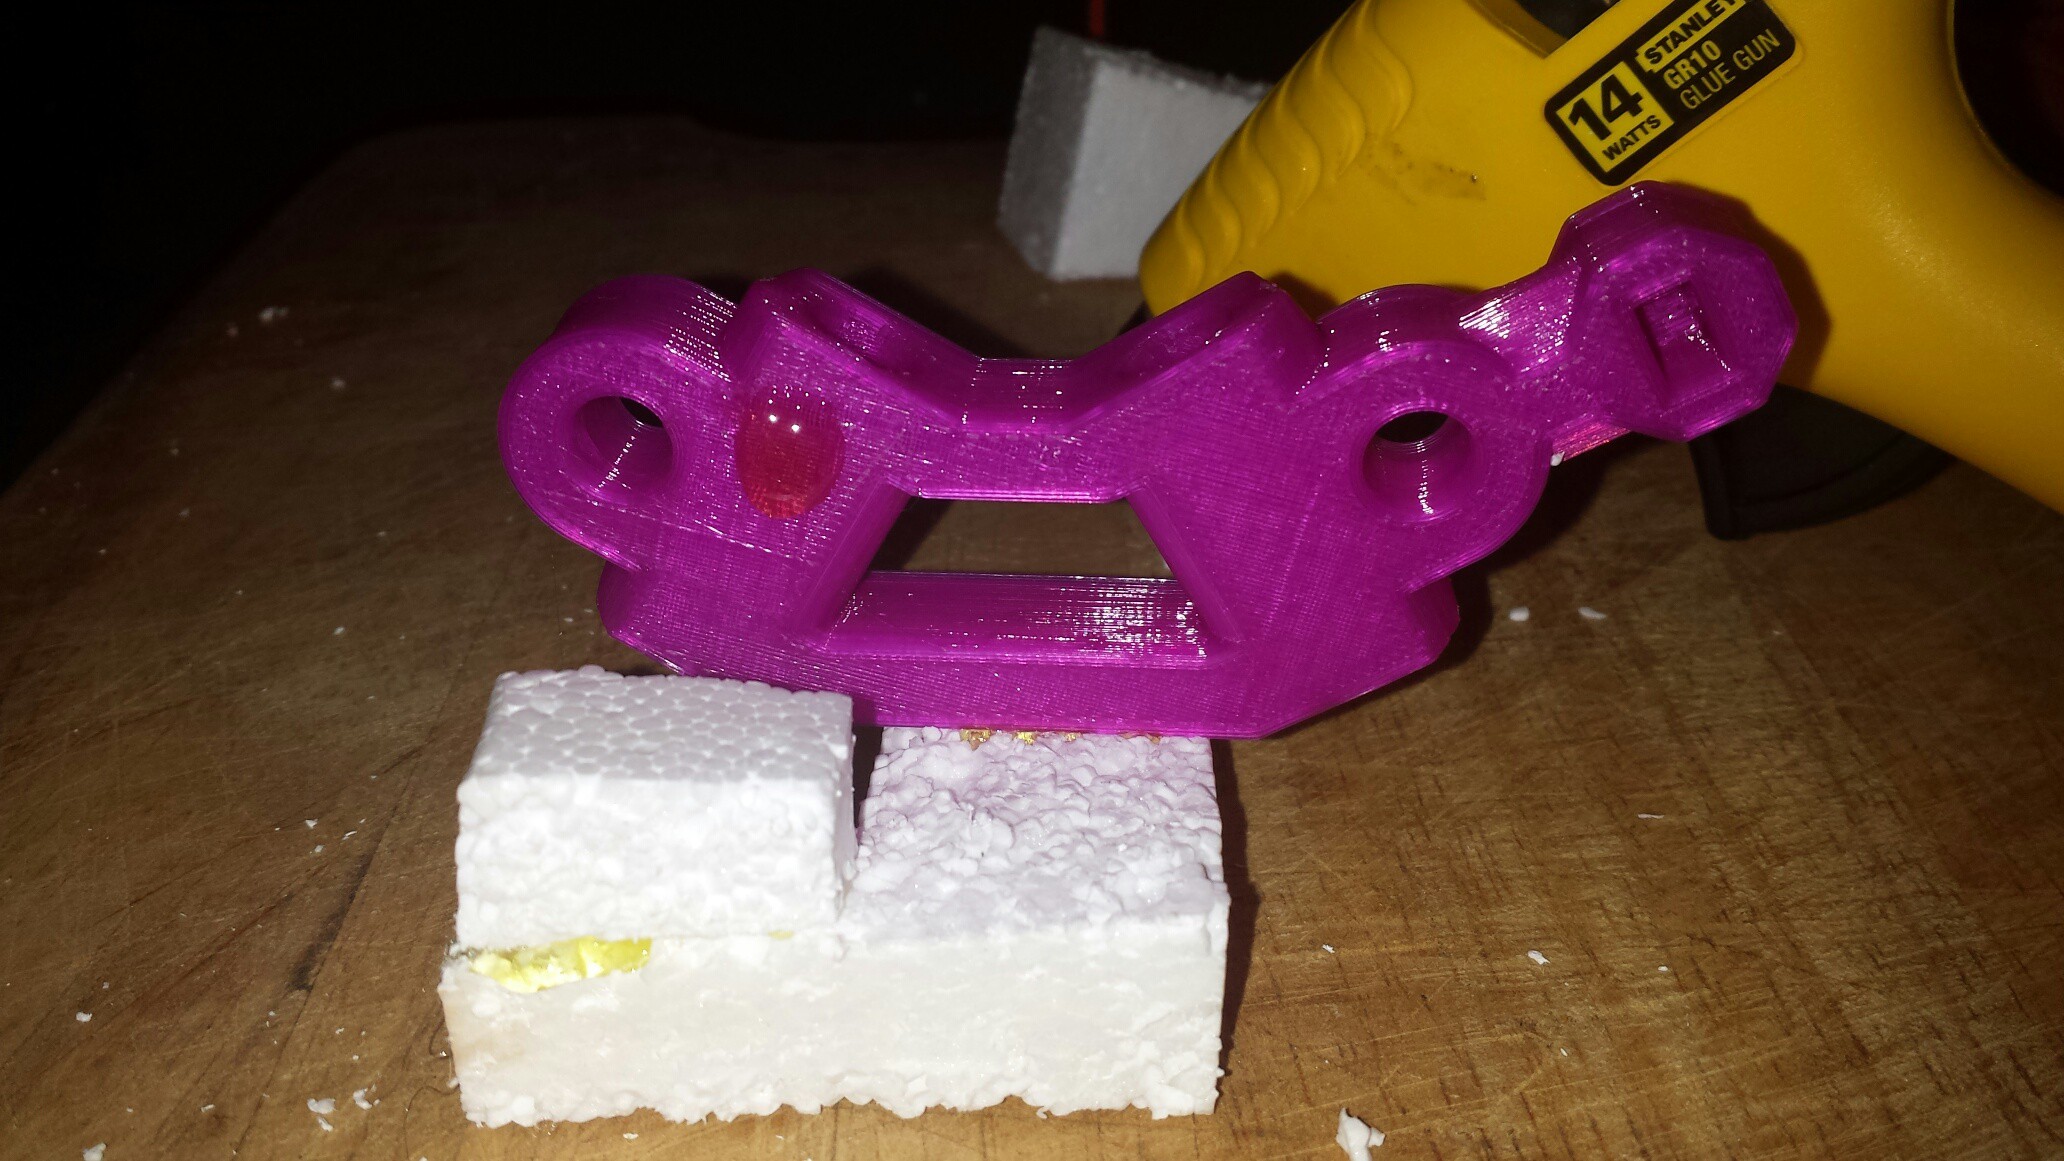
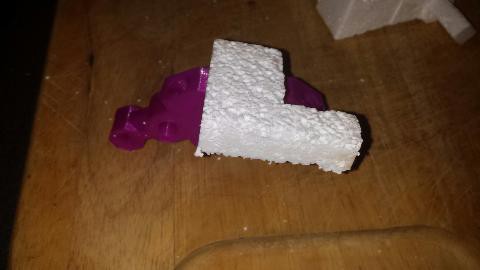 The 3D printed part will serve as the main cavity. This bottom gate is for draining out any ash from the cavity. we run a runner to this gate from the downsprue used to pour aluminium into.
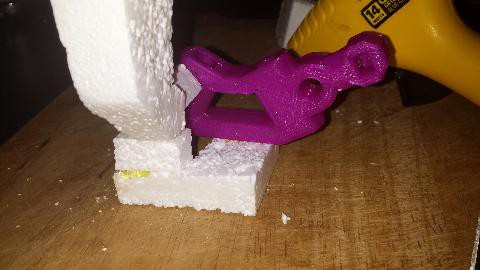
Sideshot of the downsprue, runner, and gates.
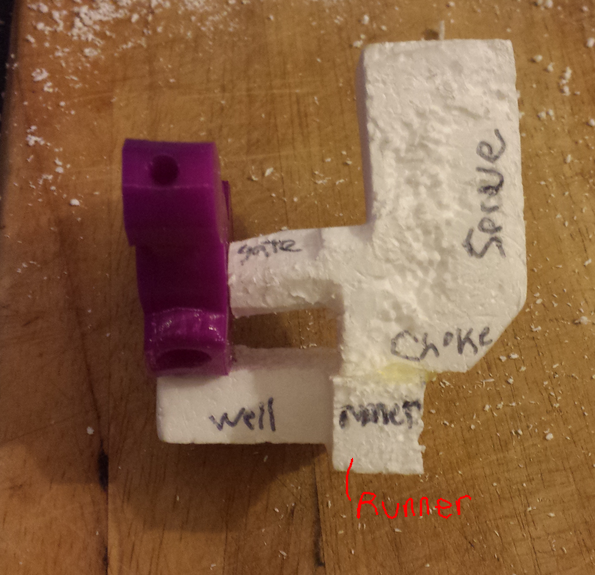
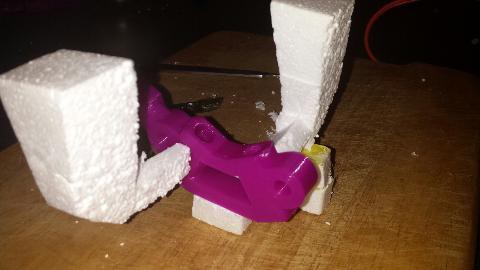
One downsprue for entry, and one for exit from the mold
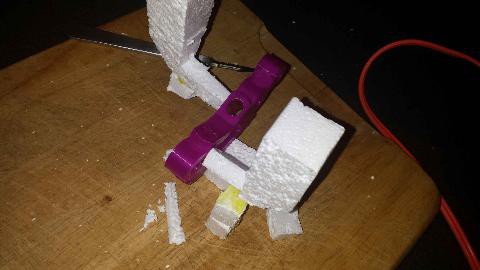
The large inlets serve as the pouring basin for the material to run through.
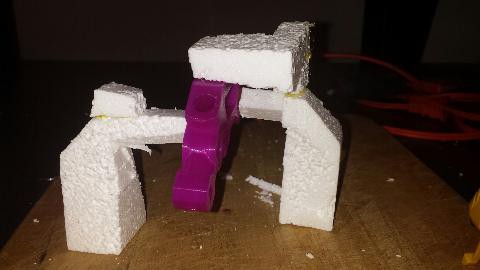
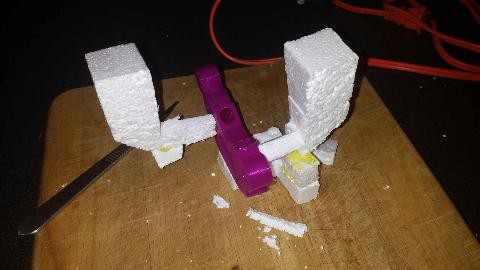
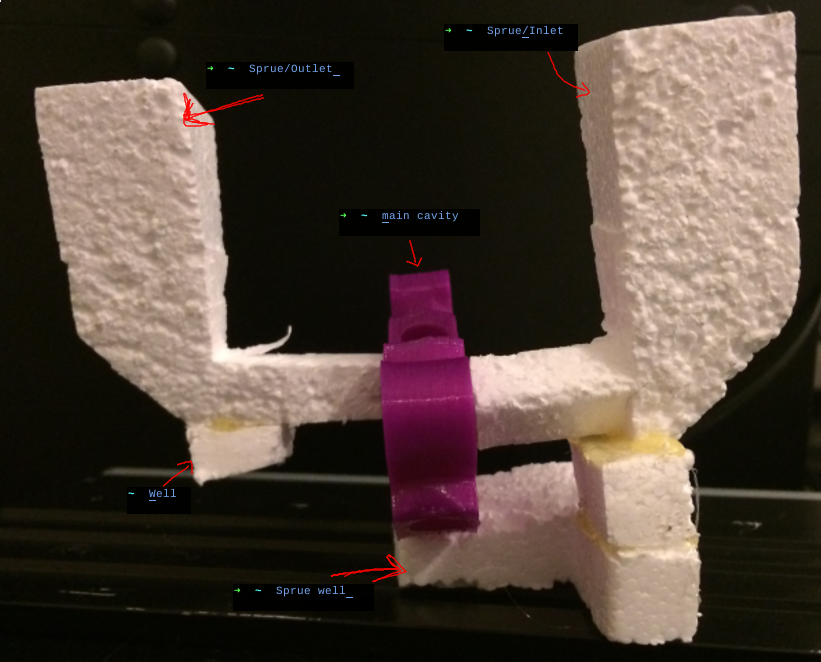
This is what will be going into the mold as documented in the next steps.
 Julia Longtin
Discussions
Become a Hackaday.io Member
Create an account to leave a comment. Already have an account? Log In.