 Timo Birnschein
For a very long time there was only one option for PCBs manufactured at home: Use your already existing photo developer studio and a well calibrated acid bath. Later simpler methods of getting the positive onto the copper clad board came up like toner transfer using irons or modified paper laminators or even modified laser printers to print the positive resist directly onto the board.
However, some years ago, after having done most of the above, I thought it was time for a change. PCB mills were in the range of $15,000+ and could be regarded as unobtainable for the private person. In 2012, some people started modifying their Reprap 3D printers and attached Multitools and commercial companies like OtherMill developed a closed source platform for $4,500. A very much overpriced system that was able to produce incredible results with excellent software - as long as you're a MAC user. But seriously. Mac and $4,500 was a no go for me so I started my own development based on open source tools like Marlin, some plugins for Eagle Layout Tool and CNCGcodeController.
The first iteration of this PCB Mill had a thick Aluminium enclosure, was very heavy for its size and used 3D printed standard CNC builder components that I designed to be able to quickly iterate CNC machine designs.
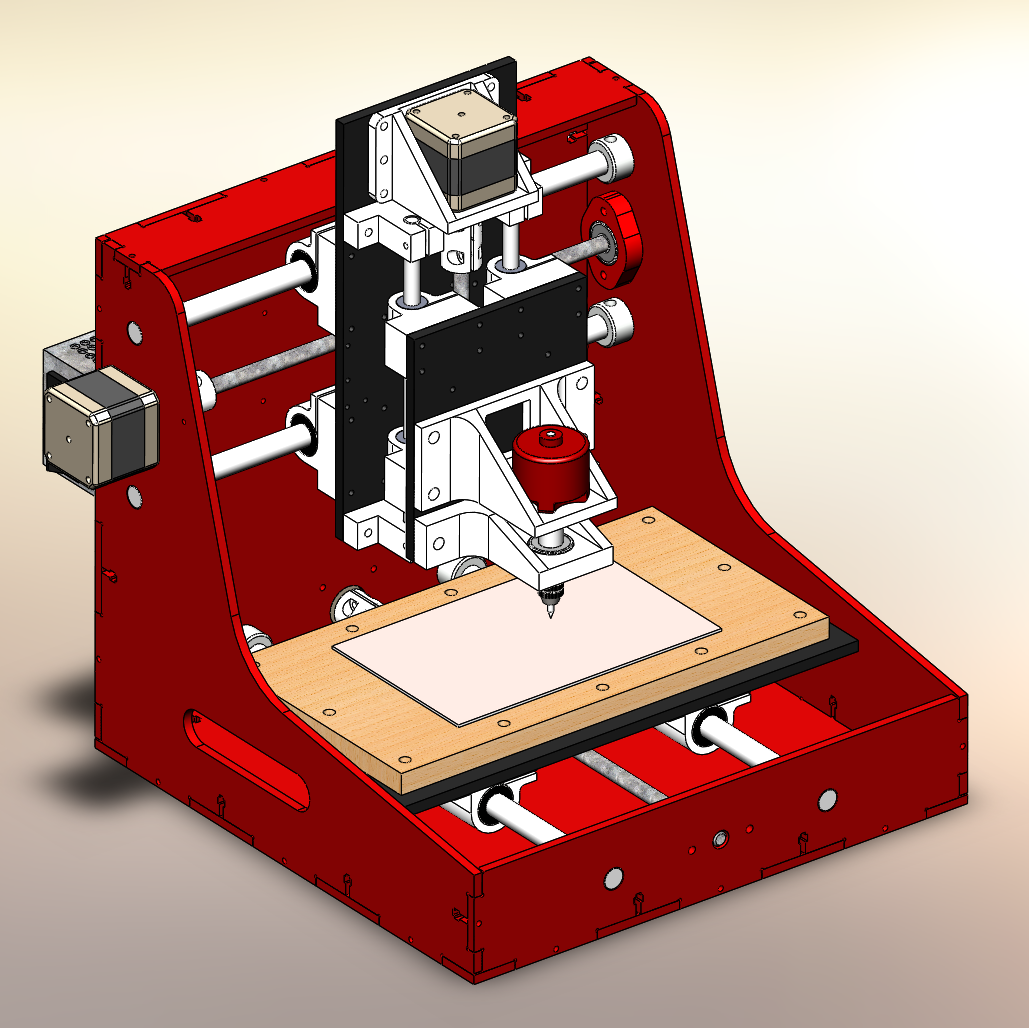
However, this approach was insanely complicated and led to a long and complicated assembly and used way too many screws. I also sold it when I moved to the US.

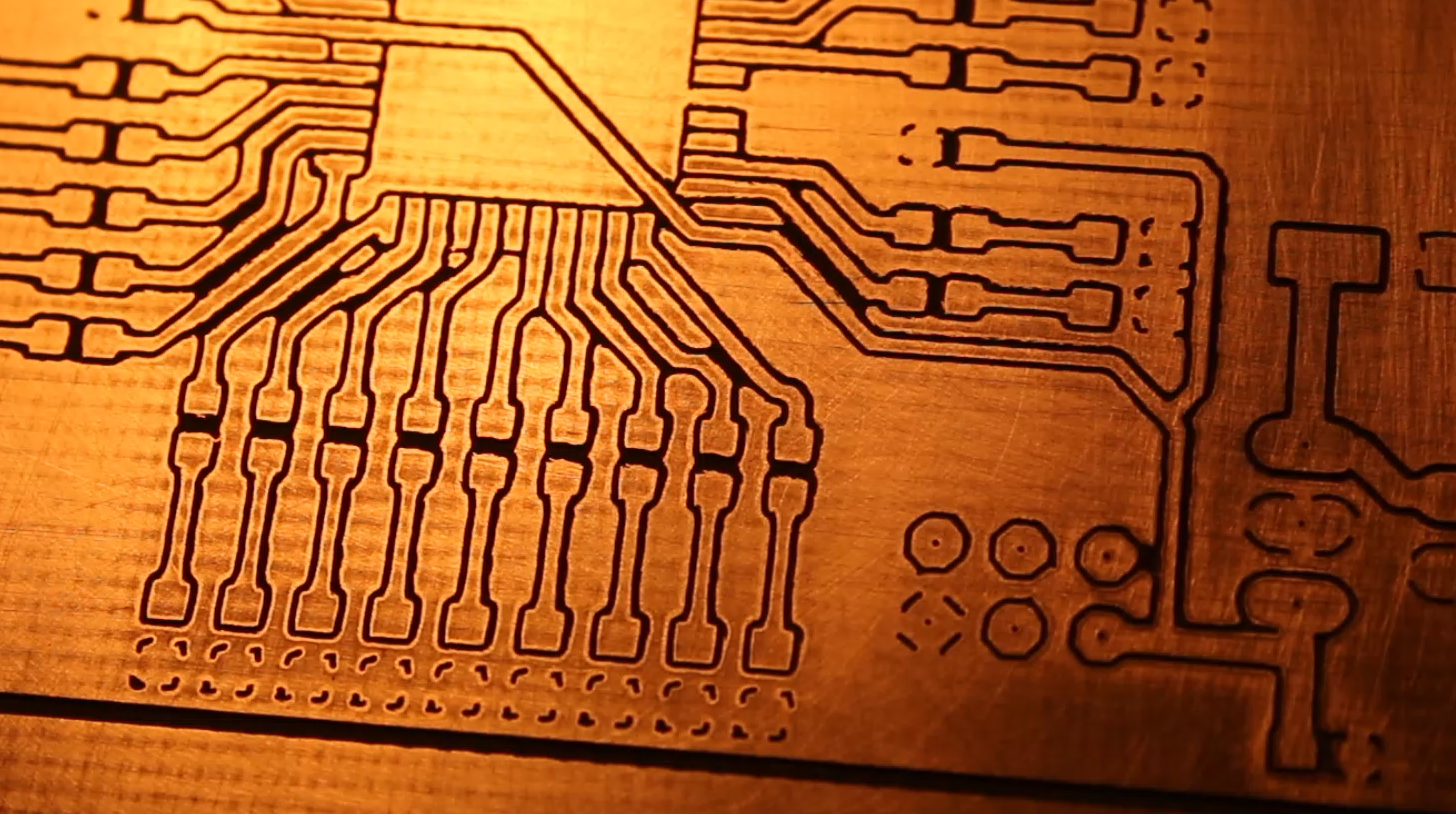
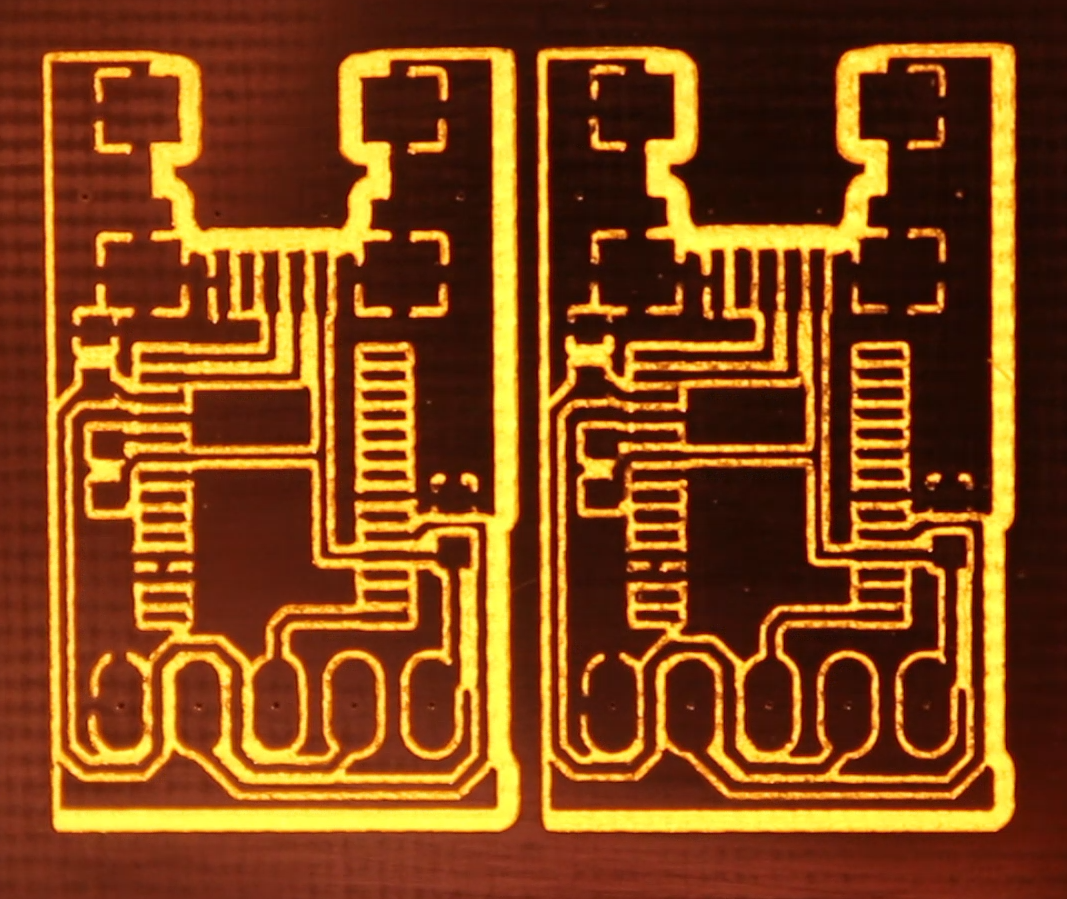
(Please note in the above image that it was possible to route a signal wire UNDER the 0603 resistor on the right. This is a FT232RL board that I made with it the first generation. The board on the right was not cleaned up using sand paper, yet)
A couple of weeks back I started thinking about a new, much simpler design that would allow me to use only three 3D printed parts instead of 21. I also wanted to integrate more features into the design like mounting points for mechanical end stop switches, proper spindle drives and a standard Multitool.
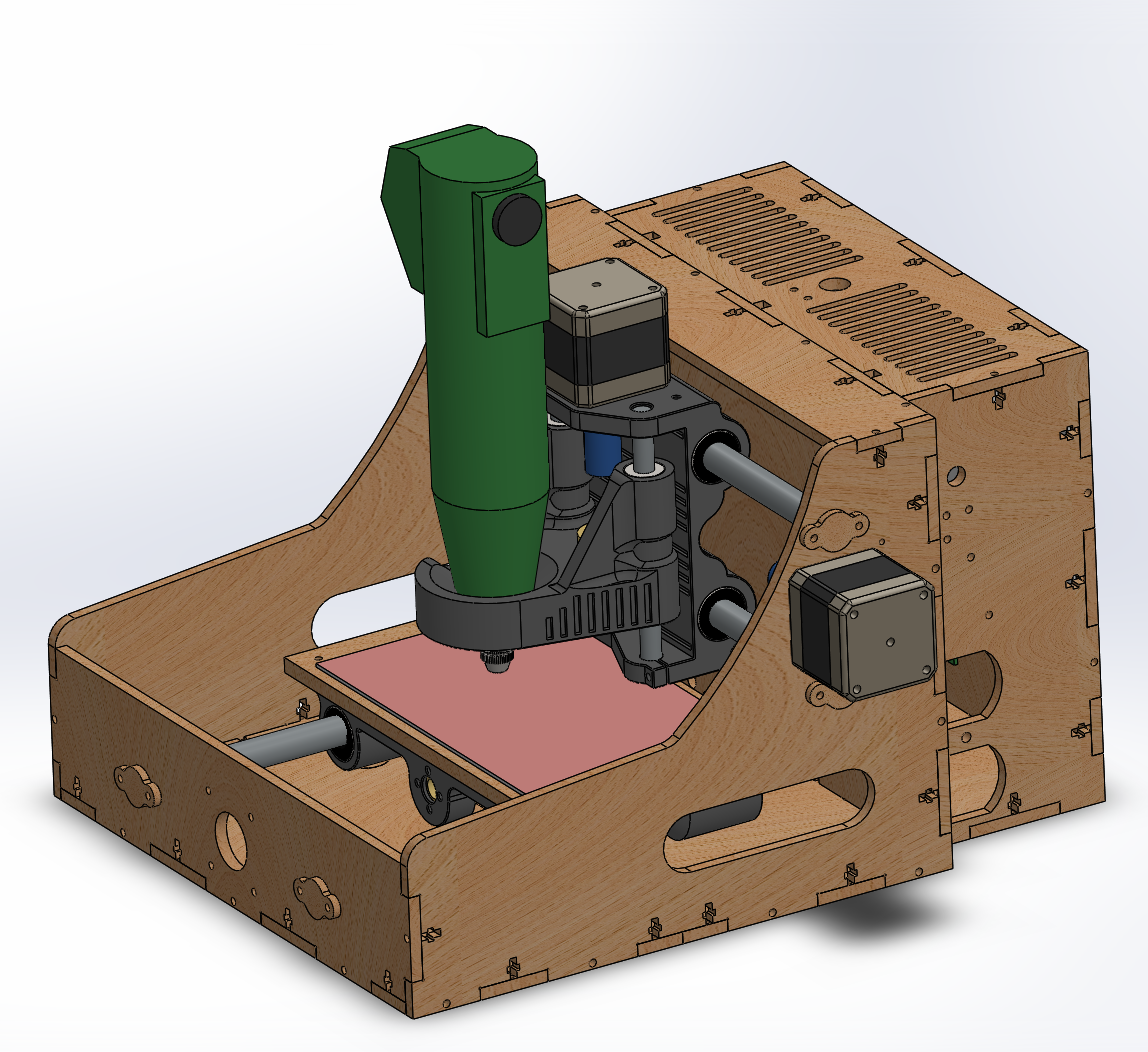
In my case my beloved Proxxon FBS 115/E. The most precise Multitool I know of - compared to the terrible Dremels with their ridiculously unprecise collets.
Current State:
- Axis move
- End Stops work
- No noticeable play so far
- Plywood construction is a bit soft but we will see if this affects the milling of PCBs
- Power backpack not yet finished, therefore wild wiring for testing and calibration
- Mill table still missing - including a fixture to mill double sided PCBs precisely
- Milling and drilling test
Discussions
Become a Hackaday.io Member
Create an account to leave a comment. Already have an account? Log In.