 Timo Birnschein
... you should have measured all components before cutting the enclosure.
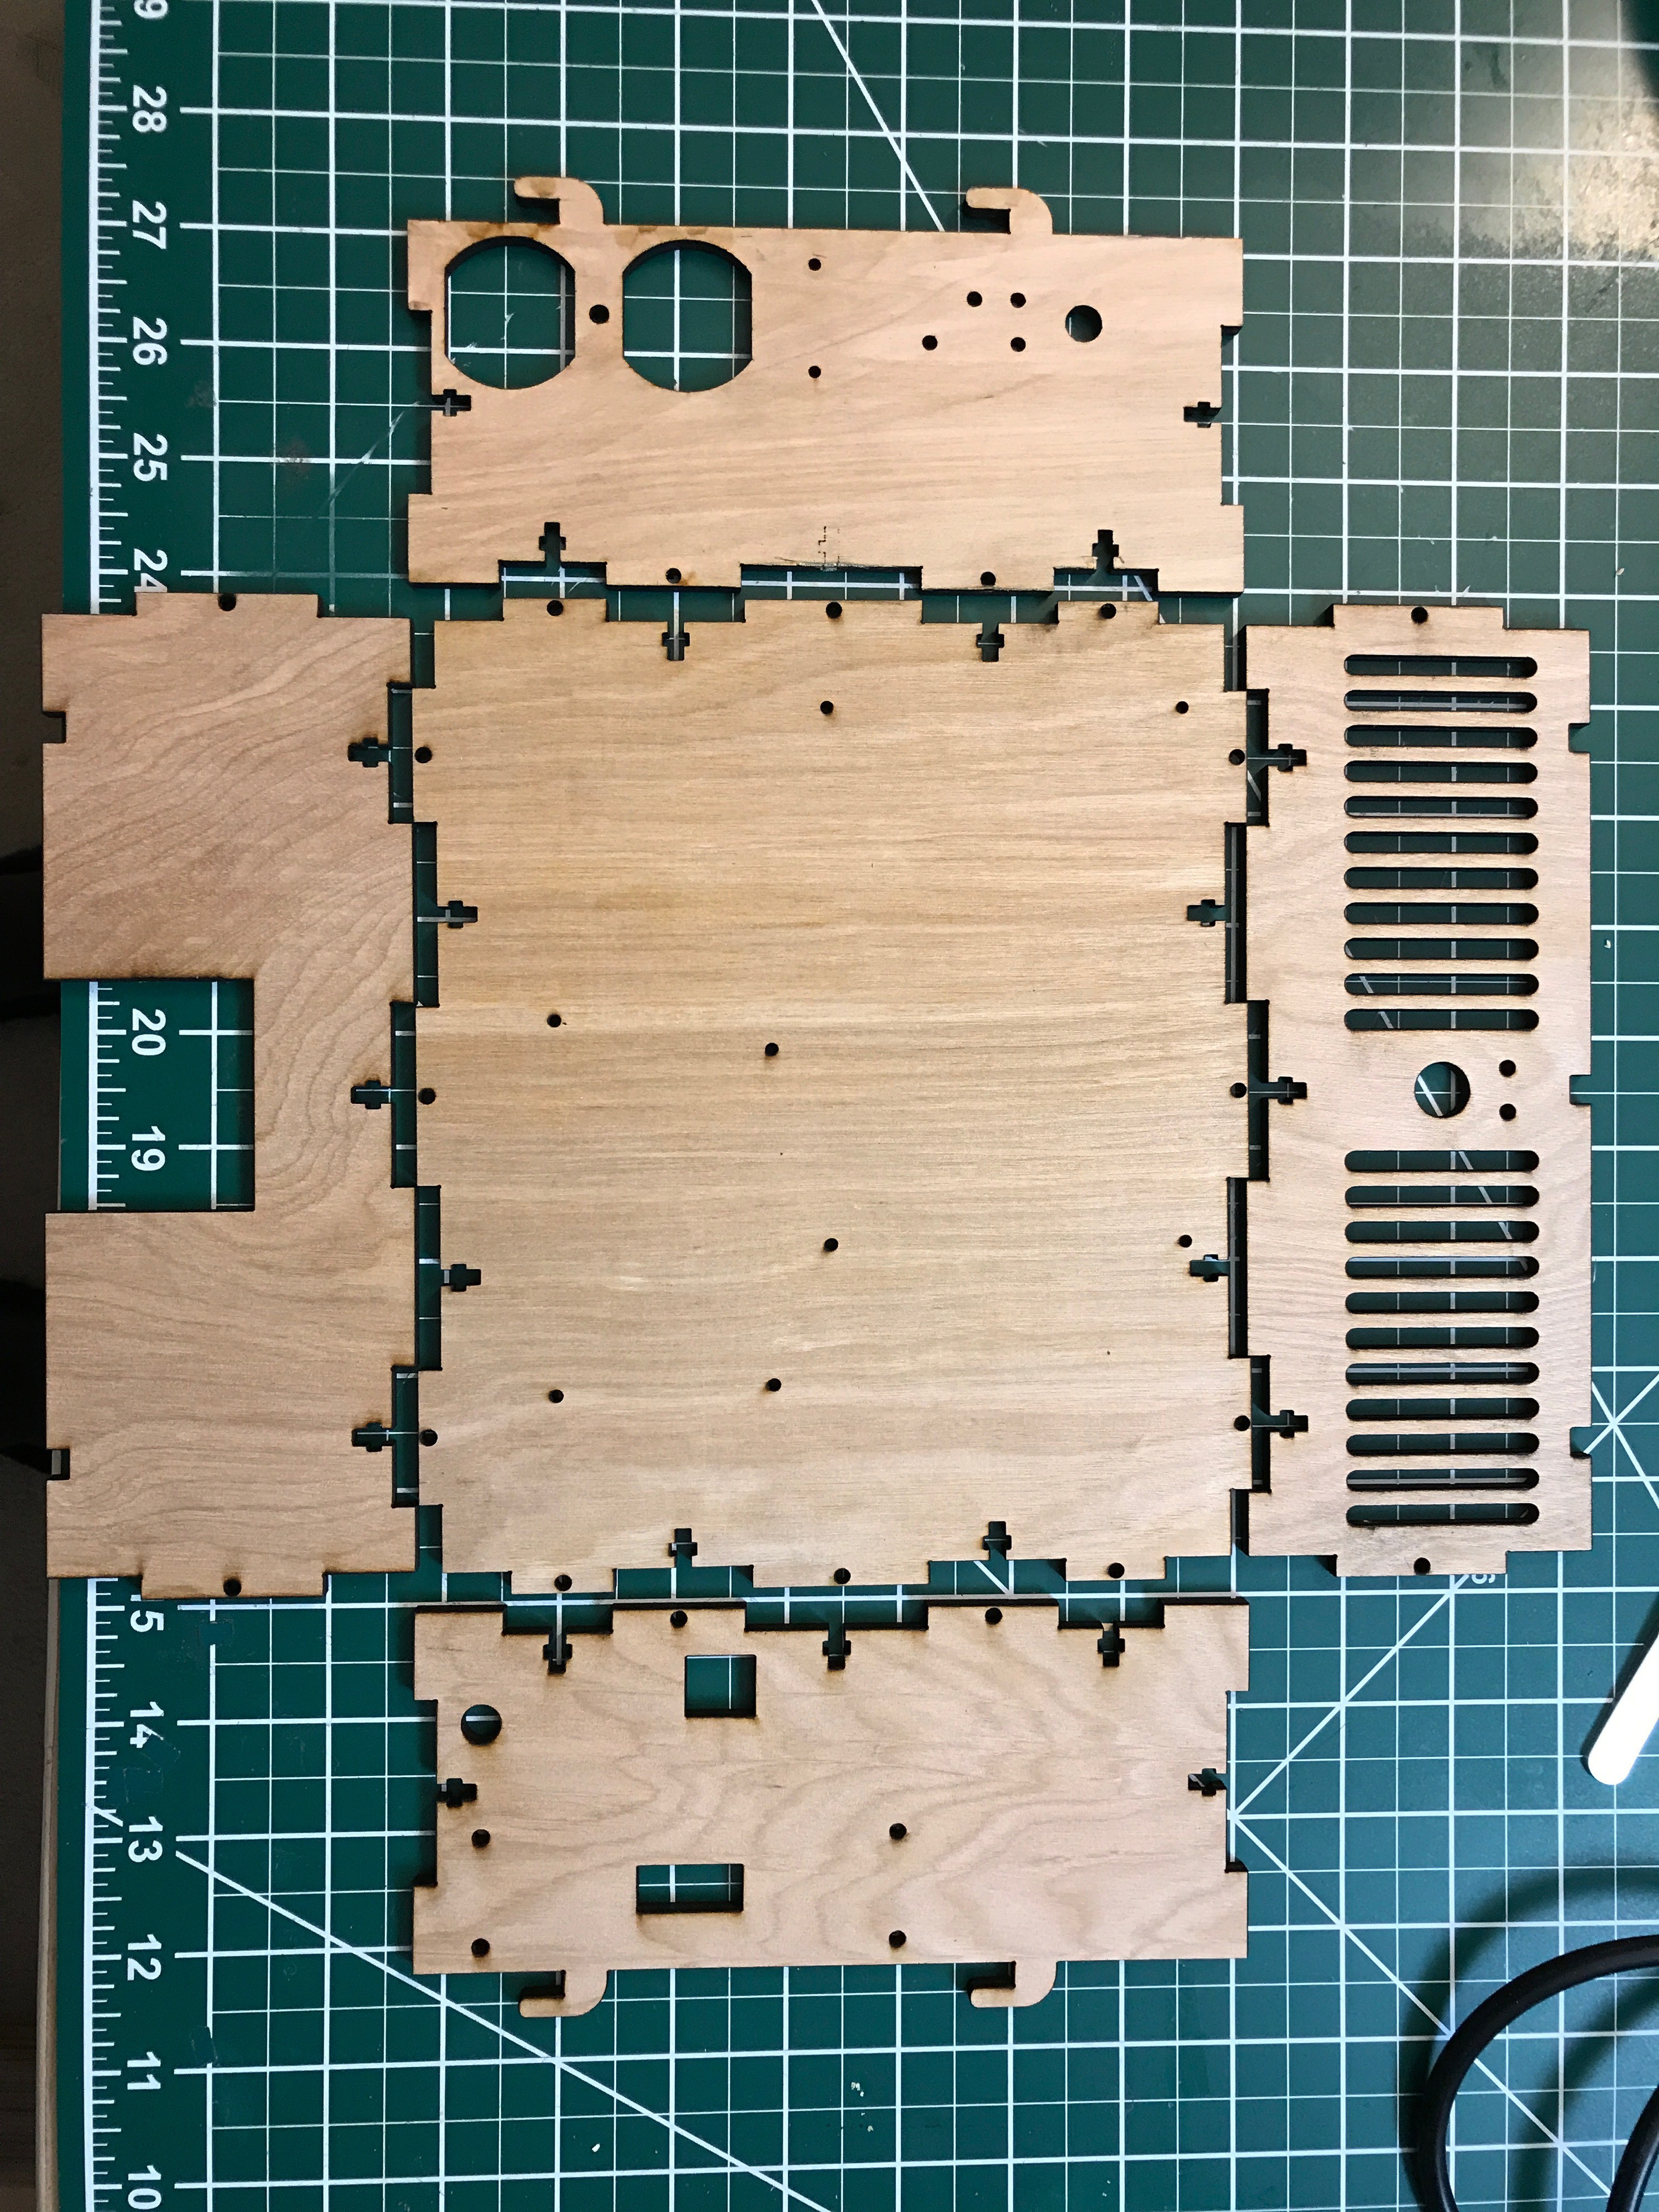
I started by laser cutting the enclosure parts which required me to recalibrate my laser Z-table because the cuts became increasingly unreliable. In the end, they turned out extremely well:

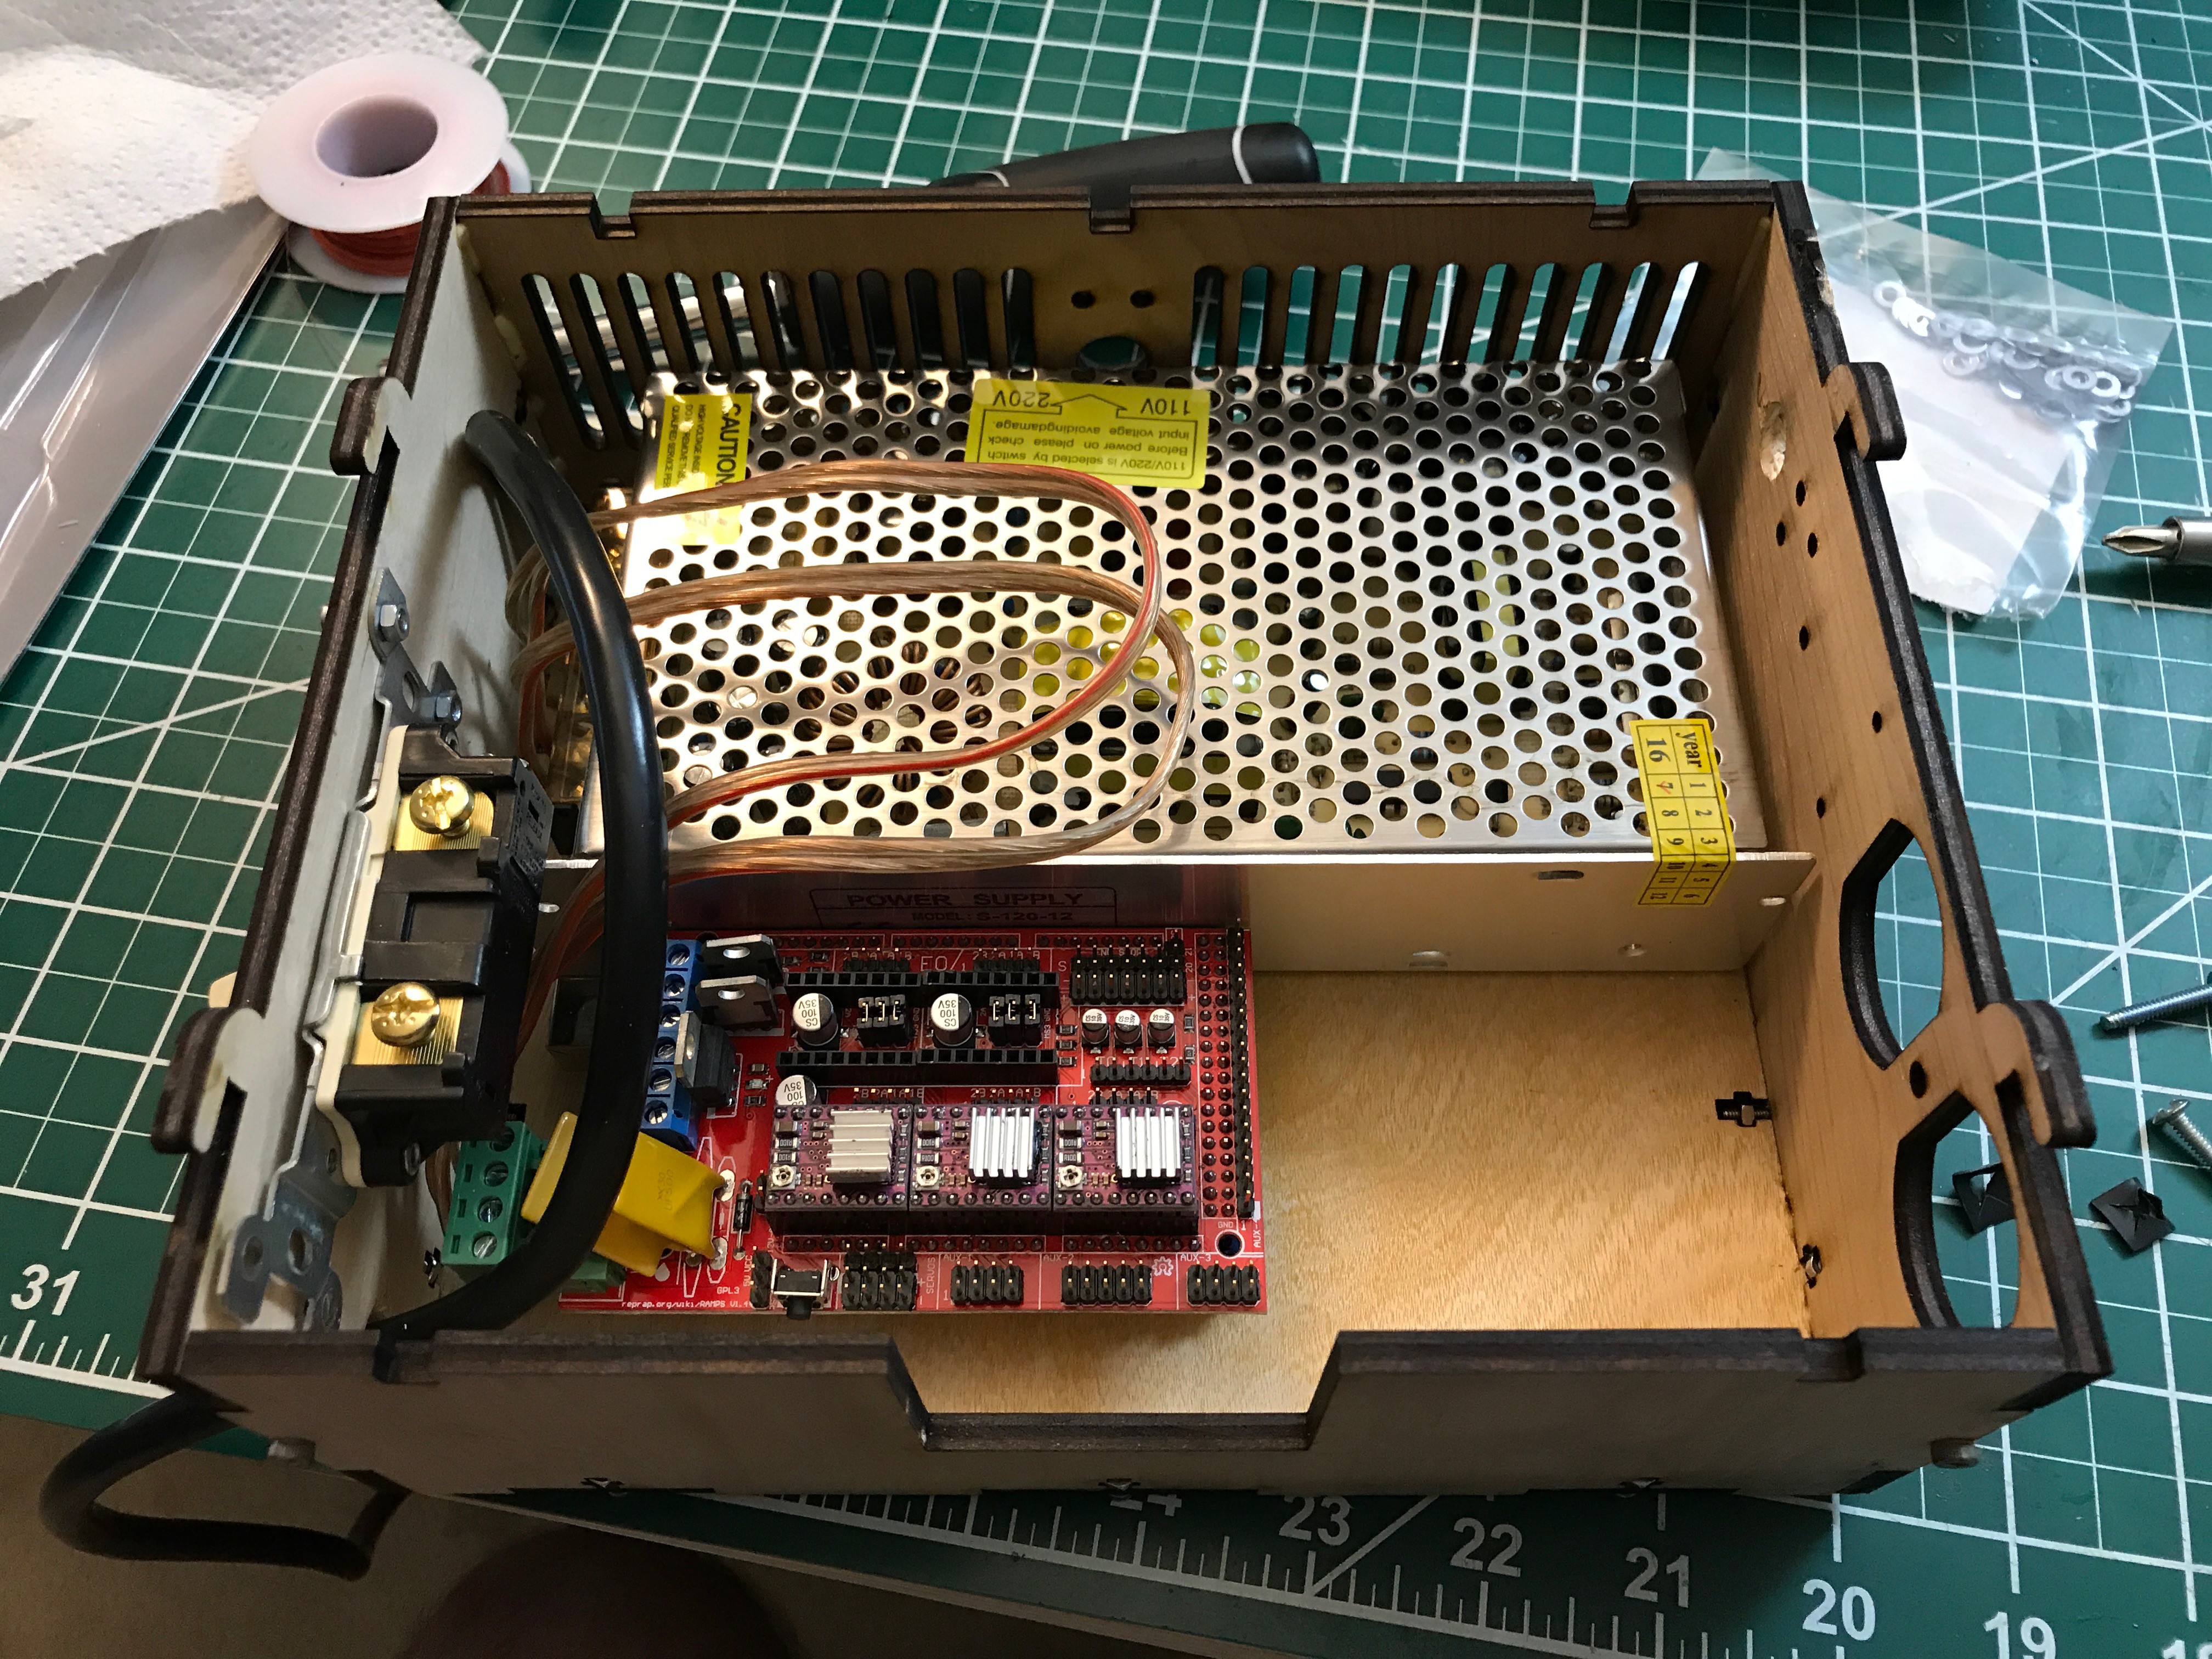
Tonight, I put together the backpack of the mill. It had some minor issues here and there, mostly hole sizes or missing holes. Nothing too serious.
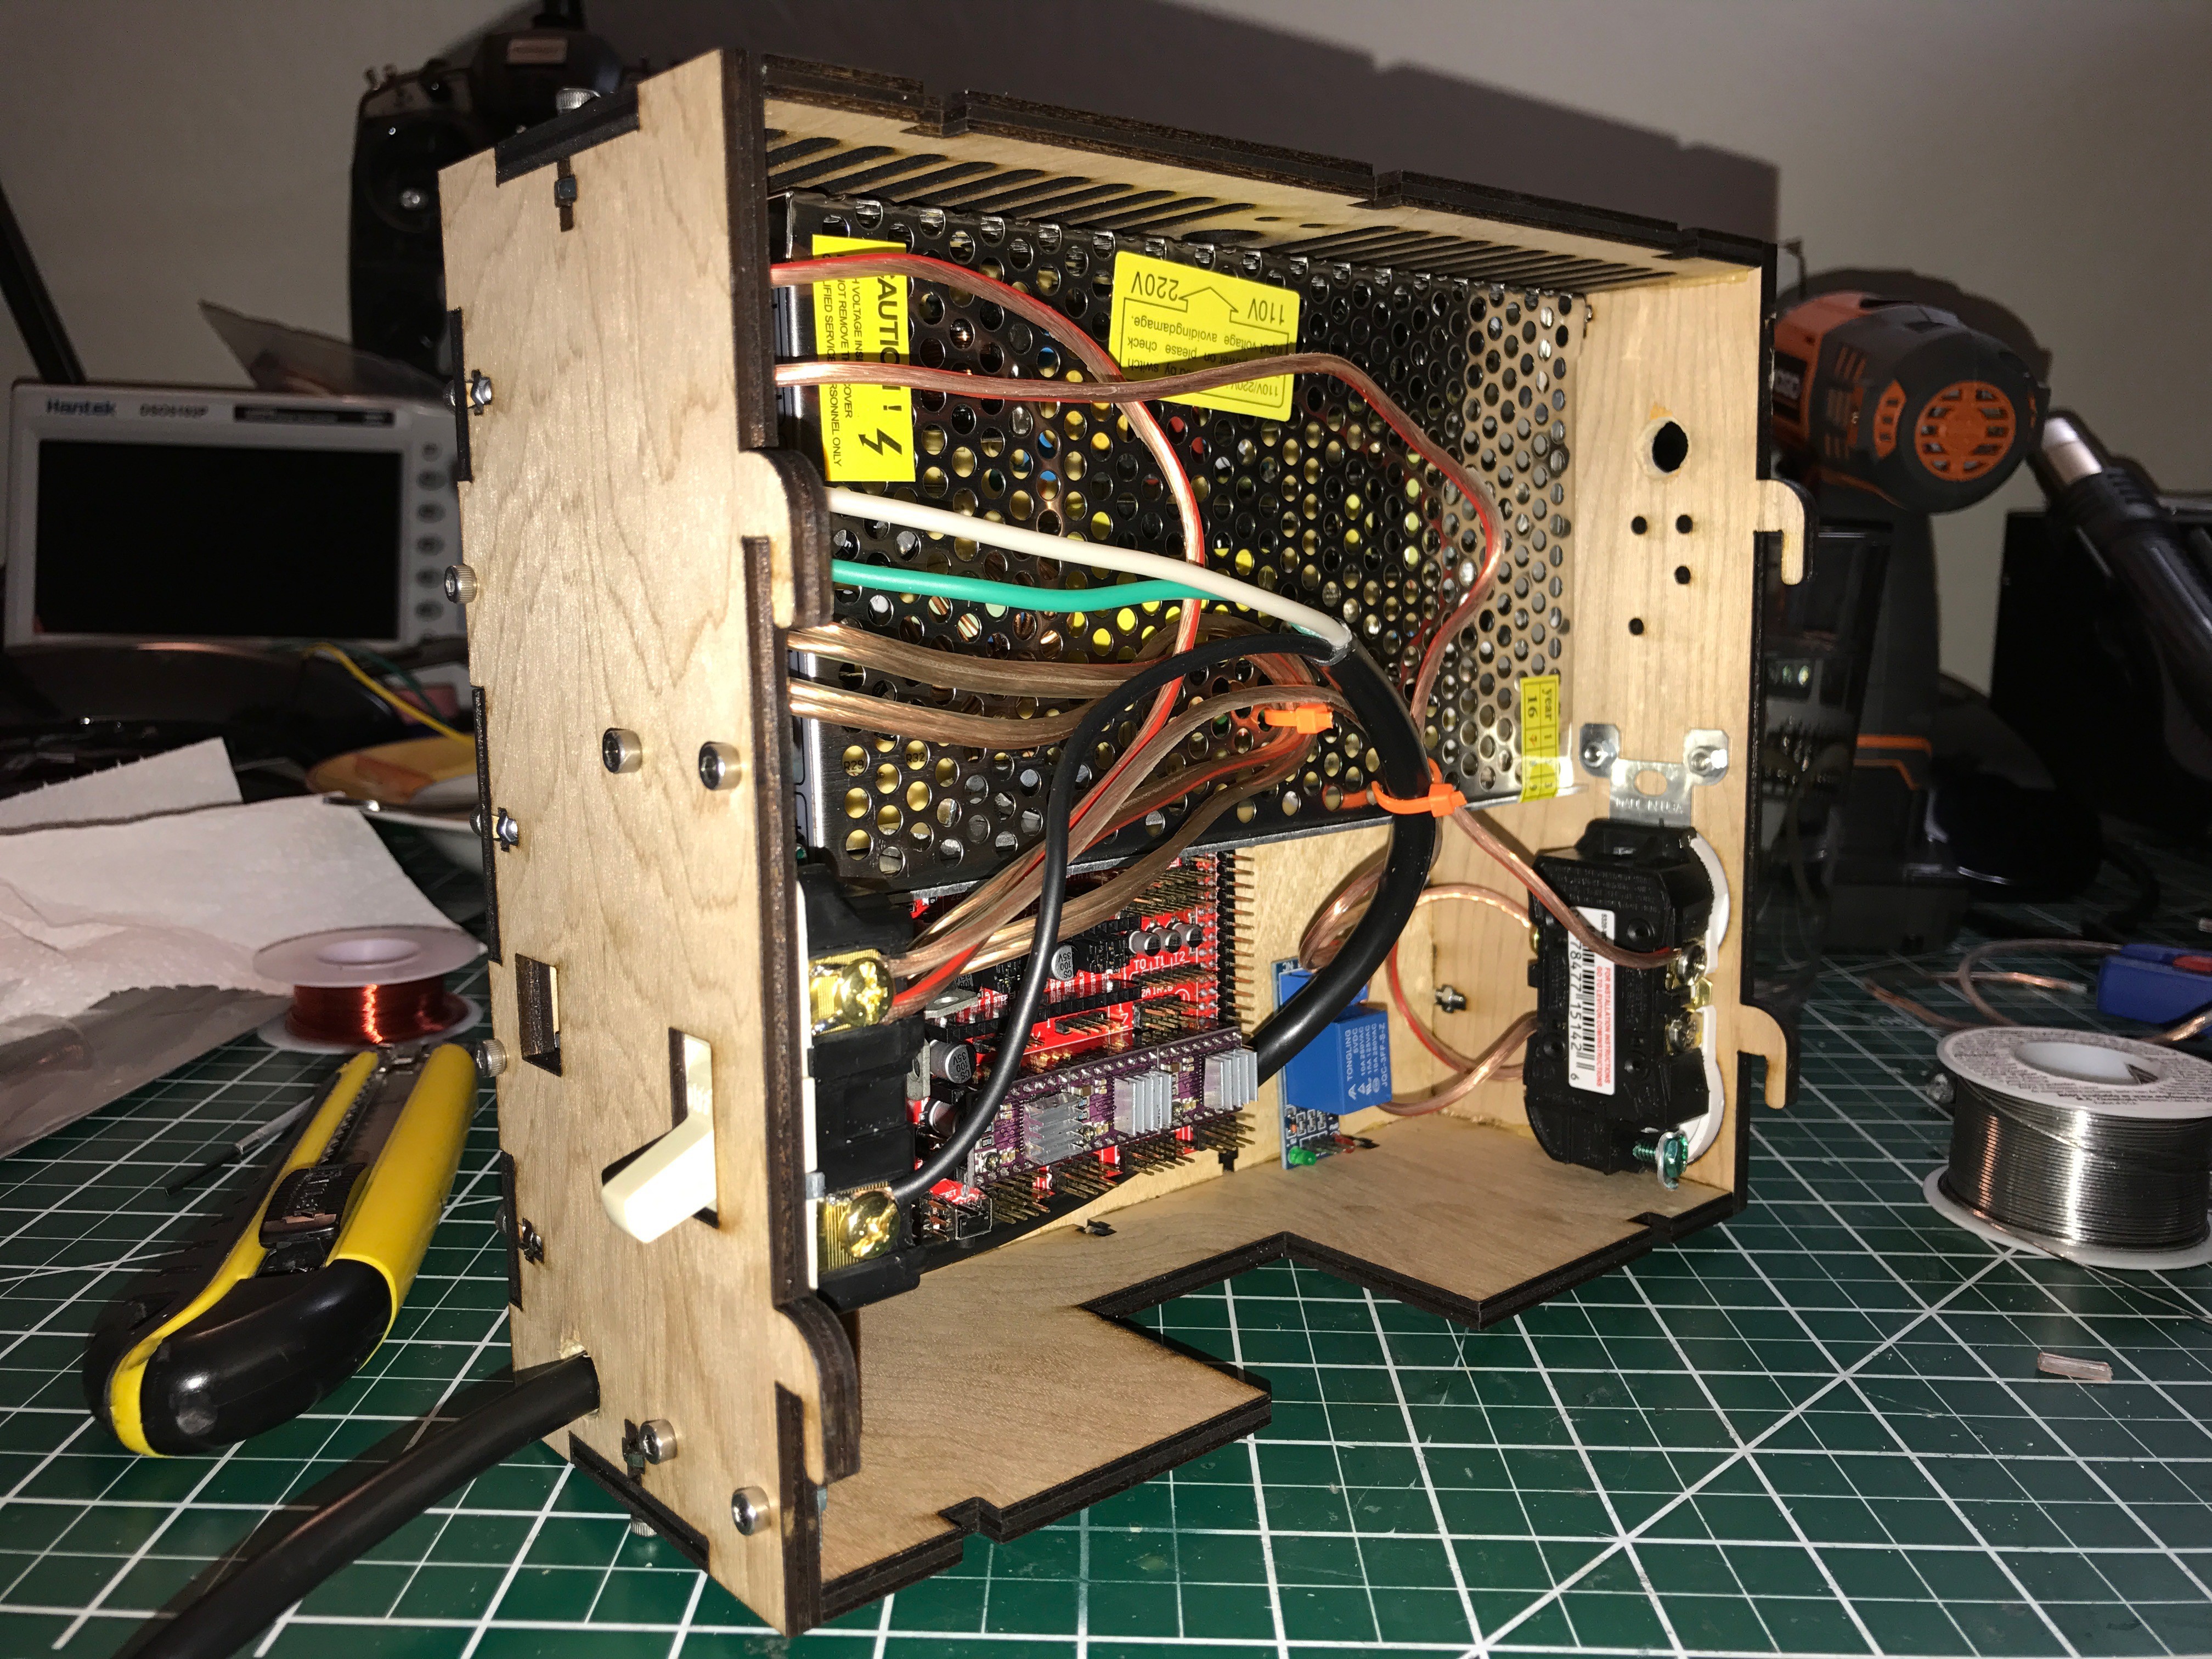
However, after everything was finished I wanted to slide the backpack into the mill and realized that the X-Axis stepper motor collides with the heat sinks on top of the stepper motors drivers.
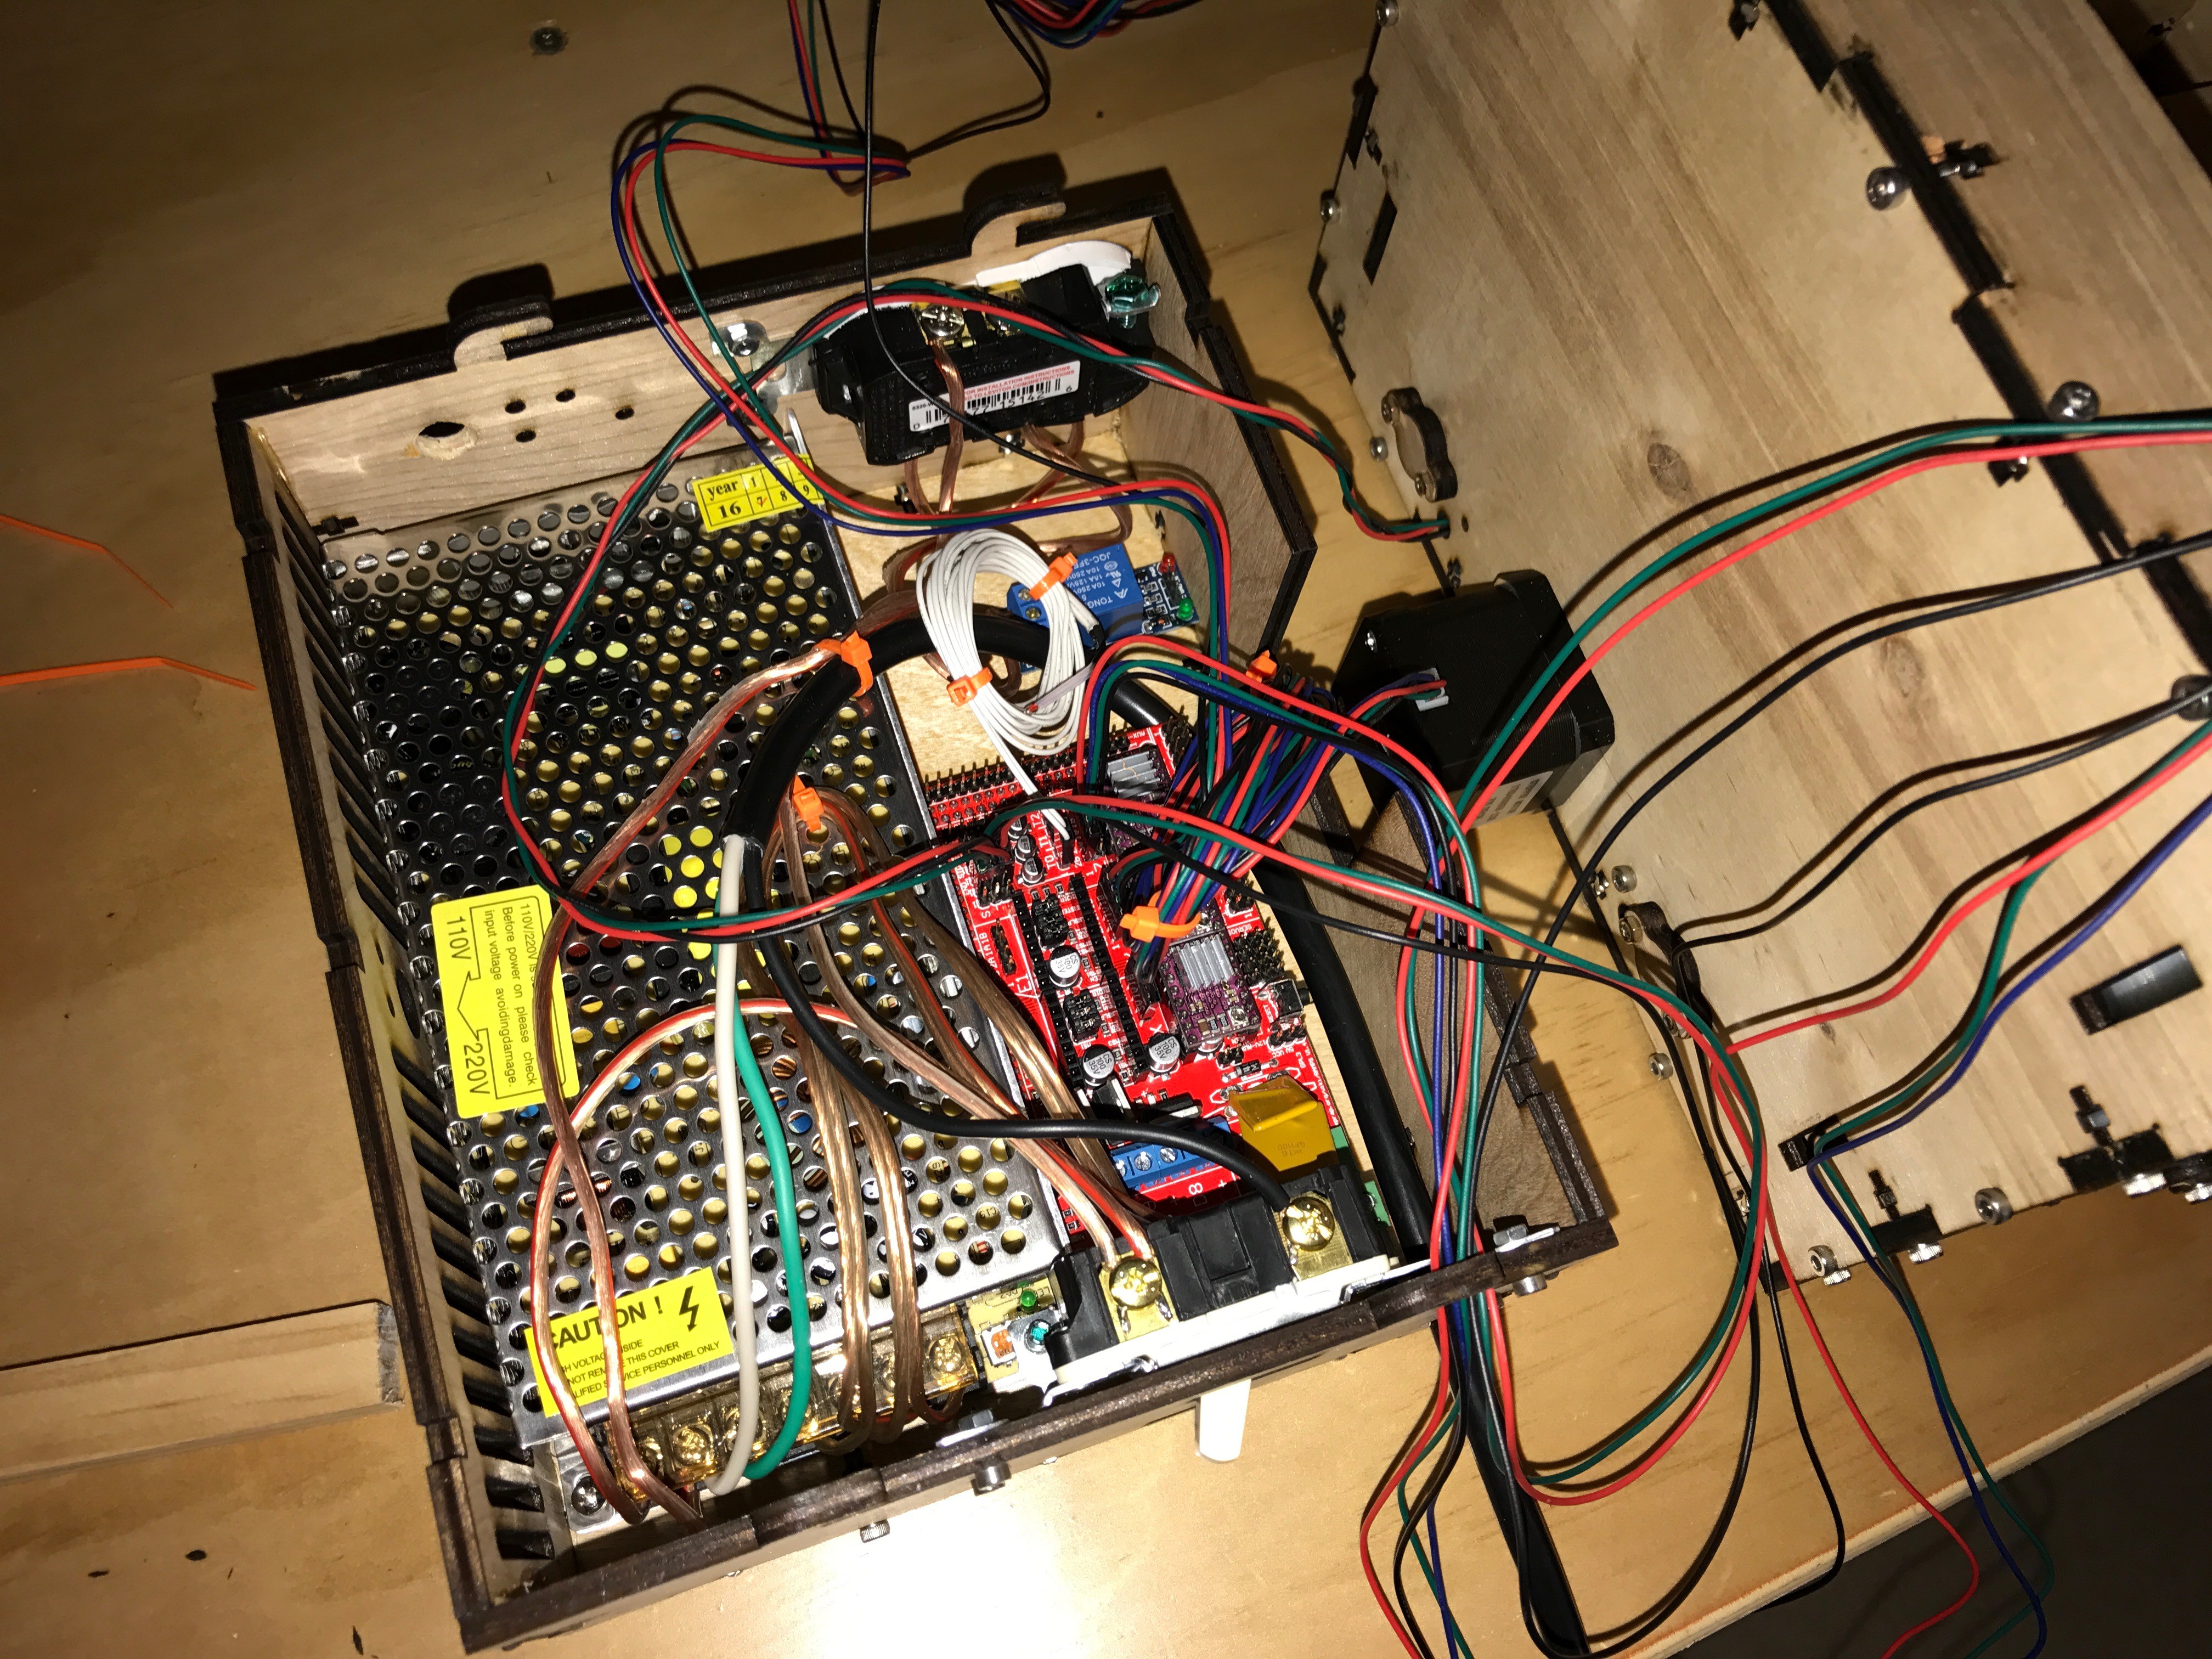
That was quite a bit annoying!
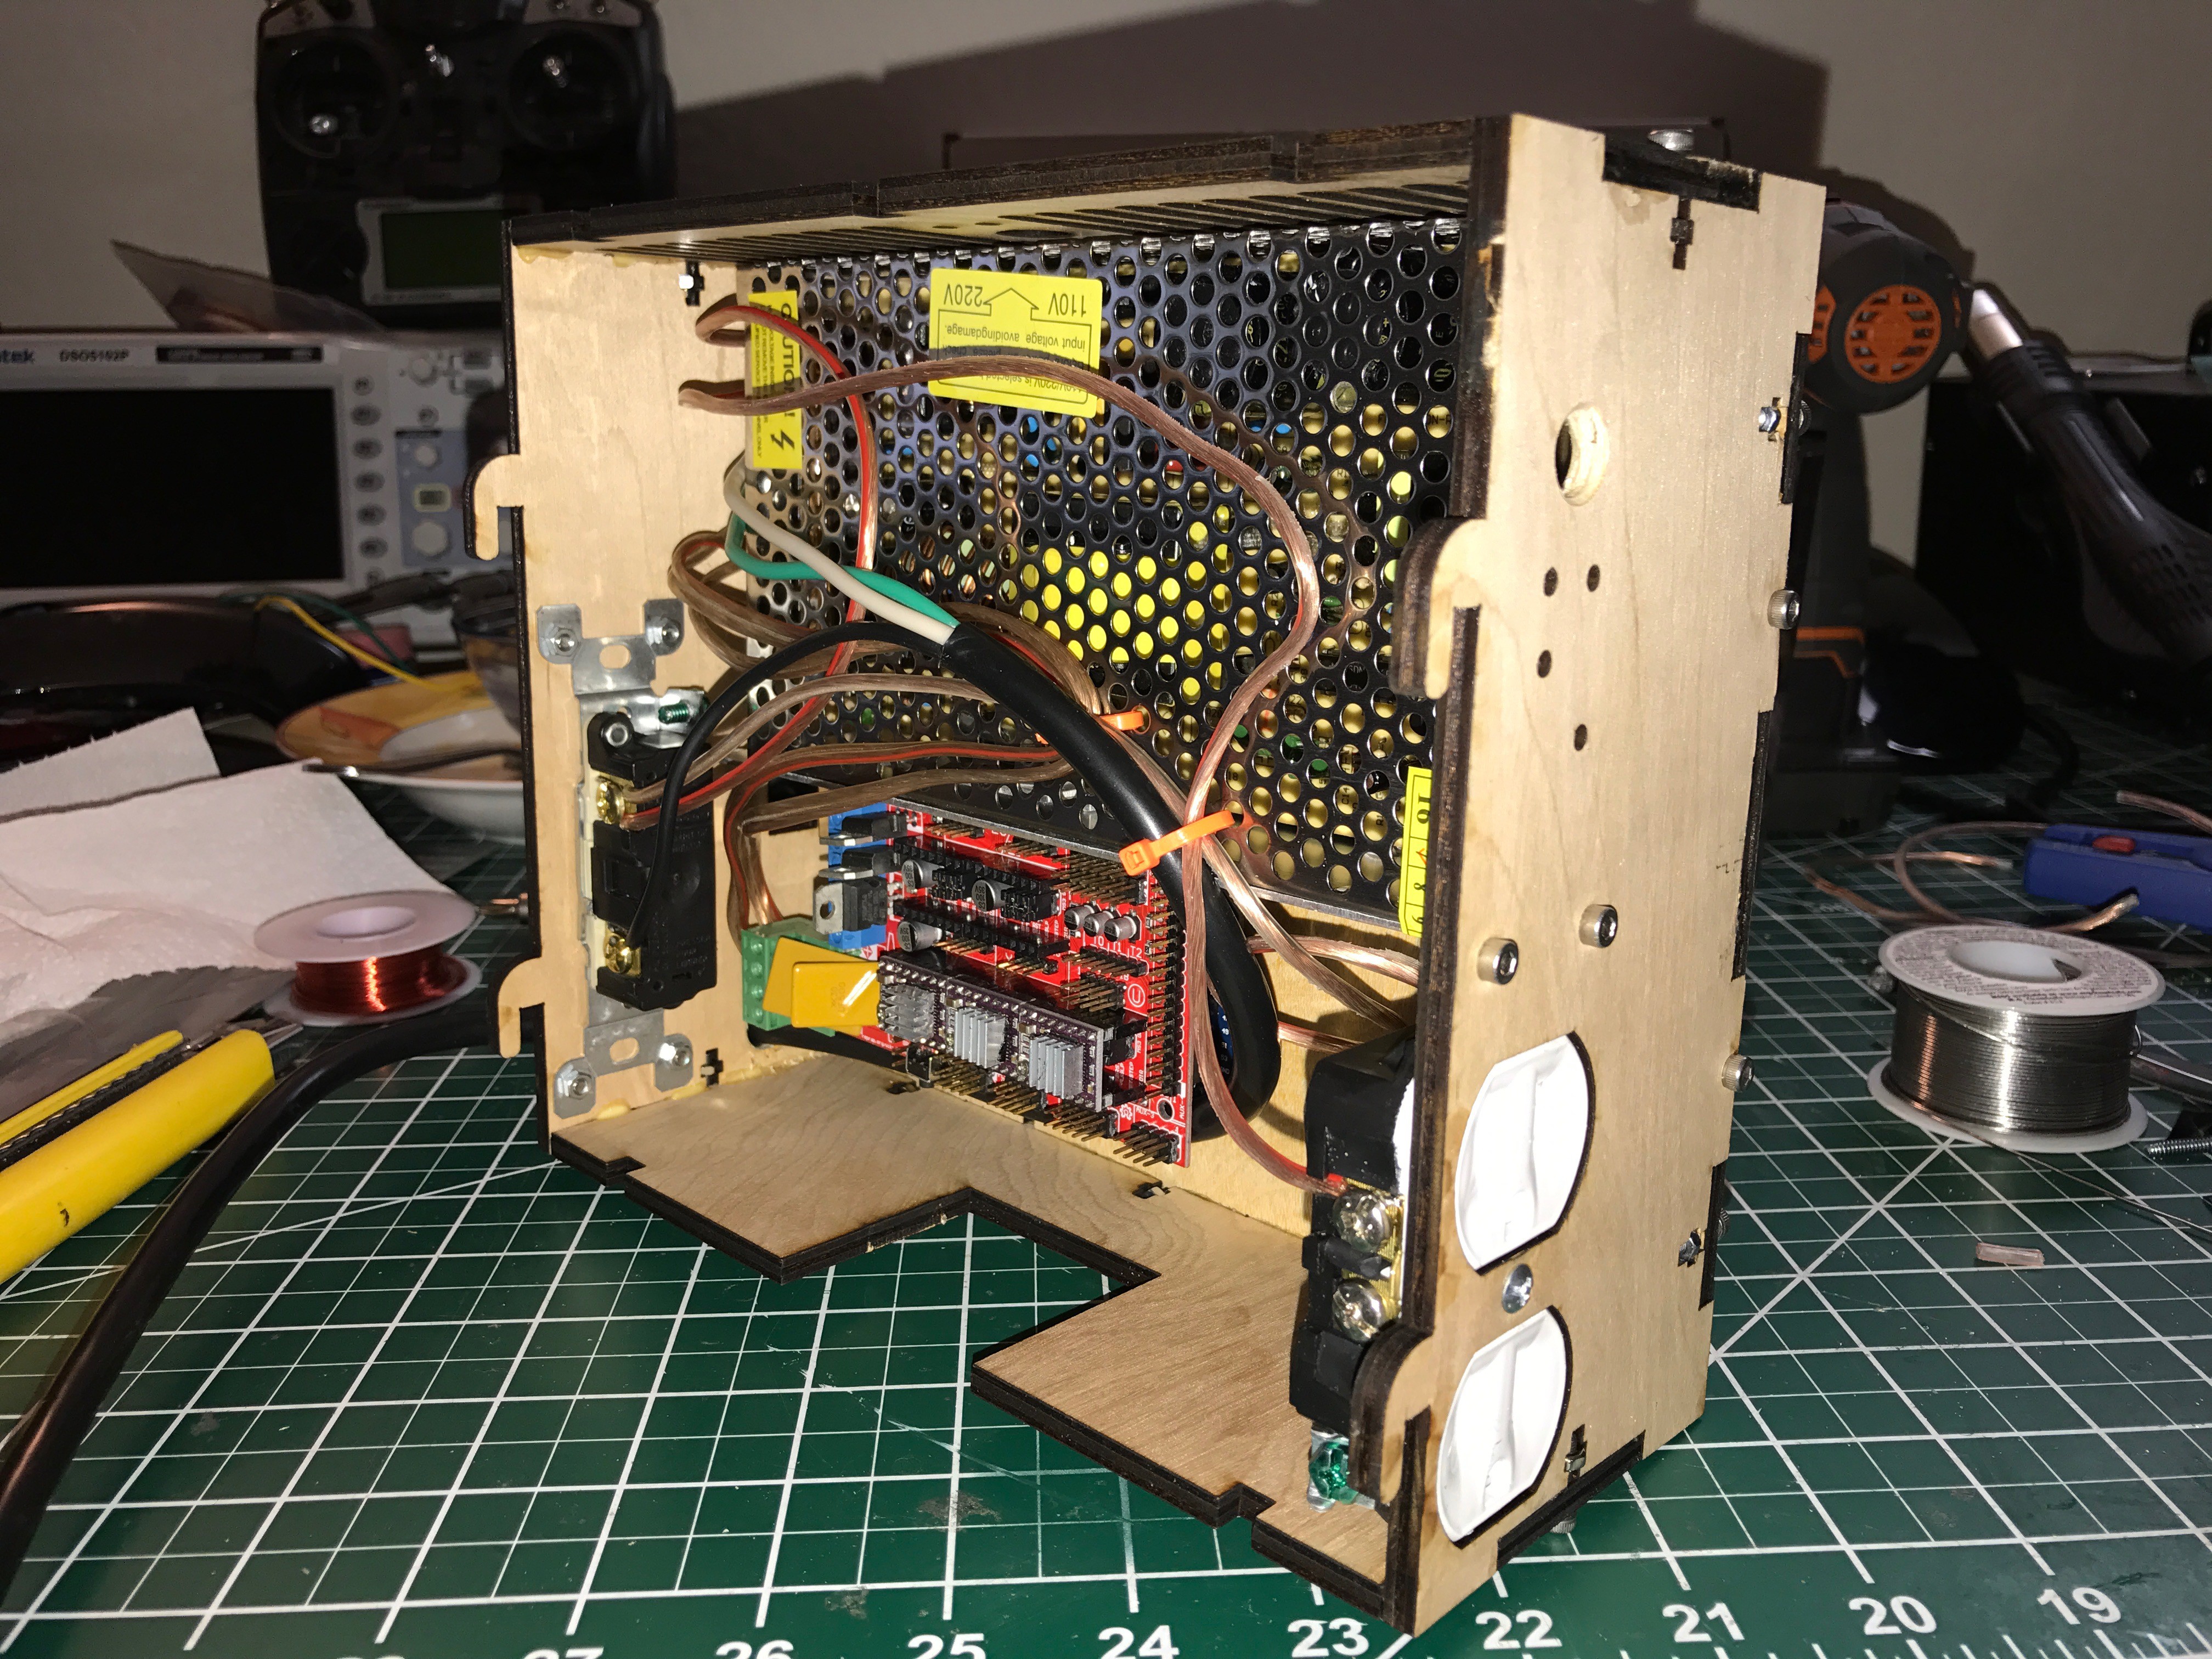
I wanted to have a very neat little mill that I could practically take everywhere and that just works out of the box. Now I can choose between
- a gap between the back of the mill and the backpack or
- an additional box with a string if wires sticking out.
I think I chose the first option since it is the more reliable, less moved option that should protect the wiring harness more.
I will update the enclosure so that anyone interested will be able to build a mill without those issues.
So far, I'm very happy with what I could accomplish this weekend. The mill runs great, there are a bunch of open points on the list but this is certainly an excellent start for the new PCB mill for under $200.
Discussions
Become a Hackaday.io Member
Create an account to leave a comment. Already have an account? Log In.