 big_red_frog
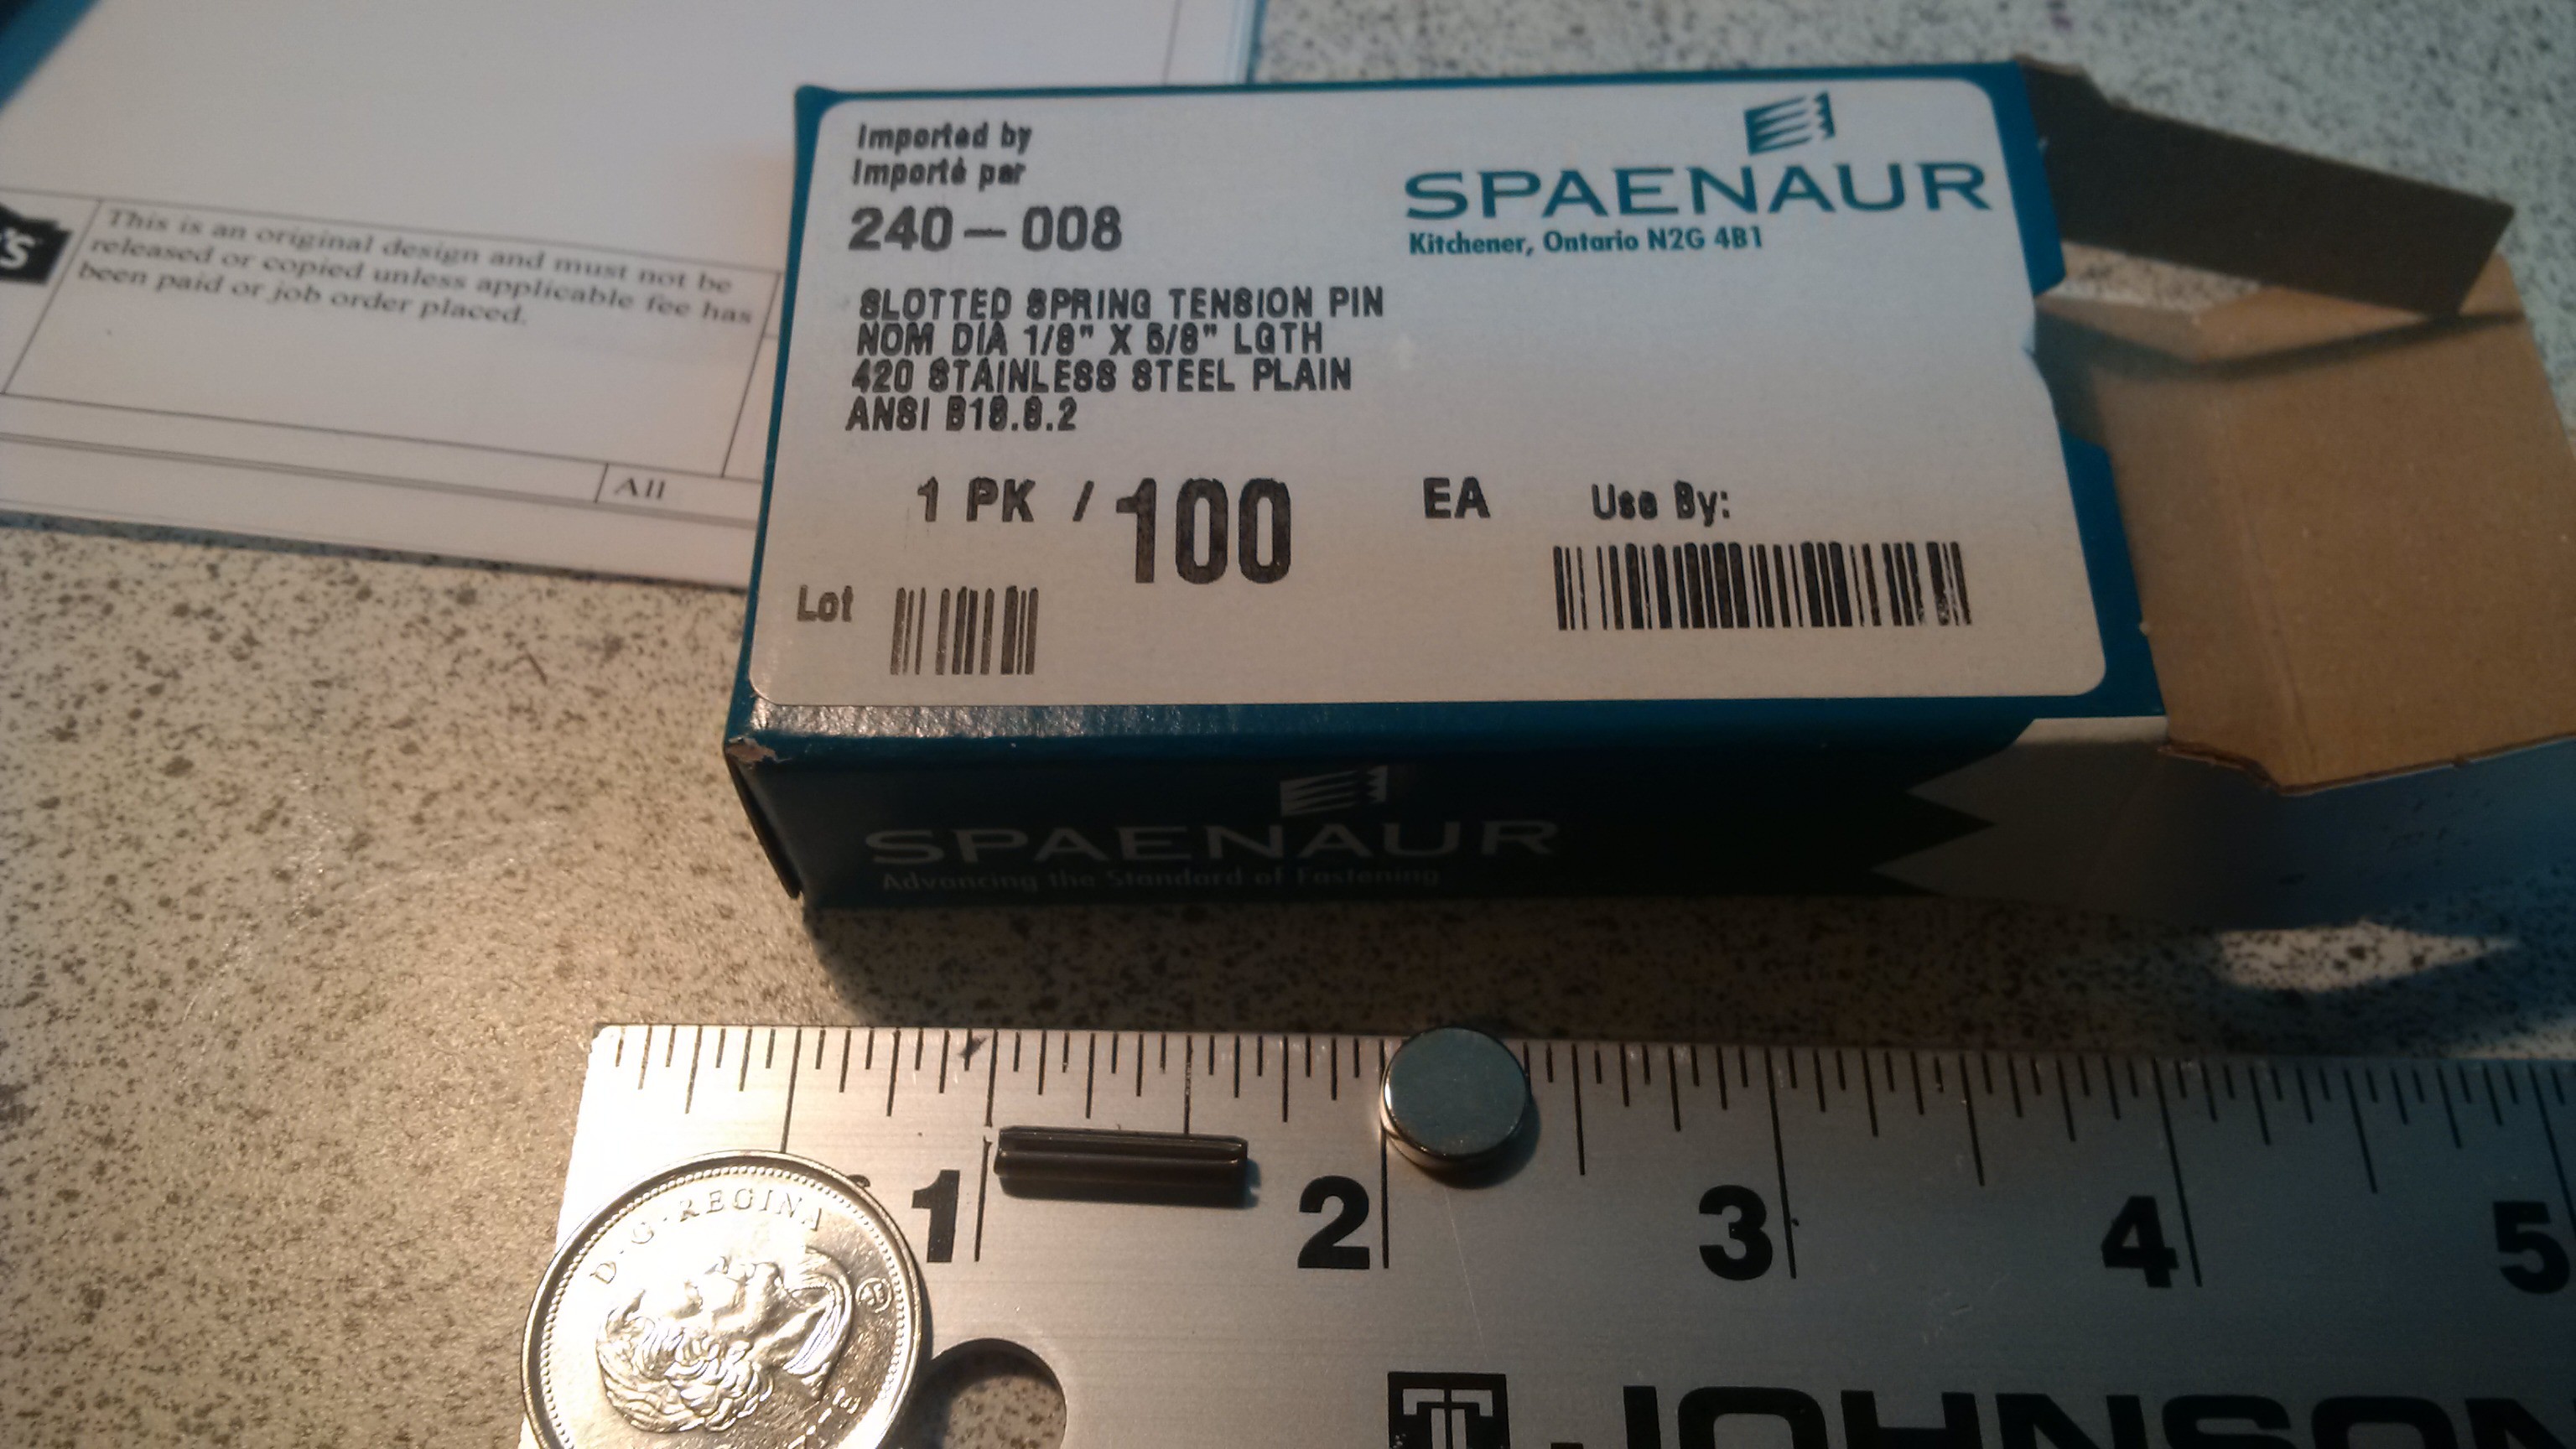
The use of tension pins allows components to be accurately aligned for gluing or in use assembly such as the chin parts.
This also allows you to print split surfaces as flats, which helps.
I have used tension pins purely because I knew I could get them. 3mm filament is close enough to 1/8 inch diameter, so you could just as easily cut lengths of such to use, or any other material with a nominal 1/8 diameter.
Two lengths have been used in the various models.
http://www.spaenaur.com/pdf/sectionE/E107.pdf
Size B Medium and Size C child uses 5/8 inch pins throughout, as per
They can also be bought from Amazon, not sure on those prices and delivery though. ( really, find a local hardware supplier, a real one, not a big box store who will happily charge you a dollar for 2! )
5/8 length http://www.amazon.com/Tension-Pin-20-pieces/dp/B00...
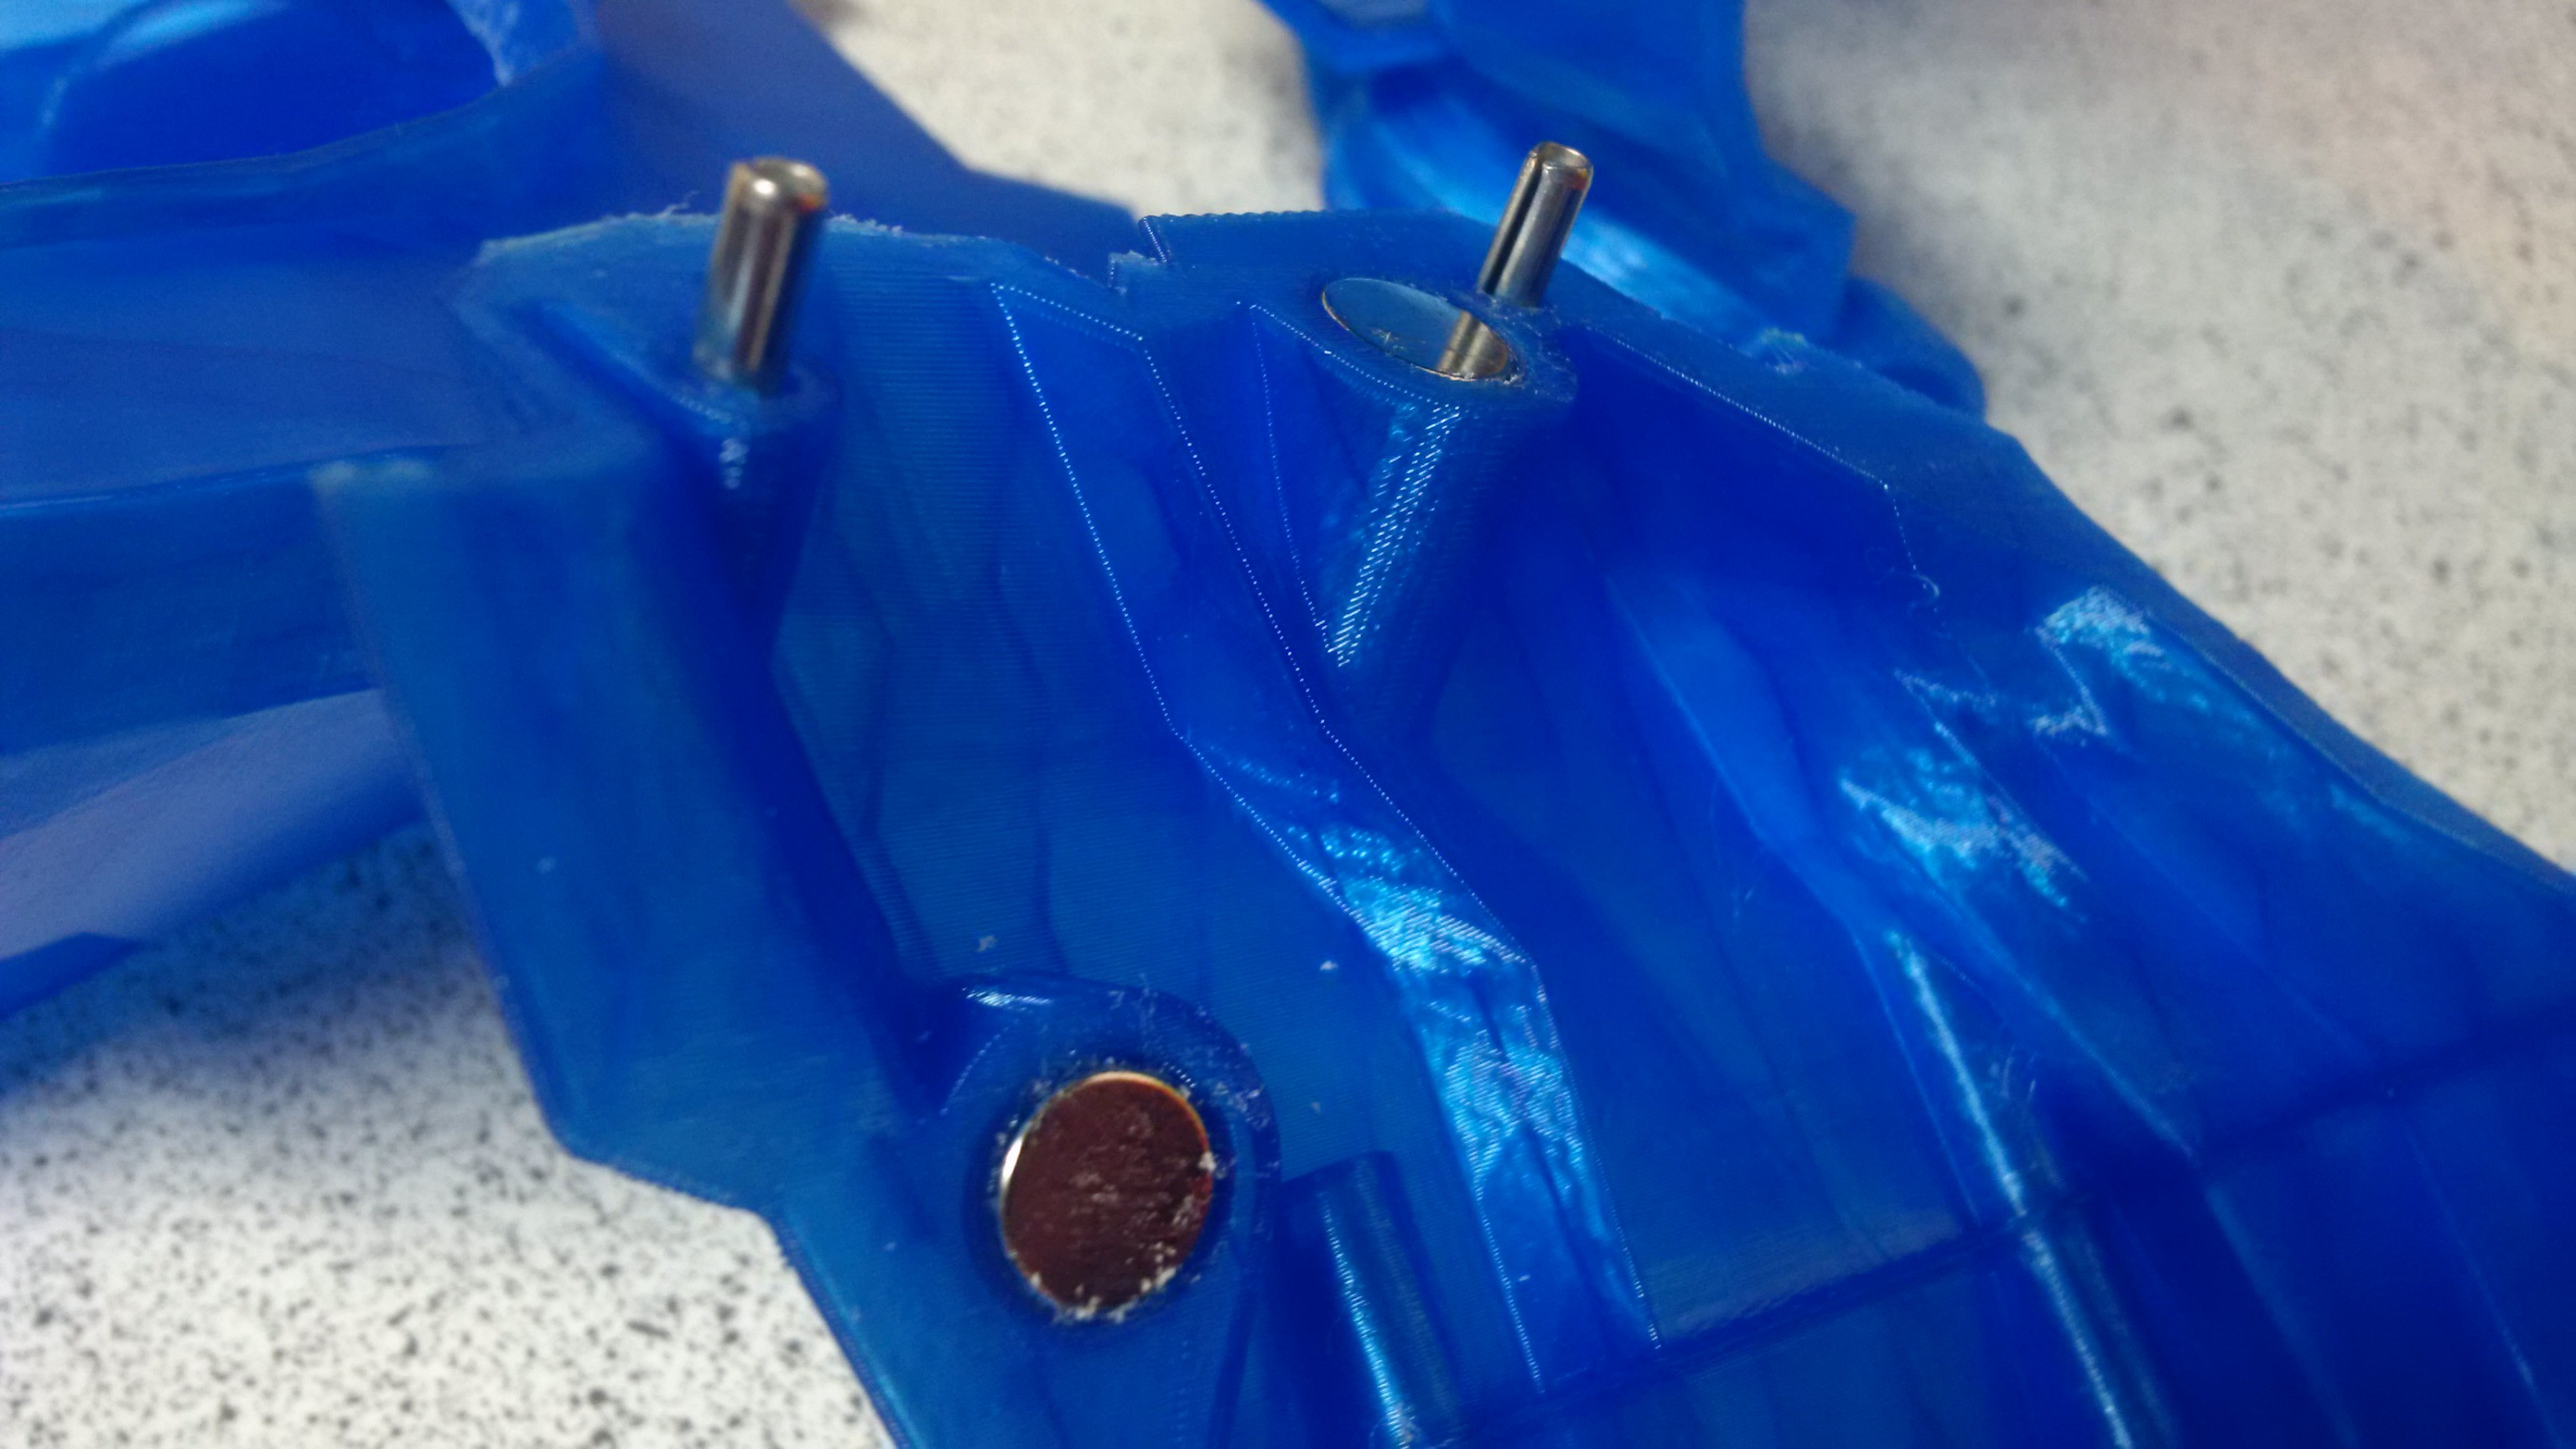
Here is a picture of a 5/8 pin next to a magnet and coin for scale, no banana was available at the time.
 When printing with support it is likely that various holes in the model will end up with webbing inside them, if they are horizontal or facing down, that's fine though, the material is intended to be removed, and should give, without damaging the main body.
You will need a 1/8 diameter drill bit on a hex mount as per
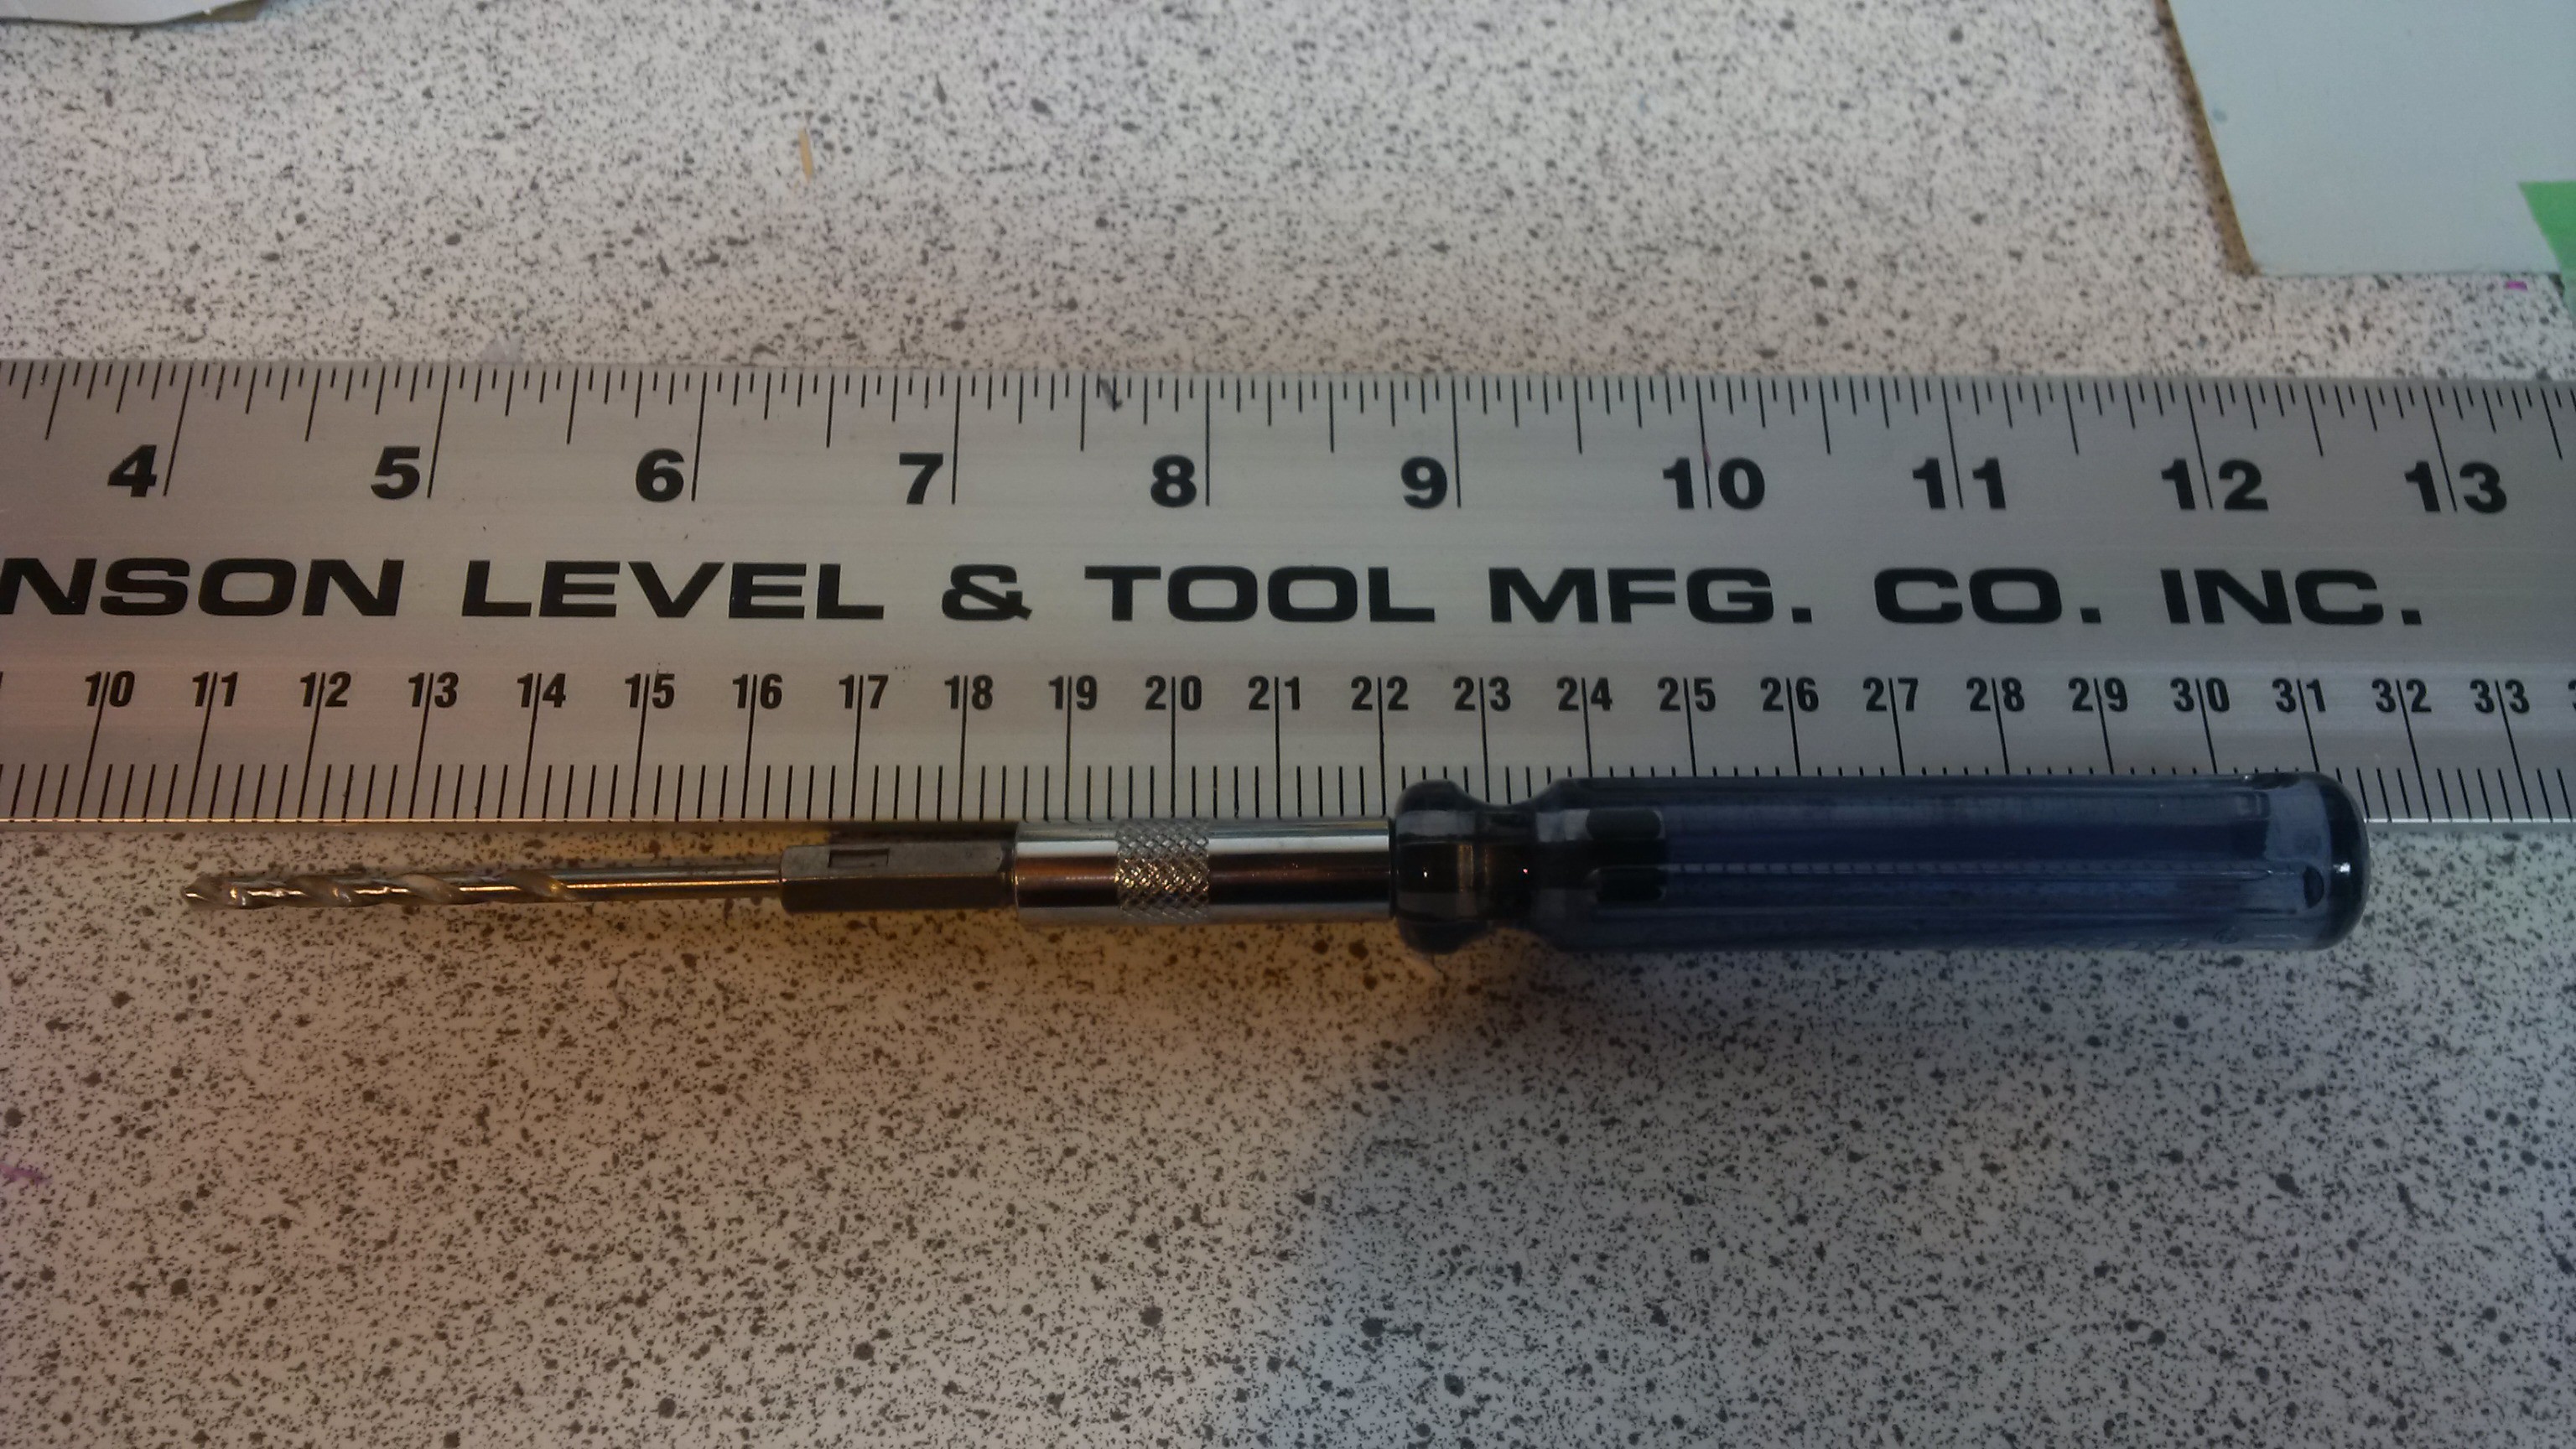
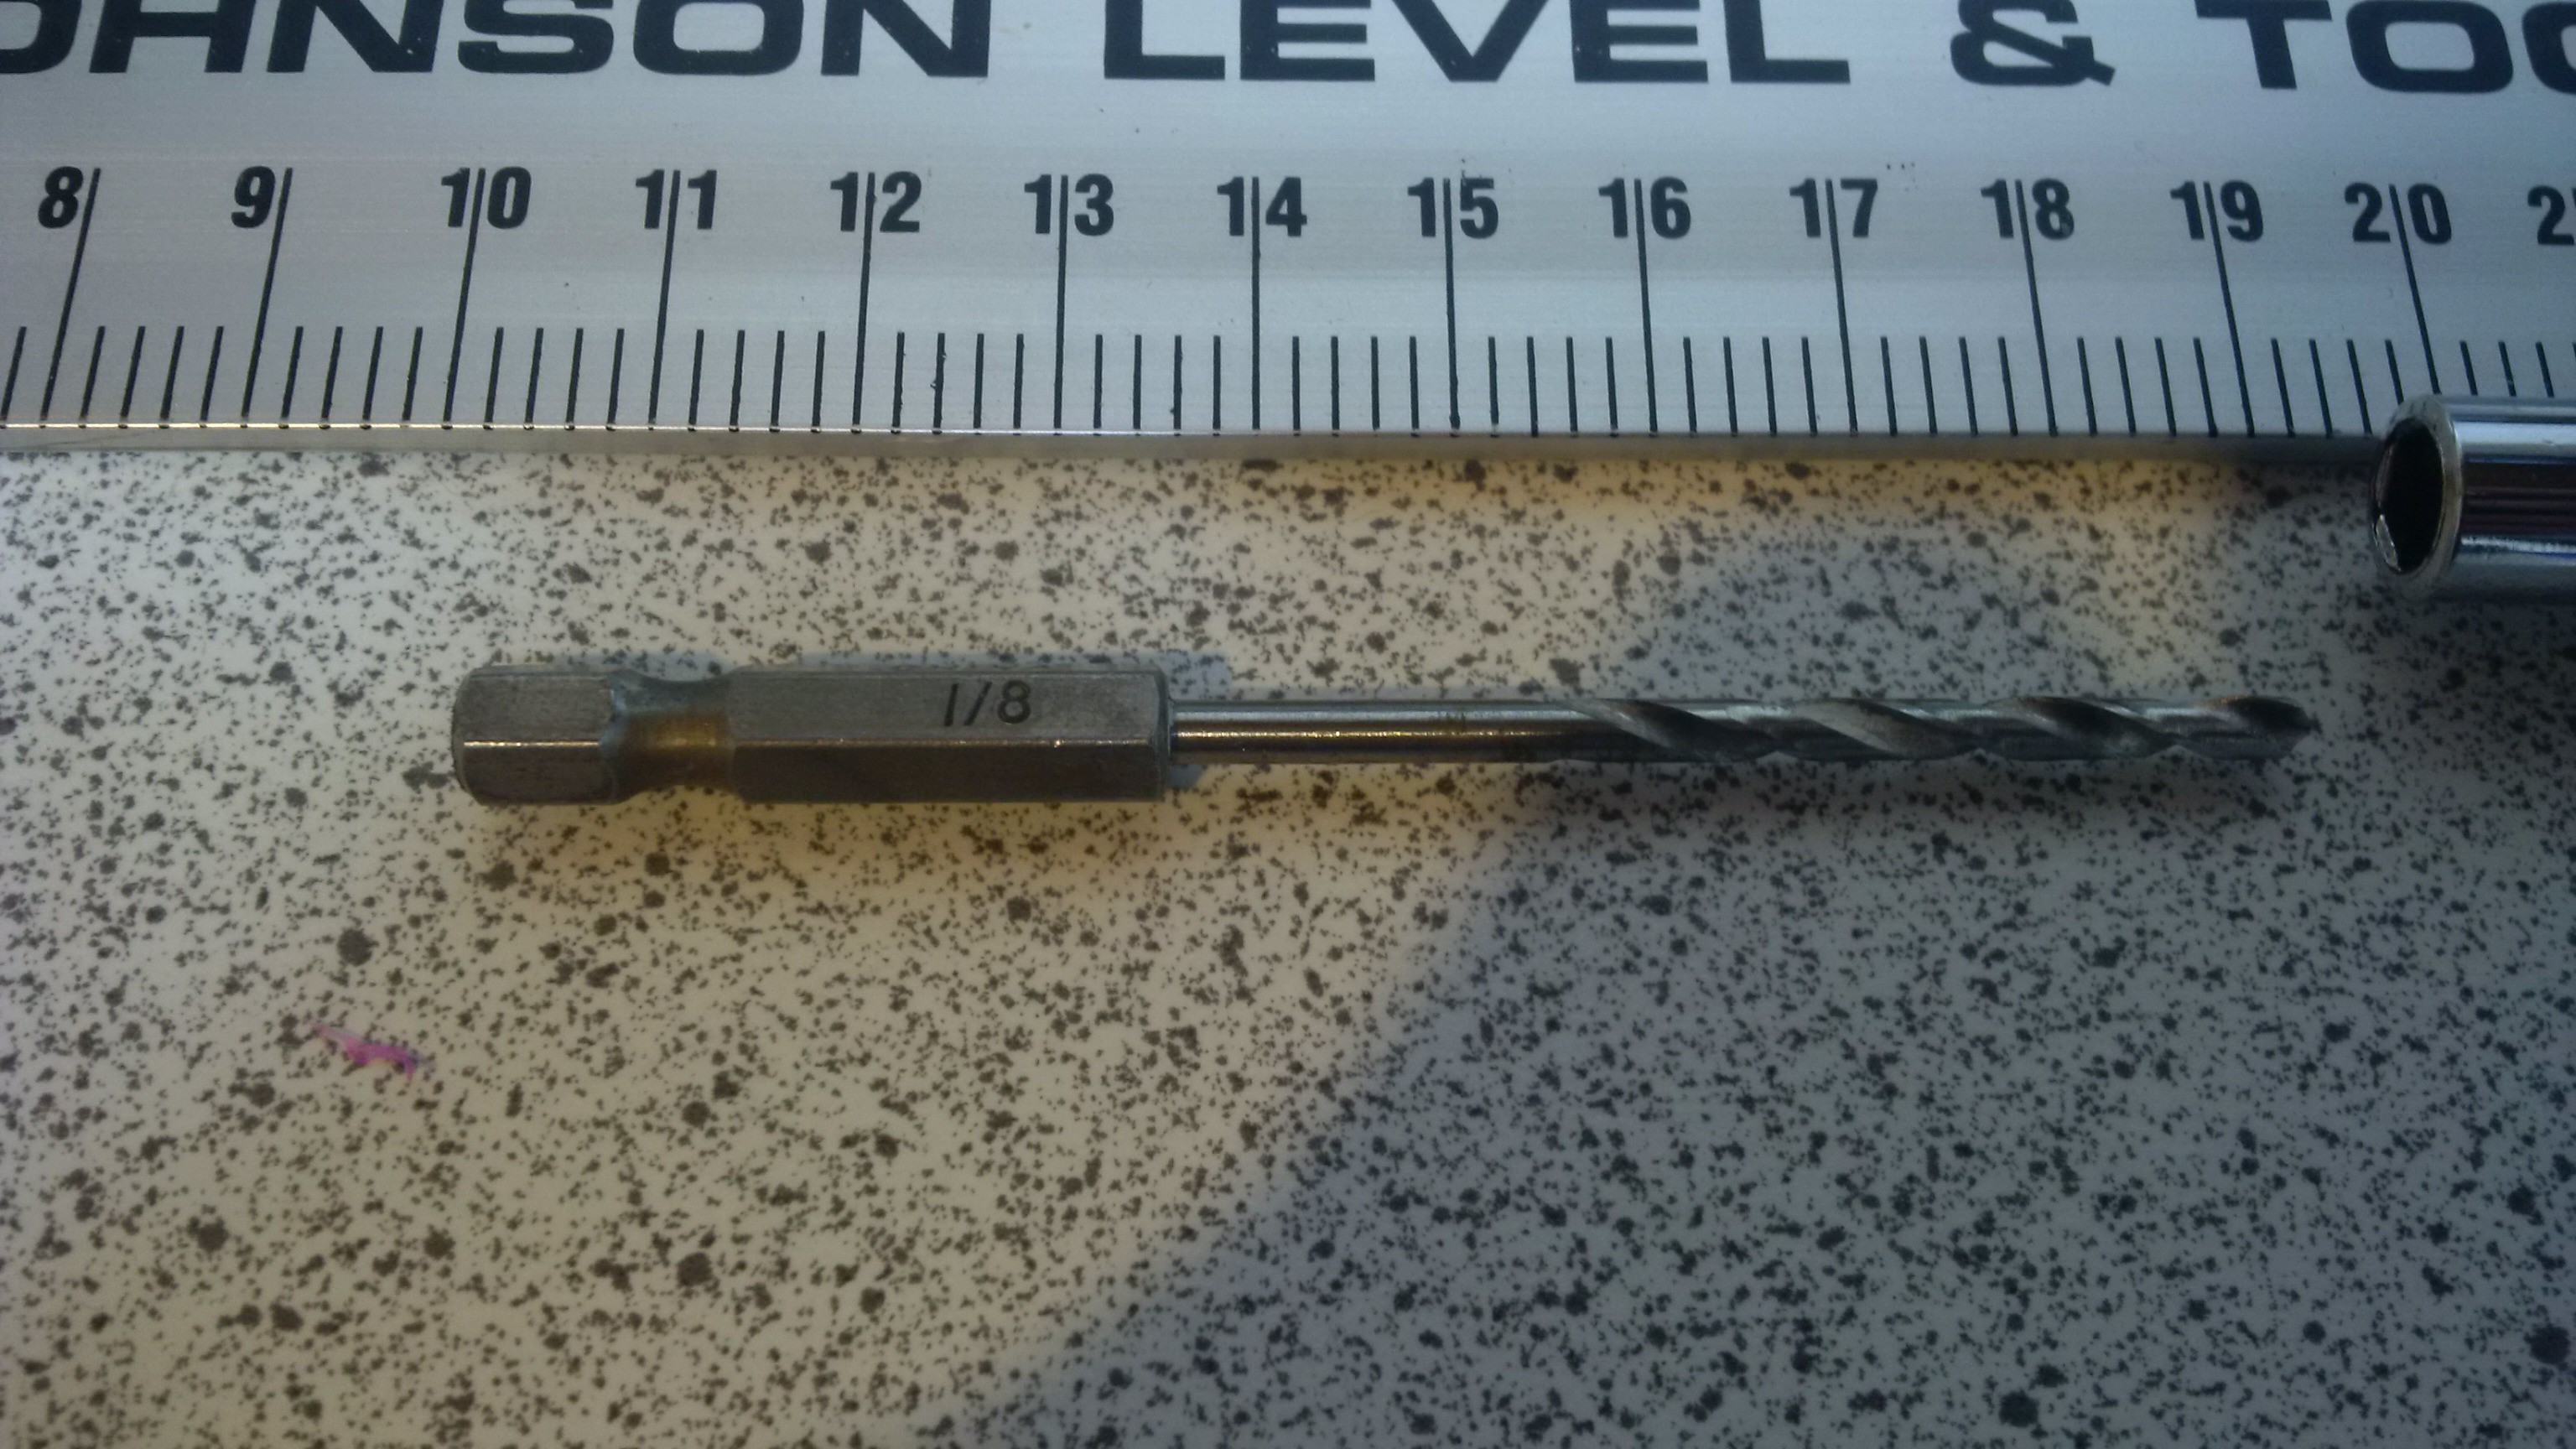 Stick it in a screwdriver handle for hex bits, and you have a grunging tool to get in and do some dentistry.
 Then just push in to each hole and clear out the naughty plastic. Some will already be clear, some will be easy, some will have a personal vendetta against you. Start gently until you get the hang of it, if the bit is sharp, it should be doing the work. You should be able to feel when you bottom out, and try not to drill through the end of the hole and into the main body. Its not the end of the world, but try to avoid it!
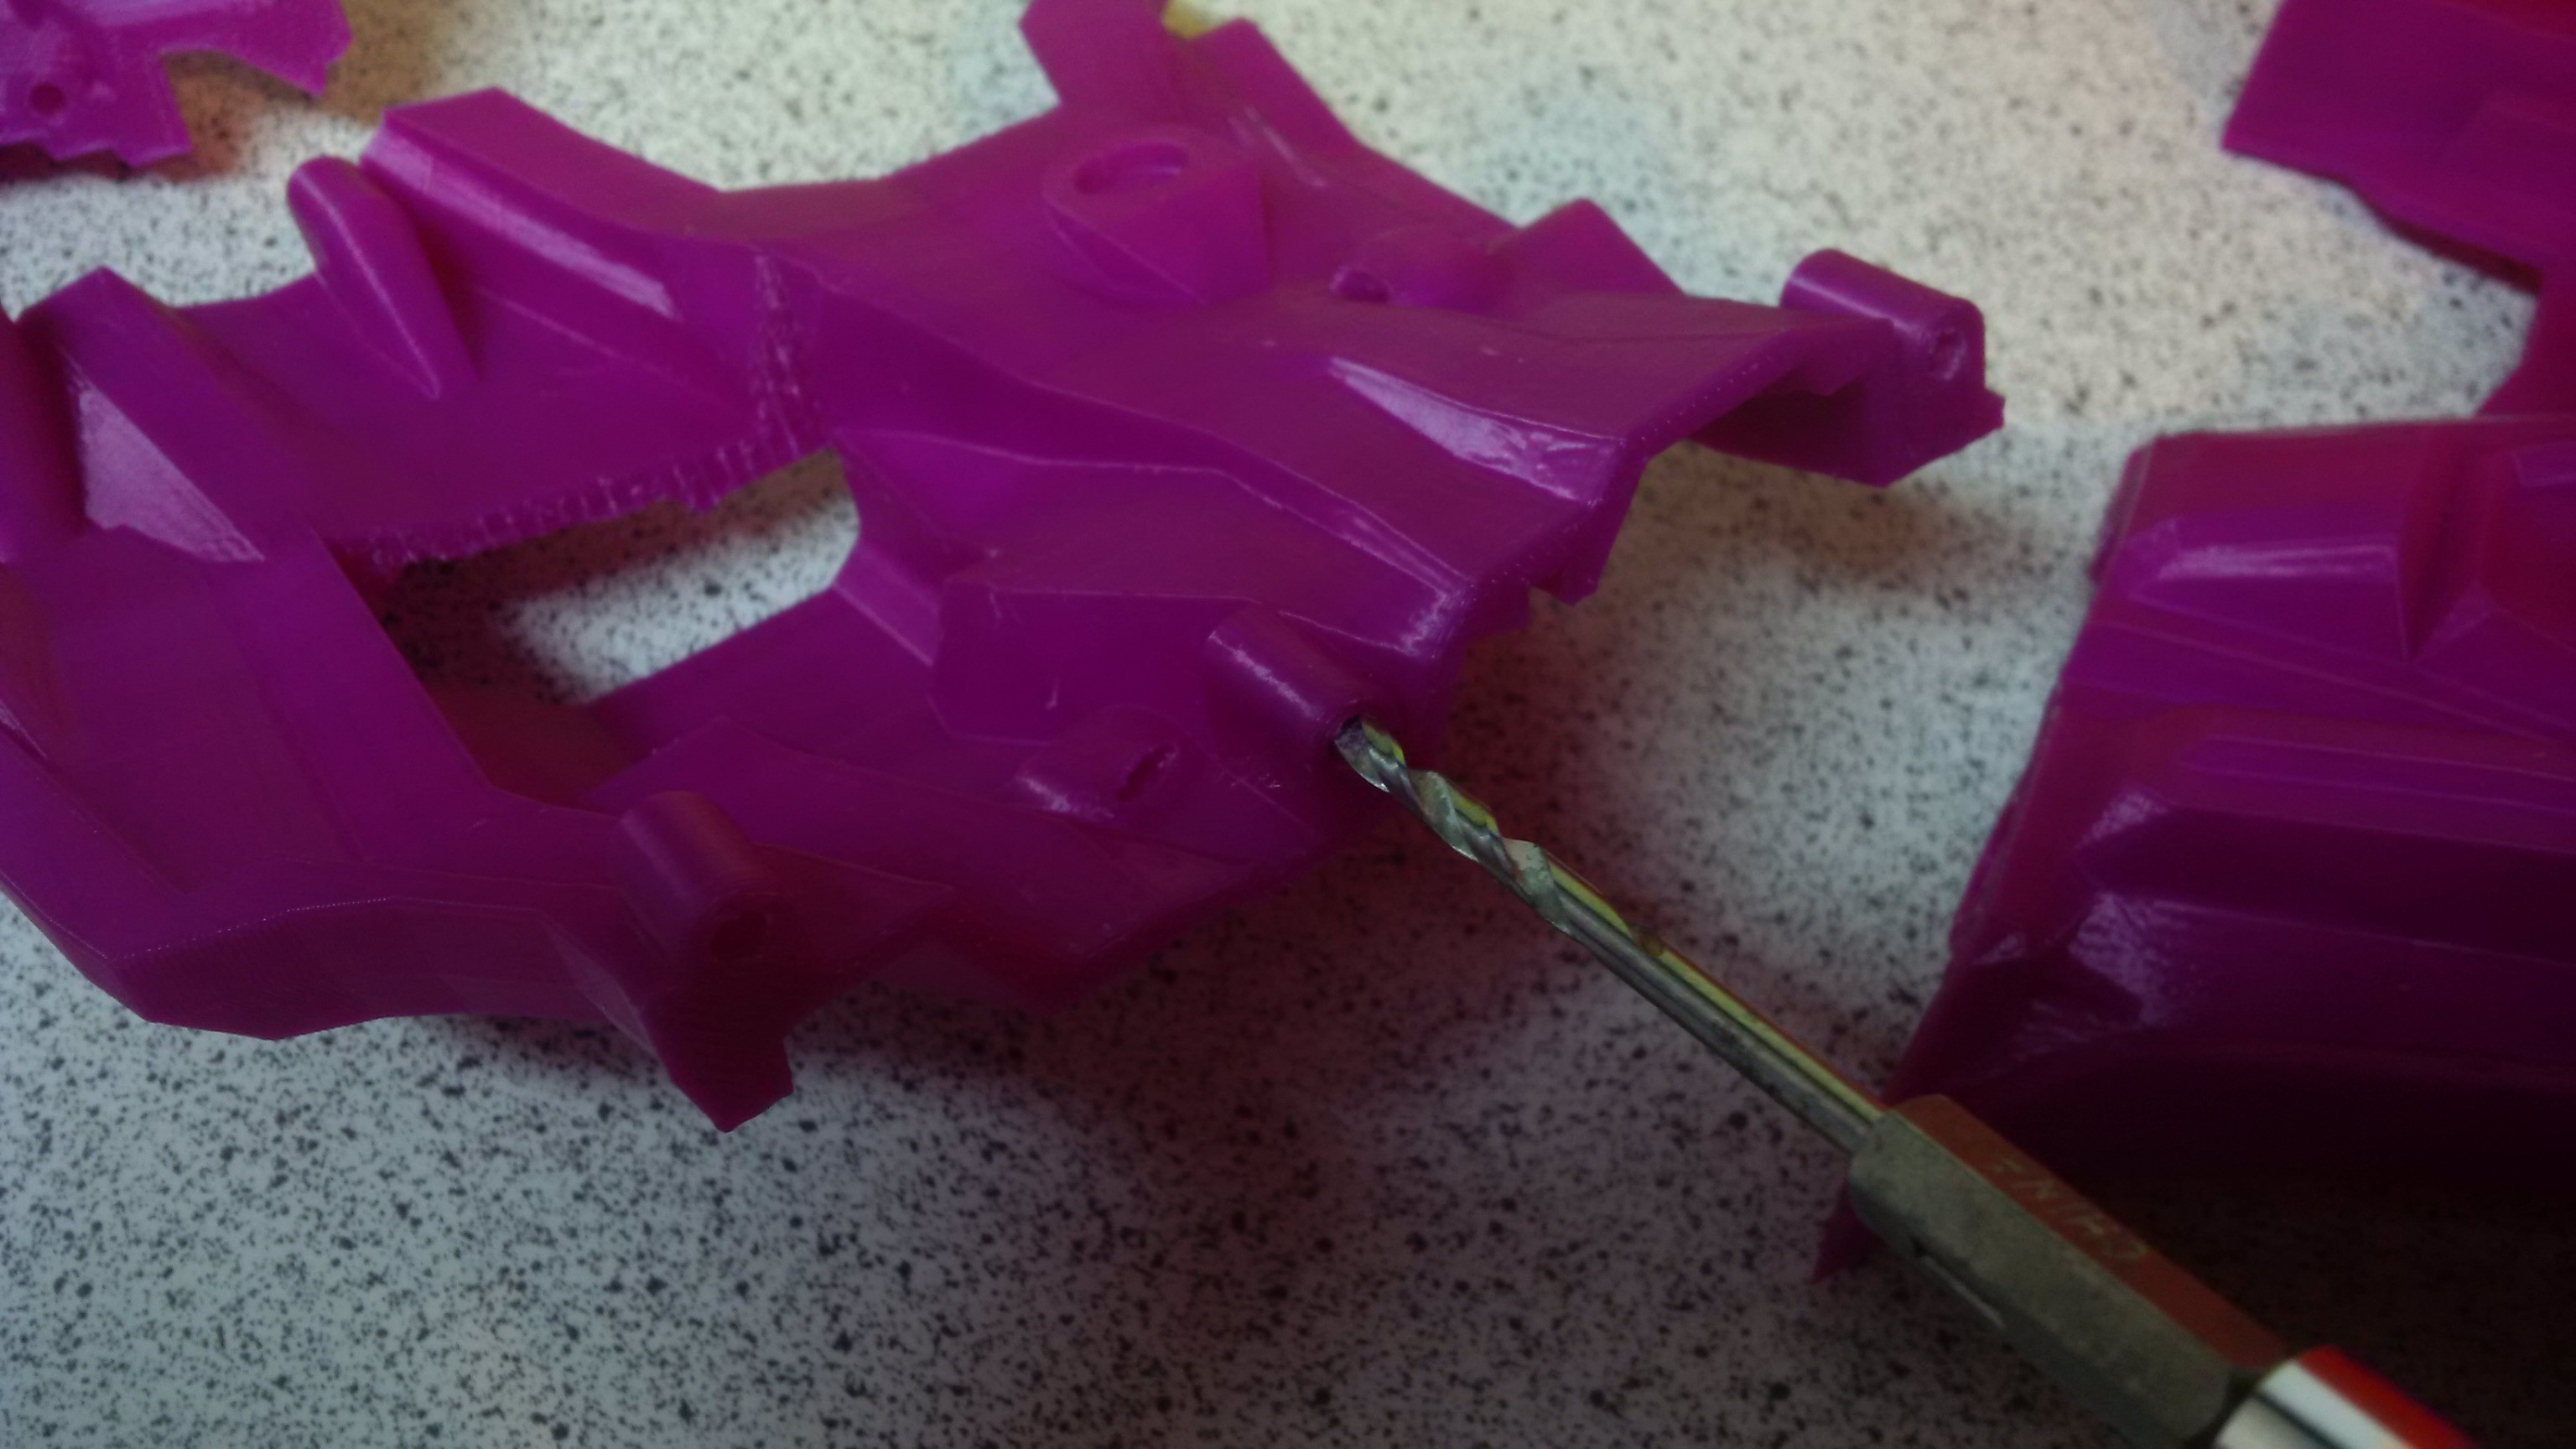
Each pin hole is deeper than the pin needs to allow some detritus to be left, test fit a pin and make sure it goes at least half a length in. You can then pull them back out with pliers if necessary. In final assembly you will likely glue them in place.
Discussions
Become a Hackaday.io Member
Create an account to leave a comment. Already have an account? Log In.