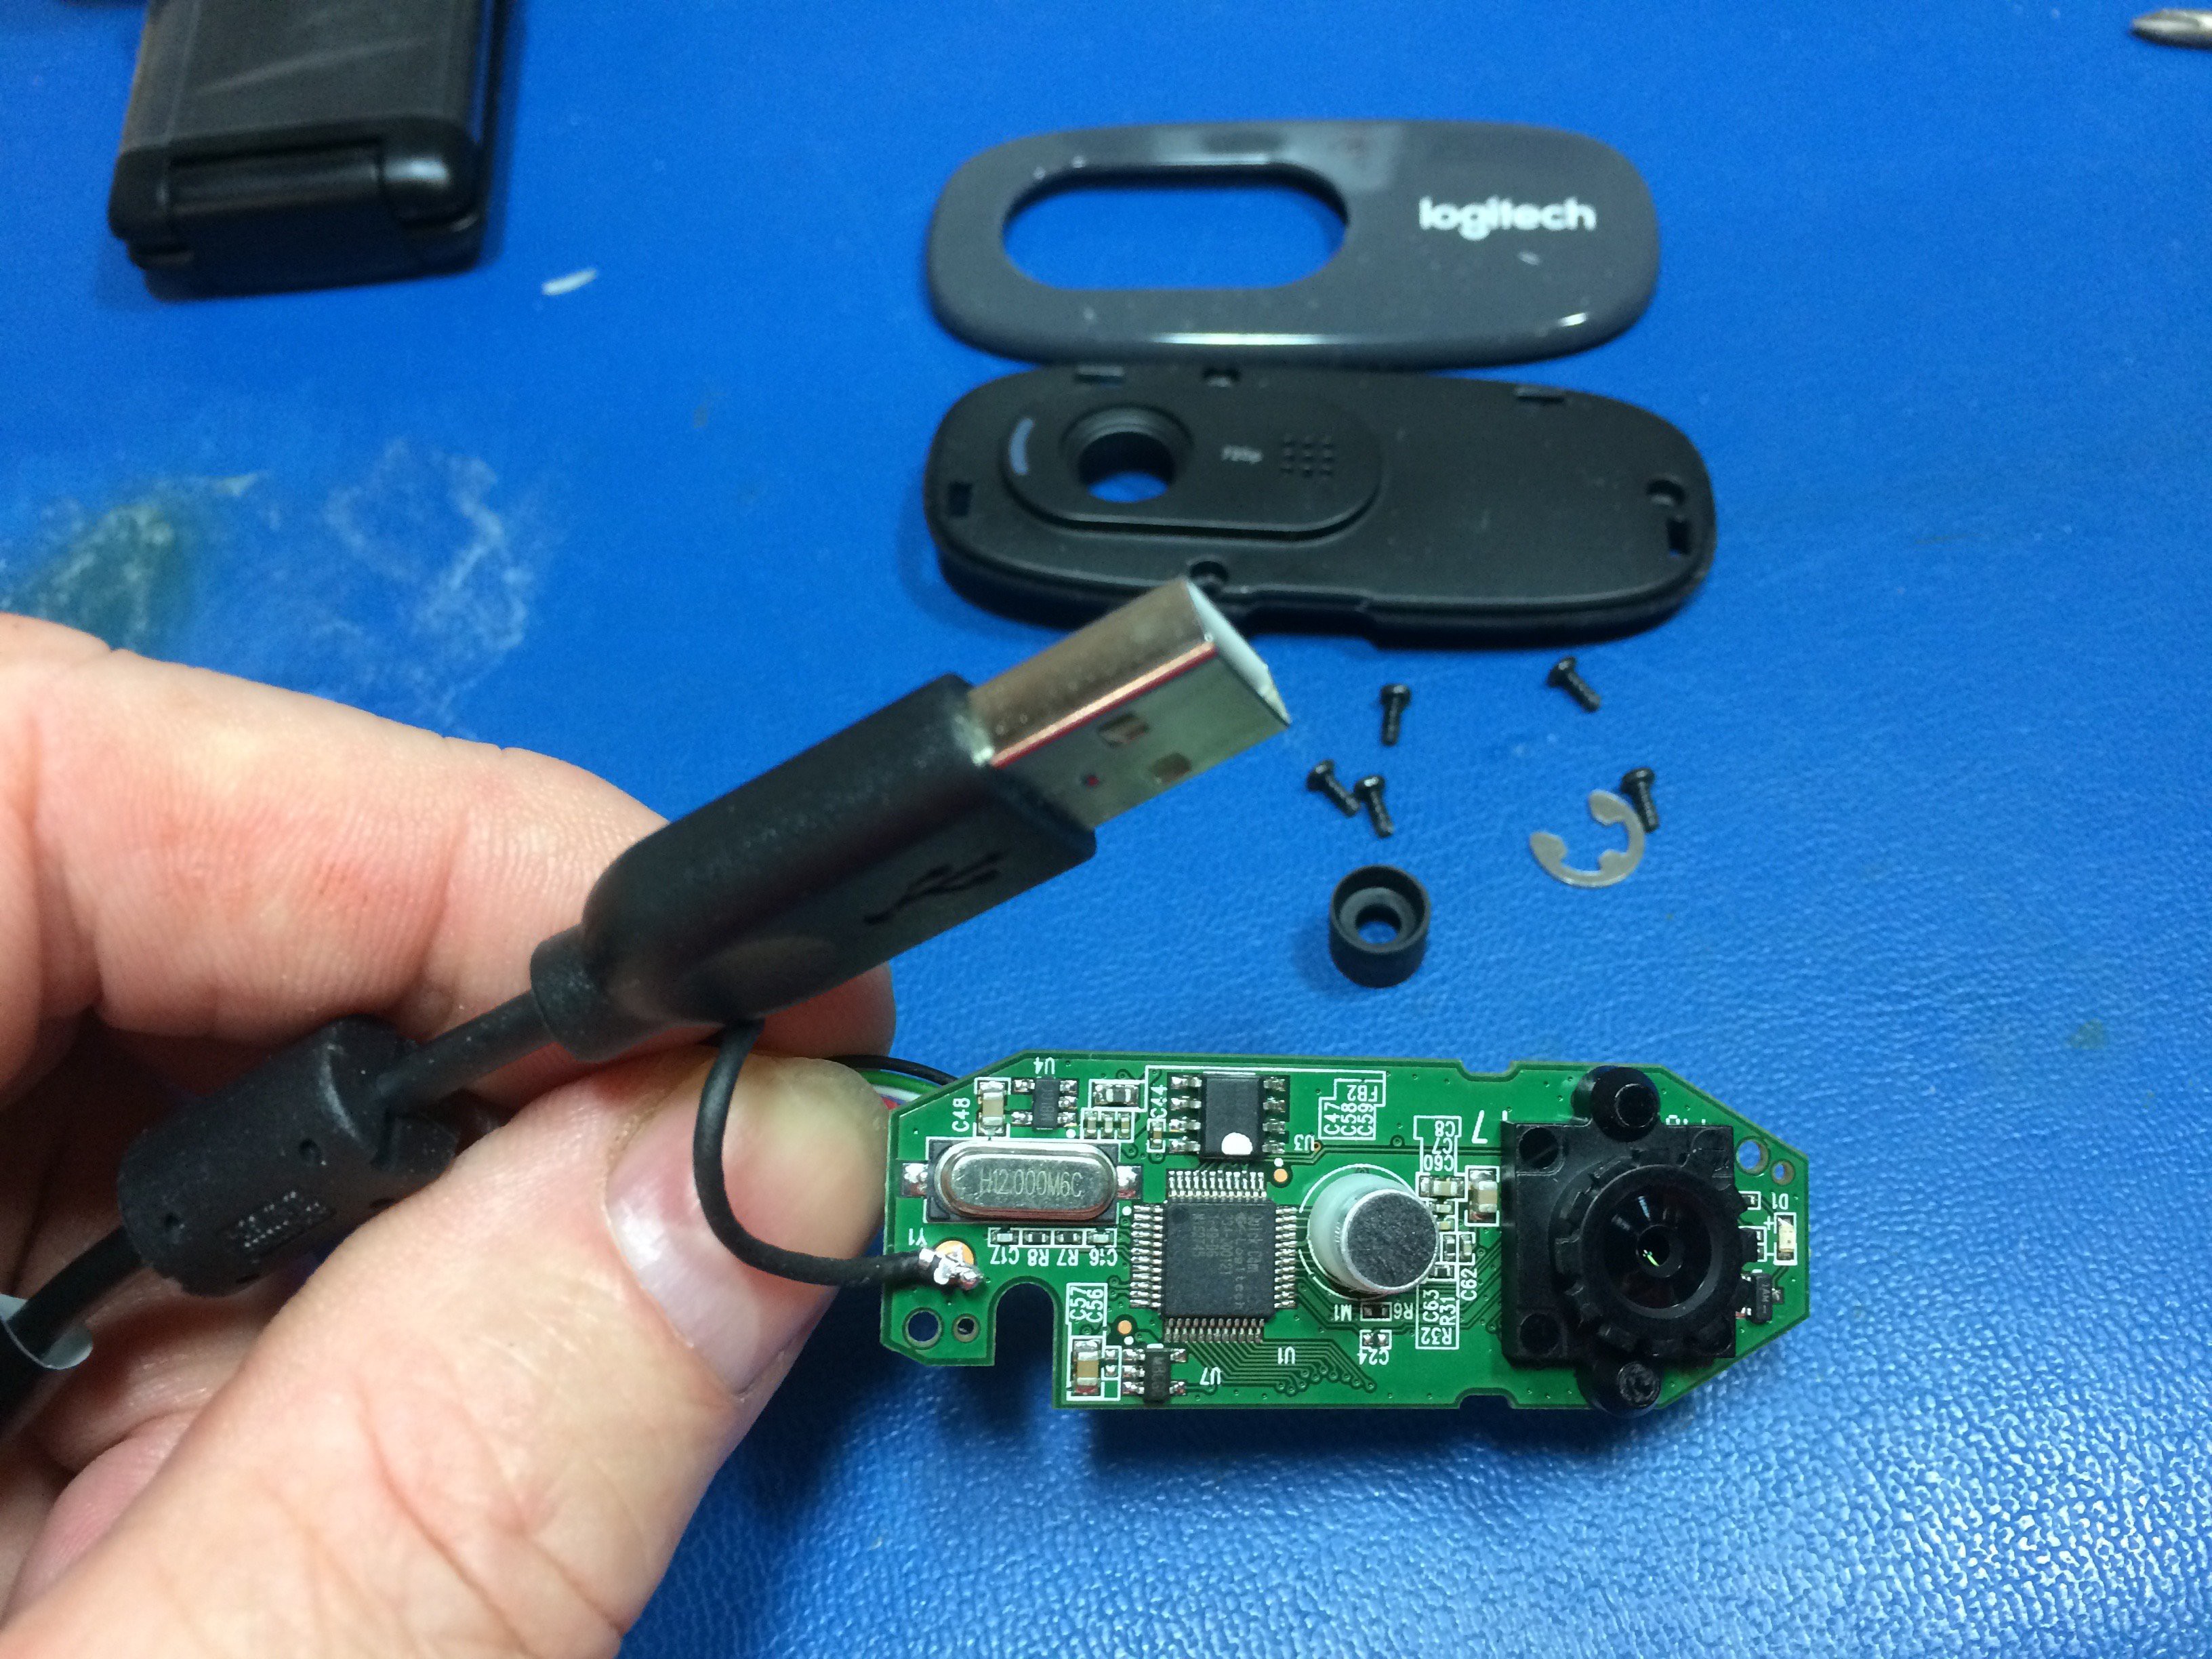
Getting the board out of the housing was dirt simple - snap off the cosmetic face plate, remove 3 screws holding the front, remove 2 smaller screws holding the PCB, unplug the connector, desolder (or snip) the shield wire, PCB lifts out. Remove cable retaining clip, pass connector out through the cable entry hole, and reconnect cable to PCB.

There was a blob of hot glue on the lens thread, knocked it off and the lens was adjustable. I was able to get 3" and 1" working distance into sharp focus. Larger working distances are possible.
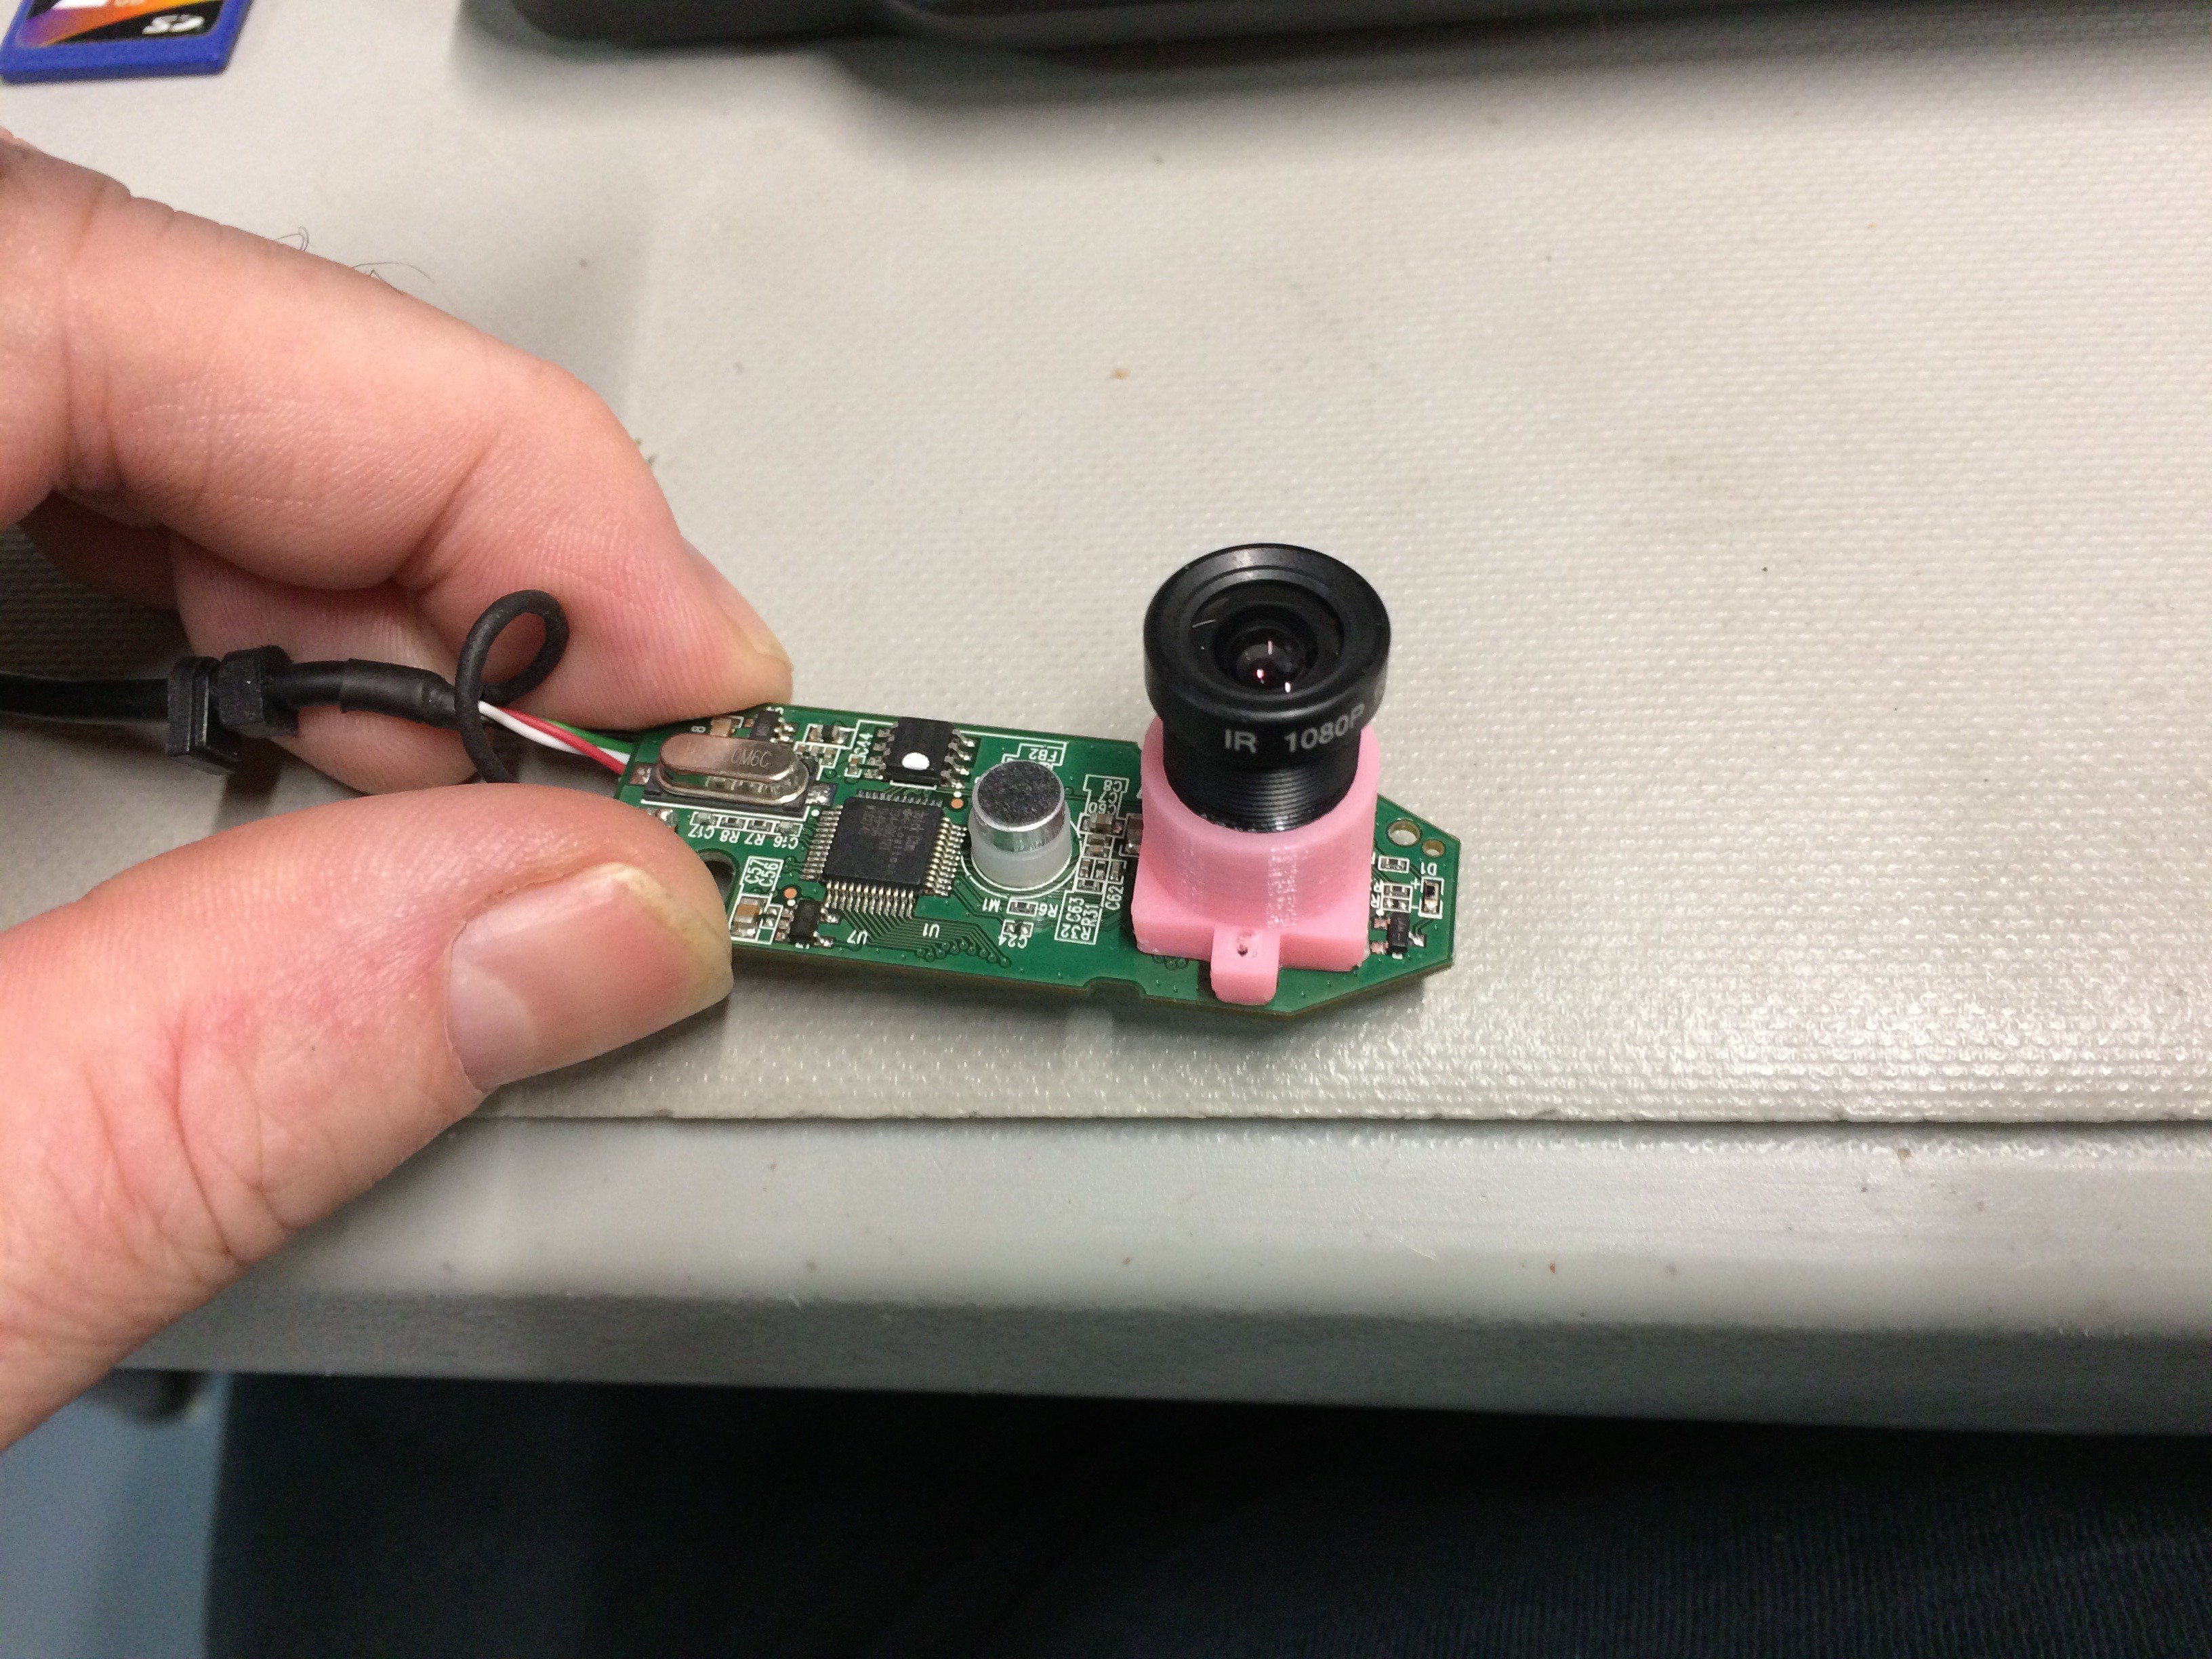
I printed the M12 lens adapter and mounted it to the camera. I found that the pink PLA leaks light and ruins the contrast, so I'm going to reprint using black ABS. Meanwhile, I wrapped it in electrical tape. Here's a link to the lens adapter on Thingiverse.

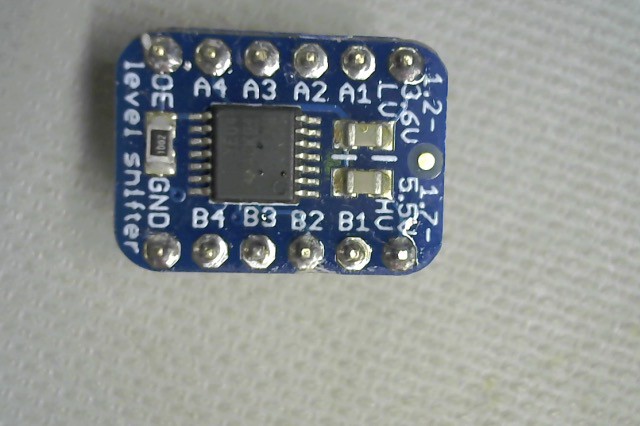
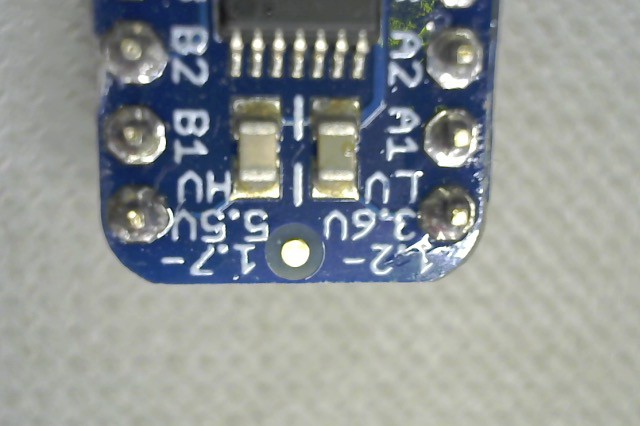
The below pics were taken in PhotoBooth while holding the camera with my hand, so they are a little fuzzy from my hand movement and also not quite parallel to the object plane. With the right M12 lens, this will make a pretty decent down-looking camera.


 Darryl.N
Discussions
Become a Hackaday.io Member
Create an account to leave a comment. Already have an account? Log In.