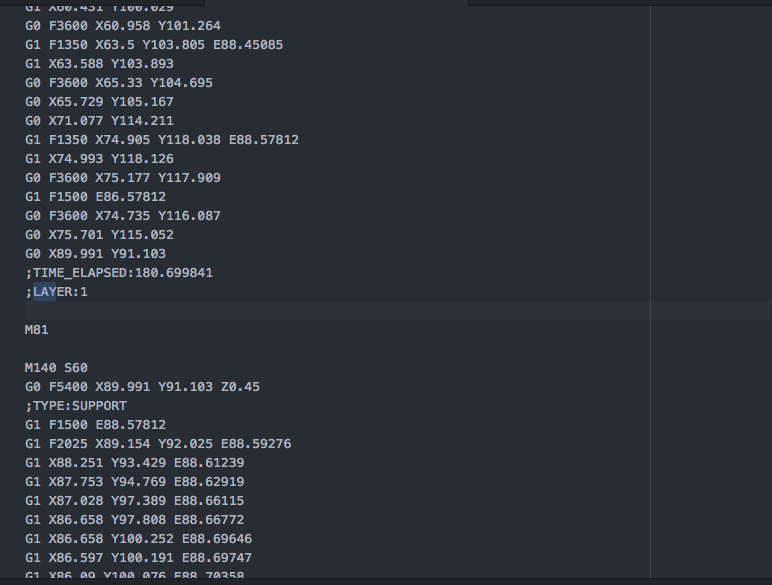
At this time of project, we need to verificate if PS_ON work well.
Take the multimeter!
According with the Marlin's guide, the PS_ON is LOW when the printer is powered.
Good, i connect my "+" to the PS_ON pin and the "-" at a free GND on the RAMPS.
It looks good, i read on my multimeter "0V".
Now i edited my Gcode, i added "M81" command somewhere...

When the 3D machine arrived in line with "M81", my LCD display came out of with the written "Printer OFF".
But wait, why my multimeter does not show me "5V" ?
Very strange.... i repeated the same process many time and i will have to read some guide about the Marlin power.
According with the Marlin/Ramps power guide - https://goo.gl/fWFoKp - i have a problem with Diode.
In my specific case, i have both of the diode, D1 and D2 on my RAMPS.
If i want to use my PS_ON pin, i need to cut the Diode D1.
But wait, if i cut the D1 Diode, i need to connect and external power supply - 5V stable - for power the Arduino board....
It's not a good solution.... I need to find another approach.
Marlin/Kimbra firmware
This version of Marlin is called Kimbra.
It's a very nice and easy - smart - way for customize your parameters of your 3D print.
And they have a solution with out cut off the Diode D1, amazing!
If you go to "firmware_configurator" you could edit your "Overral.h" file with a lot of new parameters.
We need this part of guide:
 Now we have the functionality on!
If you will repeat the process on top, now the multimeter will show 5V when the RAMPS will read the M81 command.
PS:
I strongly recommend the Marlin Kimbra firmware for your 3D printer, it's very powerful and highly configurable.
 Dave
Dave
Discussions
Become a Hackaday.io Member
Create an account to leave a comment. Already have an account? Log In.