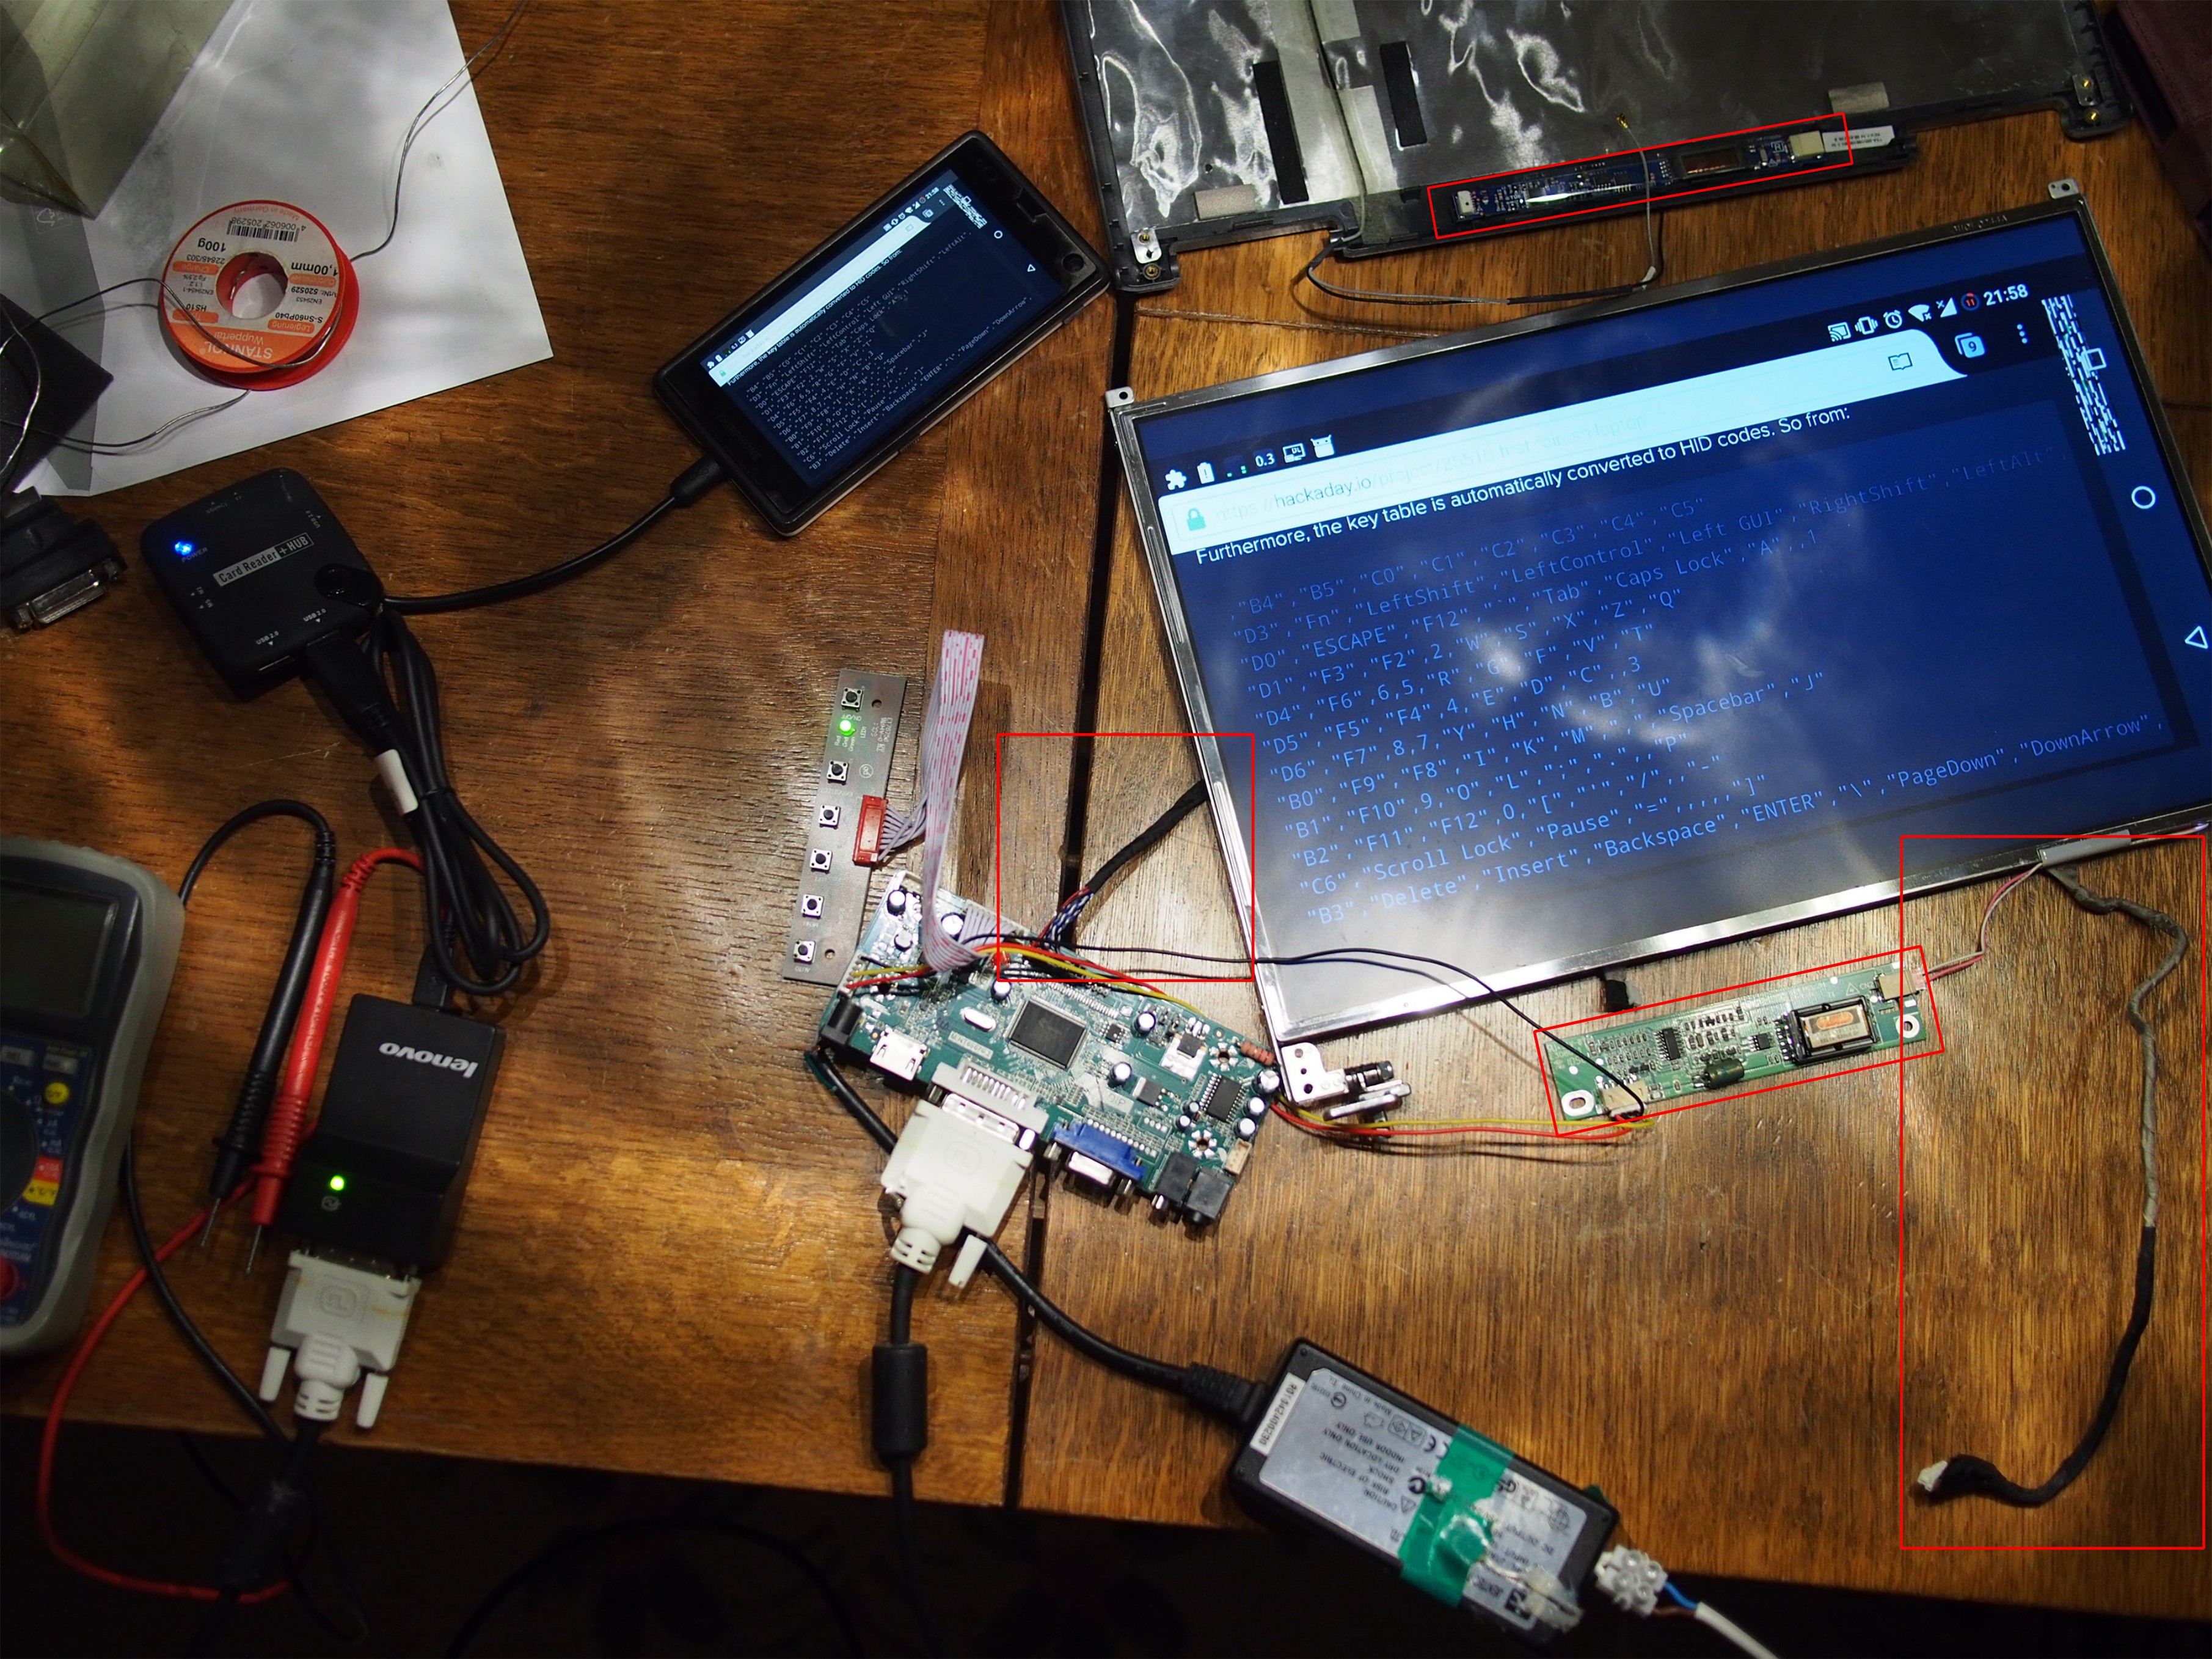
It's working! As expected, quite easily. Connect everything & go. Now I only have to cram everything into the laptop housing. :-) Don't worry about the empty top & bottom row and the garbled right part of the screen, I have some problems with my touch screen so I fiddled with 'wm size' & 'wm overscan' on Android.
There are a few challenges here again. At the bottom left, the 'old' LVDS cable can be seen. Left of the screen, the new one can be seen. It's something like half as long. That probably will be a bit of cutting wires, soldering, and hoping afterwards it still works...
The CCFL power module is another one. The old one can be seen at the top of the LCD, the new one at the bottom. Quite some size difference... Maybe I can reuse the old one.
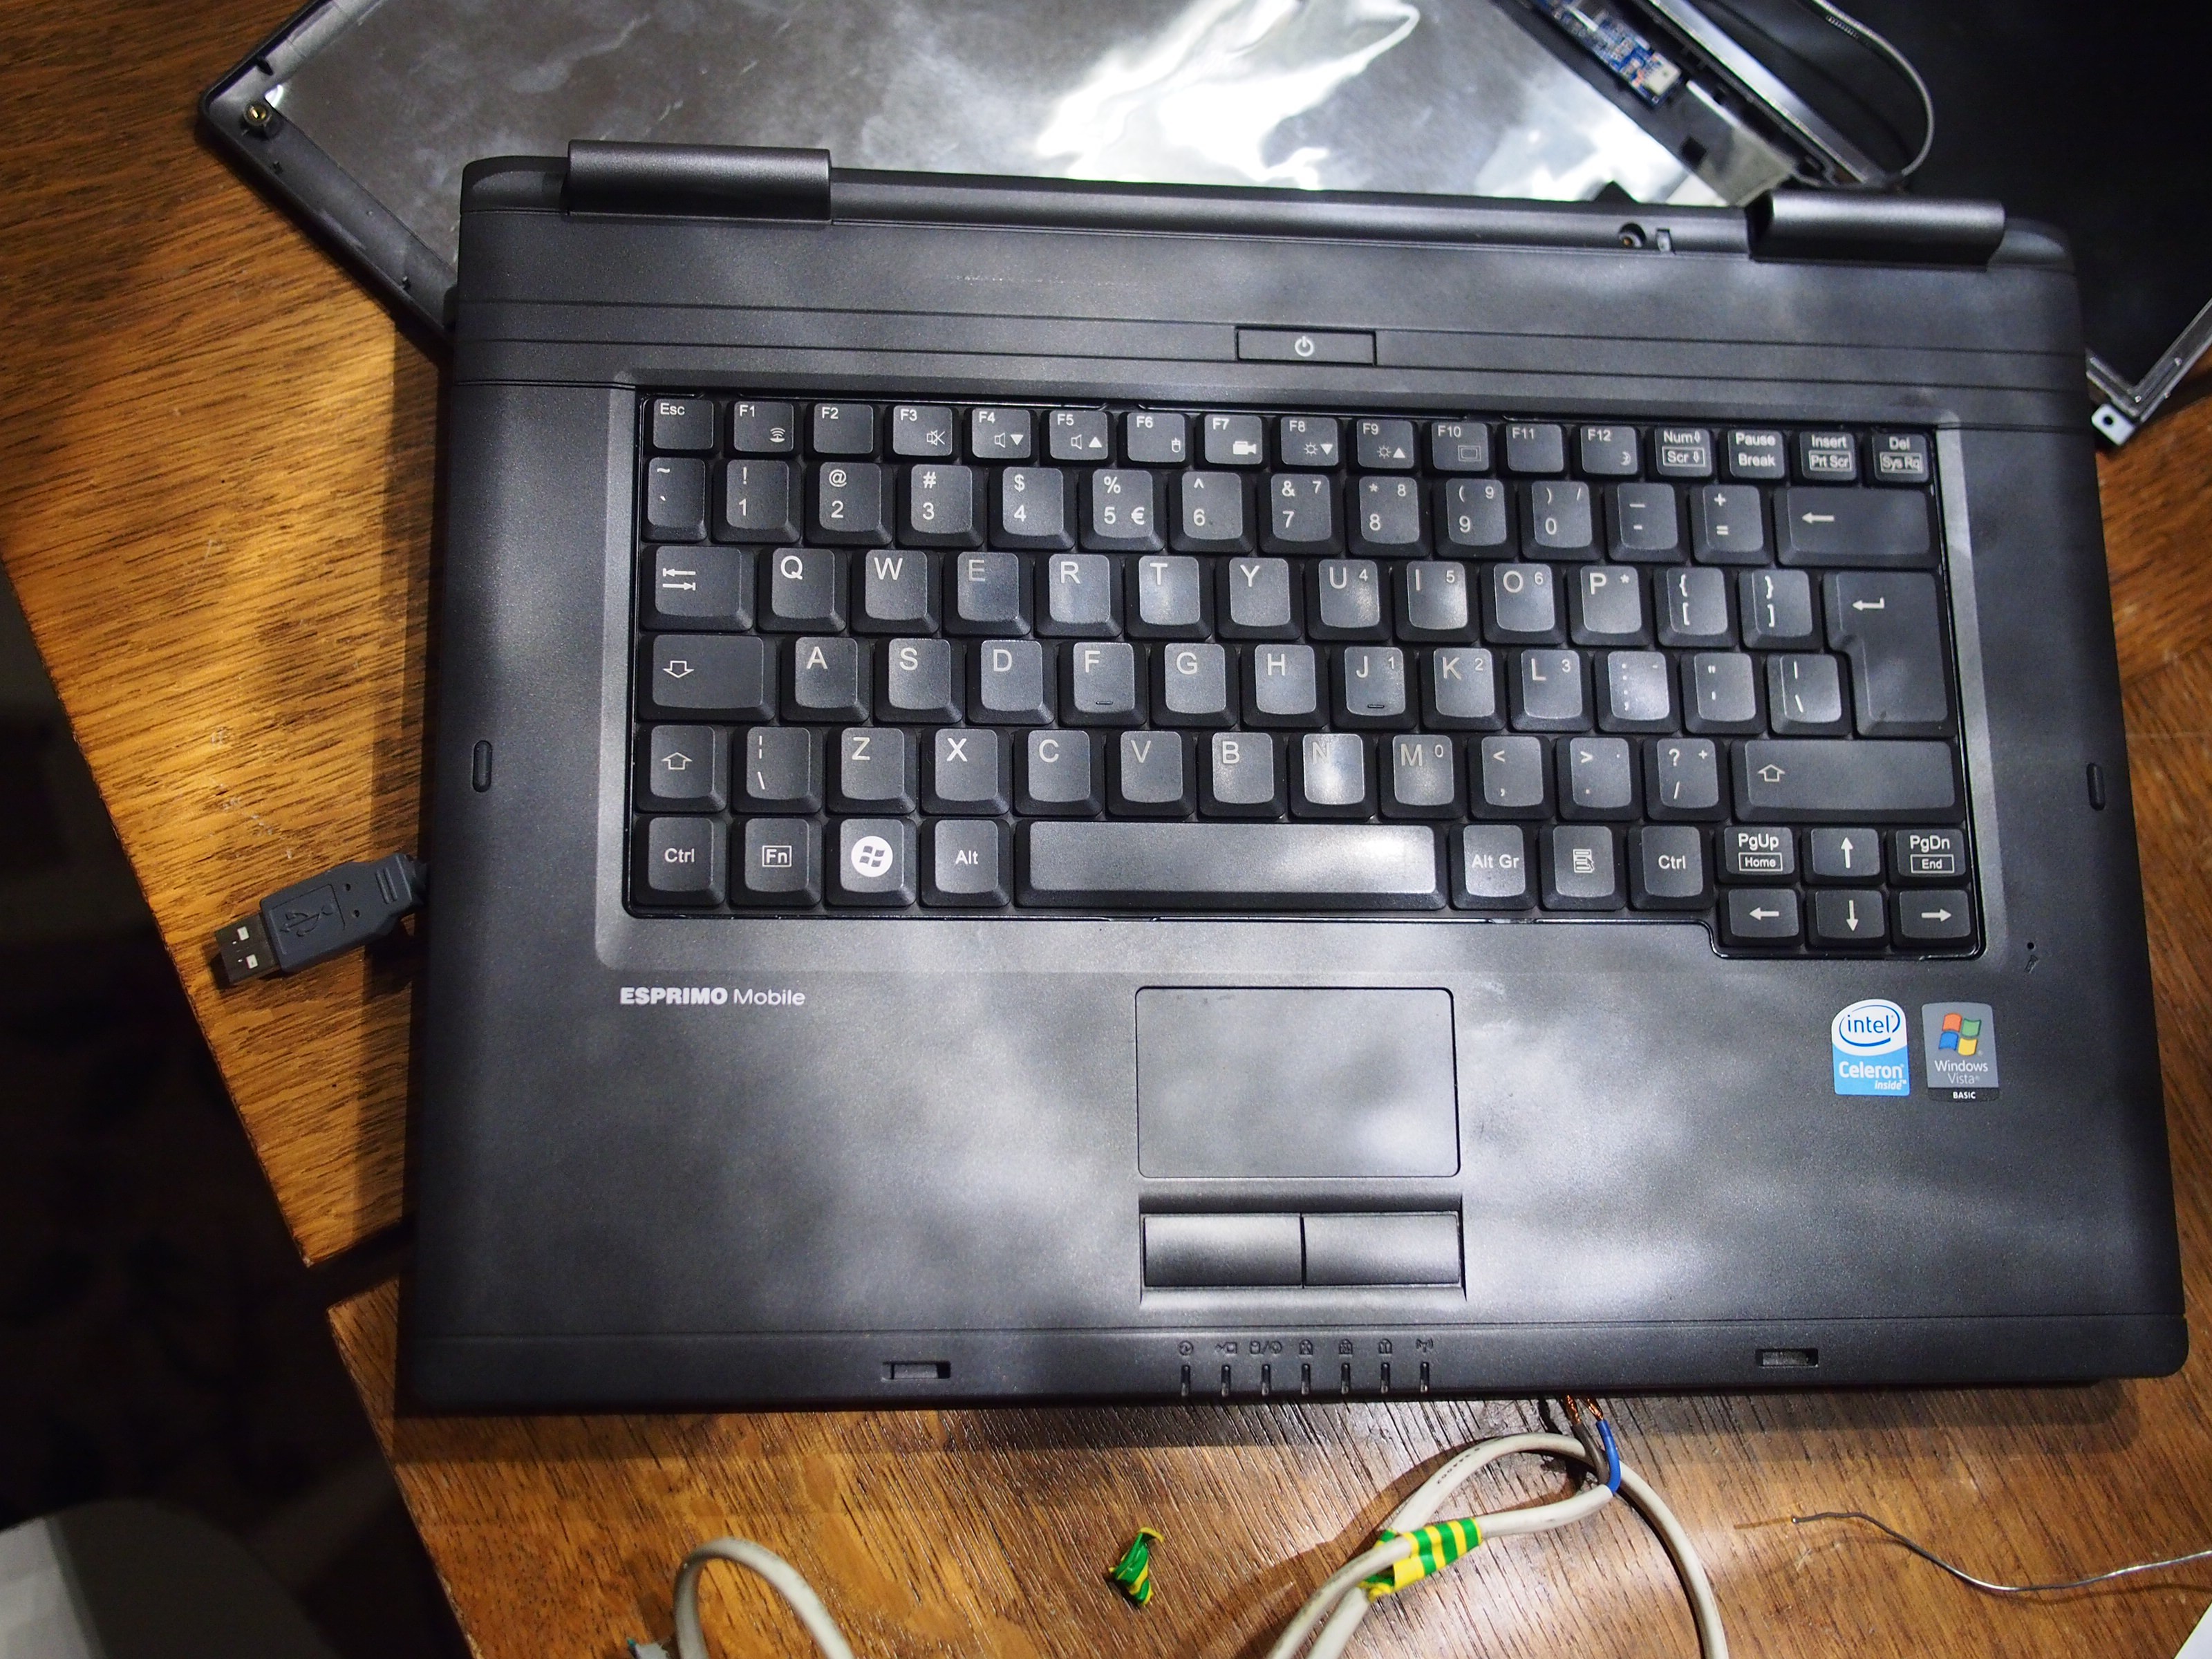
The keyboard fits in the housing:
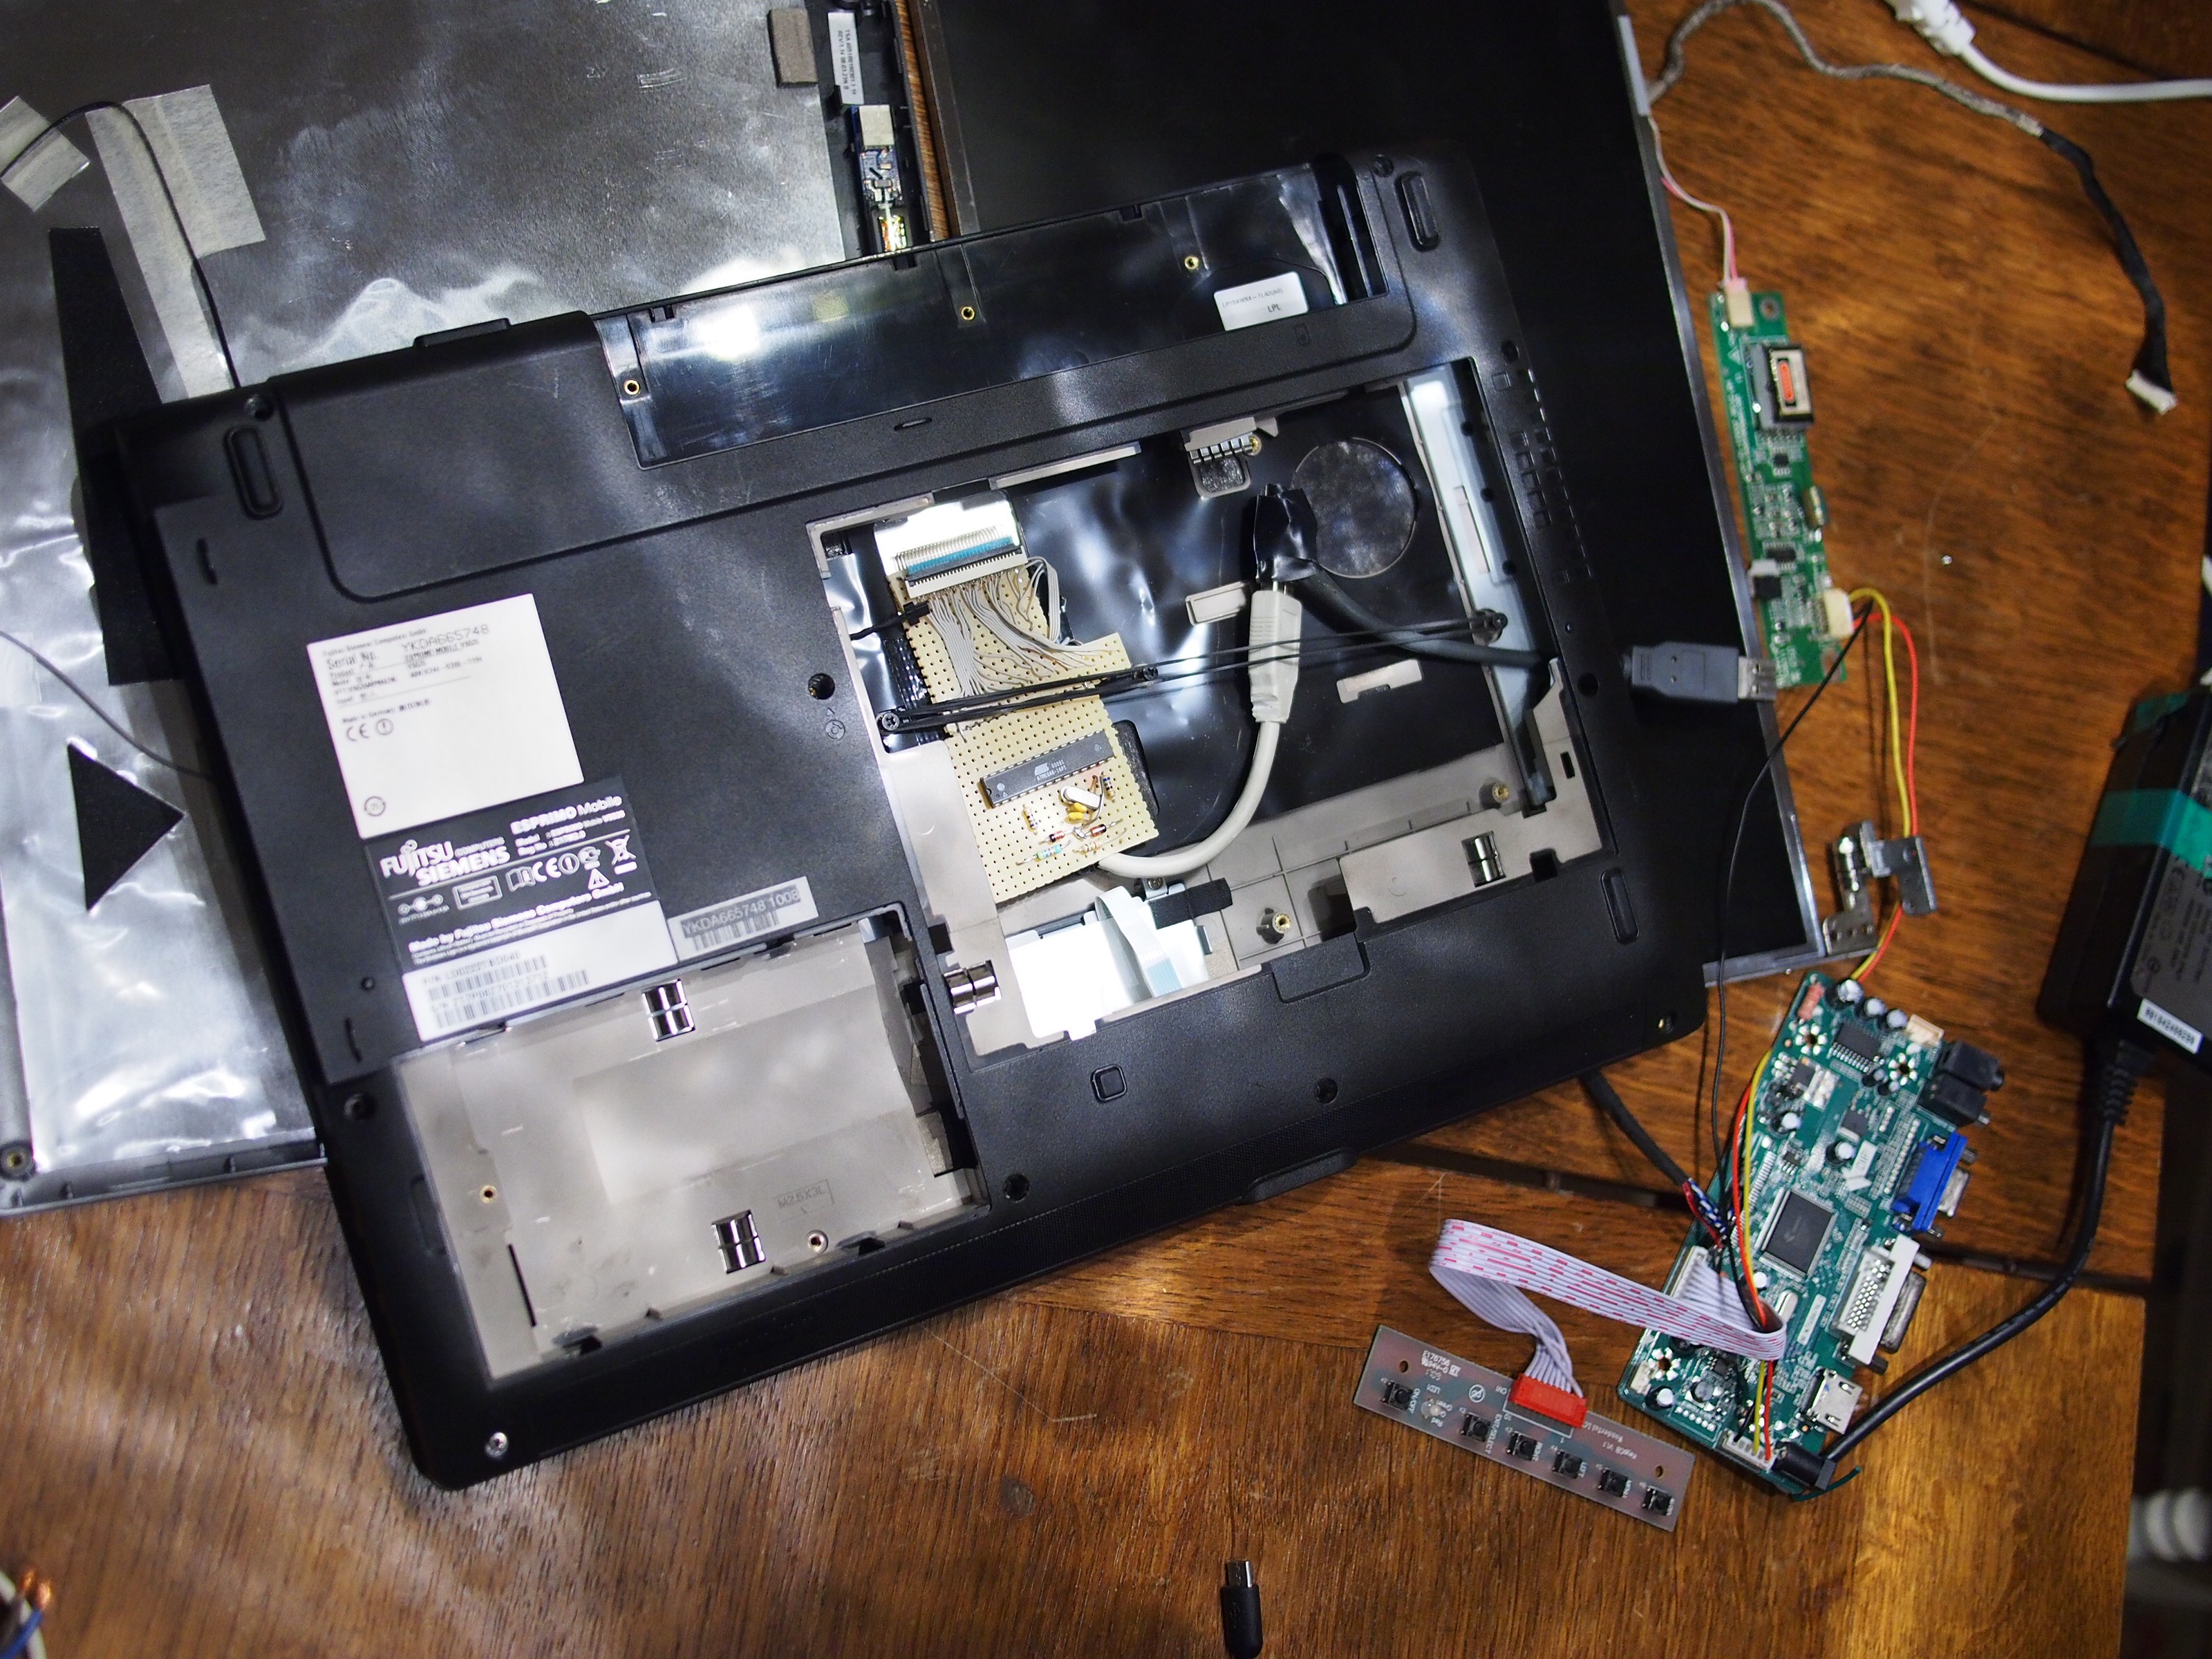
 And there's quite some space left: at the left bottom there used to be a hard drive, above that there was the DVD writer, and then the main board at the right half. I'd like to be able to shove in my phone somewhere (perhaps the DVD location) and also still have the option to use the old battery. And stuff in the power adapter. Looking at the PCBs it might just, or might just not be doable.
Then there's the touch pad: it's probably PS/2 with badly documented pinout. Might or might not be able to use it.

Funny BTW, buying a LCD driver on eBay. The OSD was on Chinese... My guess that the language was the last one of the settings options was right, so I could put it on a language that I understand better.
If I'd do this again, I would use a bigger ATmel chip to be able to drive the LCD menu from the laptop keyboard (Fn+brightness). Now I think I'll put the buttons somewhere on a reachable location.

Discussions
Become a Hackaday.io Member
Create an account to leave a comment. Already have an account? Log In.