Since I last met you, I rebuilt the mount for the x axis nut, (twice), as well as the y and z axes.
The y axis is basically a box that slides on the y track, and holds the trucks for the z axis, but because of how they fit together, I had to build both axes together.
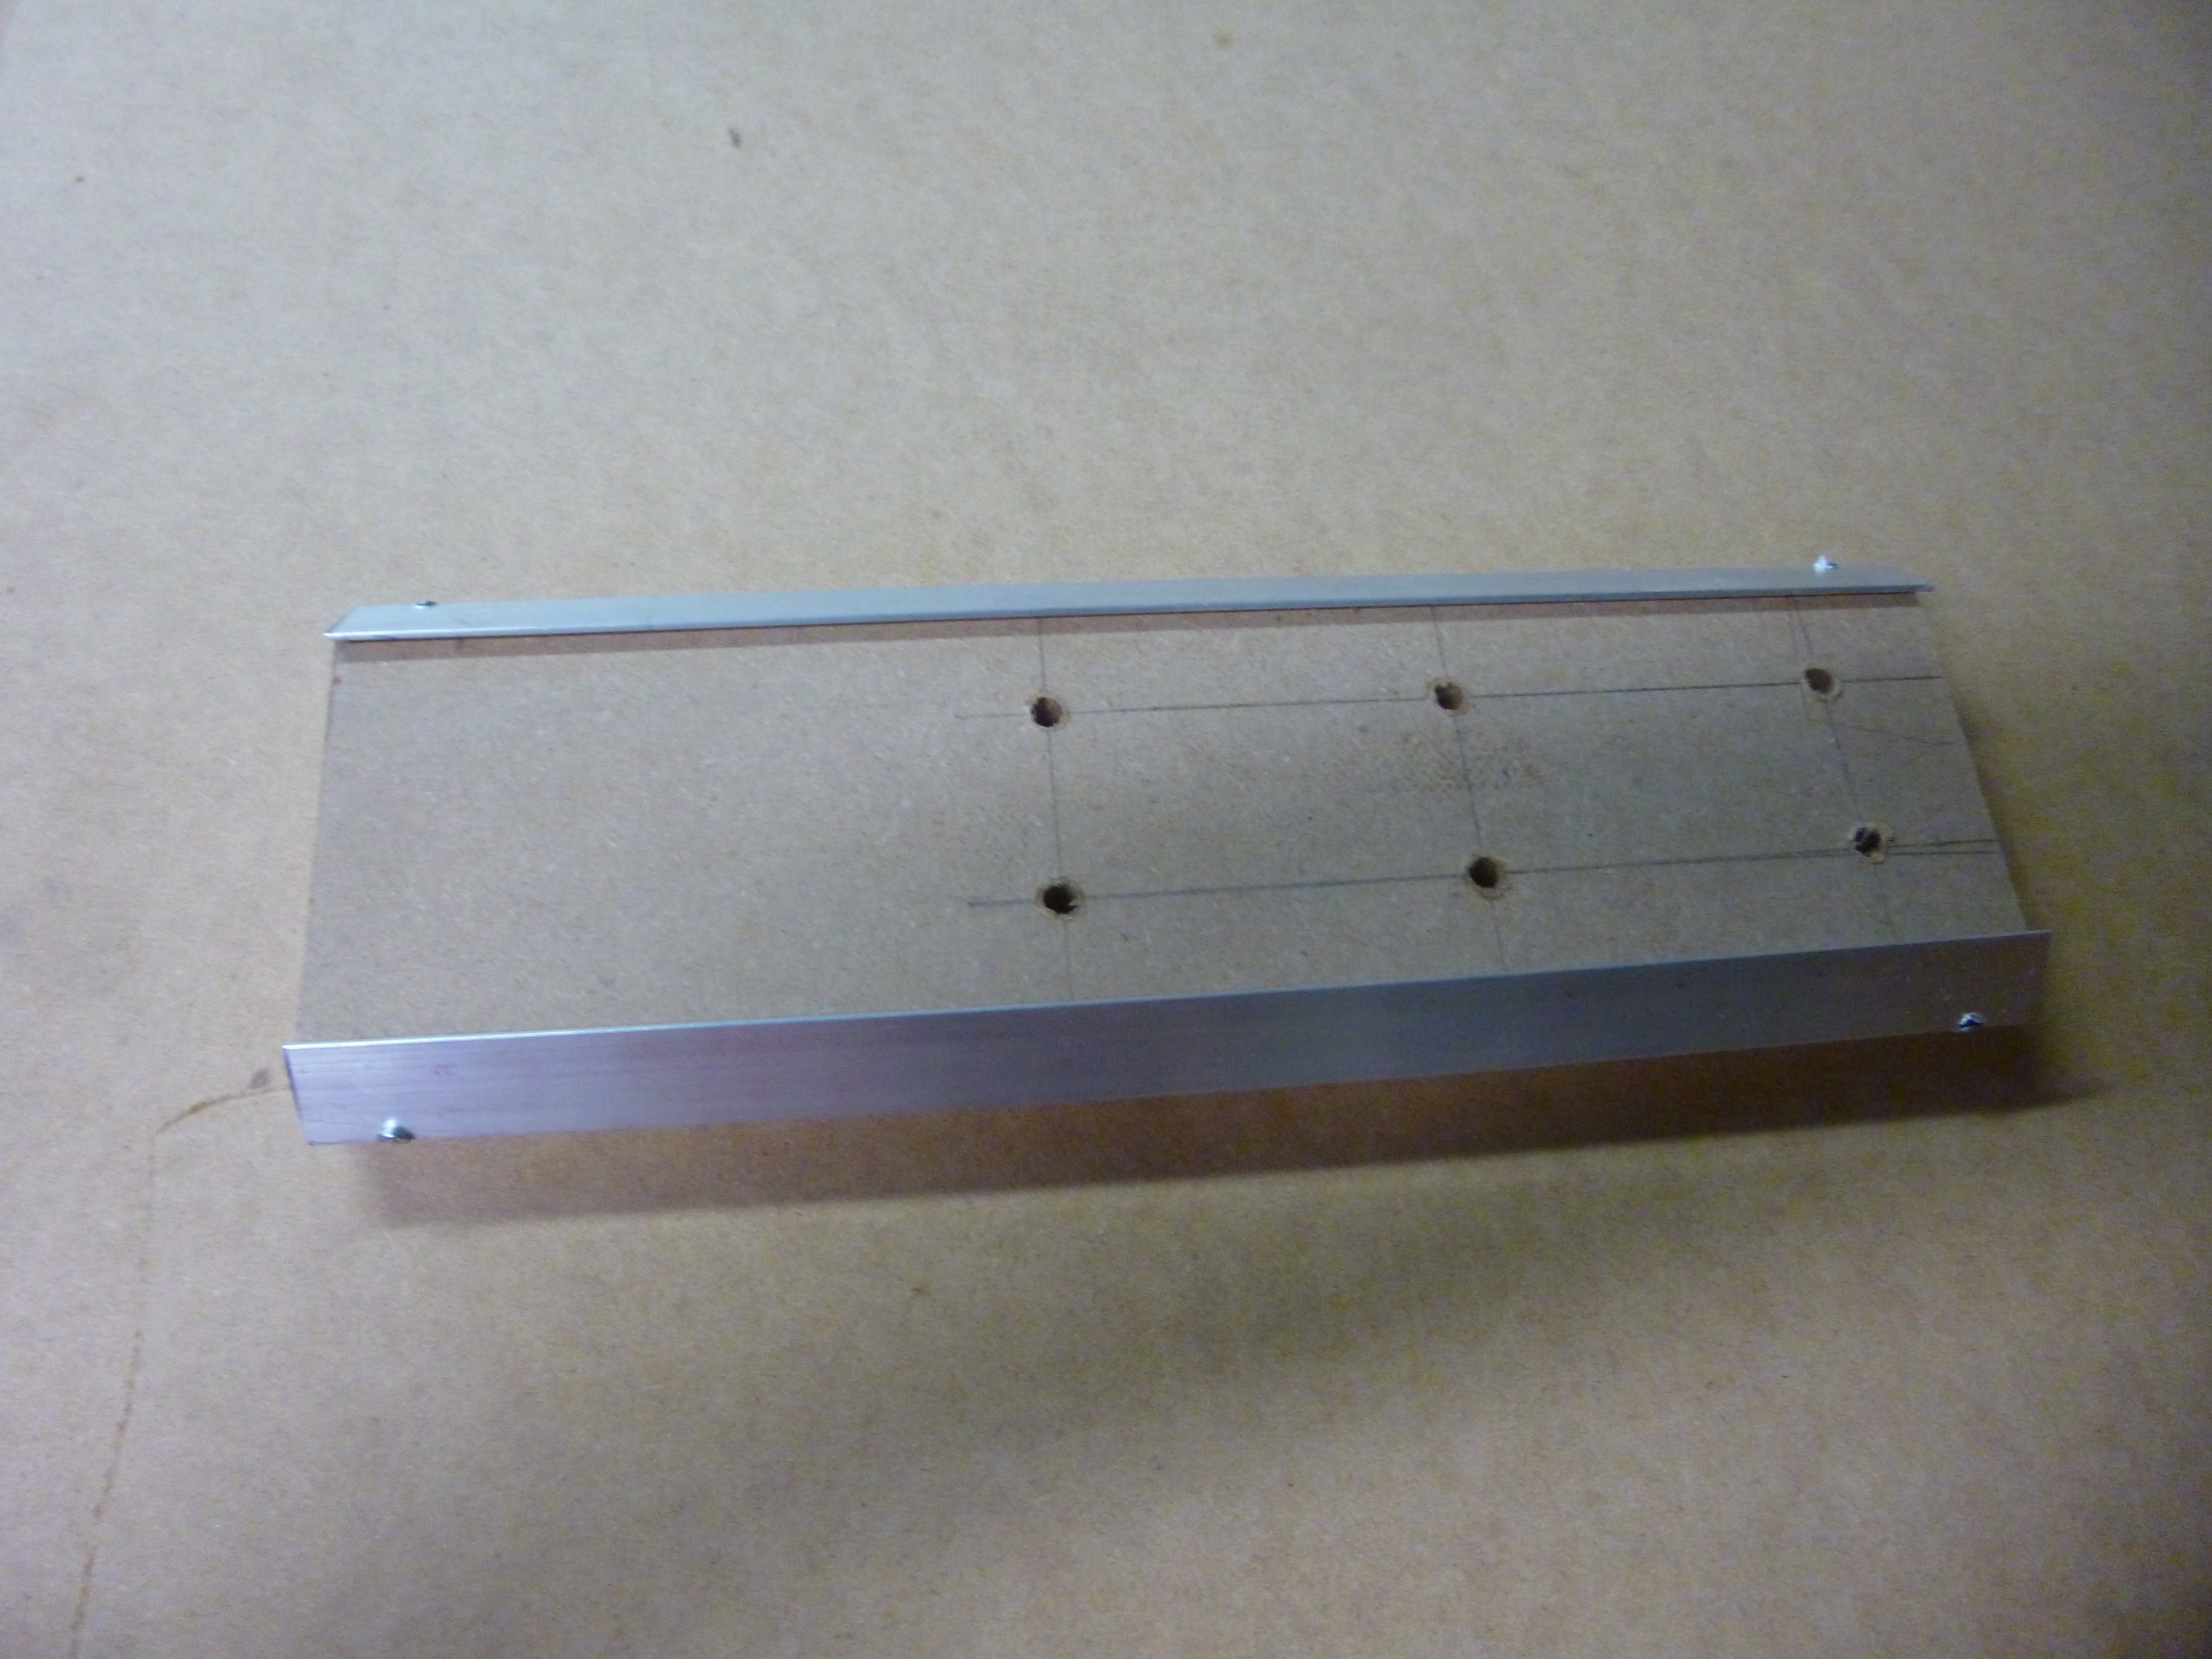 I started with the z axis. The z axis is simply a 3.5" plank with rails on the ends, and holes to mount my tools drilled down the center.
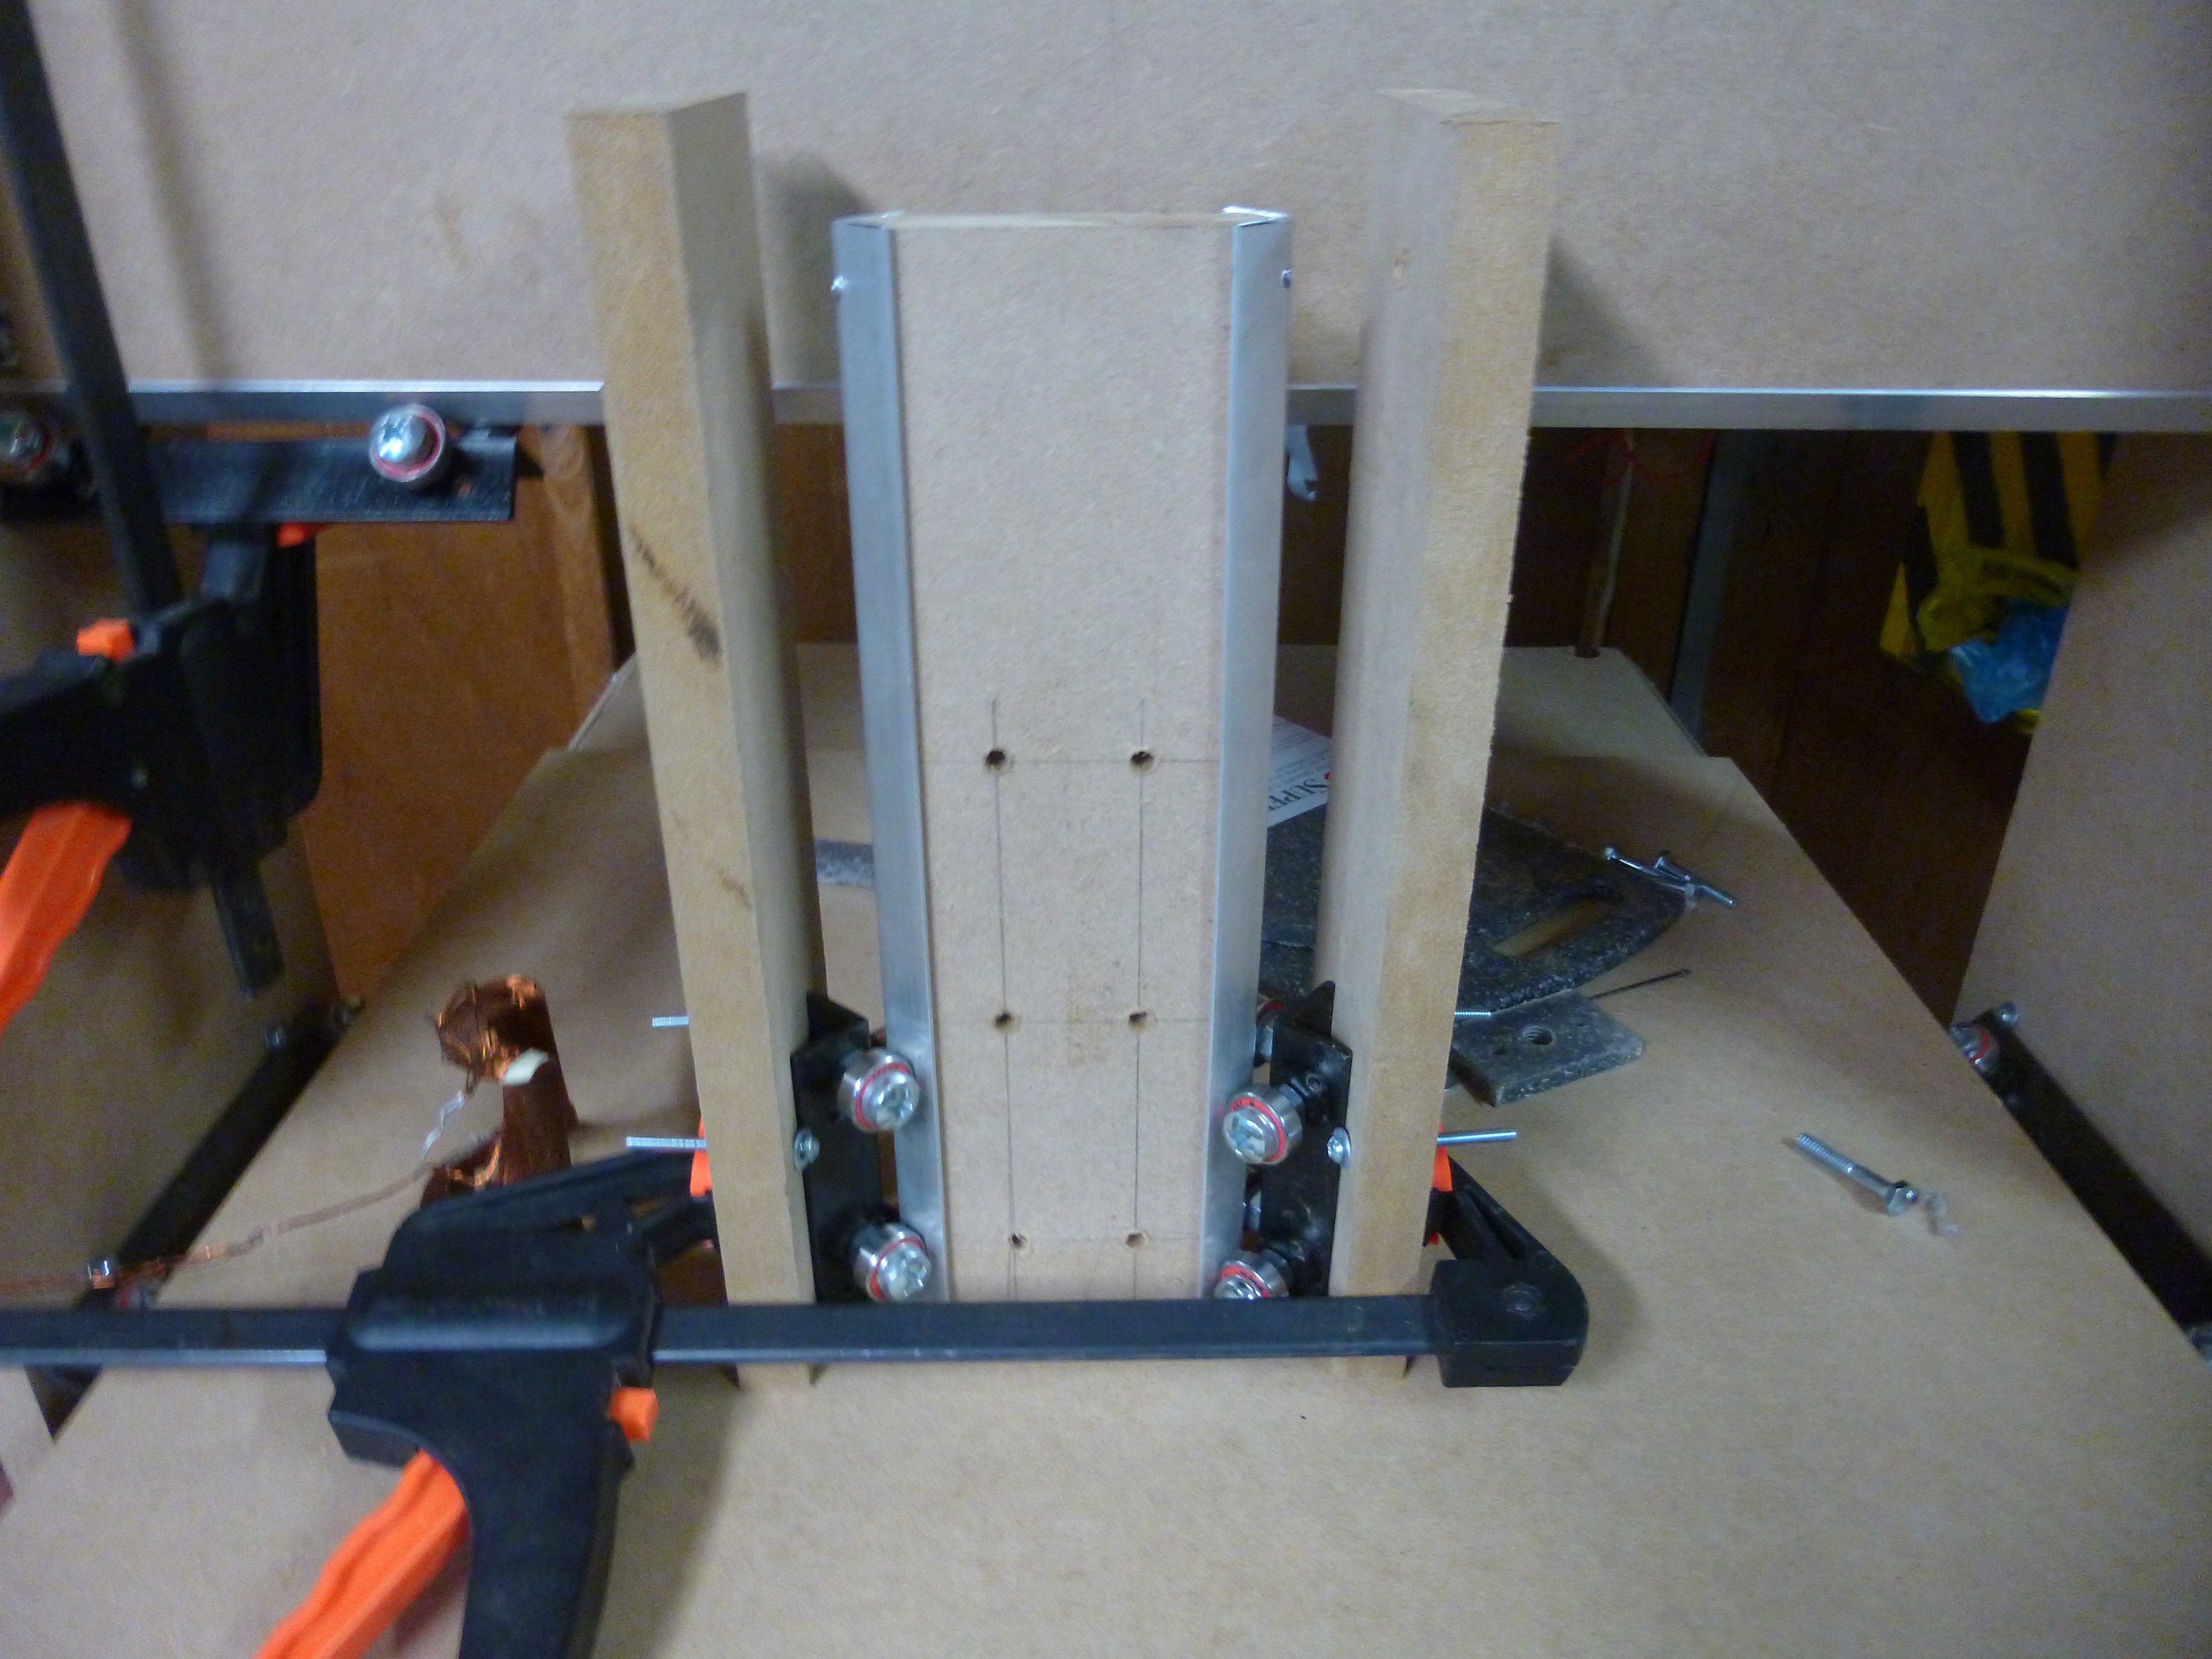
I cut the side pieces for the y axis a little longer than necessary, and clamped them to the z axis to get the width correct. After I had the width, I cut out the top and bottom pieces. the bottom piece needed a hole cut into it for the z axis to slide through. Since the bottom piece sits flat against the bottom of the side pieces, I was able to bolt it on to the sides. I then hung the assembly upside down from the y track, and slid the top piece on.
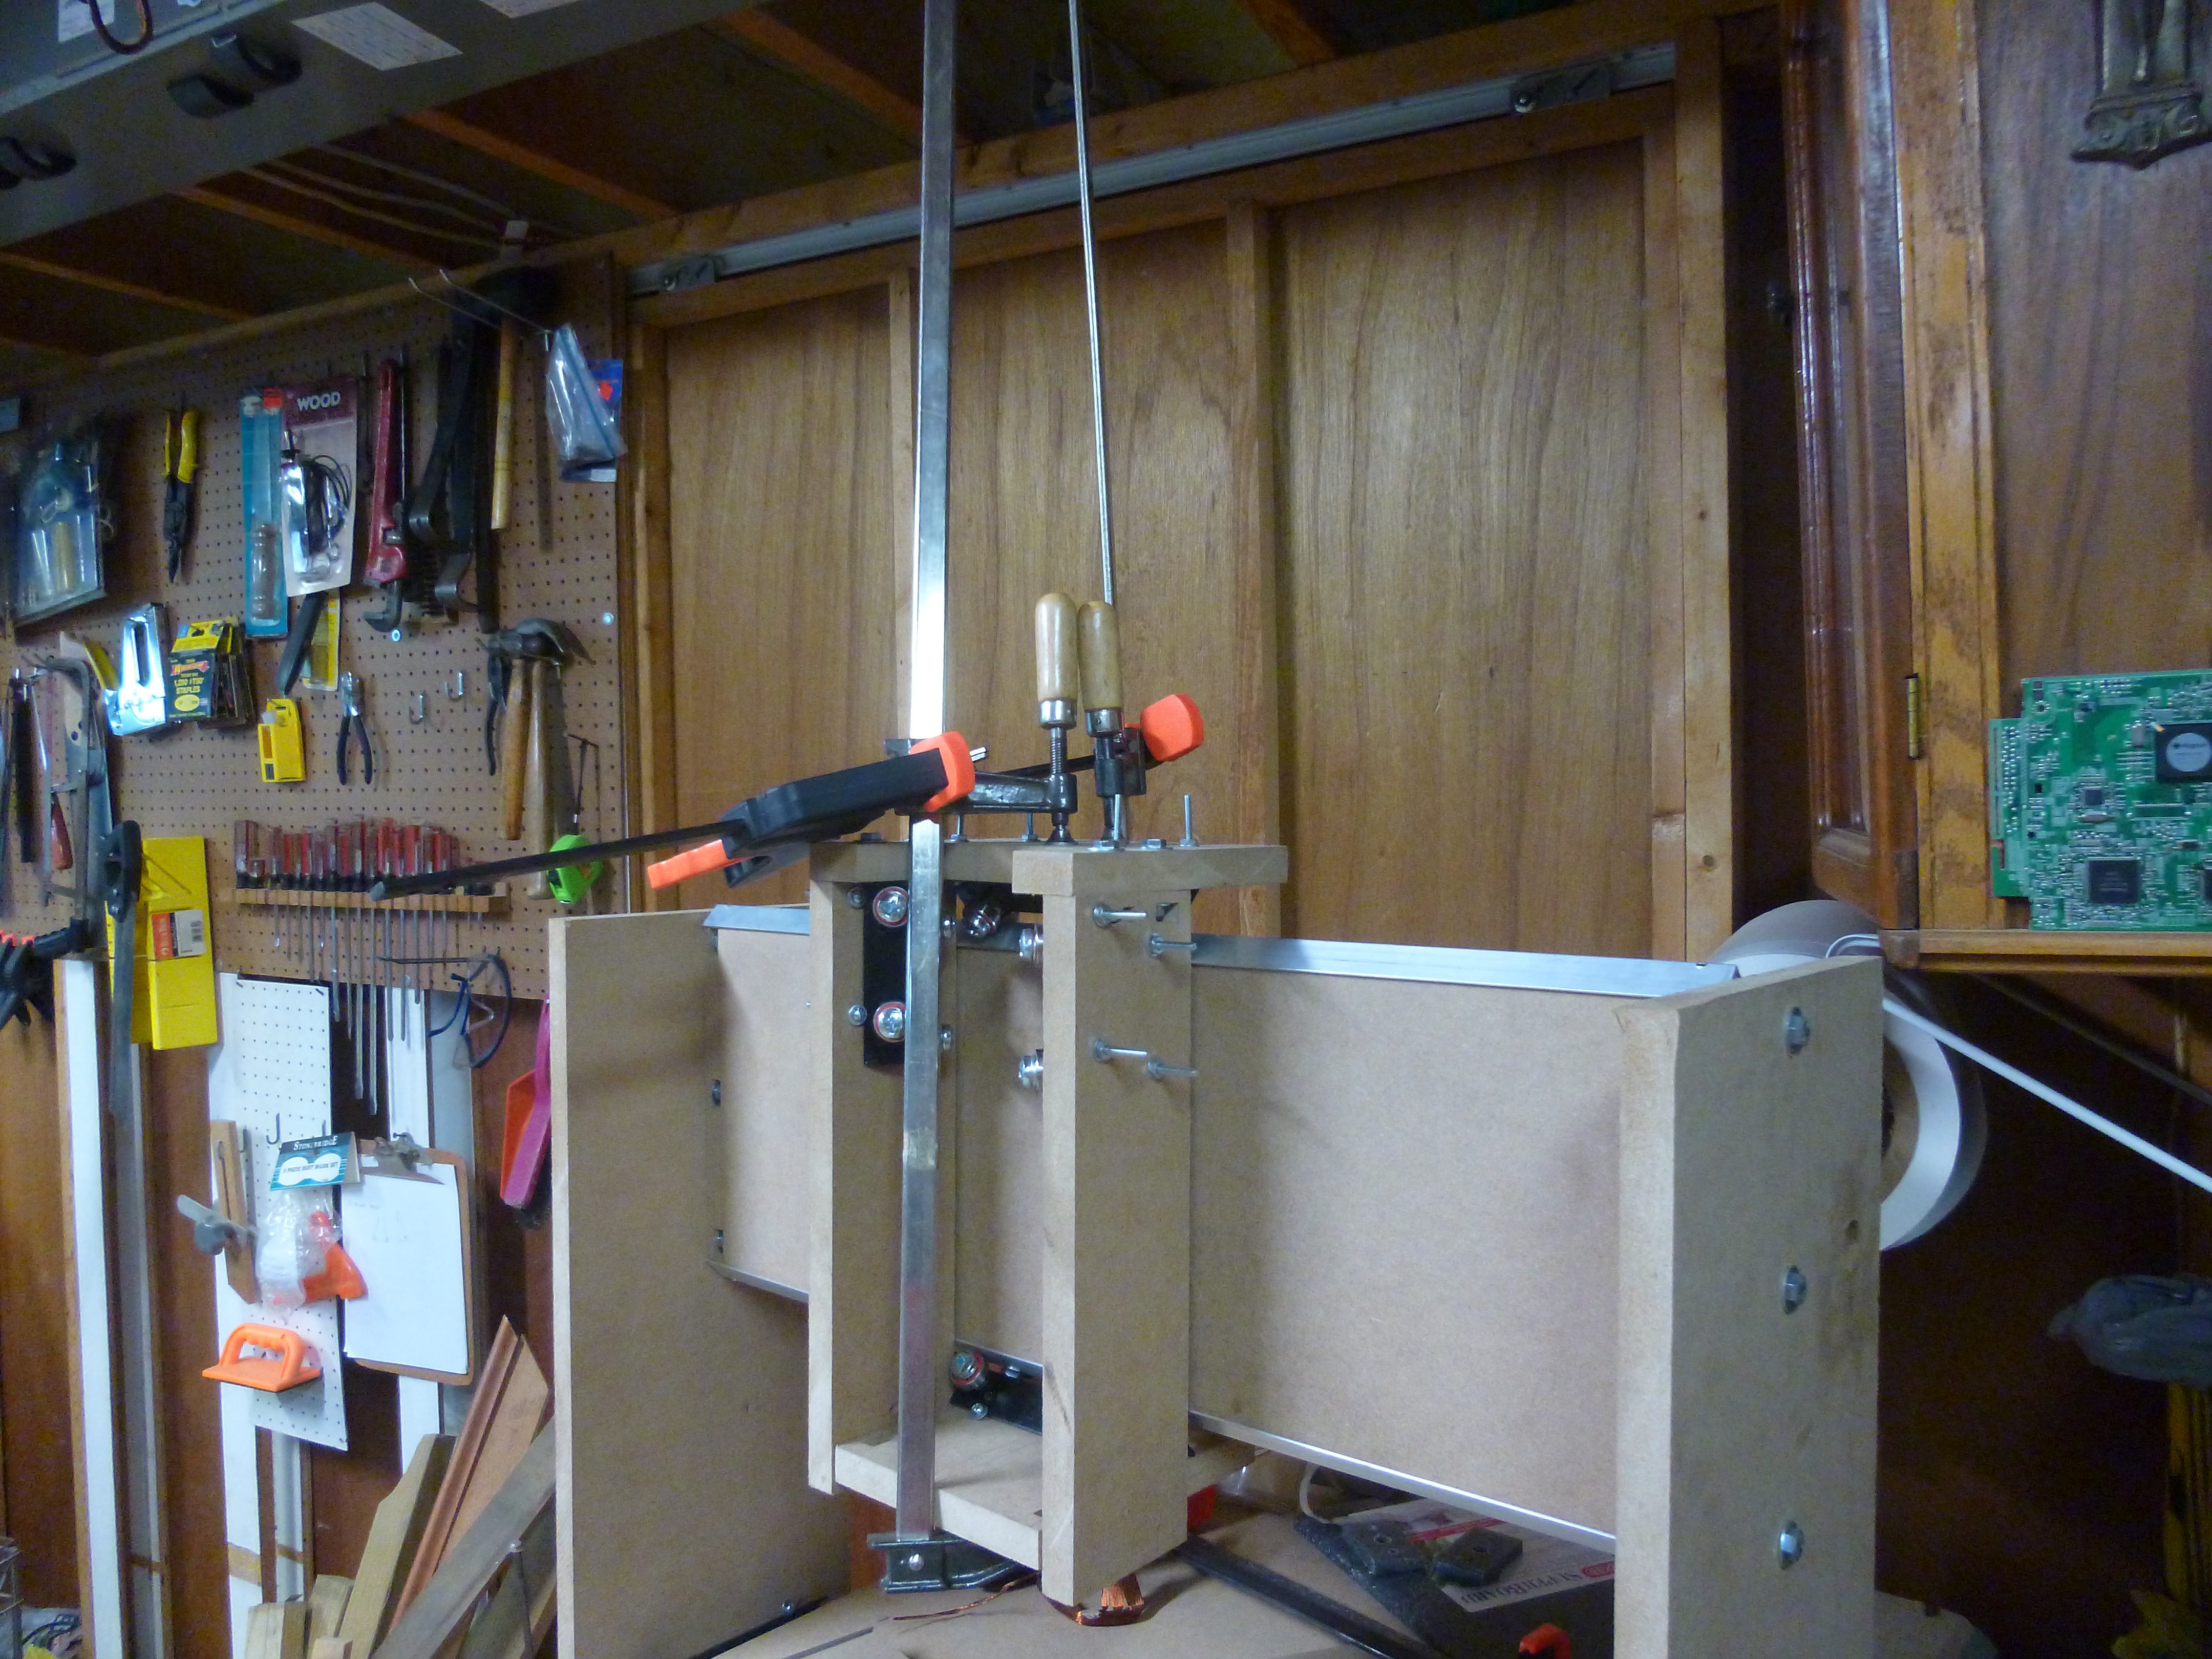 This was held in place with a couple of clamps, while I measured to make sure that it was parallel to the top plate. Once I found where it was suppose to go, I marked and drilled the holes for the top plate.
 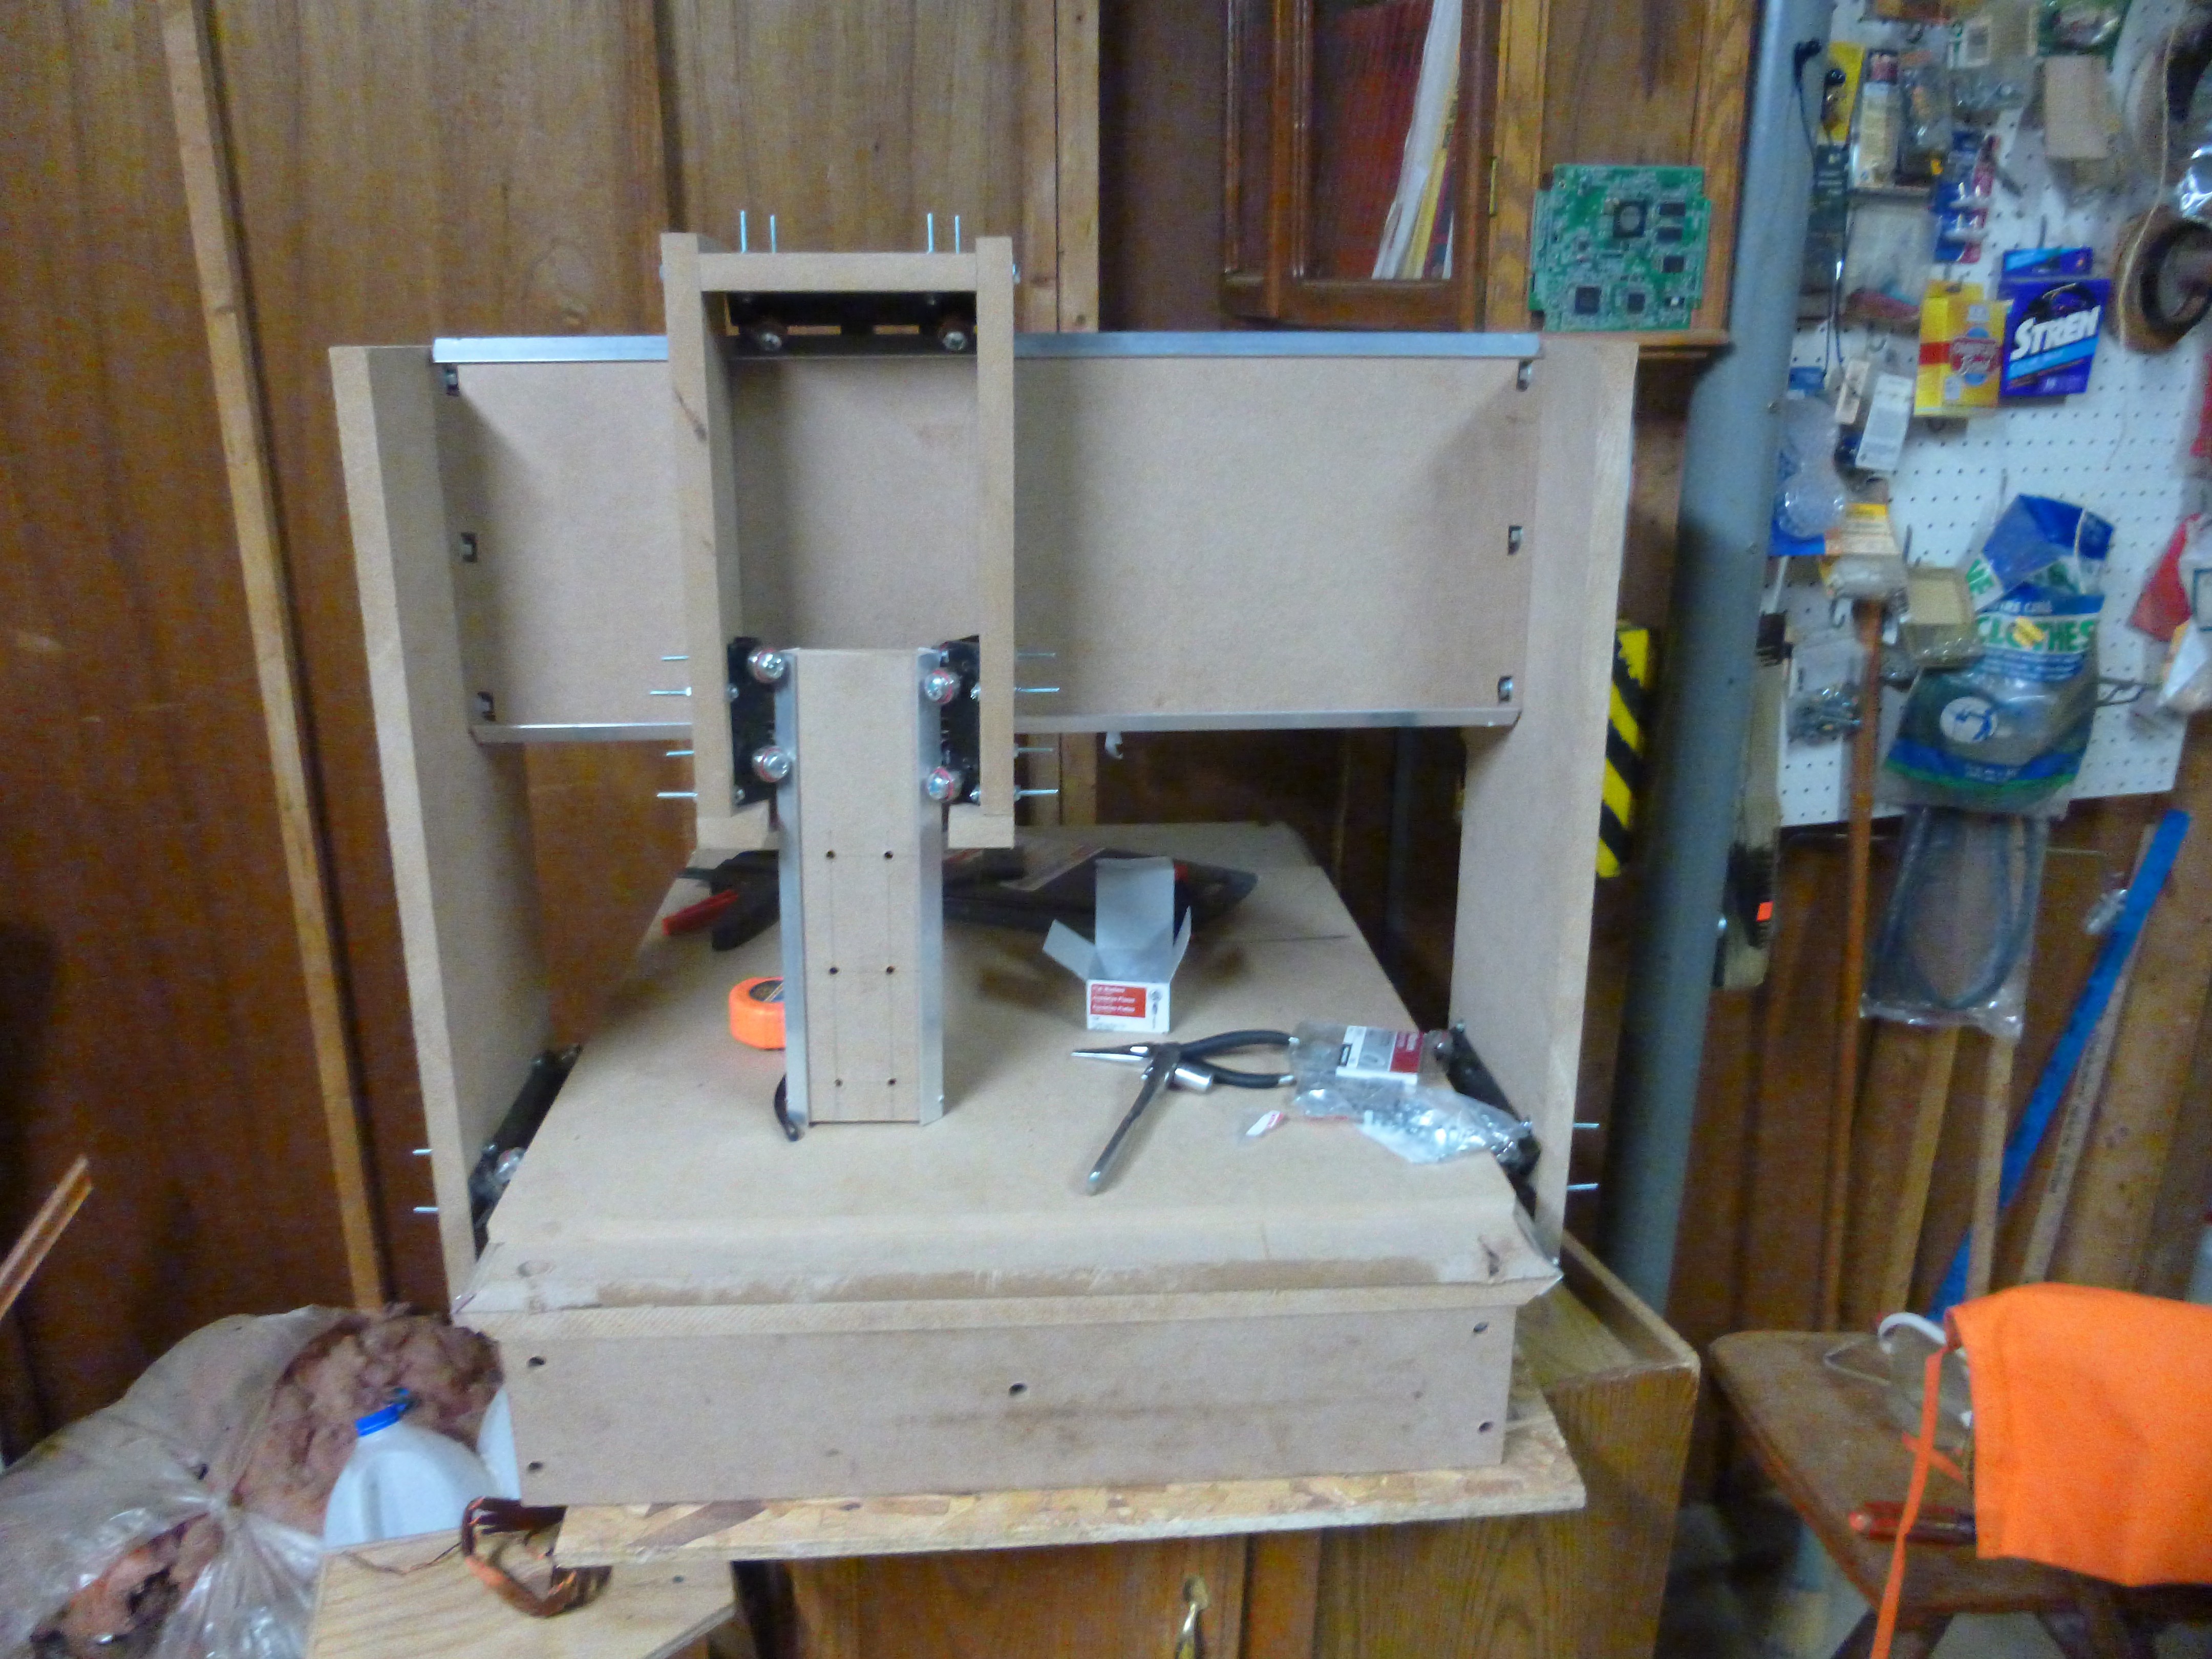 The mill is now structurally complete, however I noticed that I accidentally put the holes for the y track plate in the wrong spot on the side pieces.
 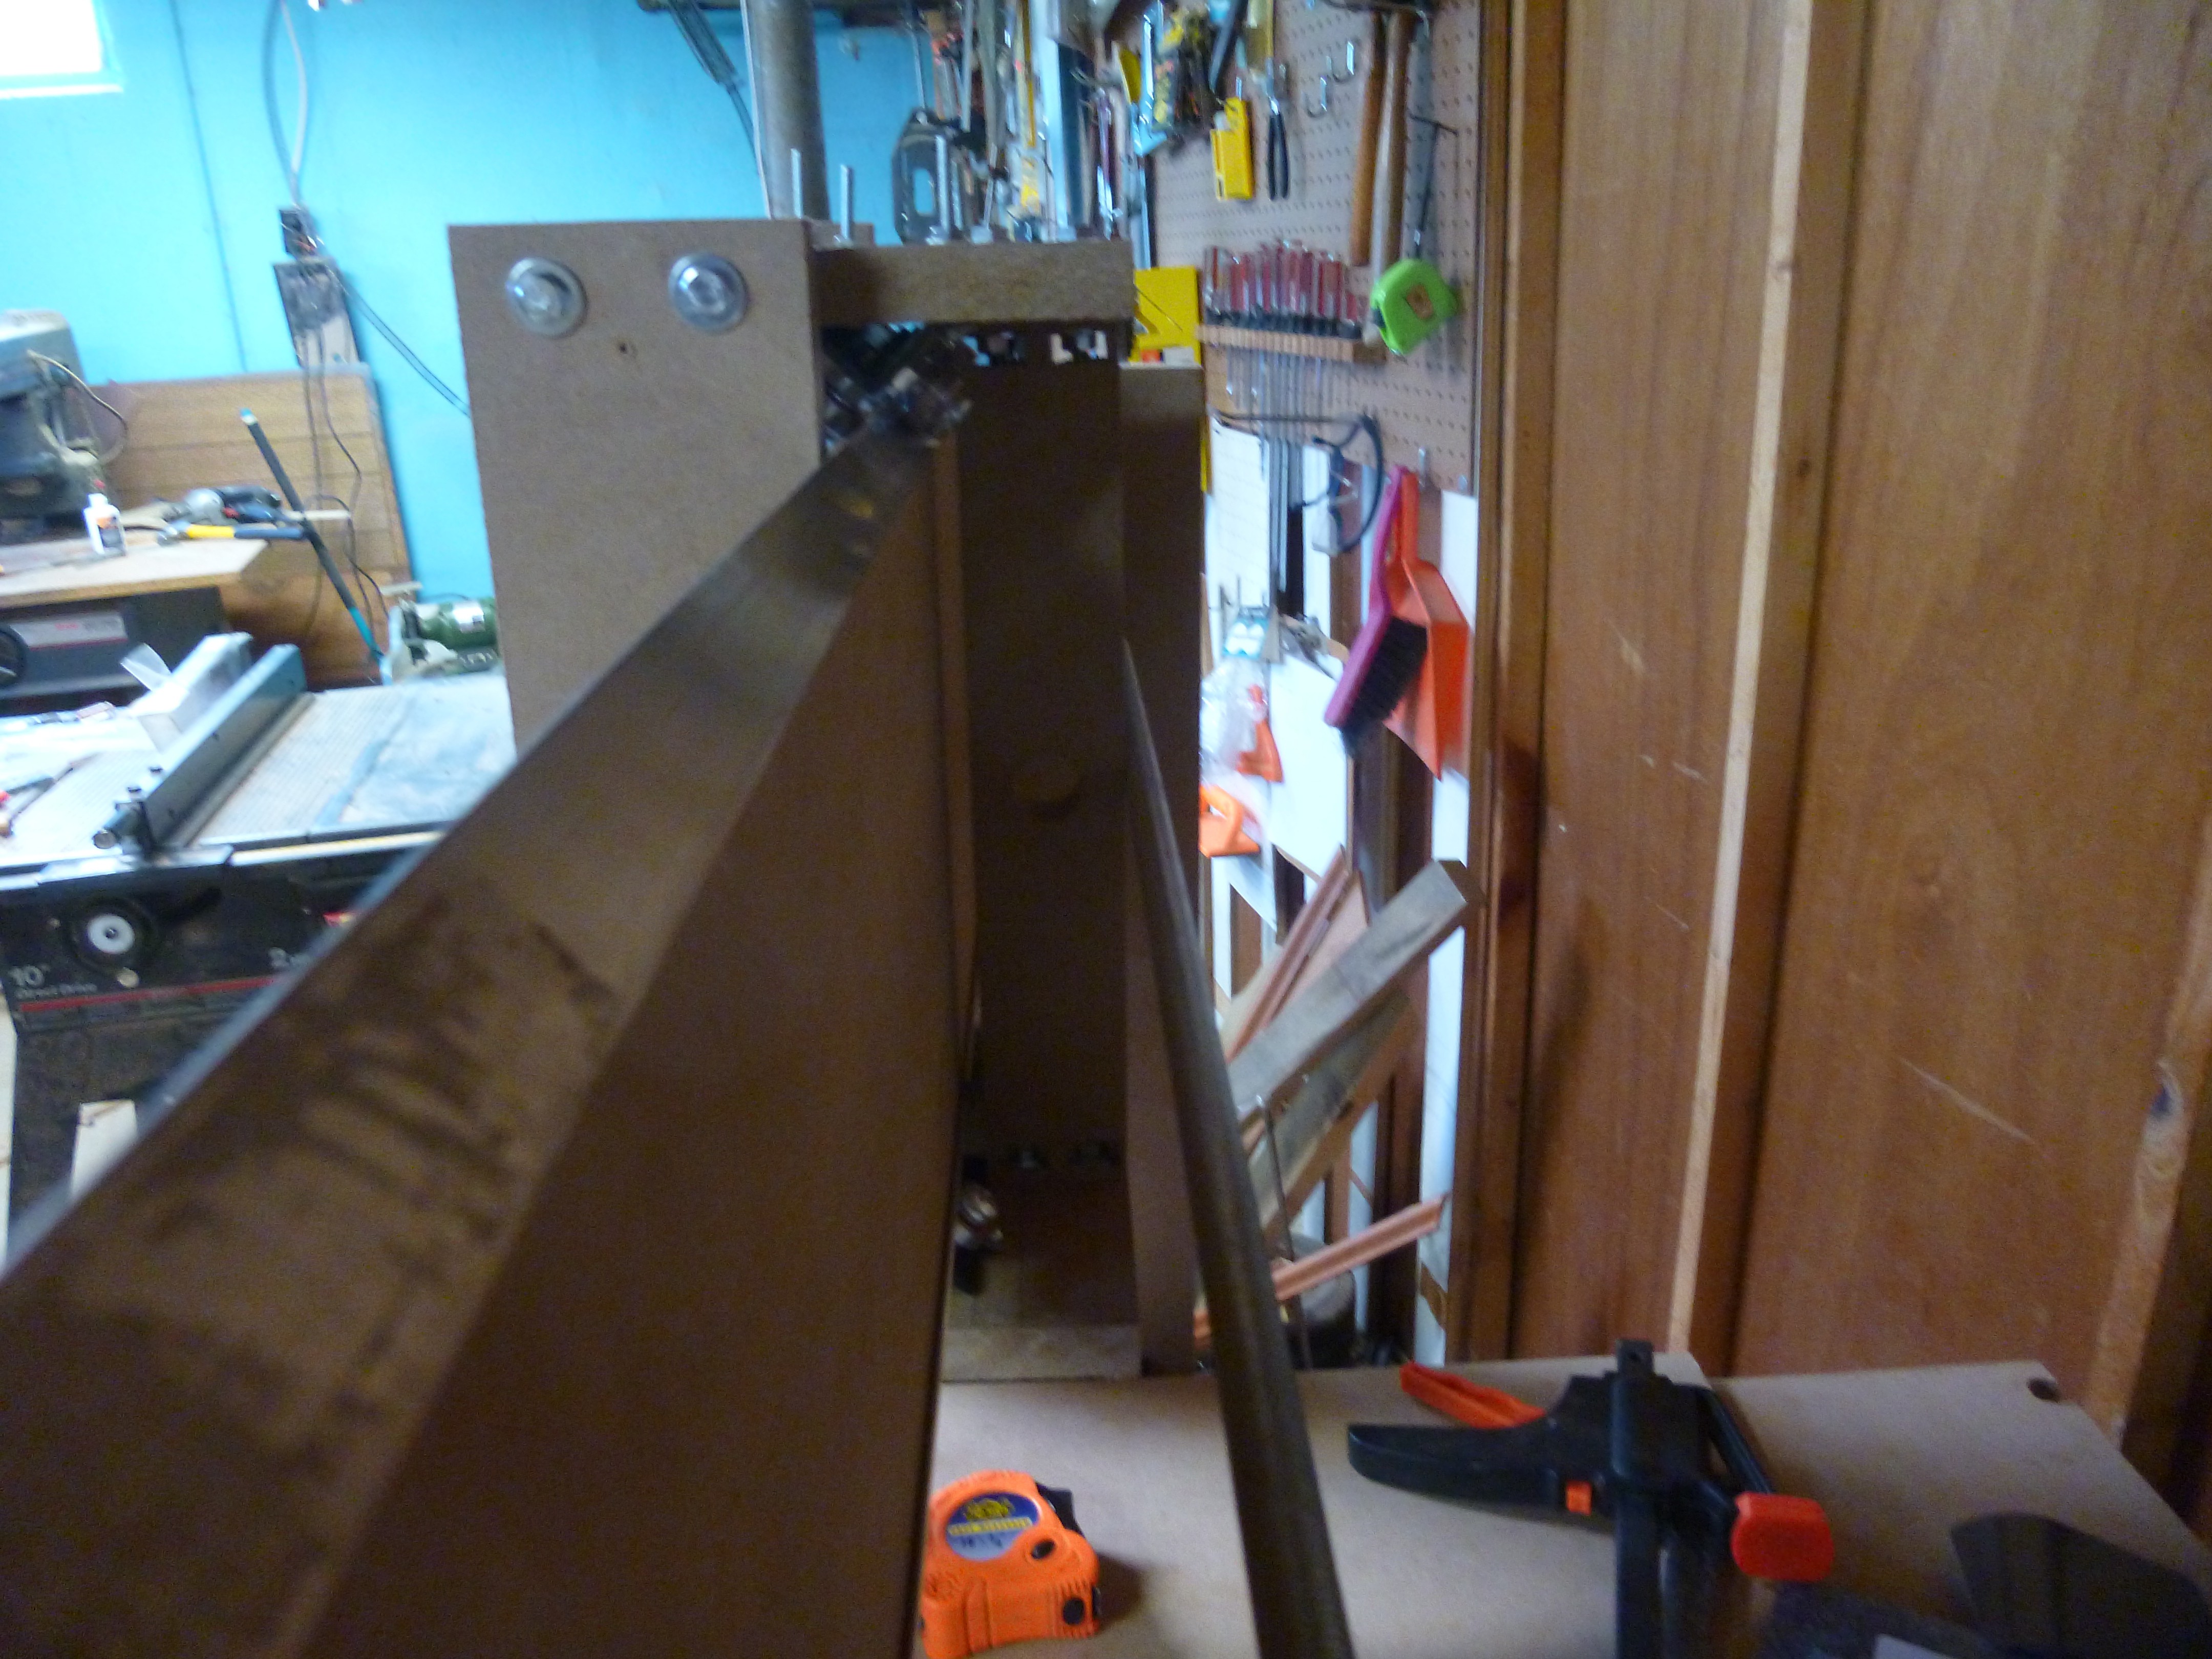 Ill (stupid sans-serif font) I will fix this when I pull apart the mill for painting.
 While disassembling the mill for painting, the first thing I pulled off was the right side of the x axis. this of course let the rest of the gantry rotate to the left, and crash to the ground. during this collision, the x nut mount and the y track plate broke and needed to be rebuilt.
To transfer over the hole locations for the stepper motors, I first marked the center of the stepper location. Then using a printout of the whole guide, I marked out where the bolt holes should go. To see the center mark, I sprayed the guide with WD-40.
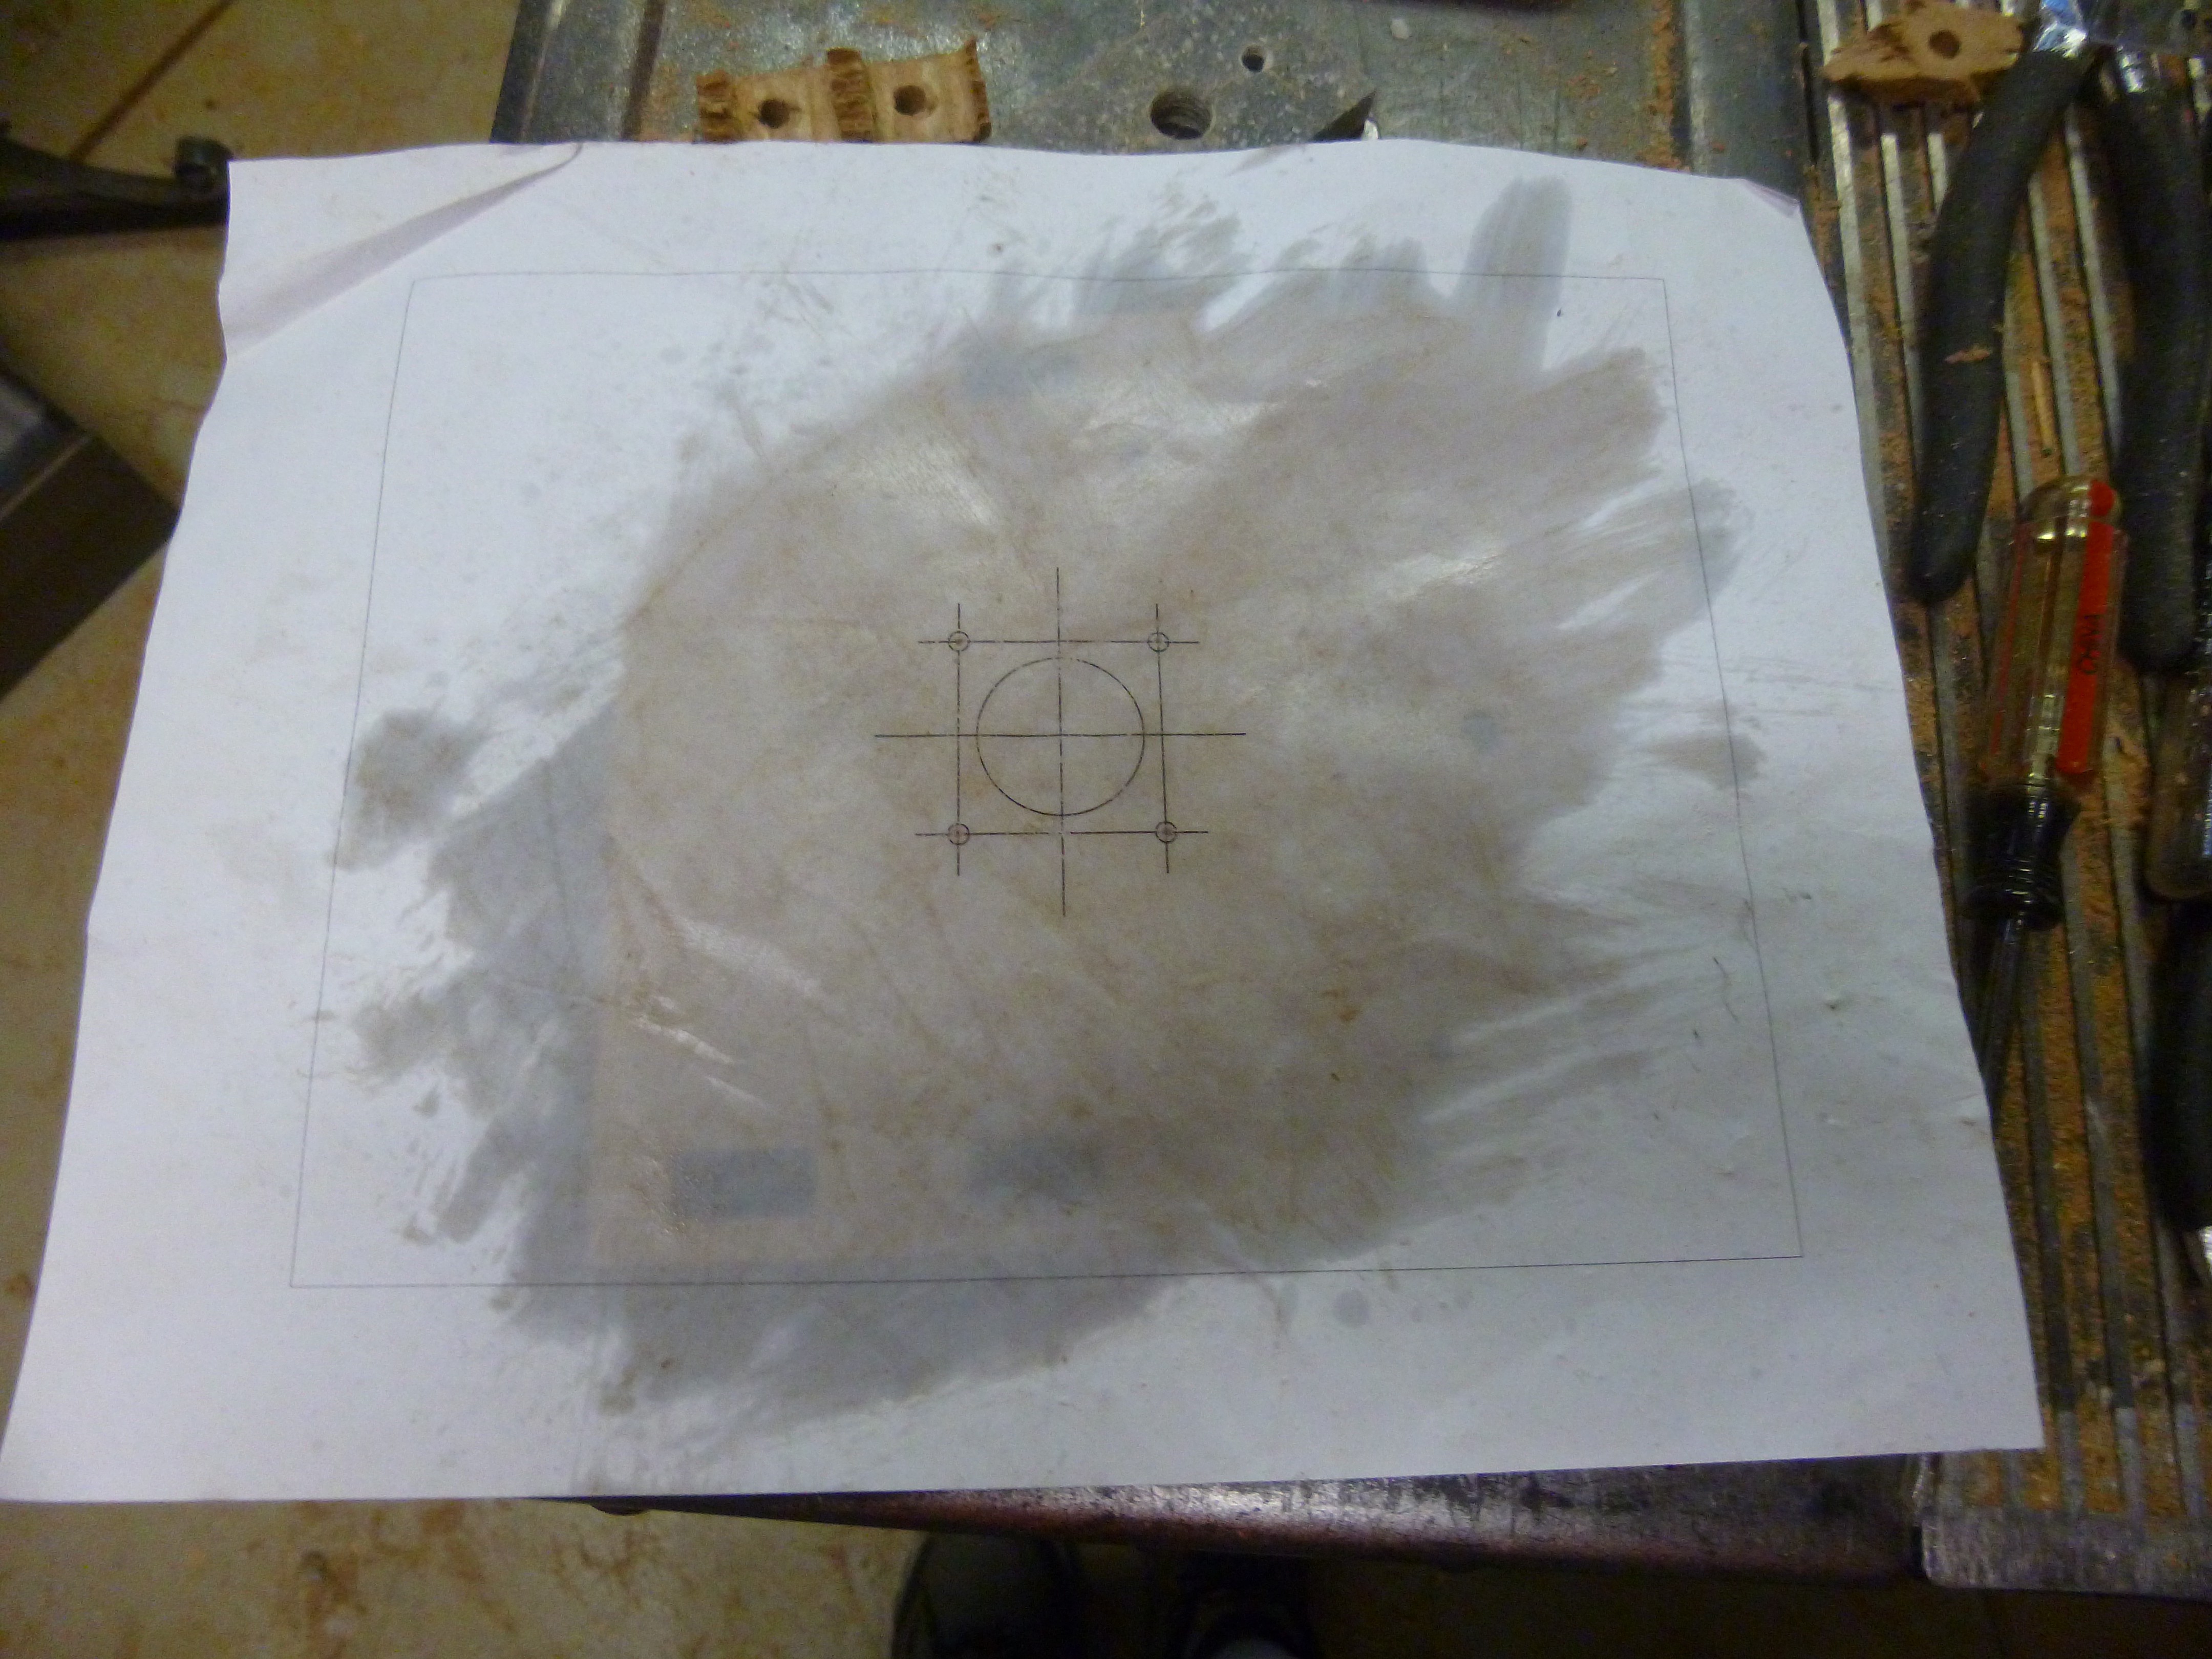 This makes the paper transparent, however it also stains the MDF.
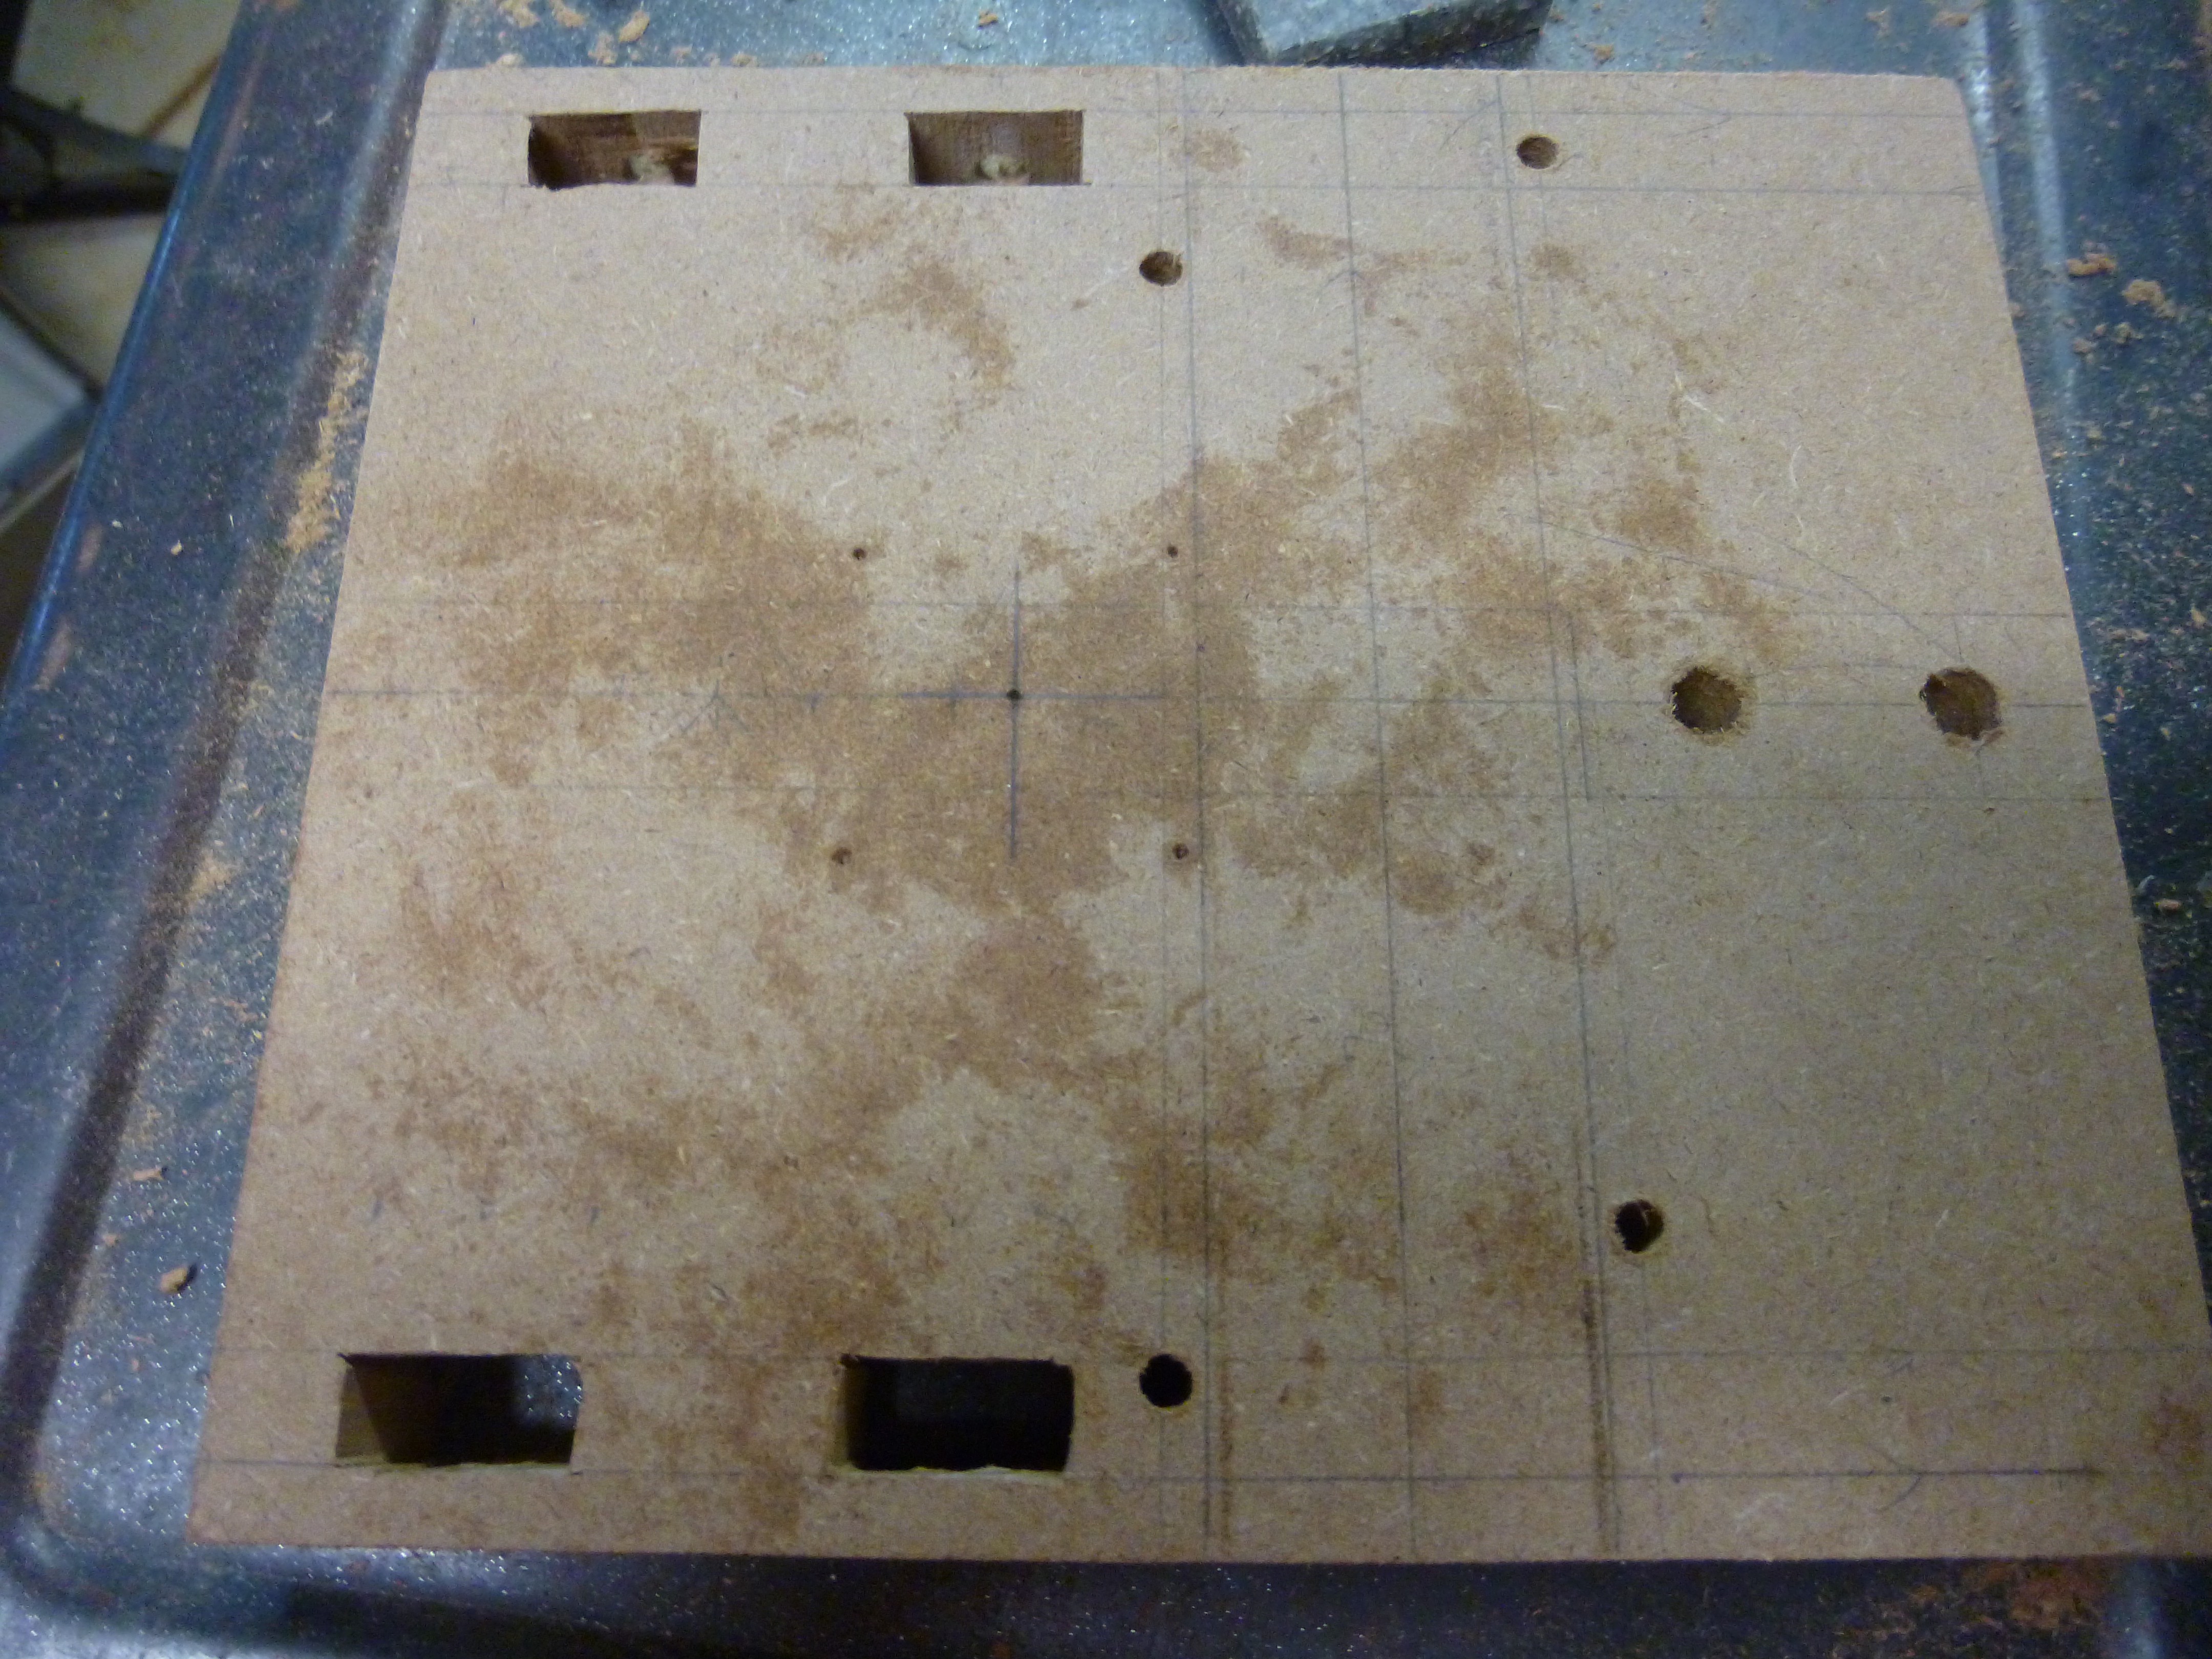
Hopefully, this won't mess up the paint.
When we meet again, I hope to have completed the painting, and be ready to get the mill up and running.
 Steel_9
Discussions
Become a Hackaday.io Member
Create an account to leave a comment. Already have an account? Log In.