Close
0%
0%

Flying Sniffer

Sensors mounted on a drone connected to a robust data infrastructure, for pollution monitoring, wild fire prevention and CBRN defense.

Similar projects worth following
This project implements environmental sensors mounted on a drone, backed up by a robust data infrastructure, to help with pollution monitoring, wild fire prevention and CBRN (Chemical, Biological, Radiological and Nuclear) defence.
It's purpose is to use the versatility of a flying platform to map environmental parameters in places previously unaccessible, while minimizing assessment times.
The drone uses a long range wireless data connection to call back home and report measurements, with the flight plan being preprogrammed or transmitted via the radio link in realtime. A semiautomated mechanism allowing 24/7 operation is planned, with automated drone recharge before taking off to map the next area of interest. The radiolinks are implemented via GSM and/or LoraWAN.
The sensors include electrochemical sensors for specific gases, Particulate Matter sensors for pollution levels and wild fire detection, radiation sensors for radioactive contamination.

The project takes advantage of the great movement agility of a quadcopter in 3D space, to measure various environmental parameters.  Here is a demo video:

The major components of the construction are:

1. Quadcopter platform

This is the flying unit itself, and needs to offer good stability, high autonomy and long radio link for flight control and data exchange. One option is smart onboard flight control software, for semi-autonomous decisions and return to base failsafe mechanisms. To be able to complete the work in a reasonable amount of time, the options here will be simplified.

2.Sensor array

Several air quality sensors, including electrochemical sensors to measure various gases responsible for pollution, that can impact the environment or the human health

3.Data link

A way of storing data or a radio link system to return the readings to base in real time. Values must be paired with GPS coordinates.

4.Server backend and GIS frontend

A way to store and visualise the data collected by the system. Ideally this should be integrated with the flight control software, to allow covering the zones of interest automatically.

For the quadcopter I went for a ZMR250 unit, it is low cost and very hackable. One disadvantage is this is a racing drone. For the sensor array I will design a separate board with low power sensors adding as many of them as possible while keeping the battery life high. The Data link should be a serial modem with at least 2km of range in open space, but if that won't be possible, I'll be either using LORA or store the readings on board on an SDCARD. The server backend will be the uRADMonitor server, developed since the # Global radiation monitoring network project.

  • 1 × ZMR250 chassis Versatile quadcopter carbon fiber design
  • 4 × 2030KV brushless motors
  • 4 × ESC 20A motor controllers
  • 1 × SPRacing F3 Deluxe FC Flight controller board
  • 1 × UBLOX M6N UART GPS Module

View all 9 components

  • The first successful tests

    Radu Motisan10/19/2017 at 18:53 0 comments

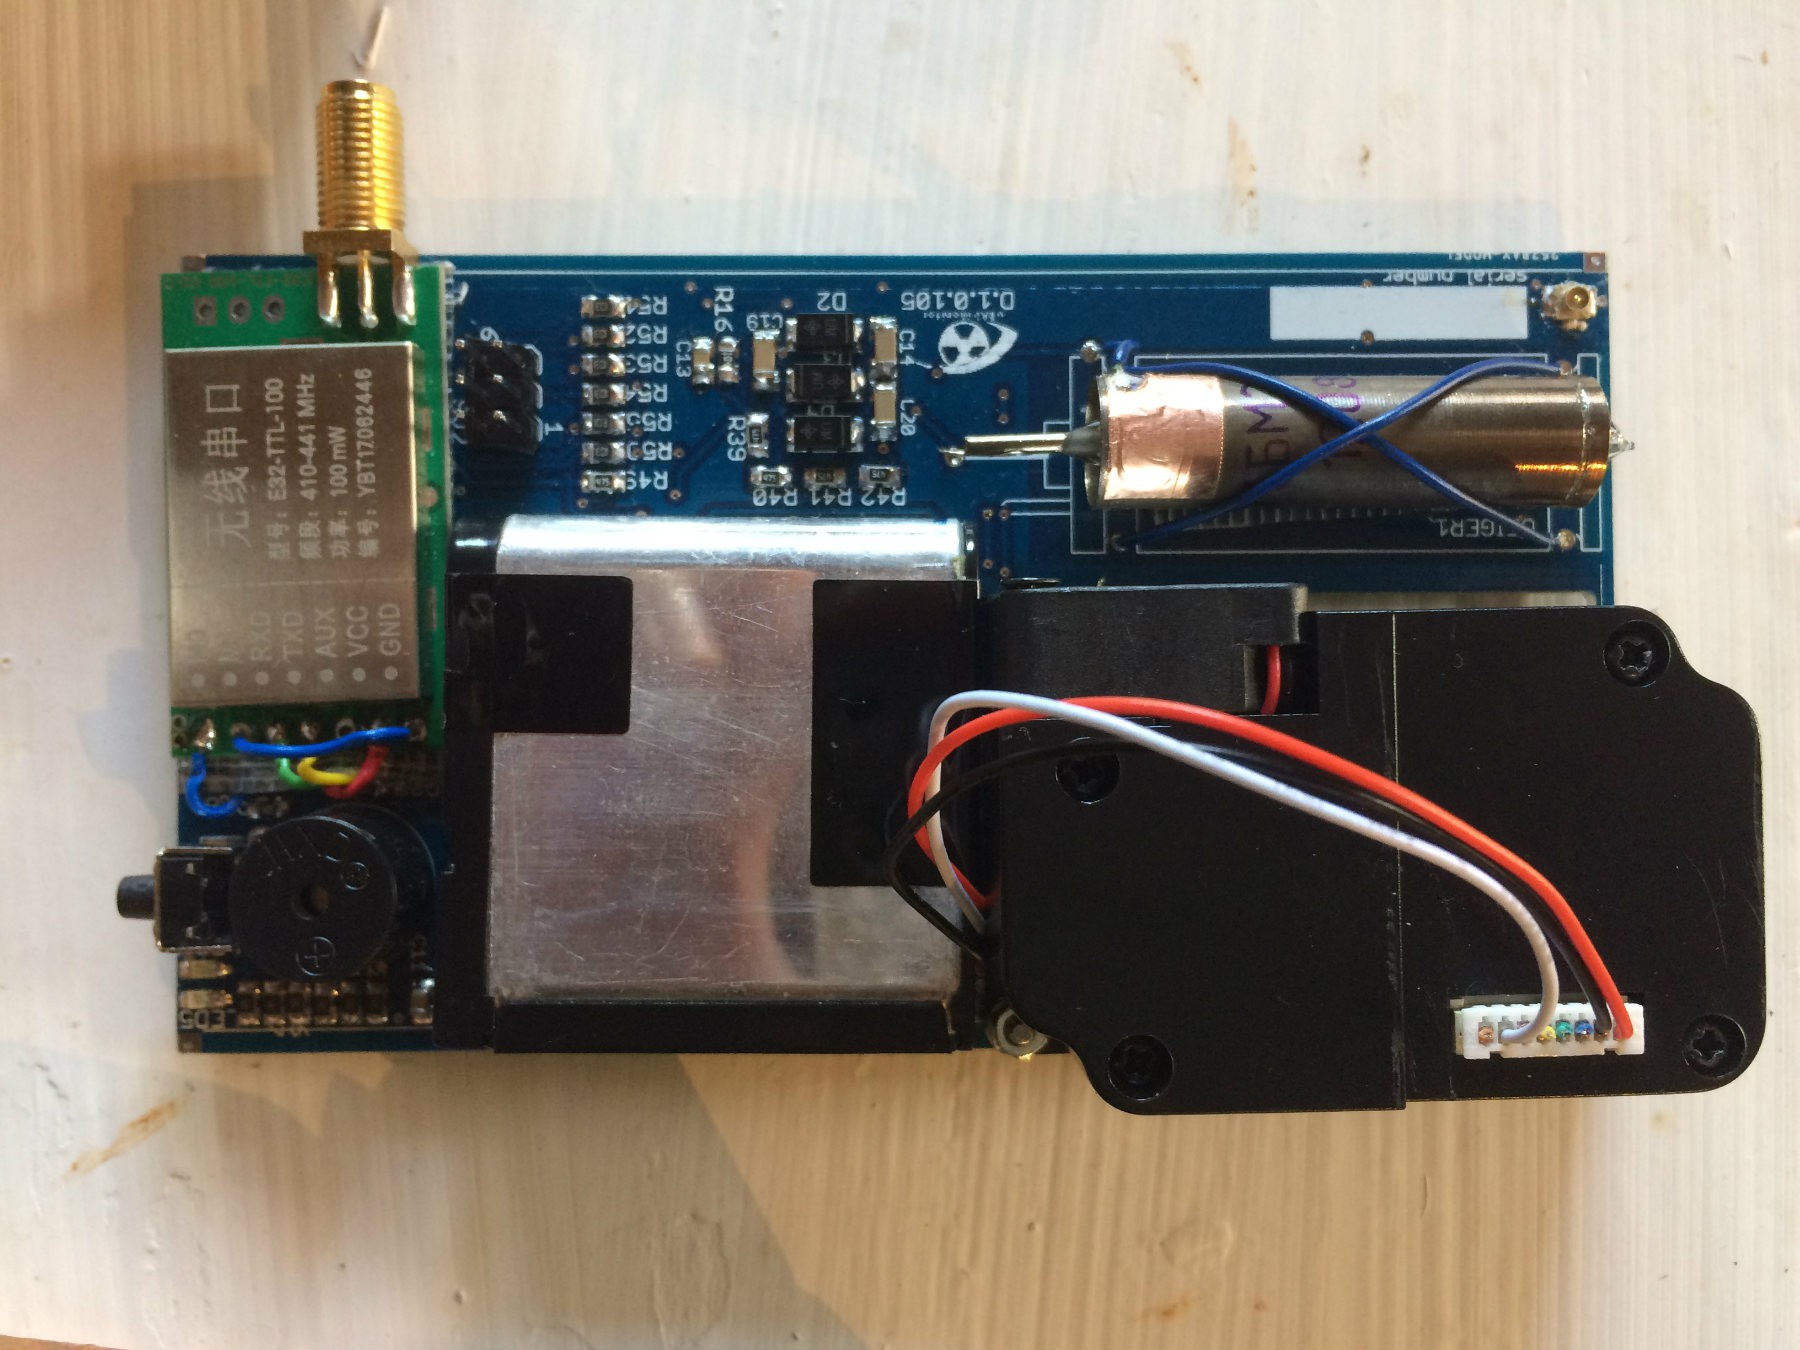
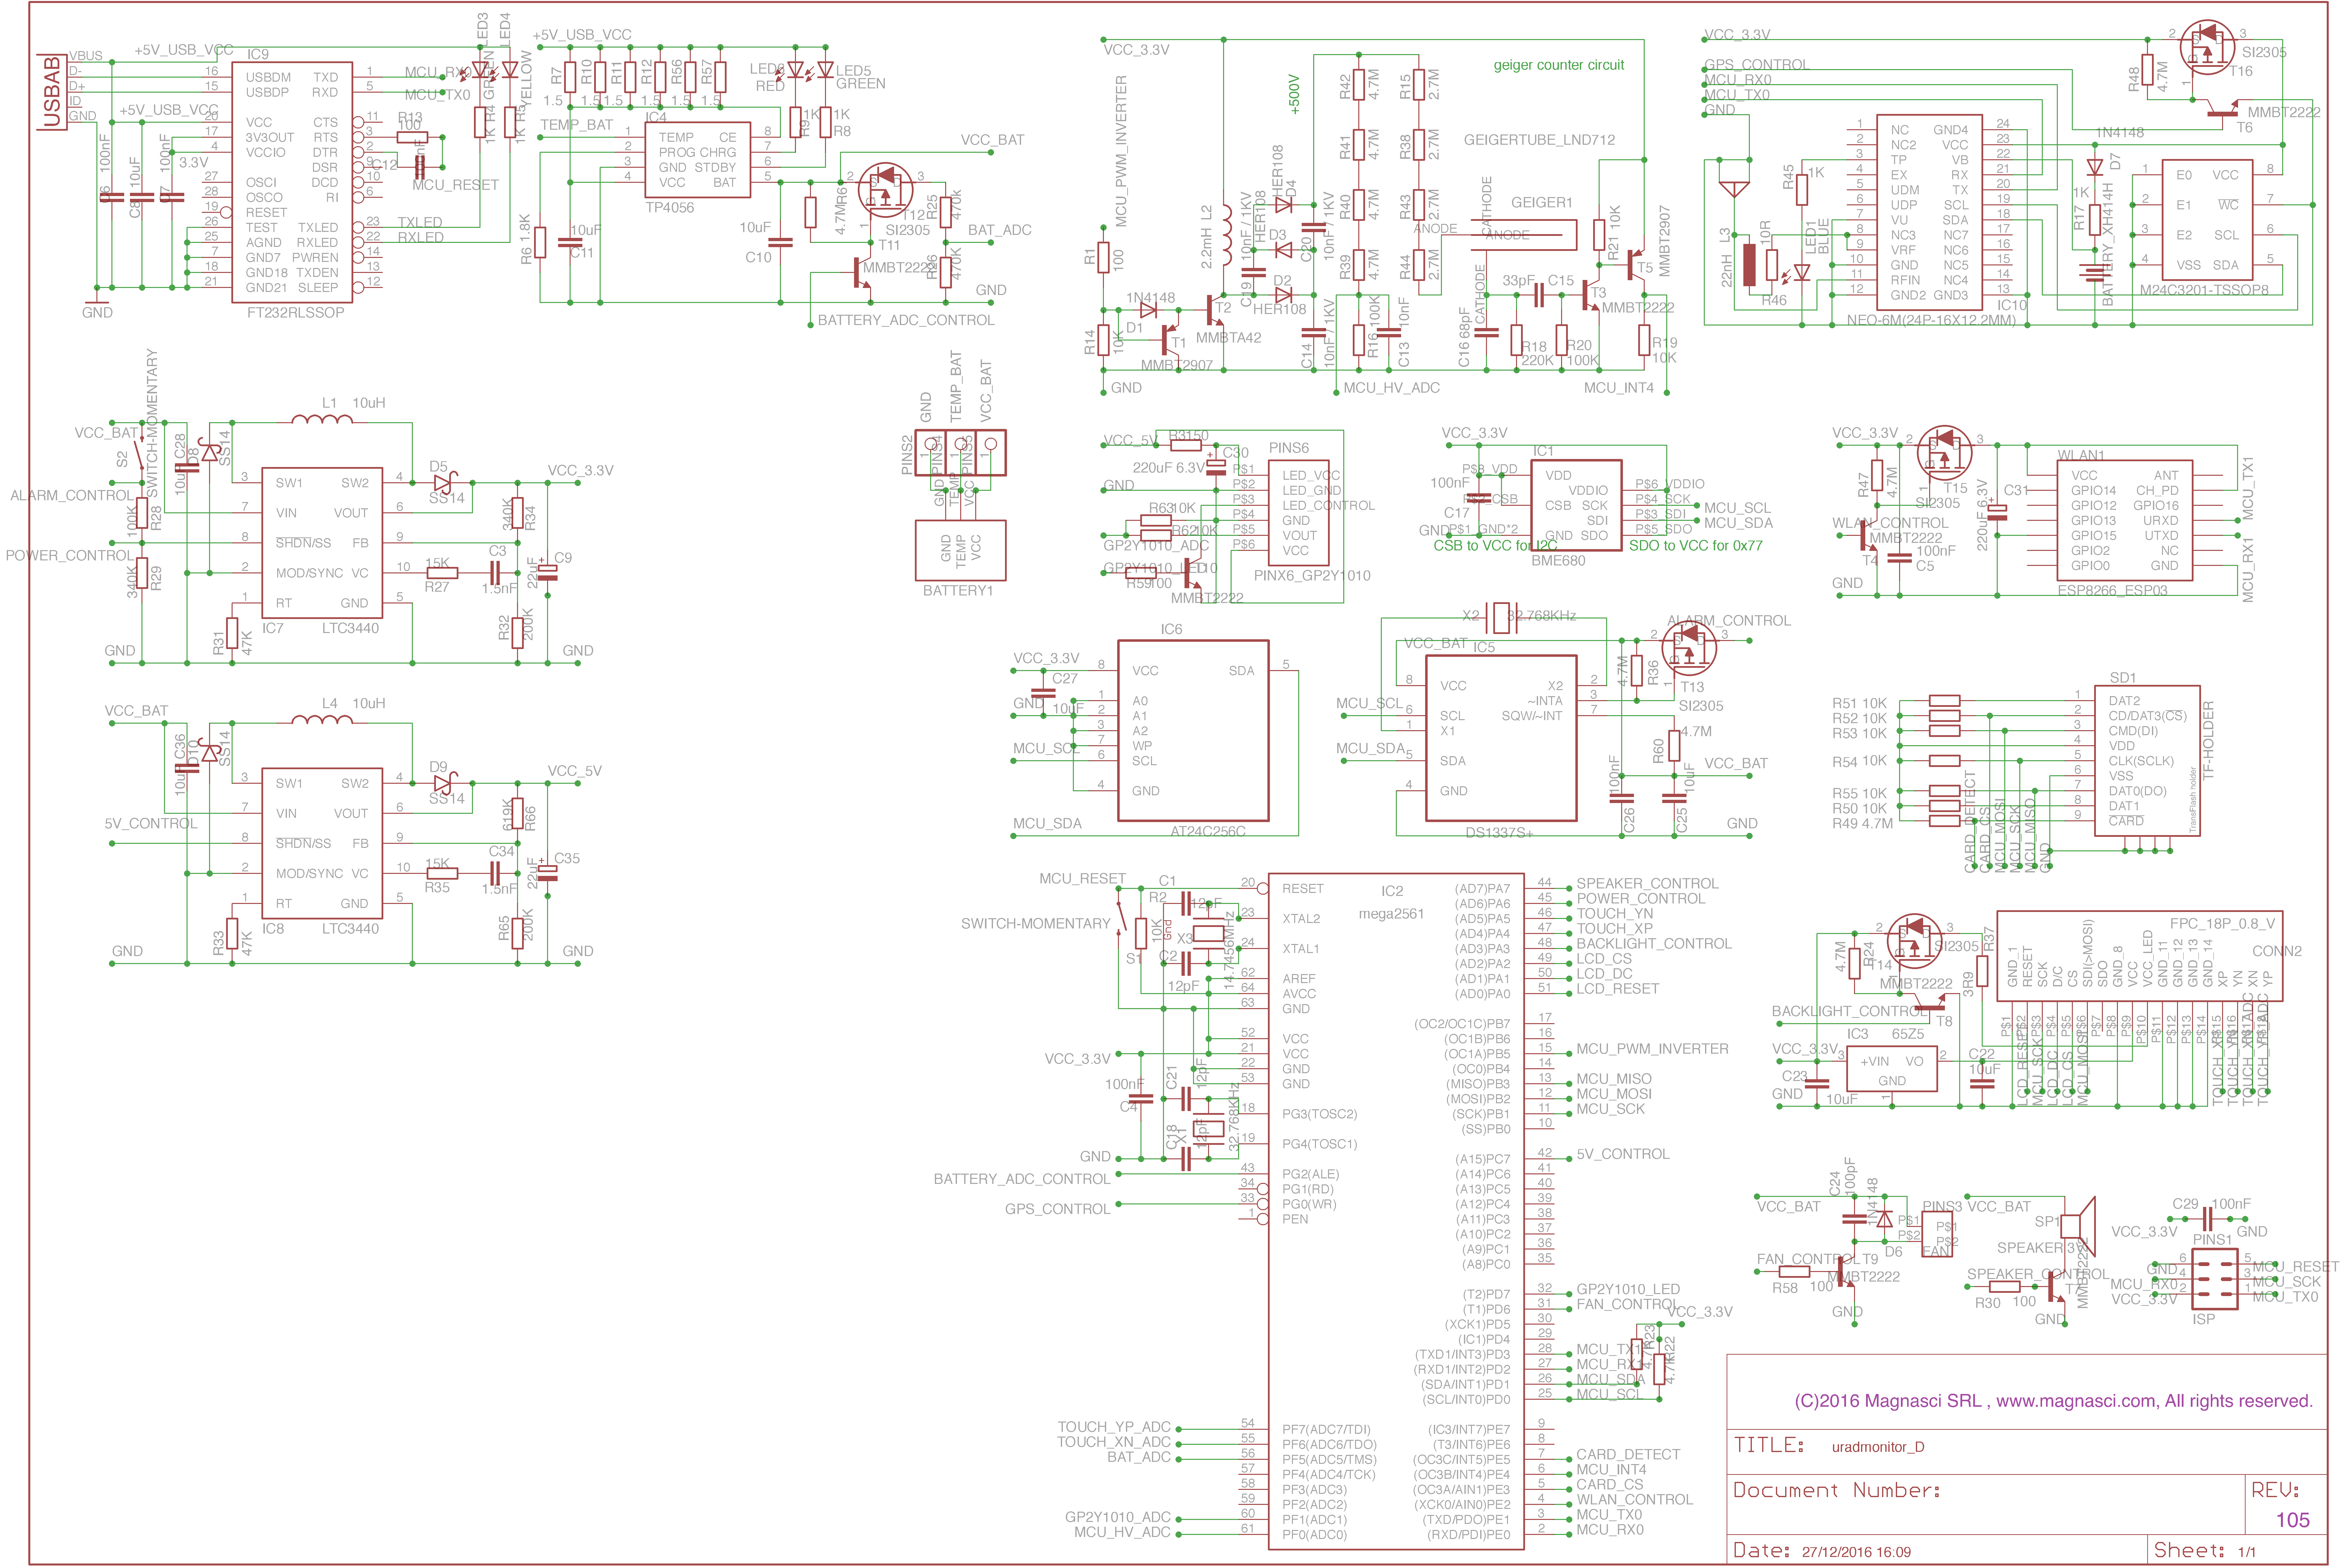
    As presented in an earlier log, I reused some of my previous PCBs designed for the portable environmental monitor, Hackaday Prize Finalist in 2015. These boards were excellent for airborne applications as they were battery powered, small, low weight, had many sensors and also an SDCARD and a GPS receiver onboard. So with a few modifications, I changed the Wifi module to a serial Radio transceiver to send data to the ground station. Here's the result:

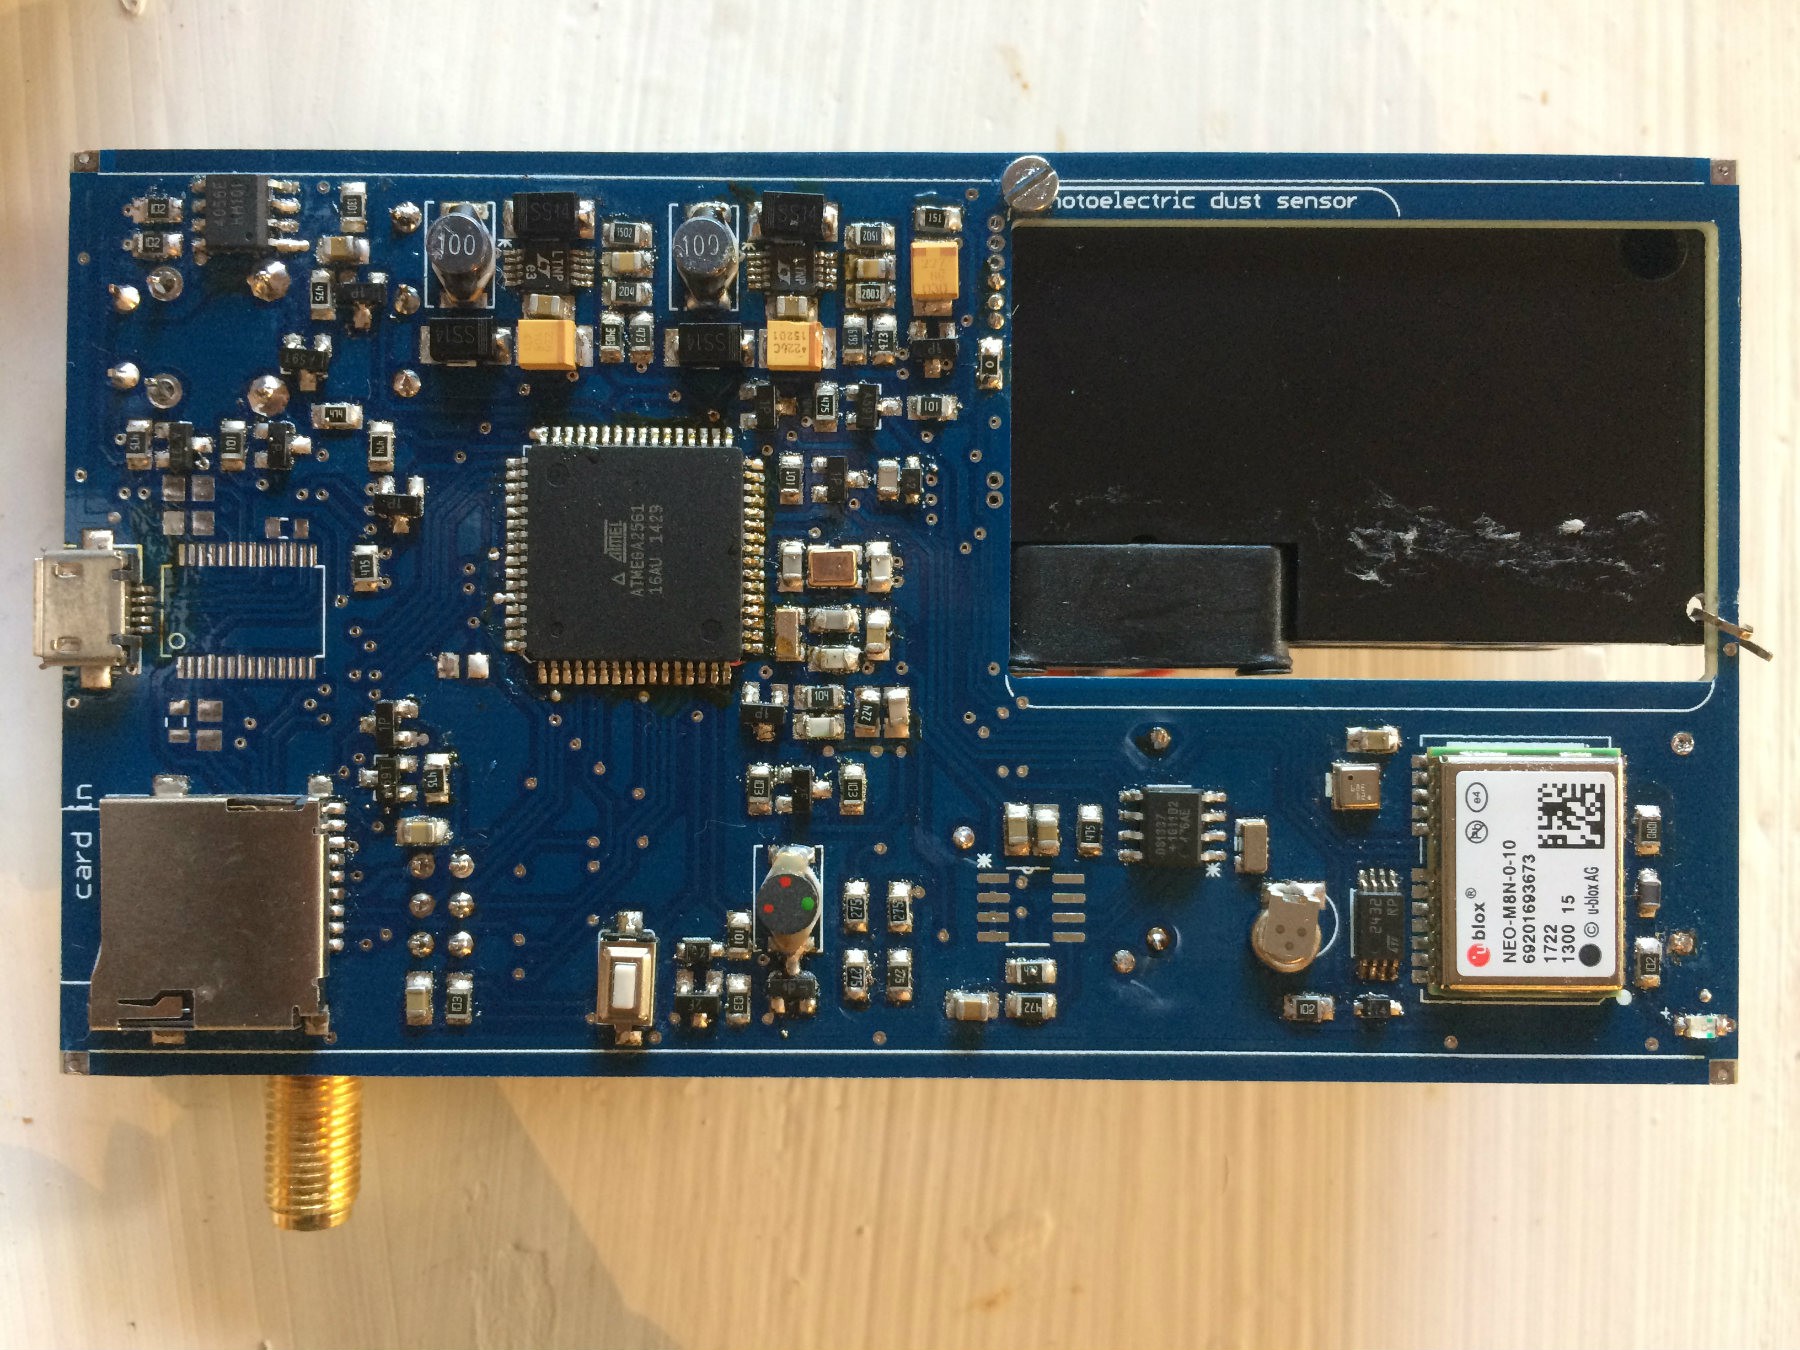
    And the bottom side:

    After getting the drone to fly, I had everything in place for the Flying Sniffer to do its job. Here's a demo video with the first results:

    Check out the REPO at Github for more details if needed.

  • #Balccon2k17

    Radu Motisan10/19/2017 at 17:17 0 comments

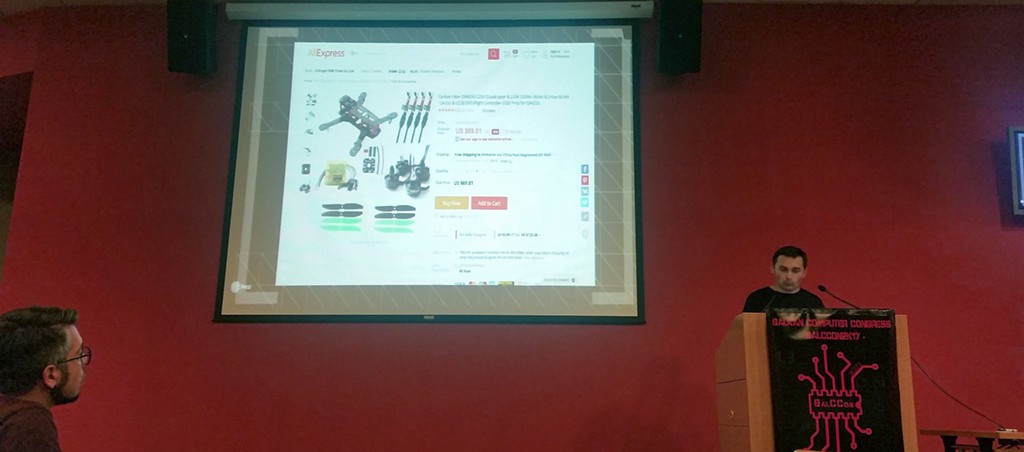
    It was my pleasure to participate as a speaker to #Balccon2k17 in Novi Sad last month. My presentation was on the #Flying Sniffer, the airborne air quality monitoring platform part of uRADMonitor.

    I presented the reasons for building such a tool and the technical obstacles in achieving this scope. More on this event on the blog:  https://www.uradmonitor.com/balccon2k17

    The presentation itself is available on Prezi.

  • The sensor array and the data link

    Radu Motisan07/24/2017 at 06:29 0 comments

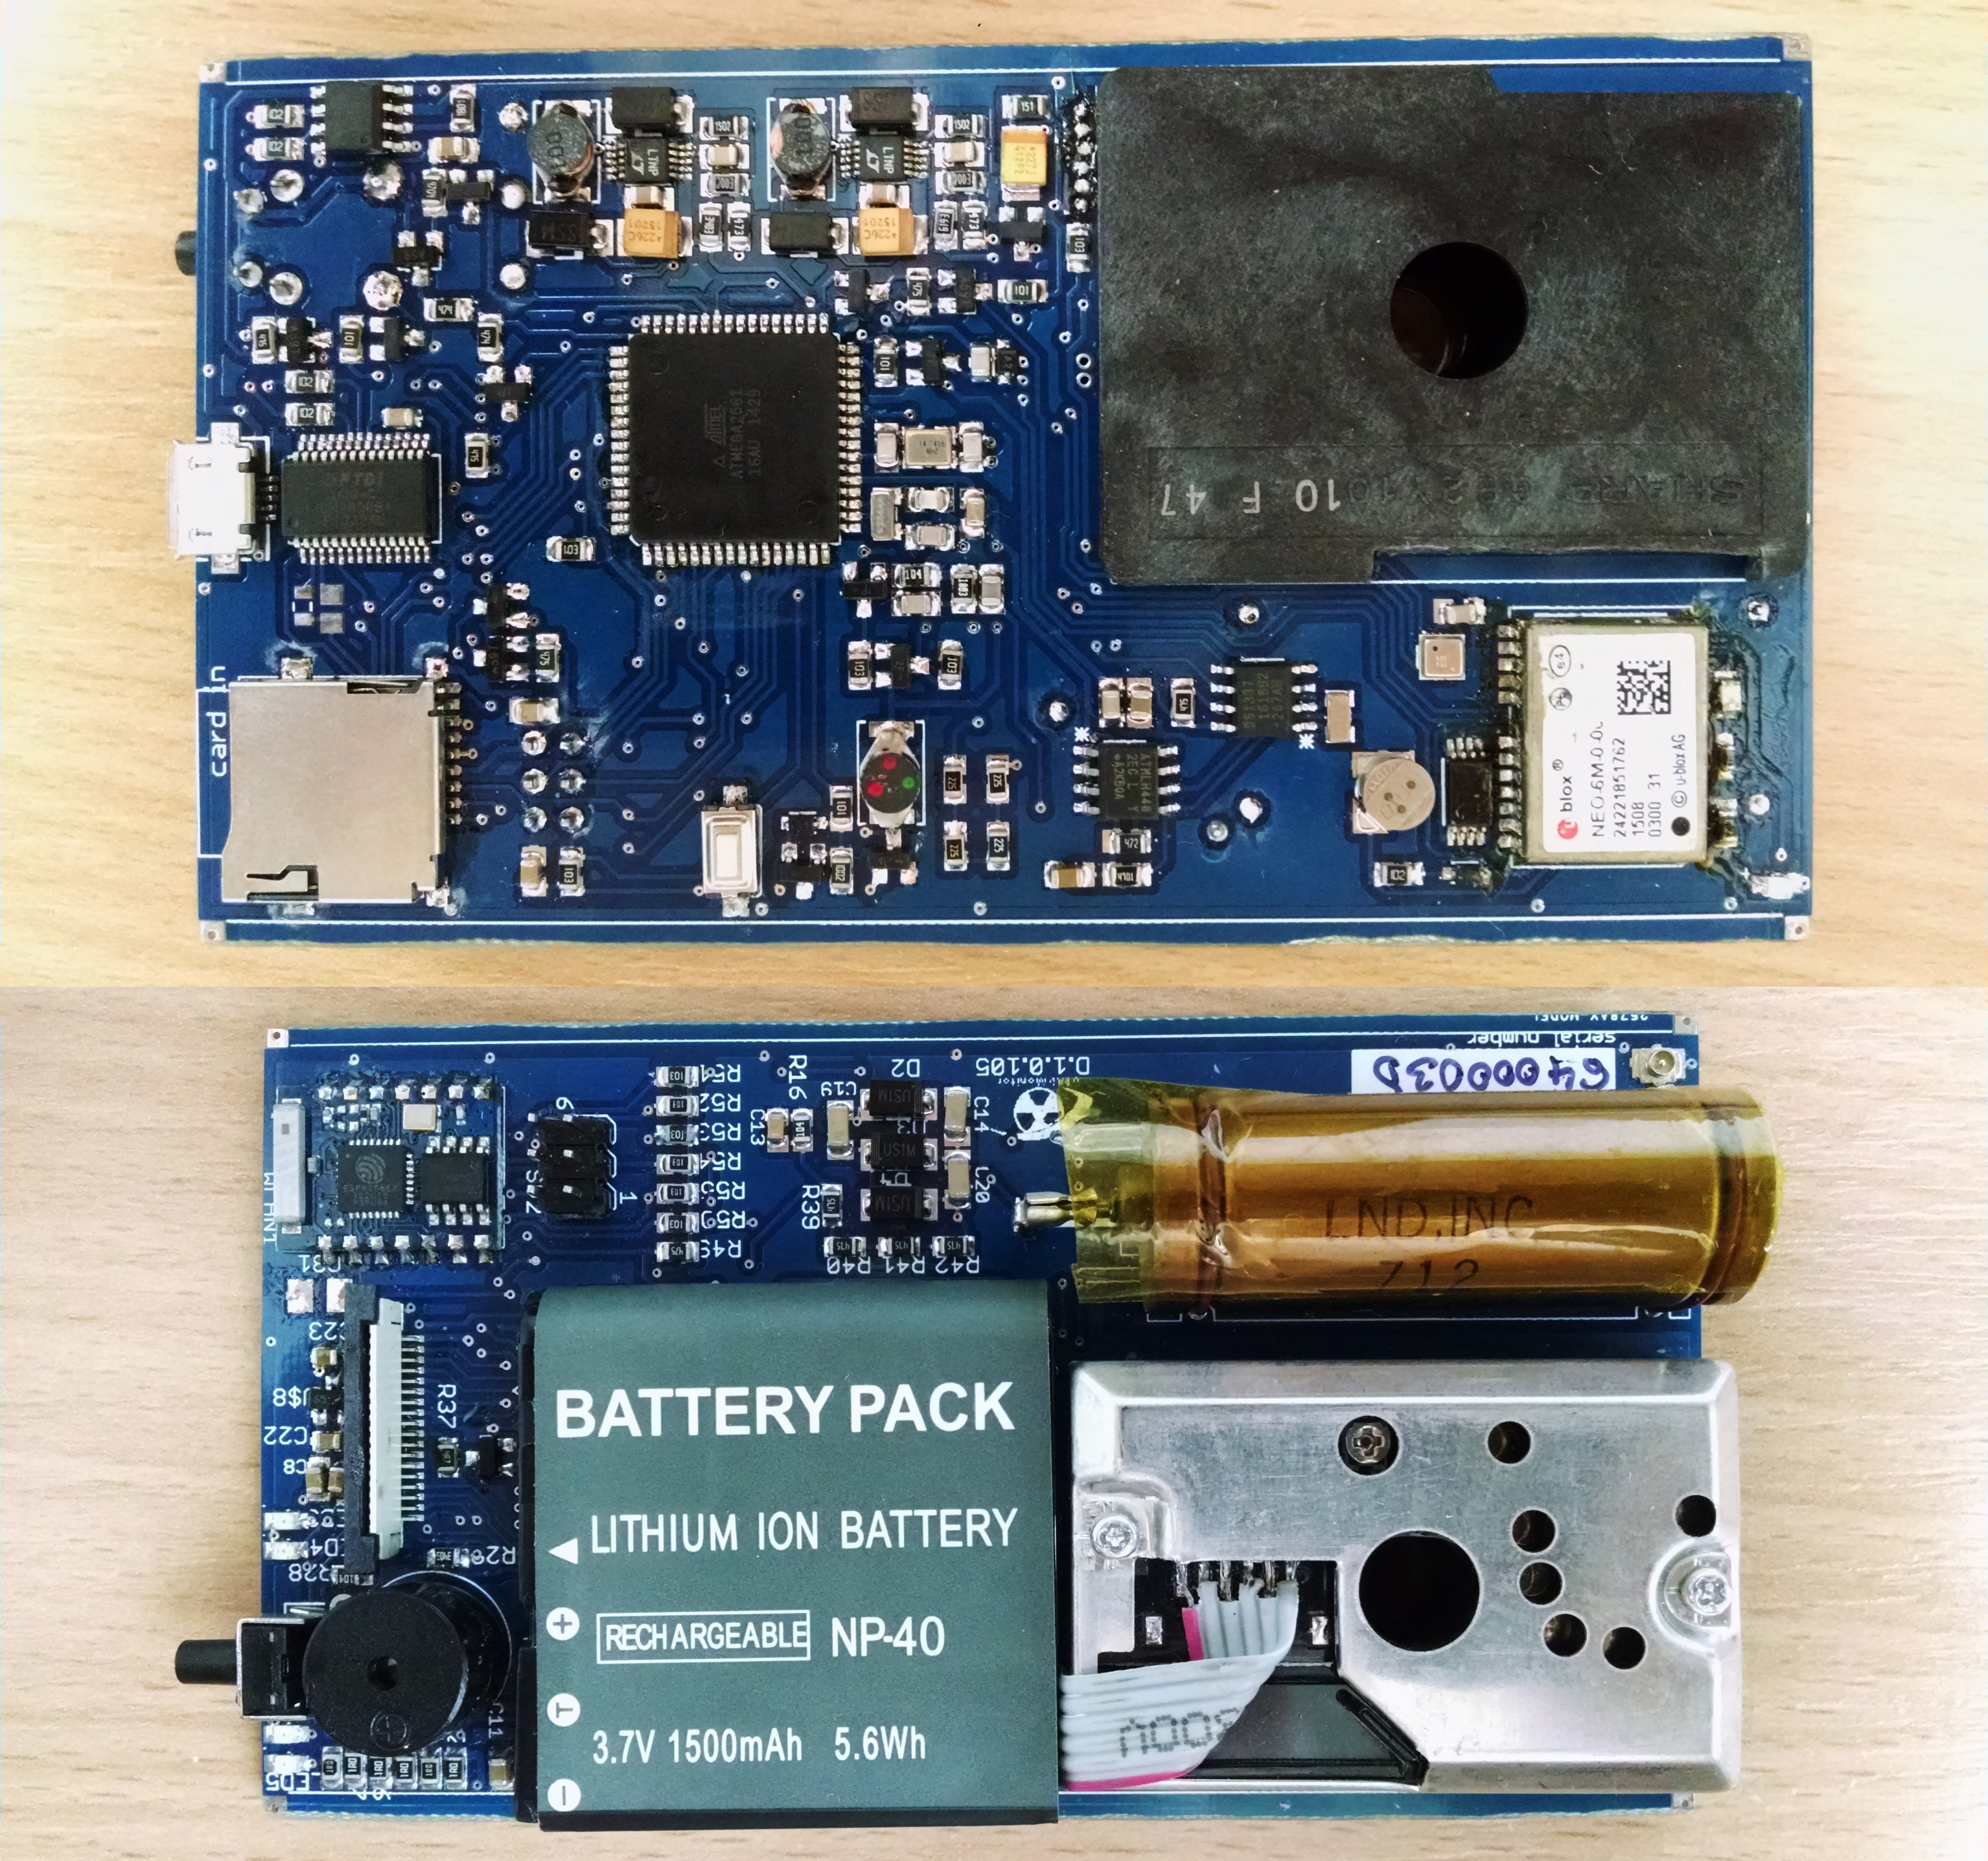
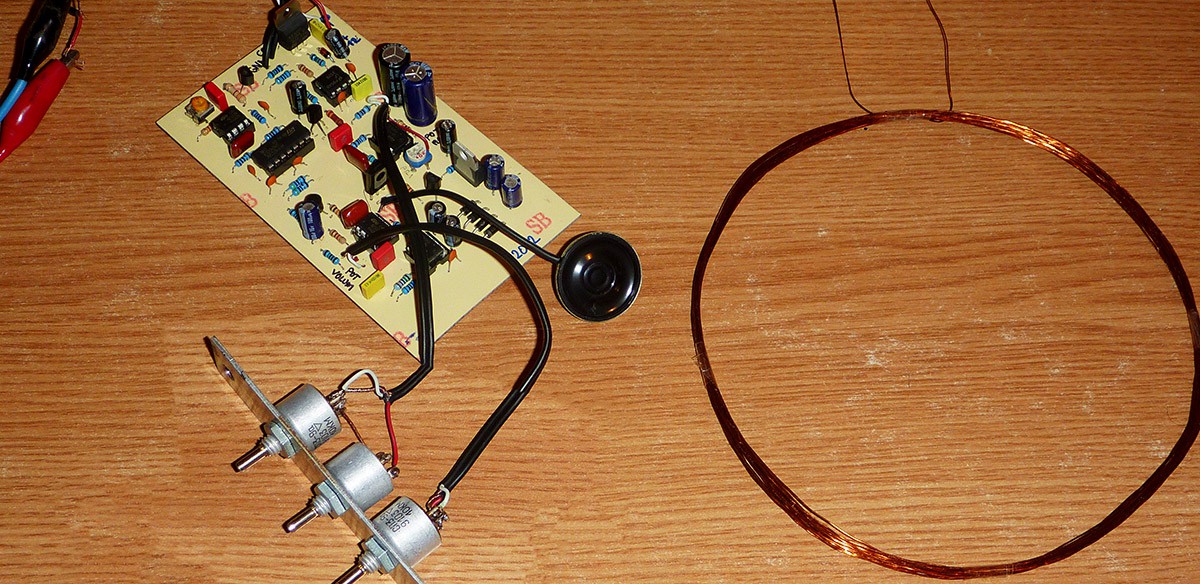
    I spent some time considering the design of a PCB that can fly, having both a battery (separated from the drone system), a separate GPS receiver, sensors and a long range wireless serial modem. Then on my work desk I saw this:


    It is the populated board of a #Portable environmental monitor , that in its last iteration has everything I need, and also a SDCARD slot as a bonus, should radio data links not be possible right from the start. Surely, the LND712 tube is not fit for drone flight due to it's mechanical fragility, so it will be replaced, and the ESP8266-ESP03 will be removed in favour of a long range serial wireless module, but the good think is I'll be able to share the VCC / GND / TX / RX pads already on the PCB. As for the sensors, I'll be able to fit additional sensors as permitted by weight.

    So all in one these boards already do what I need, they don't have the right form factor, but that because a detail considering how much time I can save reusing them.

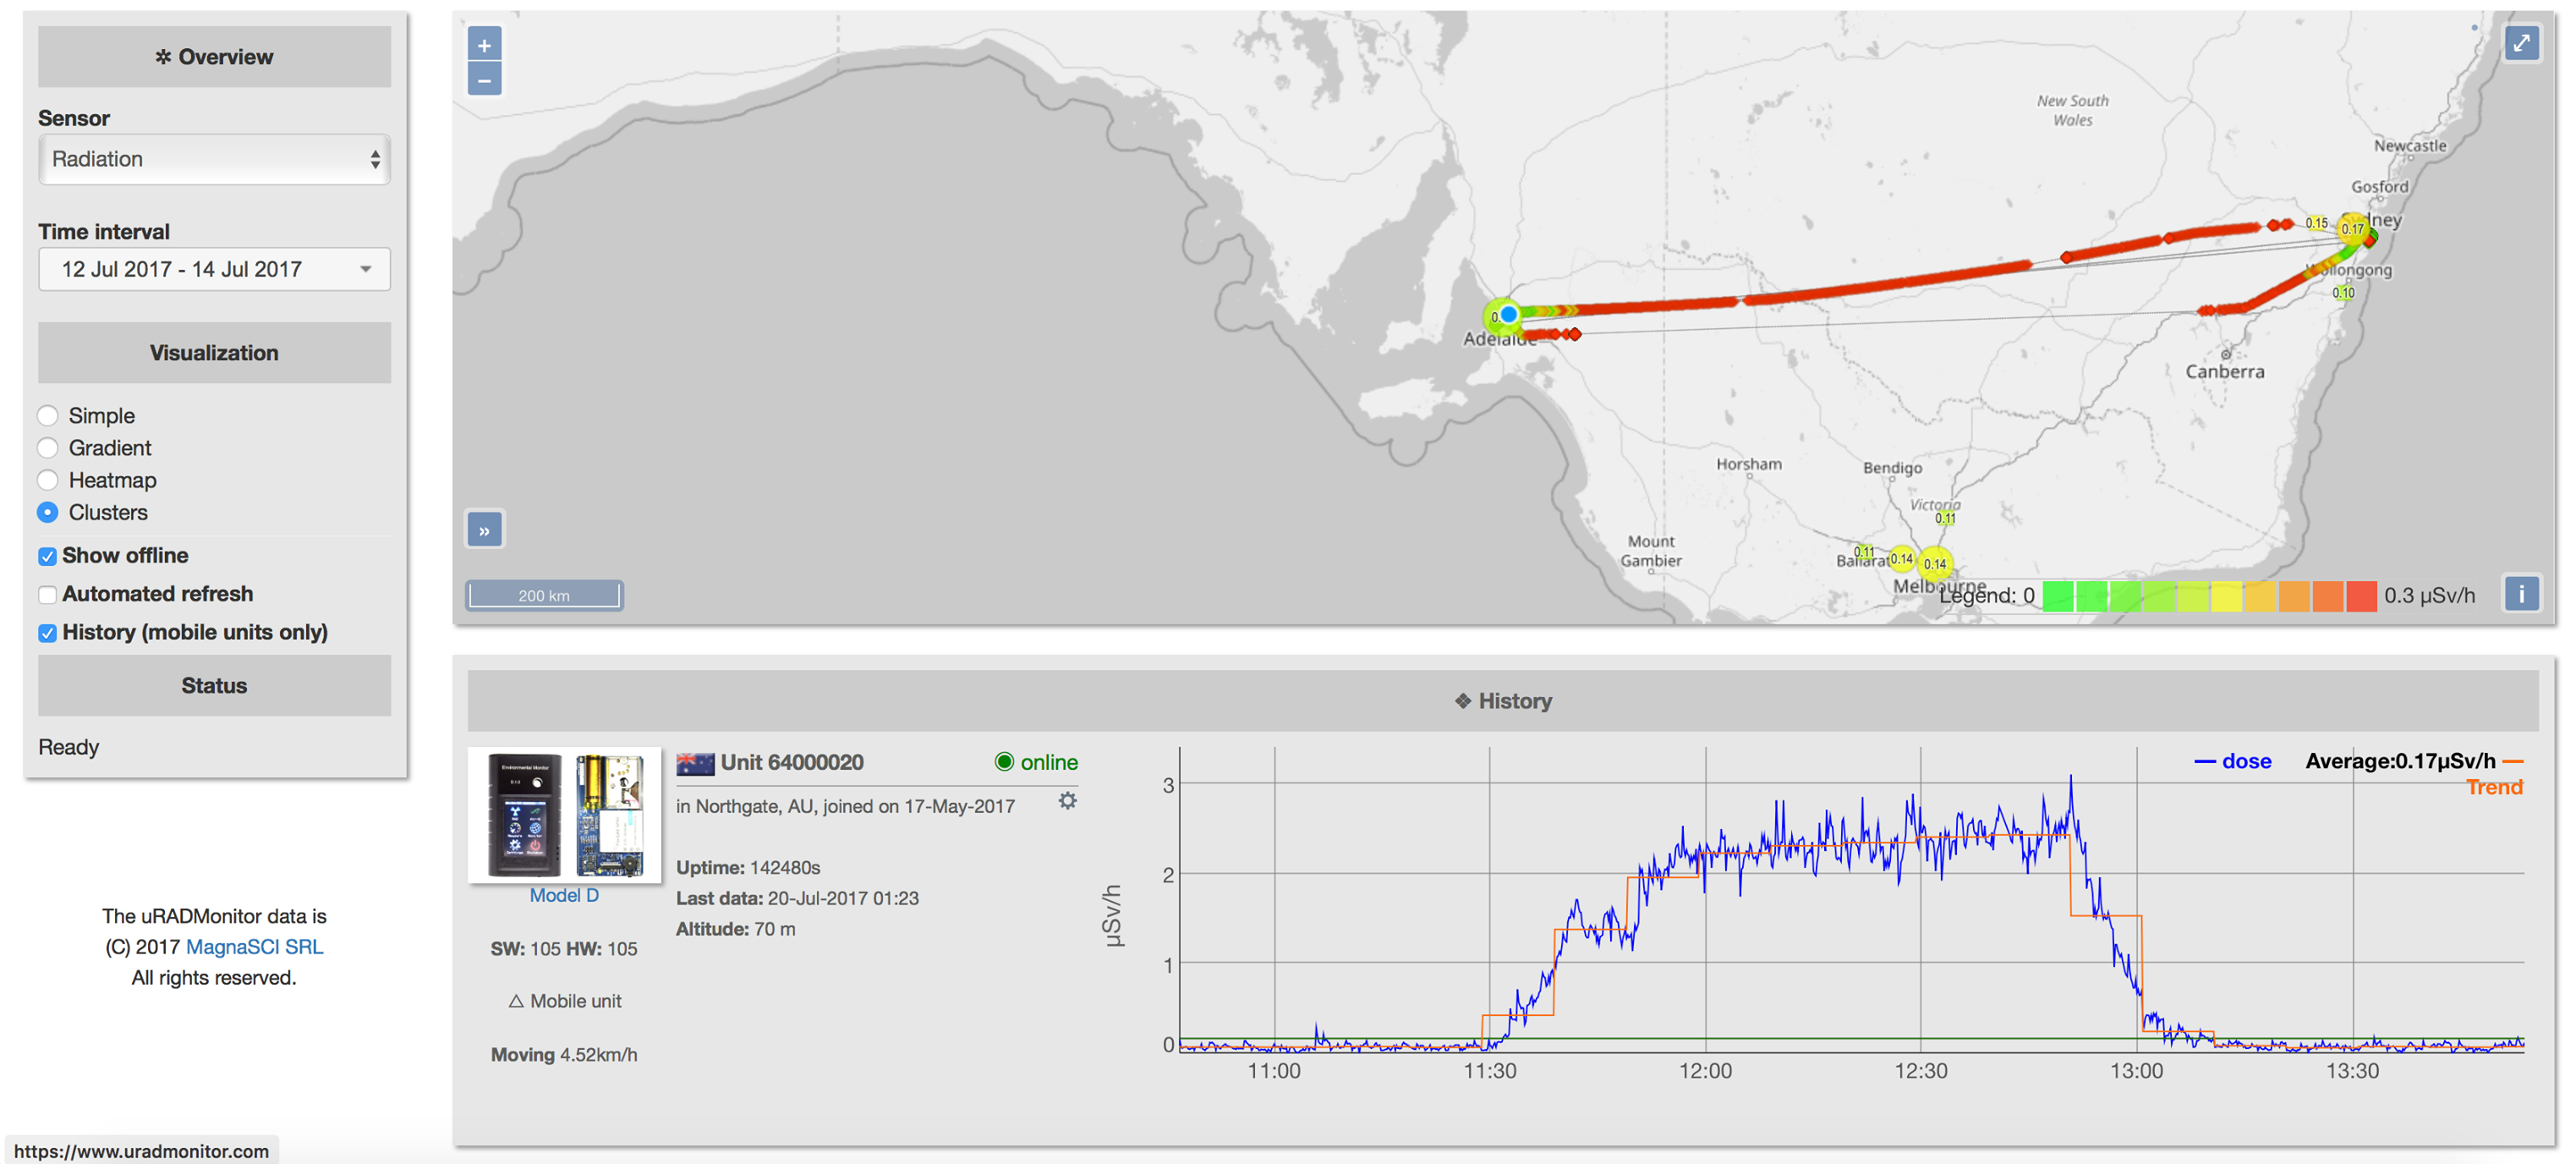
    Here's an identical #Portable environmental monitor taking a flight from Sydney to Adelaide. The data shows the elevated radiation readings as expected, due to the increased cosmic radiation:

    I plan to get very much the same but using the drone platform for 3D space access.

  • Building the drone - part2

    Radu Motisan07/16/2017 at 17:10 0 comments

    So many things to do, but so little time. I went for a 2200mAh battery I found in the local market (just an aliexpress import sold at twice the price, but hey, I needed it fast).

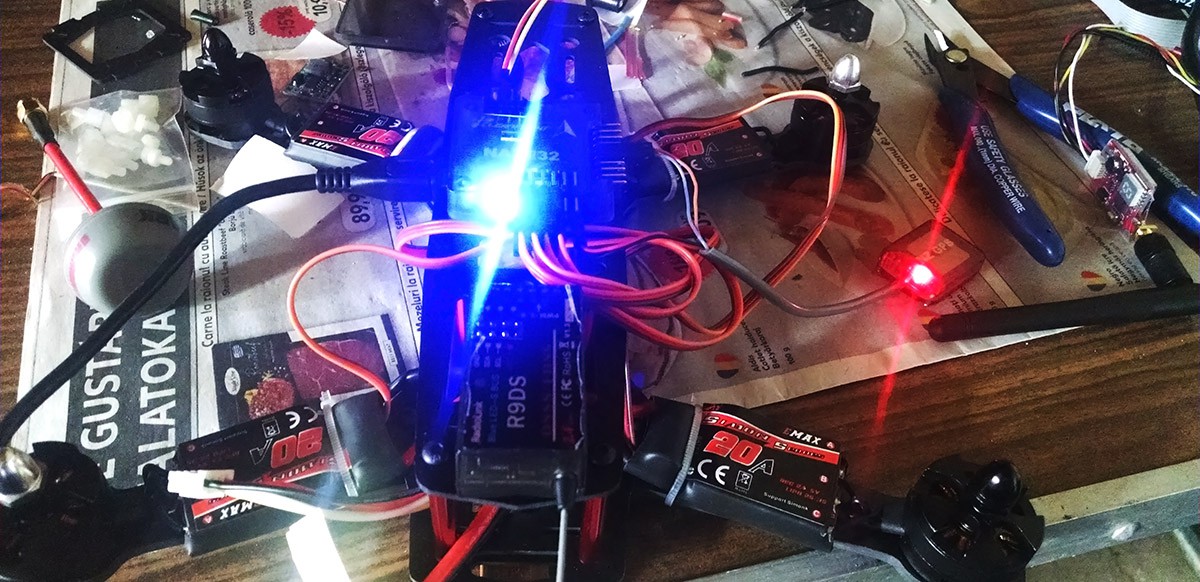
    To assemble the drone, I soldered the Power distribution board on the bottom - and the 20A ESCs on the arms, the cables were just right:

    The 3 ESC output wires were removed, and the motor wires soldered directly. This would reduce some of the unneeded resistance of the longer wires, but also allow for a more compact assembly. For a first test, I went for the NAZE32 flight controller board, and connected it to CleanFlight software in Chrome.

    I was able to install the USB drivers, and then flash the newest firmware to the NAZE32 through CleanFlight. The sensors were accessible, I was able to see the accelerometer, magnetometer, barometer all working.

    The GPS, a mini NZ GPS didn't want to function. I wasn't able to get the ESCs to fire, and neither the R9DS receiver.

    The #Flying Sniffer is taking shape, but it seems so far from its goal right now. Before I can do the environmental monitoring work I need a proper flying platform, reliable, stable and with telemetry working, so I can do sensor readings and map the location, at leas this:

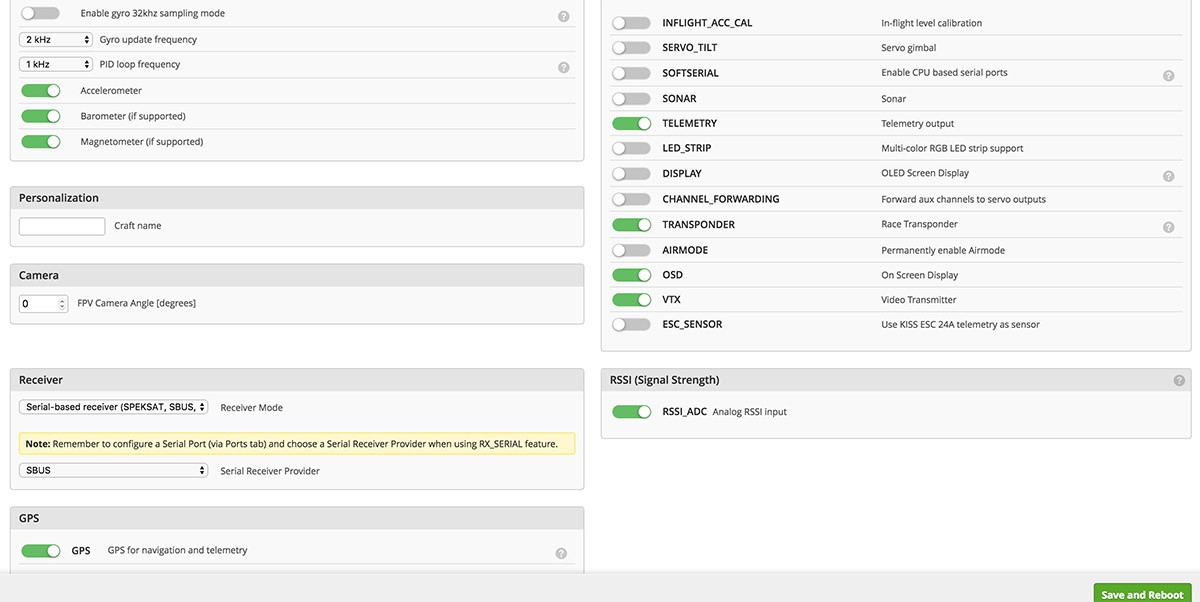
    As a backup plan I changed the NAZE32 for the SPRACING F3 with integrated OSD flight controller. I went the same route, using CleanFlight to program the board. I tested the R9DS and one ESC together and it worked.

    I found the mistake in my settings, and was able to get the ESCs going. Same for the R9DS, using it via the SBUS:

    Same for GPS, but I didn't use the NZ GPS, instead I went for an UART NEO6M module with a bigger ceramic antenna (plenty of them on aliexpress, and much cheaper than the NZ GPS). I used these a lot in my #Portable environmental monitor, so it was easier for me. Baudrate was 9600bps by default and communication via the NMEA protocol:

    With the remote and the motors working, and a 2200mAh battery it appears I have all I need for a first test. But the motors would not engage at the same time. I found a youtube tutorial to "calibrate" that, and also learned that the Flight controller must be correctly installed at the top of the quadcopter. Made things better.

    First flight

    I found a safe place to try this. My first daughter (2Yrs 2M) loves drones already, she saw a filming one at the christening of her little sister, so before I master the drone I built I need to make sure no accidents can happen.

    On a place with some grass, that would help with an eventual crash landing, I engaged the motors and wooosh! propellers blew in open air, getting dismantled from the drone, and the drone fell to ground. Apparently, even if the rotation matched the propellers and air was getting pushed down, the sense of rotation was wrong. That made the screws holding the propellers in place unscrew in an instant. I found 3 of them, but it was impossible to find the forth, even by using some very advanced DIY metal detection techniques:

    I was able to find all the nails in the ground, but not the missing propeller cap screw. I changed the motor polarity, switched the propellers and secured the one with the missing screw with nylon wire. I was finally able to make the quadcopter fly, but only for seconds and it would drift very fast out of my control.

    I suspect I need to calibrate the accelerometer.

  • A better chassis but no battery

    Radu Motisan06/28/2017 at 10:26 0 comments

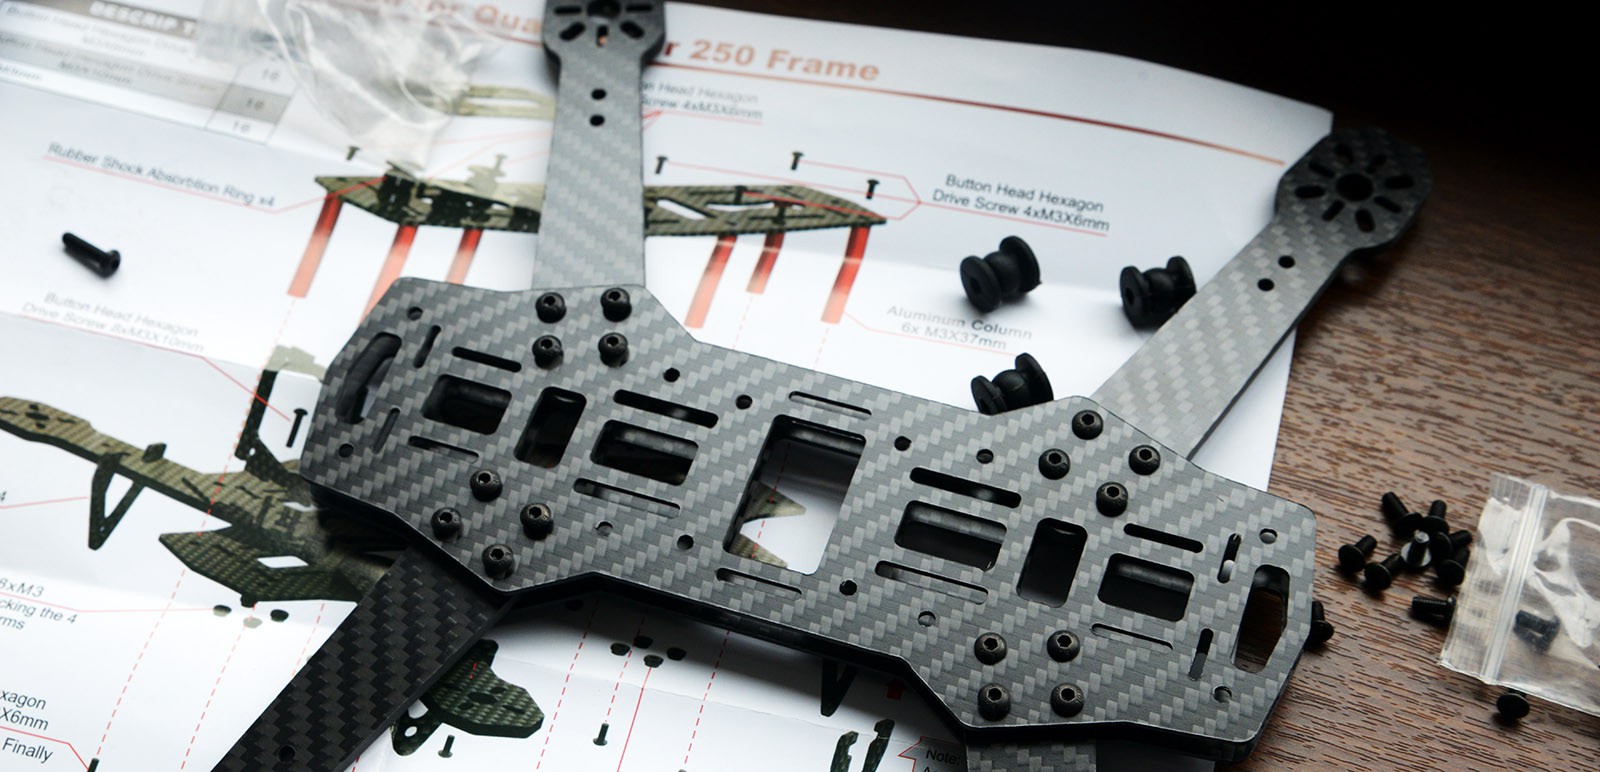
    After spending considerable time printing various small parts in Carbon-PET, I found a few ready made drone platforms, made of perfectly cut/polished carbon fibre sheets. The prices were ridiculously low, so I went for two:

    the ZMR250

    And the Robocat270

    I got them with all the relevant accessories, but due to some weird LiPo battery regulations, a battery was not shipped. I needed a 3S LiPo with a capacity to keep weight low of about 2200mAh. Assembling the KITs was easy, but no battery, no joy.

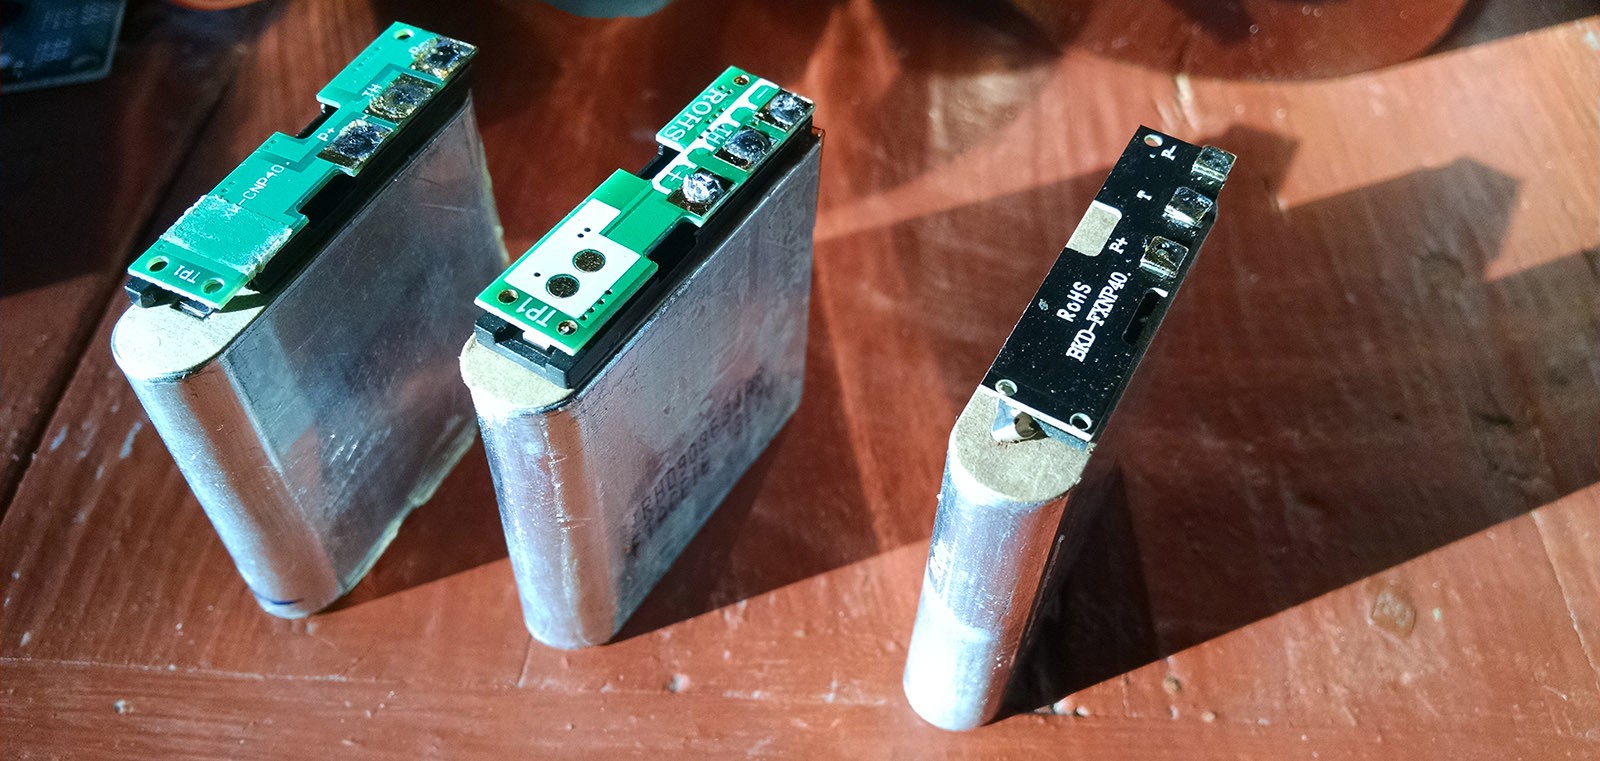
    I had a few 3.7V 1500mAh batteries used in my previous Portable Environmental Monitor project and planned to use 3 of them in series as a quick solution just until I get a proper battery.

    Hope to do a first flight soon.

  • Building the drone - part1

    Radu Motisan06/27/2017 at 07:27 0 comments

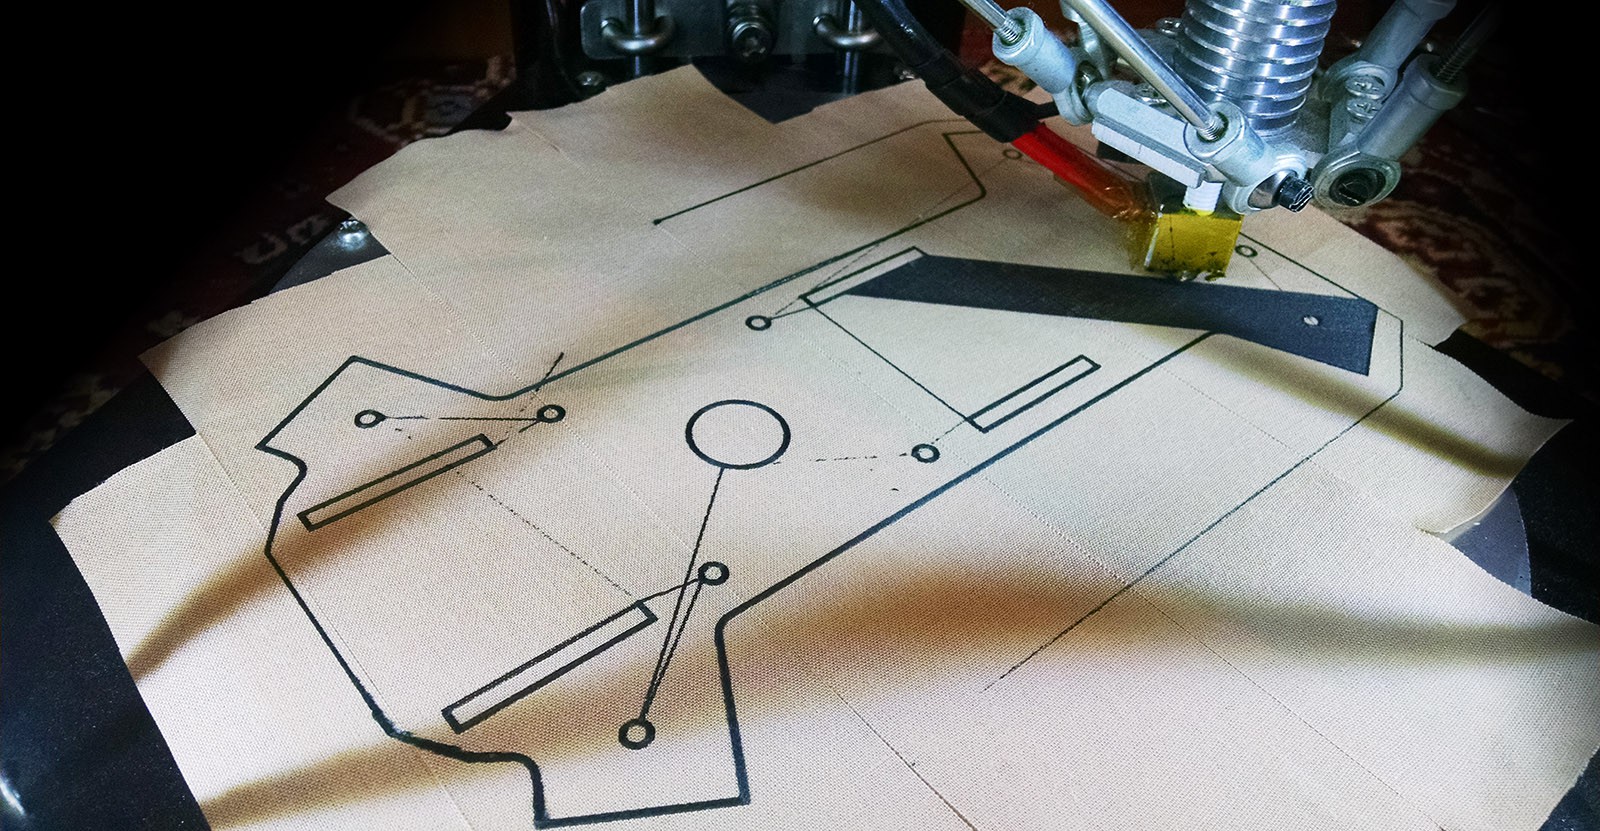
    While building a flying drone is not a challenge nowadays, gathering all the components for a first prototype and ensuring a reliable operation doesn't seem like an easy assignment. For my first attempt I sourced a few brushless neodymium based motors, and 3D printed a chasis, using the strong Carbon-PET filament:

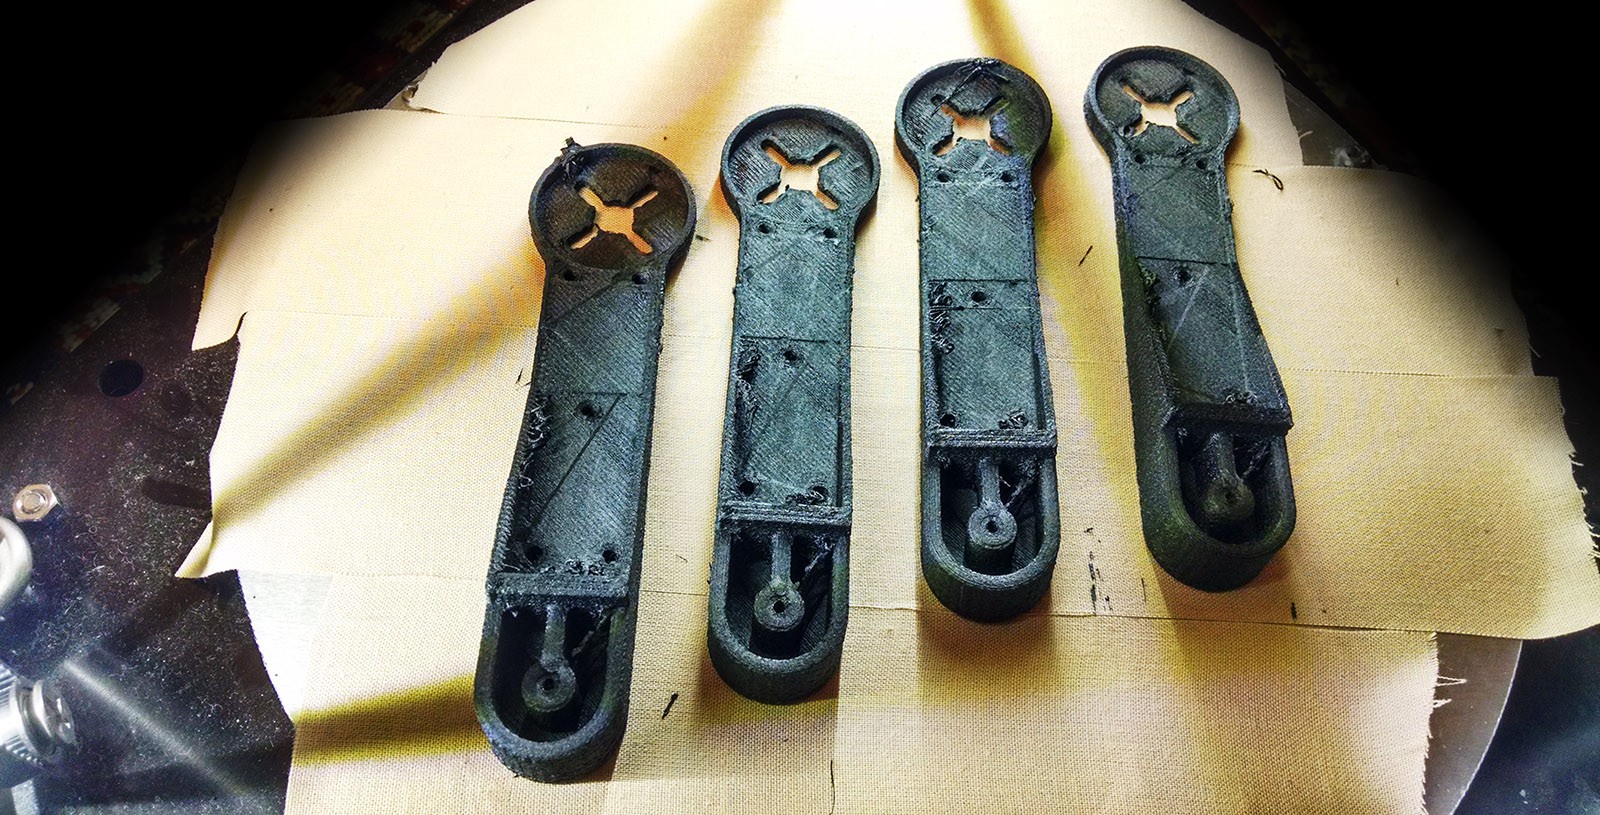
    Then 4 arms the some additional smaller components:

    What's left is to get some motors, props, flight controller and a battery for the very minimum configuration.

View all 6 project logs

Enjoy this project?

Share

Discussions

Similar Projects

Does this project spark your interest?

Become a member to follow this project and never miss any updates