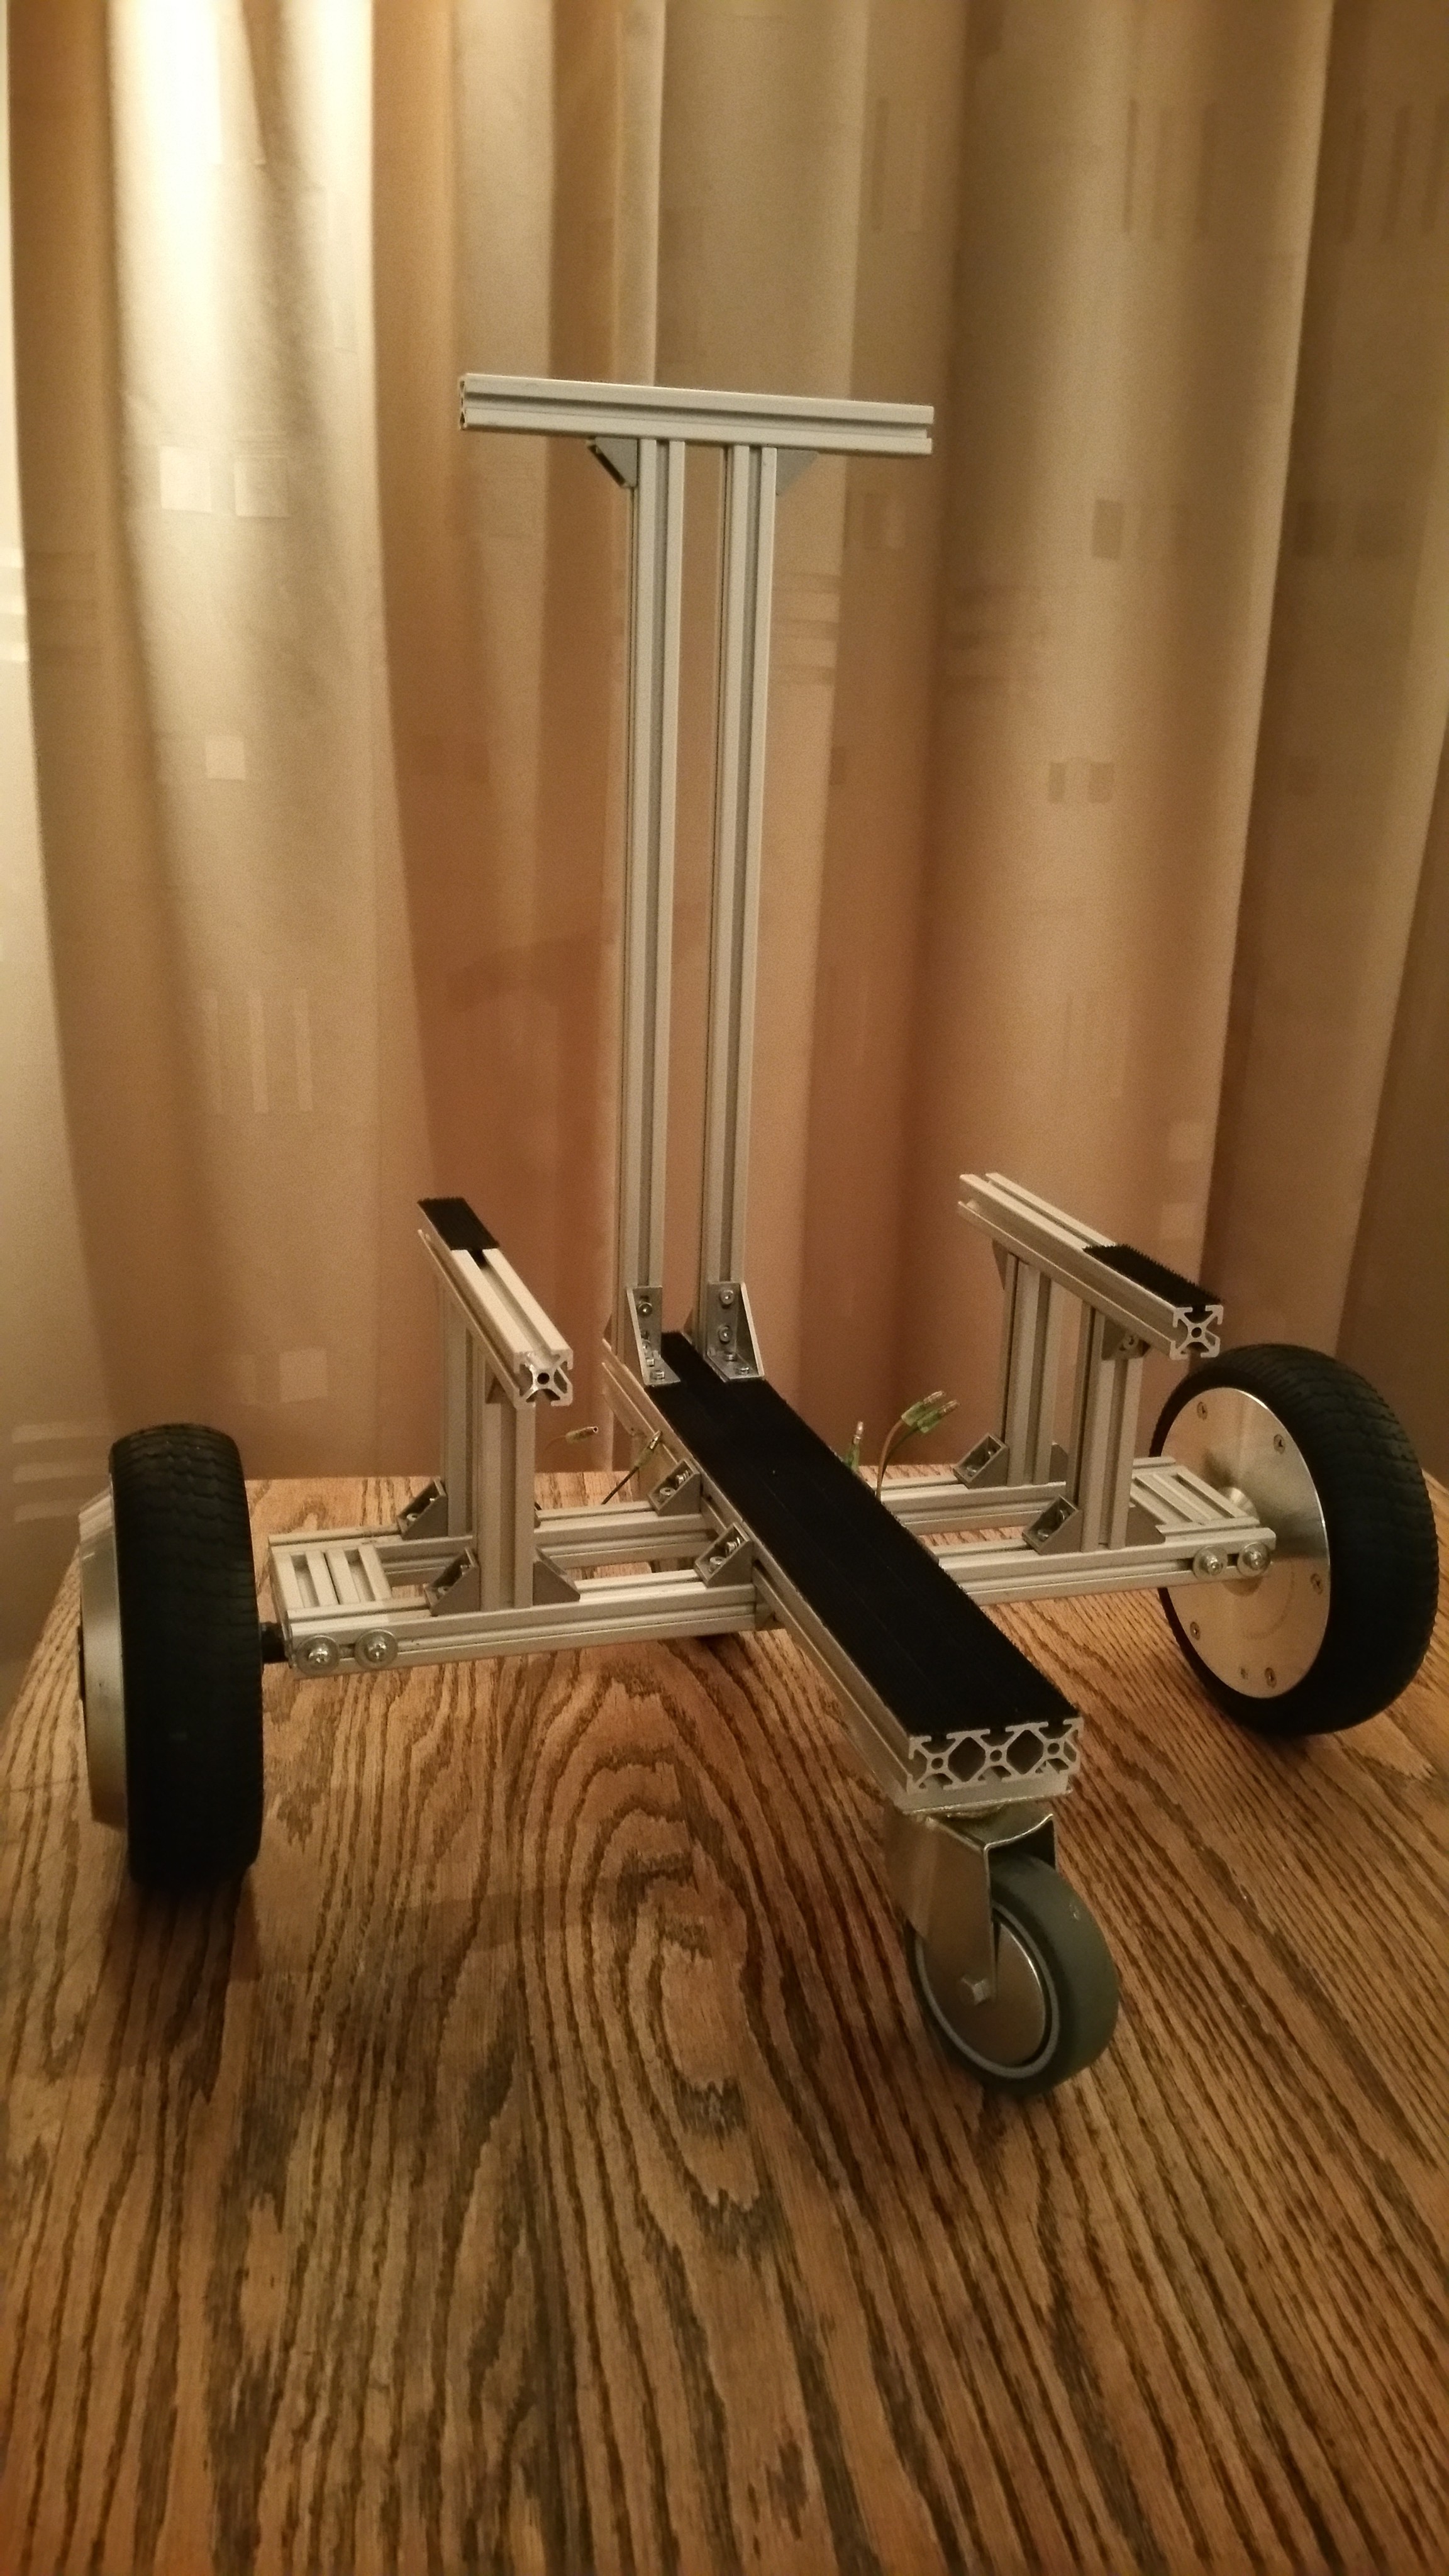
For the next step, I wanted the robot to be controllable from ROS. I changed the initial design to be more Turtlebot-like to be able to hold a laptop running ROS.

I will go over the software in more detail at a later stage and off course provide all the source code. There's still some renaming, cleaning up and license stuff to do. But for now I will just describe the steps I did in order to create the bare minimum ROS integration. At the time I did not have a name for the project and used 'r16' as a project work title and as a prefix for the ros packages. I followed the convention used by the turtlebot and other projects to create separate packages for the robot driver, description and bringup launch files.
1. Created hardware interface package ' r16_hw'
Following the documentation I created a new package to contain the robot driver. The class 'wheel_driver' uses the vesc_interface class from the MIT-Racecar project to do the actual communication with the VESC. The wheel_driver is used in the class to drive the robot and registers two velocity joint interfaces named 'left_wheel_joint' and 'right_wheel_joint'.
2. Created a simple robot description package 'r16_description'
In ROS the way to describe your robot is with an robot model described in a XML file in Unified Robot Description Format (URDF). There's plenty of documentation and tutorials for this on the ros wiki. In order to be able to use variables, reusable blocks and expressions the URDF is often created in the Xacro template language. I created a very simple representation of the robot containing of the two wheels attached to a fixed beam and two spheres representing the caster wheels attached to their own beam. For the differential drive to work properly the joints must be declared in the URDF file using the same names ('left_wheel_joint' and 'right_wheel_joint'). Also the parent link and child link must be set accordingly. It's the information in the parsed robot model that the differential drive controller uses to get the wheels circumference and distance between both wheels and calculate the odometry accordingly.
  ...
  <joint name="left_wheel_joint" type="continuous">
    <parent link="base_link"/>
    <child link="left_wheel"/>
    <origin rpy="0 0 0" xyz="0.0 0.2225 0.0825"/>
    <axis rpy="0 0 0" xyz="0 1 0"/>
  </joint>
  <joint name="right_wheel_joint" type="continuous">
    <parent link="base_link"/>
    <child link="right_wheel"/>
    <origin rpy="0 0 0" xyz="0.0 -0.2225 0.0825"/>
    <axis rpy="0 0 0" xyz="0 1 0"/>
  </joint>
  ...

The bringup package contains the launch file to bringup the robot. This loads the description of the robot, parameters used by the mobile_base_controller, the robot driver and the mobile_base_controller which will load the differential drive controller.
<?xml version="1.0"?>
<launch>
    <!-- Convert an xacro and put on parameter server -->
    <param name="robot_description" command="$(find xacro)/xacro.py $(find r16_description)/urdf/r16.xacro" />
    <!-- Load joint controller configurations from YAML file to parameter server -->
    <rosparam file="$(find r16_bringup)/config/r16.yaml" command="load"/>

    <!-- Launch robot hardware driver -->
    <include file="$(find r16_hw)/launch/r16.launch"/>

    <!-- Load the differential drive controller -->
    <node name="controller_spawner" pkg="controller_manager" type="spawner" respawn="false"
        output="screen" args="mobile_base_controller">
    </node>
</launch>
The parameters are described in a yaml file and tells the mobile_base_controller to load the differential drive controller. It also provides the parameters for the differential drive controller so it knows which joint names to use and get the details from the robot description.
mobile_base_controller:
  type: "diff_drive_controller/DiffDriveController"
  left_wheel: 'left_wheel_joint'
  right_wheel: 'right_wheel_joint'
  pose_covariance_diagonal: [0.001, 0.001, 1000000.0, 1000000.0, 1000000.0, 1000.0]
  twist_covariance_diagonal: [0.001, 0.001, 1000000.0, 1000000.0, 1000000.0, 1000.0]
In the end by running the bringup launch file it is possible to control the robot using an X-box controller using the turtlebot_teleop package as shown in the video below. There were still some issues in code, mainly conversion between rad/s and ERPM required for the VESC, resulting in a too high value and somewhat sensitive to control, but as a concept it worked.
 Roald Lemmens
Discussions
Become a Hackaday.io Member
Create an account to leave a comment. Already have an account? Log In.