 saipraveen
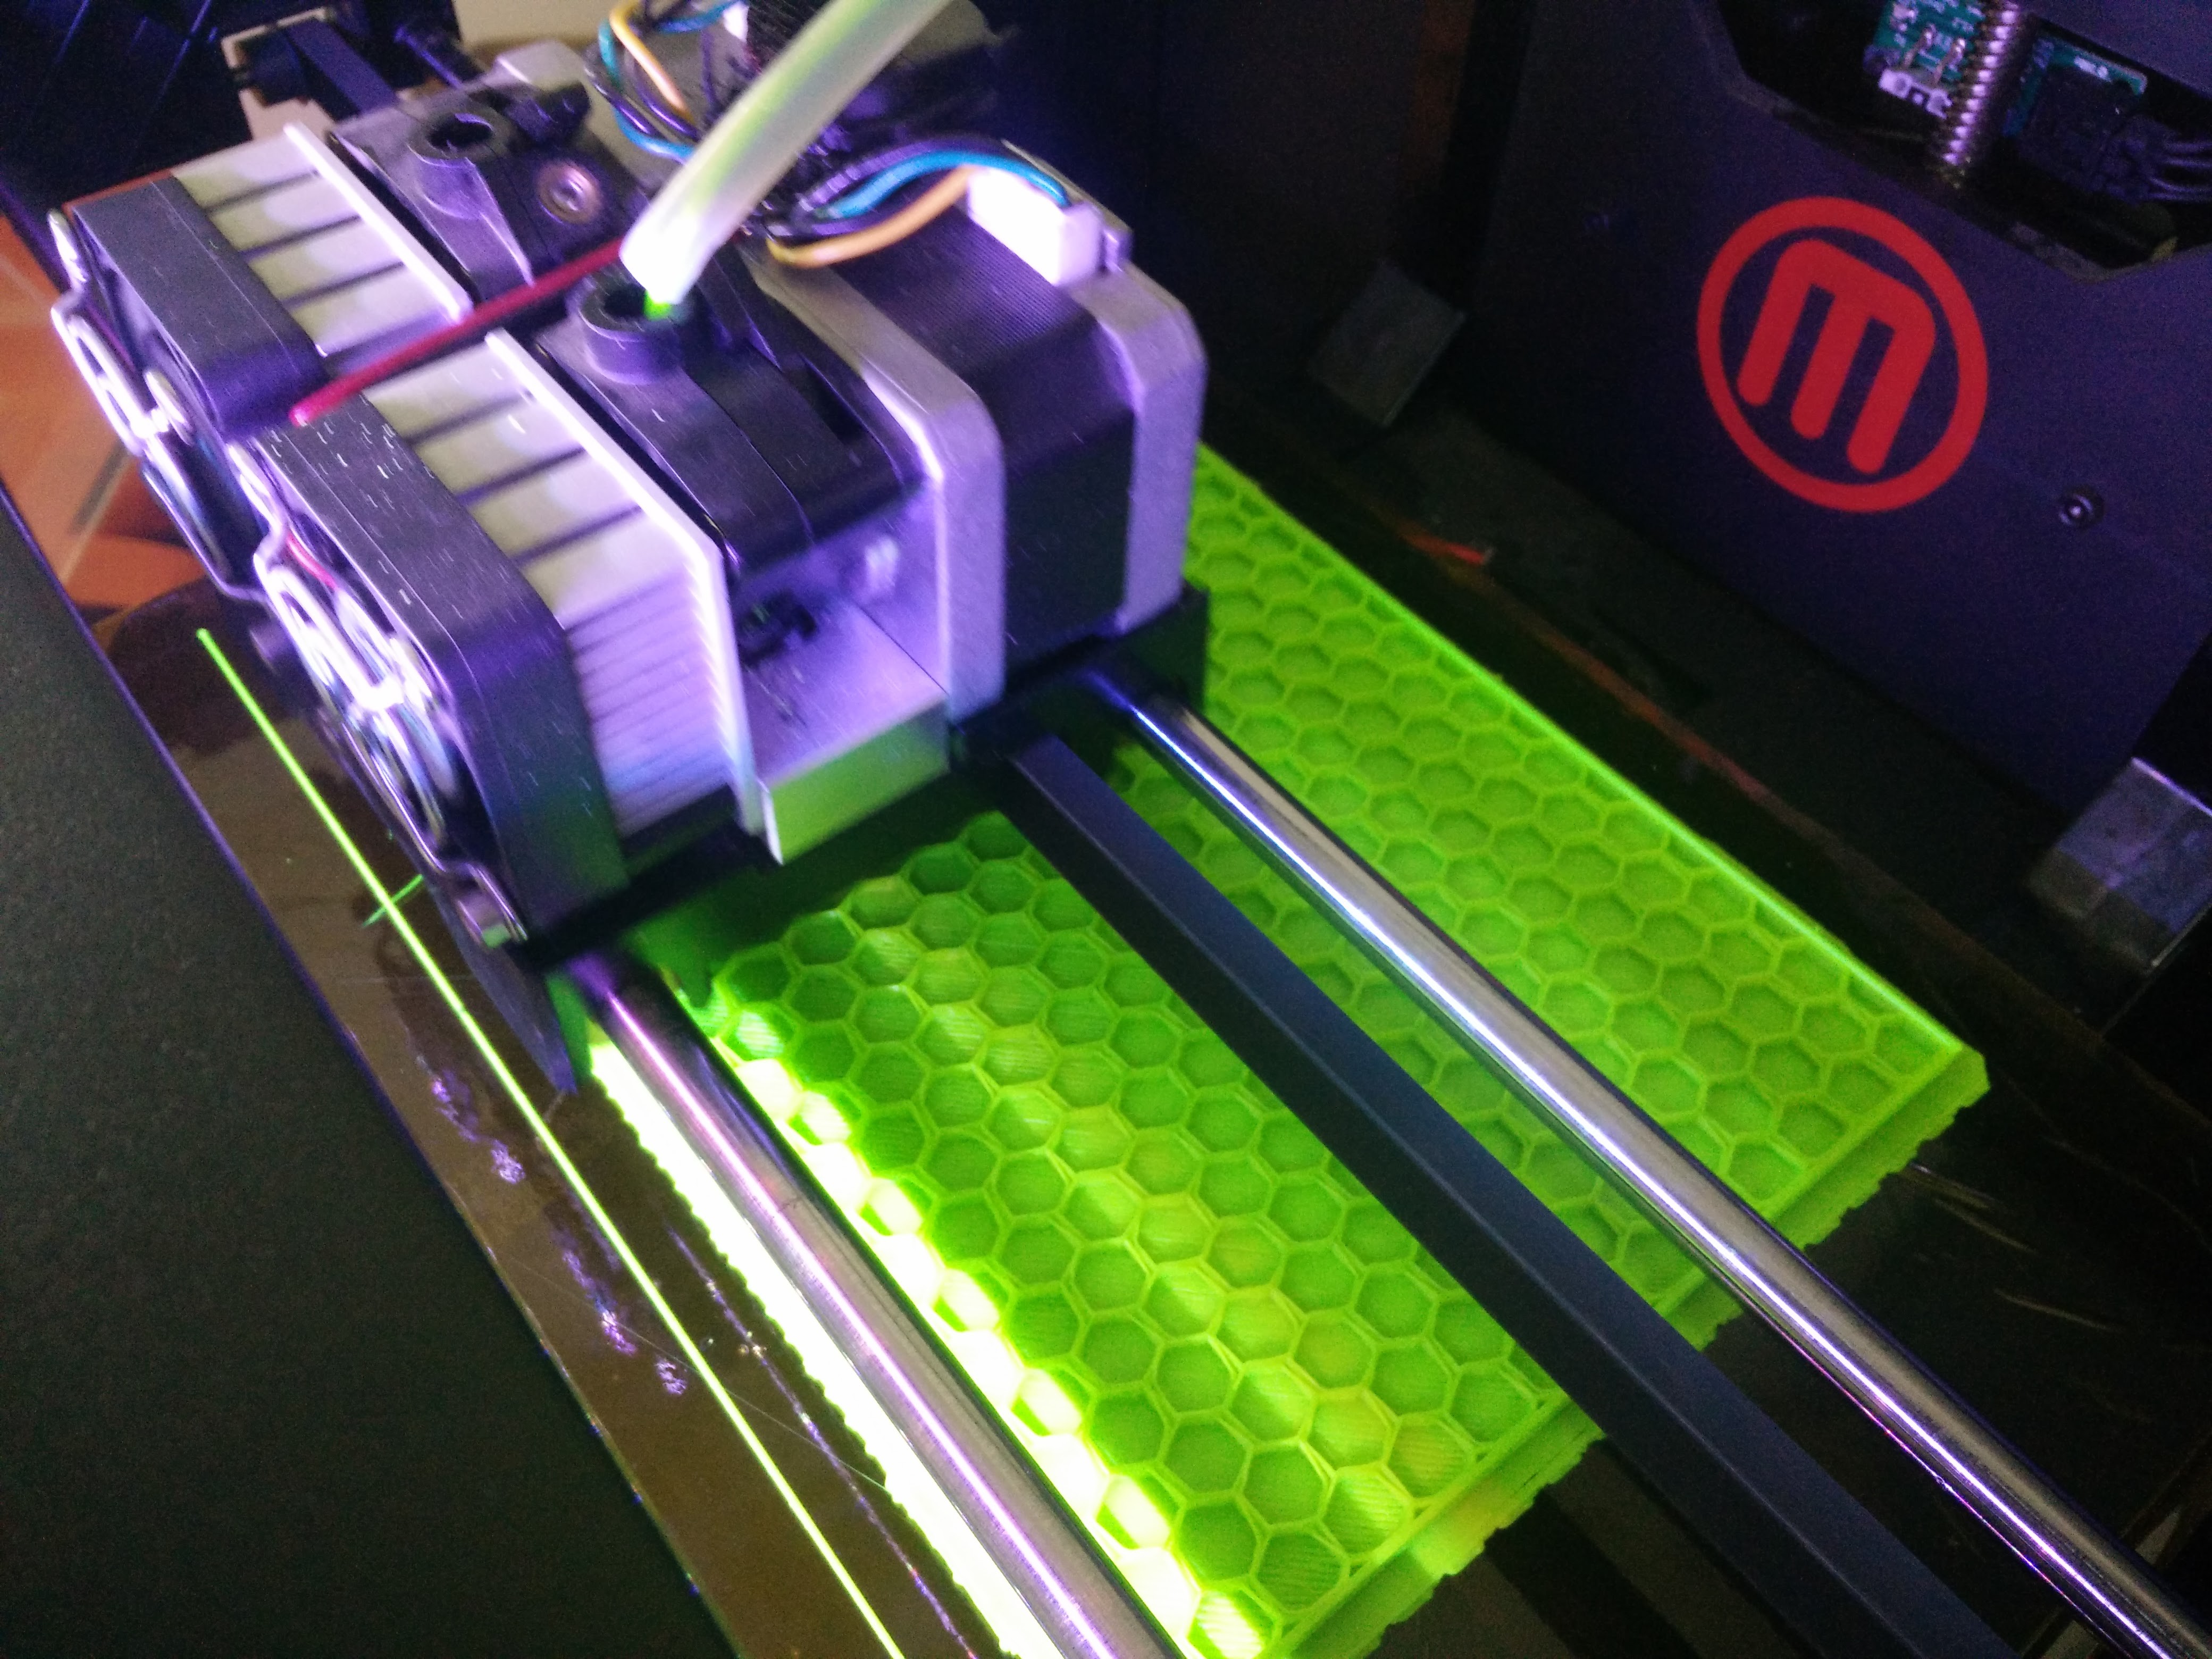
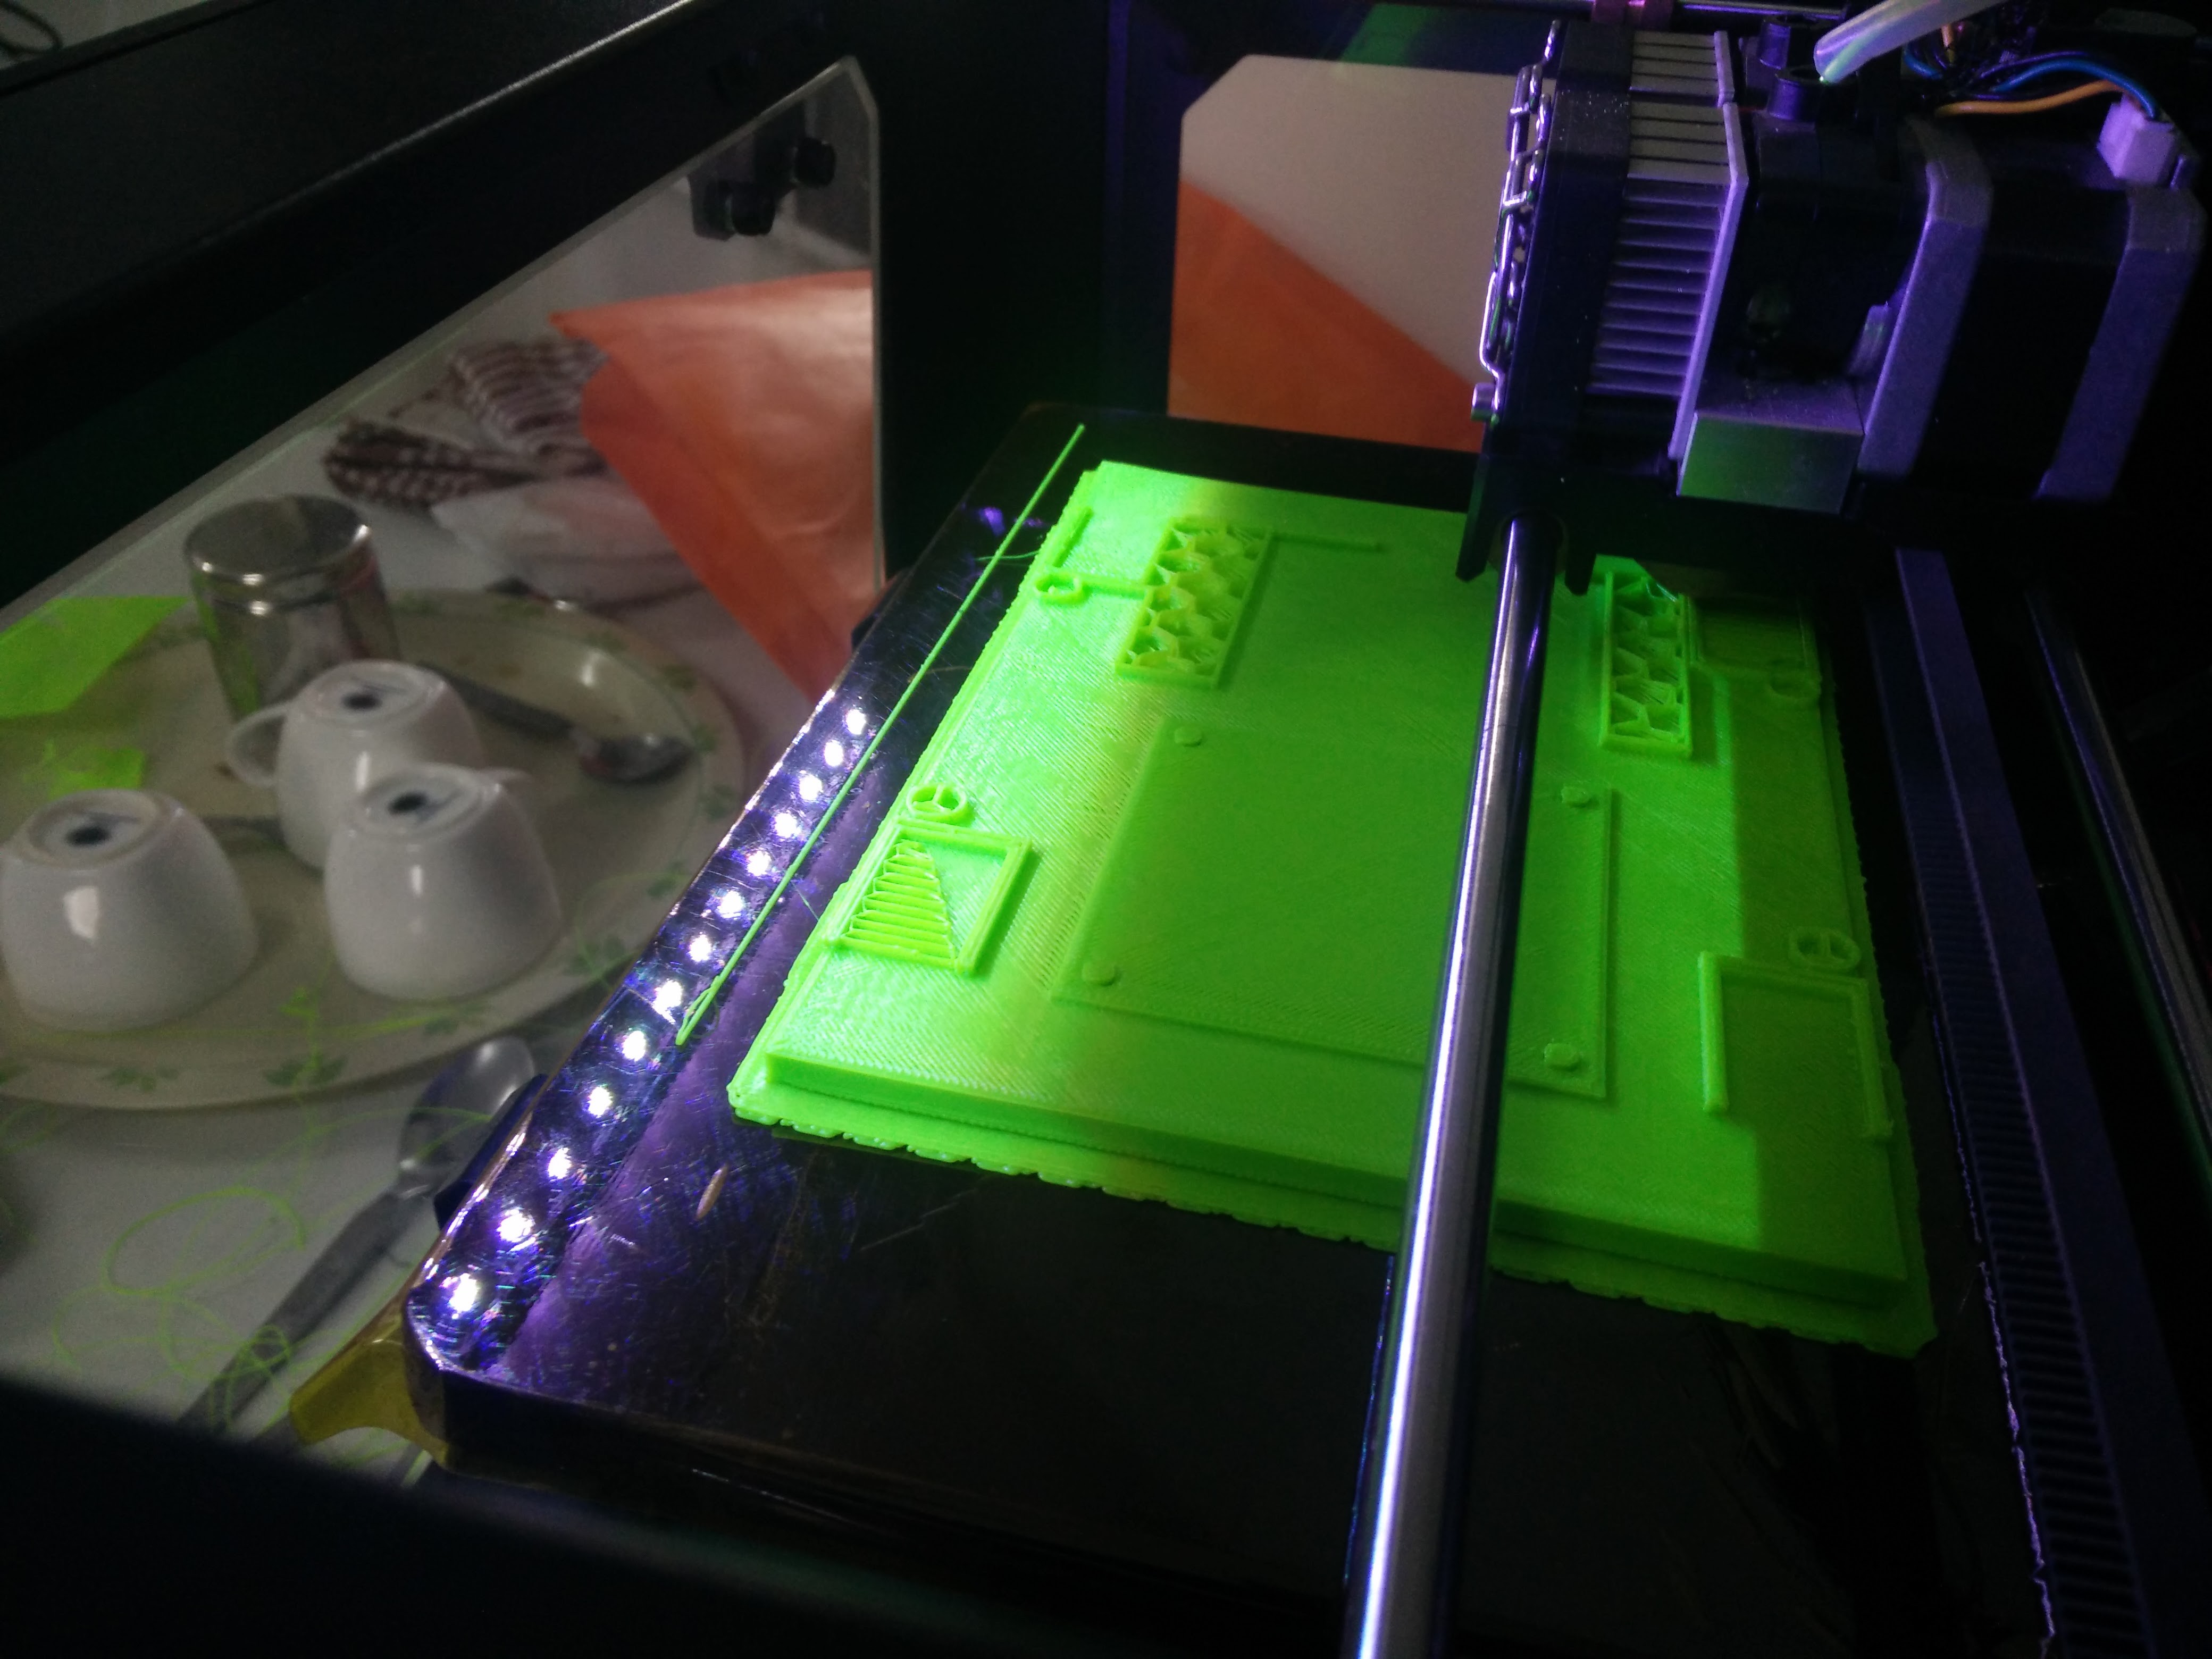
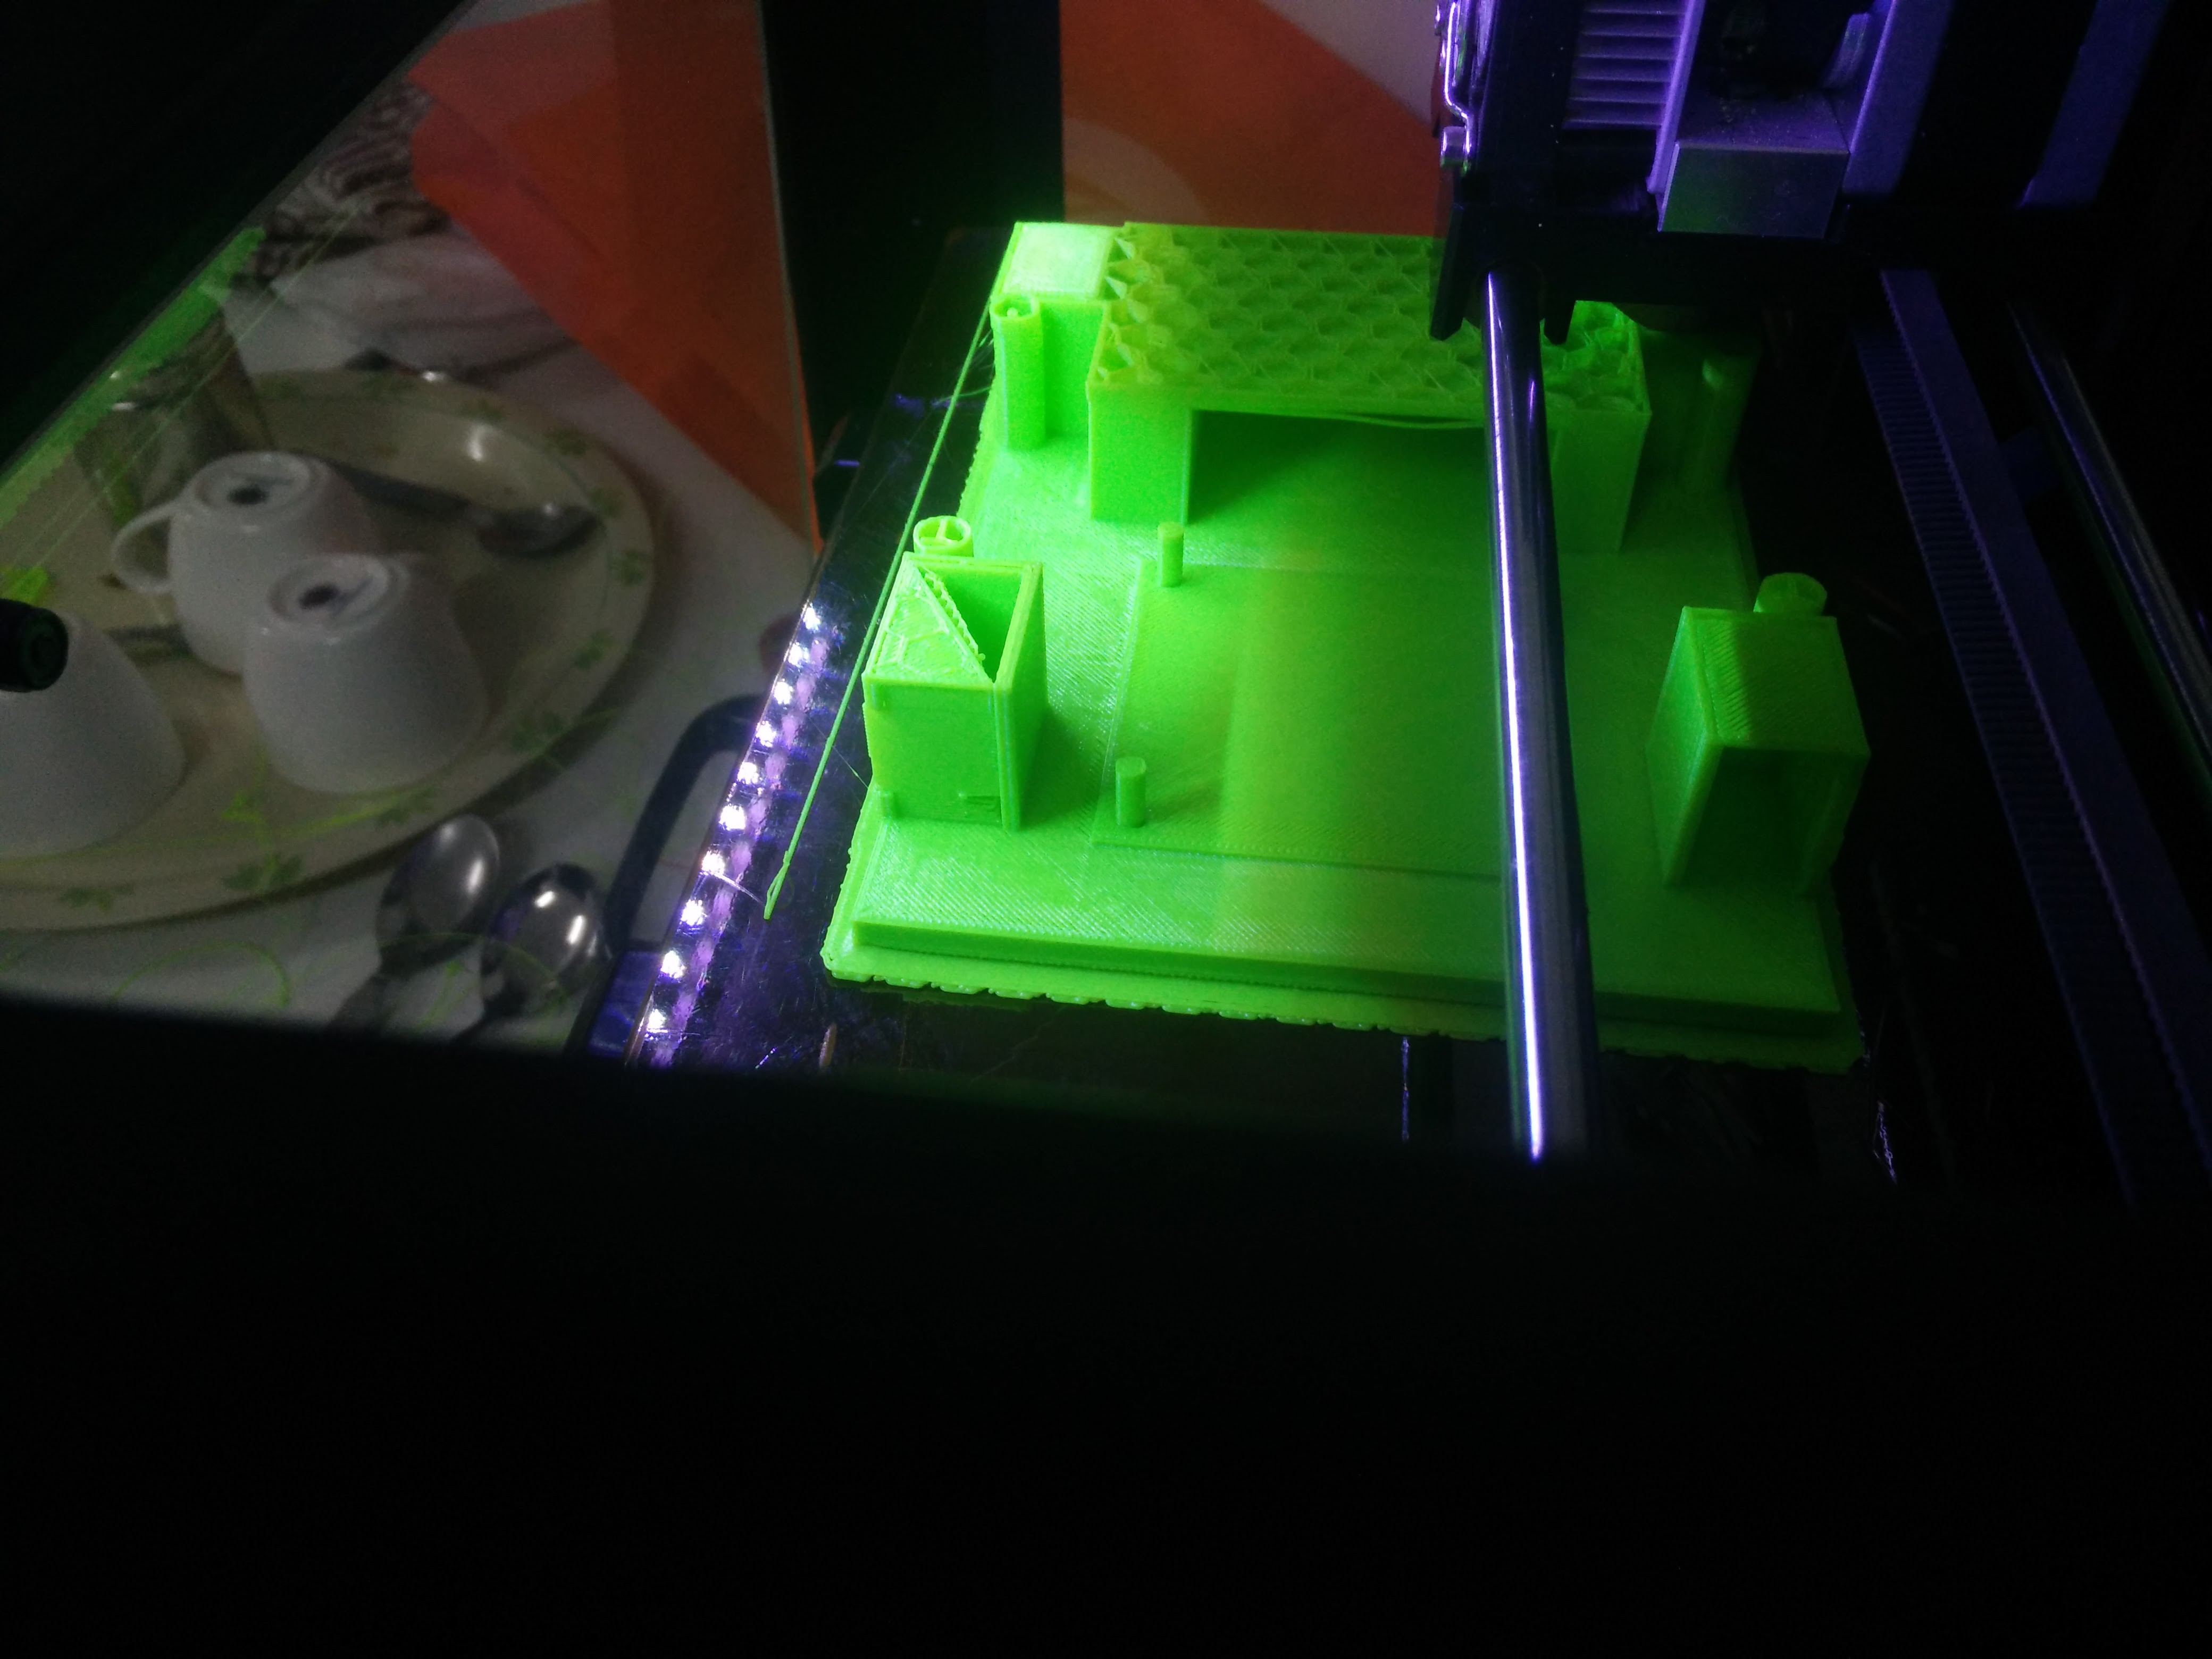
The first step was to calibrate the 3d print, magnet and motor.
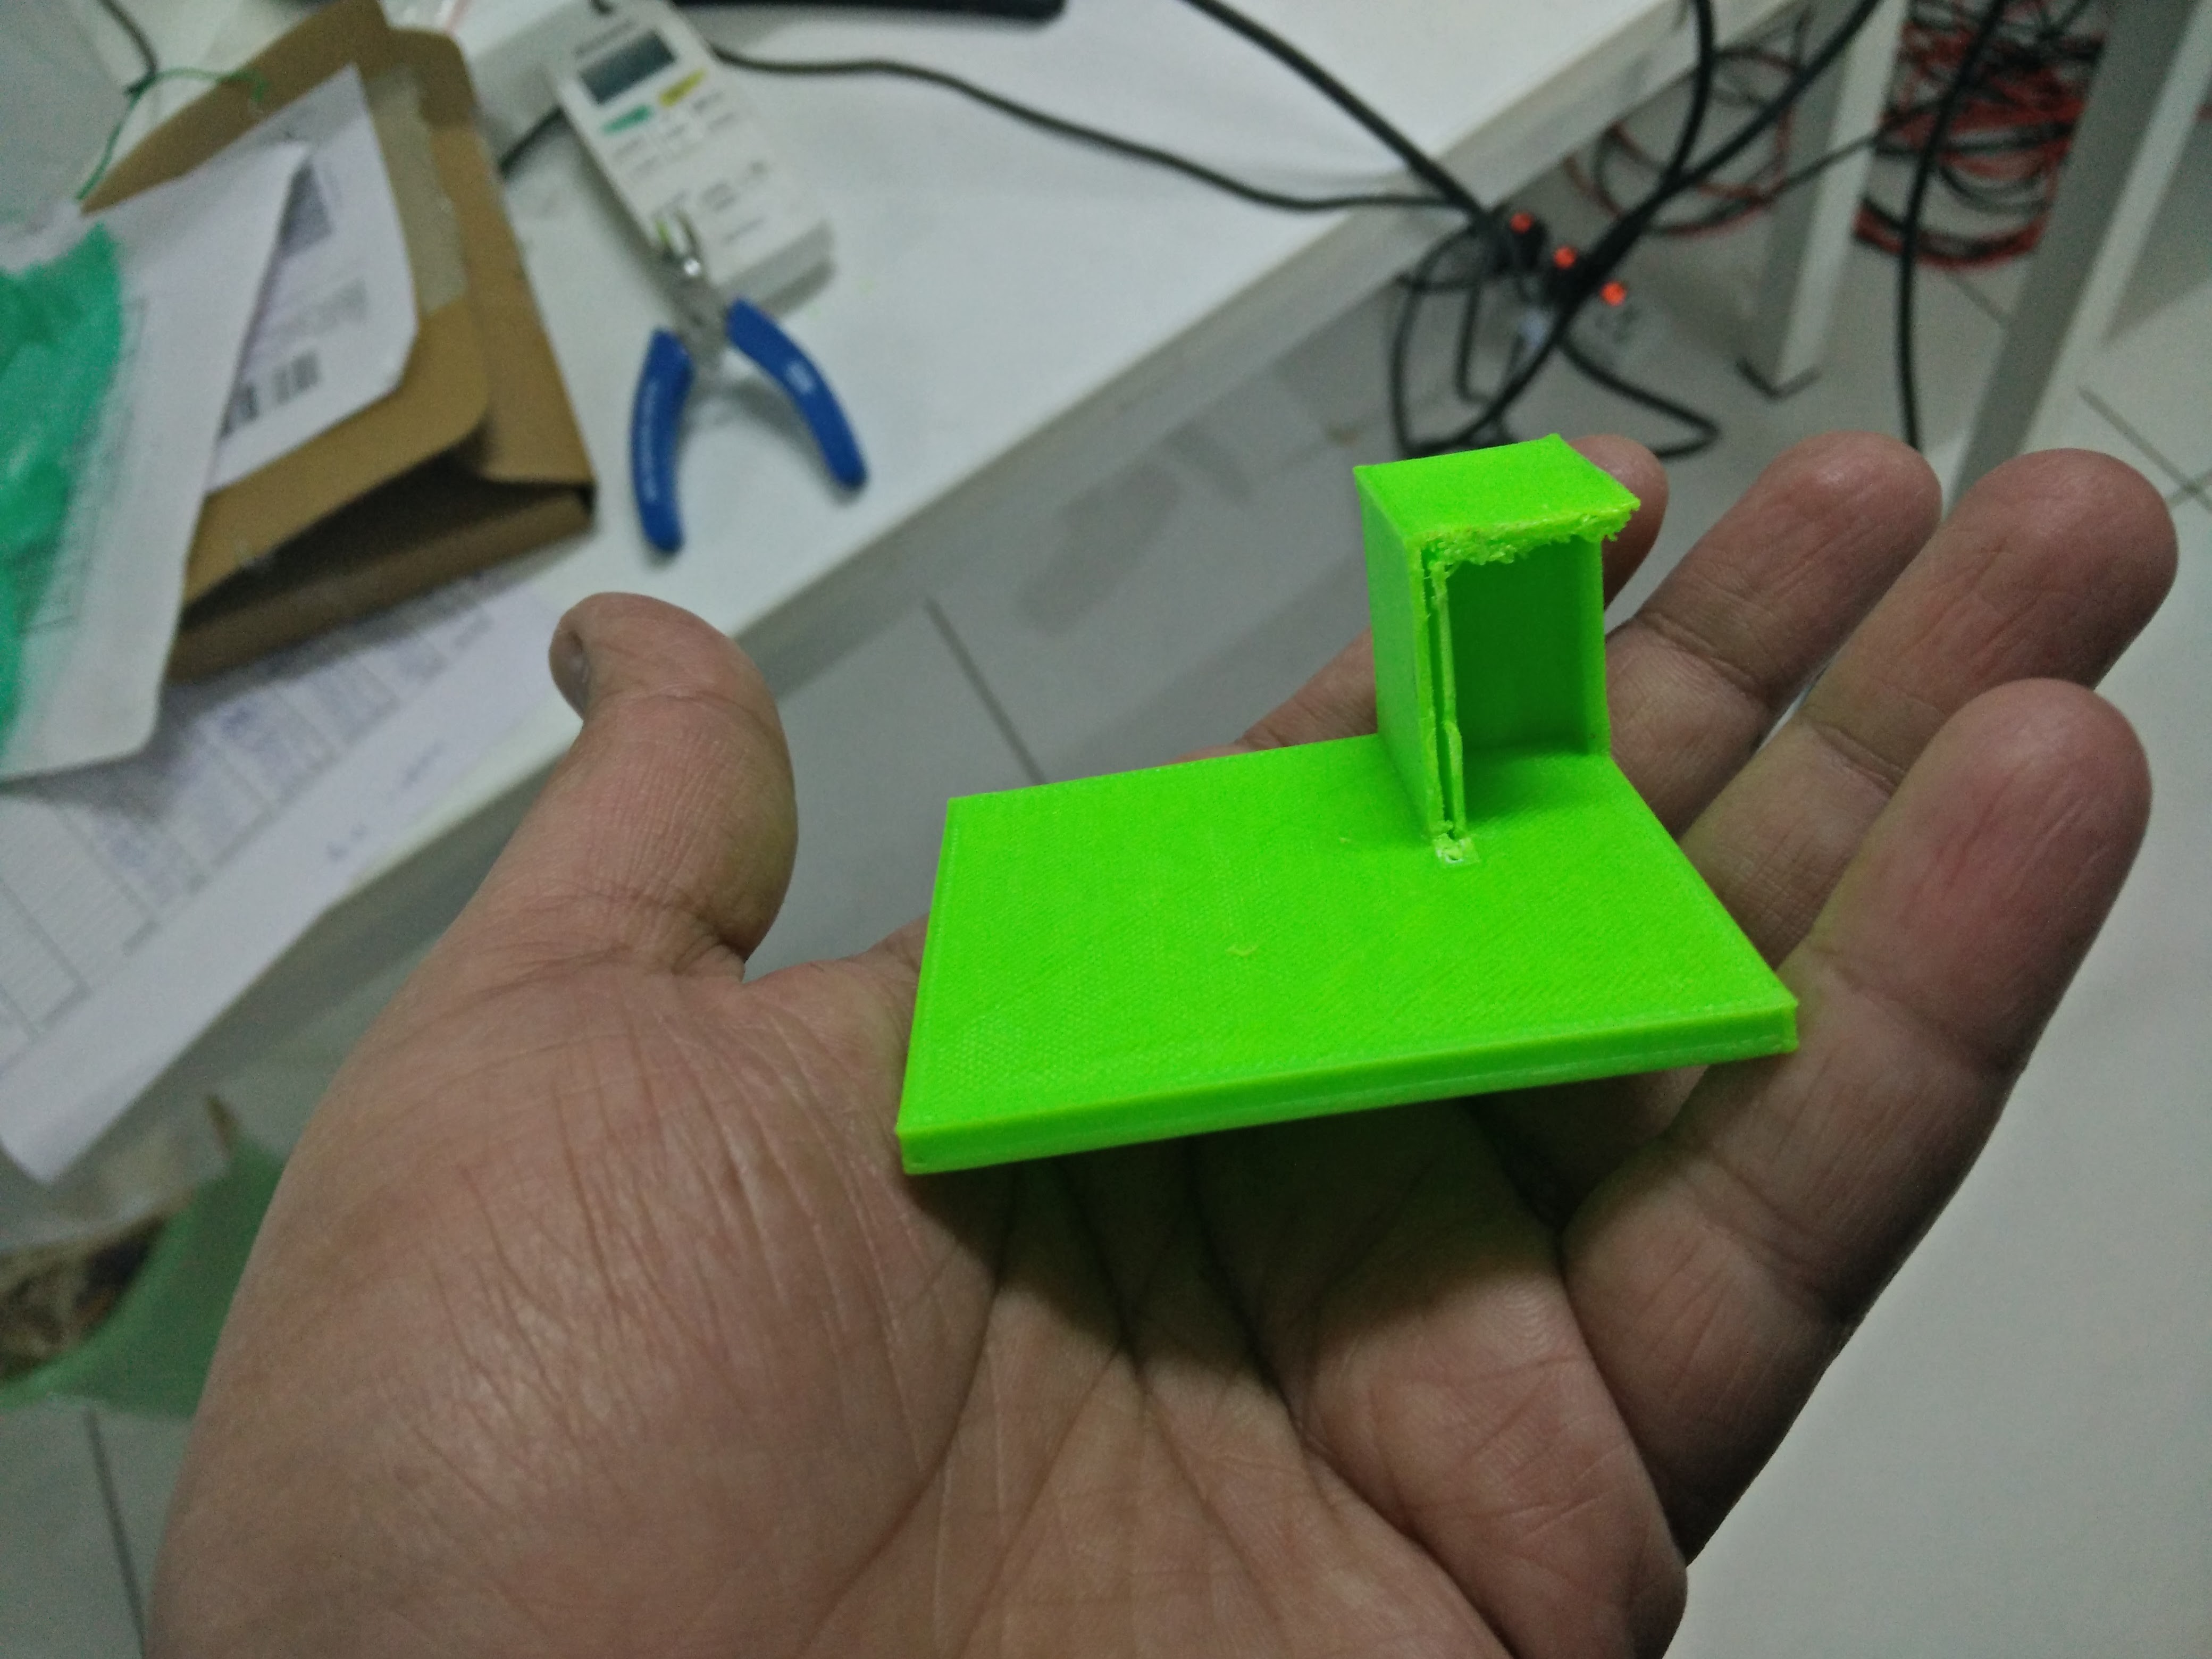
Based on this test a few changes were done and the final model is attached.
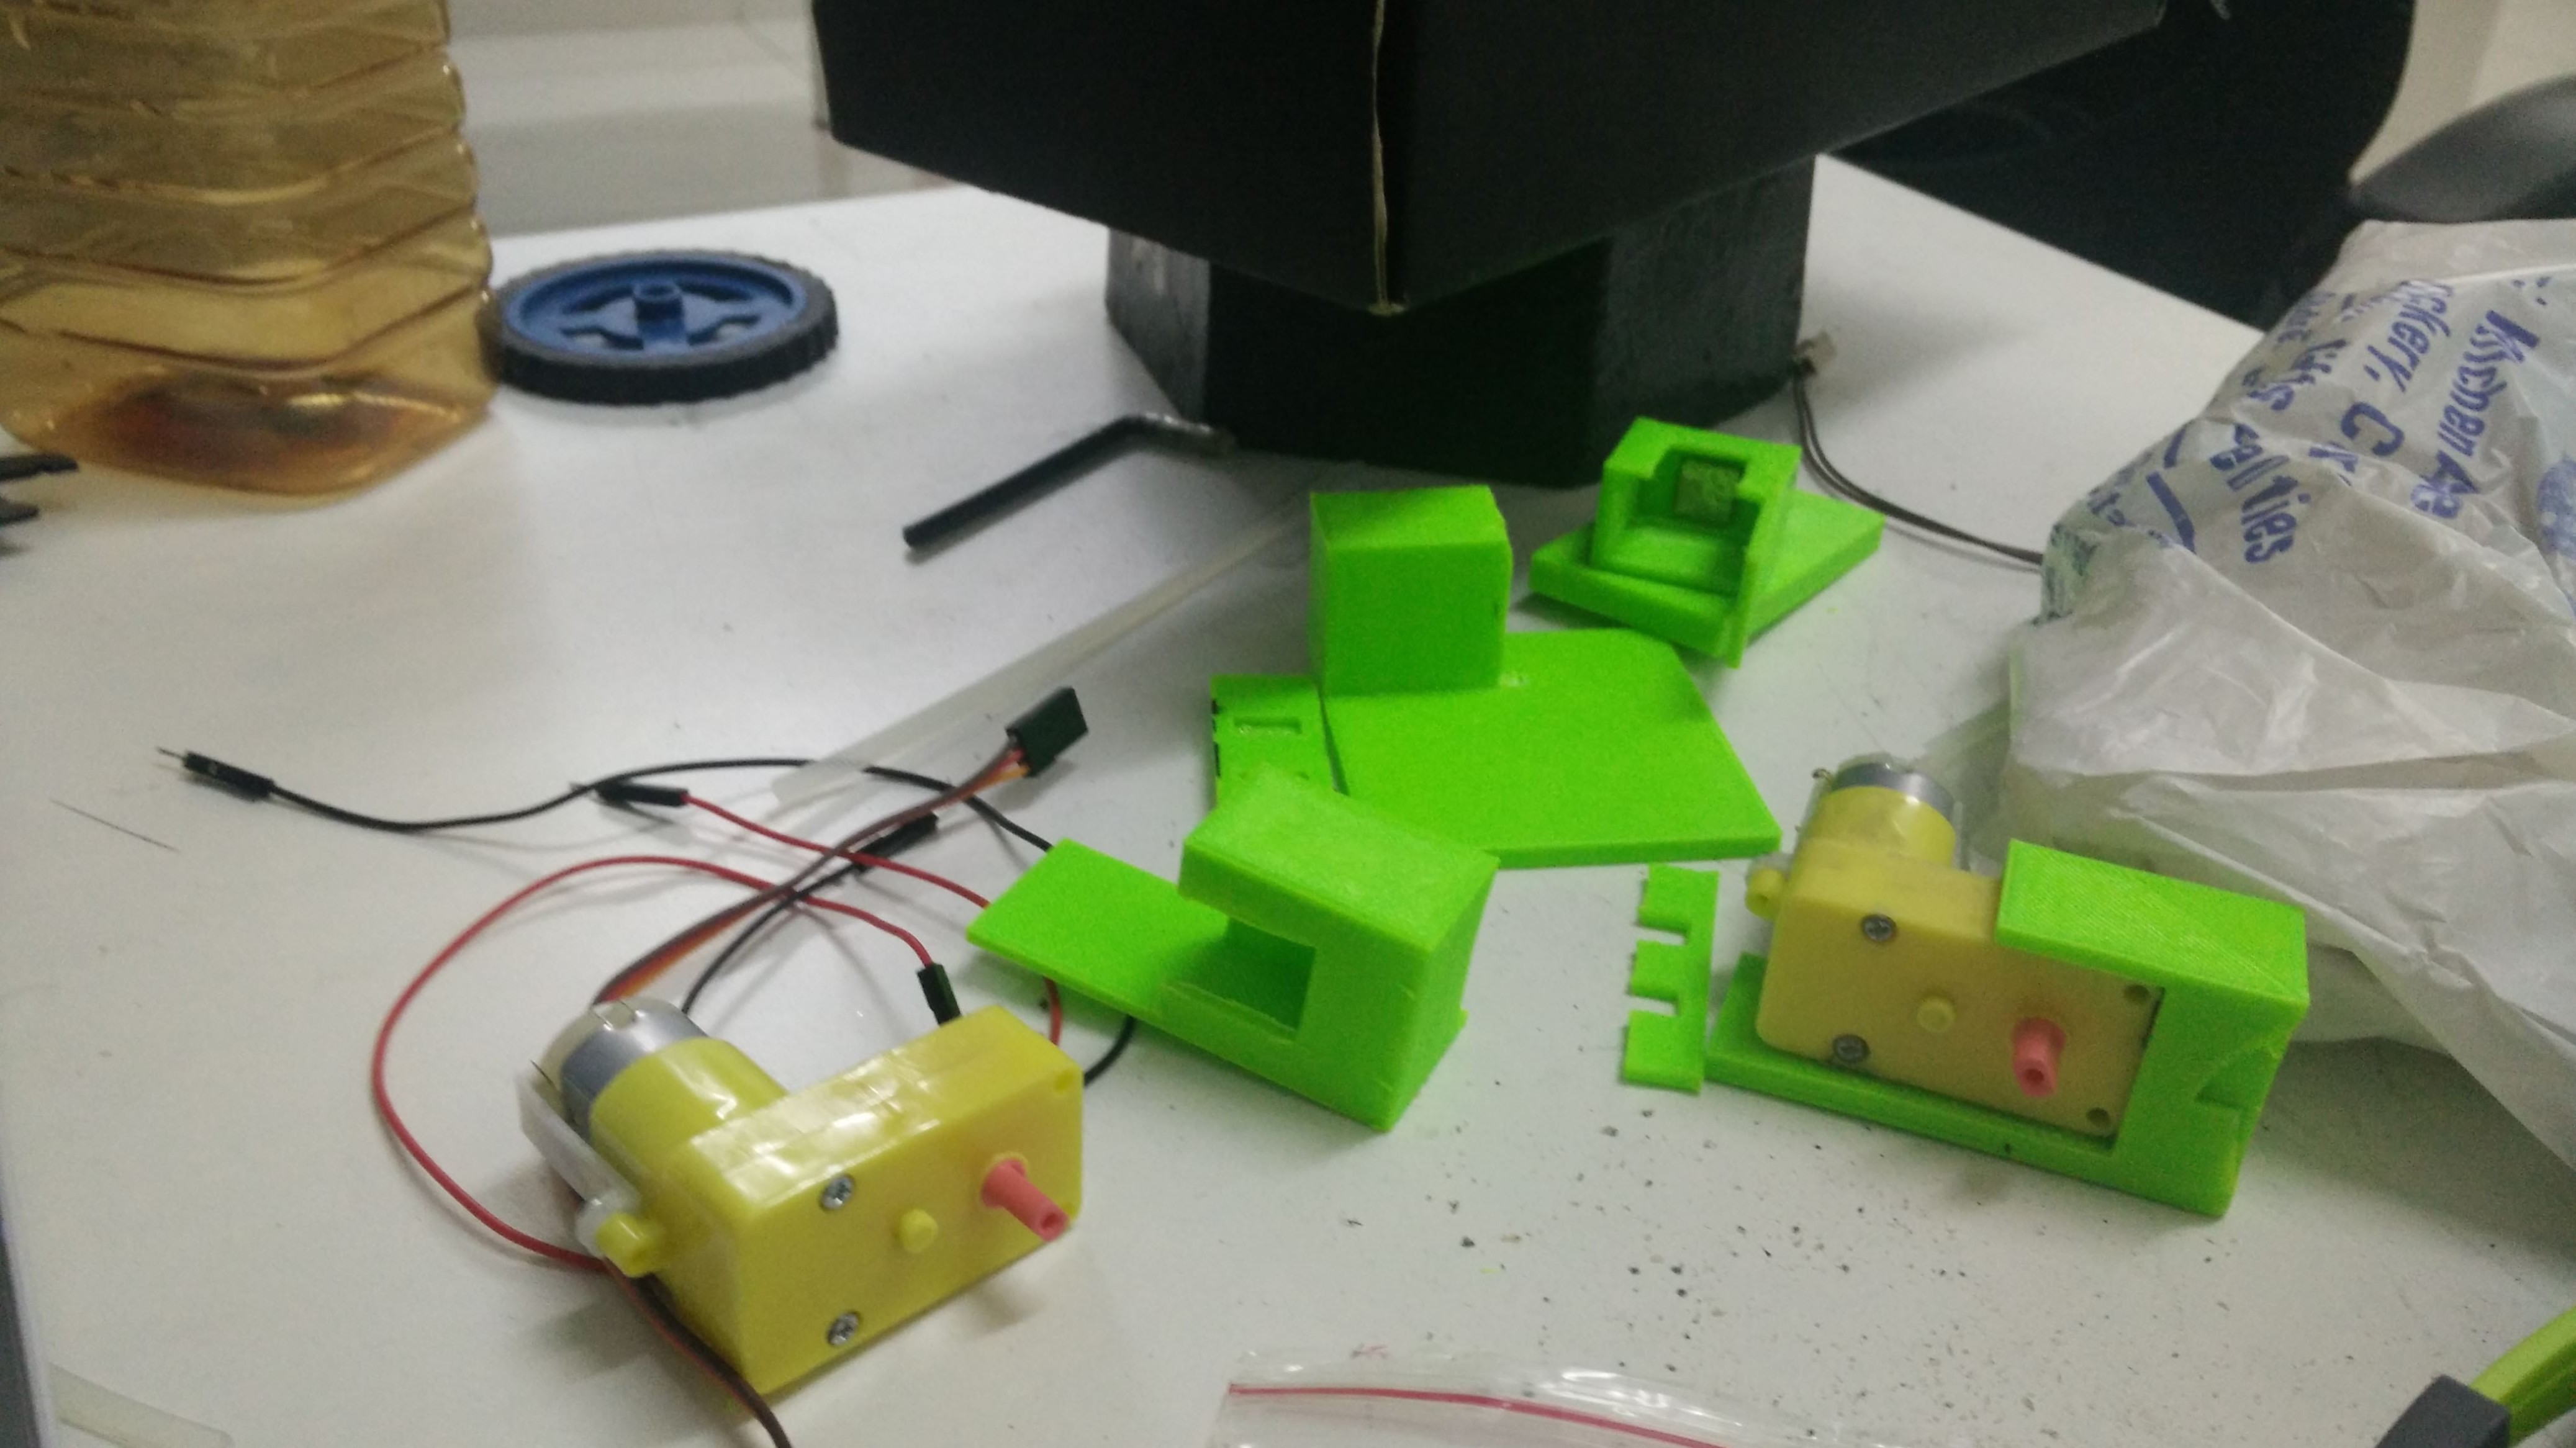
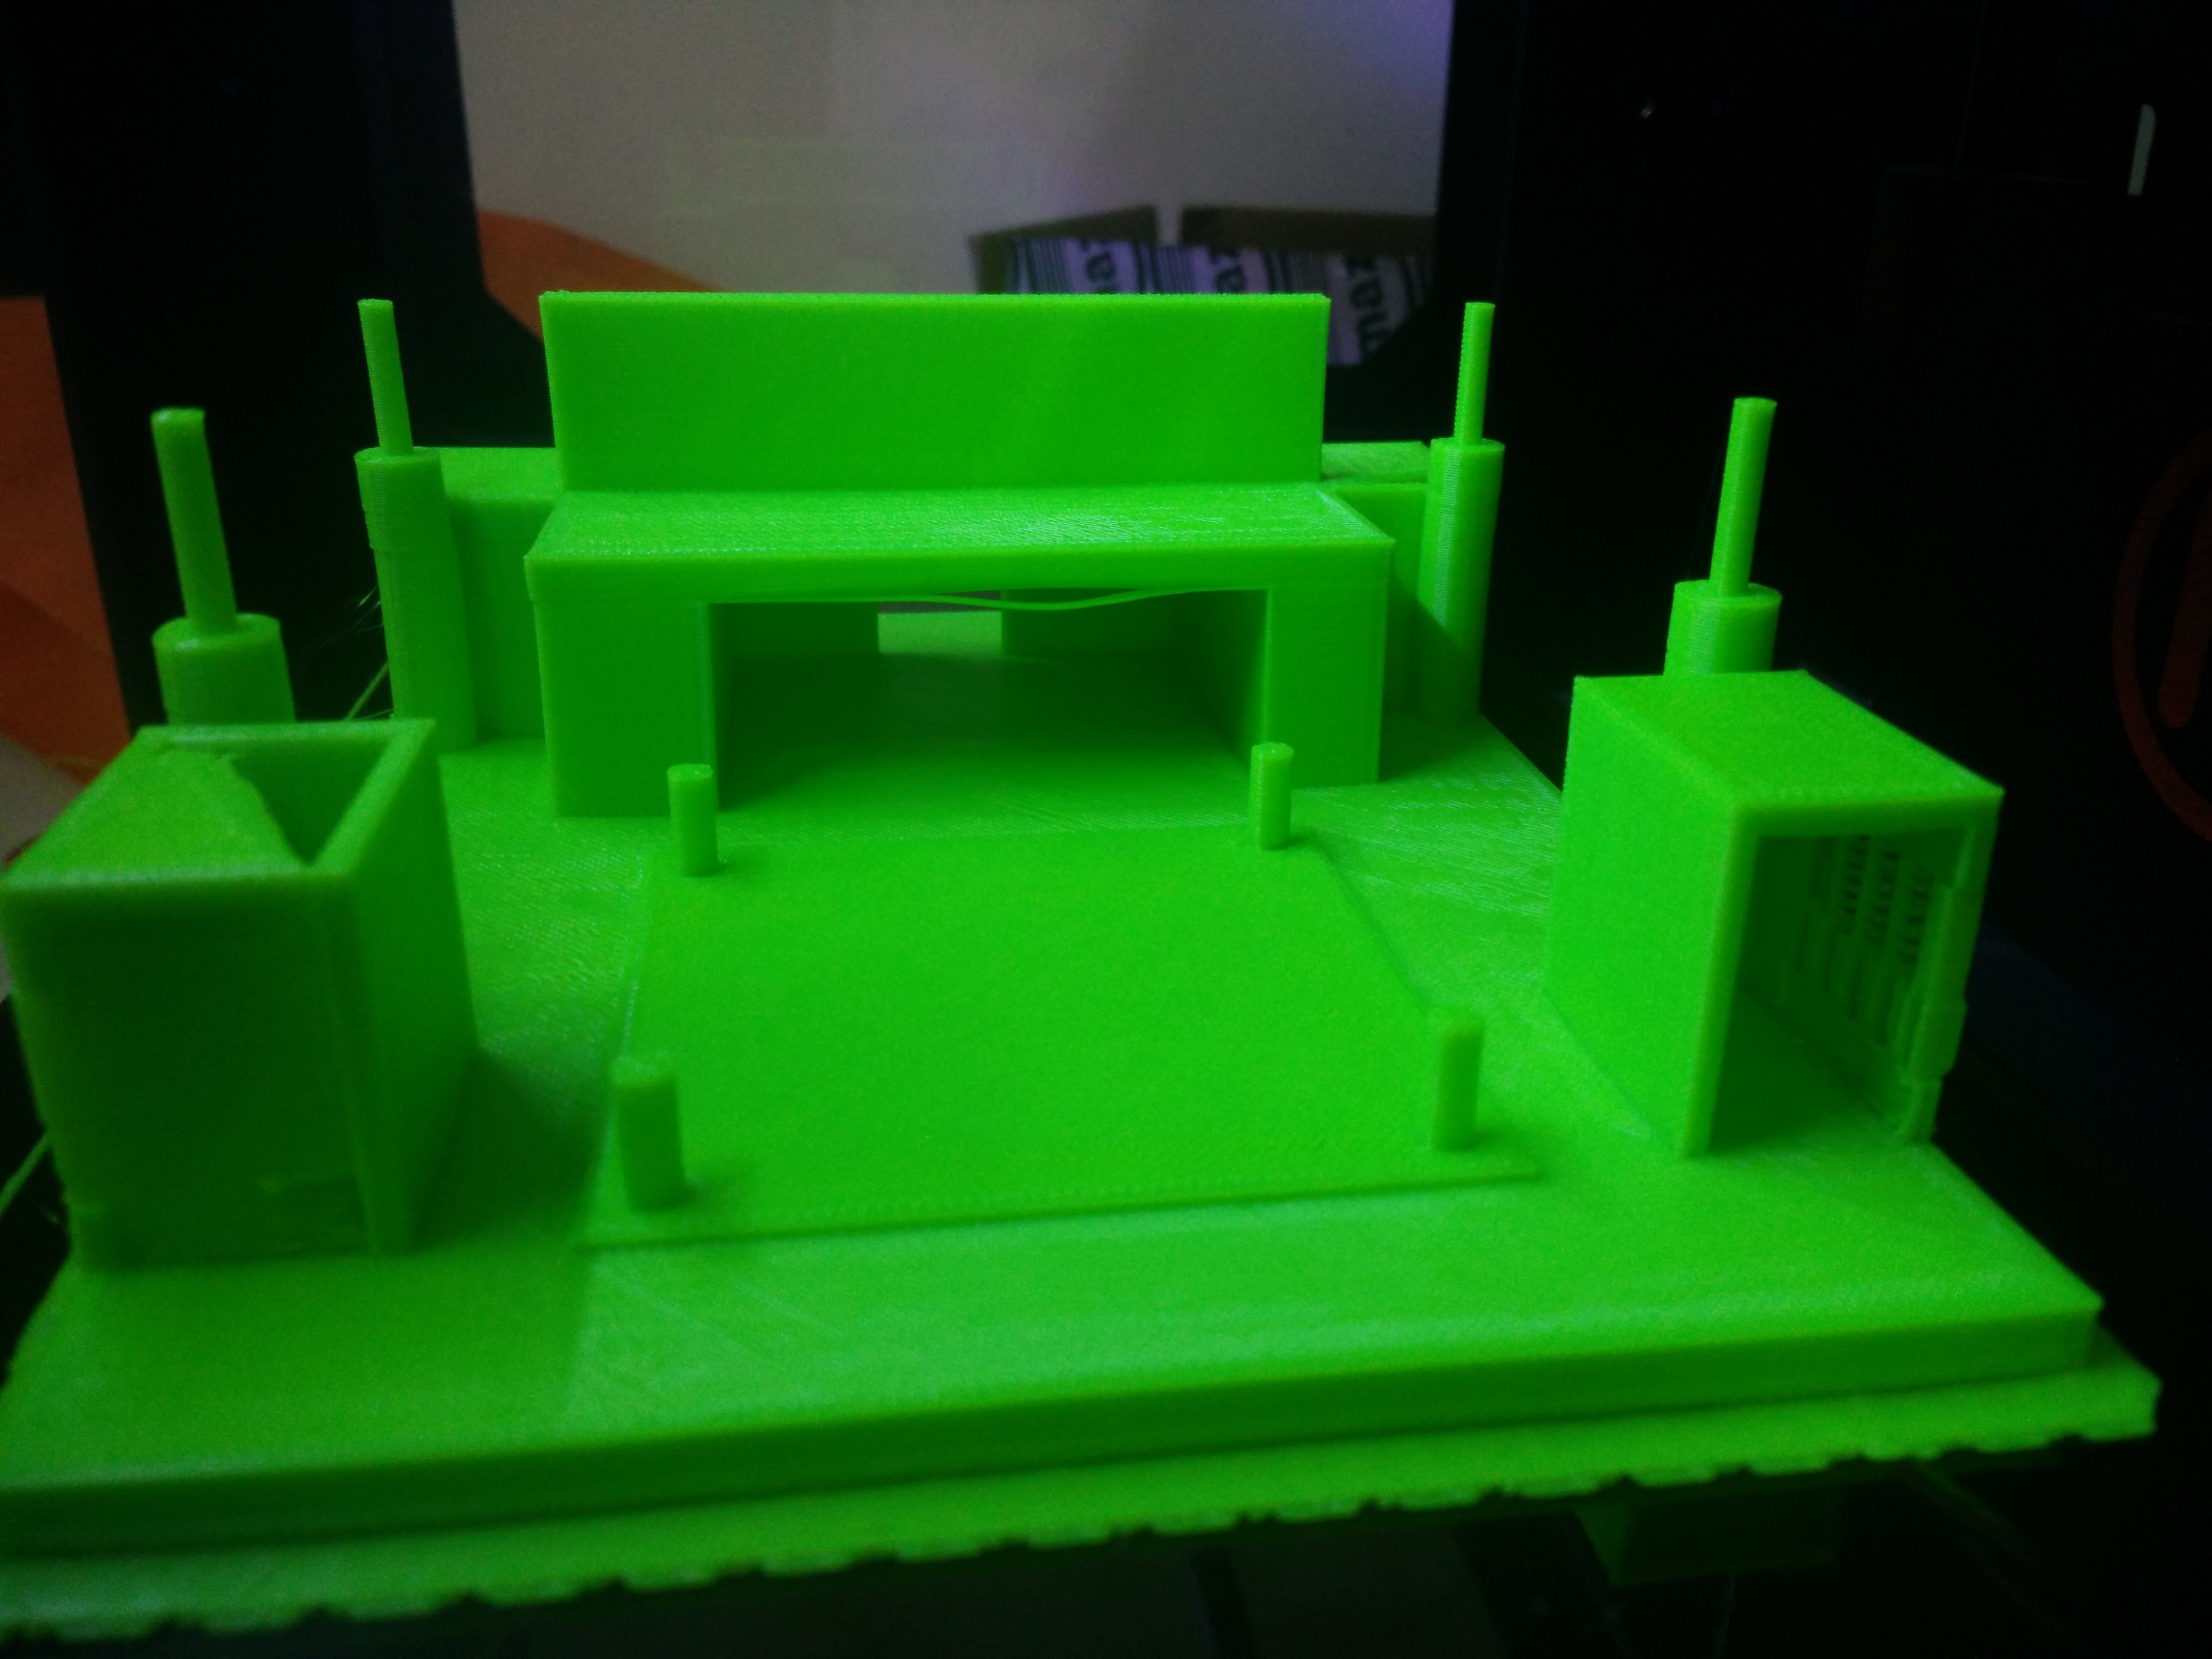
So next is sticking the magnets to this using some cyanoacrylate glue and giving it a quick spin.
A project log for SnapBot
SnapBot is a modular platform to help educators and students learn about programming, IoT, and Robotics.
The first step was to calibrate the 3d print, magnet and motor.
Based on this test a few changes were done and the final model is attached.
So next is sticking the magnets to this using some cyanoacrylate glue and giving it a quick spin.
Discussions
Become a Hackaday.io Member
Create an account to leave a comment. Already have an account? Log In.