First, the schematics are published in the Files section of my project page, so if you want details, go there.
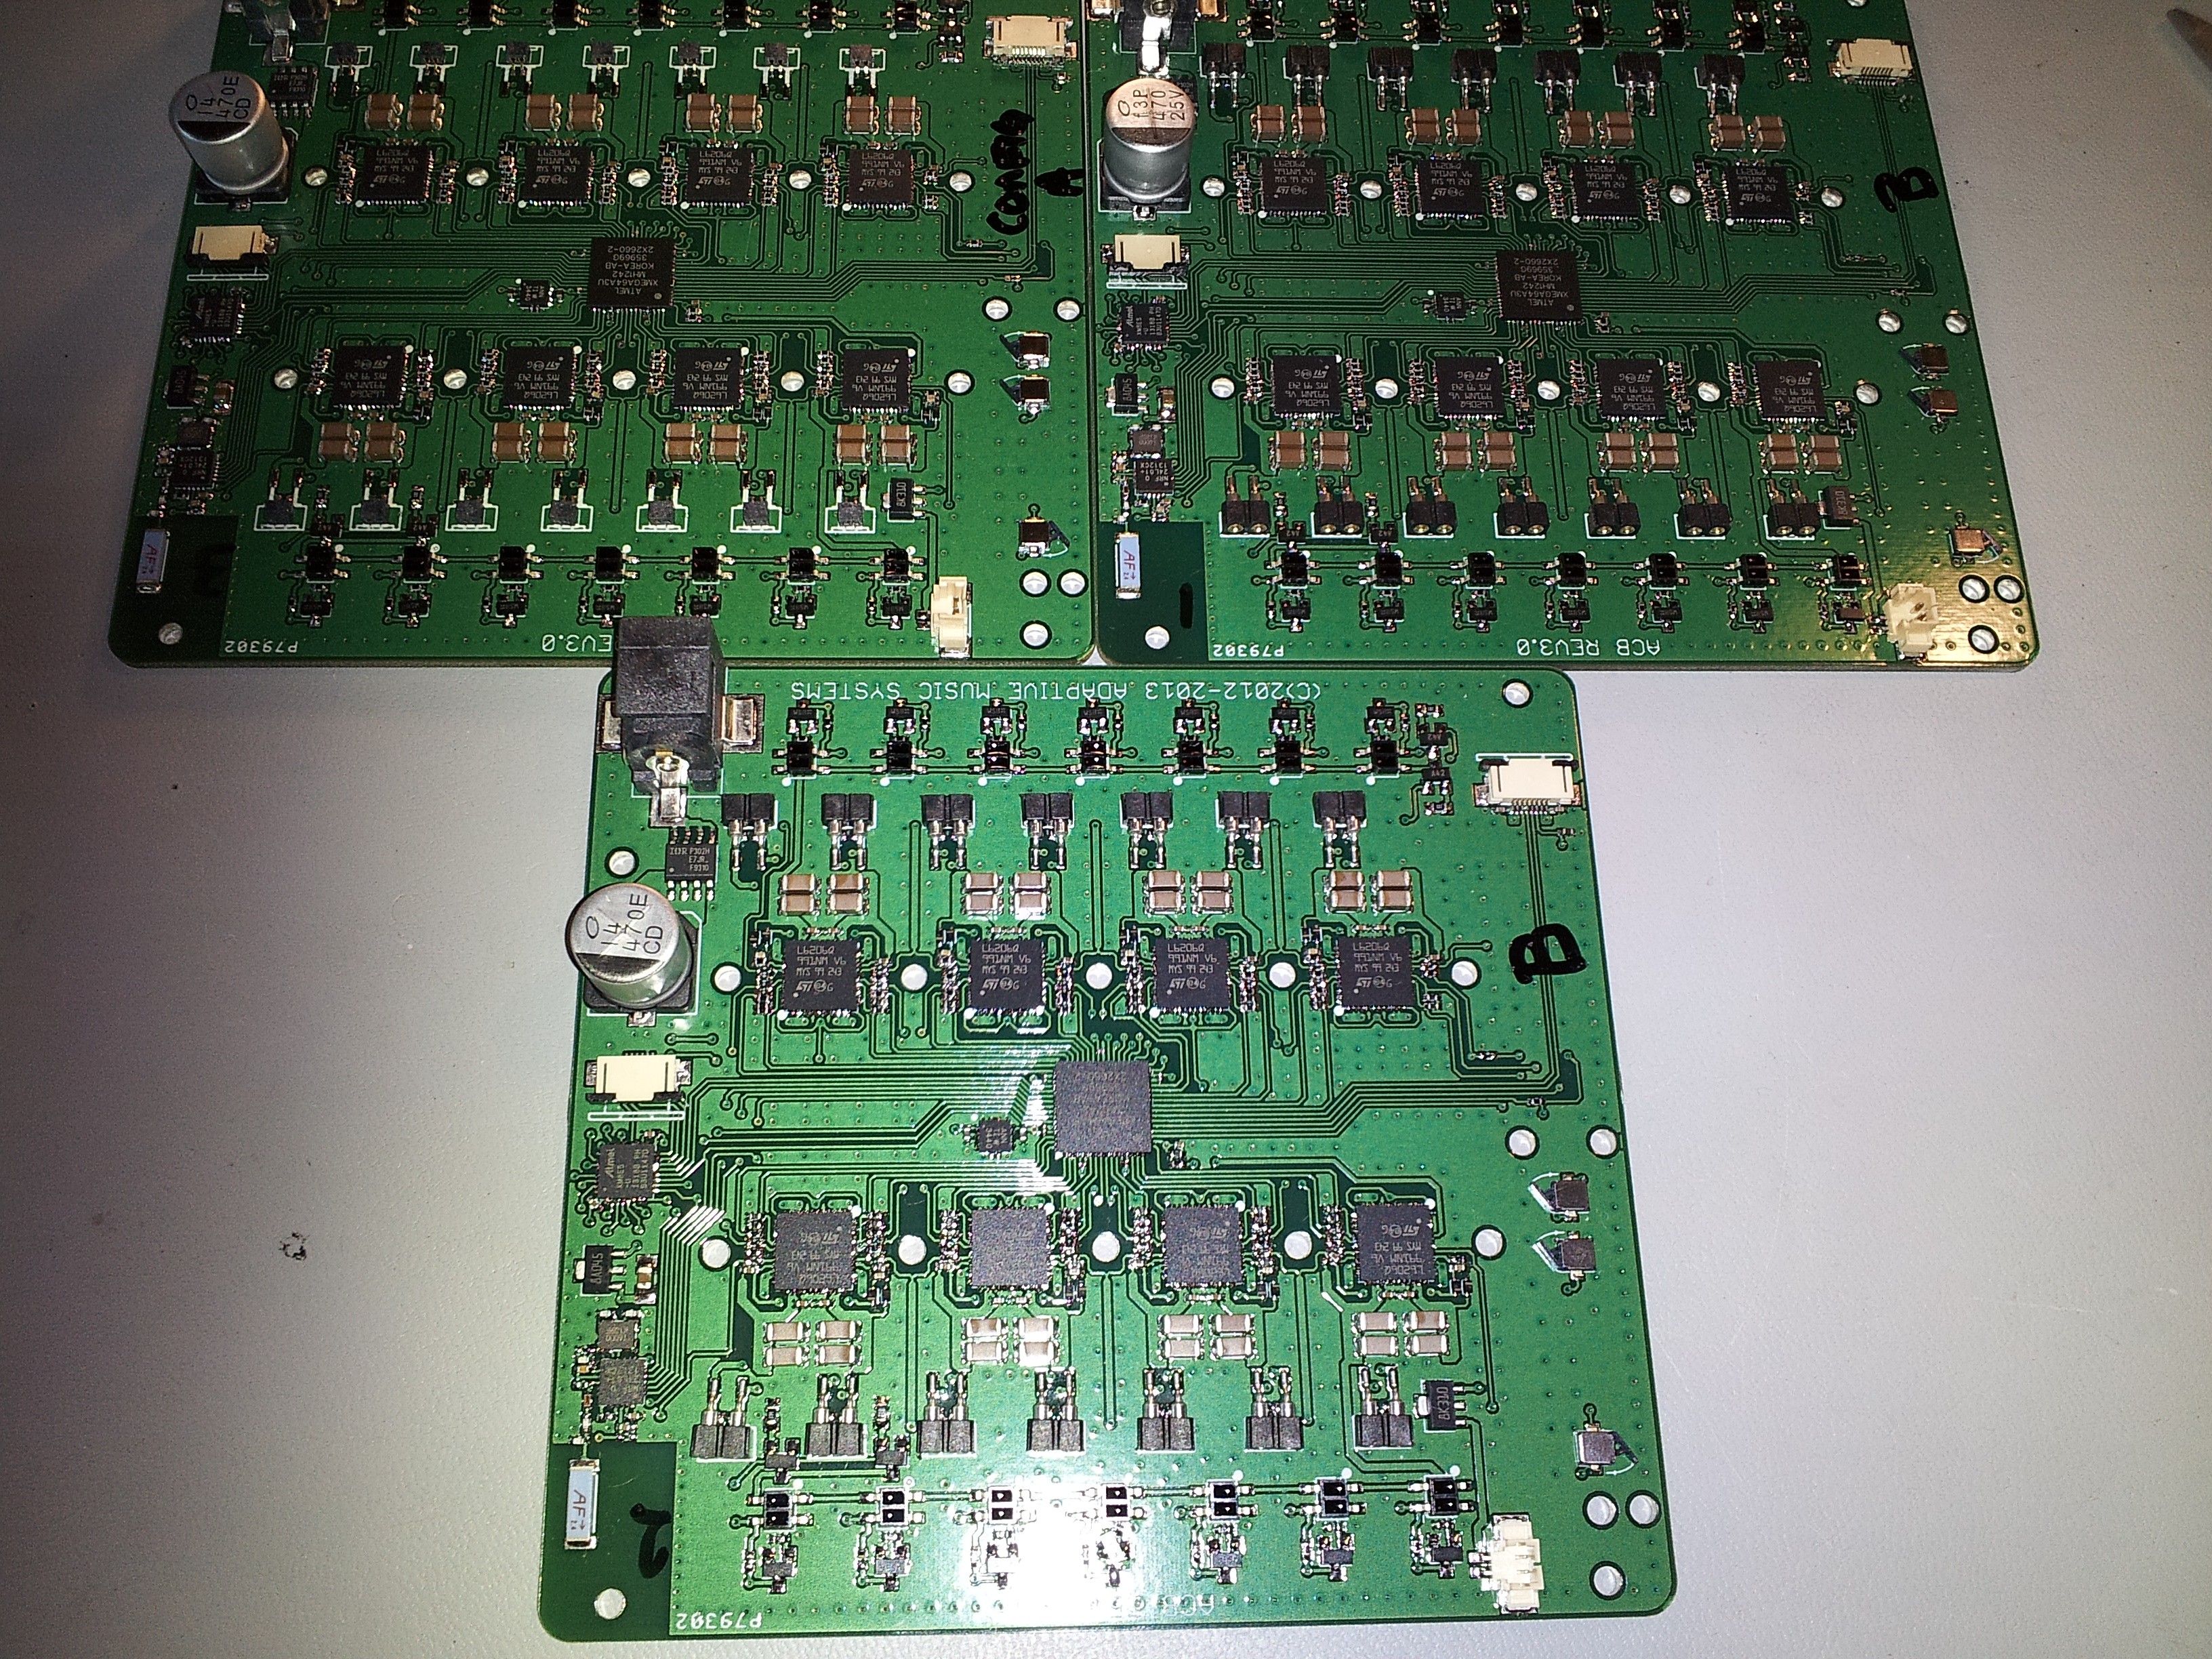
The control PCB is basically 8, dual full-bridge power controllers under control of an AVR Xmega MCU. Basically, I have 16 full-bridge circuits. I use 14 of them to control the actuators (2 per actuator x 7 actuators). I use one of the extra channels to run the heatsink fan, and the other goes to run a ball-screw linear actuator that is intended to give me dynamic control over the strumming (sorry - I'll have to get into this later, too).

Yes, I hand assembled those boards with my tweezers, a USB microscope, and an unmodified toaster oven.
The board is powered by an external battery or DC power source, and is unregulated to the h-bridges. The center chip is the main control IC, and there are 14 infrared reflection sensors along the two long edges of the boards. The reflection sensors detect the positions of the actuator plungers to close the control loop.
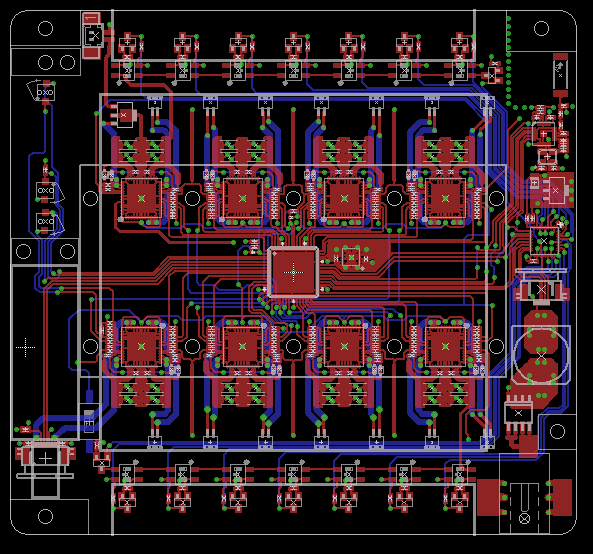
Here's the layout. It's a 4-layer board, but the power and ground layers are boring.

You may also notice at the top right is a chip antenna, which is for the Nordic NRF 2.4GHz transceiver just beneath it that gets it's commands from the latest version of the foot controller. The small IC just below that, by the FPC connector is an auxiliary MCU which runs the wireless link and relays decoded commands to the main control IC via SPI (since it's super busy otherwise).
There are a few other mystery parts on left side of the board, but they have to do with dynamics control, which isn't quite worth mentioning yet.
 Joe
Joe
Discussions
Become a Hackaday.io Member
Create an account to leave a comment. Already have an account? Log In.