-
1Download RiseUp.ino found in the file section of this project page.
The RiseUp.ino is a sketch file that contains all the code to run on the Arduino Uno.
-
2Connections to Arduino Uno
Wash and dry your hands. Clear your work area. Drink your favorite beverage.
-
3Step 3
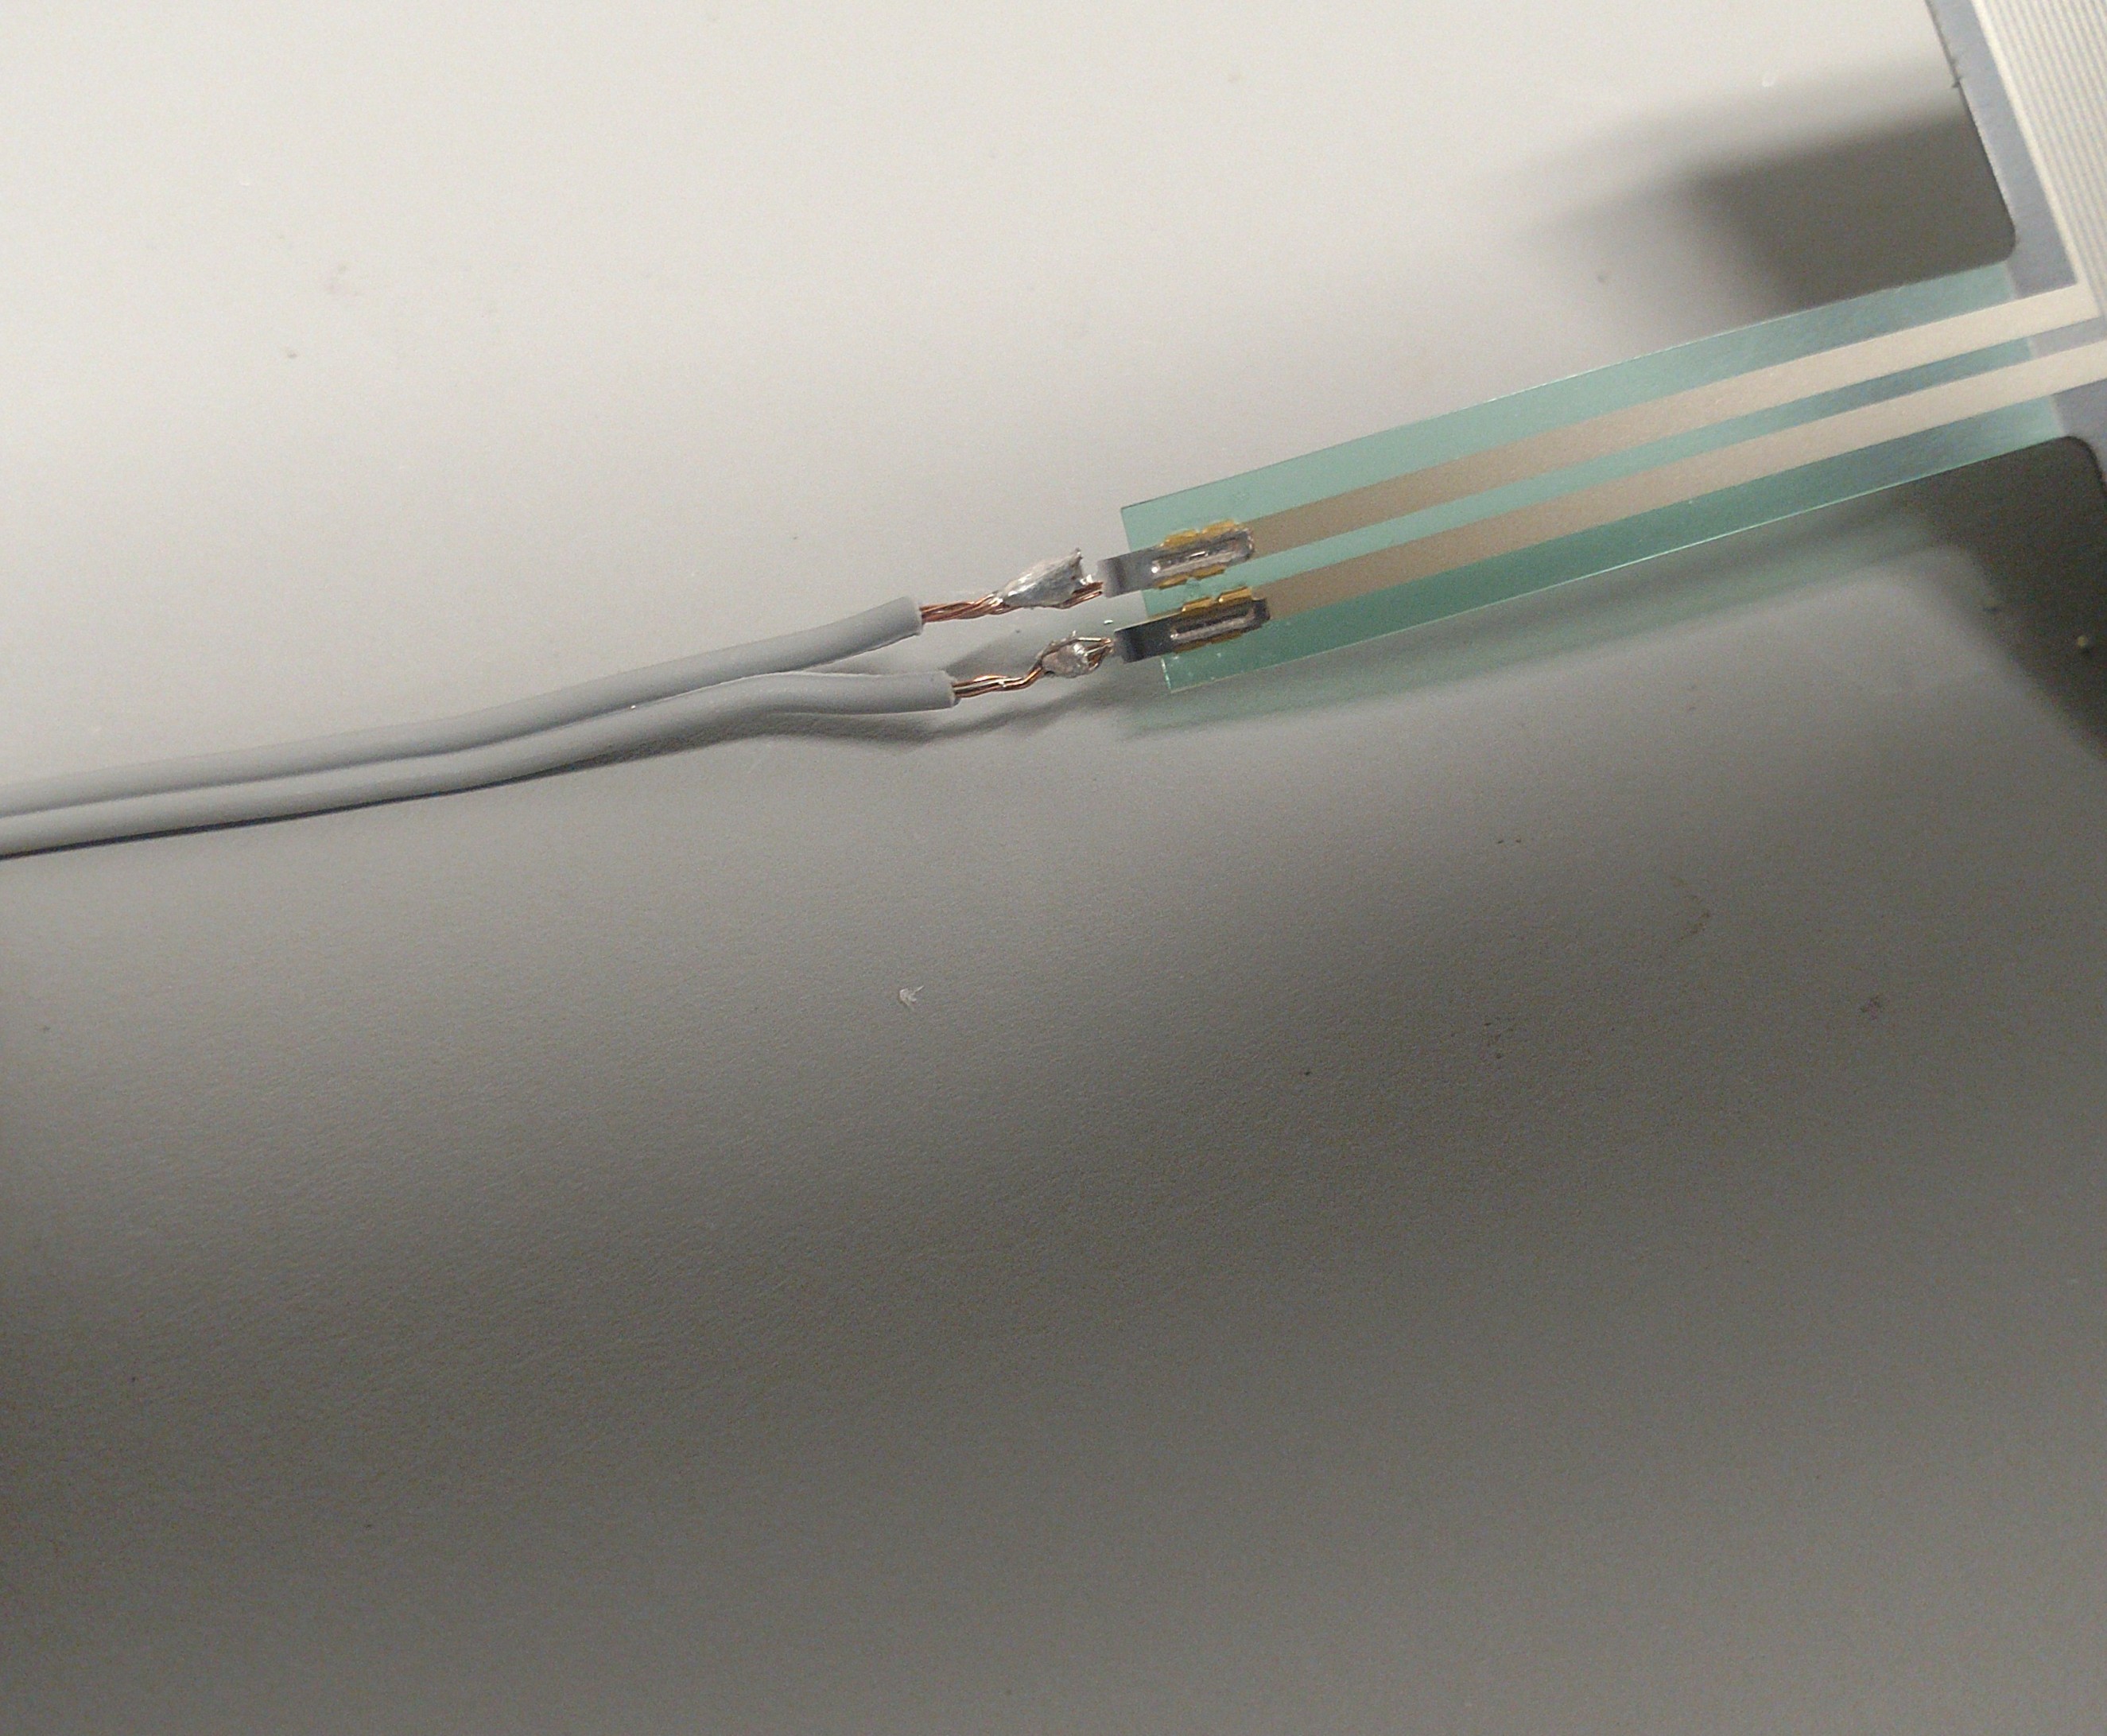
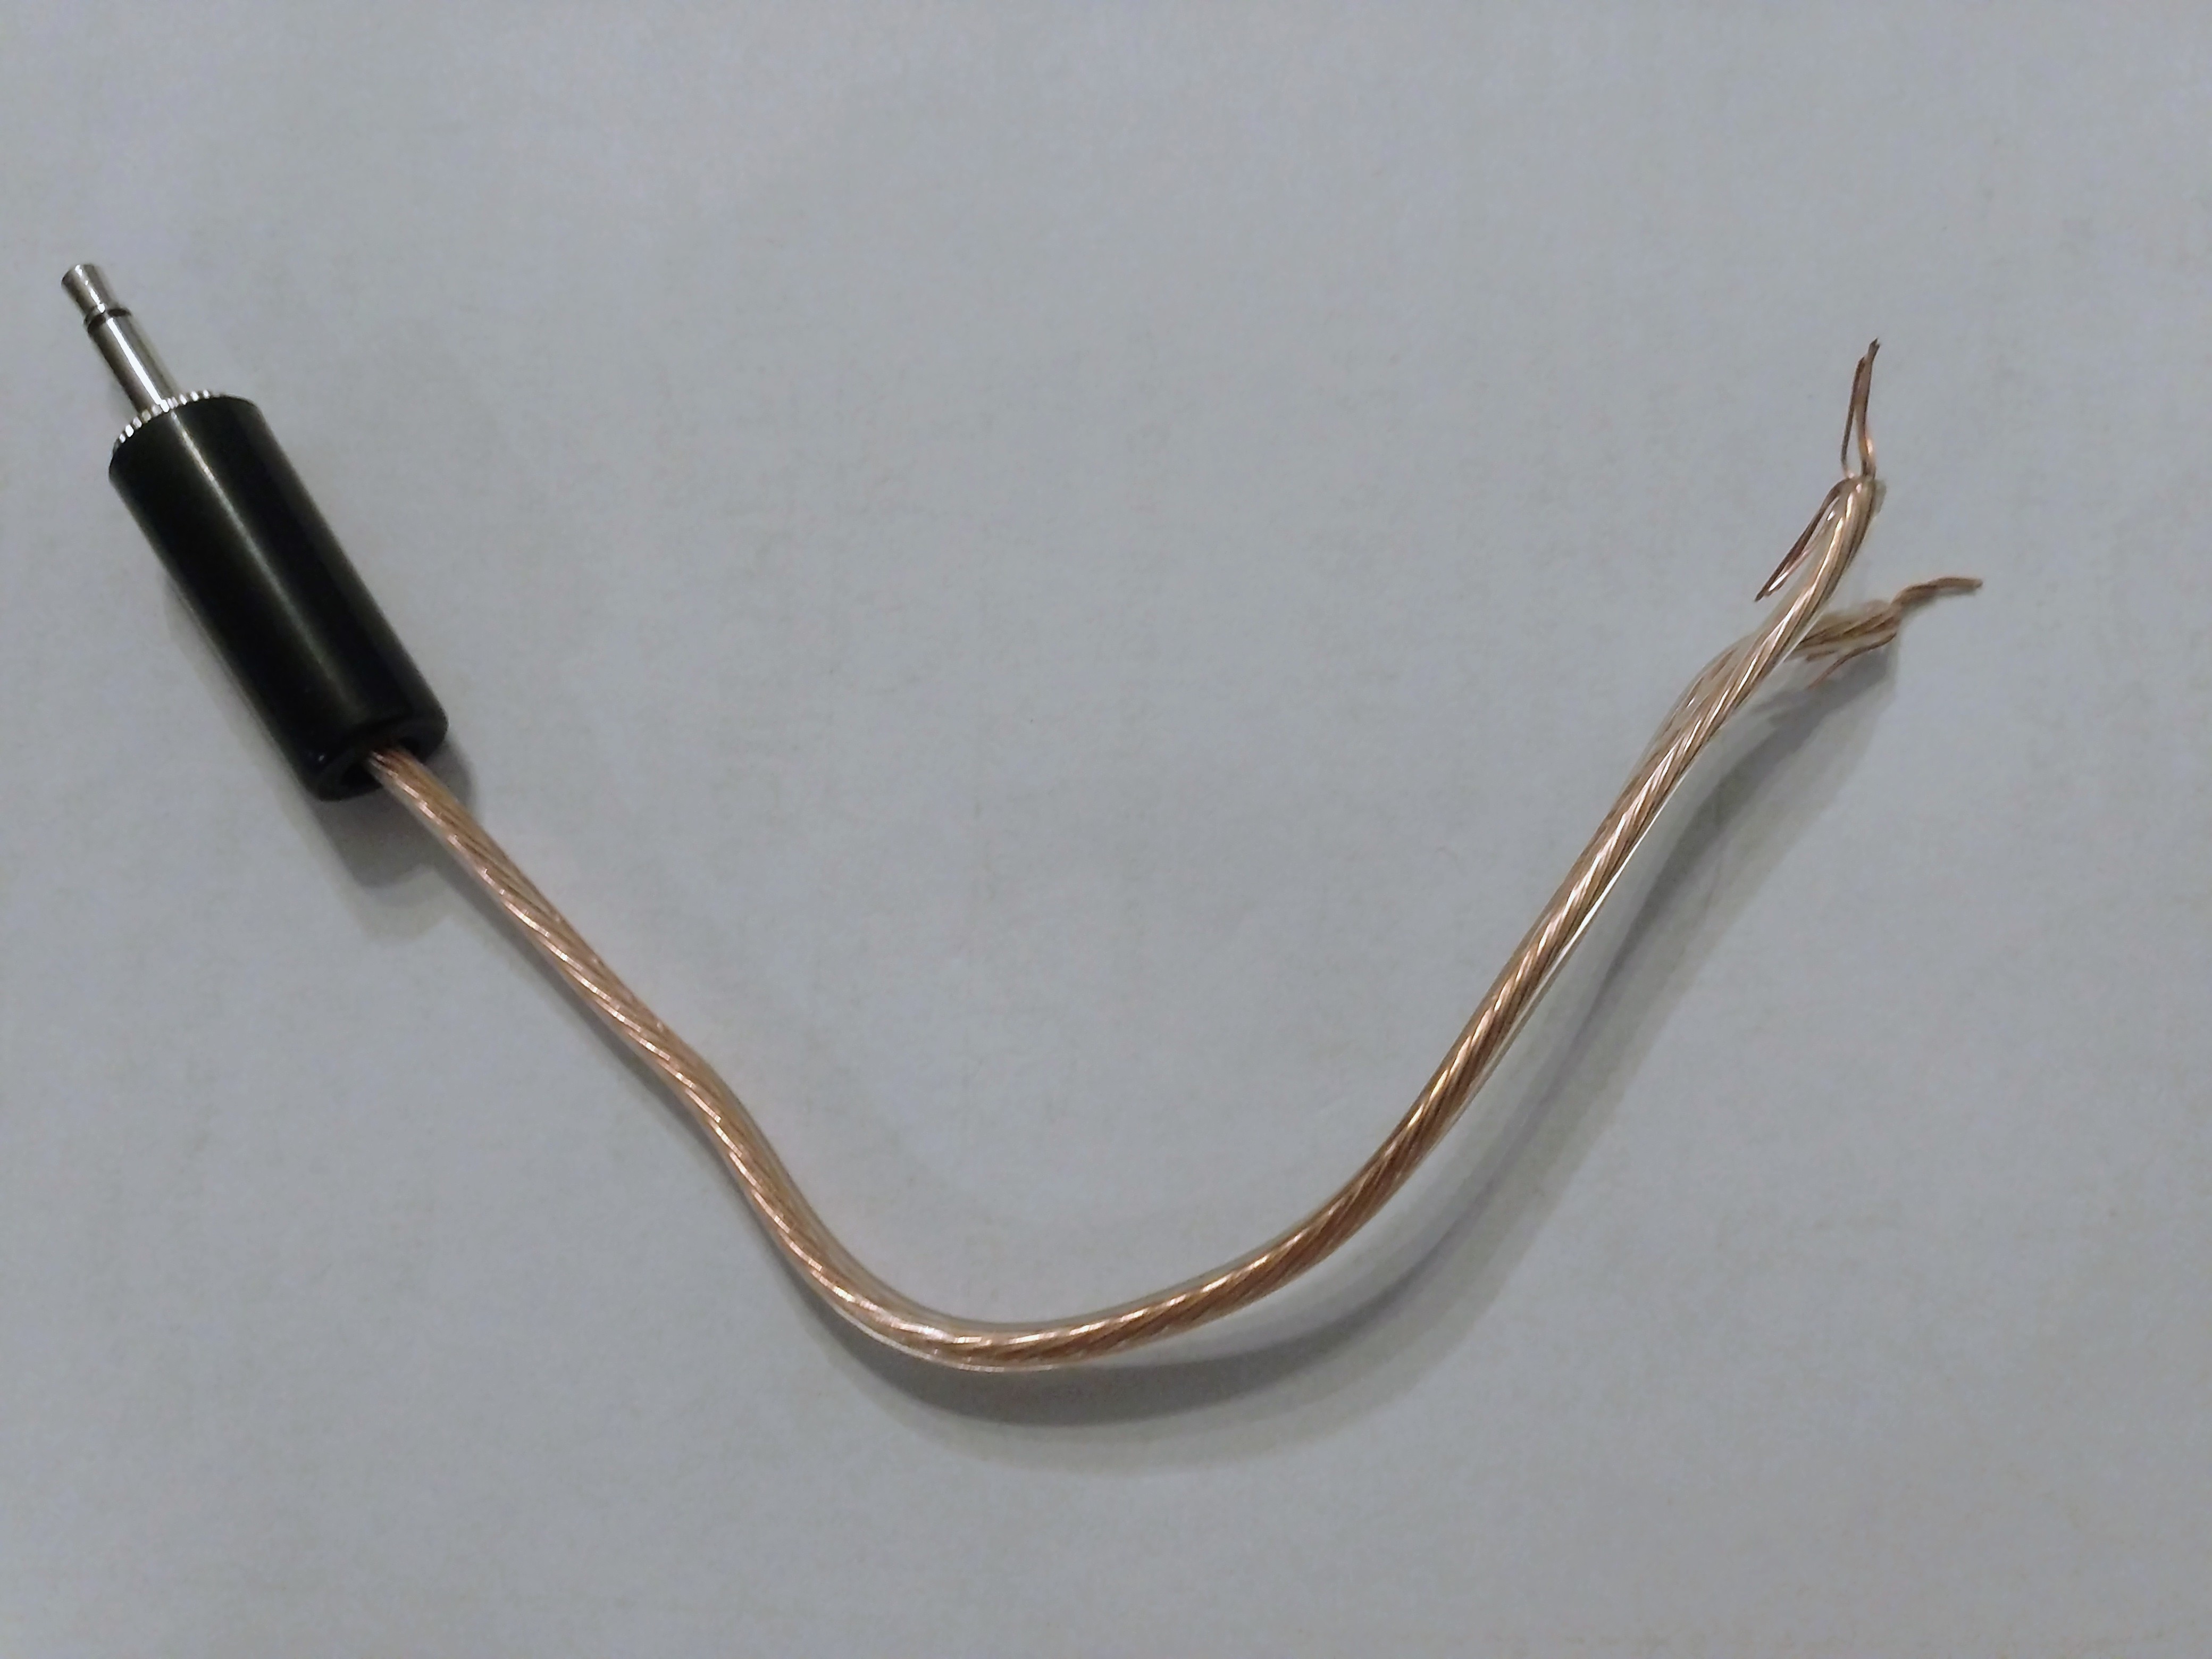
Solder about 2 feet of speaker wire to each of the 3 FSR's. This takes a bit of practice, so if you are not too experienced with soldering, use a clamp-style connector or alligator clips. For just seeing if the circuit will work, you can also plug the FSR directly into the breadboard.
![]()
-
4Step 4
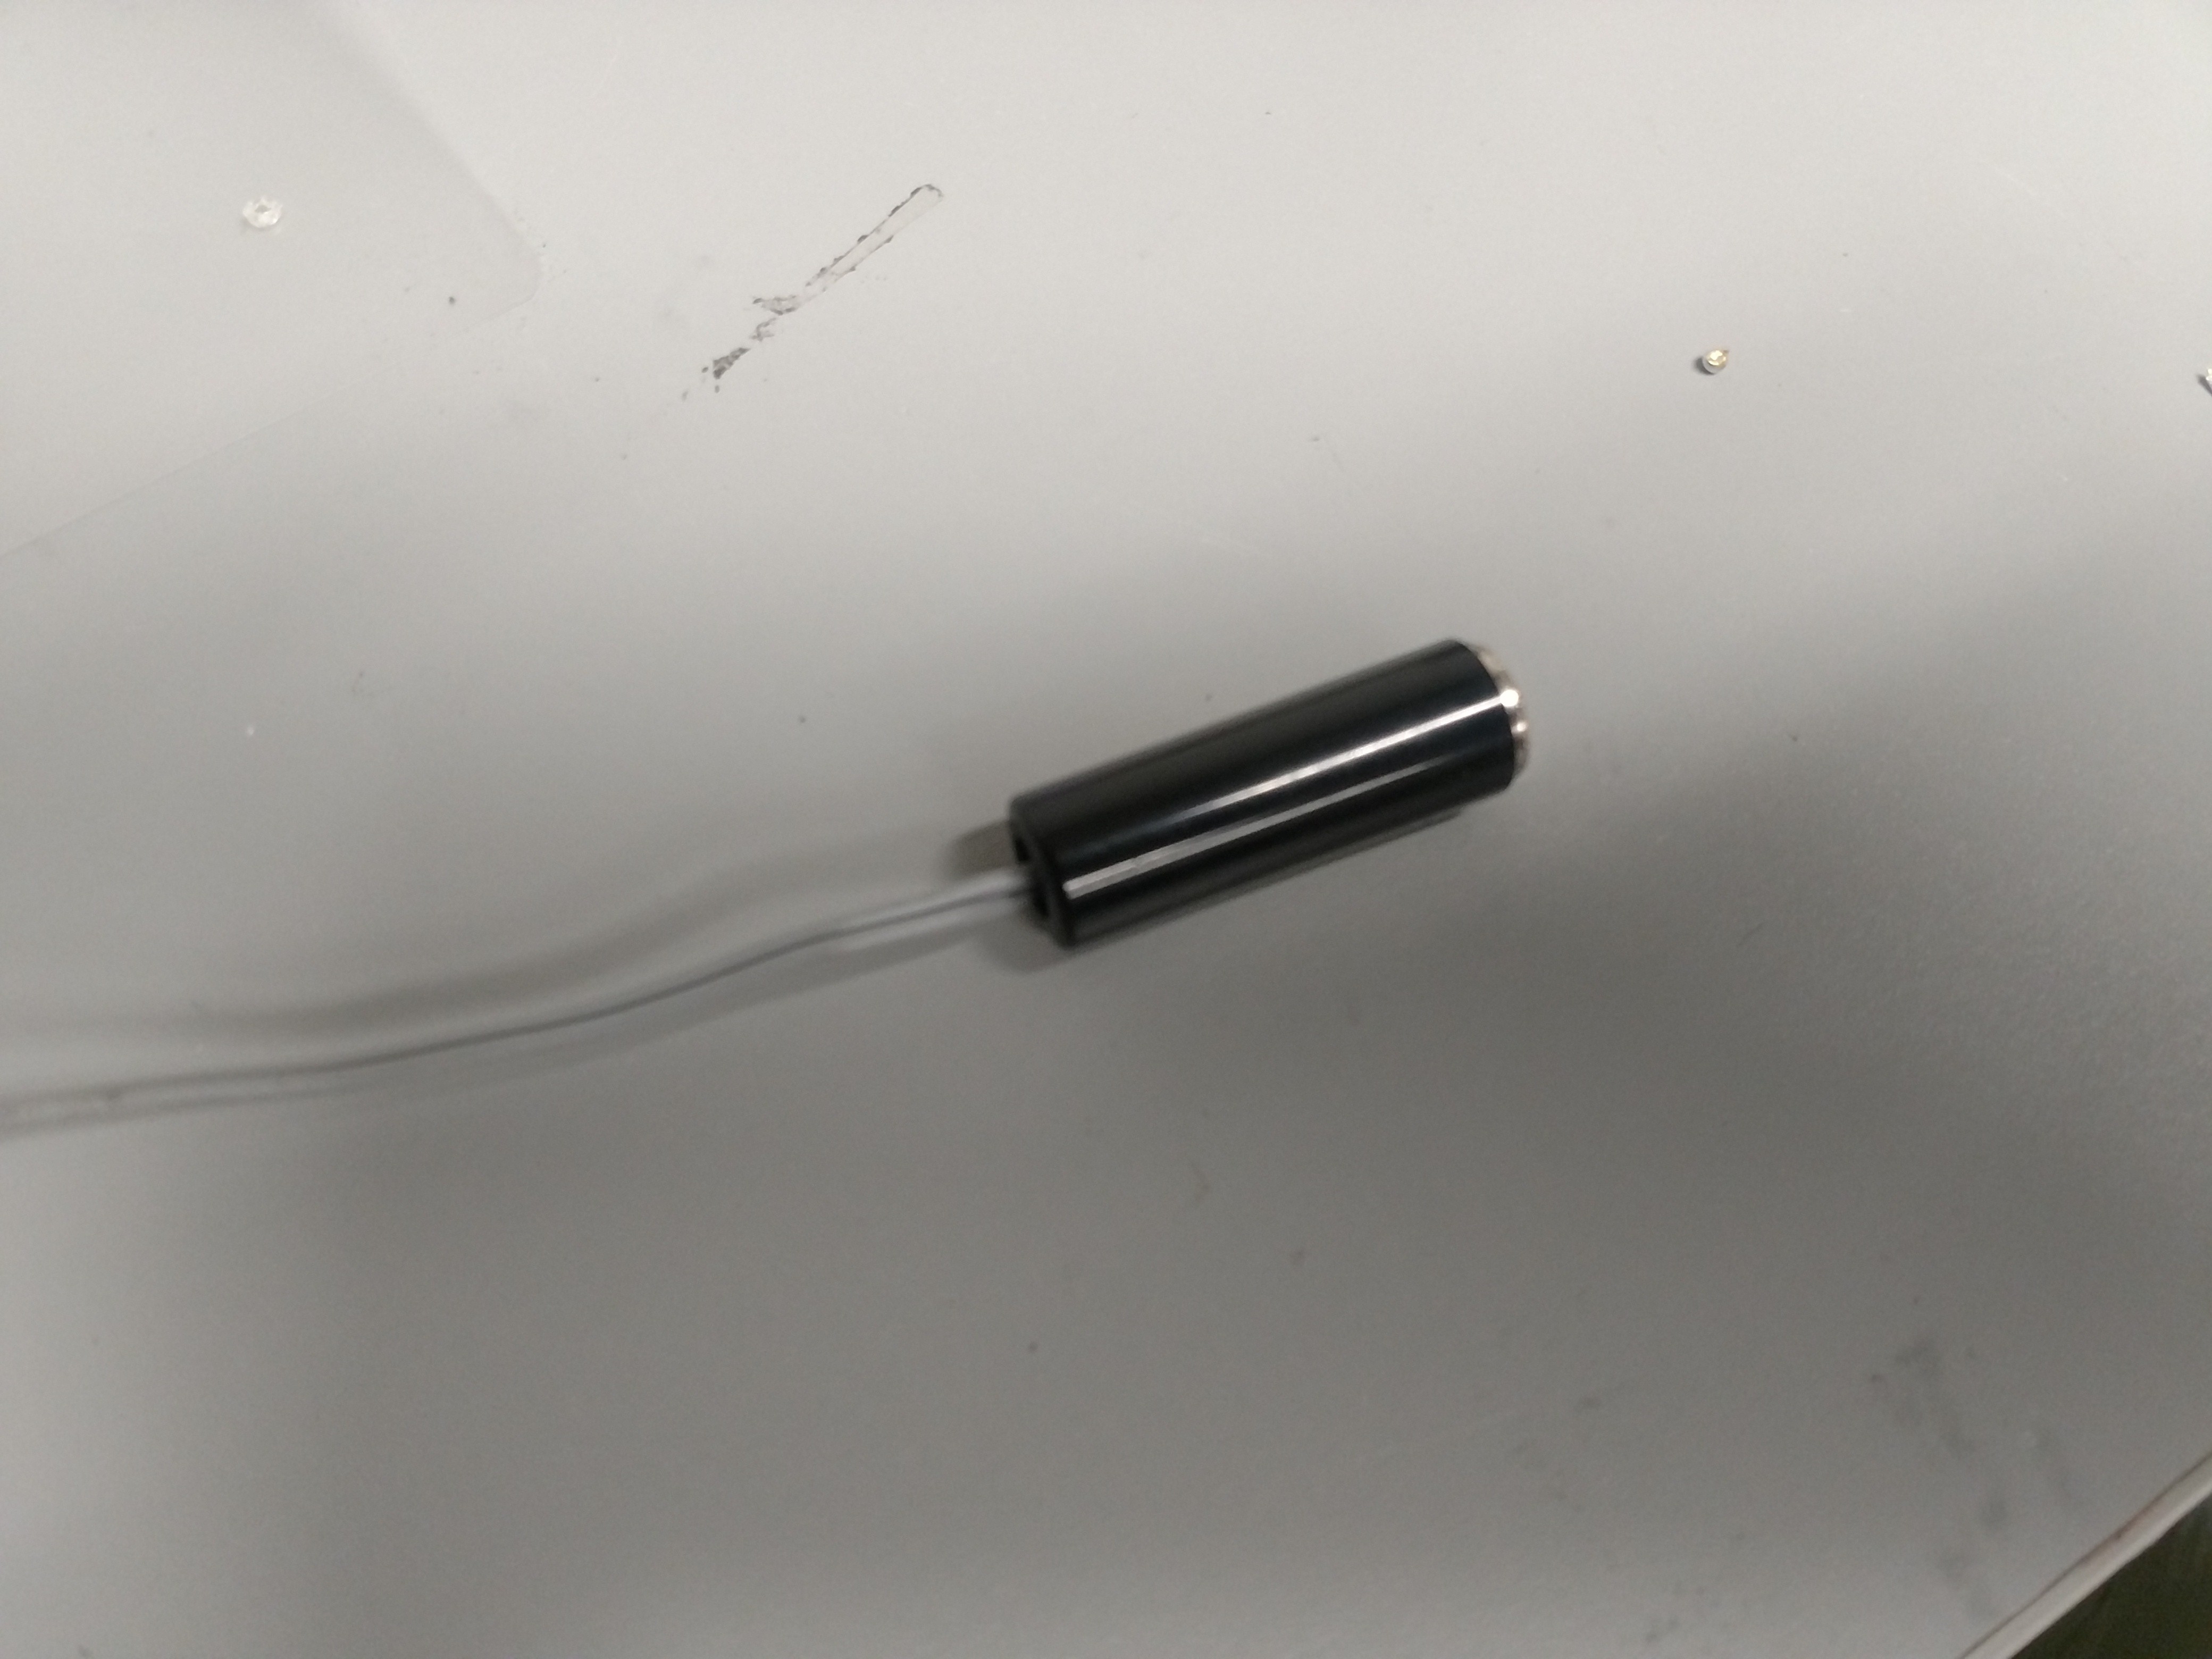
Solder Male 1/8" mono female jack to other end of FSR speaker wire. (All 3)
![]()
-
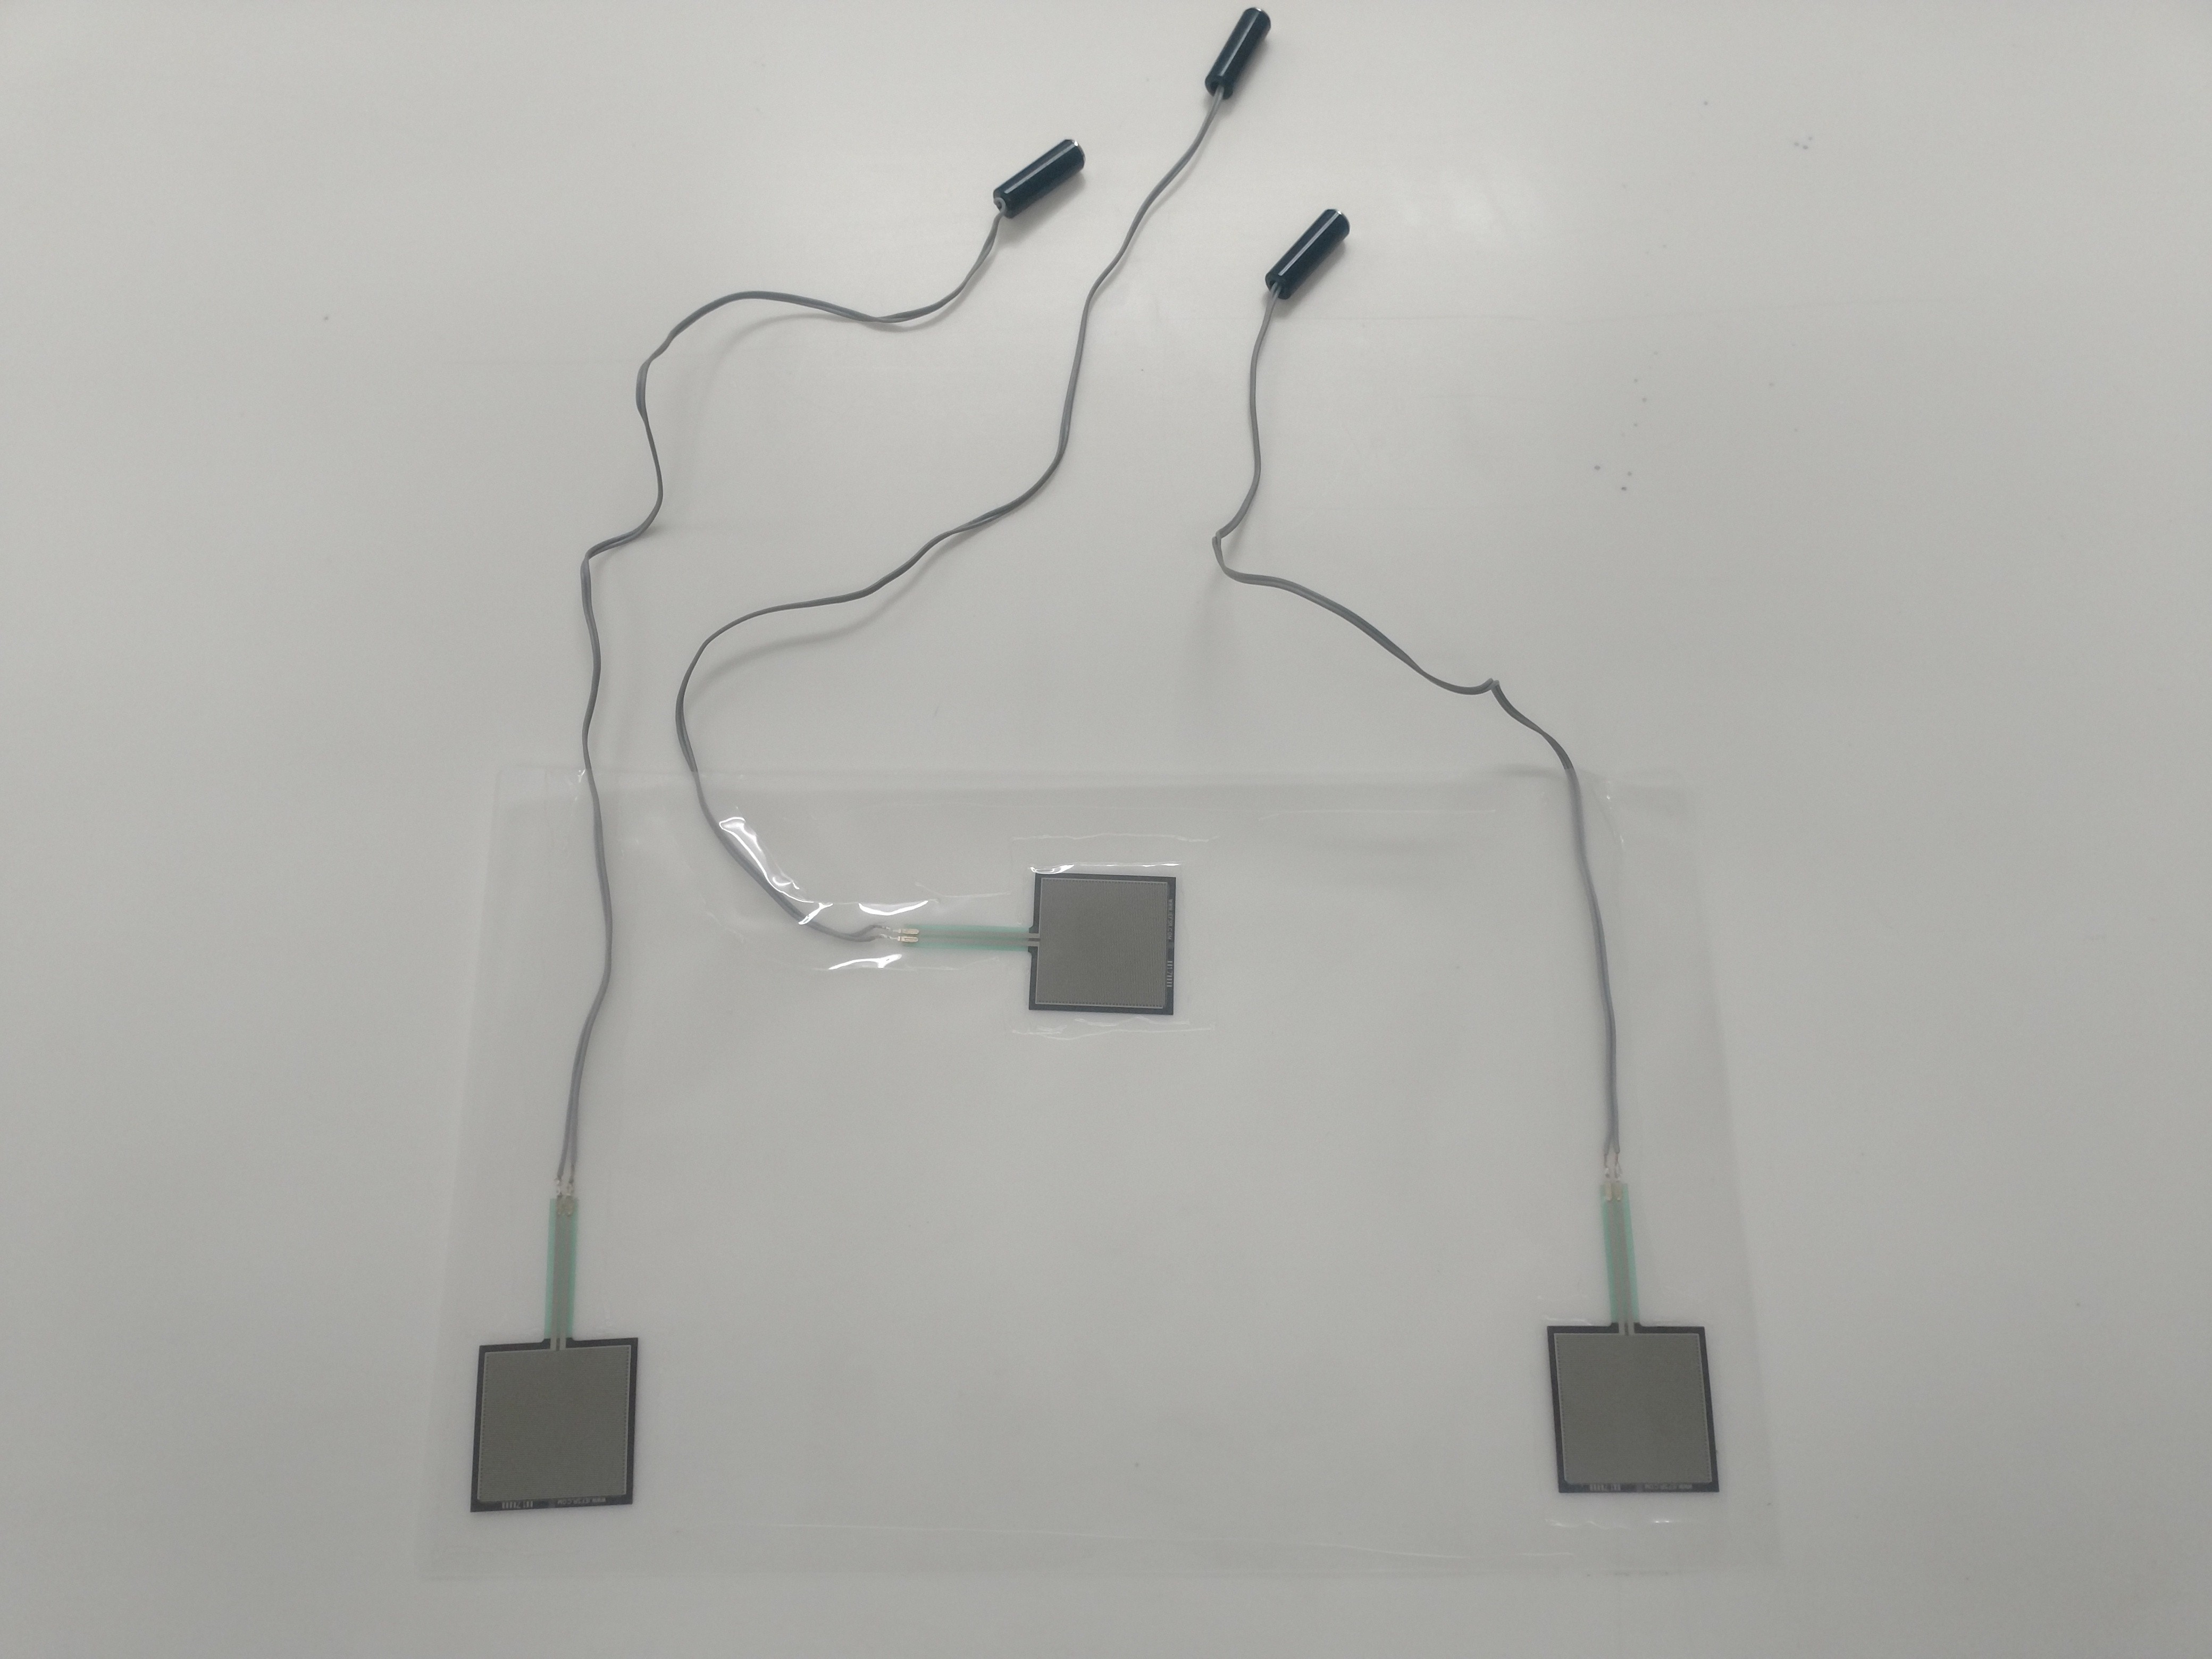
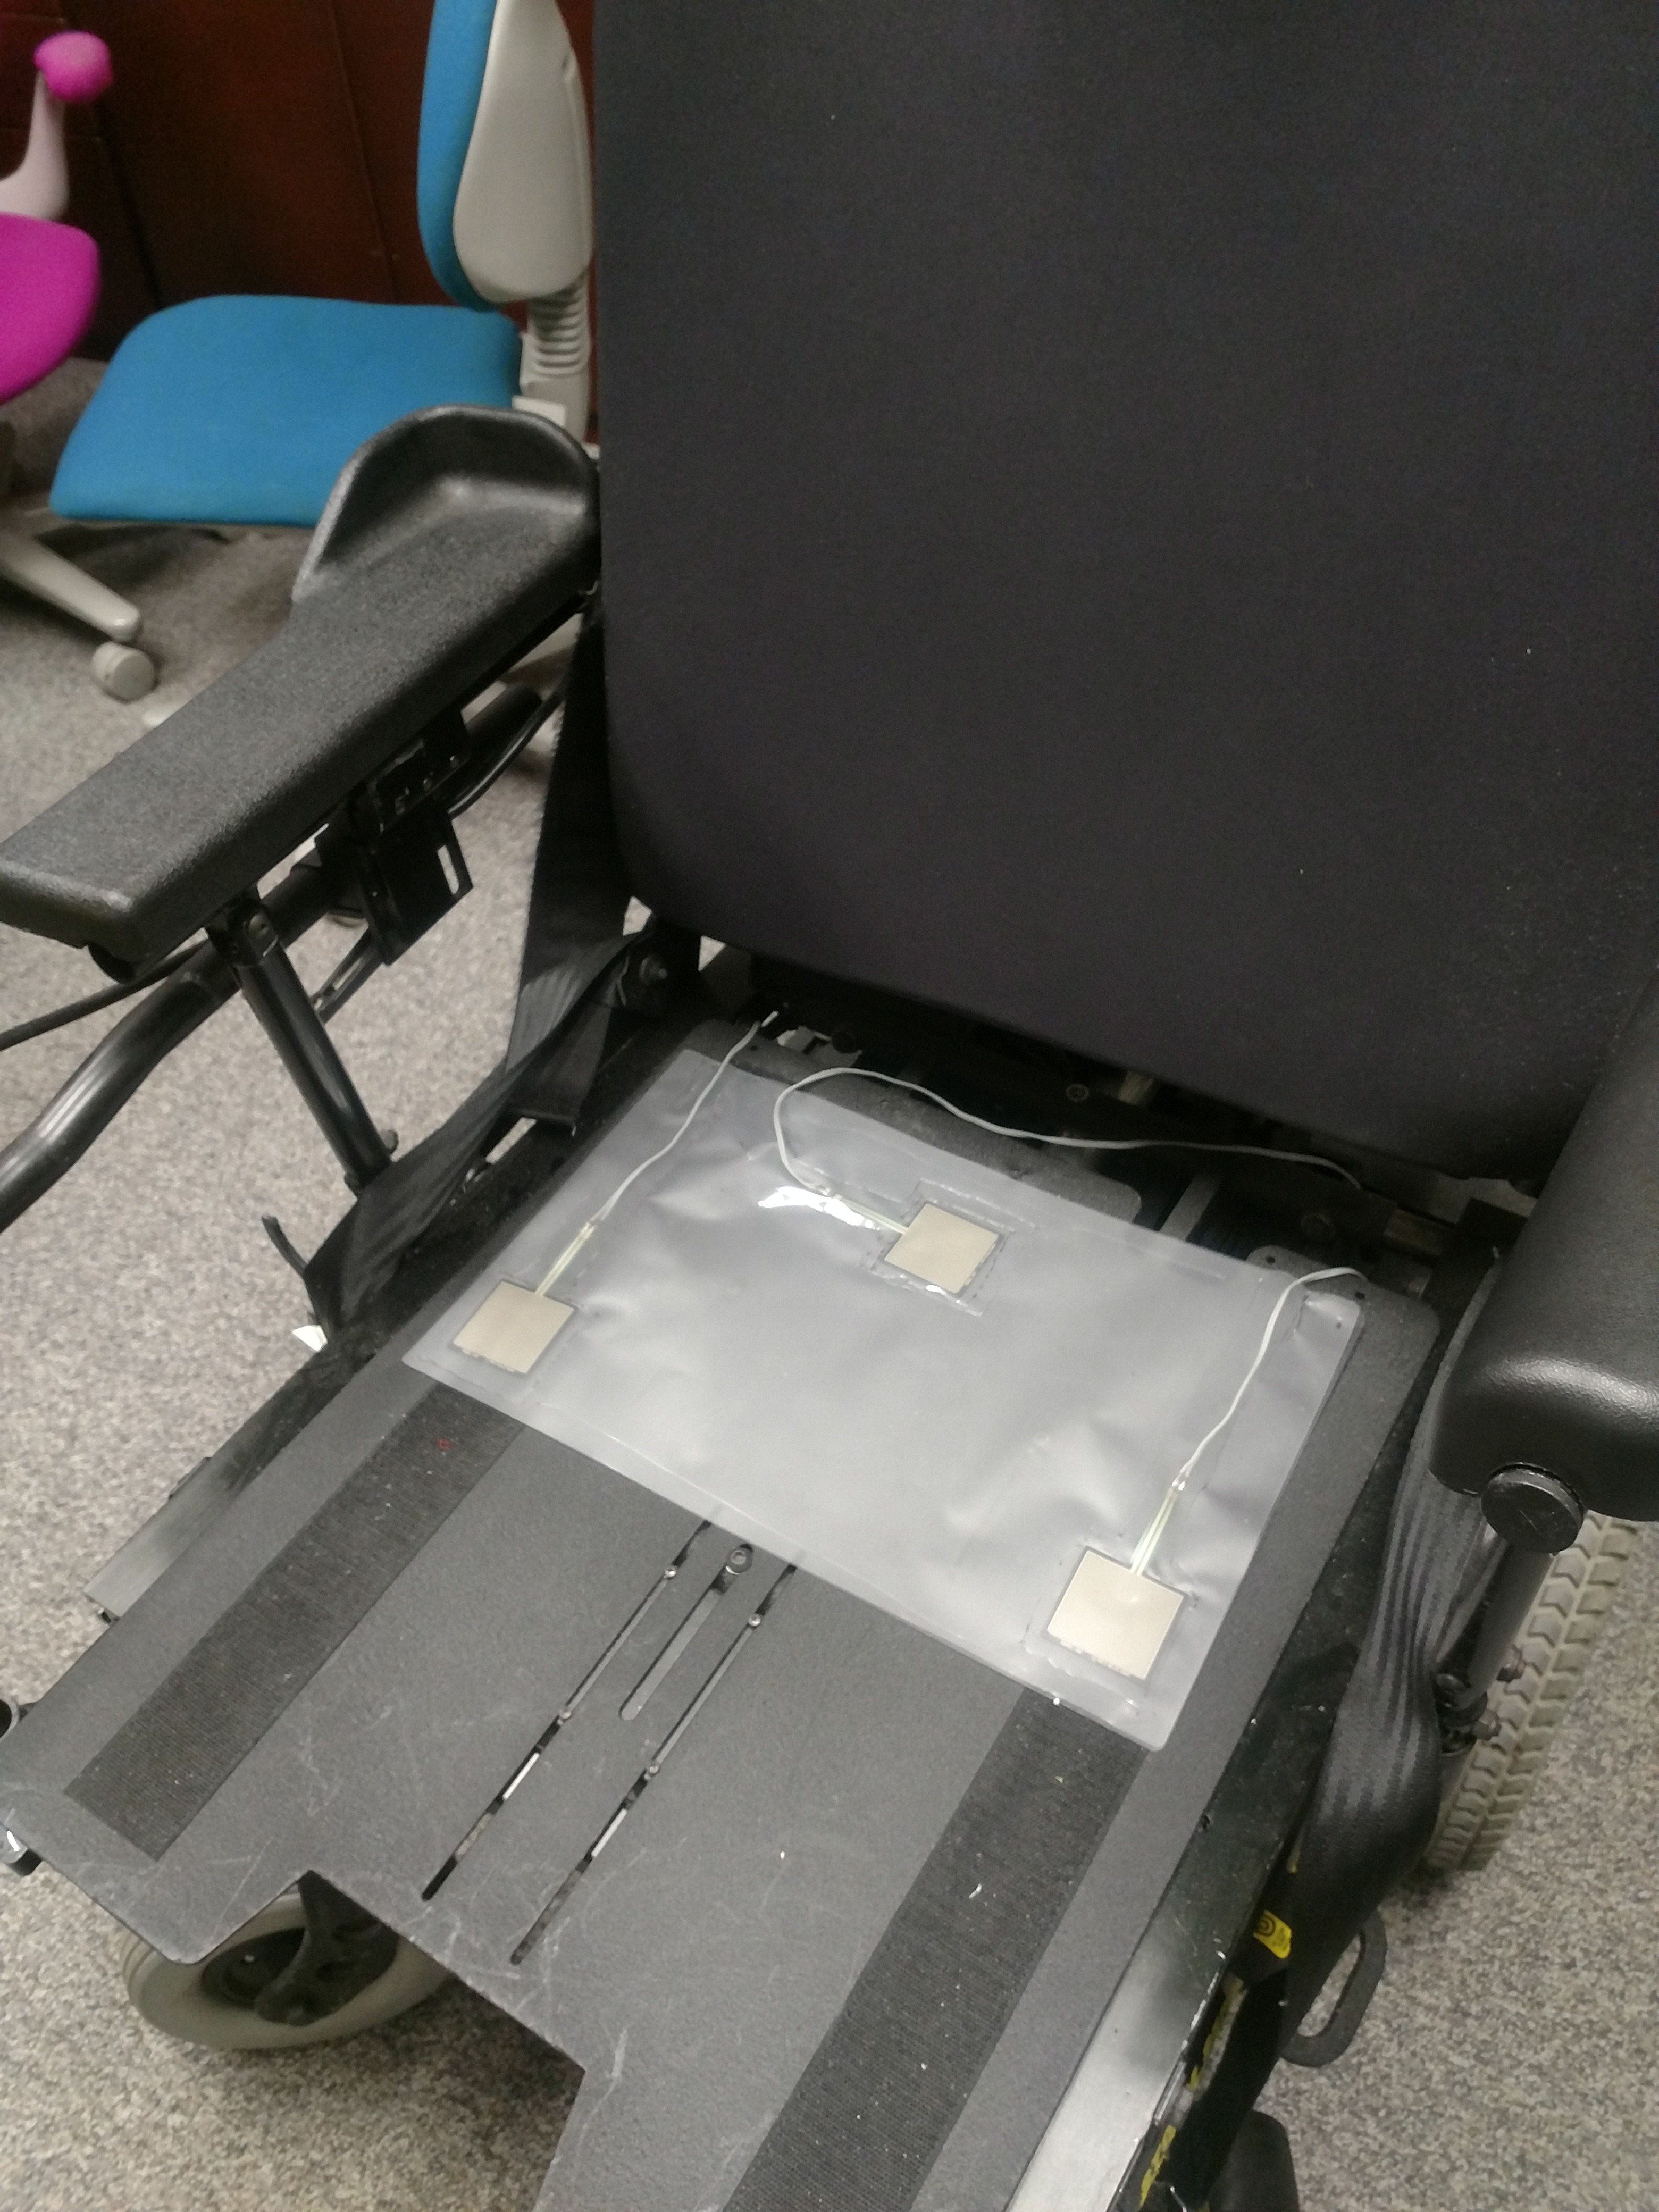
5Lay out 3 FSR's on generic laminating sheet (used in most common laminators). Place in areas as shown. Apply concentrated heat to areas around FSR's and wires. This will heat up the adhesive embedded in the sheet and seal the areas around the individual FS
![]()
-
6Step 6
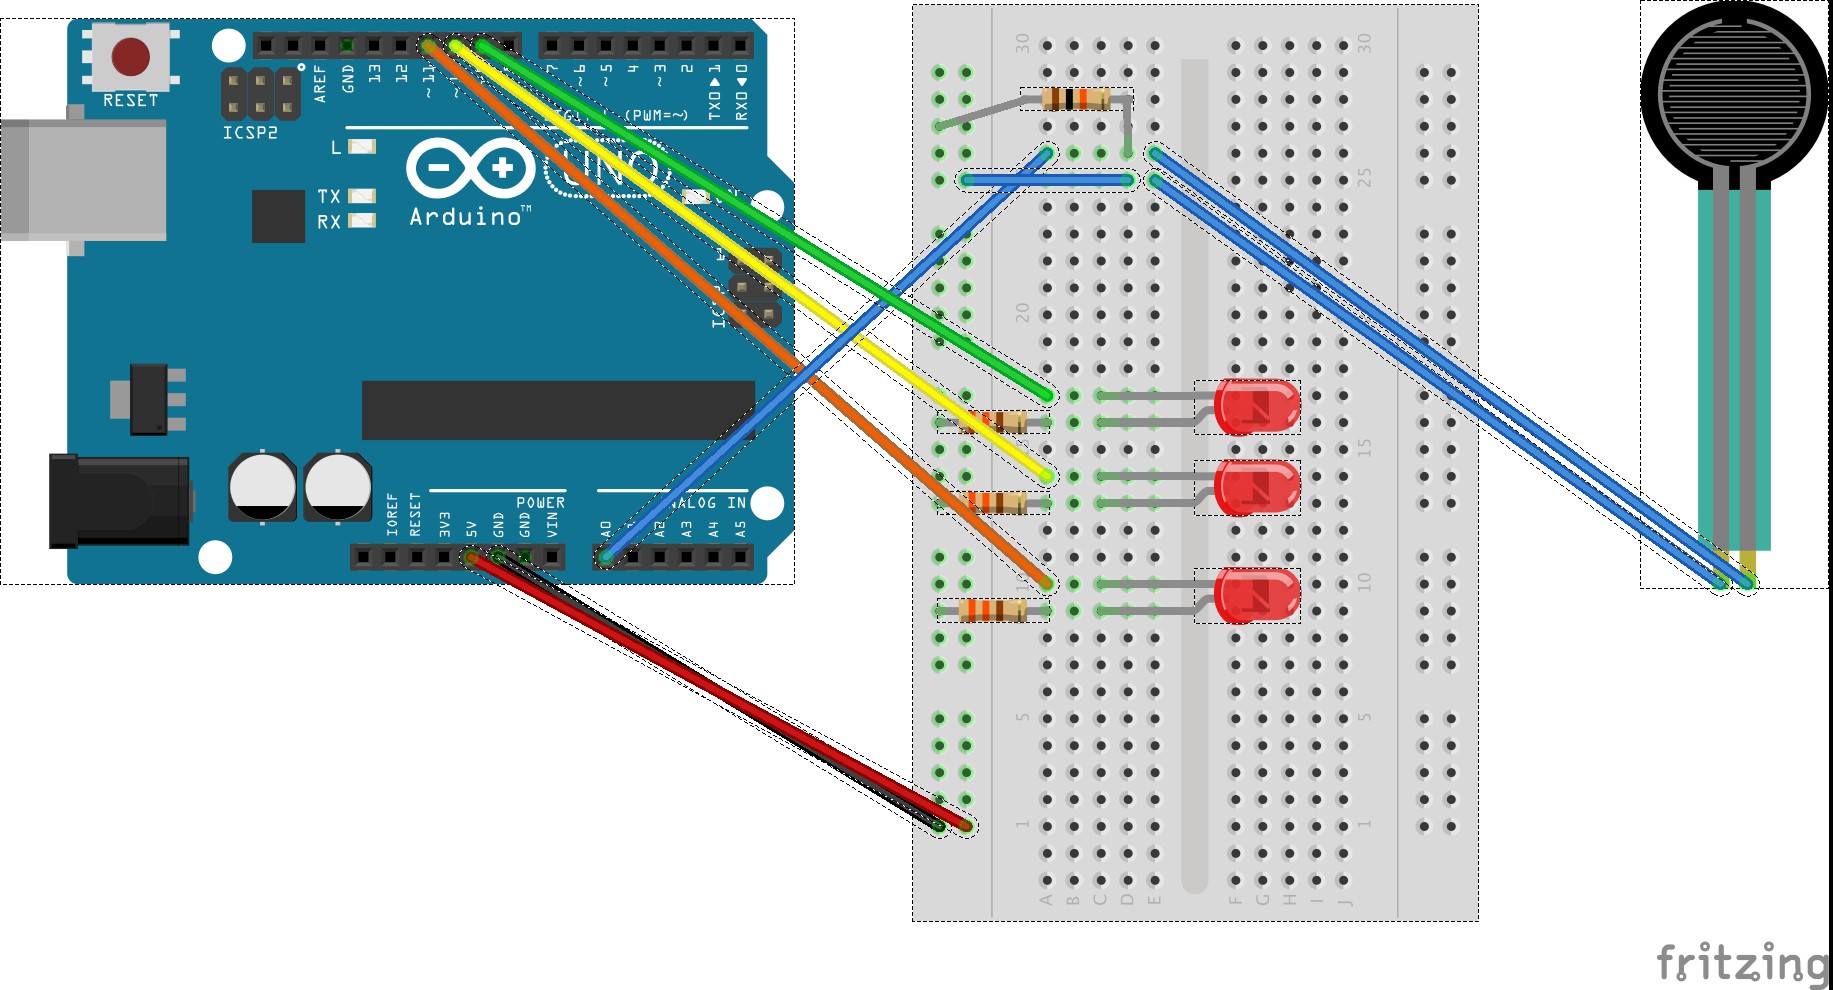
Connect FSRs, LED's to Ardunio Uno based on this fritzing diagram.
Note: The "A0" pin is the analog pin which allows the FSR to communicate with the Ardunio Uno.
More detailed step by step instructions for wiring will be posted for those that are just starting out in building circuits.
Keep in mind that the legs of the LED's are different in length. Follow the diagram and insert the legs in that orientation.
(Note: Fritzing diagram will be updated with the 2 other FSR's. You'll basically add one FSR to A1 and one to A2)
The LED's light up respectively to which location they are linked to (Left, Right, Rear).
![]()
-
7Download and install Arduino IDE on your computer.
-
8Step 8
Lay out all the components on a clean surface.
-
9Select Upload function in the toolbar to send the code to the board.
The LED's should now correspond to force applied to each FSR. Unplug the USB cable, and plug in the 9V power supply. The FSR Laminated Sheet can now be placed on the wheelchair cushion.
![]()
-
10Place wheelchair cushion on top of FSR sheet. Mount LED's to visible area on chair where user can easily see them. (Location depends on type of chair used and frame).
Connect breadboard to 1/8" extension cables that interface with 1/8" female jacks on FSR's. The 1/8" extension cables have male 1/8" to bare contacts on the other end to wire directly to the breadboard.
![]()
RiseUp! System: Wheelchair Pressure Relief Monitor
System which allows individuals to gauge how well they are performing crucial pressure relief exercises in their wheelchairs.
Discussions
Become a Hackaday.io Member
Create an account to leave a comment. Already have an account? Log In.