For our simulator, we sought out a 3D game engine that was highly customizable, easy to use, easy to ship to users, and would provide easy access to depth data that would let us simulate the output from the real-life depth camera. We settled on Unity, a free, highly popular game design suite and 3D engine. Unity can be used to produce games for Android, iOS, Mac, and PC, and makes it very easy to get up and running with a FPS-style game, which is what we wanted our simulator to be. Our simulator currently only works on Windows, but we may port it to other platforms as the need and possibility arises.
As it turned out, getting the depth data from Unity was not as easy as we thought it might be, and may have been to most hack-ish part of the whole project. Unity is closed source, and it can be very hard to tell what is going on behind the scenes in the 3D engine in graphics card. After months of attempting to directly find and extract the depth buffer so that our back-end sound generation software could access it, we eventually settled upon the following, somewhat round-about method.
Shader: DepthToColorShader.shader
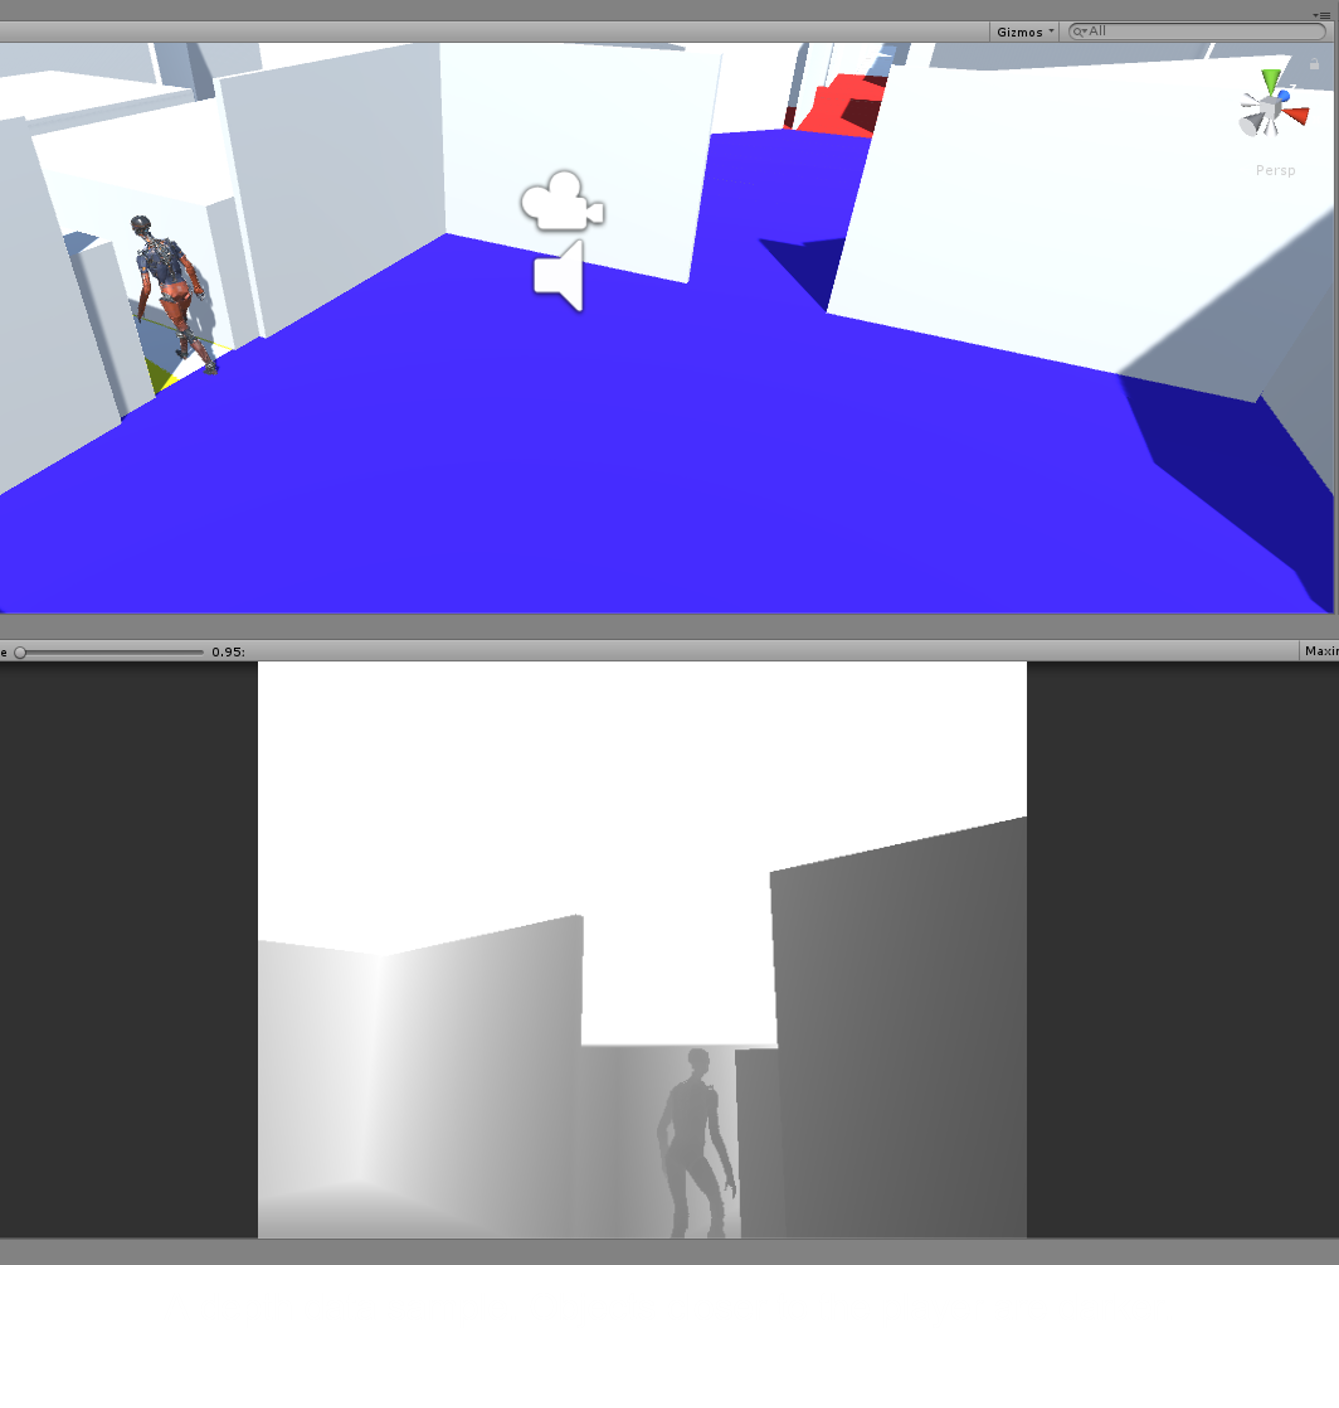
For the first step of extracting the depth buffer, we used a custom shader script that runs on the GPU to read pixels from the depth buffer and convert them to a grayscale image.
The shader was essentially copied from this extremely useful tutorial:
http://williamchyr.com/2013/11/unity-shaders-depth-and-normal-textures/
It also provides a great primer on shaders and graphics C# scripts in Unity.
Graphics C# Script: DepthCopyScript.cs
For the next step in the image pipeline, we wrote a graphics script for Unity that would read the grayscale image generated by the shader and copy it to a byte array in RAM. The basic shader operation of this script was based off of the C# example of the tutorial above, and simply applies the shader to the in-game camera using the line below in the function OnRenderImage():
void OnRenderImage(RenderTexture source, RenderTexture destination)
    {
    Graphics.Blit(source, destination, mat);
Then, things get a little more complicated. The Unity ReadPixels() function is used to read the pixels from the currently active material (the one we applied the shader to) into a byte array, as shown below.
RenderTexture.active = destination;
        //Reads the currently active rendertexture to the texture2d
        tex.ReadPixels(new Rect(0, 0, GetComponent<Camera>().pixelWidth, GetComponent<Camera>().pixelHeight), 0, 0, false);
        tex.Apply();
        bytes = tex.GetRawTextureData();
Then, the DLL comes in.
Unity DLL Plugin: RenderingPlugin.cpp
C# scripts in Unity are pretty locked down and can't use any fun low-level things like shared memory, or pointers except in a very limited capacity. However, Unity provides a handy Windows DLL interface that lets you interface to your own C++ or C program that you put in a DLL. They also luckily provide a plugin example that we based our DLL plugin off of after fruitlessly attempting to create a DLL plugin from scratch.
The original DLL plugin uses OpenGL to do fancy graphics stuff and draw on the screen. However, we just wanted something that could take our byte array of depth pixels from the C# script and put it in a named shared memory space that our depth-to-audio software could access.
The C# script calls our SetupReadPixels function in the DLL to get a pointer to the name shared memory space like this:
unmanagedPointer = SetupReadPixels (xSize, ySize);
and then, every frame this function is called once the byte array has been filled with pixels:
Marshal.Copy (bytes, 0, unmanagedPointer, bytes.Length);
Once this is all done, at the end of OnRenderImage(), the C# script uses the following line to put a different Unity material on the screen (we just used a blank material so the end user wouldn't be able to see the depth map and cheat).
Graphics.Blit(source, destination, BlankMat);
See the uploaded code to see our shader, DLL plugin, and C# script! In my next log, I will cover our depth-to-audio software and how the shared memory works.
Discussions
Become a Hackaday.io Member
Create an account to leave a comment. Already have an account? Log In.