The basic idea is to have a STM32 Arduino to use as "stimulus generator" for the CPLD (e.g. I2C master) and an Altera MAX II CPLD on the same board. In this way is easier to set up a complete "test bench" for the CPLD "application" (e.g. your custom I2C interface).
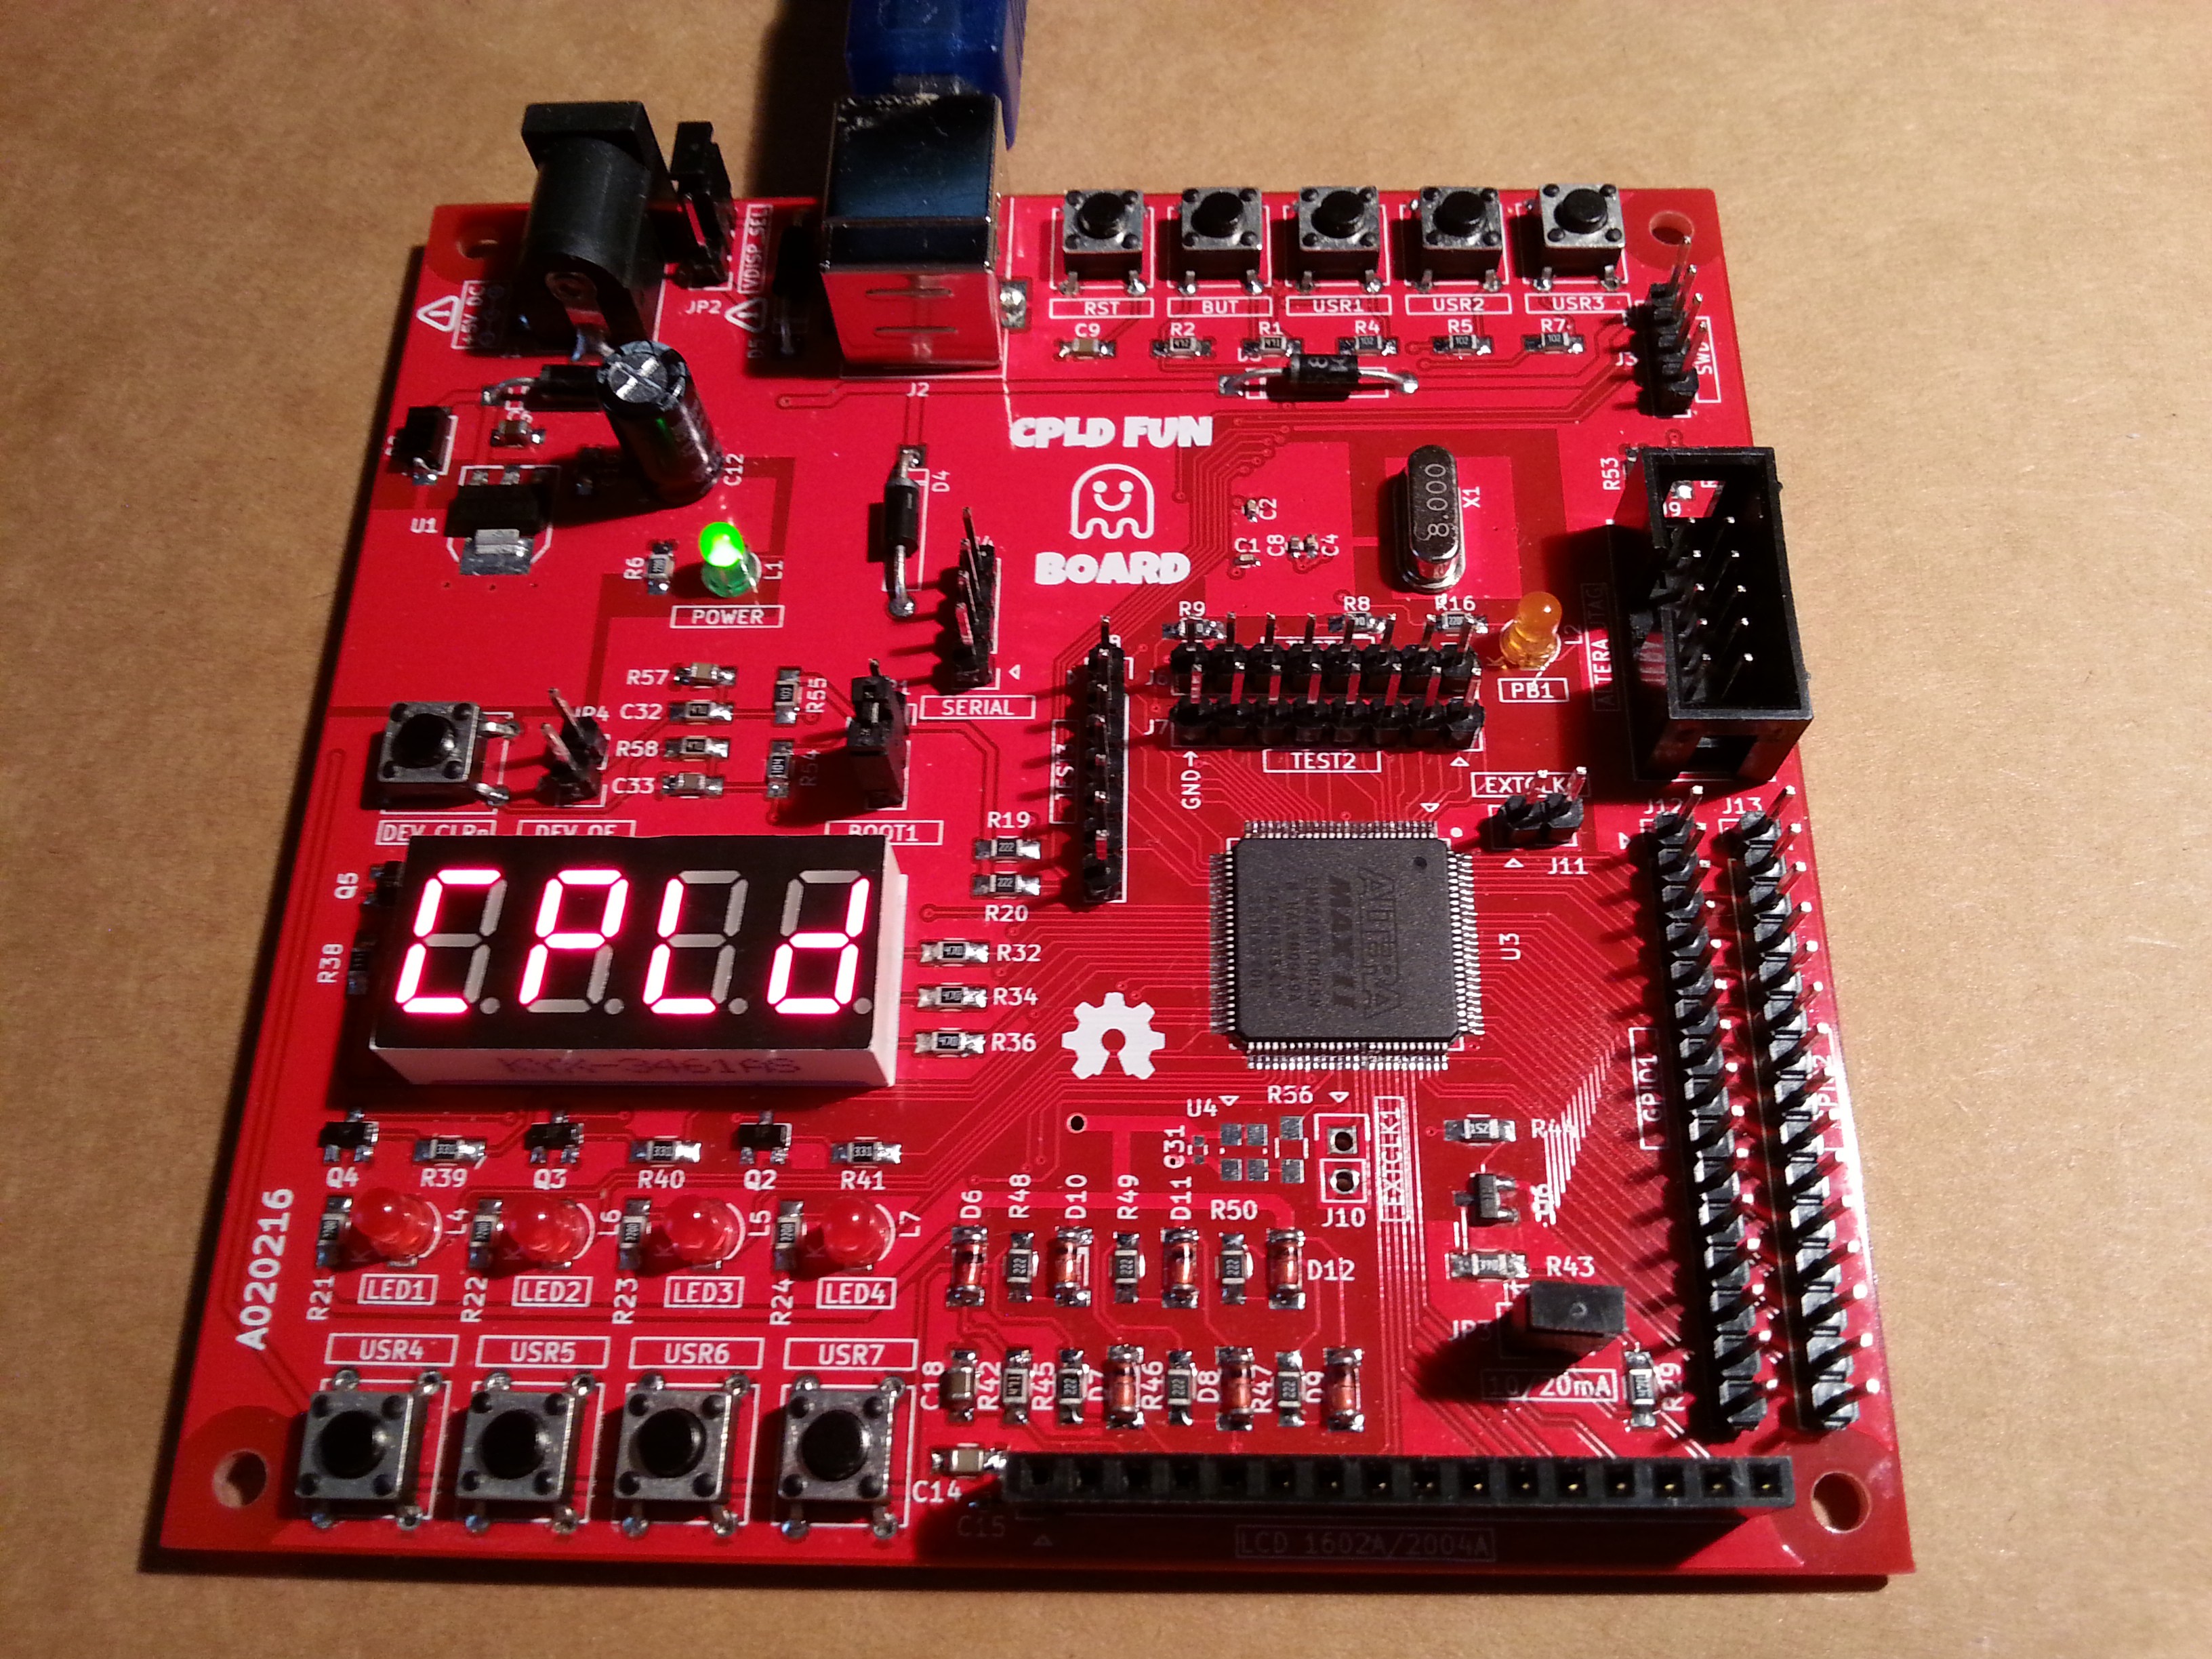
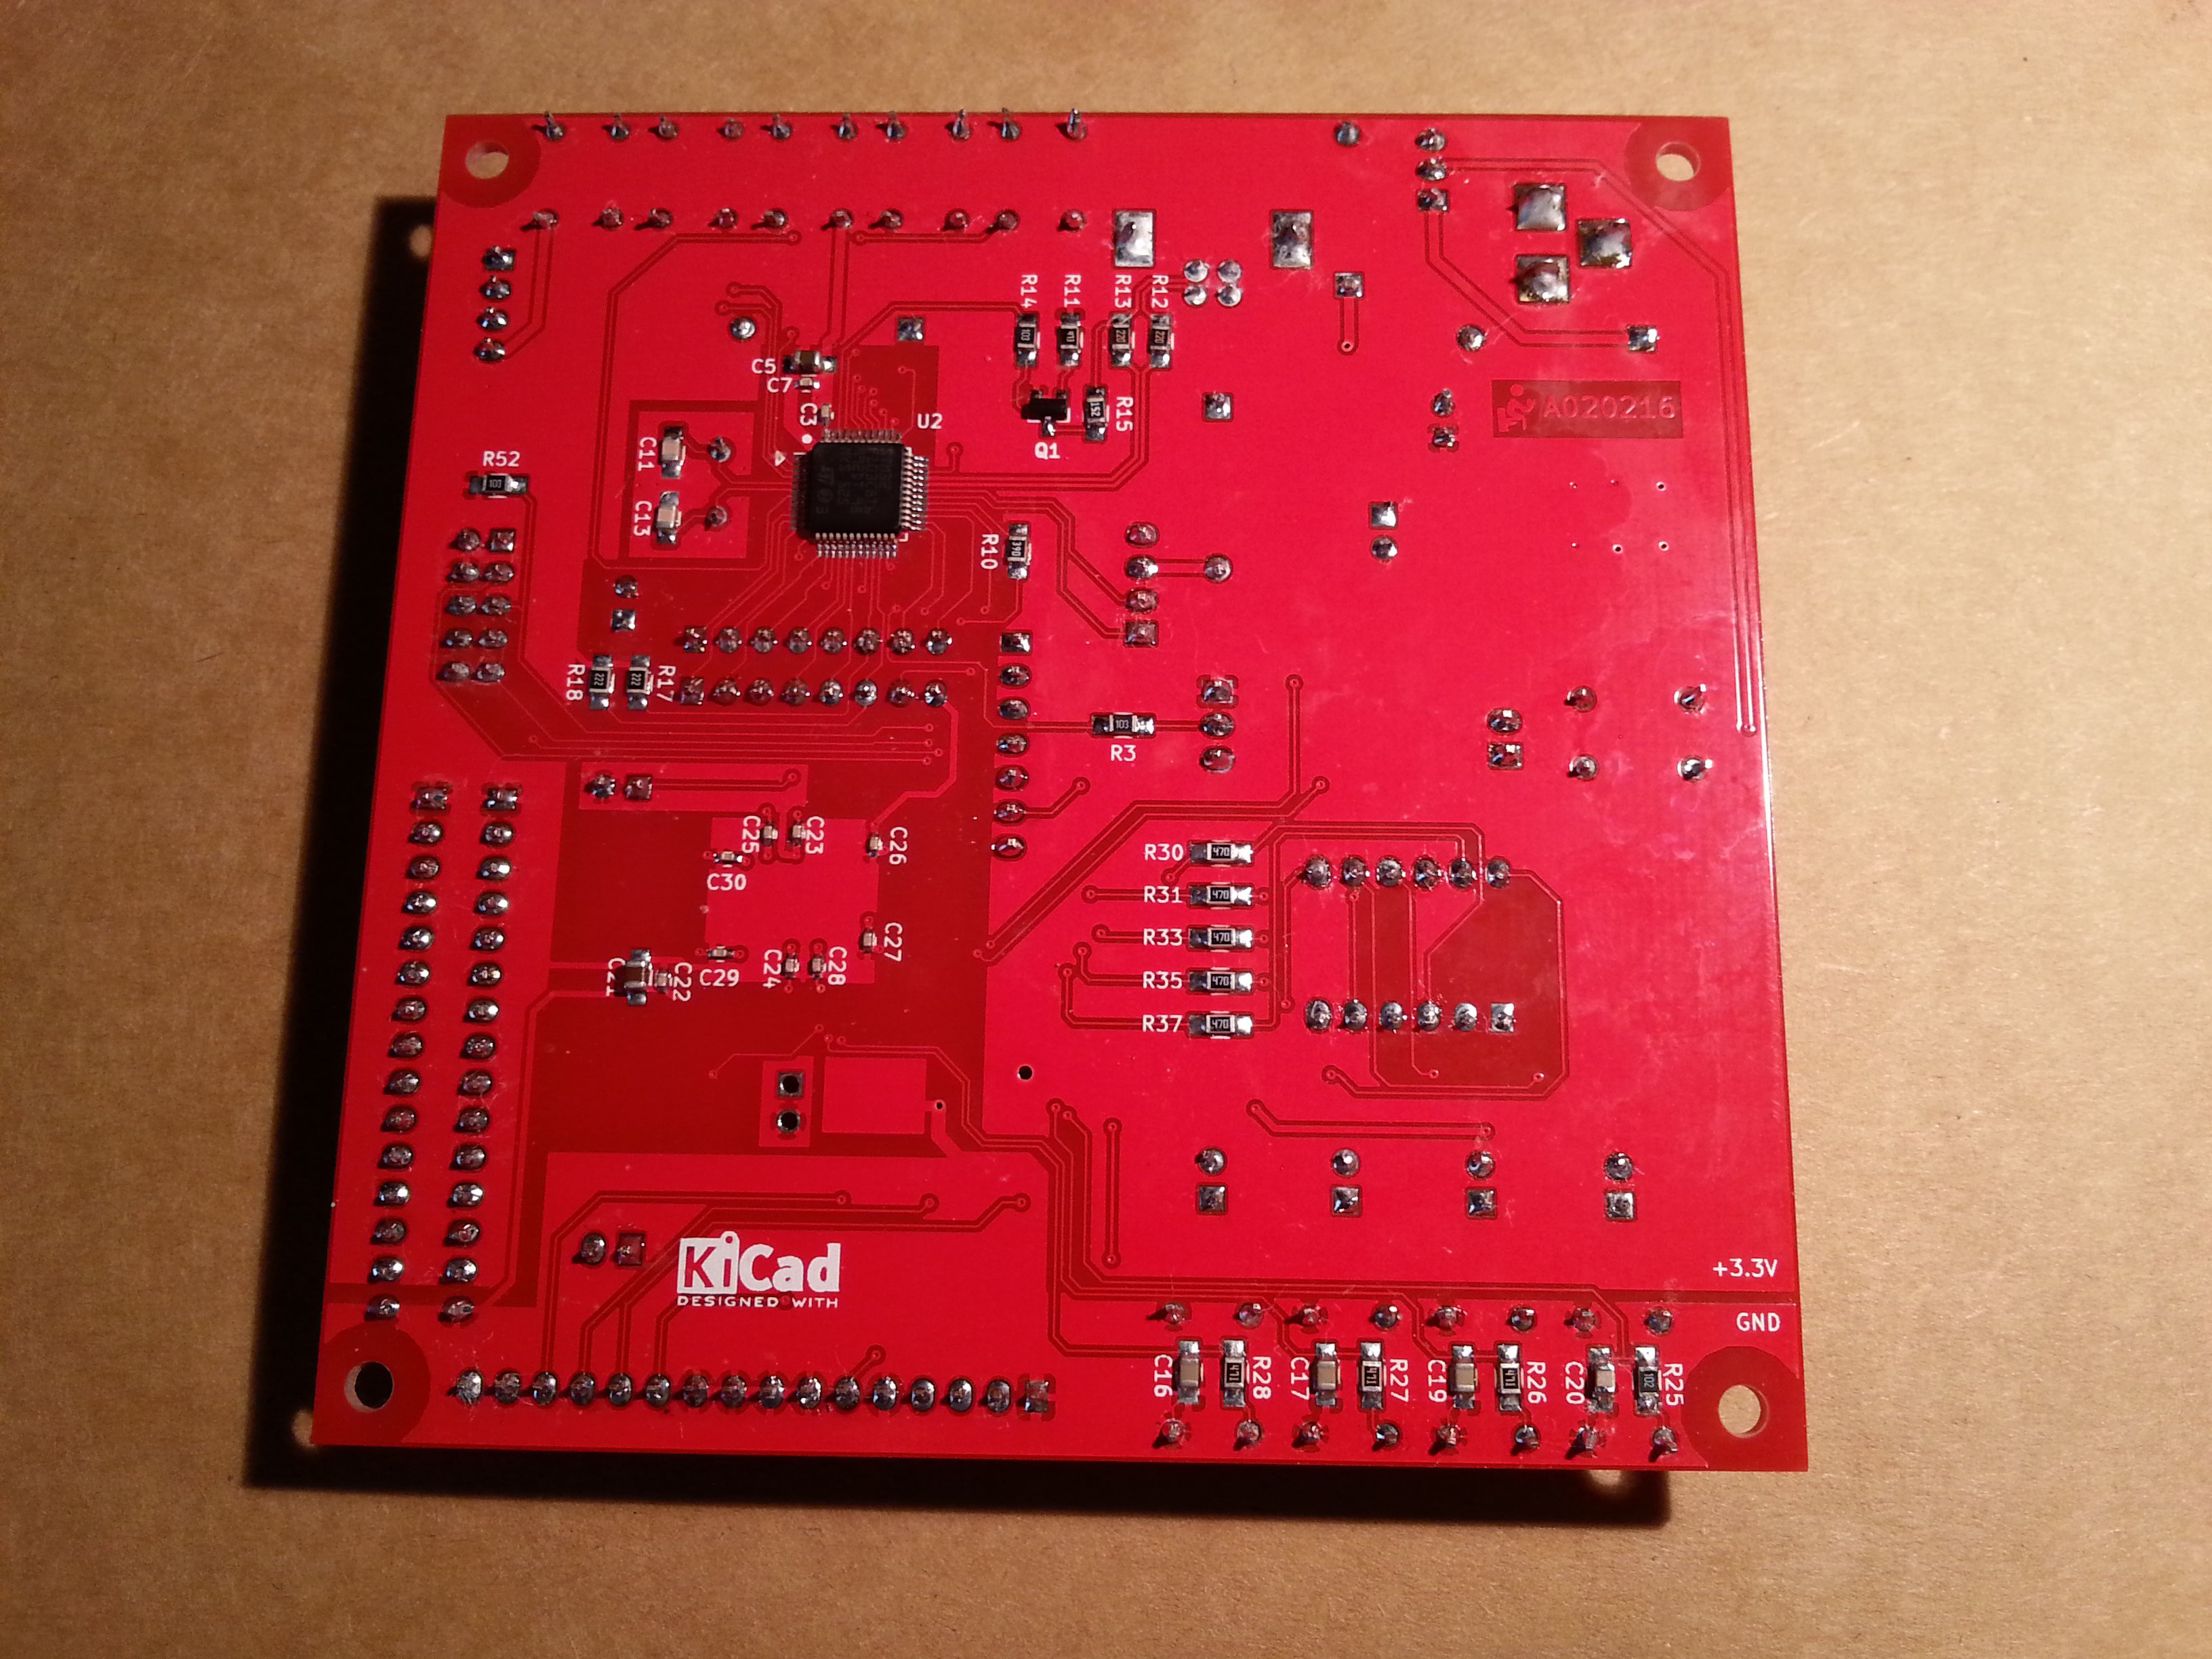
The CPLD Fun board in action:
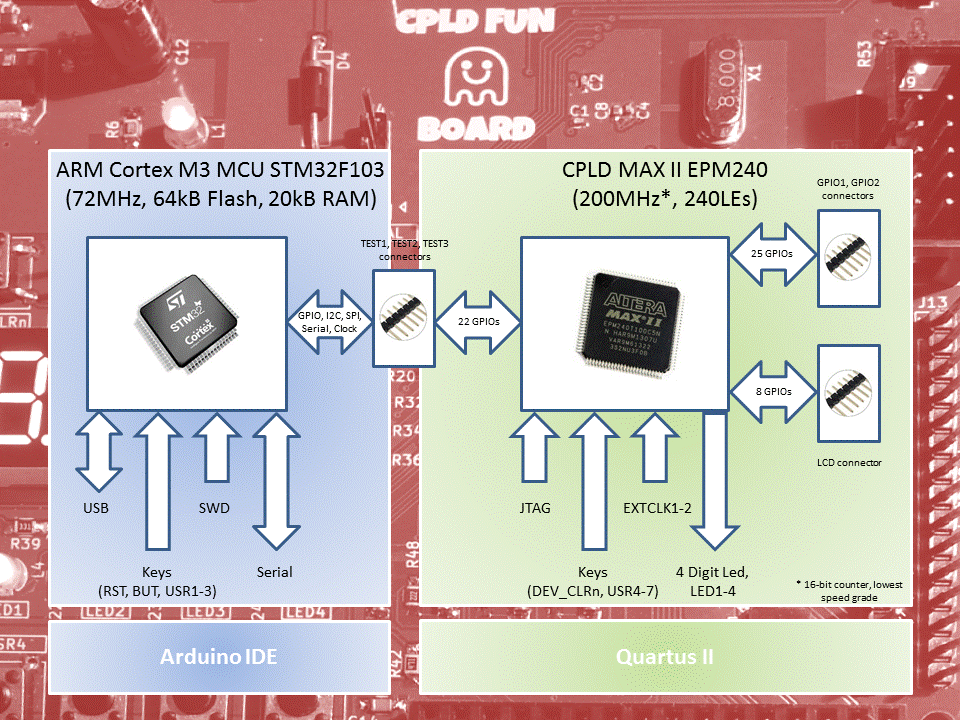
The STM32F103 MCU is used as "stimulus generator" and as 8/36MHz clock generator for the CPLD, and is easily programmed using the friendly Arduino IDE through the USB connector.
Five push buttons (RST, BUT, USER1-USER3) and a led (PB1) are reserved to the MCU.
The STM32F103 MCU side is "Maple Mini" compatible, so it possible to use the STM32F103 Arduino core provided by http://www.stm32duino.com (more info here). For a short story about the Maple Mini and the stm32duino see here.
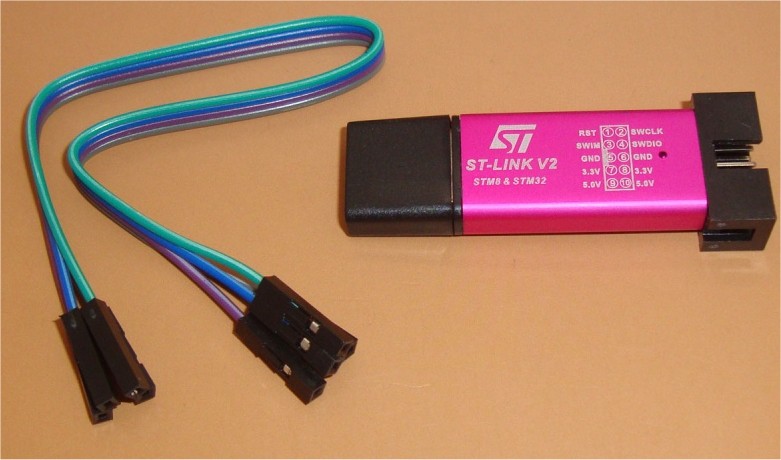
You need to flash the bootloader first using a cheap "St-Link V2" dongle through the SWD connector (or using a serial-USB adapter on the SERIAL connector. More info here).
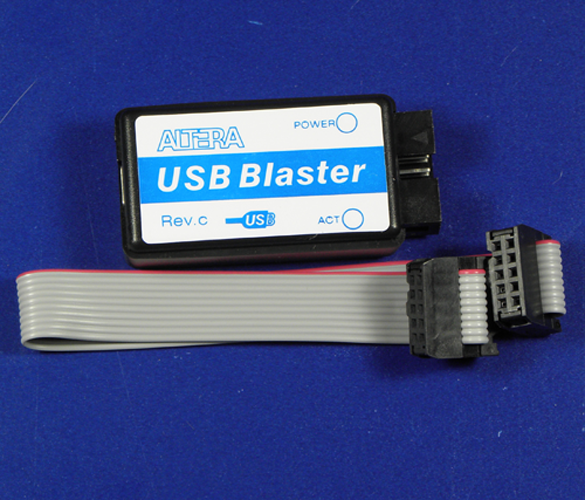
To configure the CPLD (an EPM240T100C5 with 240 LEs, enough for some fun...) it is used the Quartus II IDE (free edition) and a cheap "USB Blaster" dongle through the JTAG connector.
A 4 digit 7-segment led display, four push buttons (USER4-USER7) and four leds (LED1-LED4) are reserved to the CPLD. There is also a connector for a common and cheap 1602A or 2014A LCD 5V module (that probably you already have got...).
On the CPLD side there are also a DEV_CLRn push button to clear all the internal FFs, and a DEV_OE jumper to force all the CPLD pins in HiZ (to use these two functions you must explicit enable them first in the Quartus II IDE).
An optional on-board 50MHz oscillator is available too (not assembled in the previous photos), and there are also two connectors for external oscillators.
There are 22 I/O lines that "join" the STM32 and the CPLD, and on every of them there is a pin of three connectors (TEST1, TEST2 and TEST3). In this way it is possible easily "observe" signals exchanged between them with a scope or a LA.
As far as I know, there is no commercial product that has this "feature".
On this 22 I/O lines there are available various peripherals (e.g. serial, I2C, SPI) on the MCU side.
There are also others 25 GPIOs on the CPLD side (GPIO1 and GPIO2 connectors).
It is possible to use the Arduino STM32 "side" or the CPLD "side" as a stand-alone dev board too, with the TEST1-TEST3 connectors acting as normal GPIOs (holding the pins of the other "side" in HiZ). This is an other unique "feature" of this board.
All this is shown in the following functional block diagram:
Typically, to program this board you need to use together the Arduino IDE for the MCU and the Quartus II IDE for the CPLD.
Here is a typical session (using the Quartus II schematic editor for the CPLD):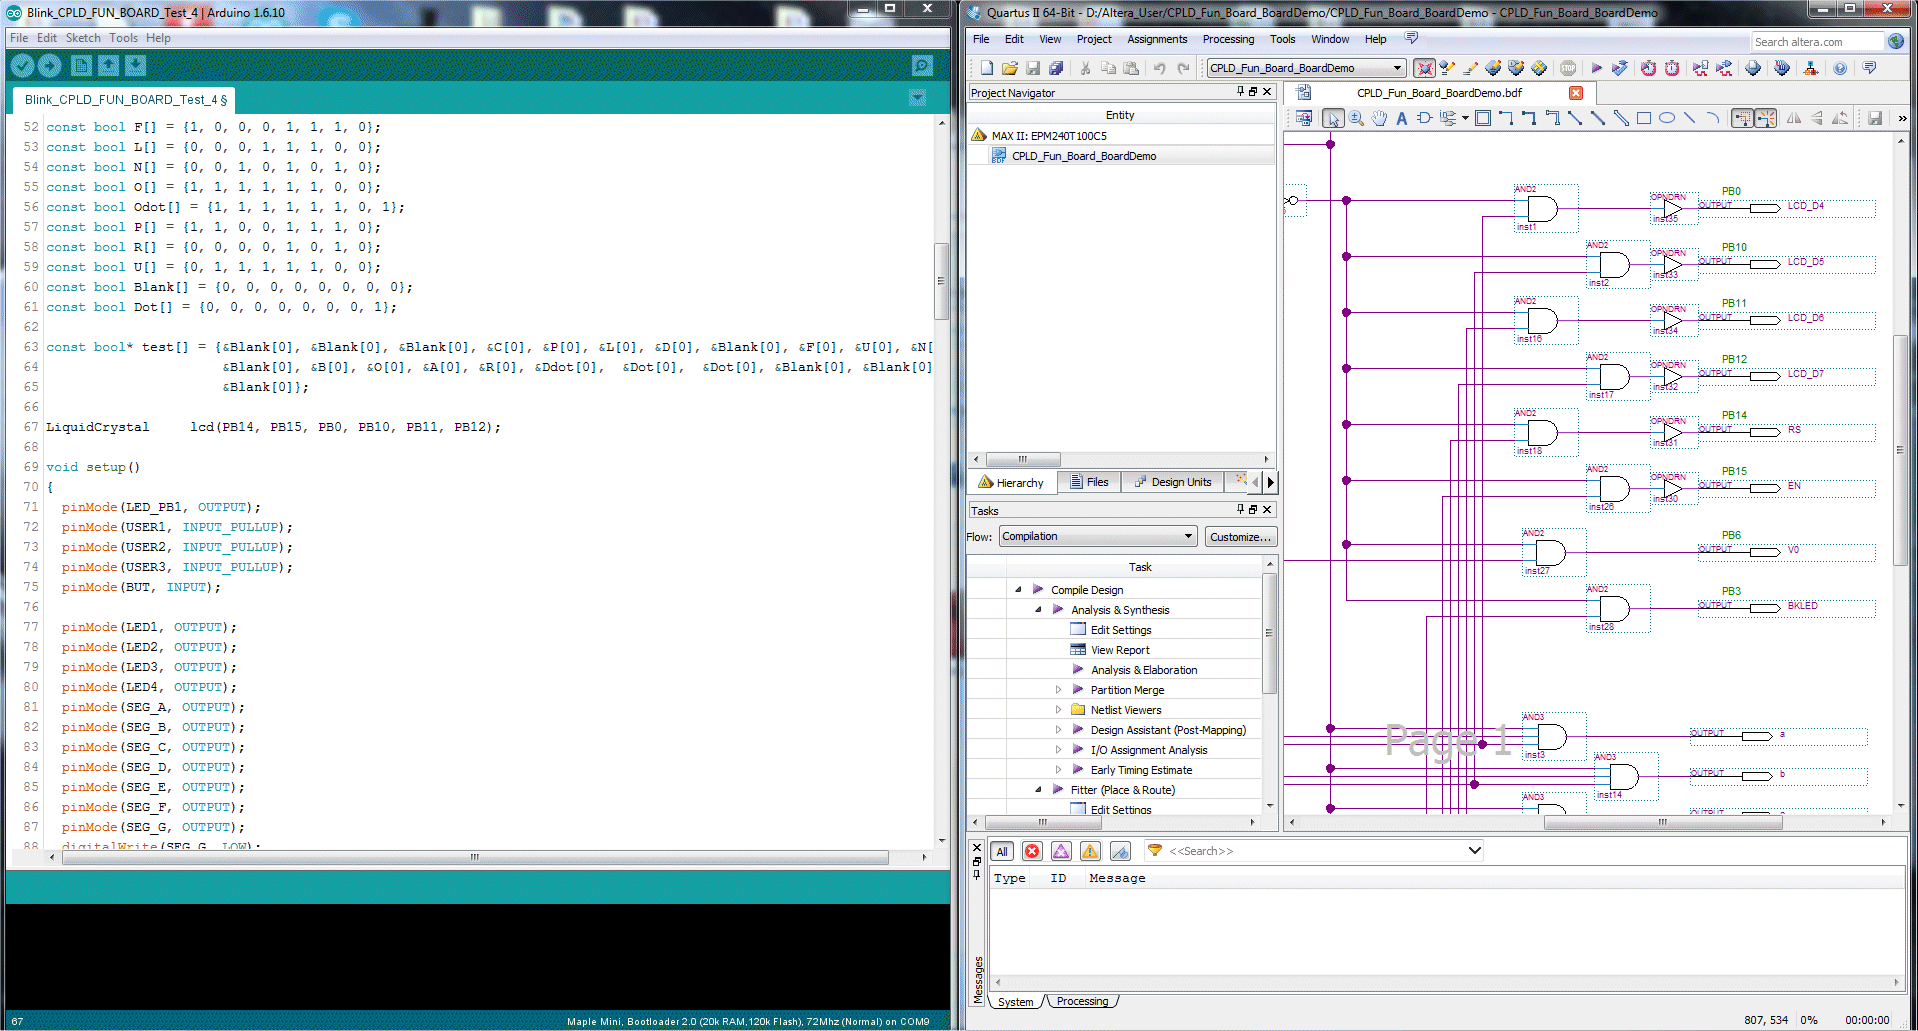
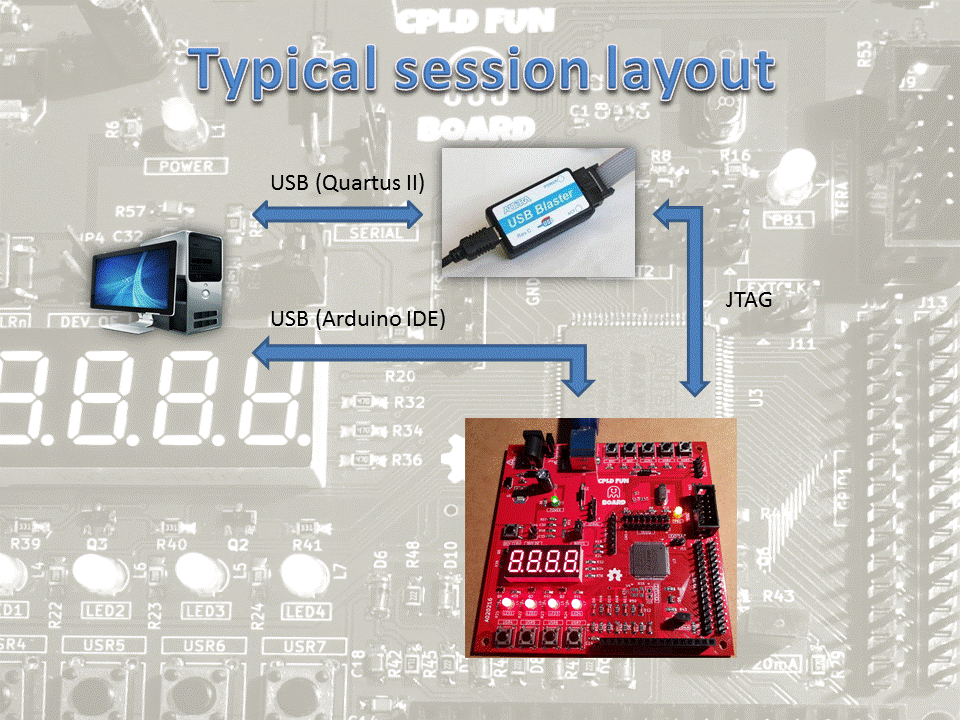
Of course you need two USB on you PC/Workstation, one to connect the Arduino IDE to the MCU USB (the STM32F103C8T6 MCU has an integrated USB peripheral) and one to connect the Quartus II IDE to the USB Blaster dongle to upload the CPLD "configuration" using JTAG.
Here is a typical session layout:
* * PROJECT STATUS * *
I've done a new PCB revision to correct some minor errors (e.g. there are a couple or errors on the silkscreen) and apply some little modifications. You can find it in the Log section: "New PCB assembled and running".
In the Log: "Tested the EPM570 PCB version!" there is the version using an EPM570 CPLD.
All the files in the Files section are related to this new revision (HW ref. A020216-R280617). In the next I'll add some basic examples/tutorials.
* * HOW TO GET A PCB * *
Because some people asked about this, I've prepared an "easy" link to get a small lot (5 pcs minimum) of PCB. The link is this one.
Note about components cost
The cost of components can be dependent upon the Countries (e.g. added shipping cost).
* * LICENSING * *
All the project files (SW & HW) are licensed under GPL v3.
If you use this material in any way a reference to the author (me) will be appreciated :-) .
 Just4Fun