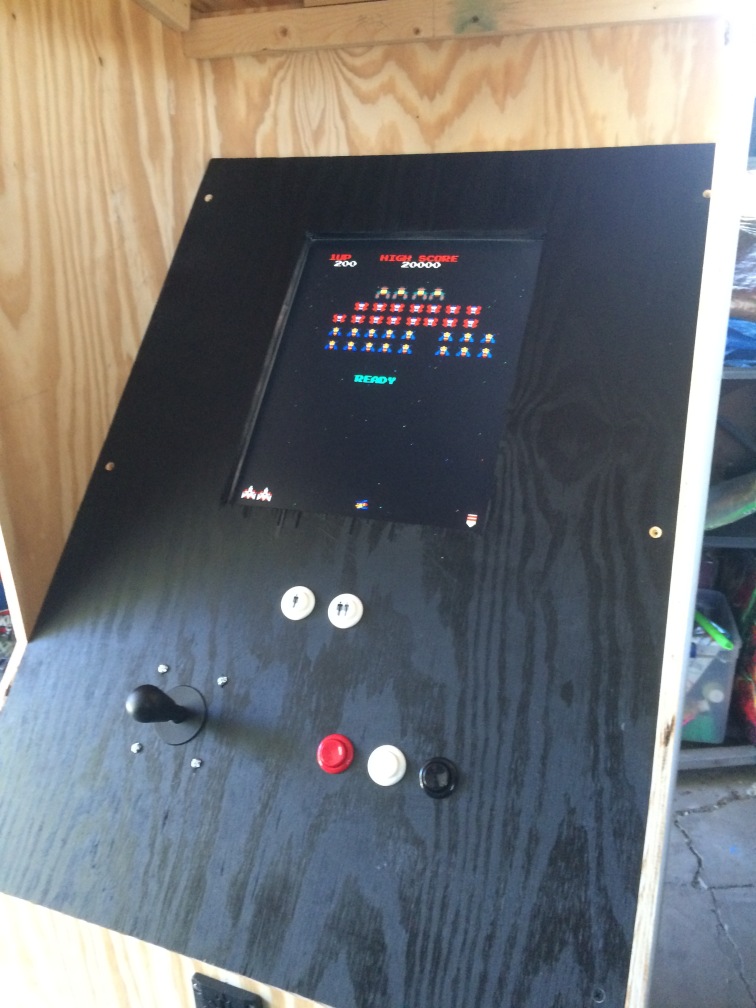
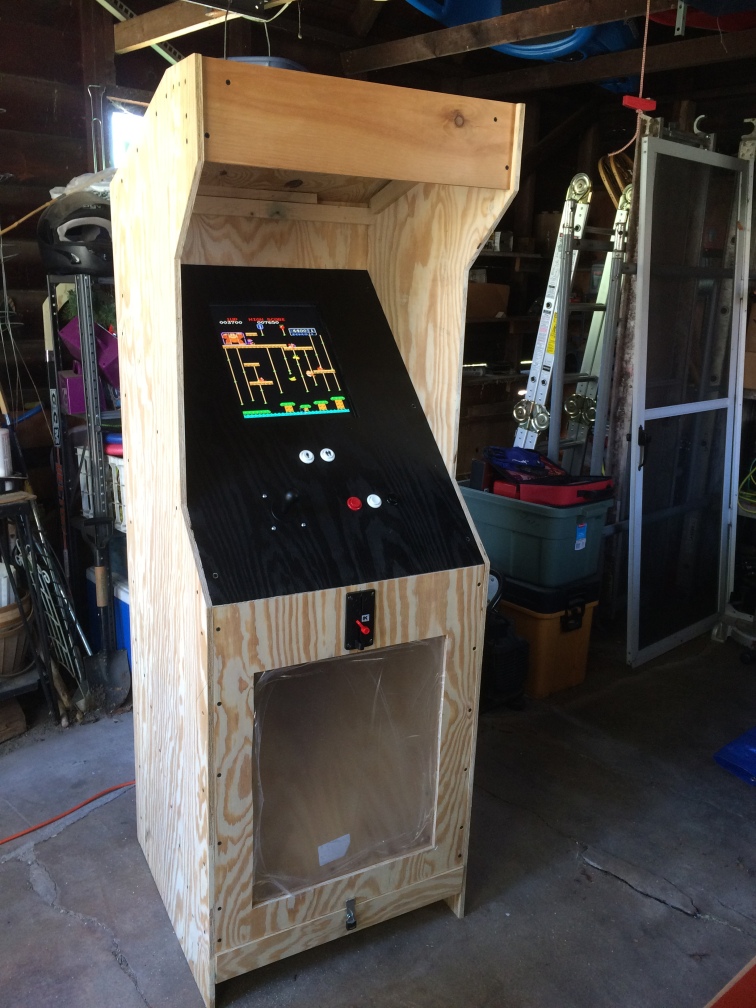
Last weekend Ma & Pops brought the cabinet up to the lab, and it looks amazing. Now just screw the control panel to the rest of the cabinet and call it a day, right?

Not exactly.
This was the first time the control panel would be fit into the cabinet. There’s a lot that could cause this to not go smoothly (small measurement/cutting errors, the dynamic nature of wood, etc.). Surprisingly, the panel slid right in! It was a little snug, but not enough that any changes were necessary.

Once that was confirmed, the next step was to mount the coin acceptor. I completely underestimated this part of the job.
The first challenge was that I never gave dad the measurements for the coin acceptor (it hadn’t arrived back when I made the original drawings) so it was kind of sheer luck that there was enough room for it between the donations window and the edge of the control panel. Luckily there was enough room, but just barely.
Additionally, the mechanism was designed to be mounted in thin sheet metal, not 1/2″ plywood, so there we had to do a little bit of jigsaw work to get everything to fit and function properly once it was mounted.

After that things went pretty smoothly. We drilled a temporary hole in the back for the power cords (this will eventually be replaced with a receptacle), ran the power cords, connected the coin slot and screwed-down the control panel.
Last but not least, the trap door on the donation bin needed something to hold itself shut. This isn’t designed to be a high-security machine, so a small lock and hasp was enough to keep anyone from accidentally spilling the collections all over the place.
I have to say it was really cool to see the whole thing together and to play it “at scale”. The dimensions turned out to fit well and the machine is very comfortable (at least for me, maybe for taller people you’d want to set it on a pallet or something). You never know for sure when you start designing something like this how it’s going to feel when it all comes together, and while there are things we’d likely change in the next iteration, overall it’s turned out great, and in such a short amount of time.

Now it’s time to tear it apart again (or at least remove the electronics) so the rest of the cabinet can be painted. There’s a few other things I’d like to improve (add power receptacle, bigger/better speakers, illuminate the donation bin, tidy-up wiring, etc.) but I think a few more hours of “beta testing” are in order before I dismantle it…
 jason.gullickson
Discussions
Become a Hackaday.io Member
Create an account to leave a comment. Already have an account? Log In.