Close
0%
0%

Binary desk USB jar clock

A BCD binary clock that fits inside of a jar

Similar projects worth following
Another crazy idea about building another jar clock and this is how this project started. Why not making it very futuristic and yet combining nature inside it, I said to myself. The clock comes with a lot of custom features, like keeping the time running in the absence of power up to ten years with the help of a RTC and a coin cell.

Introduction:

When I first started designing this clock I had in mind that I wanted to use some LED lights that are not too bright, but in the same time, they can be seen during daylight or direct sun exposure. 

Challenge:

There was another problem with reading the clock at night. If during the night, some of the LEDs are turned off, how are you able to read the binary string? I mean, it is OK if the 2^3 LED is turned off and all the others are turned on. in this case you can still assume is displaying 7, but what if the 2^0, 2^2 and 2^3 are turned off and only 2^1 is turned on in the digit string. how was I about tho know what it displays, because in the dark you are not able to tell witch LED is it. 

Solution:

The solution was to control the LEDs using a PWM and to make the inactive ones a bit dimmed compared to the active ones. 

In your case:

I realize you are going to use a different type of LED if you are going to replicate this design and you will need to recalculate the serial SMD resistors according to your needs. Keep in mind that his is not a multiplexed display and the LEDs are powered continuously and not intermittently. Yes, the LEDs have a PWM, but the entire display doesn't have a refresh rate.  Here is a video I made some time ago explaining how to calculate the LED serial resistor:

Another solution for regulating the intensity of the LEDs according to the outside light intensity, would be to connect a photoresistor voltage divider to one of the MCU A/D channels and regulate the PWM internally. (you can always replace the MCU with a PIC16F819 - it has the same pinout and it has an A/D converter module)

4th_jclock.asm

ASM source code for the MCU

asm - 19.82 kB - 09/28/2017 at 02:15

Download

IMG_1844.JPG

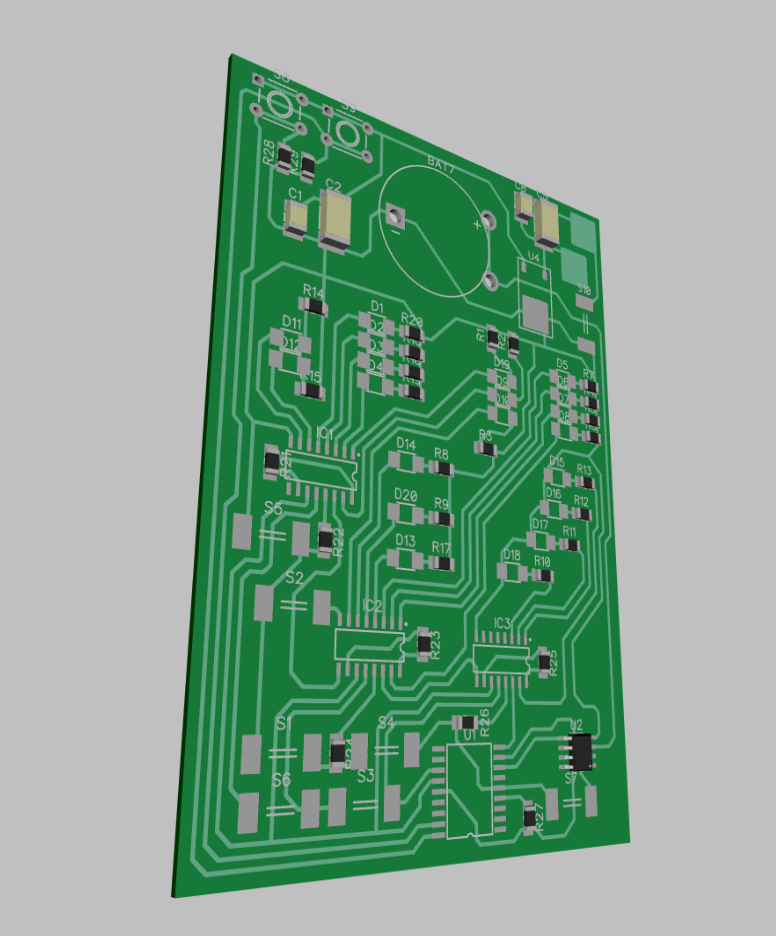
Correlation between the internal registers and the output LEDs and assignment of the MCU pins

JPEG Image - 2.87 MB - 09/28/2017 at 01:40

Preview

4_th_jck2.dip

dip - 105.83 kB - 09/28/2017 at 01:37

Download

  • 1 × 16F628A Microcontroller
  • 3 × 74HC595 Electronic Components / Misc. Electronic Components
  • 1 × CR2032 battery holder
  • 1 × CR2032 battery
  • 2 × dome switches

View all 13 components

View all 5 project logs

  • 1
    How to read the time

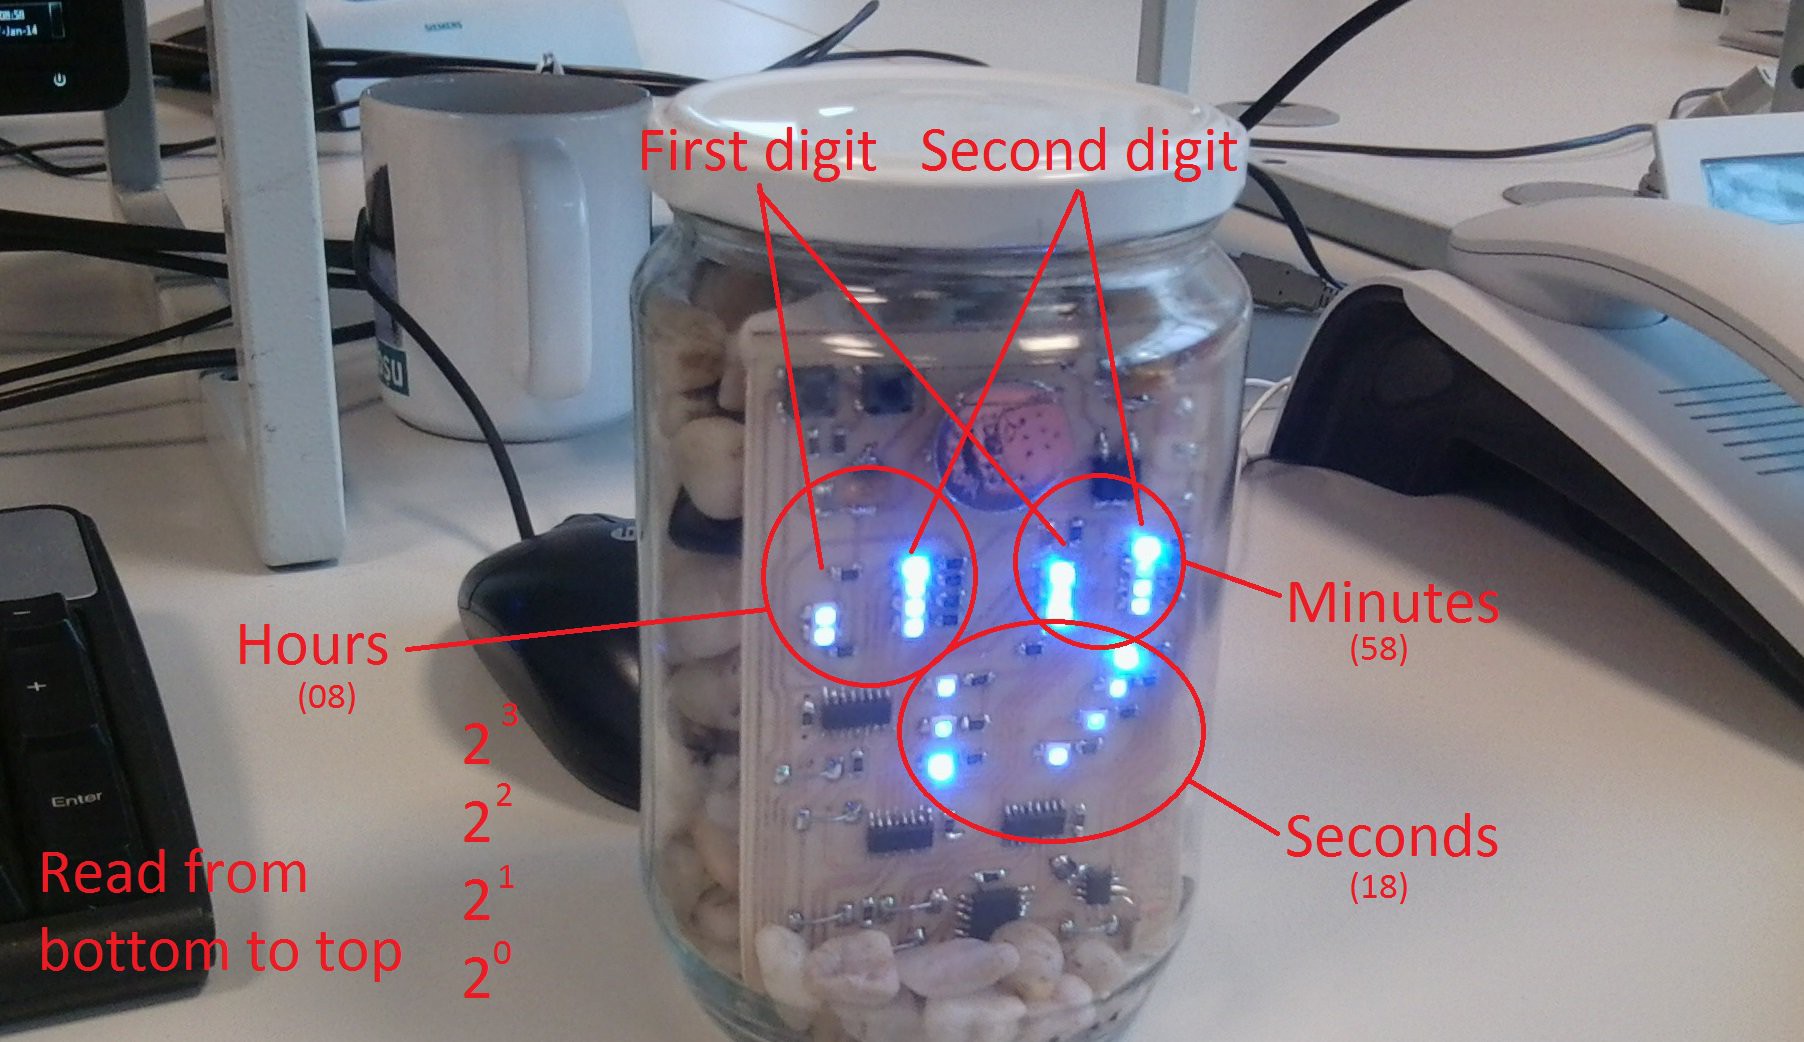
    The LEDs are PWM controlled so the brighter LED represents logical 1 and the dimmer one means logical 0.

    Excuse my photography skills for not being able to reproduce the exact reality image and brightness of the LEDs as you would see them with the naked eye.

    The picture below is explaining how to read the BCD clock. 

  • 2
    How to set the clock

    To set the clock, press the “S” (set) button for at least one second. The clock will display and highlight only the minutes section. In this state, press the “M” (mode) button to increment the value of the minutes. When you finish setting the minute section, move on to the hour section by shortly pressing the “S” button again. This will highlight and display only the hour section. You can increment the hour value by pressing the “M” button. The “M” button can be pressed continuously for automatic fast increment, or step by step for slow increment. When you finished setting the hour section, you must press the “S” button again to return to the main screen and displaying the clock. This will also reset the seconds area and the seconds value to zero.  

View all instructions

Enjoy this project?

Share

Discussions

Marius Taciuc wrote 09/28/2017 at 03:38 point

Topic about the power supply and the 7805.

You might be wondering why I placed a 7805 linear regulator on the board if I was planning to always power it from the very steady USB voltage.

The answer it's simple. Because I thought that someone might want to connect it to a cheap chinese ~240 to 5V USB charger and that particular cheap device has a high ripple switching power supply inside. Usually these USB cheap adapters, are set to an effective voltage of 5V and could have spikes or ripples of +-0.5V

  Are you sure? yes | no

Similar Projects

Does this project spark your interest?

Become a member to follow this project and never miss any updates