 deʃhipu
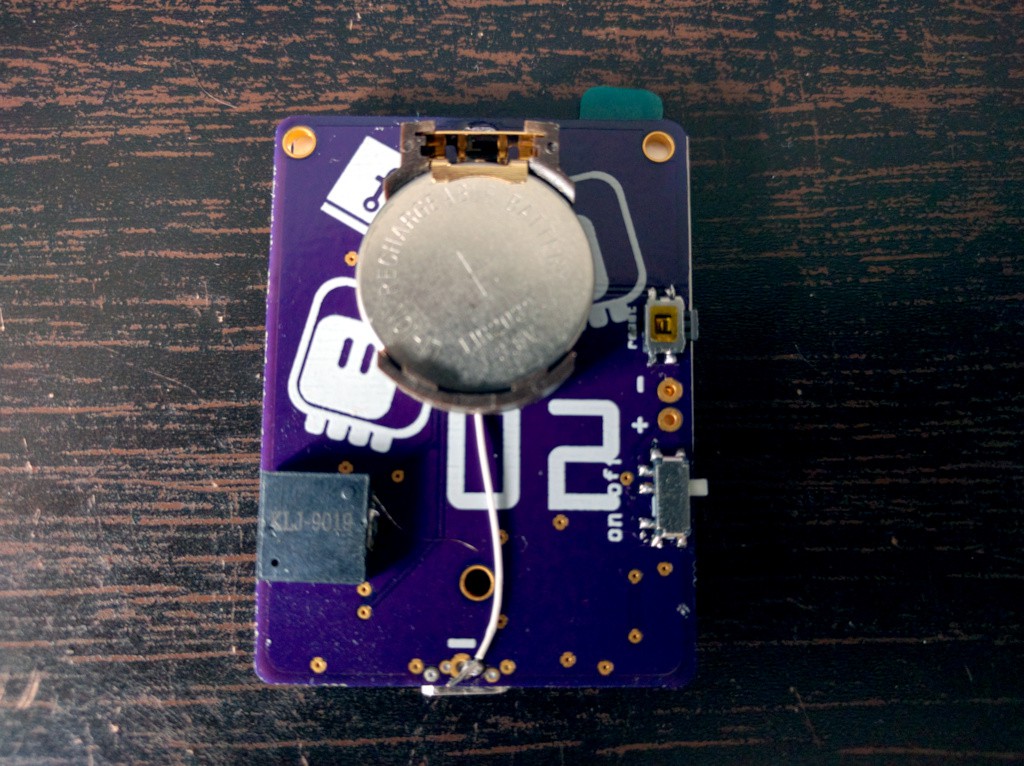
I finished up the second PCB — added the switches, the battery charging, the speaker, and even added a LIR2032 battery on the back. I will be developing my sprite library now.
Of course the first (well, second, but first physical) prototype has a number of problems. I will write them down, so that I can fix them when I make the next version:
- Make it wider.
- Center the actual display part of the screen, leaving some margin on one side.
- Use smaller buttons and arrange them better.
- Use a smaller reset switch.
- Make proper pads for the battery holder, or consider a battery connector.
- The parts that have to go on the back should be in the center of the board, not where you put your fingers. The power and reset switches can go on top or bottom.
- Mounting holes under the display make no sense.
- The pads for the display need to be longer, for more convenient soldering.
- Don't cram everything so close to each other.
- Add analog pin and a voltage divider for monitoring the battery voltage. Maybe even consider battery protection circuit.
Discussions
Become a Hackaday.io Member
Create an account to leave a comment. Already have an account? Log In.
"Mounting holes under the display make no sense" - I was wondering about that myself :D Do you have any expectations on battery time? I need to measure that myself at one point.
Are you sure? yes | no
Not really, I suspect the main use of the battery will be the backlight, which is about 40mA, and the battery is 40mAh... The piezo might be taking a lot too.
Are you sure? yes | no
well that I can calculate in my head :)
Are you sure? yes | no