Smart Lock with Web Interface
Raspberry Pi based smart lock for apartment dwellers
Raspberry Pi based smart lock for apartment dwellers
To make the experience fit your profile, pick a username and tell us what interests you.
We found and based on your interests.
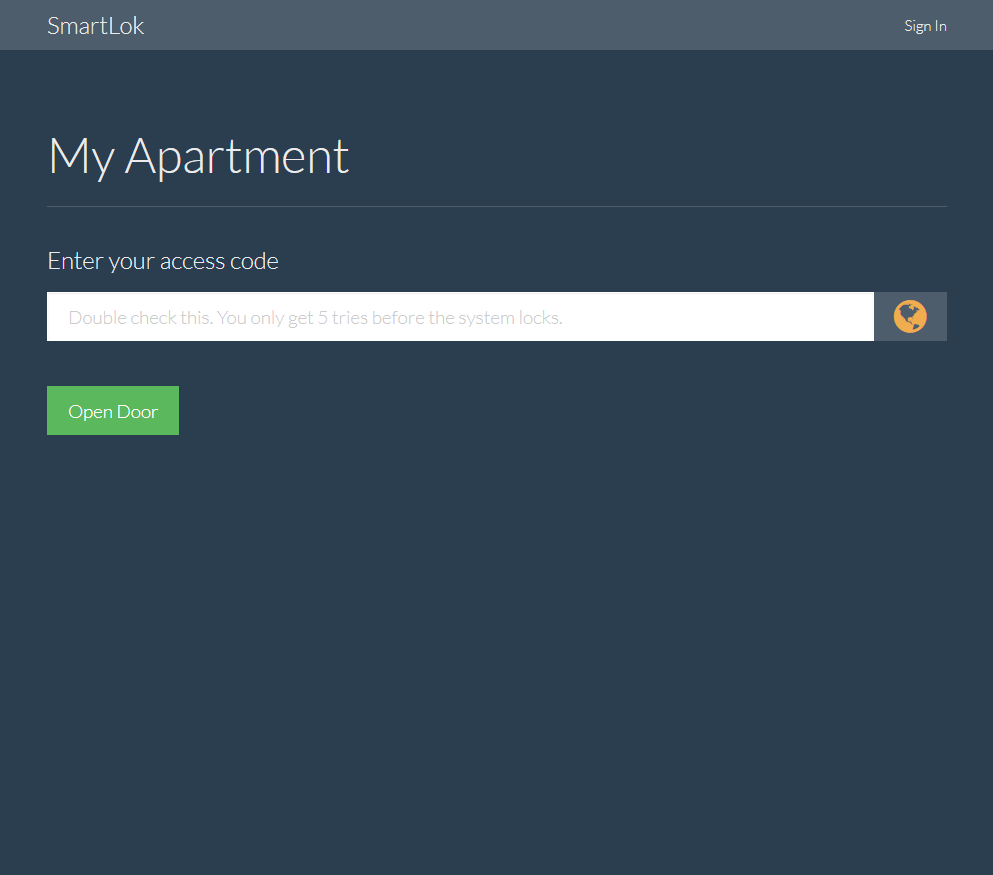
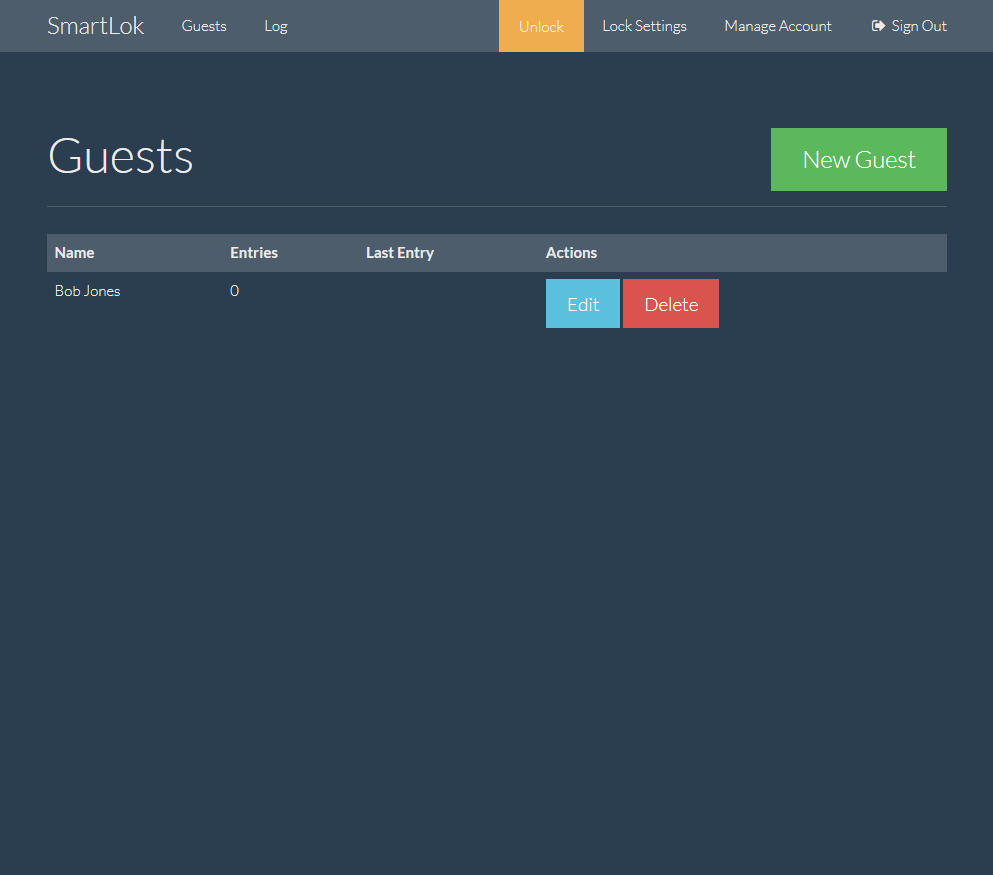
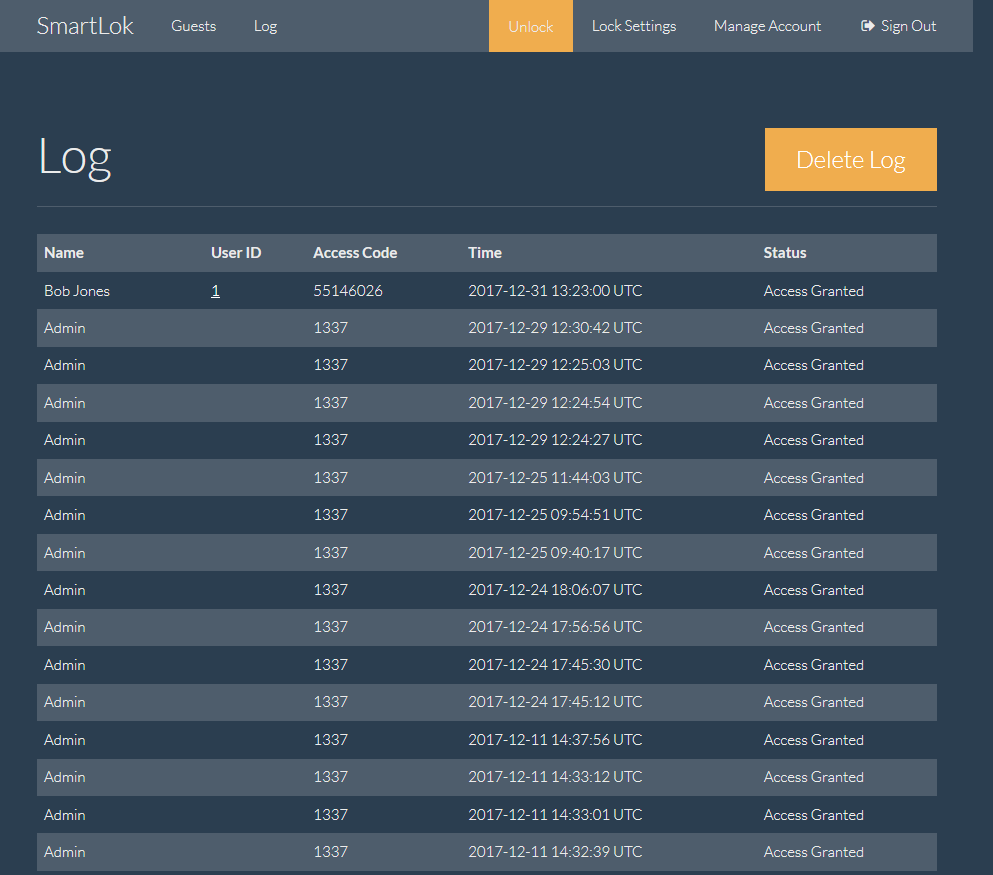
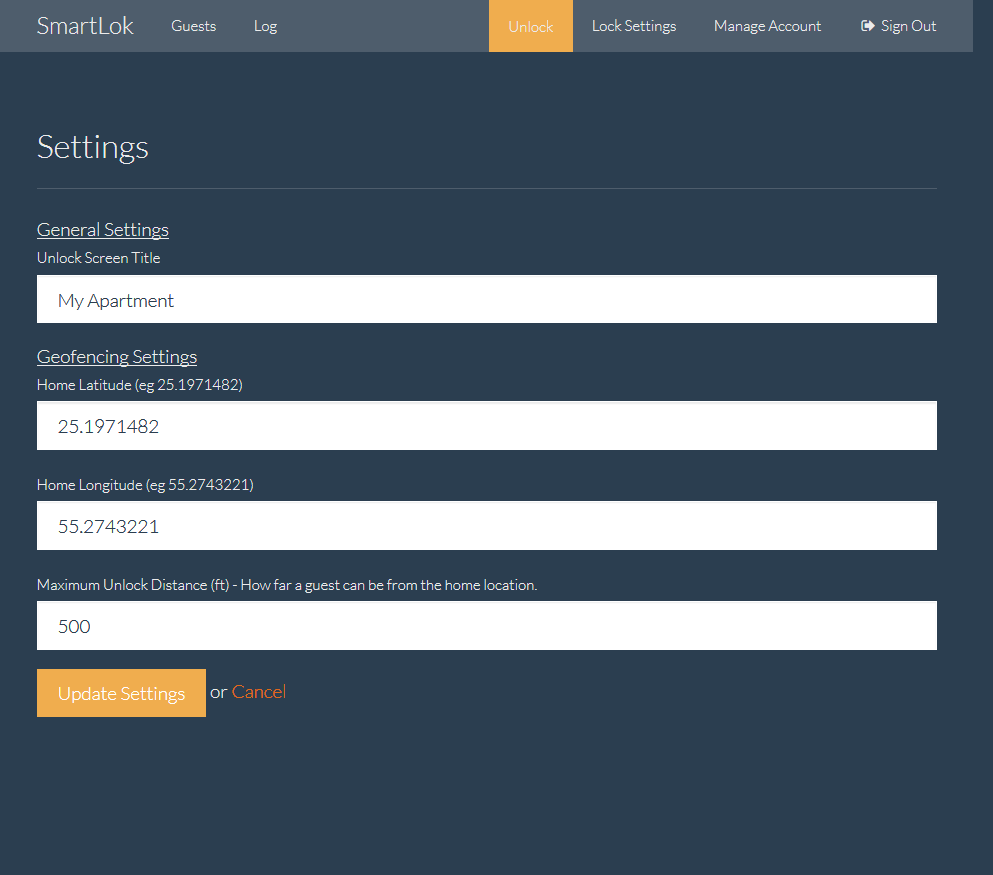
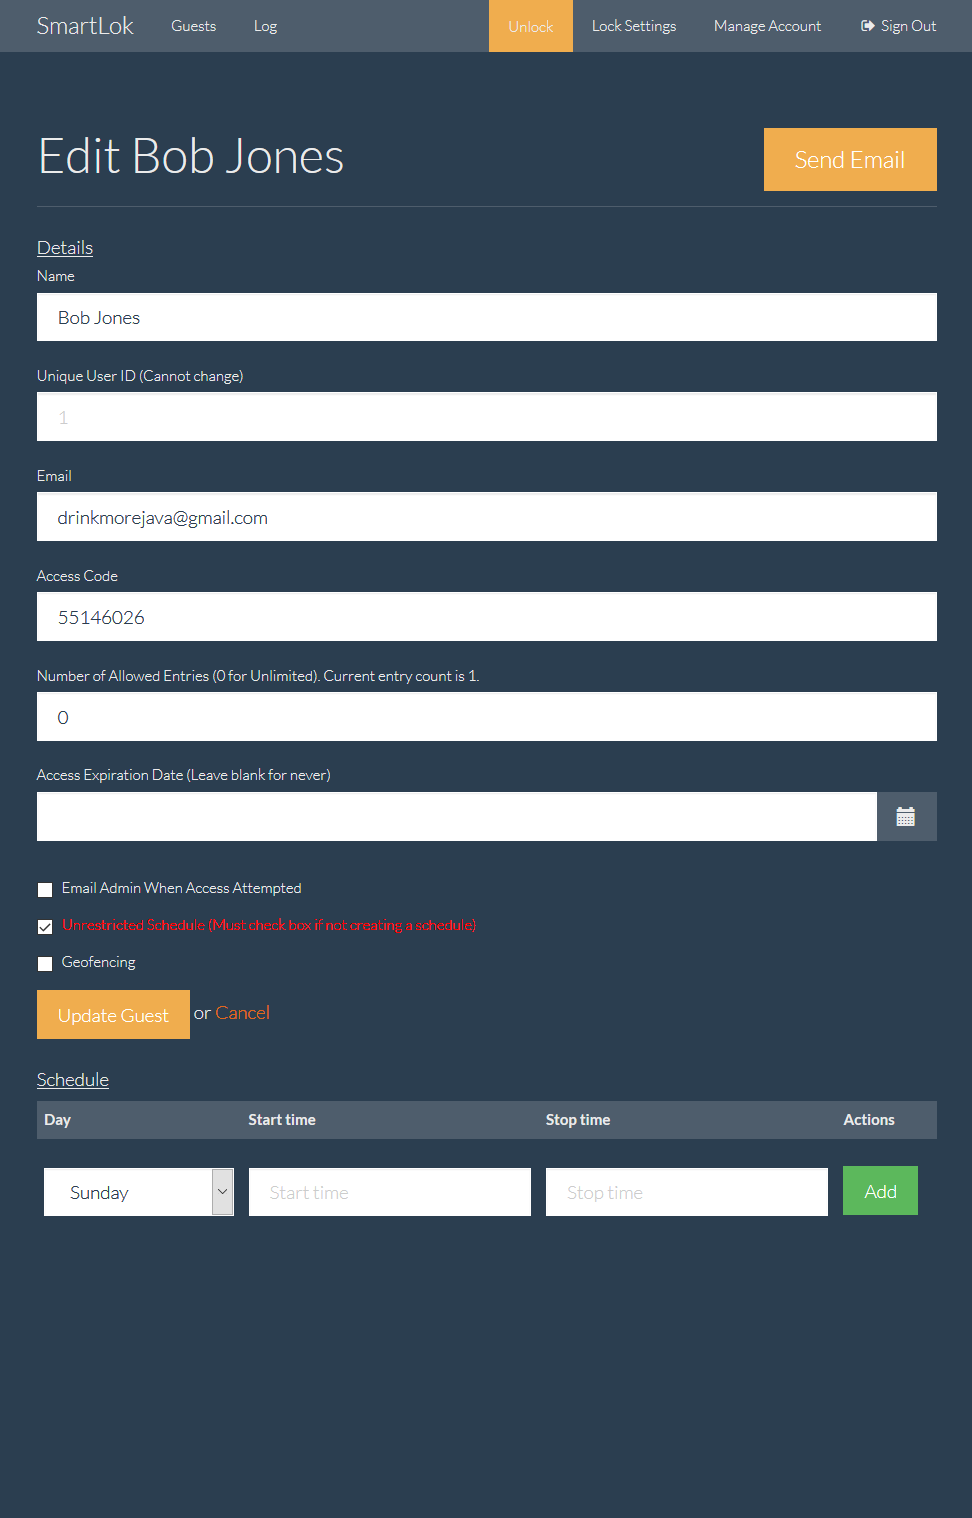
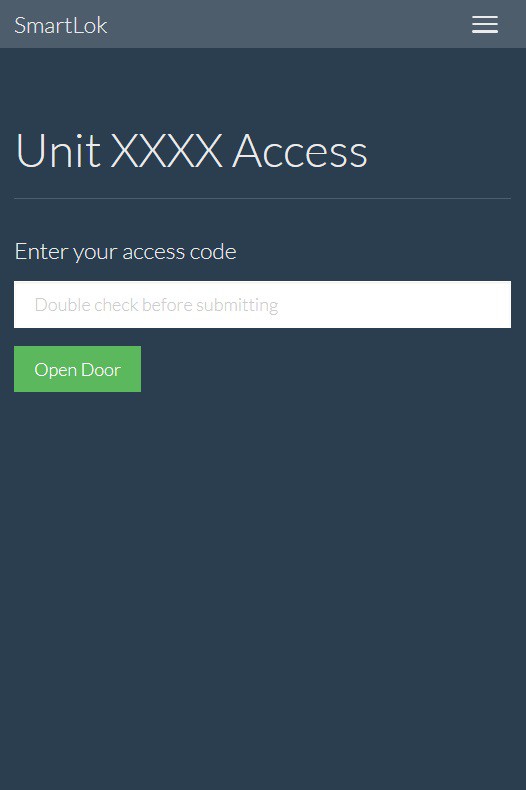
Here are some pictures of the completed interface. It's all built with bootstrap, so it scales well to mobile screens.
 |  |
 |  |
 |
For the Ruby on Rails install there isn't really anything specific to a Raspberry Pi. I don’t need to copy something else's instructions here. Just follow steps 1-3 here to get started: http://parsun.com/2017/09/23/how-to-install-ruby-on-rails-on-raspberry-pi-3/
I forget why, but I also needed to install the ruby development package so something could compile during the install. If things freak out just try
sudo apt-get install ruby-dev
then continue.
With that, you’re basically set except for some rails configuration. Download the repository by navigating to the folder you want the app stored in and running:
git clone https://github.com/cmoulder/smartlok
You will need to uncomment
# gem 'rpi_gpio'
in the gemfile if you are using a RPi. I’ve commented it out because it will only compile on a RPi, leading to one more problem for everyone else.
Then run through the normal rails setup. Make sure you’re in the same folder you installed the site:
bundle install
rails db:migrate
rails db:seed
rails s
The development server should now be running on port 3000. Since we haven’t configured a firewall, we should be able to access this from another computer on the network with http://192.168.1.XX:3000, using whatever the local IP address is.
For actual usage, you will definitely want to configure your rails serer to run development mode. Personally, this is a little annoying to set up manually (as opposed to Heroku that does everything for you), but there aren’t that many steps
Start by making sure the server is shut down (Ctrl + C)
For the server to start, you’ll need to make a secret key for both rails and devise. Best practice is to save these as environment variables and not hard code them in your code. I do no such thing, but if you wanted you could do something like this in your config file:
config.secret_key = ENV['DEVISE_SECRET_KEY'] if Rails.env.production?
Then set your environment variables, making sure you set them before we start rails during startup below.
I hard code them by generating two secret keys with
RAILS_ENV=production rake secret
in the console. One goes in config/secrets.yml as secret_key_base = … under the production section for rails, and the other goes in config/initializers/devise.rb as config.secret_key = ….
More info on all of this is here: https://stackoverflow.com/questions/29187296/rails-production-how-to-set-secret-key-base
Next, we you need to migrate the database to the production environment (more info here: https://stackoverflow.com/questions/1949229/change-a-rails-application-to-production). In the console:
RAILS_ENV=production rake db:migrate
RAILS_ENV=production rake db:seed
To start your site in production your need to tell to tell rails to do so. I run it at boot by having rc.local run a script located in my home directory
at the end of /etc/rc.local copy
sudo sh /home/pi/run_server.sh
sudo sh /home/pi/run_server.sh
and in /home/pi/run_server.sh copy
echo 'Starting Rails'
cd /home/pi/sites/smartlok && sudo rails s -e production -p 1234
The structure of the bottom line is 1. Navigate to my rails folder. 2. Start rails as a daemon in the production environment 3. Run it on port 1234 instead of a standard 80 (yours could default to 3000, but you should whatever port you want)
In rc.local above my rails line I also have
exec 2> /home/pi/rc.local.log # send stderr from rc.local to a log file
exec 1>&2 # send stdout to the same log file
set -x # tell sh to display commands before execution
which will save all of the console messages at boot to a log file (for the inevitable debugging when something doesn’t work).
I have already enable this for this site, but in general for all apps that you’re converting to production you either...
Read more »A headless Raspberry Pi Zero W install isn’t terribly difficult, but I’m including a fairly comprehensive list of steps here because this process is always changing and many online guides are out of date.
network={
ssid="YOUR SSID HERE"
psk="YOUR PASSWORD HERE"
}
You can have multiple sections like this if you will be moving your Pi to different networks. If you follow the link above, there are instruction to encrypt your password if you don’t want it saved in plain text. vncserver
to start the server. You can then use any VNC viewer (https://www.realvnc.com/en/connect/download/viewer/windows/) on another system to connect. lsession &
For anyone very new to Linux the ‘&’ tells the system to run the previous command in the background, which lets you keep using you current SSH window. VNC generally performs better than X11 though.sudo apt-get update
sudo apt-get dist-upgrade
passwd
Additional updates with instructions for a headless Raspberry Pi installation and setting up Rails are coming
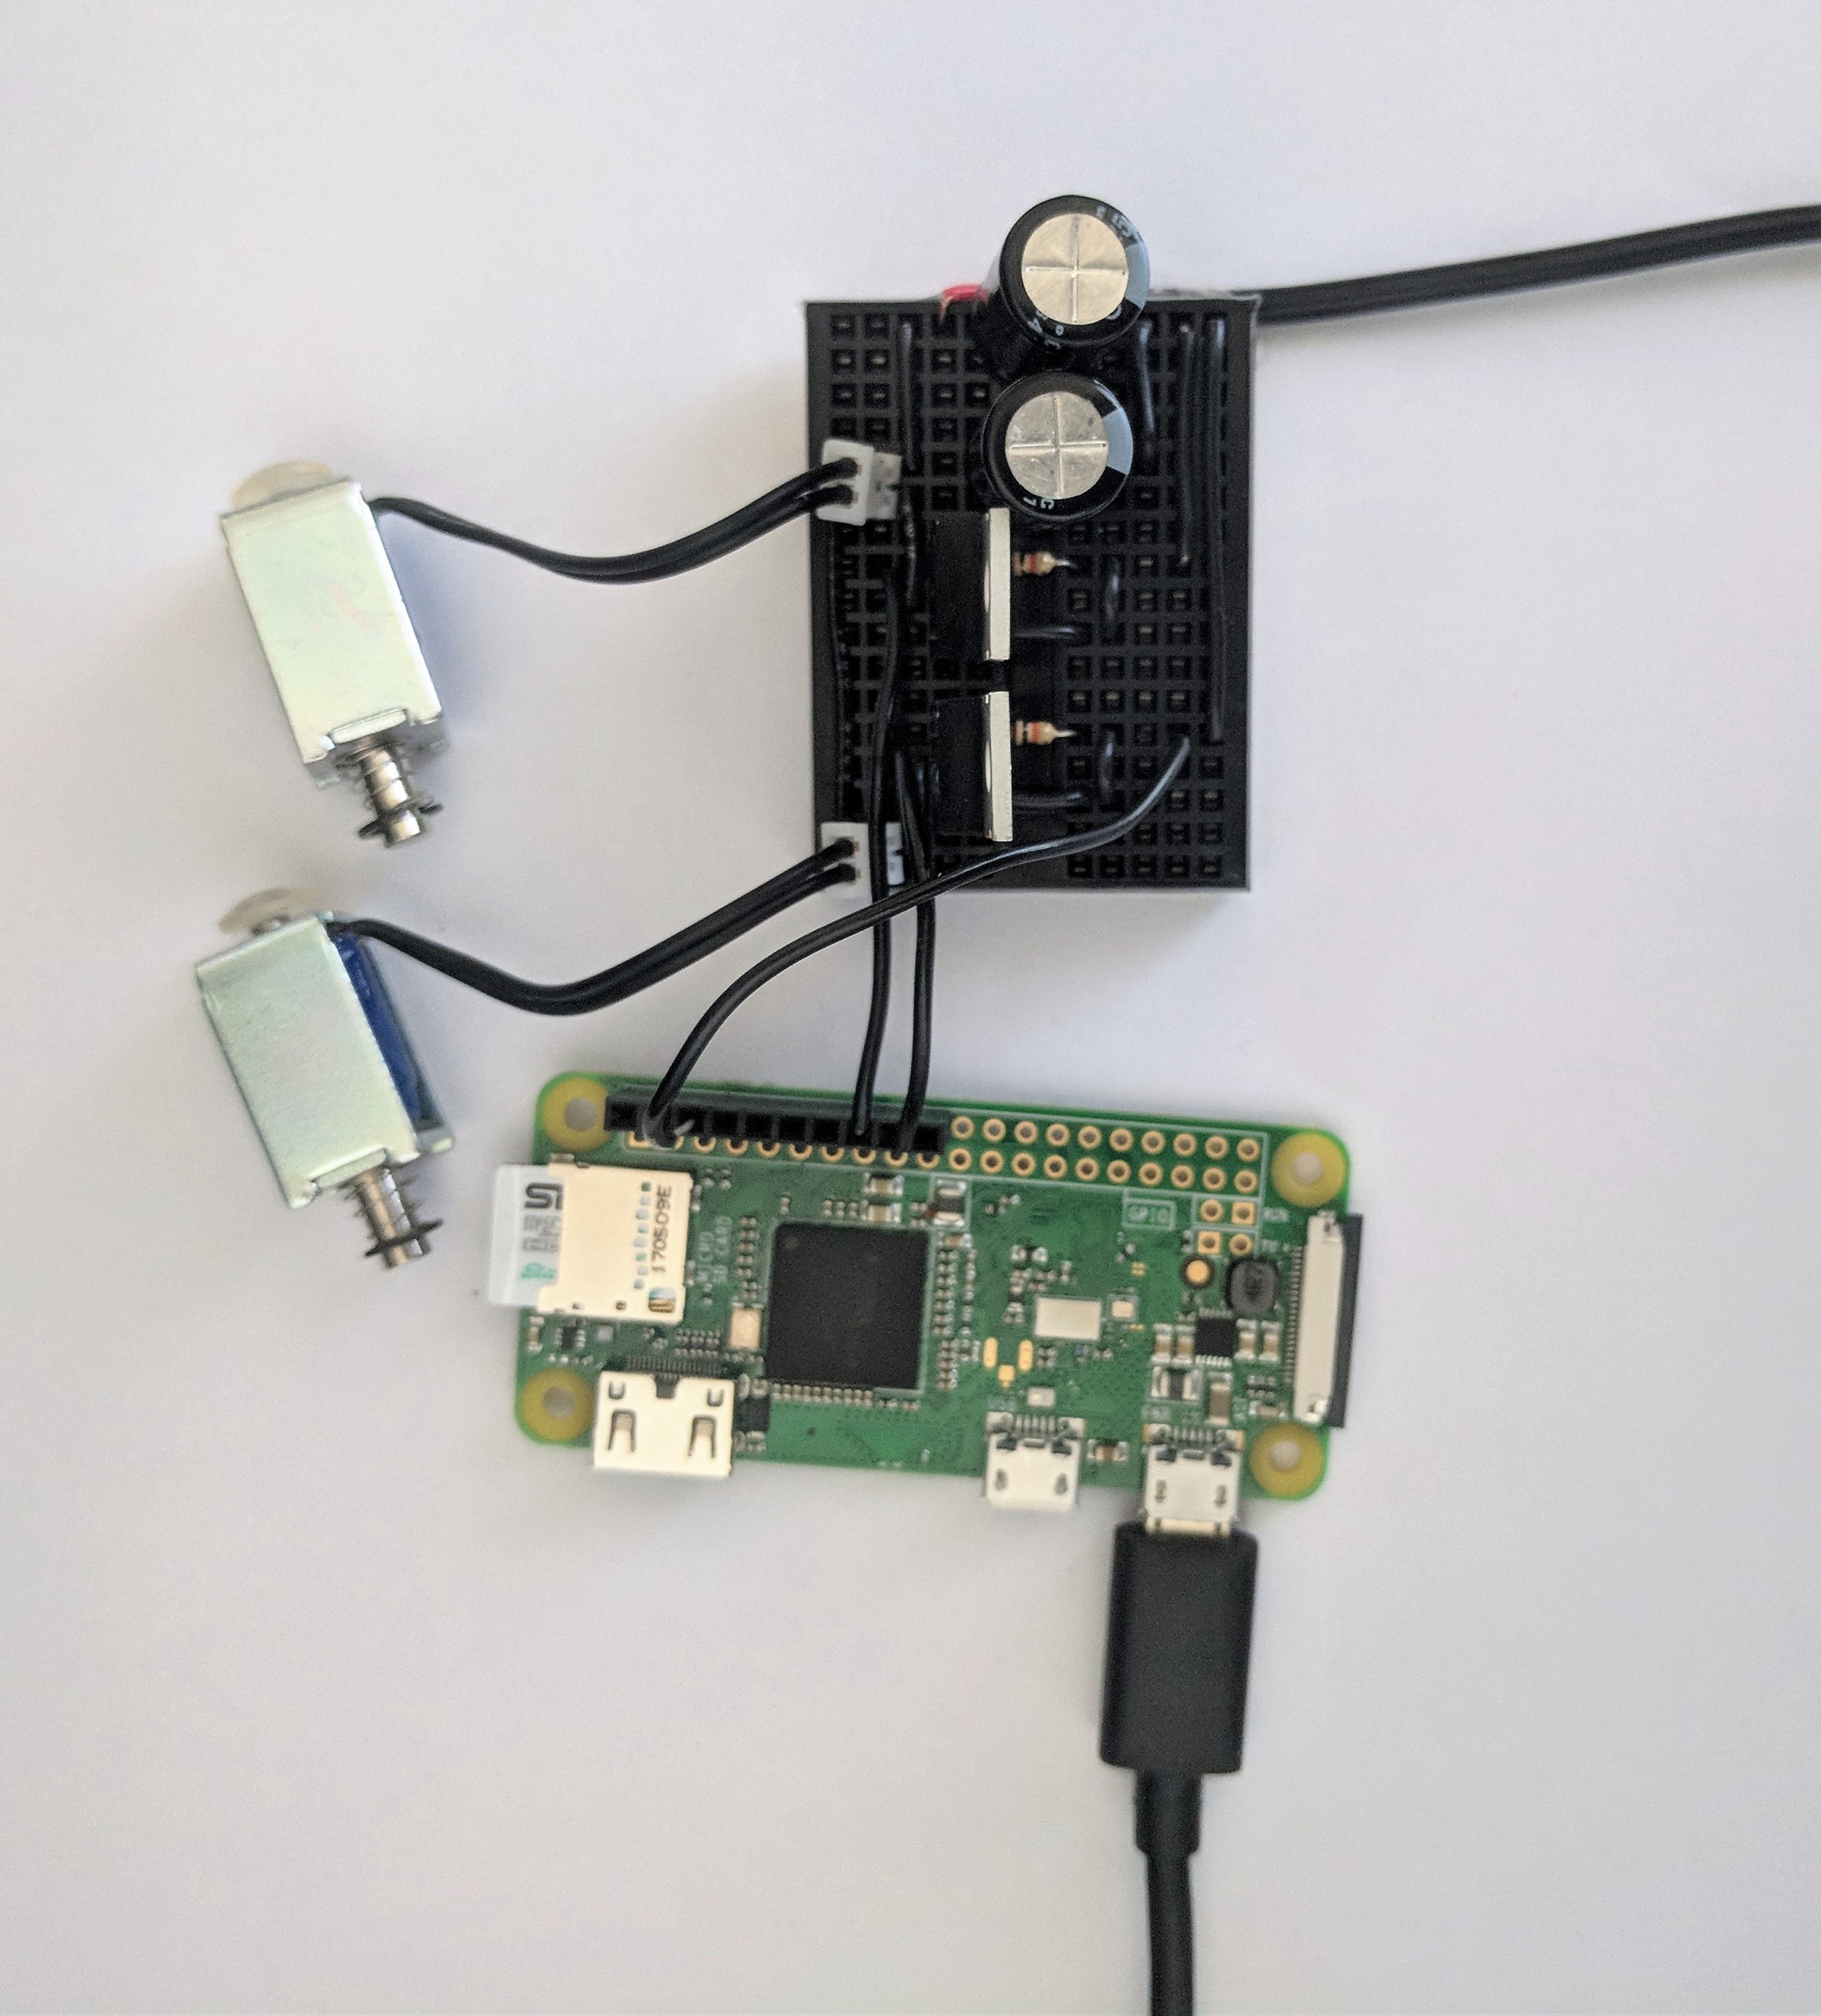
The circuit here is straight forward. I’m using a basic MOSFET-as-a-digital-switch configuration like what is shown here (http://www.learningaboutelectronics.com/Articles/N-channel-MOSFET-switch-circuit.php). I have added a 10k Ohm resistor between the gate and ground to make sure it is pulled down when not activated. I also use 2 1000uF bypass capacitors on the power rails for good measure. This isn’t particularly necessary though because I’m using a separate power supply for the solenoids and the RPi. If I wanted to be particularly rigorous, I could put a few hundred ohm resistor between the RPi and the gate to prevent any weird oscillations due to the gate capacitance, but considering our switching speed is about 1Hz, as opposed to the 1Mhz these can operate at, I’m not concerned.
We also need a ground connection between the RPi and the breakout boarding to make sure all parts of our circuit use the same ground reference.
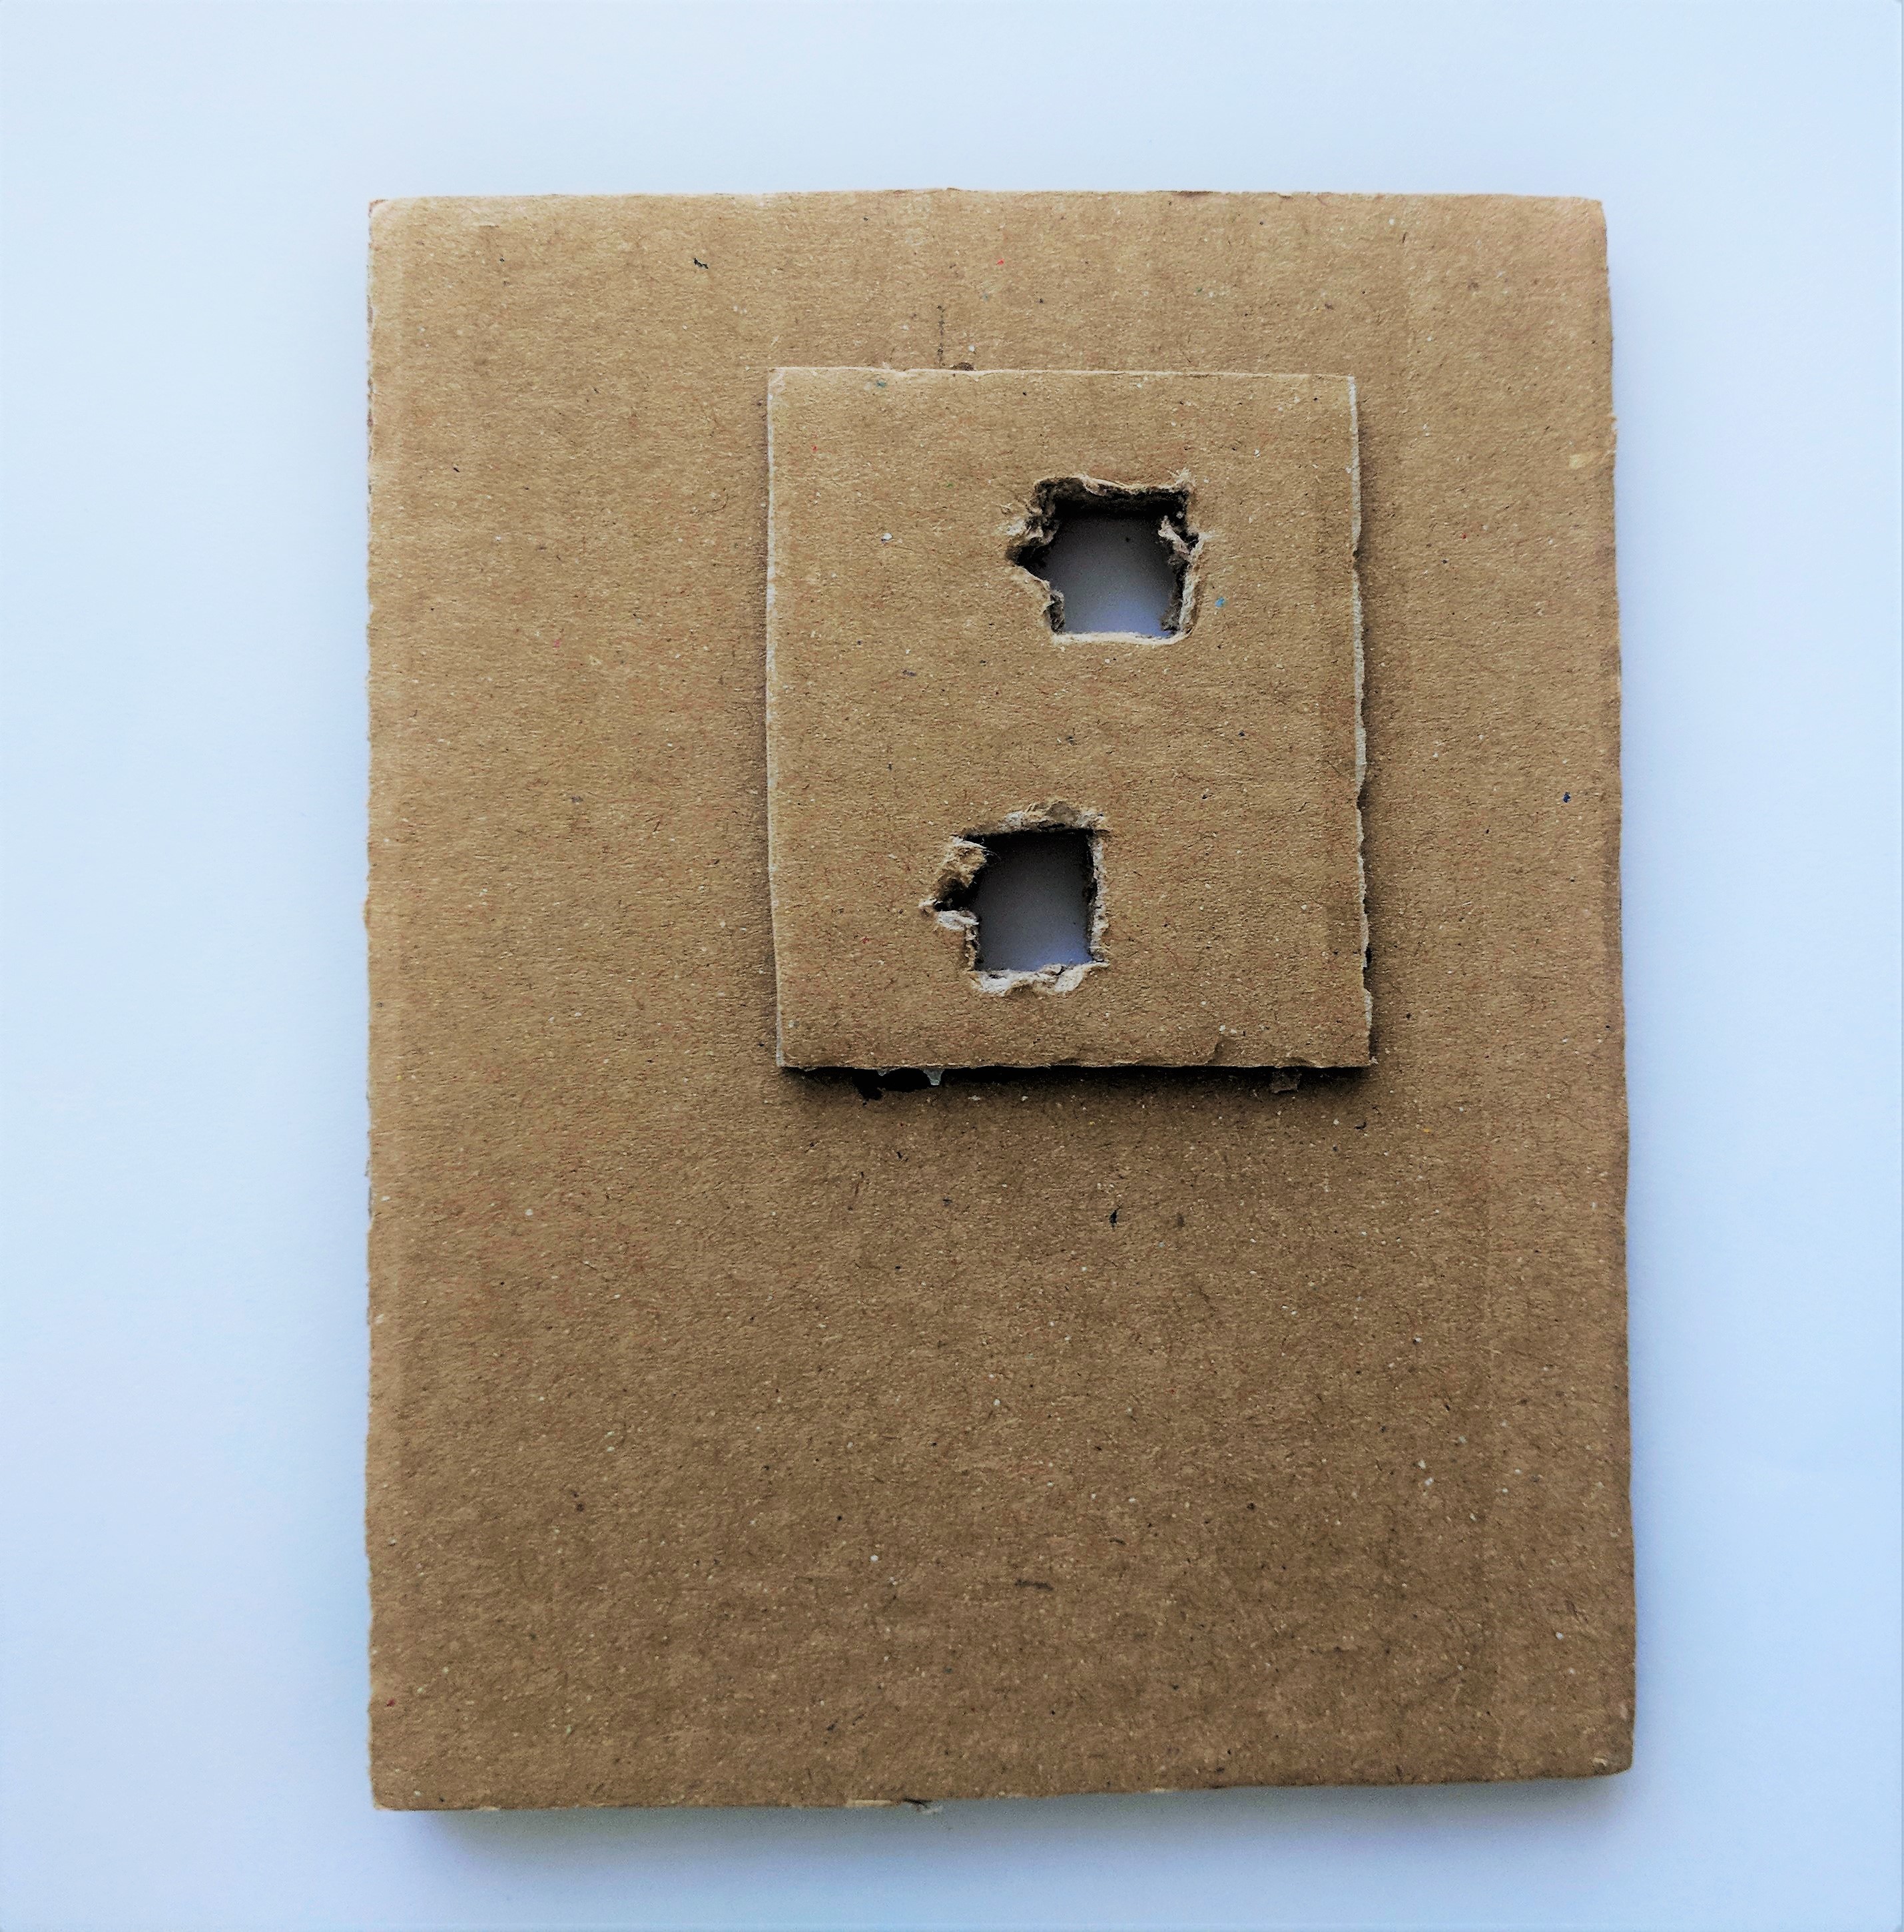
You’ll notice that I’m struggling super hard on the equipment here while I’m out of the states…only black, hand-cut jumpers on a black board that’s barely large enough and no socketing. Also, the mount to attach everything to the touchscreen is simply some cardboard I've glued together
Since writing this, I've upgraded to a 12v power supply for the solenoids because you really need hammer on the touchscreen. 5v would be perfectly find for any modern capacitive touch screen or even a not crappy resistive touchscreen.
 |  |
 |
The full feature set has expanded a little:
Anti-Brute force (lock after 5 invalid attempts). Unlock button available when logged in
Email notifications to the admin when a user attempts to entry
Email notification to new users with their code and entry restrictions
Geofencing
Entry scheduling
Access expiration date
Entry count limit
Logging for all attempted entries
The email templates and smtp server info will have to be edited manually, as I have little interest in adding all of those fields into the website settings page.
Side note: Sparkfun is out of the solenoids, but Digikey also stocks them for the same price from Sparkfun.
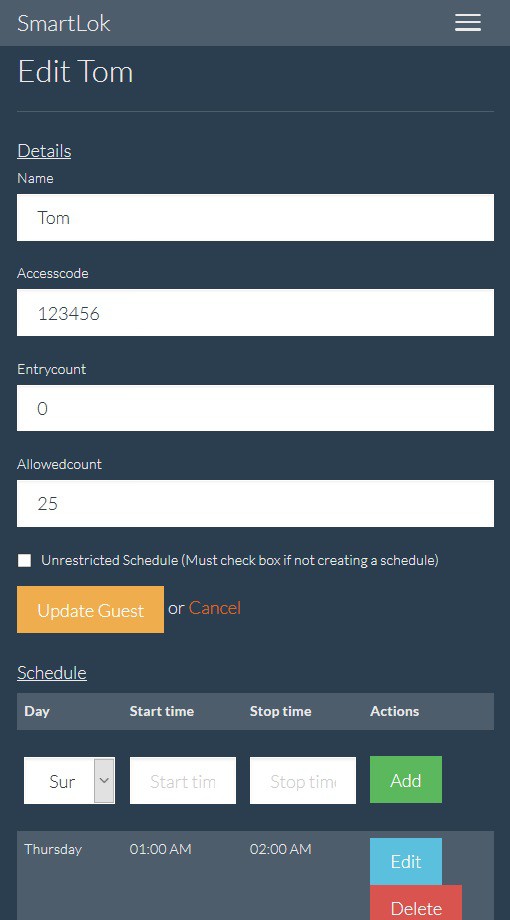
The management interface is starting to take shape. Also occurred to me that I should add a geofencing option. Will probably just use the HTML5 location and call it a day.
 |  |
I am out of the country right now (and my parts supply is at home), so it will be the end of November before I have all the components necessary to finish. Nonetheless, most of the work here will be building a functional front end so the end result is more than just a hack.
There general task here will be to build a Rails app that allows an administrator to create users, enforce scheduled access, and log all access. I will then use an additional Rails GEM to control the gpio pins on the RPi to actuate some solenoids to physically control the smart home system below:
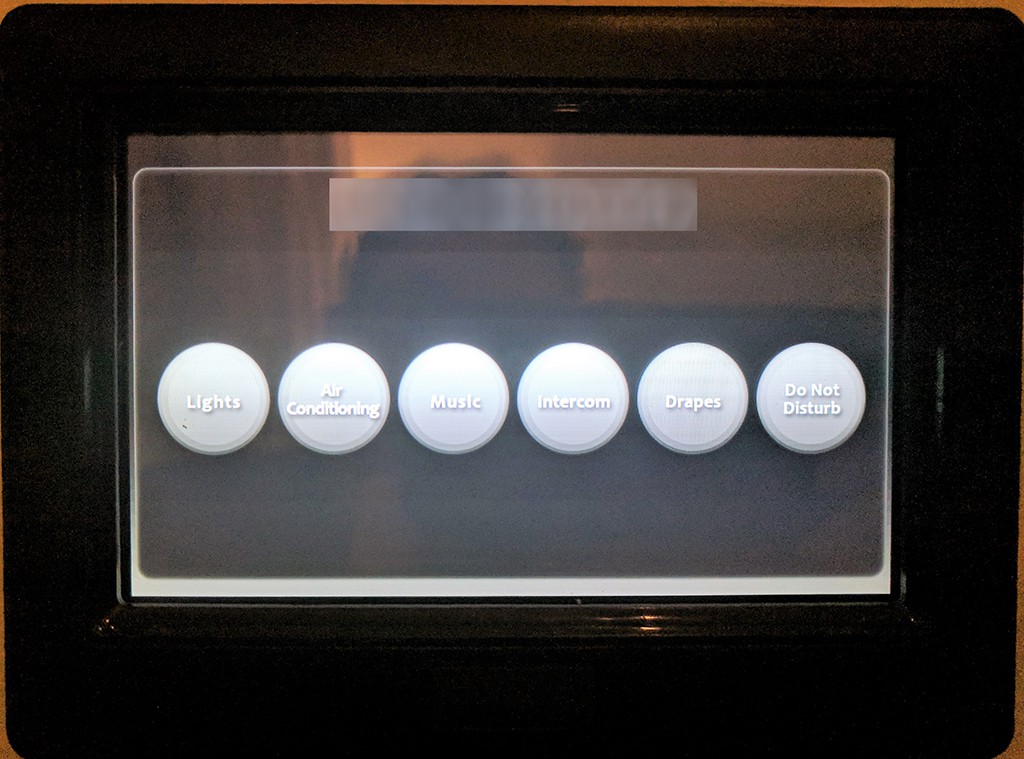 | 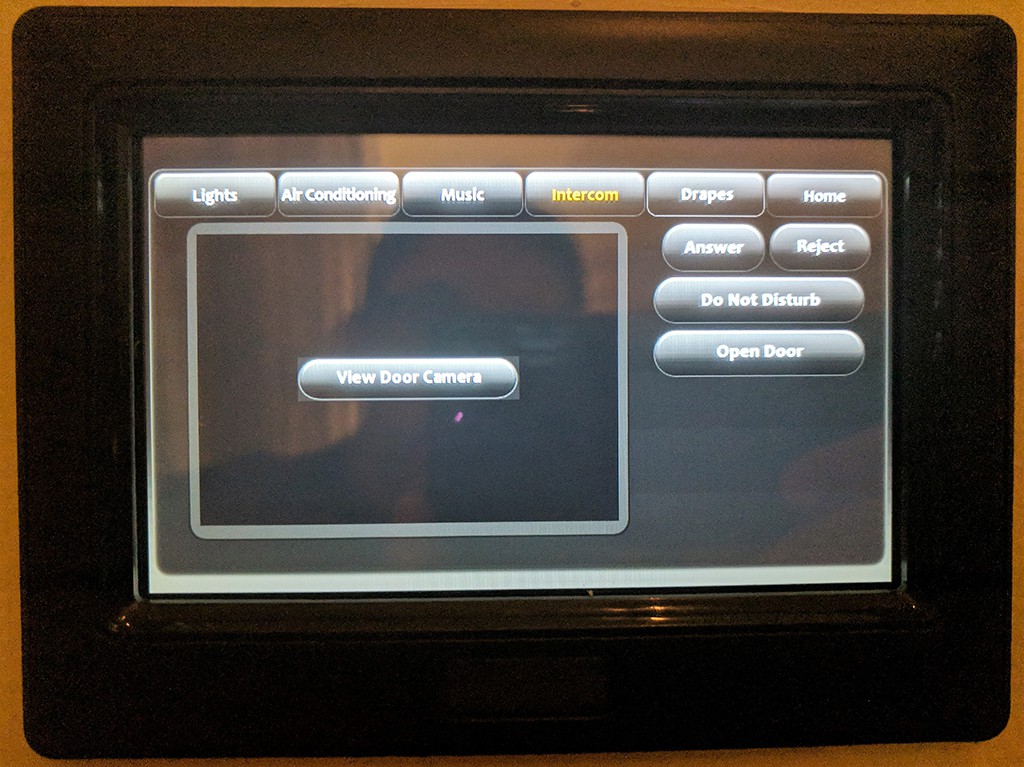 |
I will need two separate actuators because I need to press the "Intercom" button and then the "Open Door" button. I considered cheating here by pressing both locations with one actuator, but the system will only respond to one touchpoint.
I'll have to MOSFETs between the RPi and the solenoids to keep anything from burning out...supposedly these solenoid can drawn up to 700mA. We also shouldn't have any issue with the 3.3 pins on the RPi triggering the MOSFETs.
On the software side, I'll basically be running a stock Raspian image + Ruby on Rails + a Dynamic DNS Updater. I've never cared for setting these up with a screen and keyboard, so I'll plug in via USB directly and configure over SSH.
On the coding front, I'm making liberal use of some generators from a prior app development course. Full info is at https://guides.firstdraft.com. I'm using a couple of tools here:
1. "Starter" generators to create my basic controllers, views, and routes.
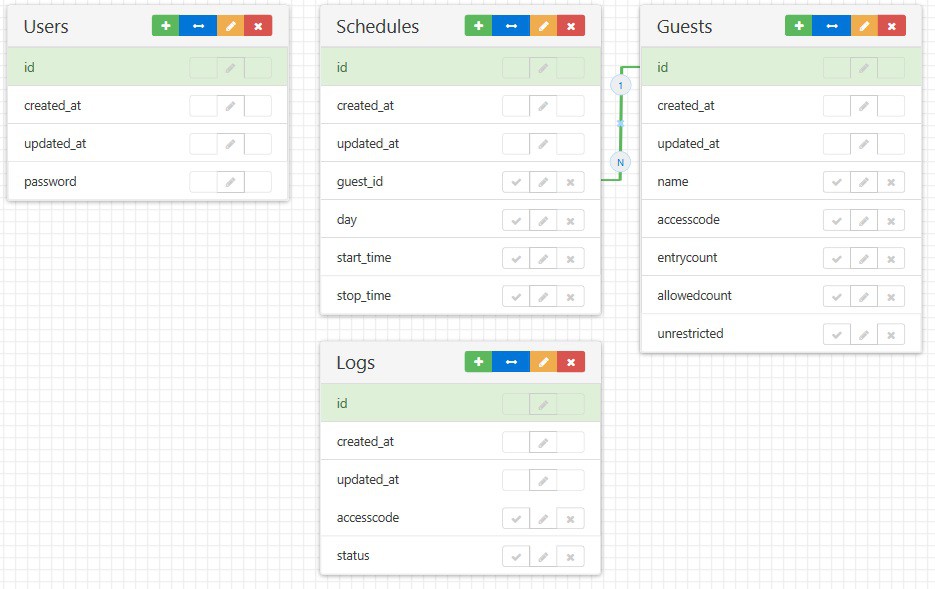
2. https://ideas.firstdraft.com/ to develop my DB structure as below:
 |
3. Devise for the admin authentication.
4. Bootstrap for the theme.
Create an account to leave a comment. Already have an account? Log In.
Become a member to follow this project and never miss any updates
 Brian
Brian
 Thomas

 Dmitry