 TheThirdMan

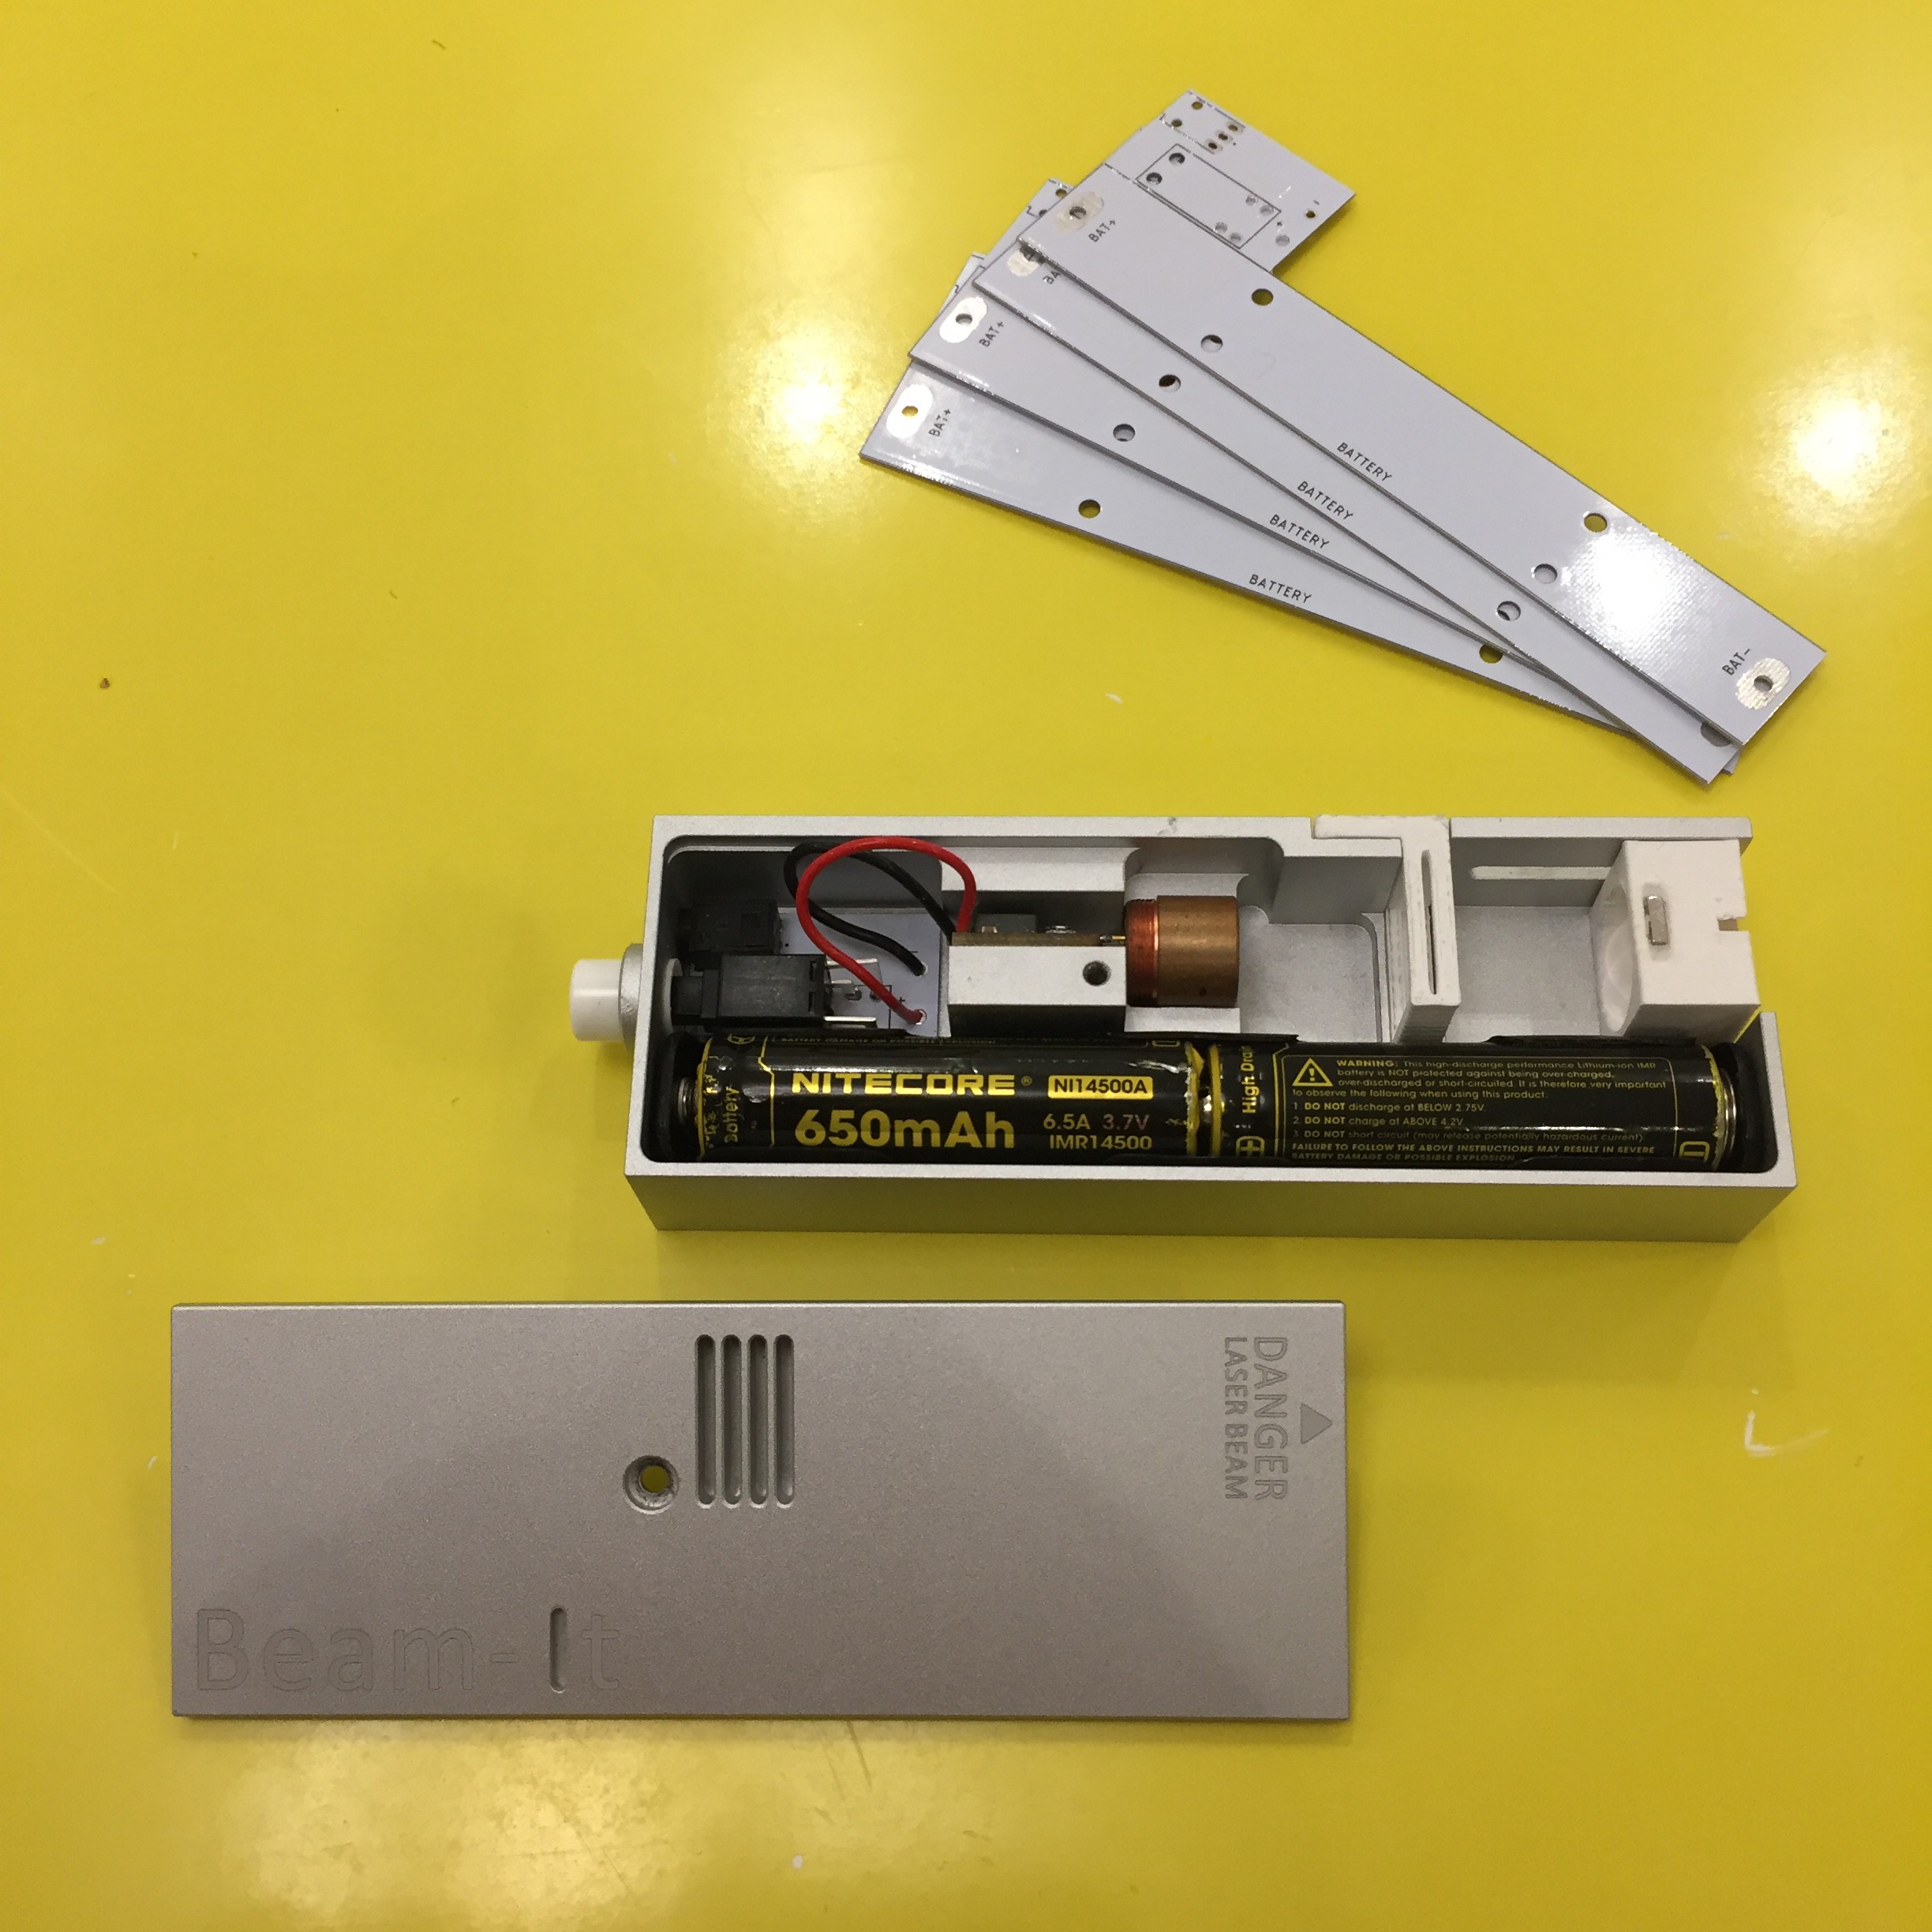
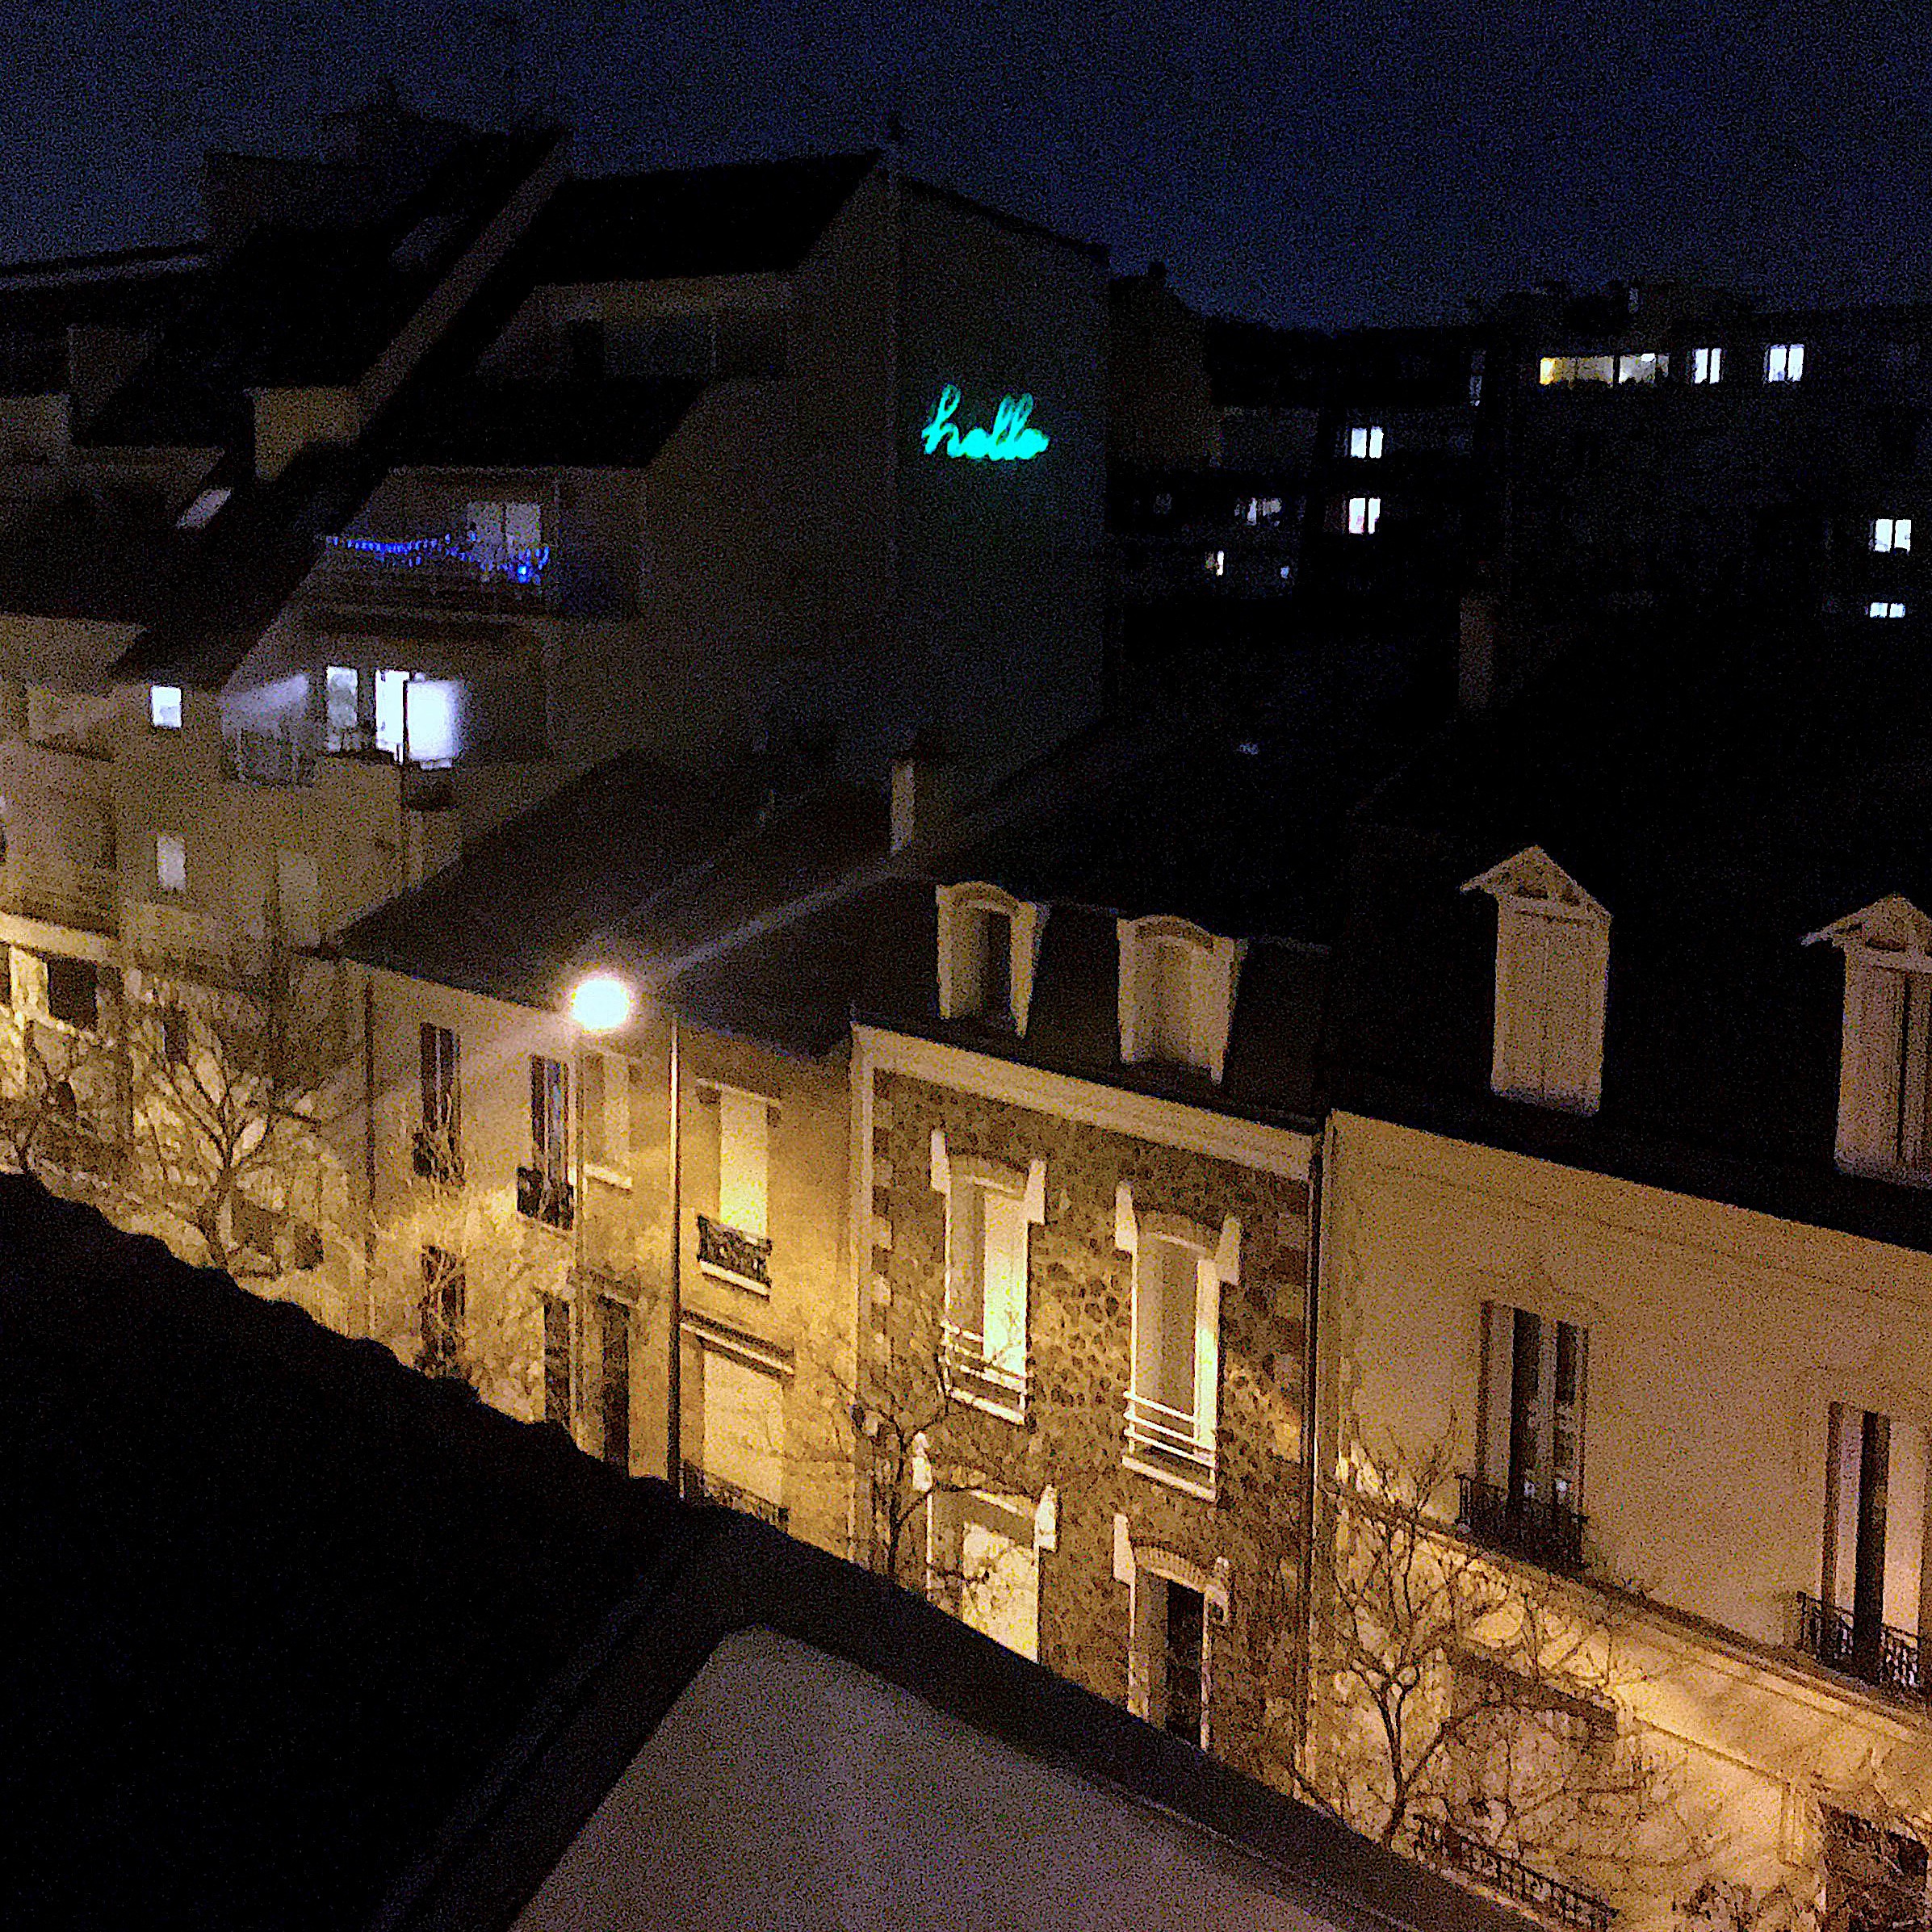
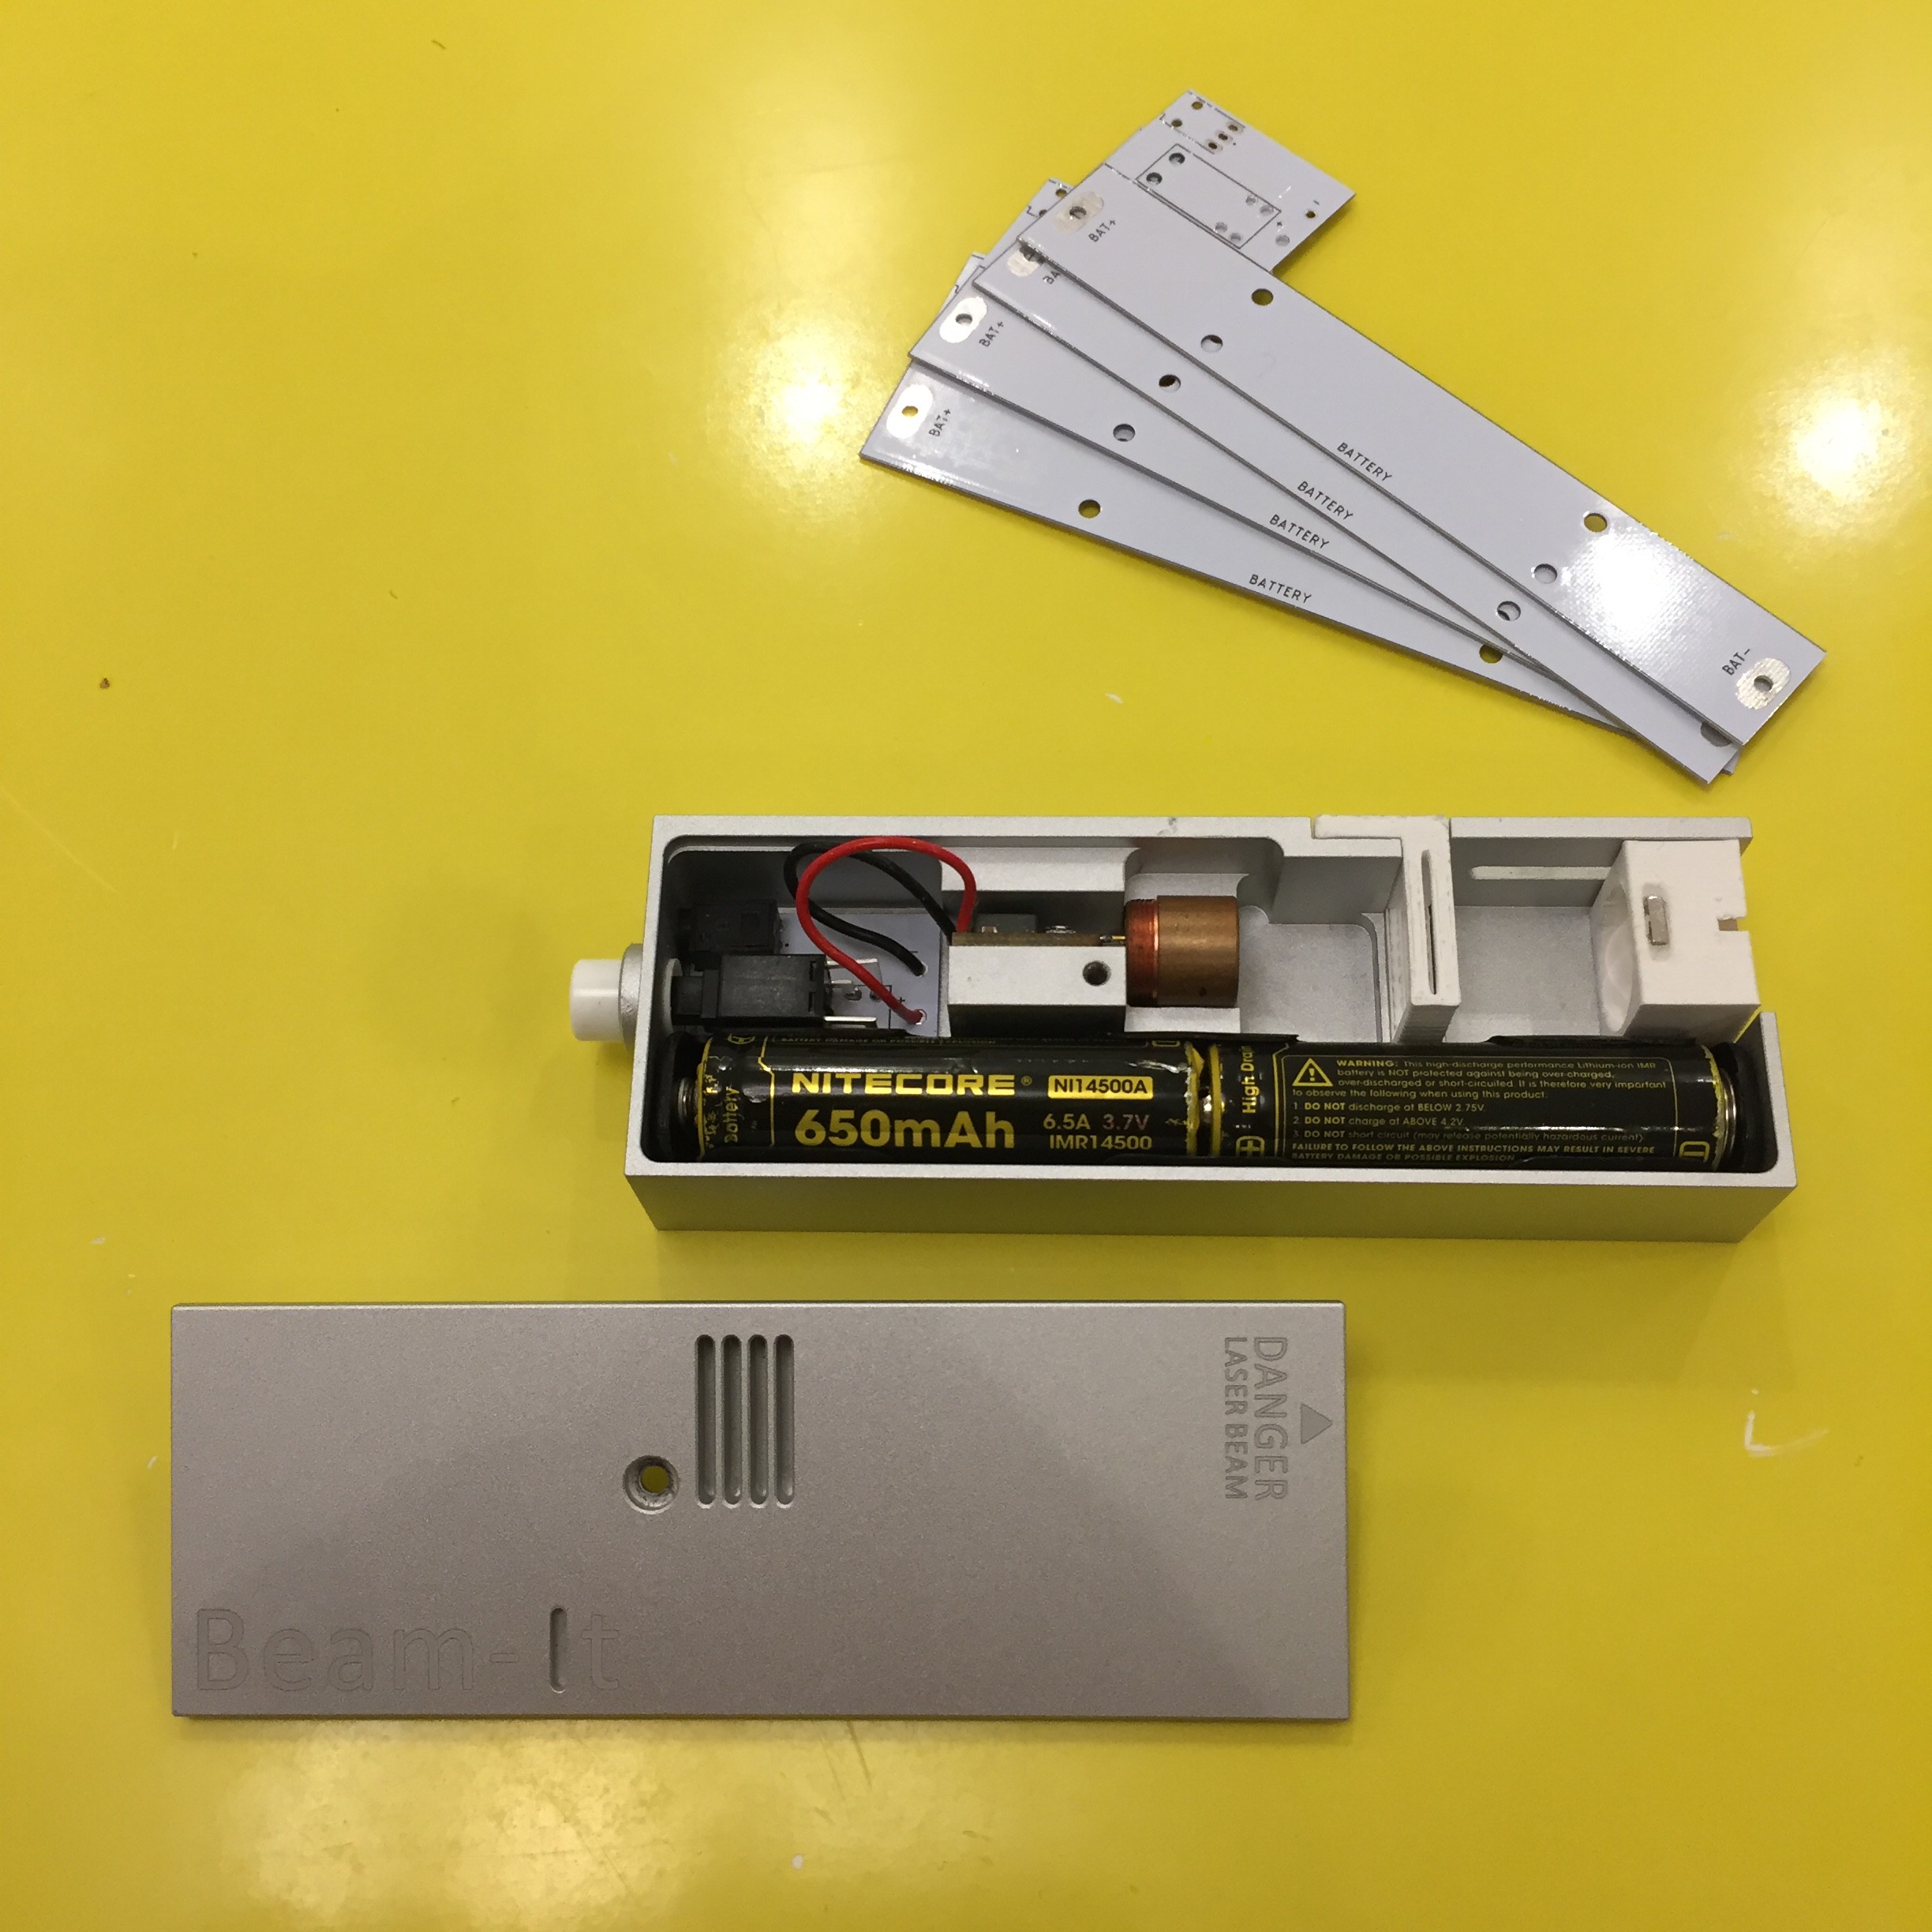
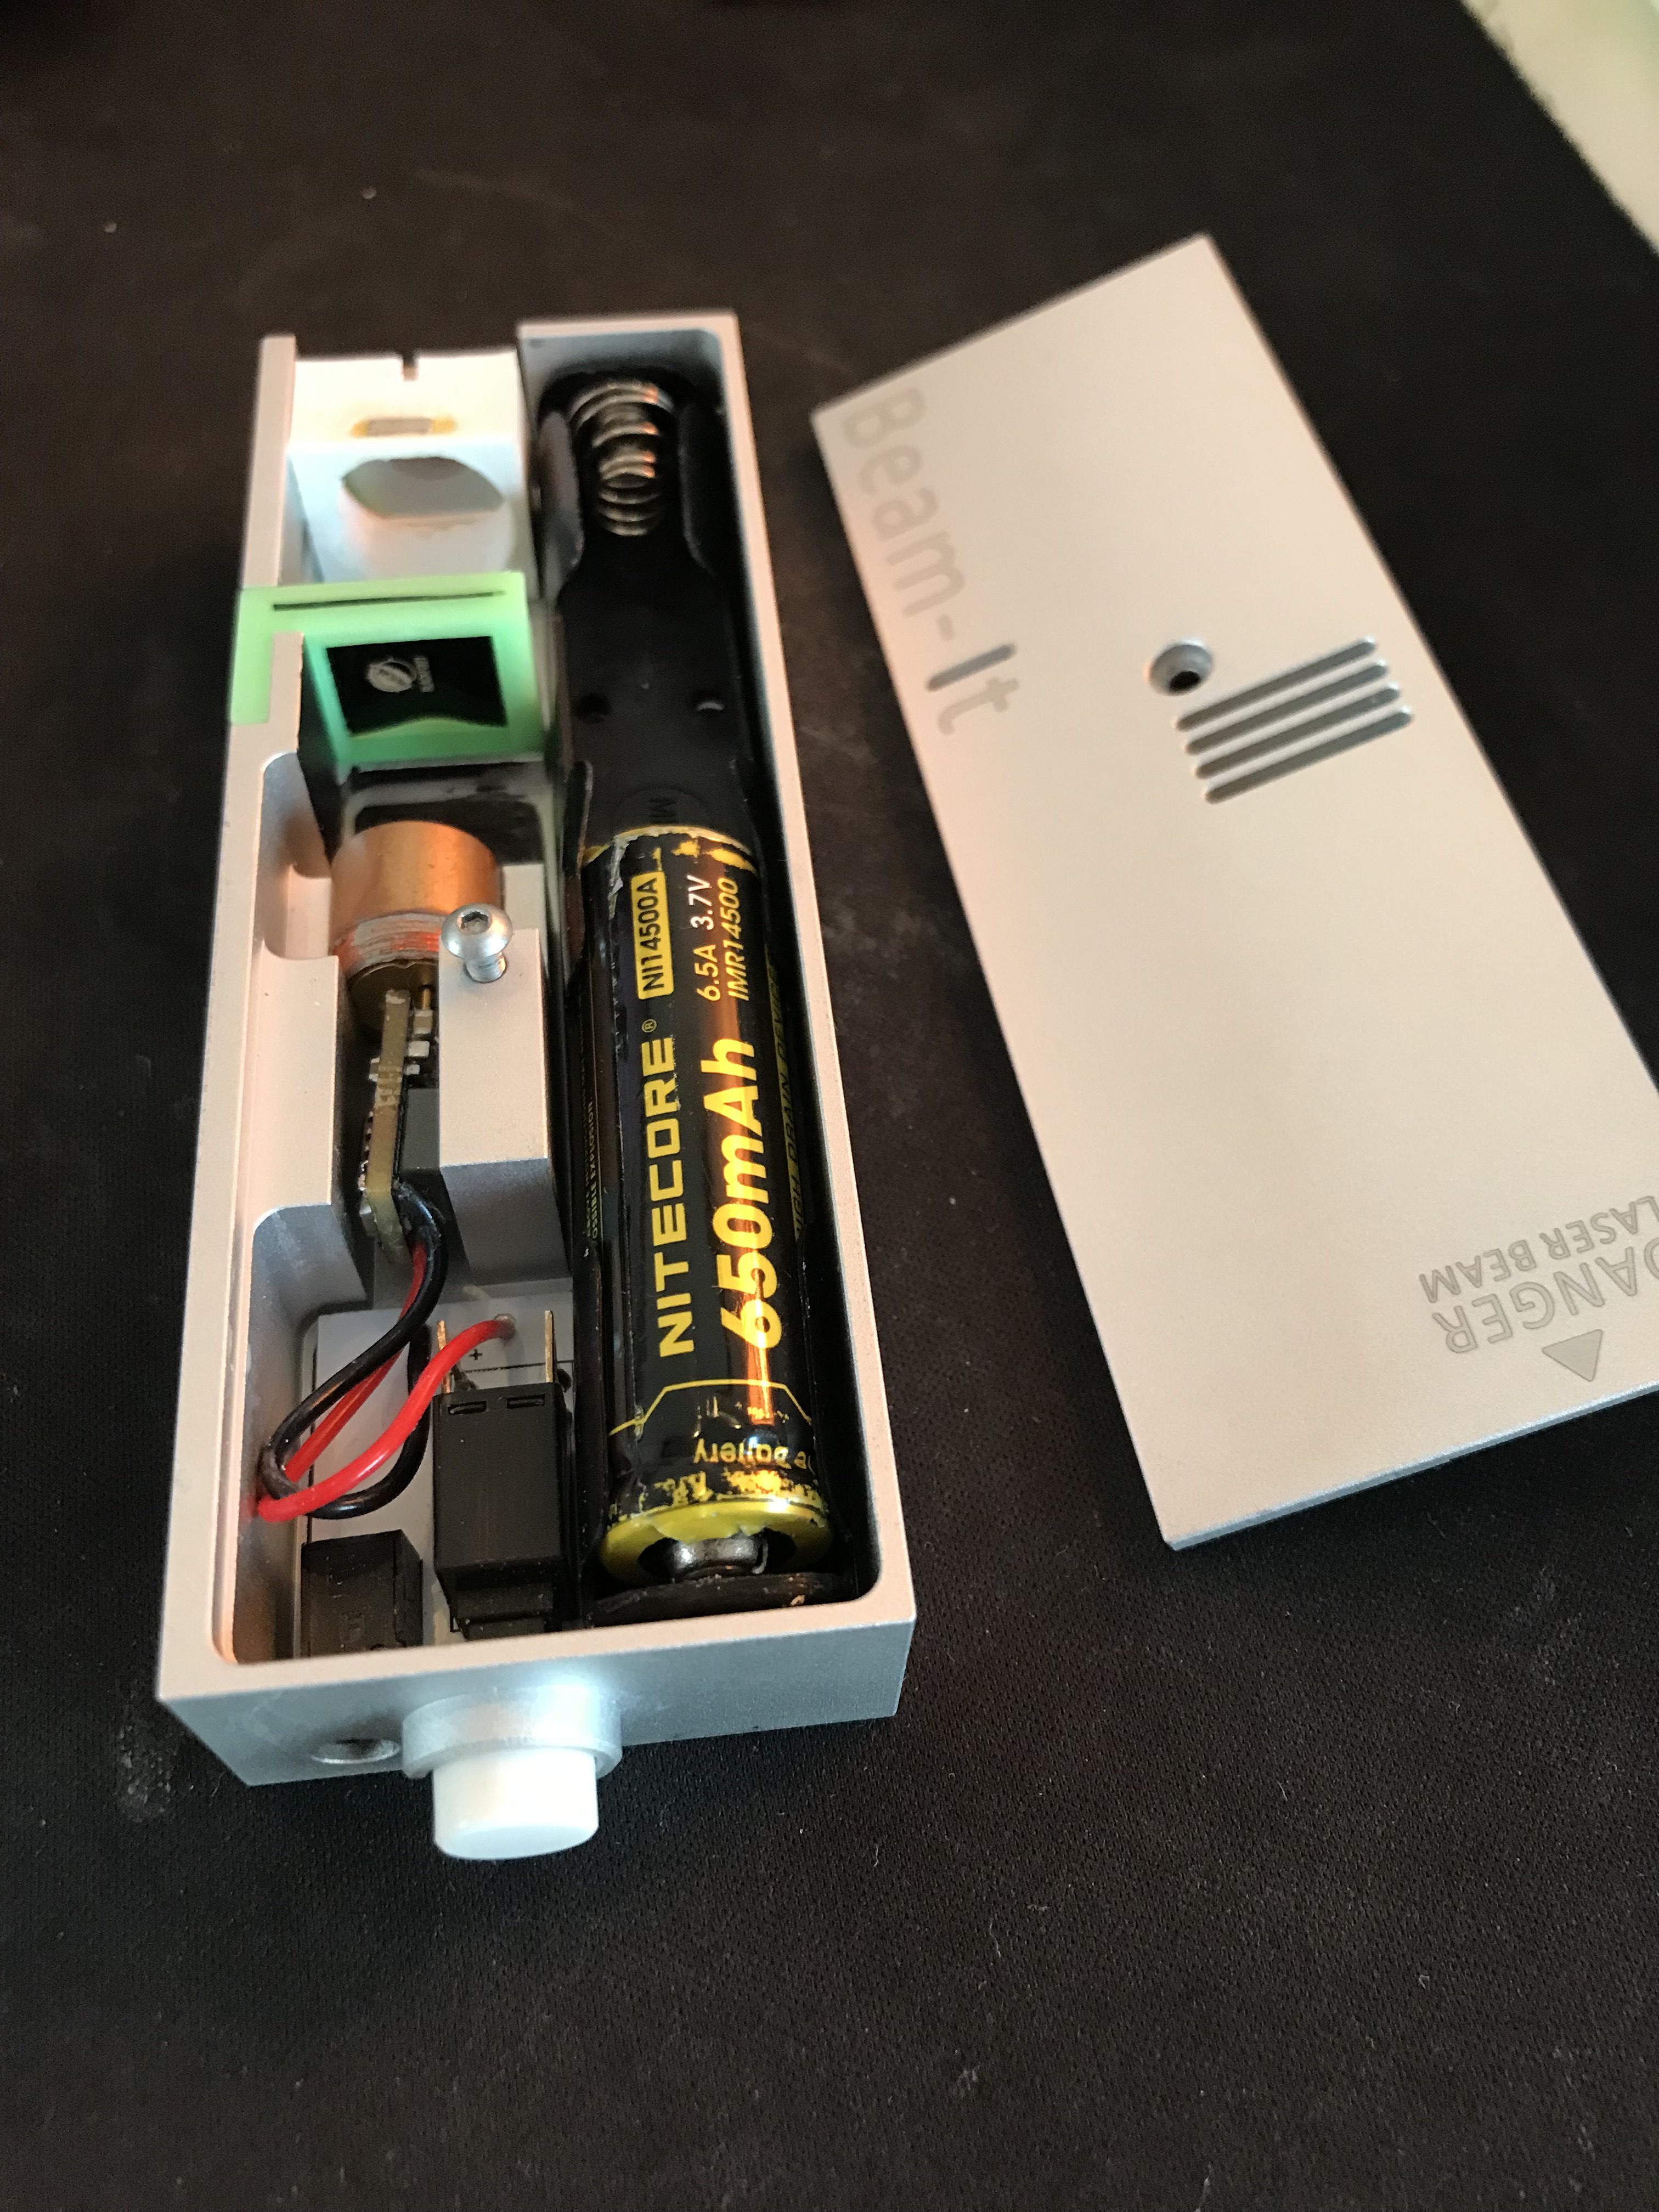
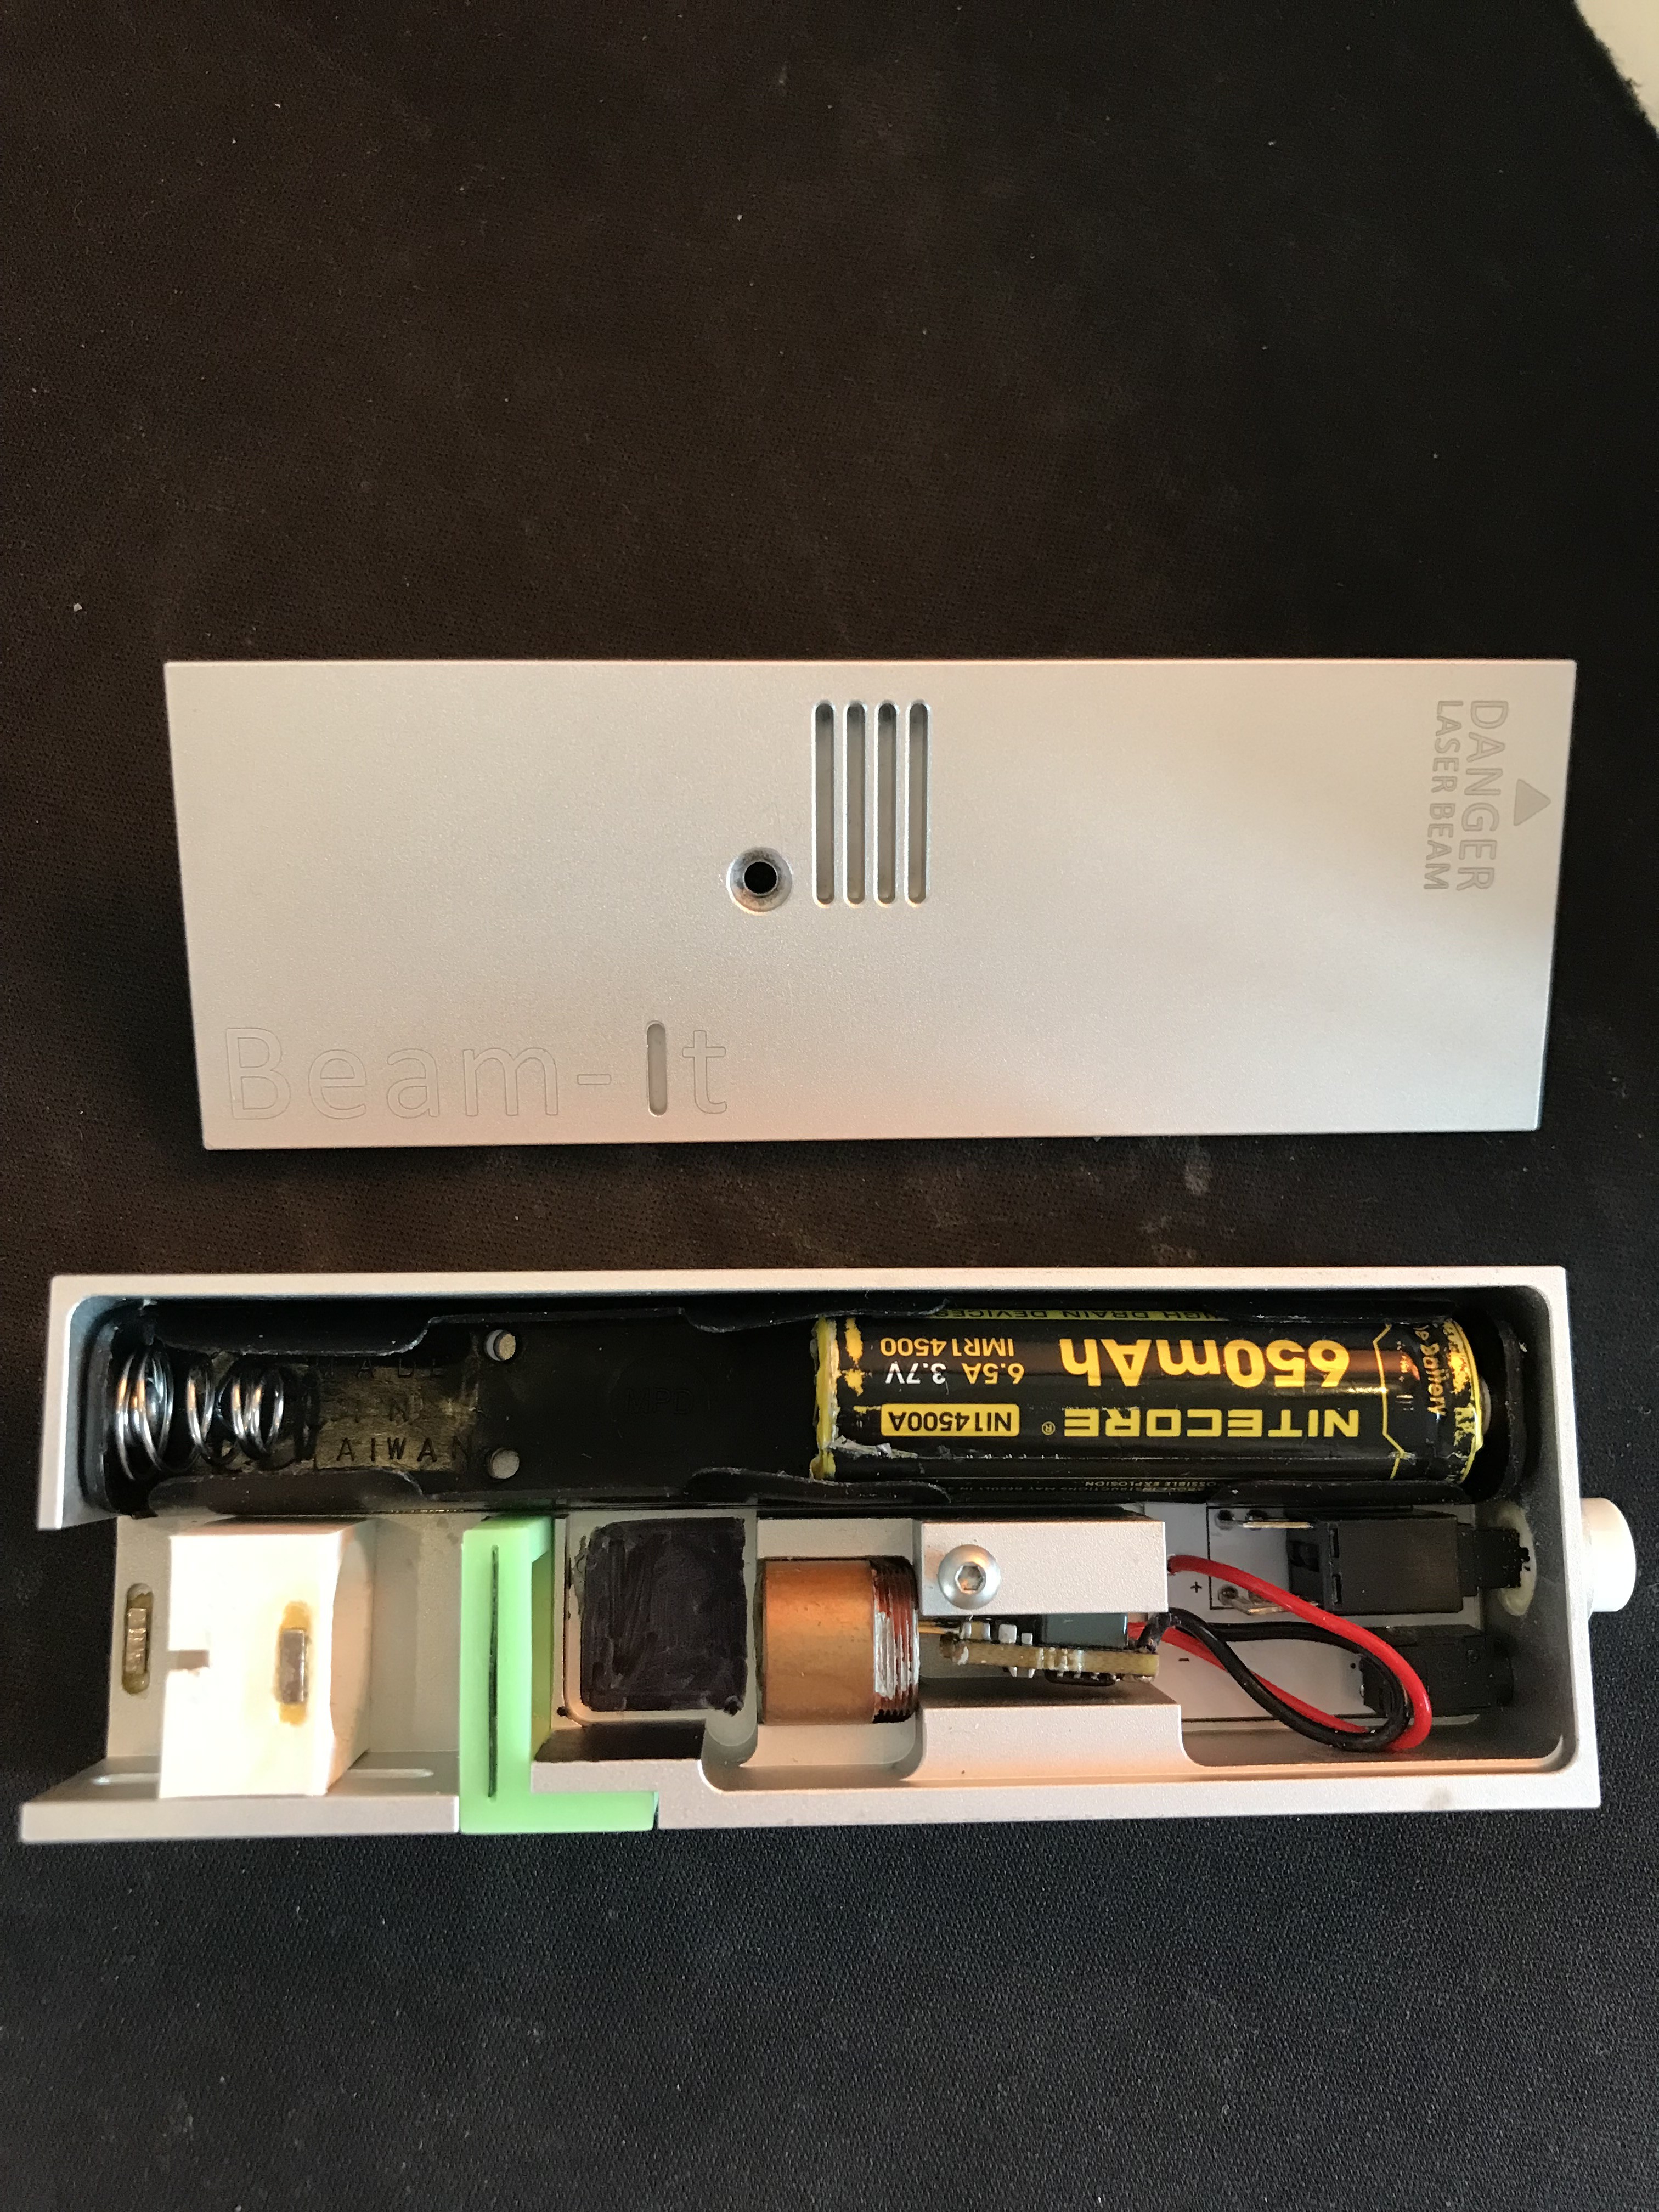
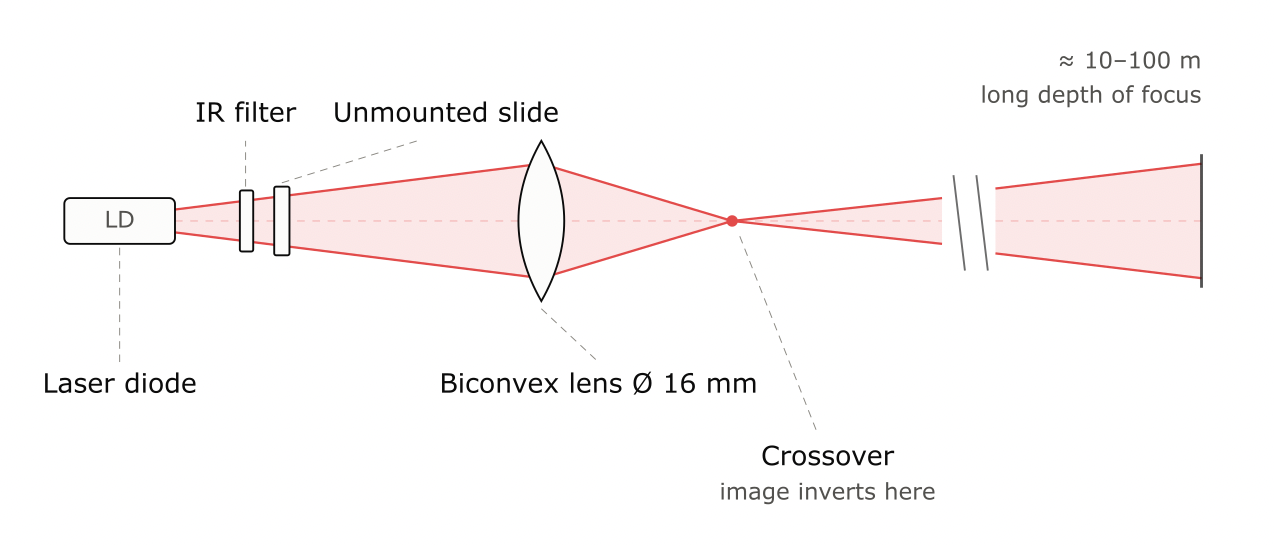
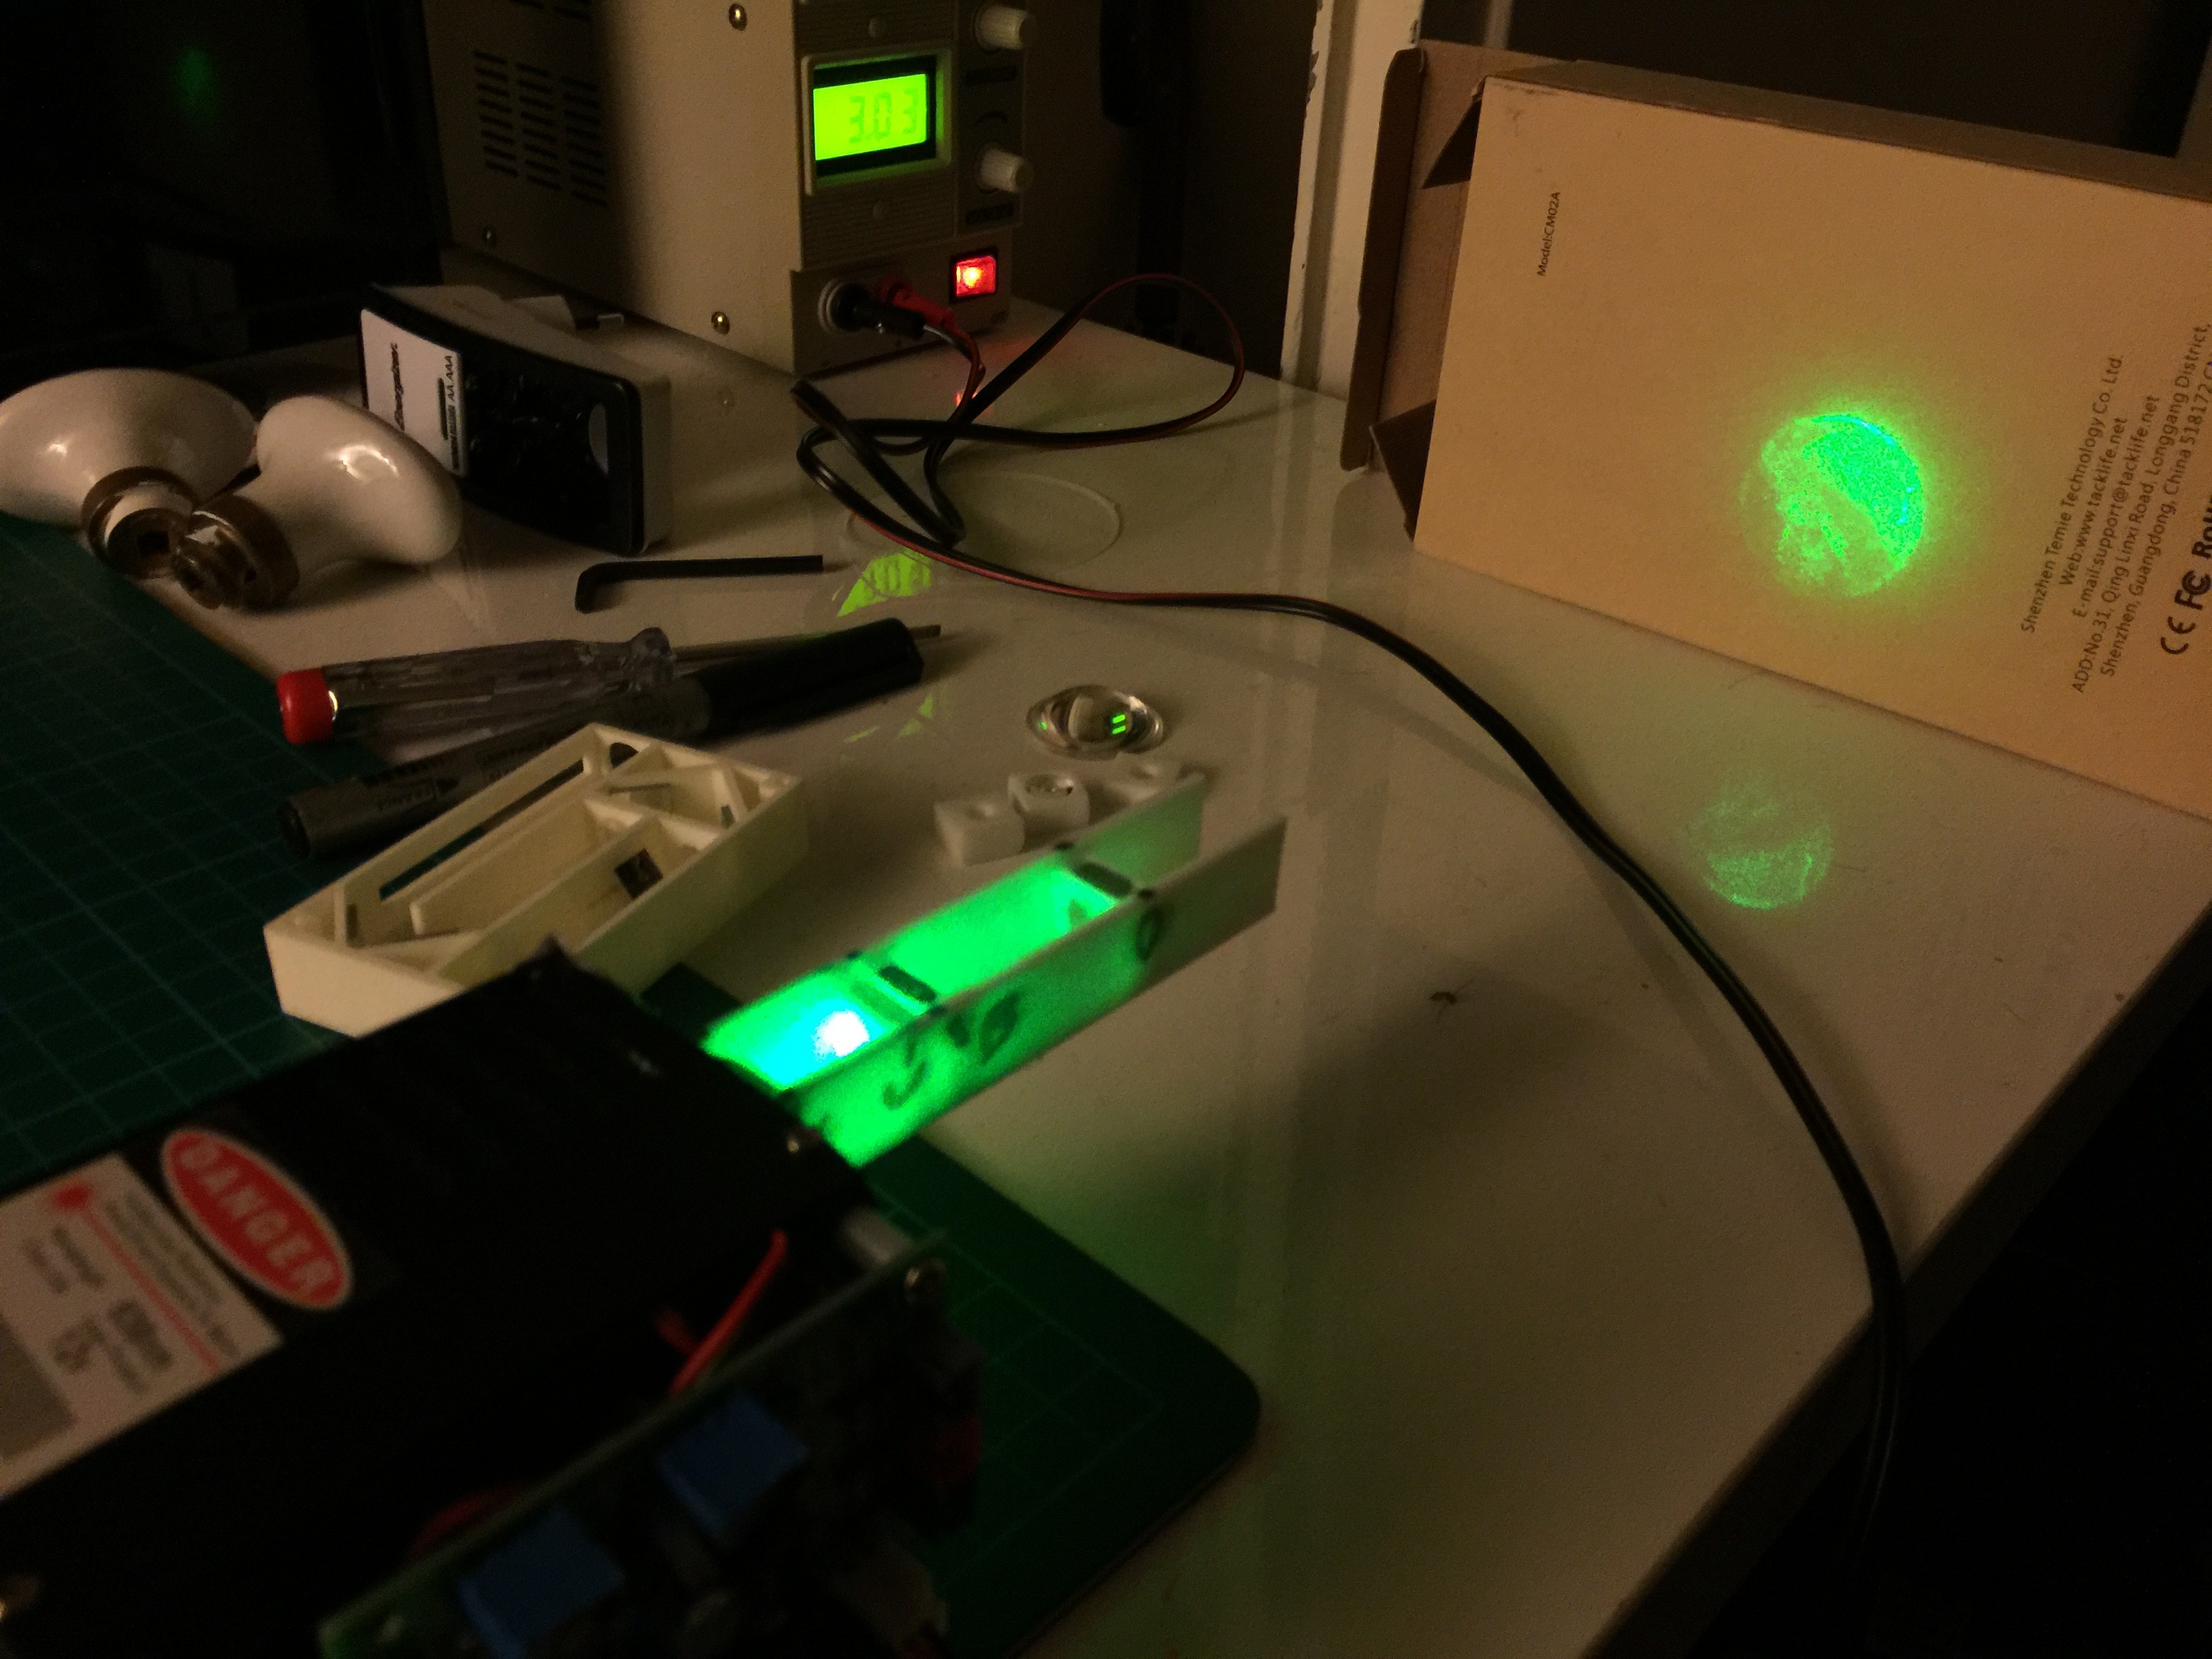
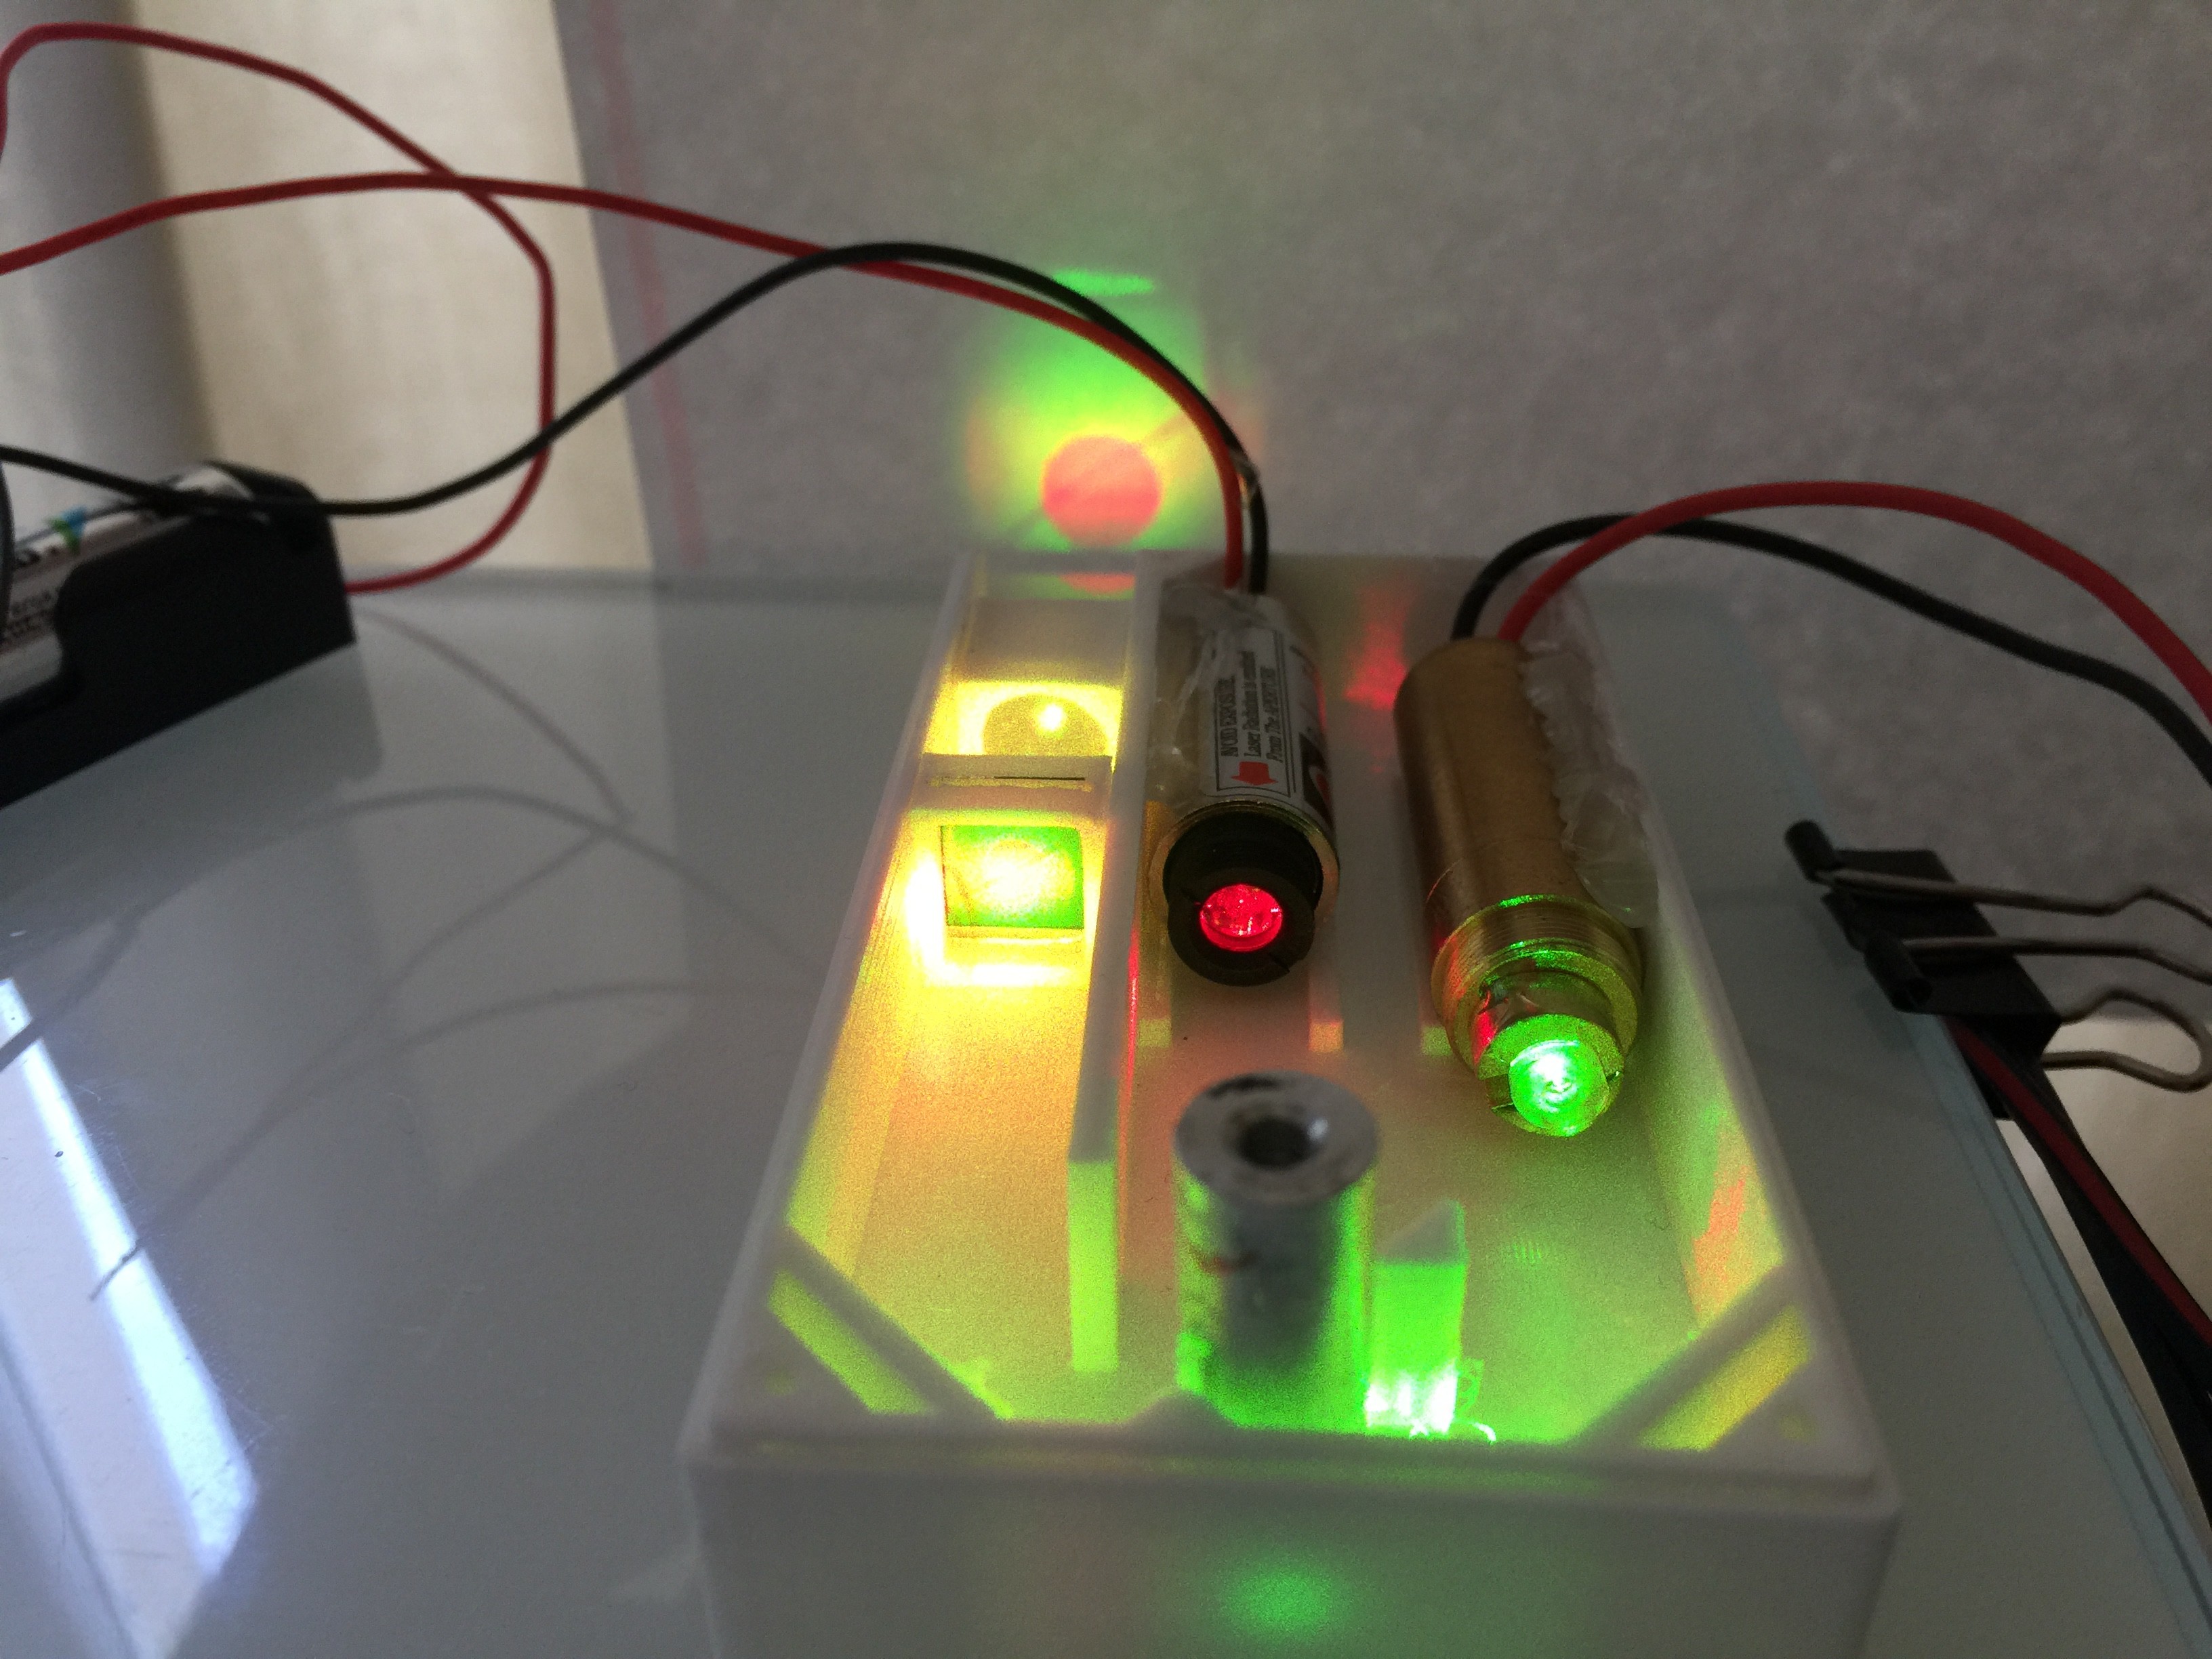
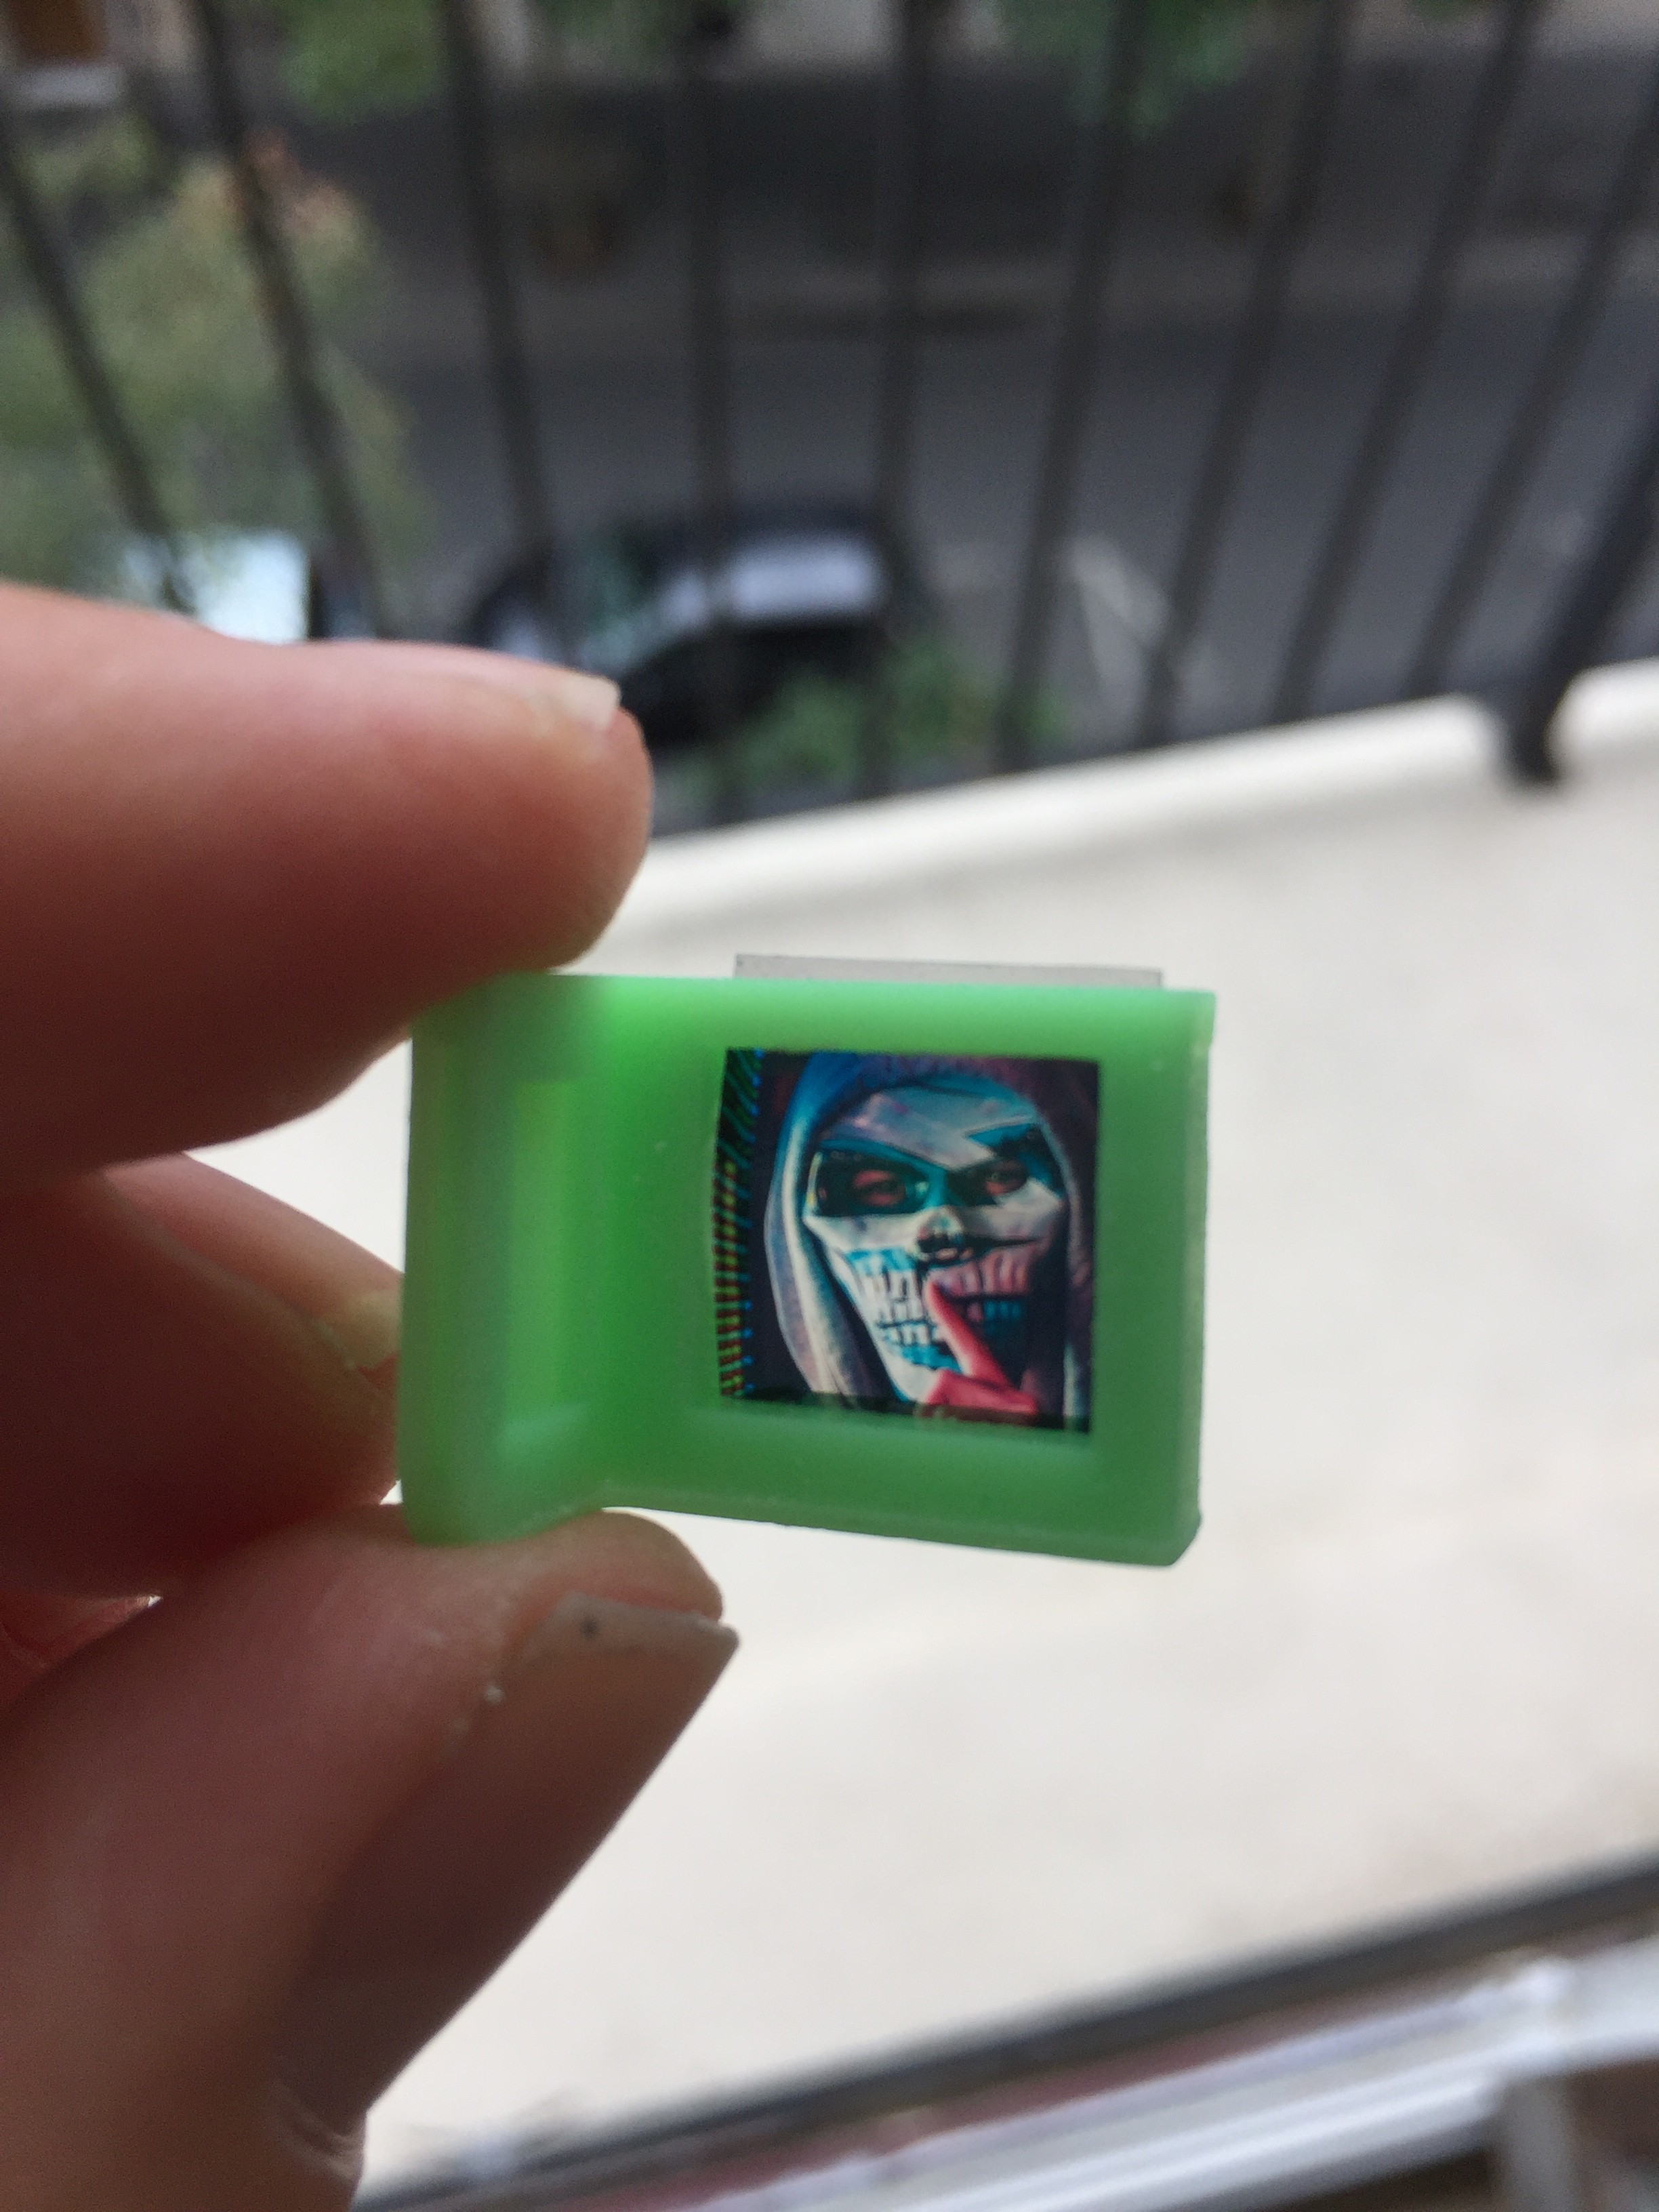
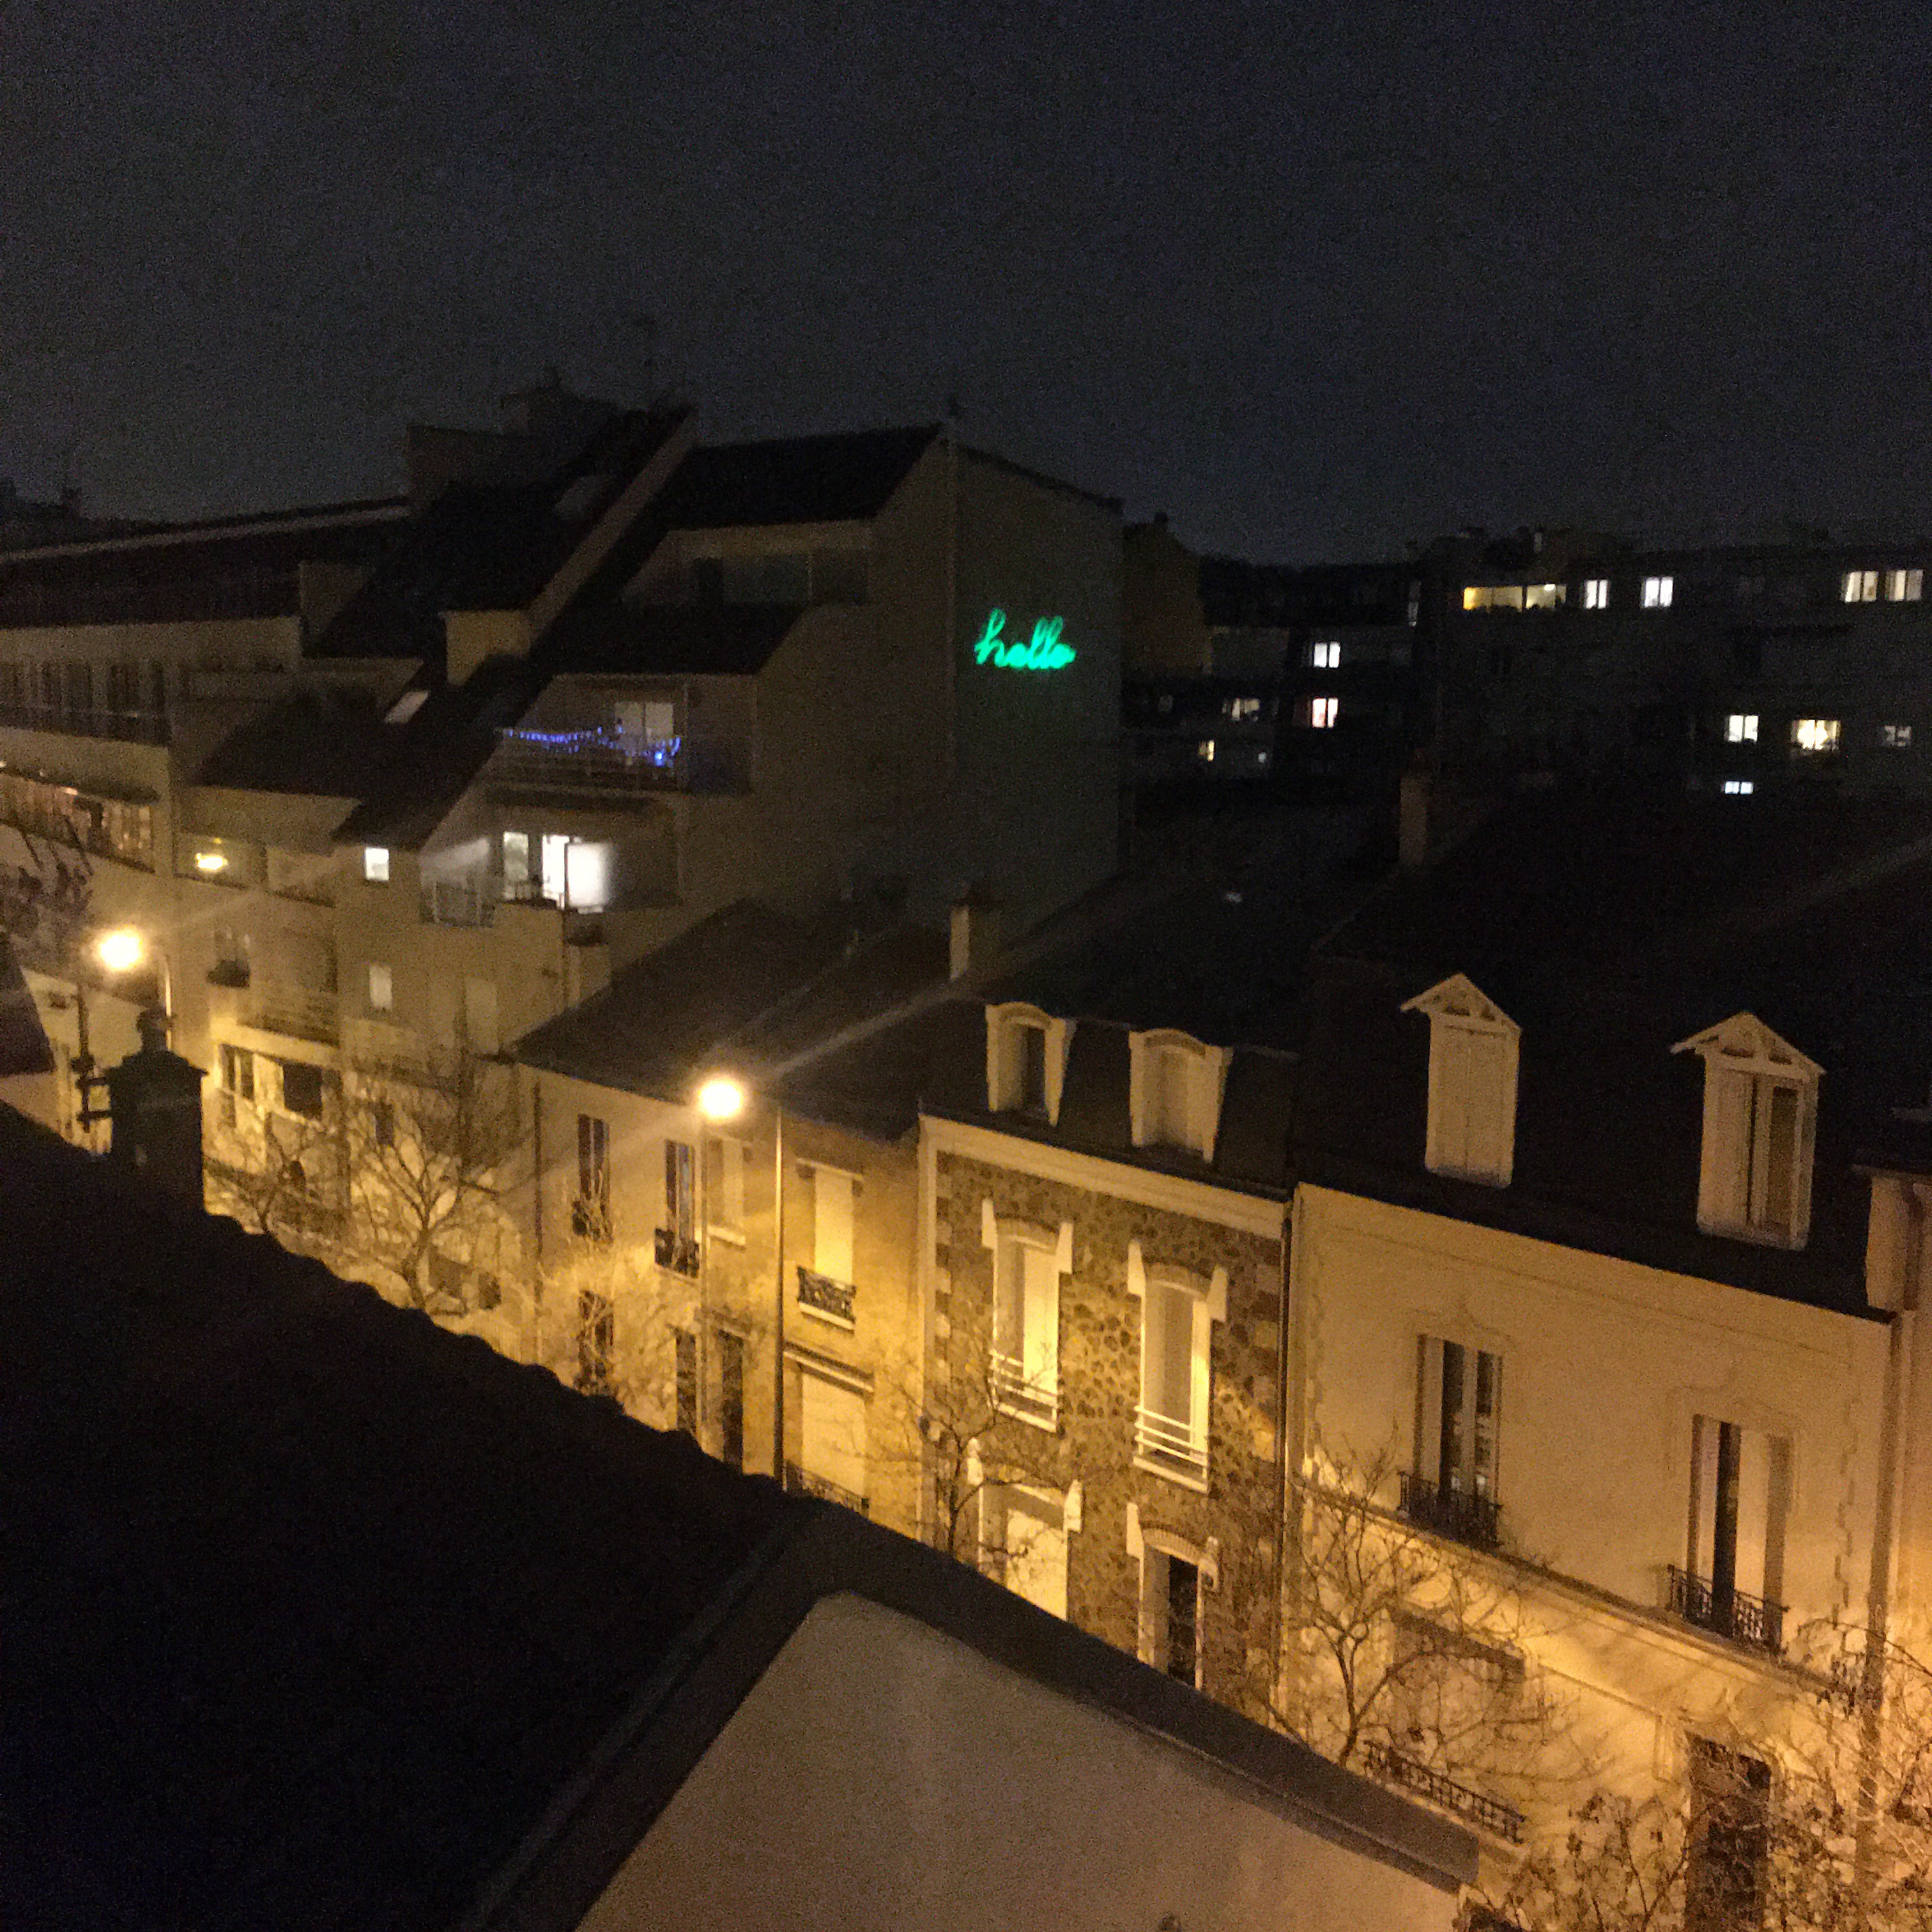
The Pocket Single Image Laser Projector is an handheld, pocket-sized projector that throws a single sharp image (a logo, a message, a photo) onto any surface, the focus is ajustable from 5 m up to more thant 100m away. No moving galvos, no electronics-heavy scanning: just a laser, a piece of slide film, and some optics in a machined aluminium body for optimizing heat dissipation.
Note: This project will be launched on crowdsupply.com soon, stay tuned for updates!
Specs
- 1 W, 520 nm green laser diode (Nichia NDG7475)
- super-x-drive-sxd-buck constant-current laser driver with over-temperature protection
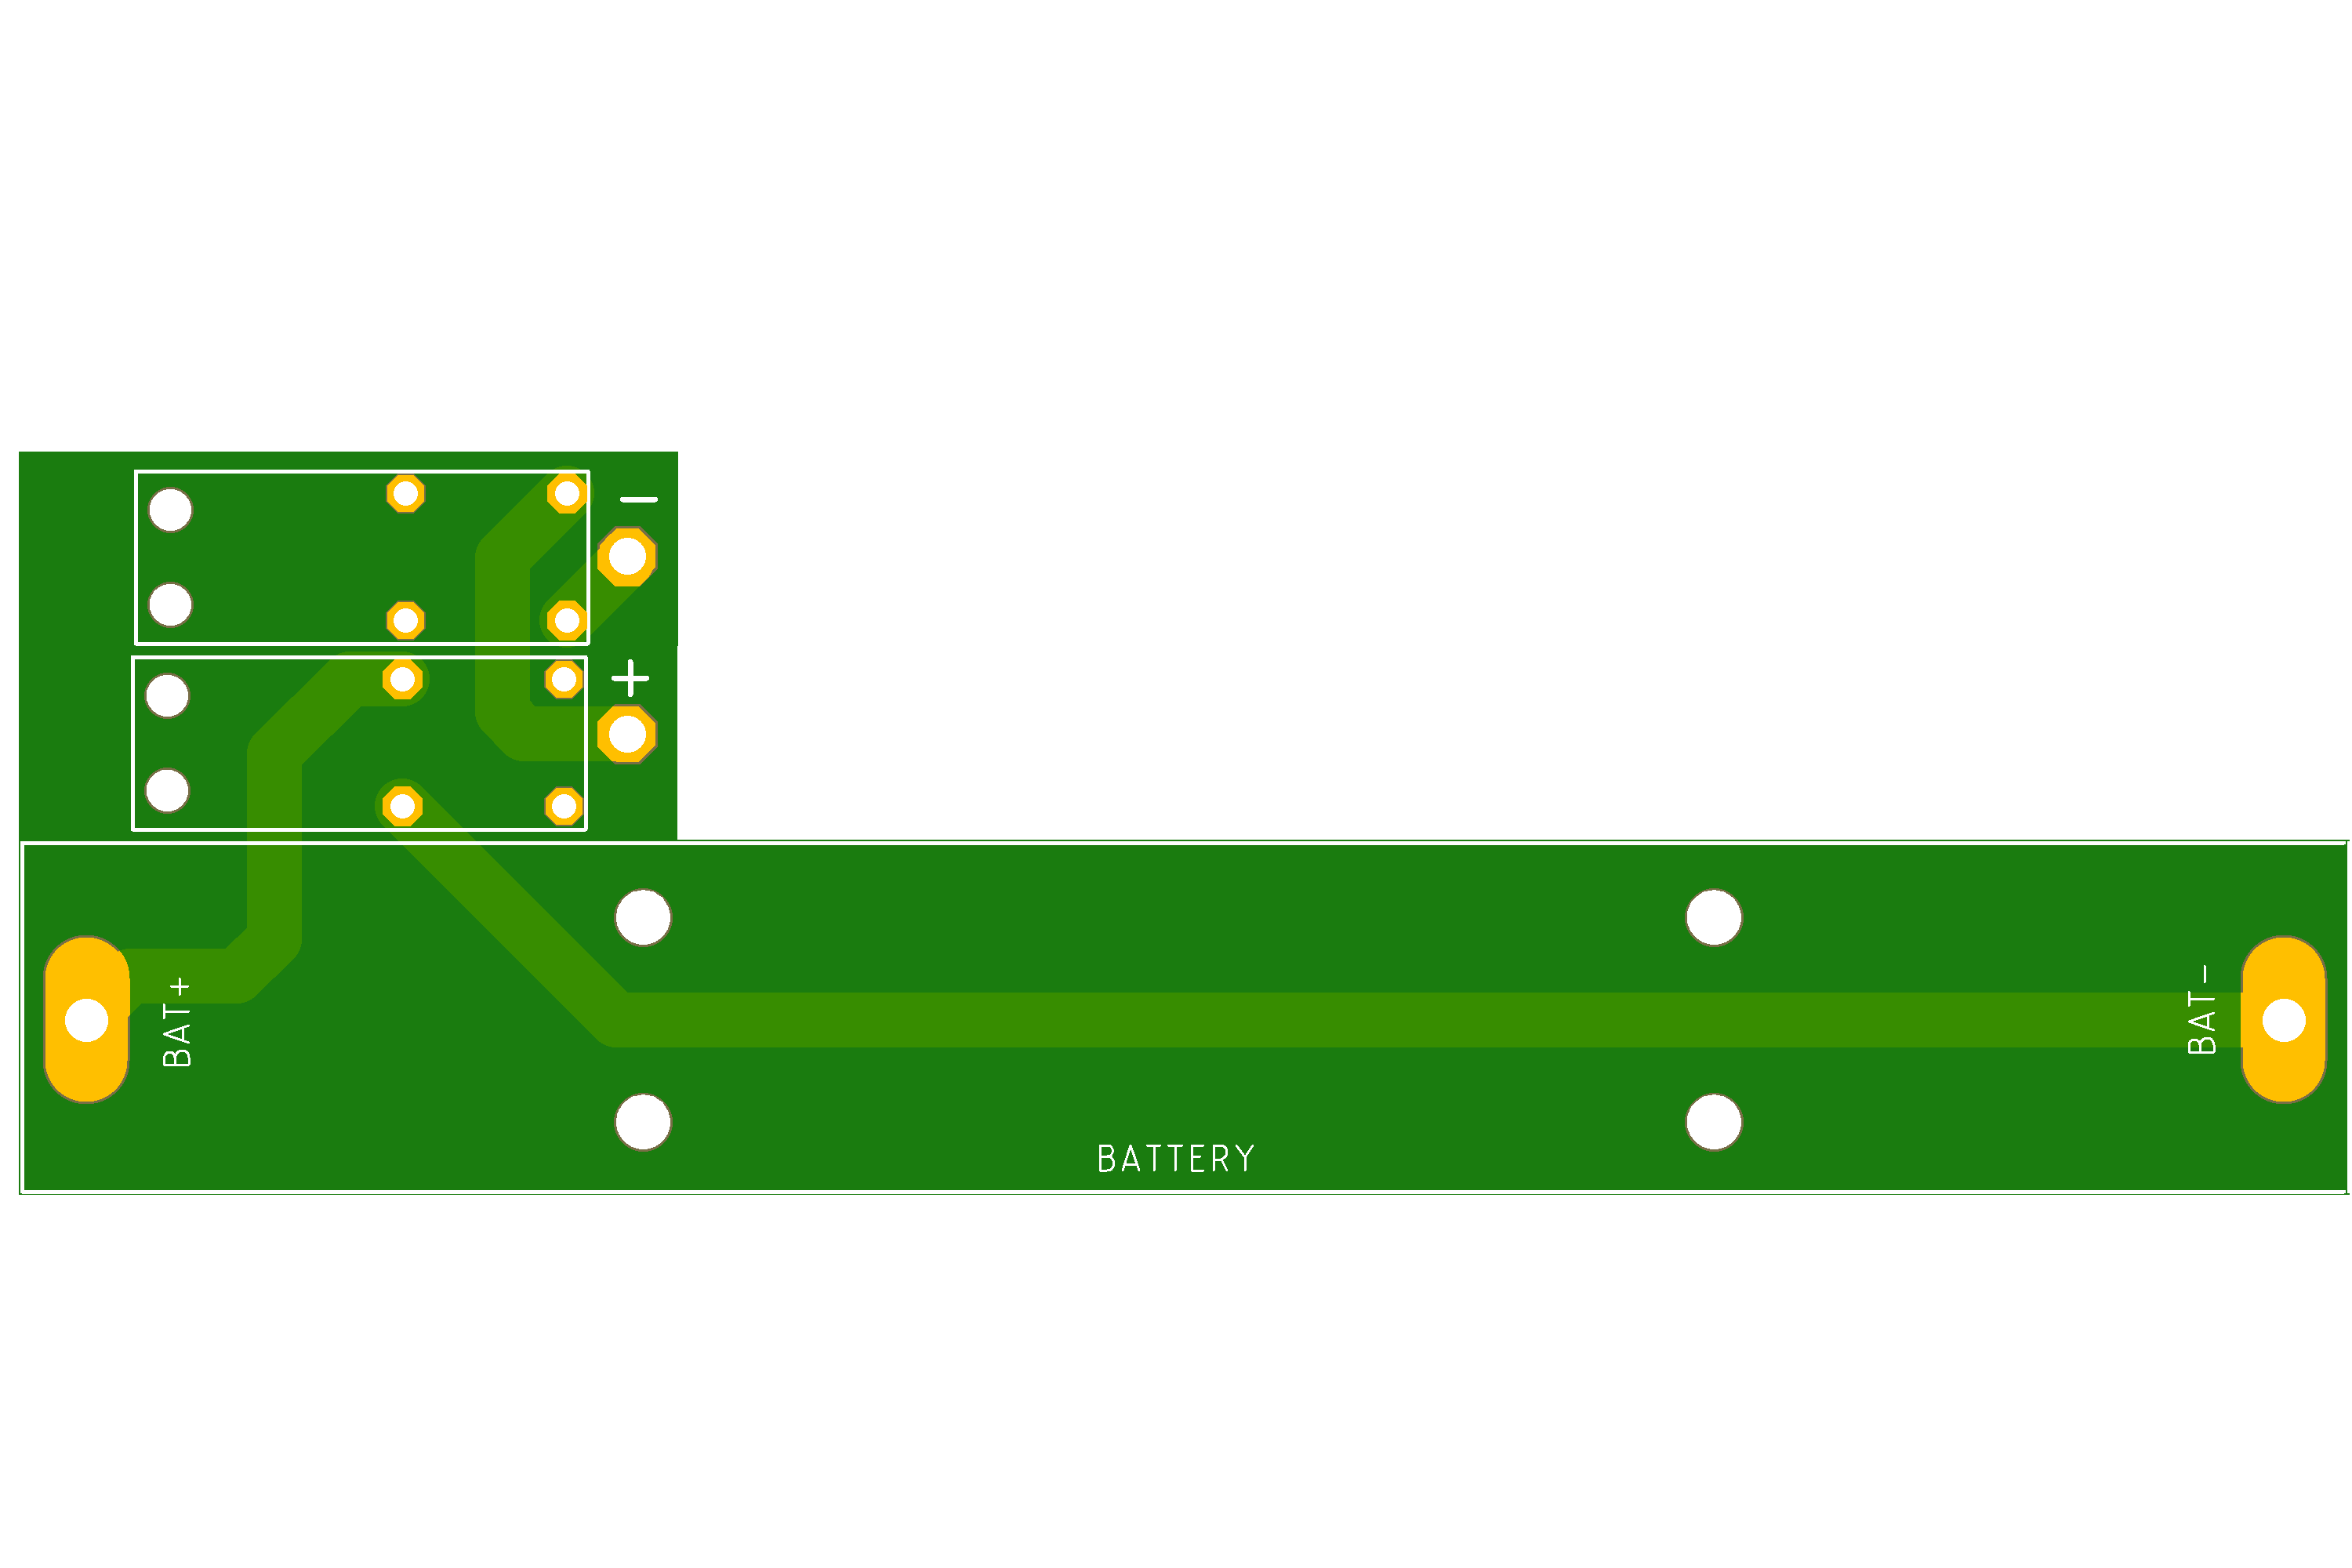
- rechargeable power input
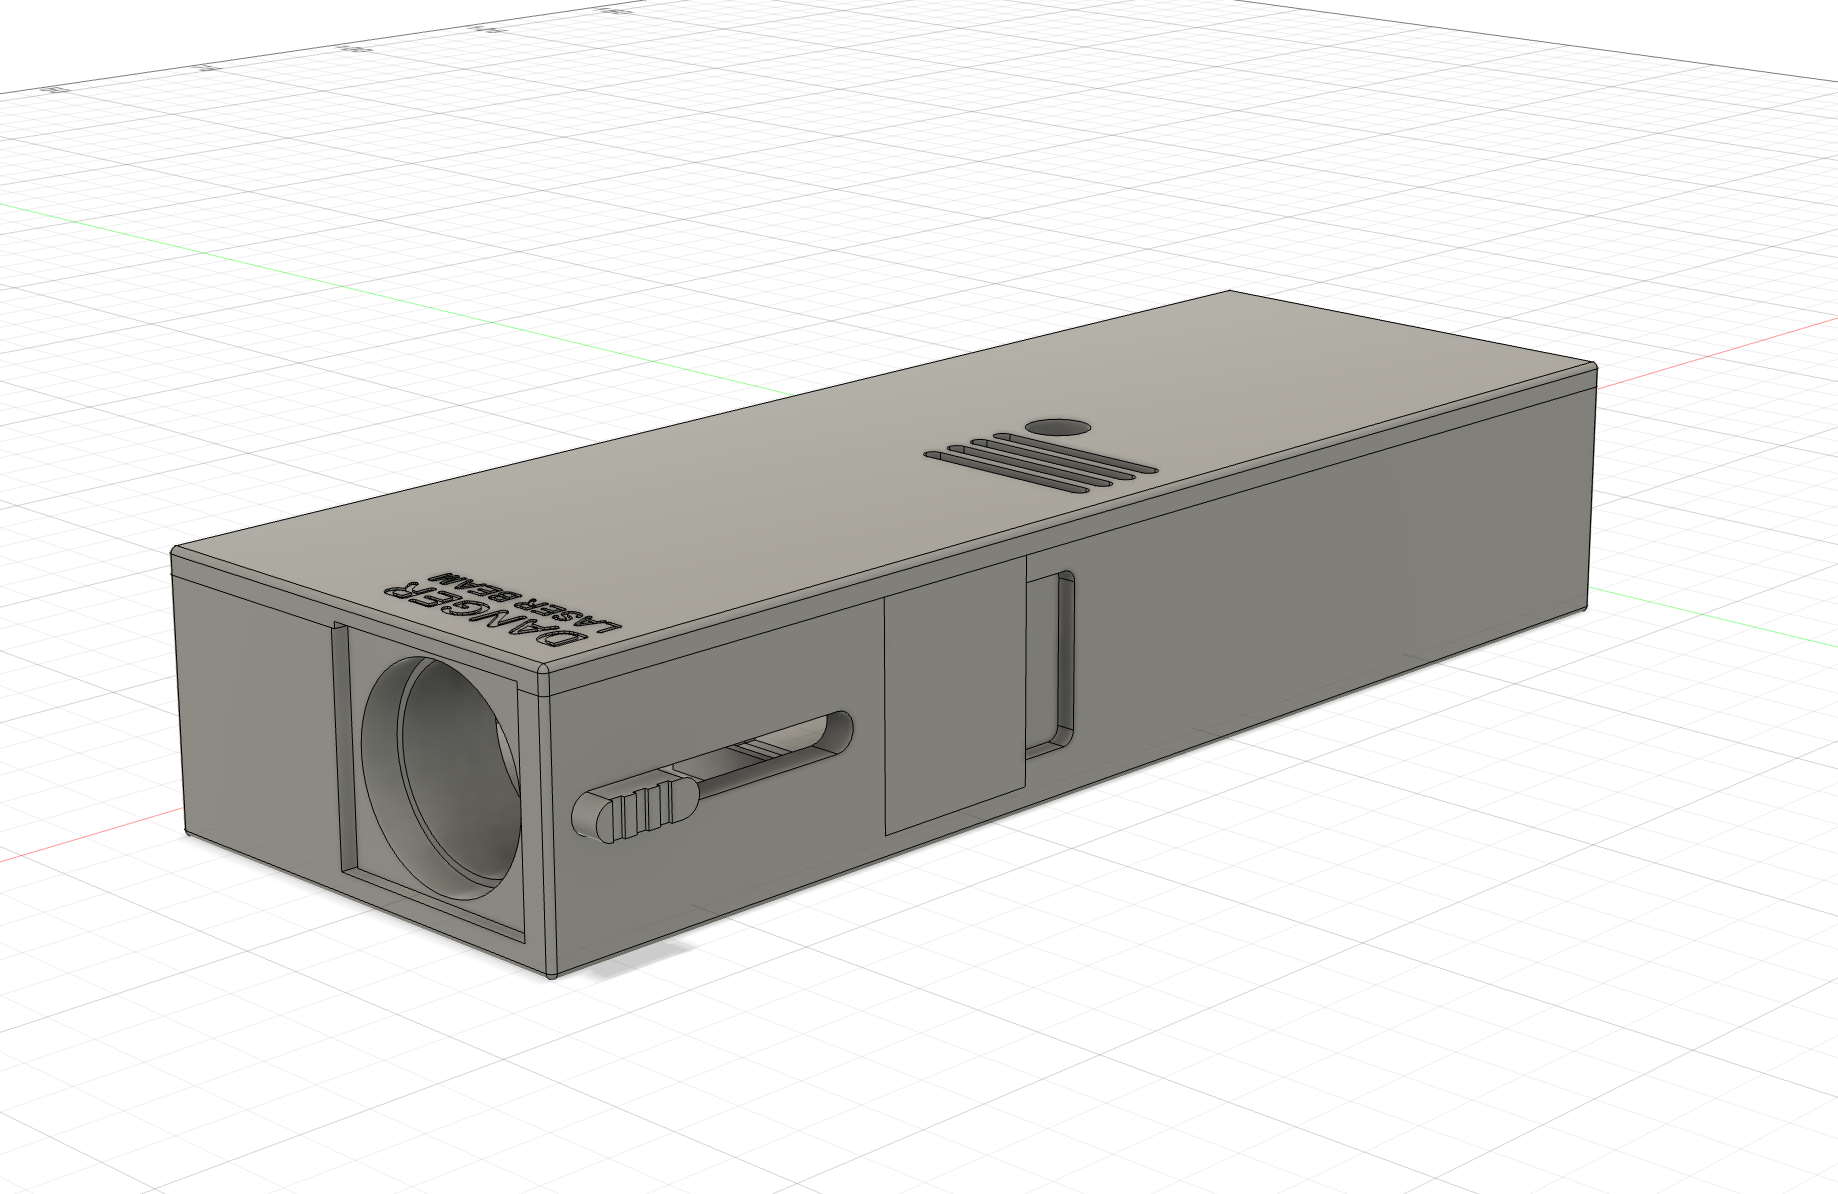
- CNC aluminium case, anodized + sanded, integrated heatsink
- Glass focus lens (+ IR filter optional)
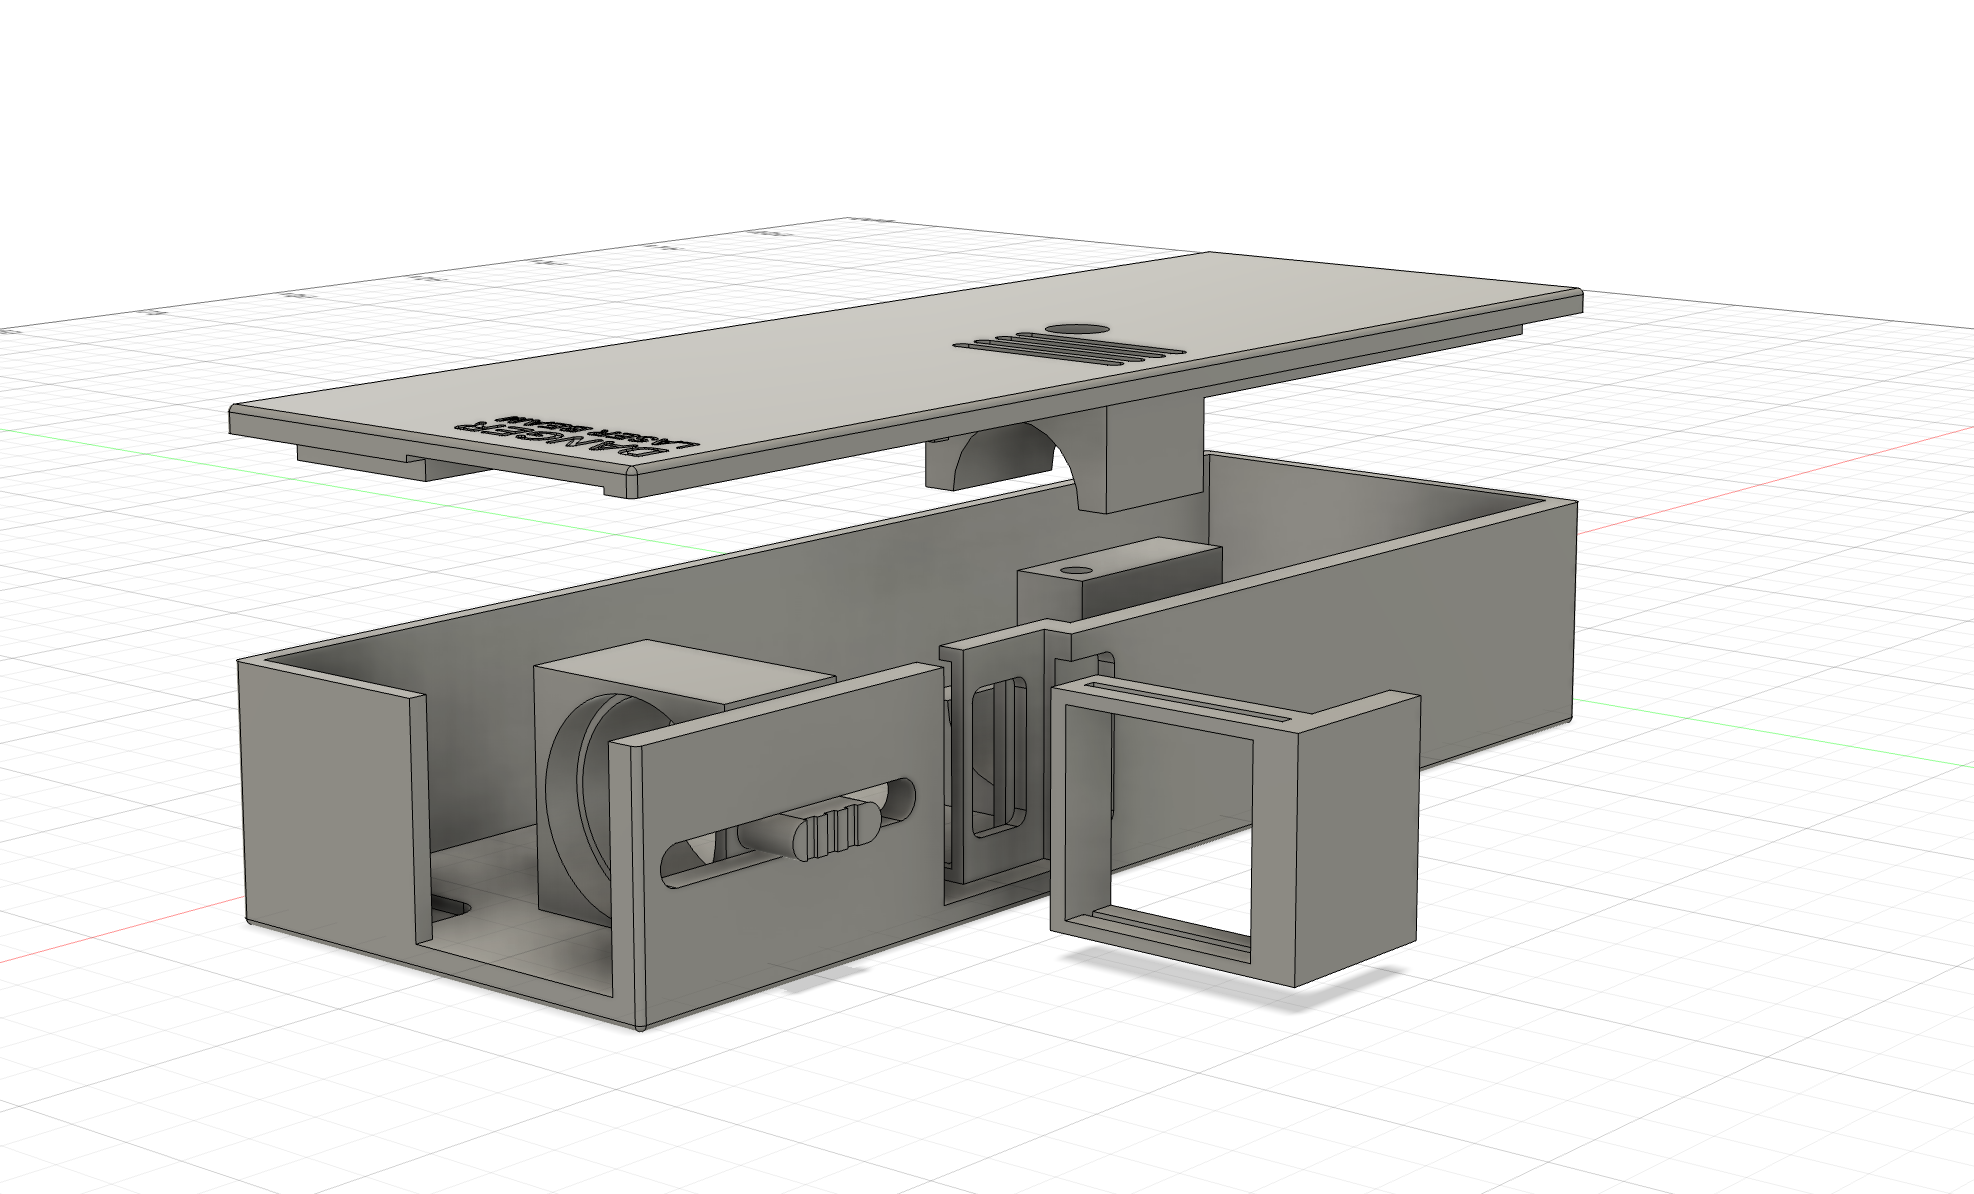
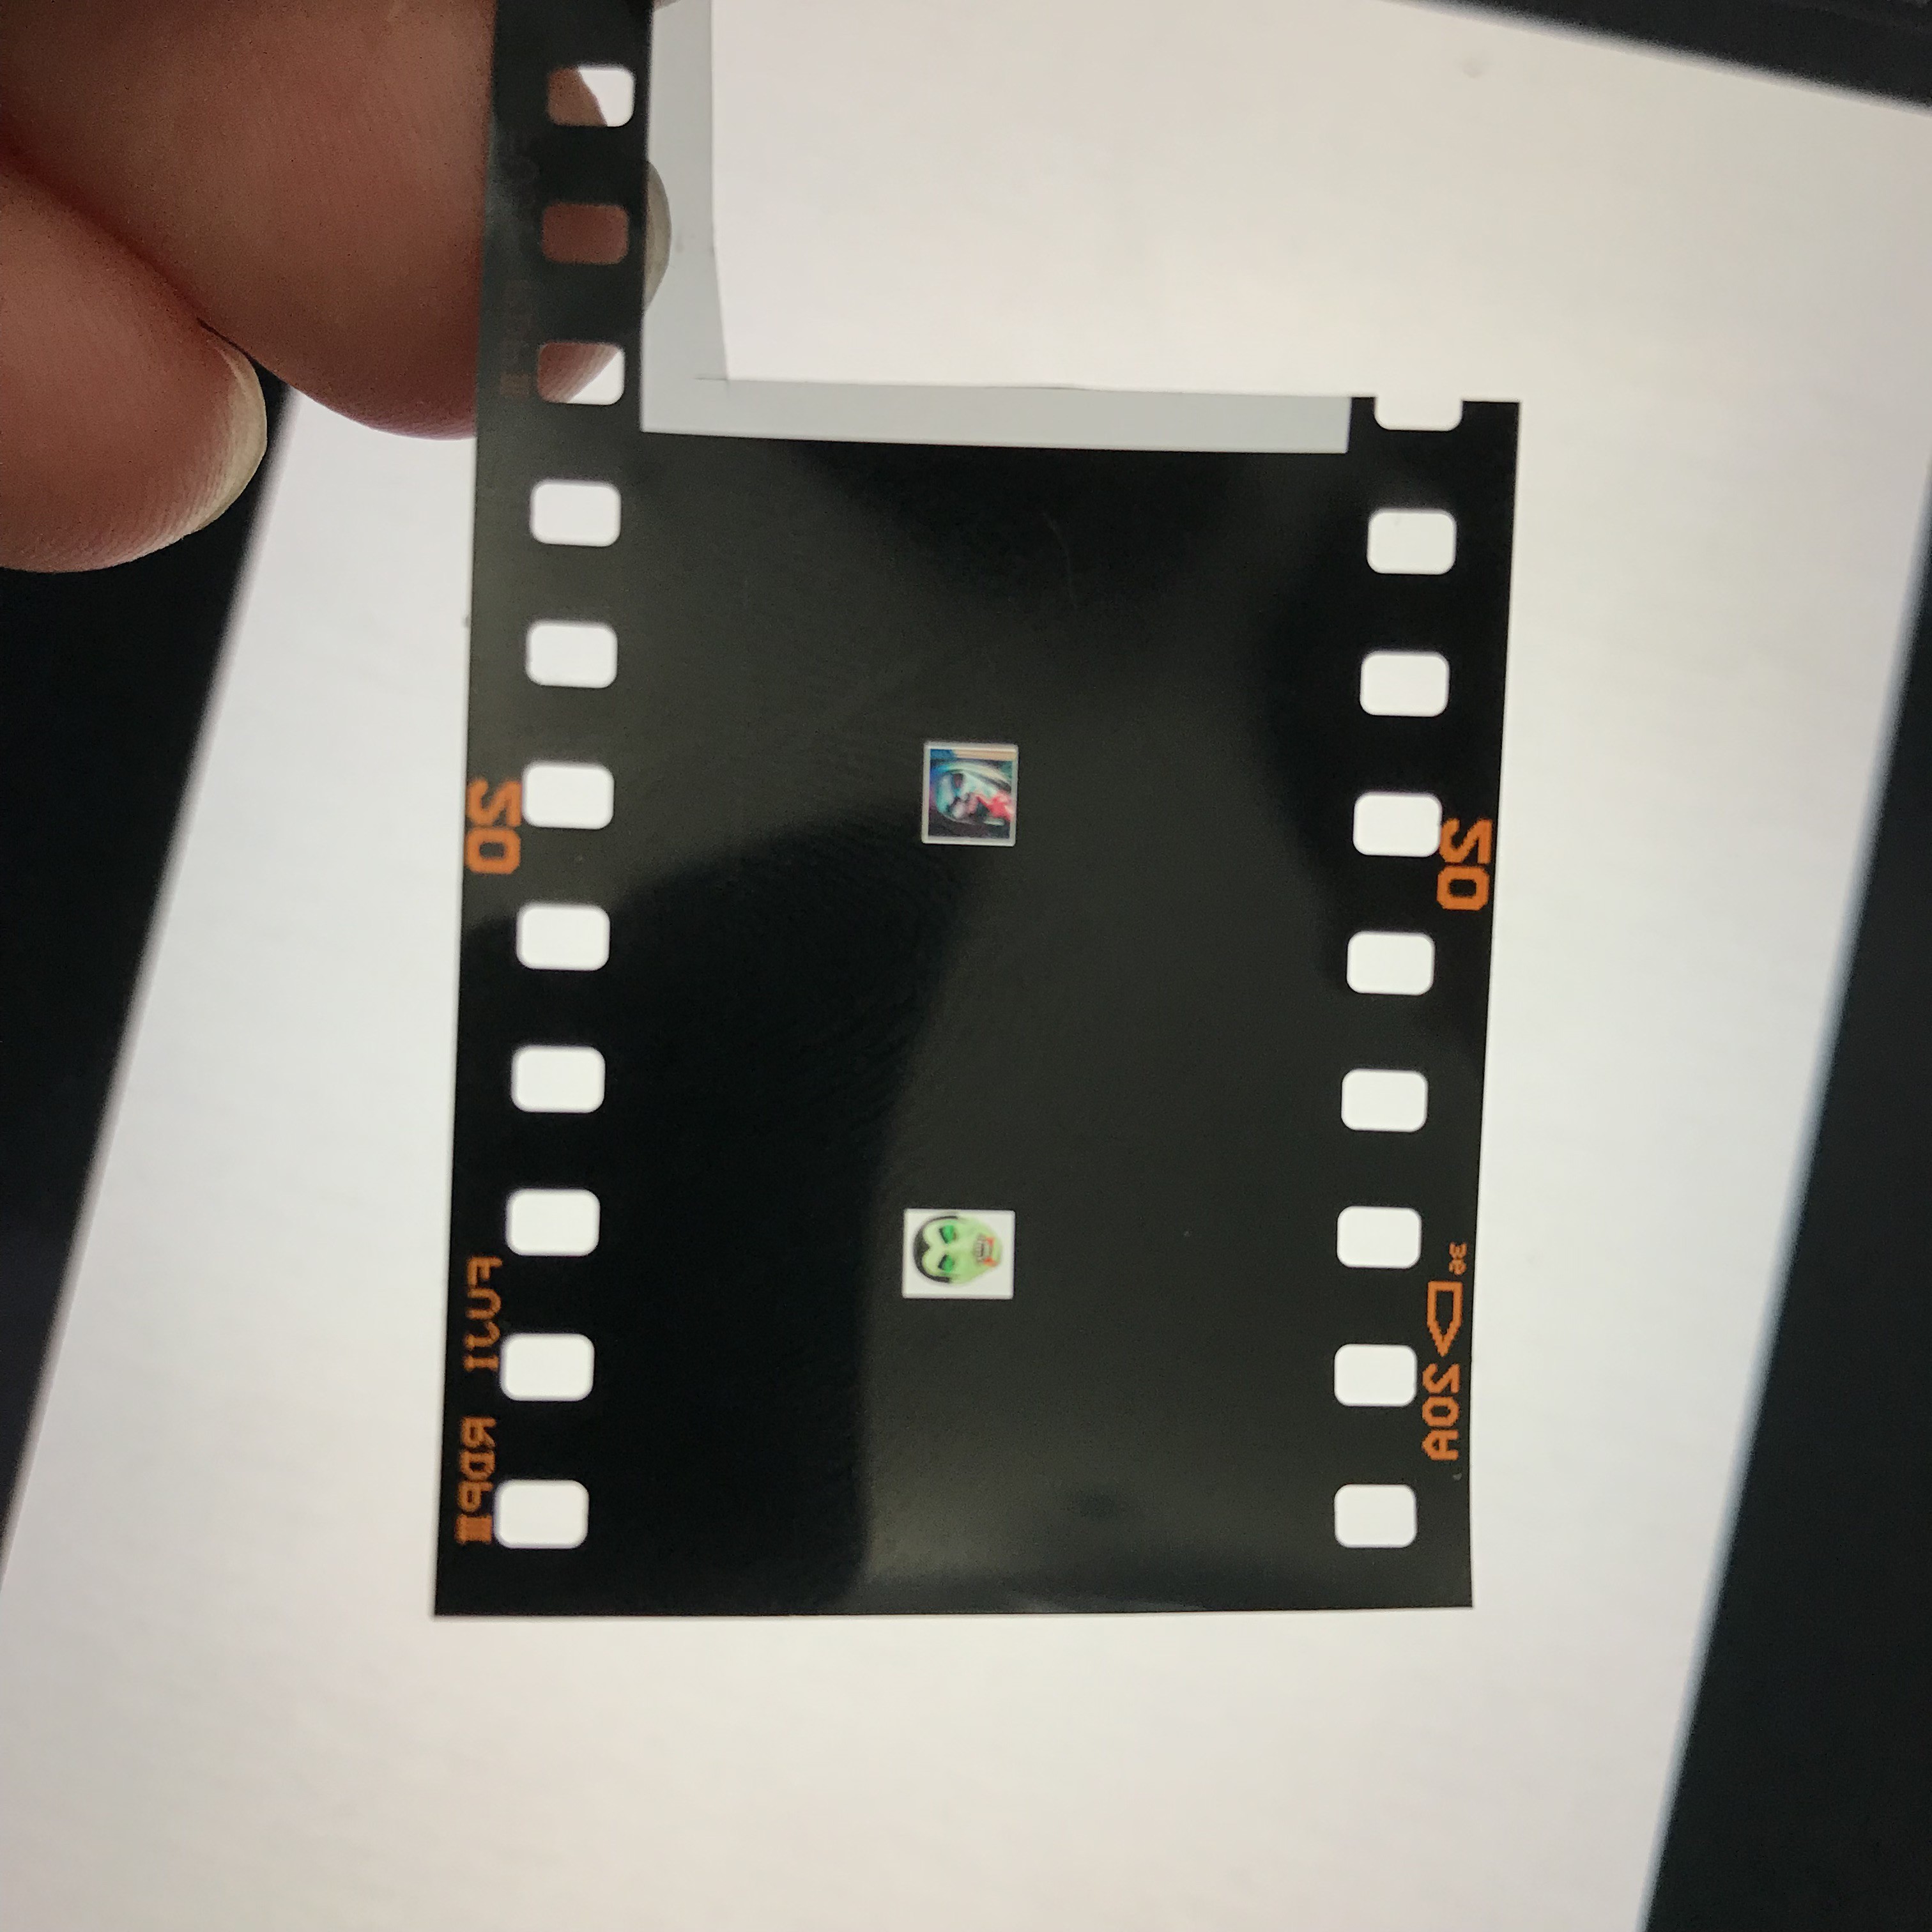
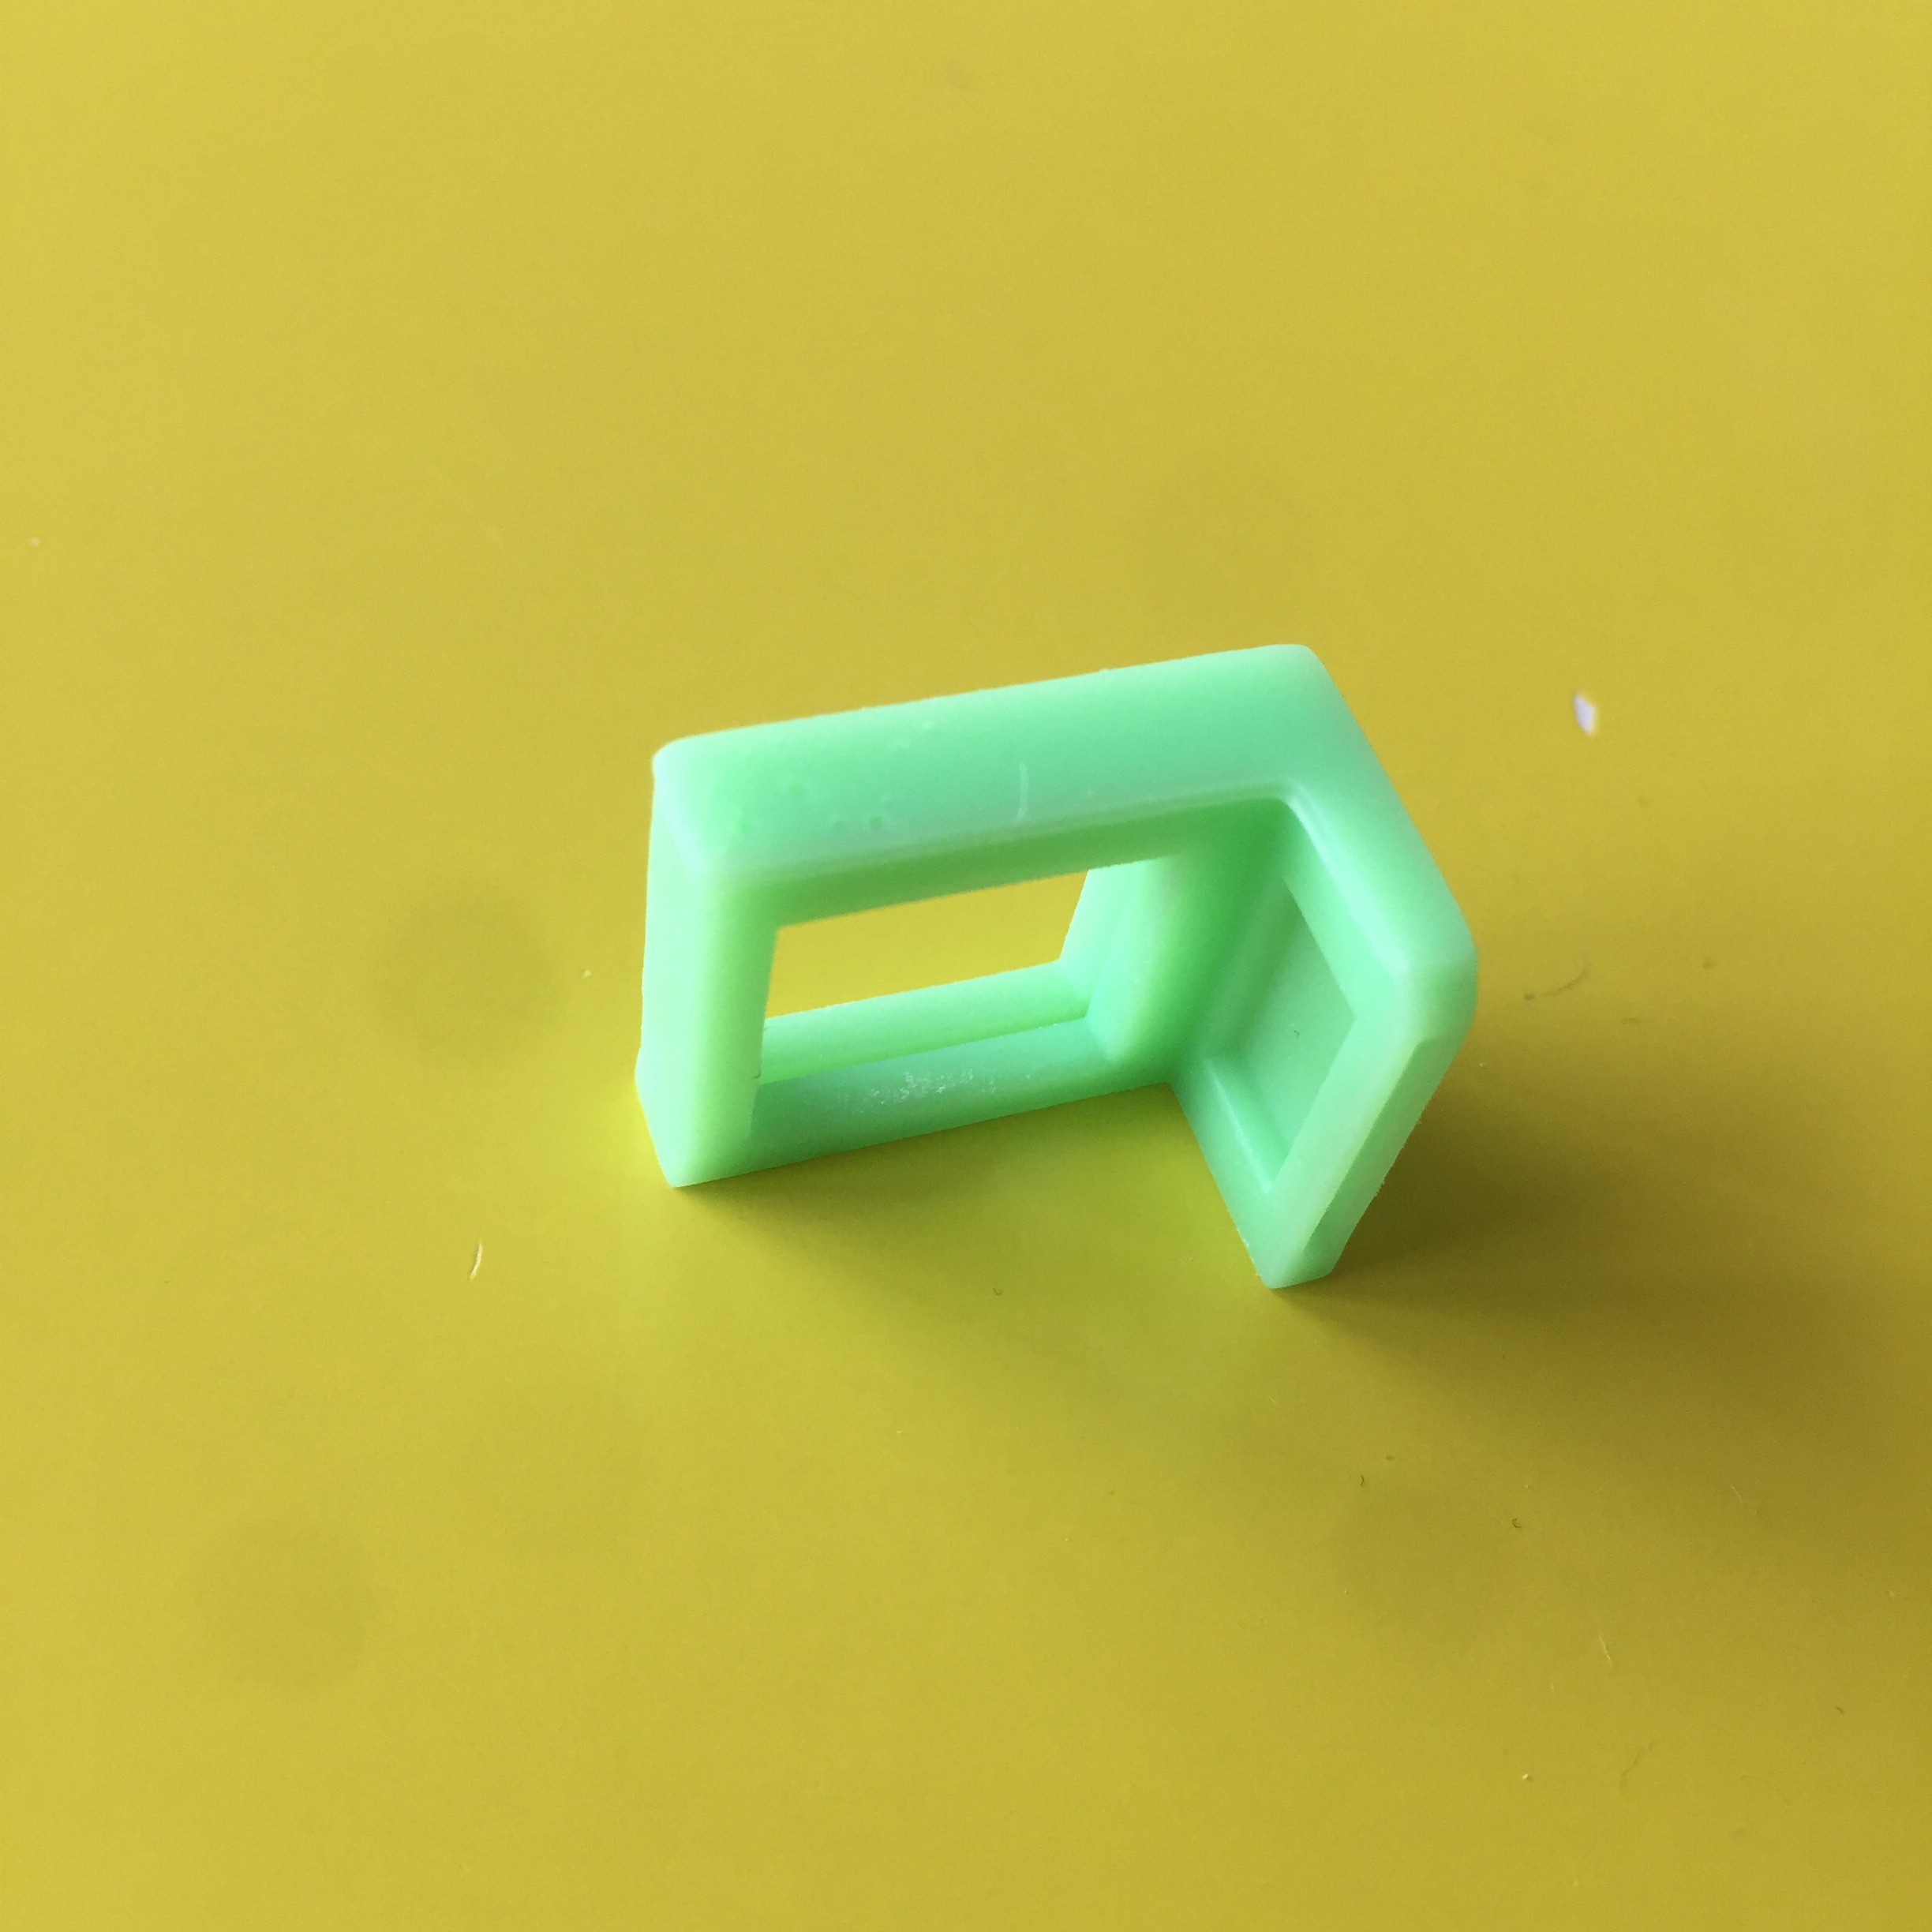
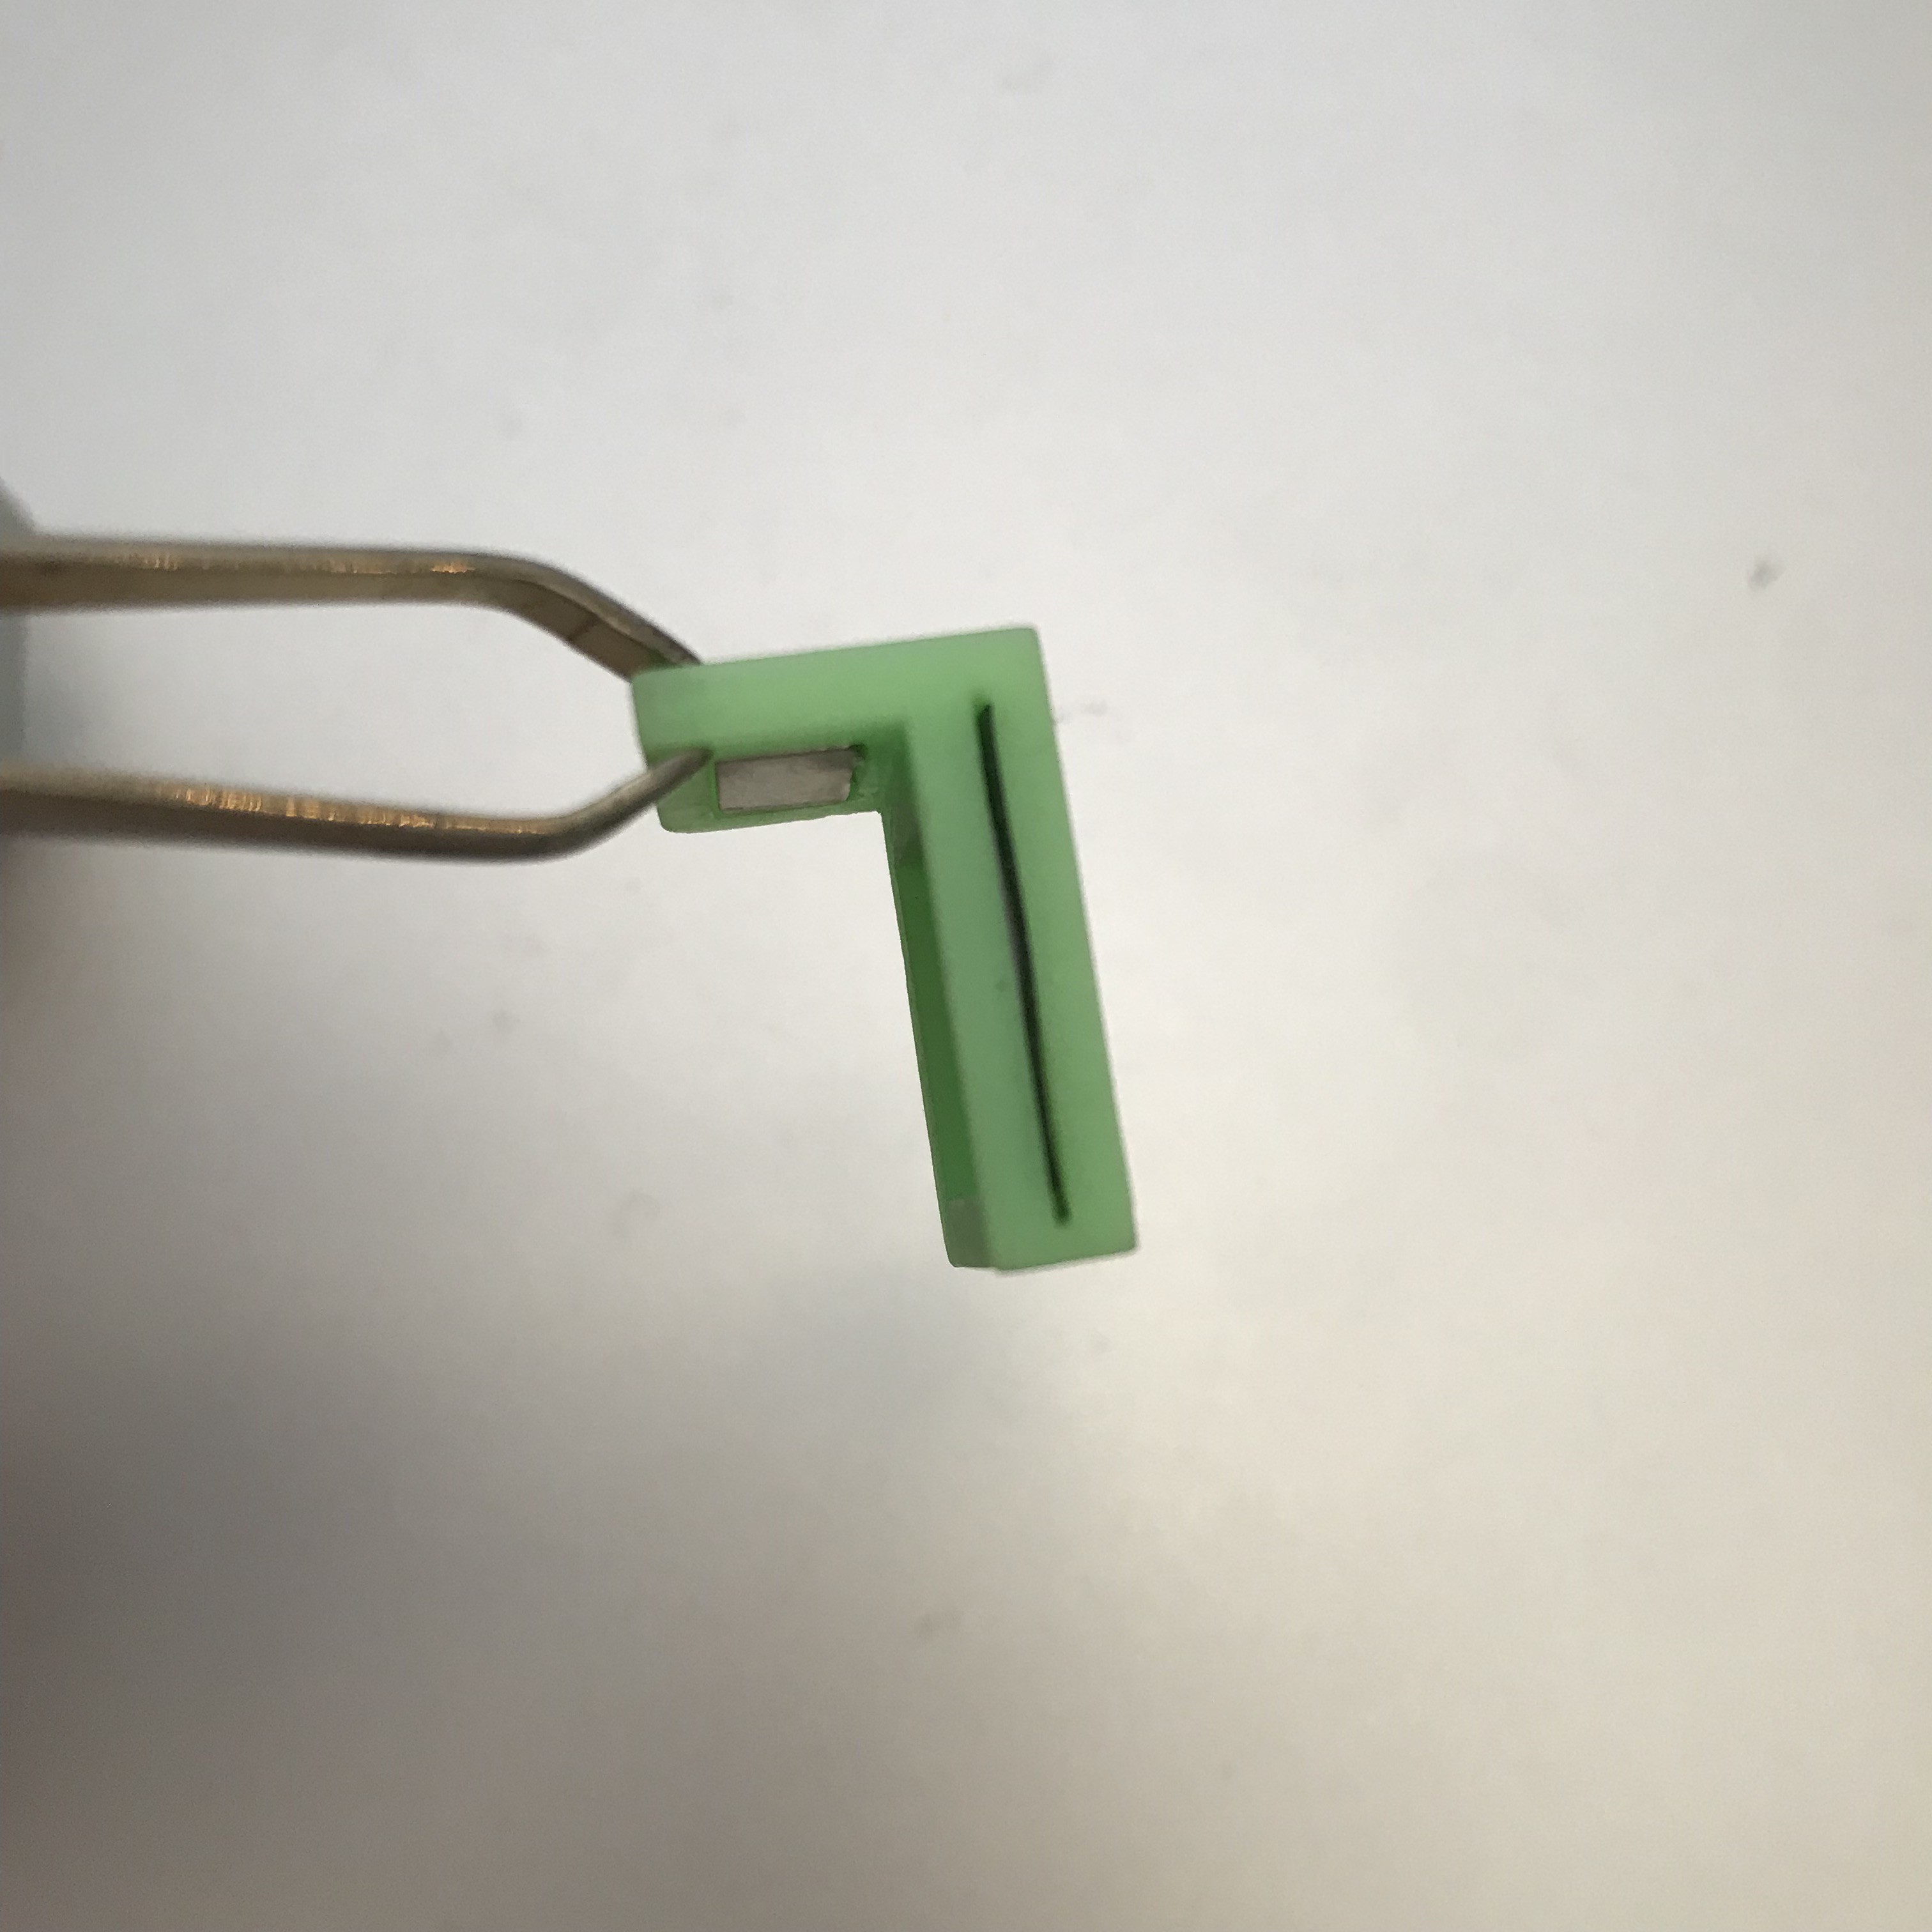
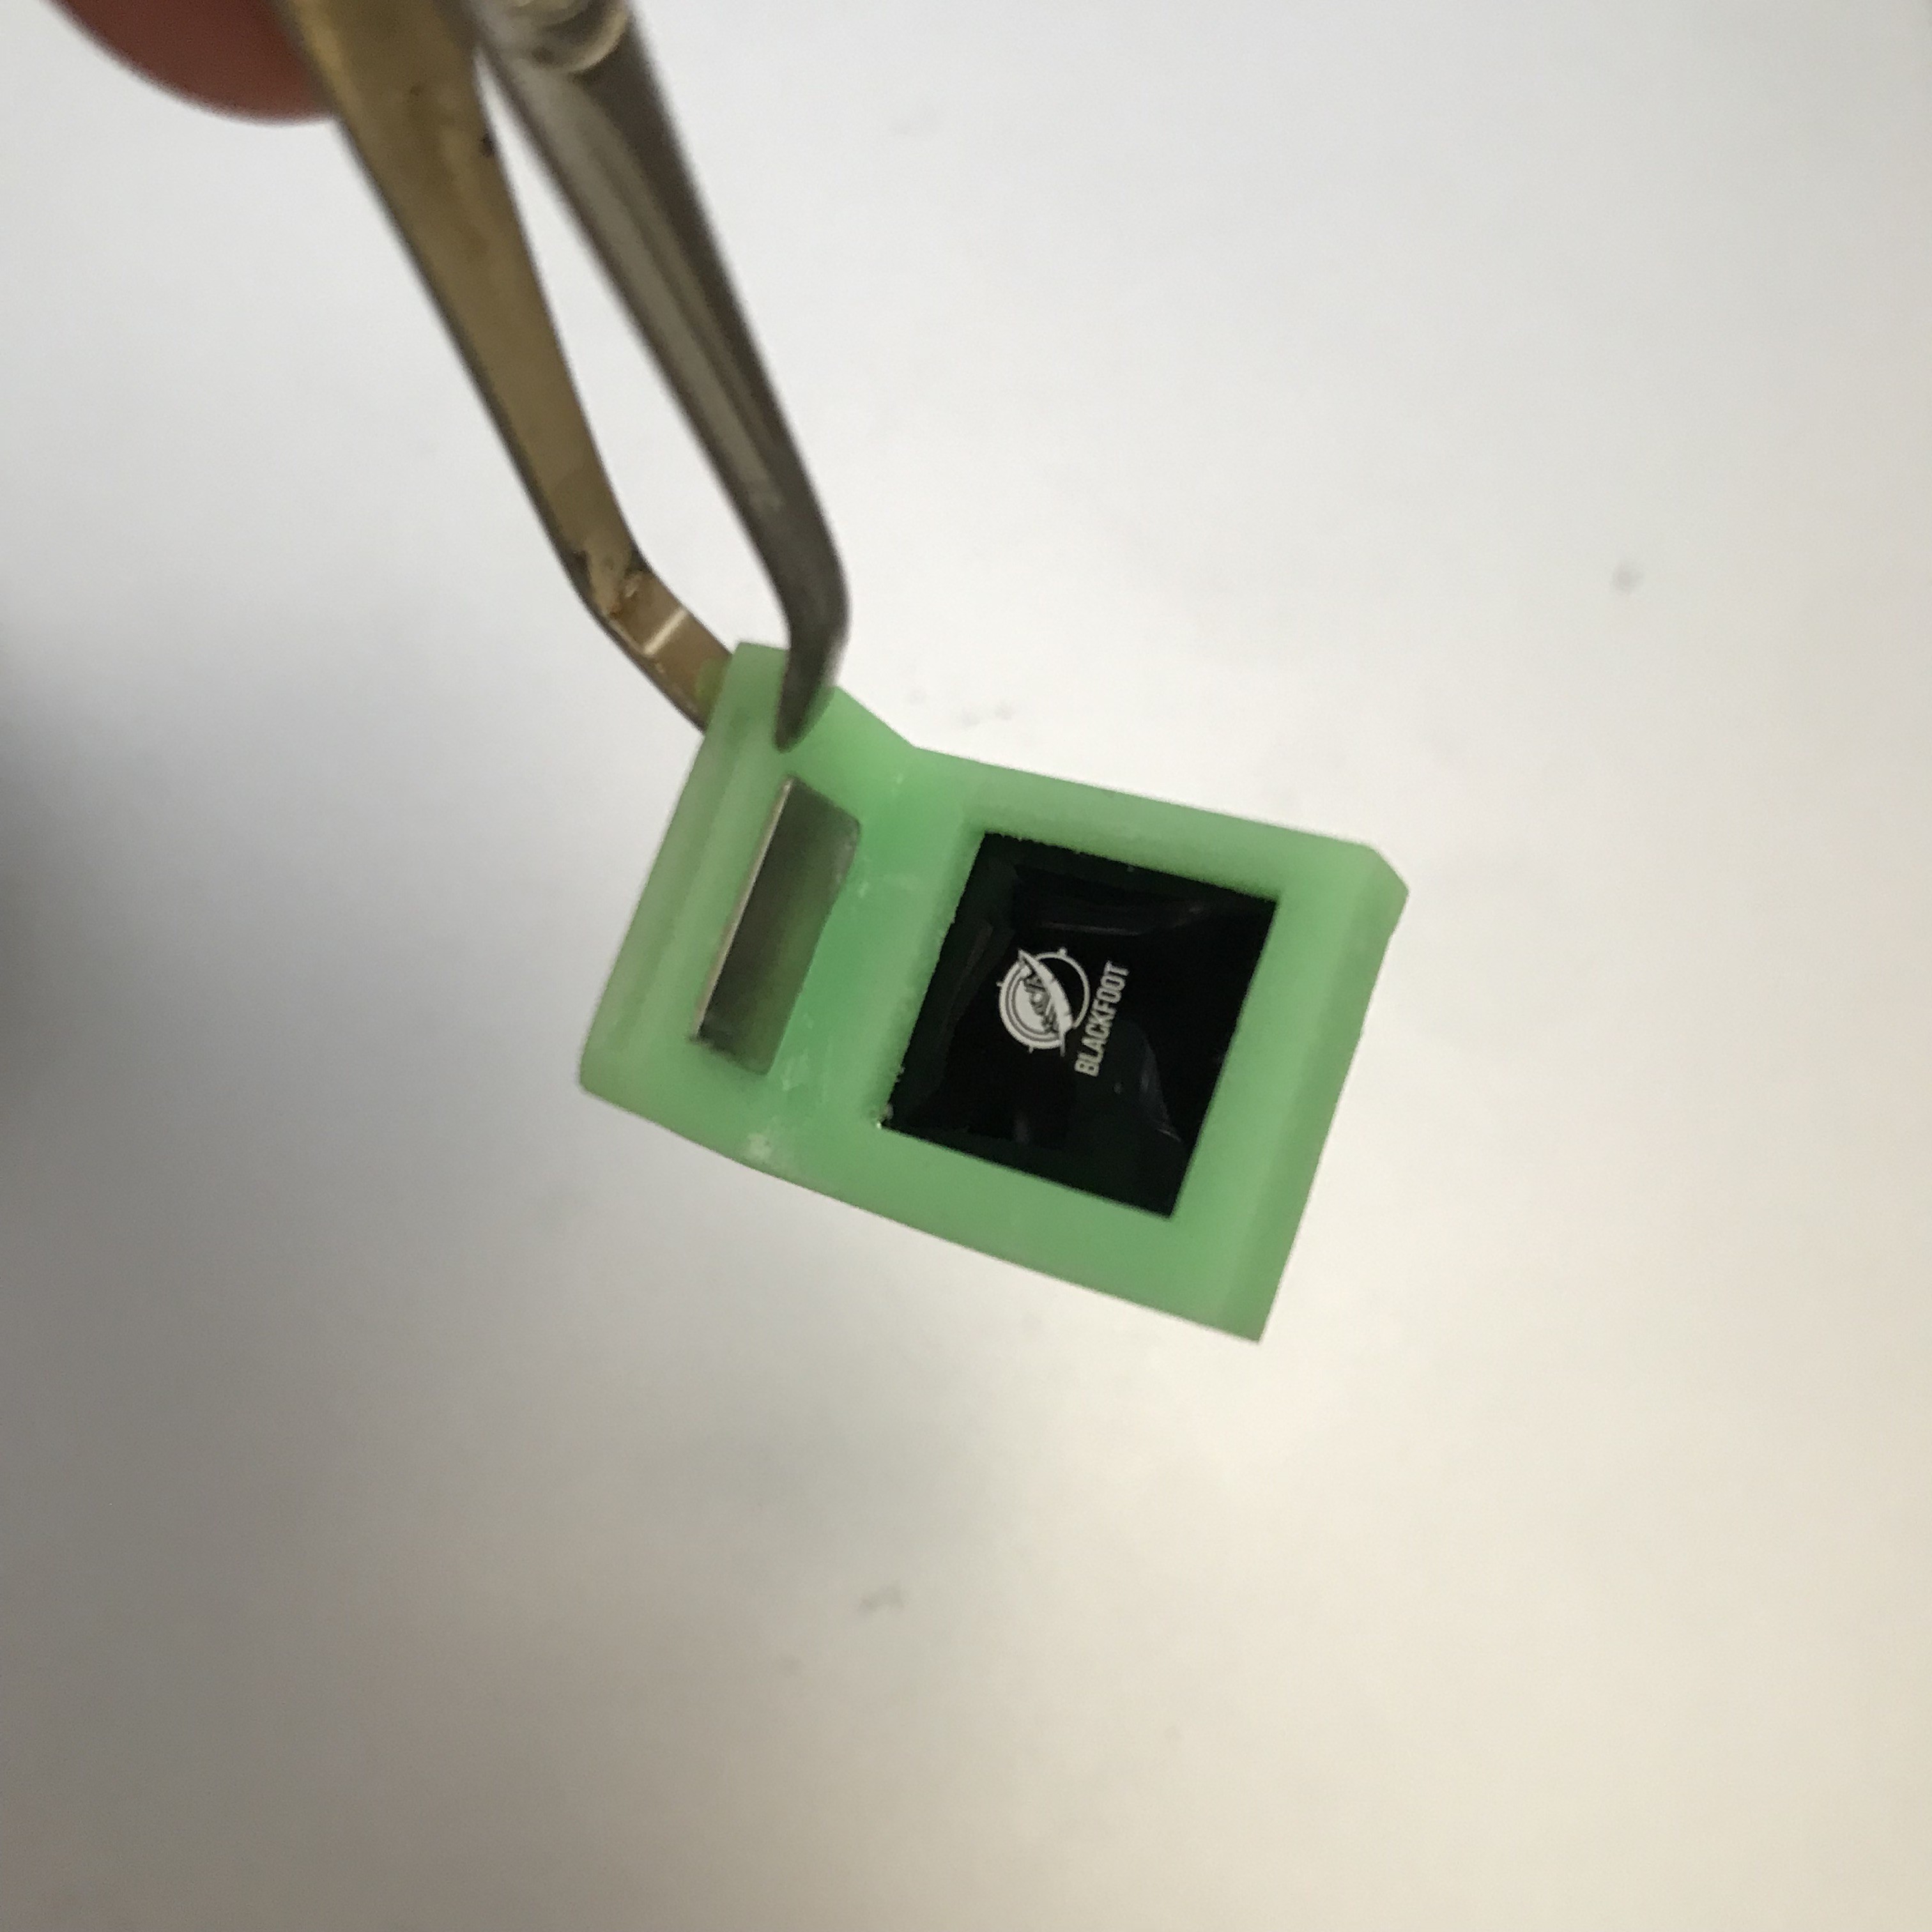
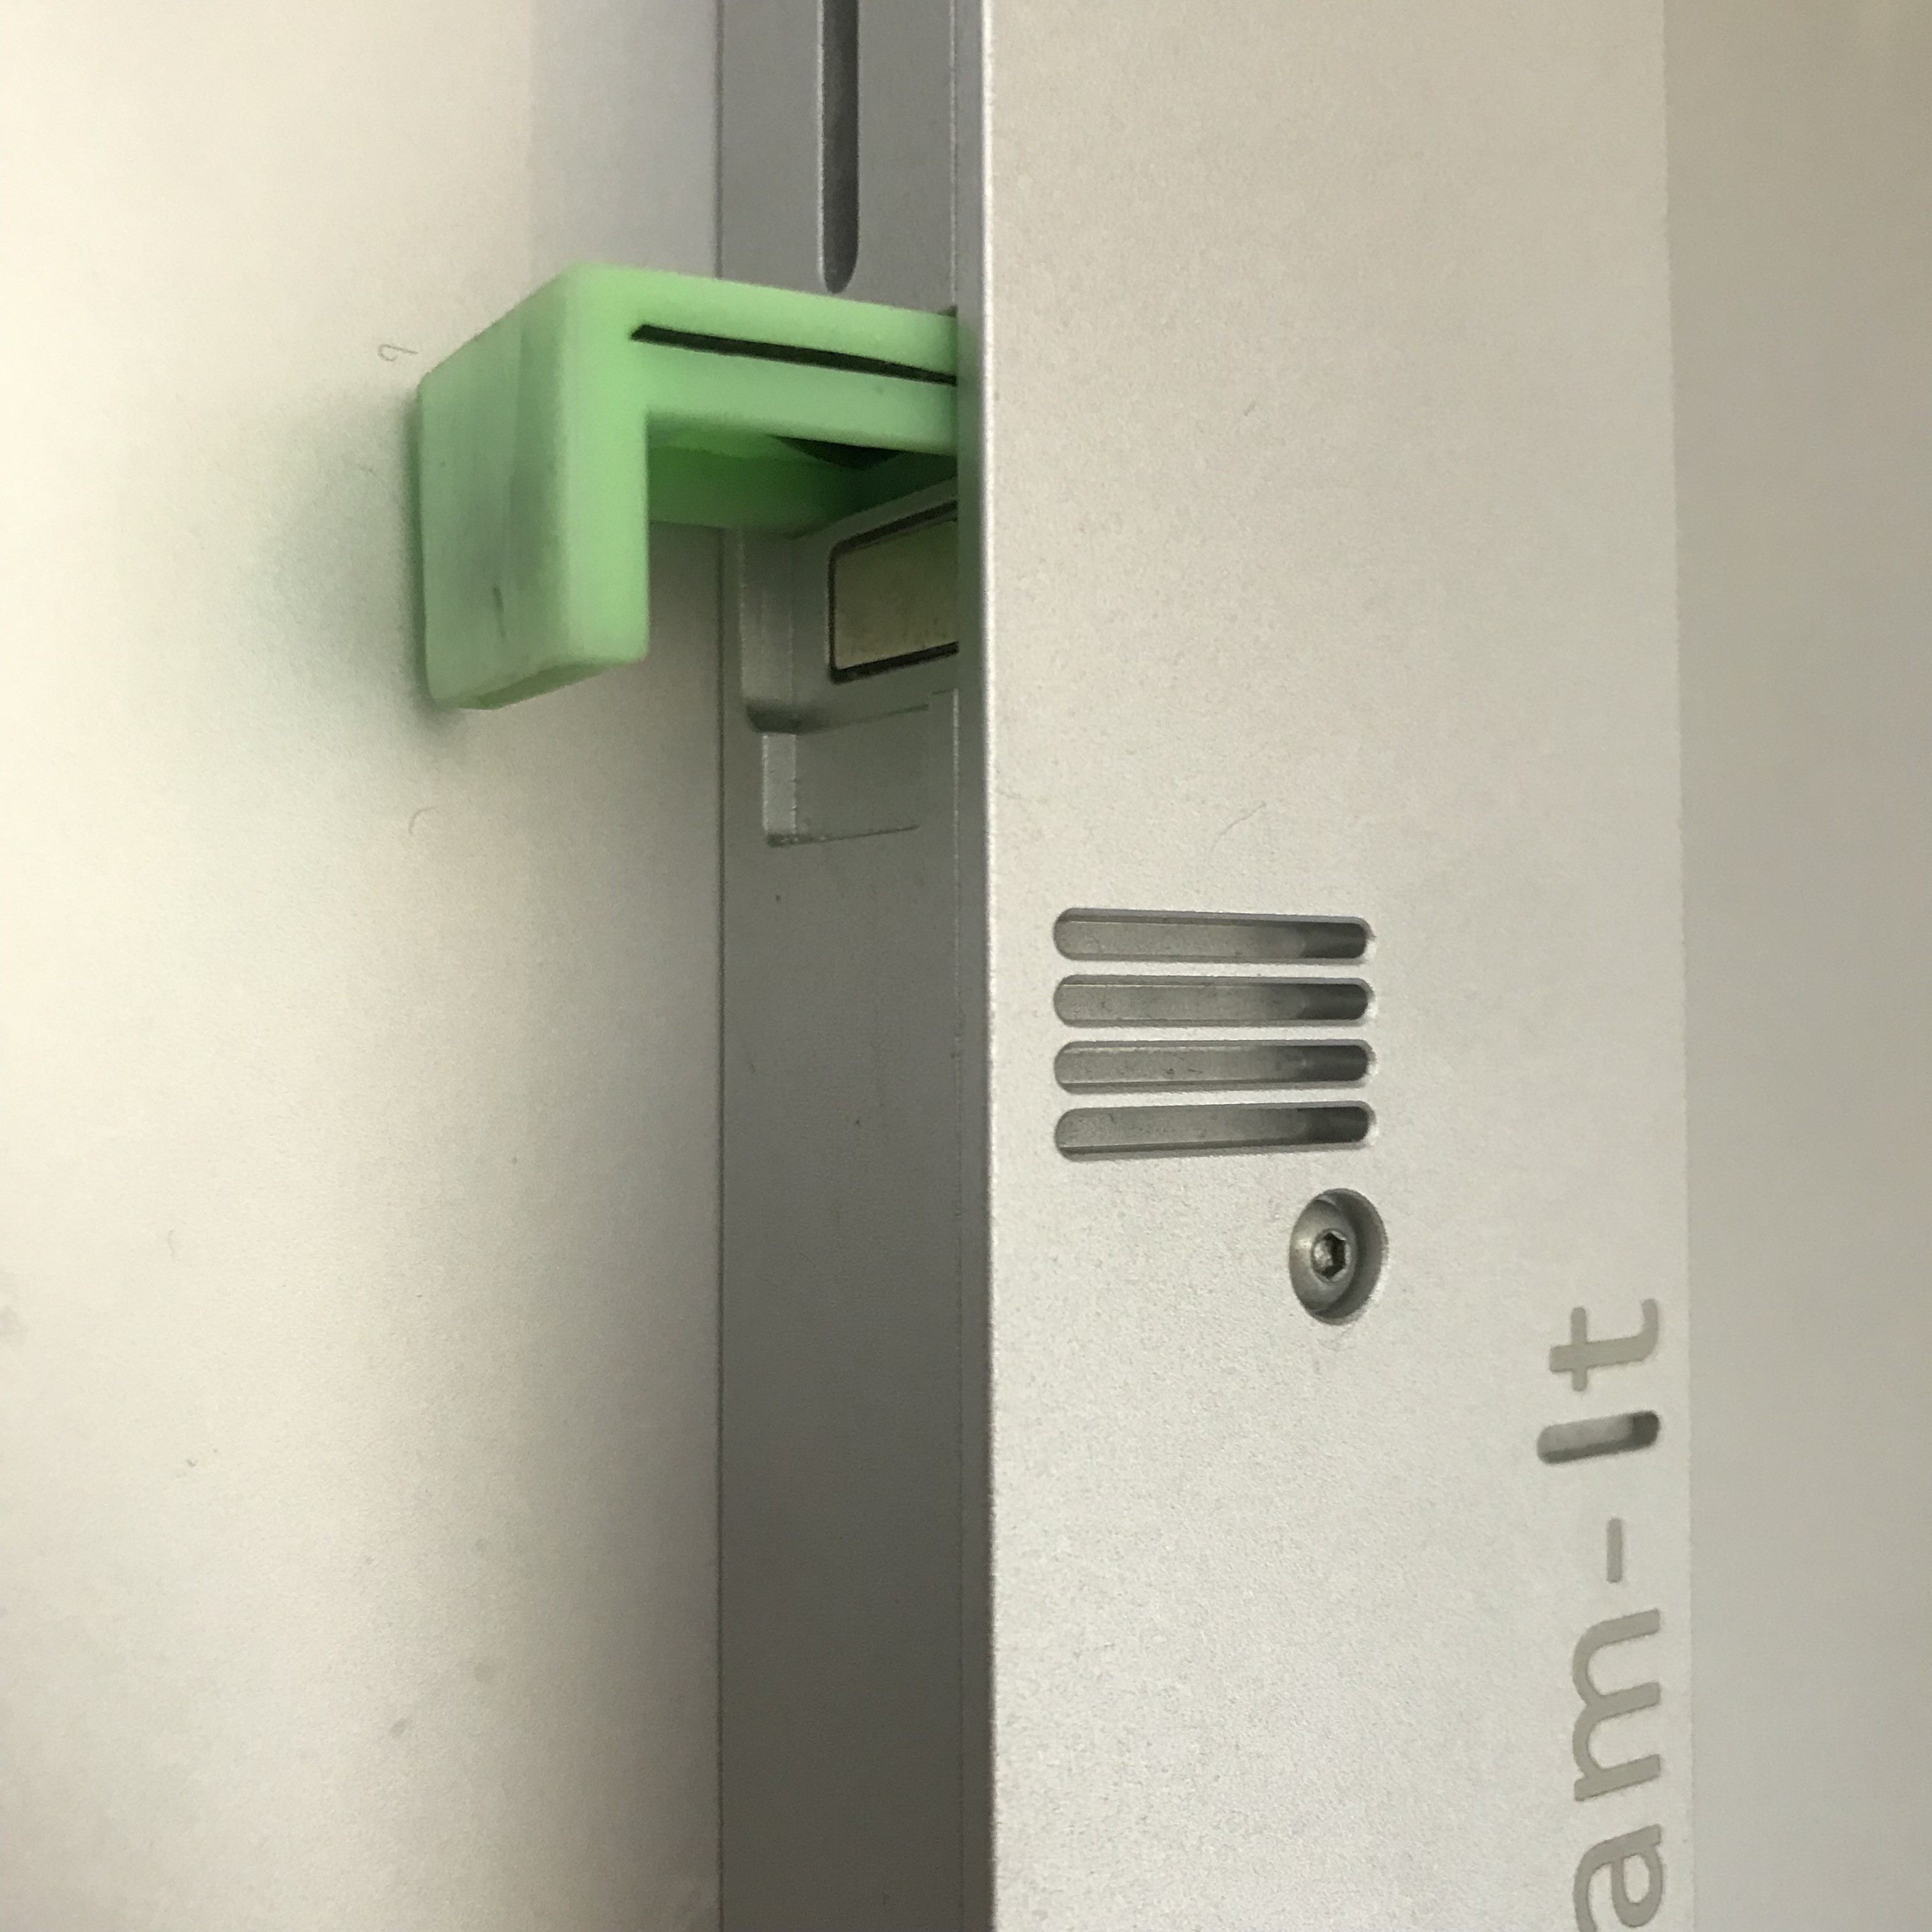
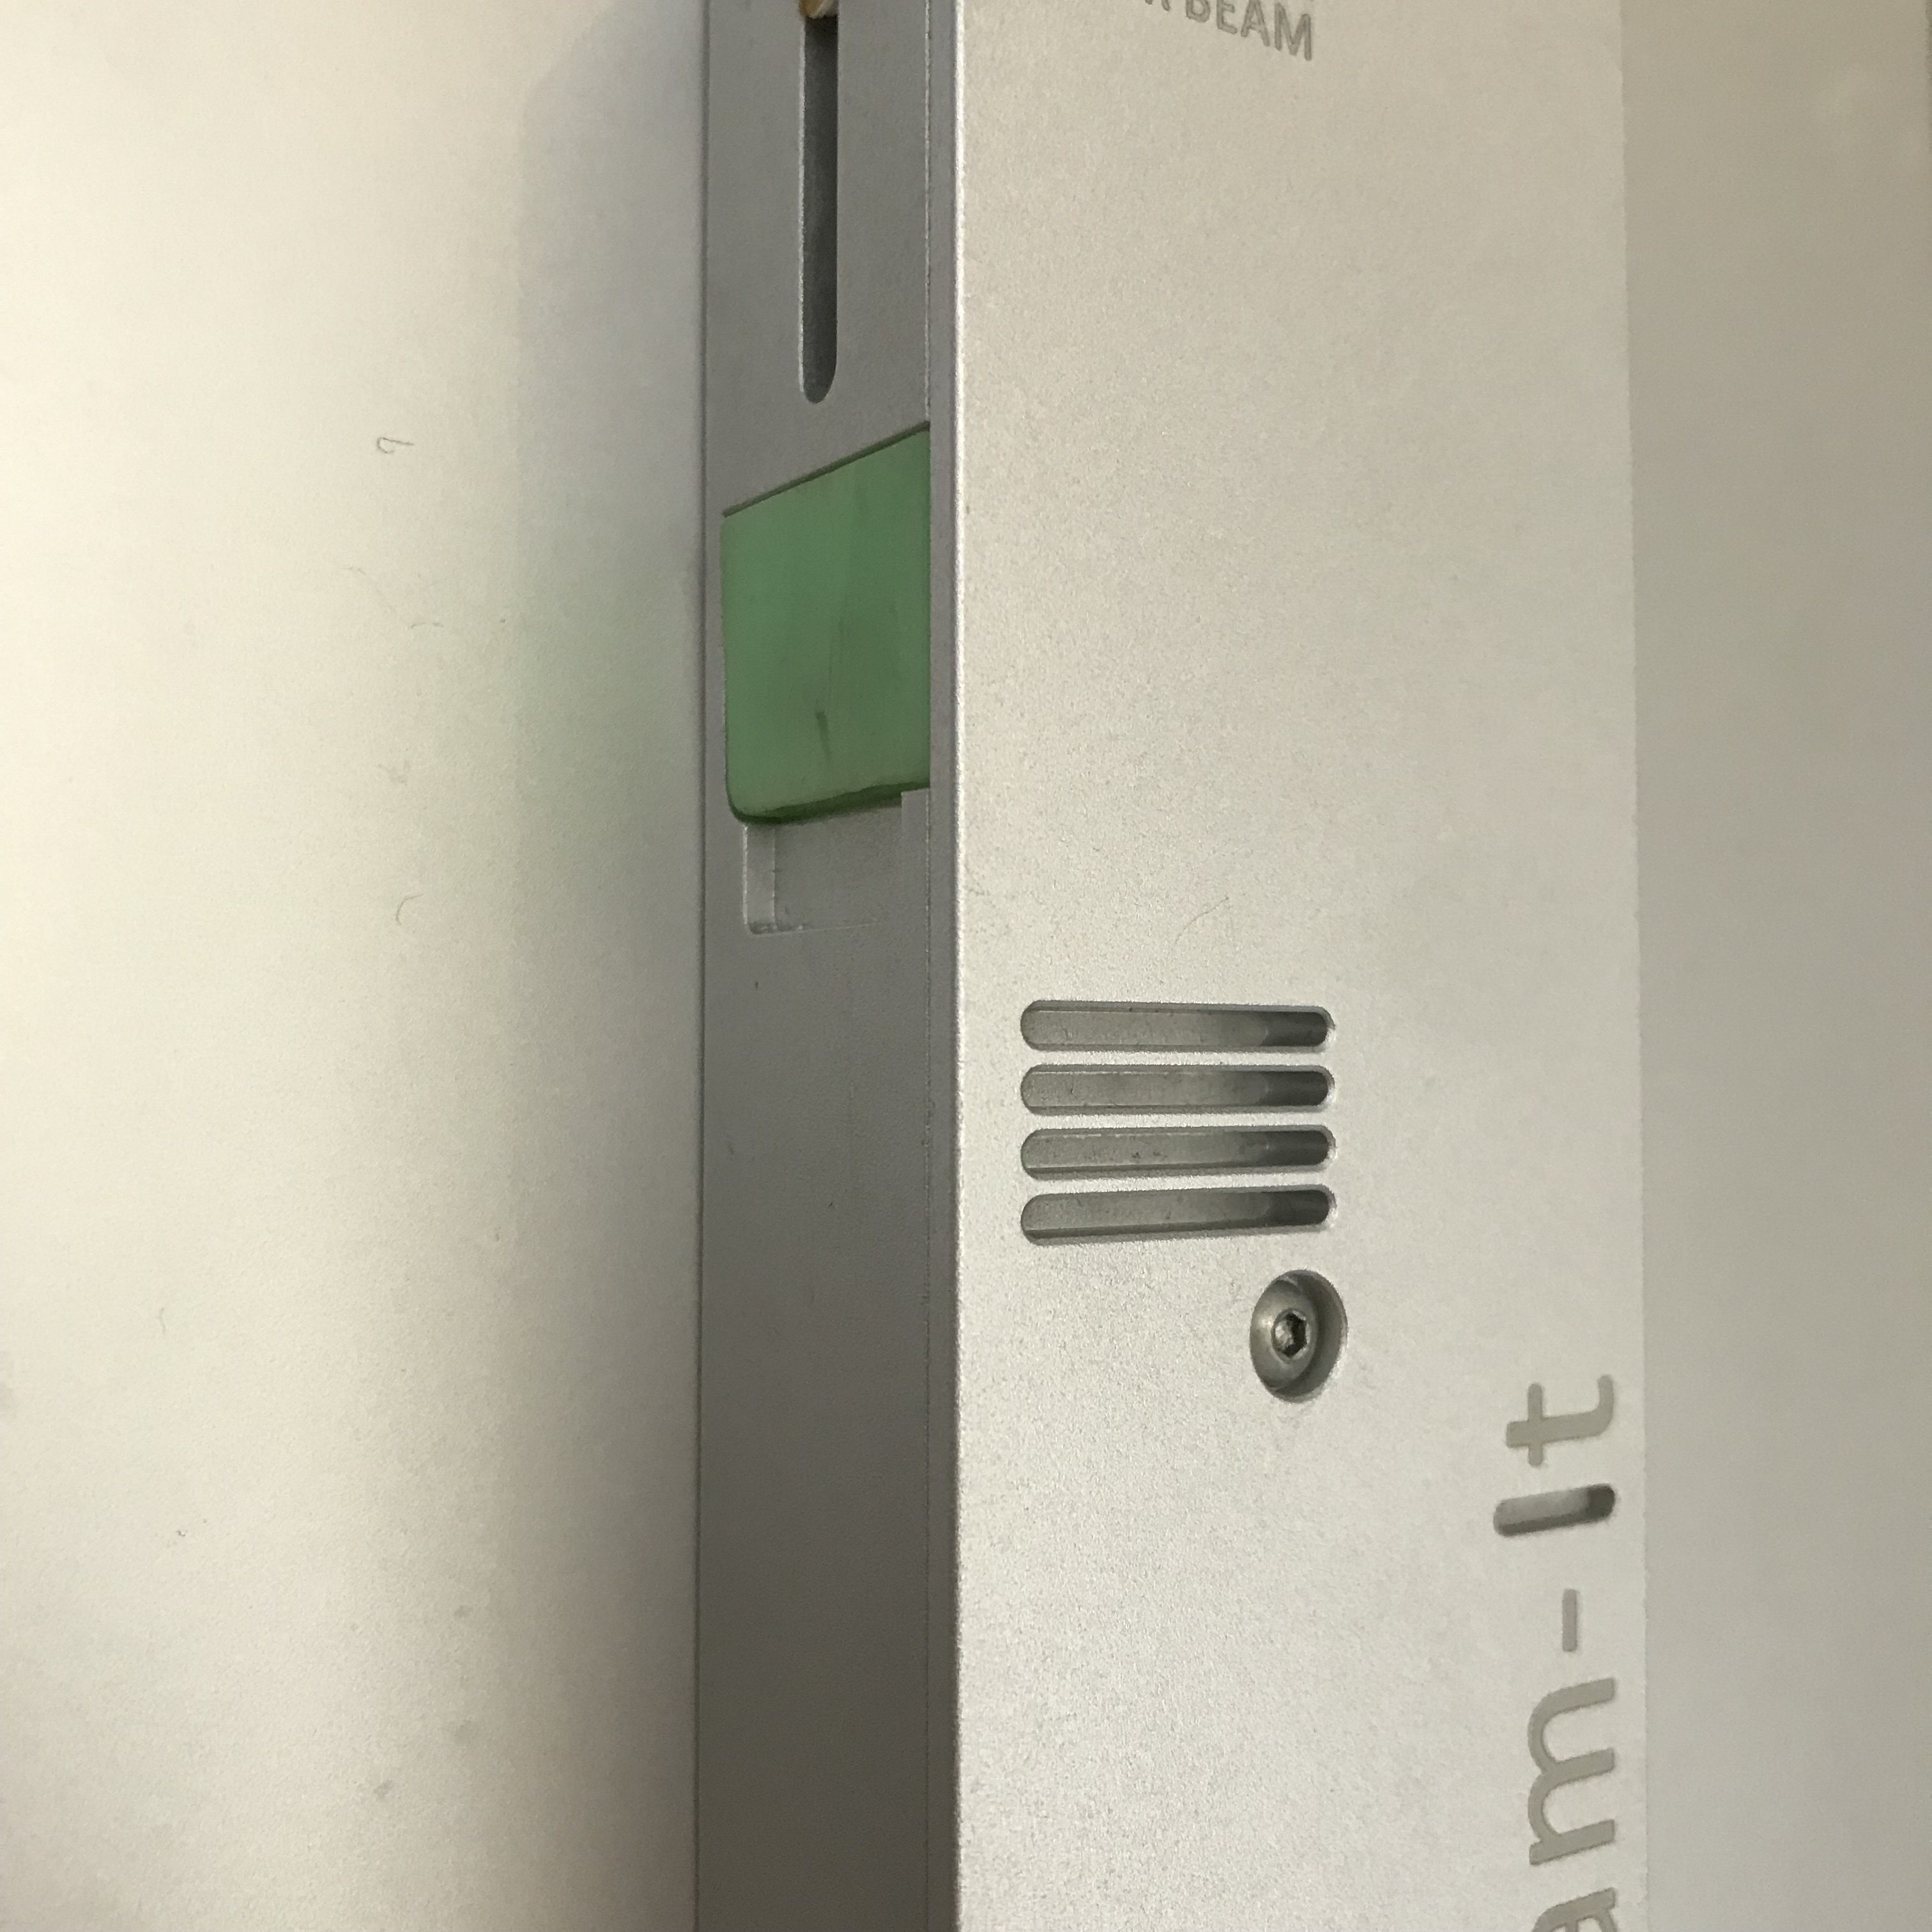
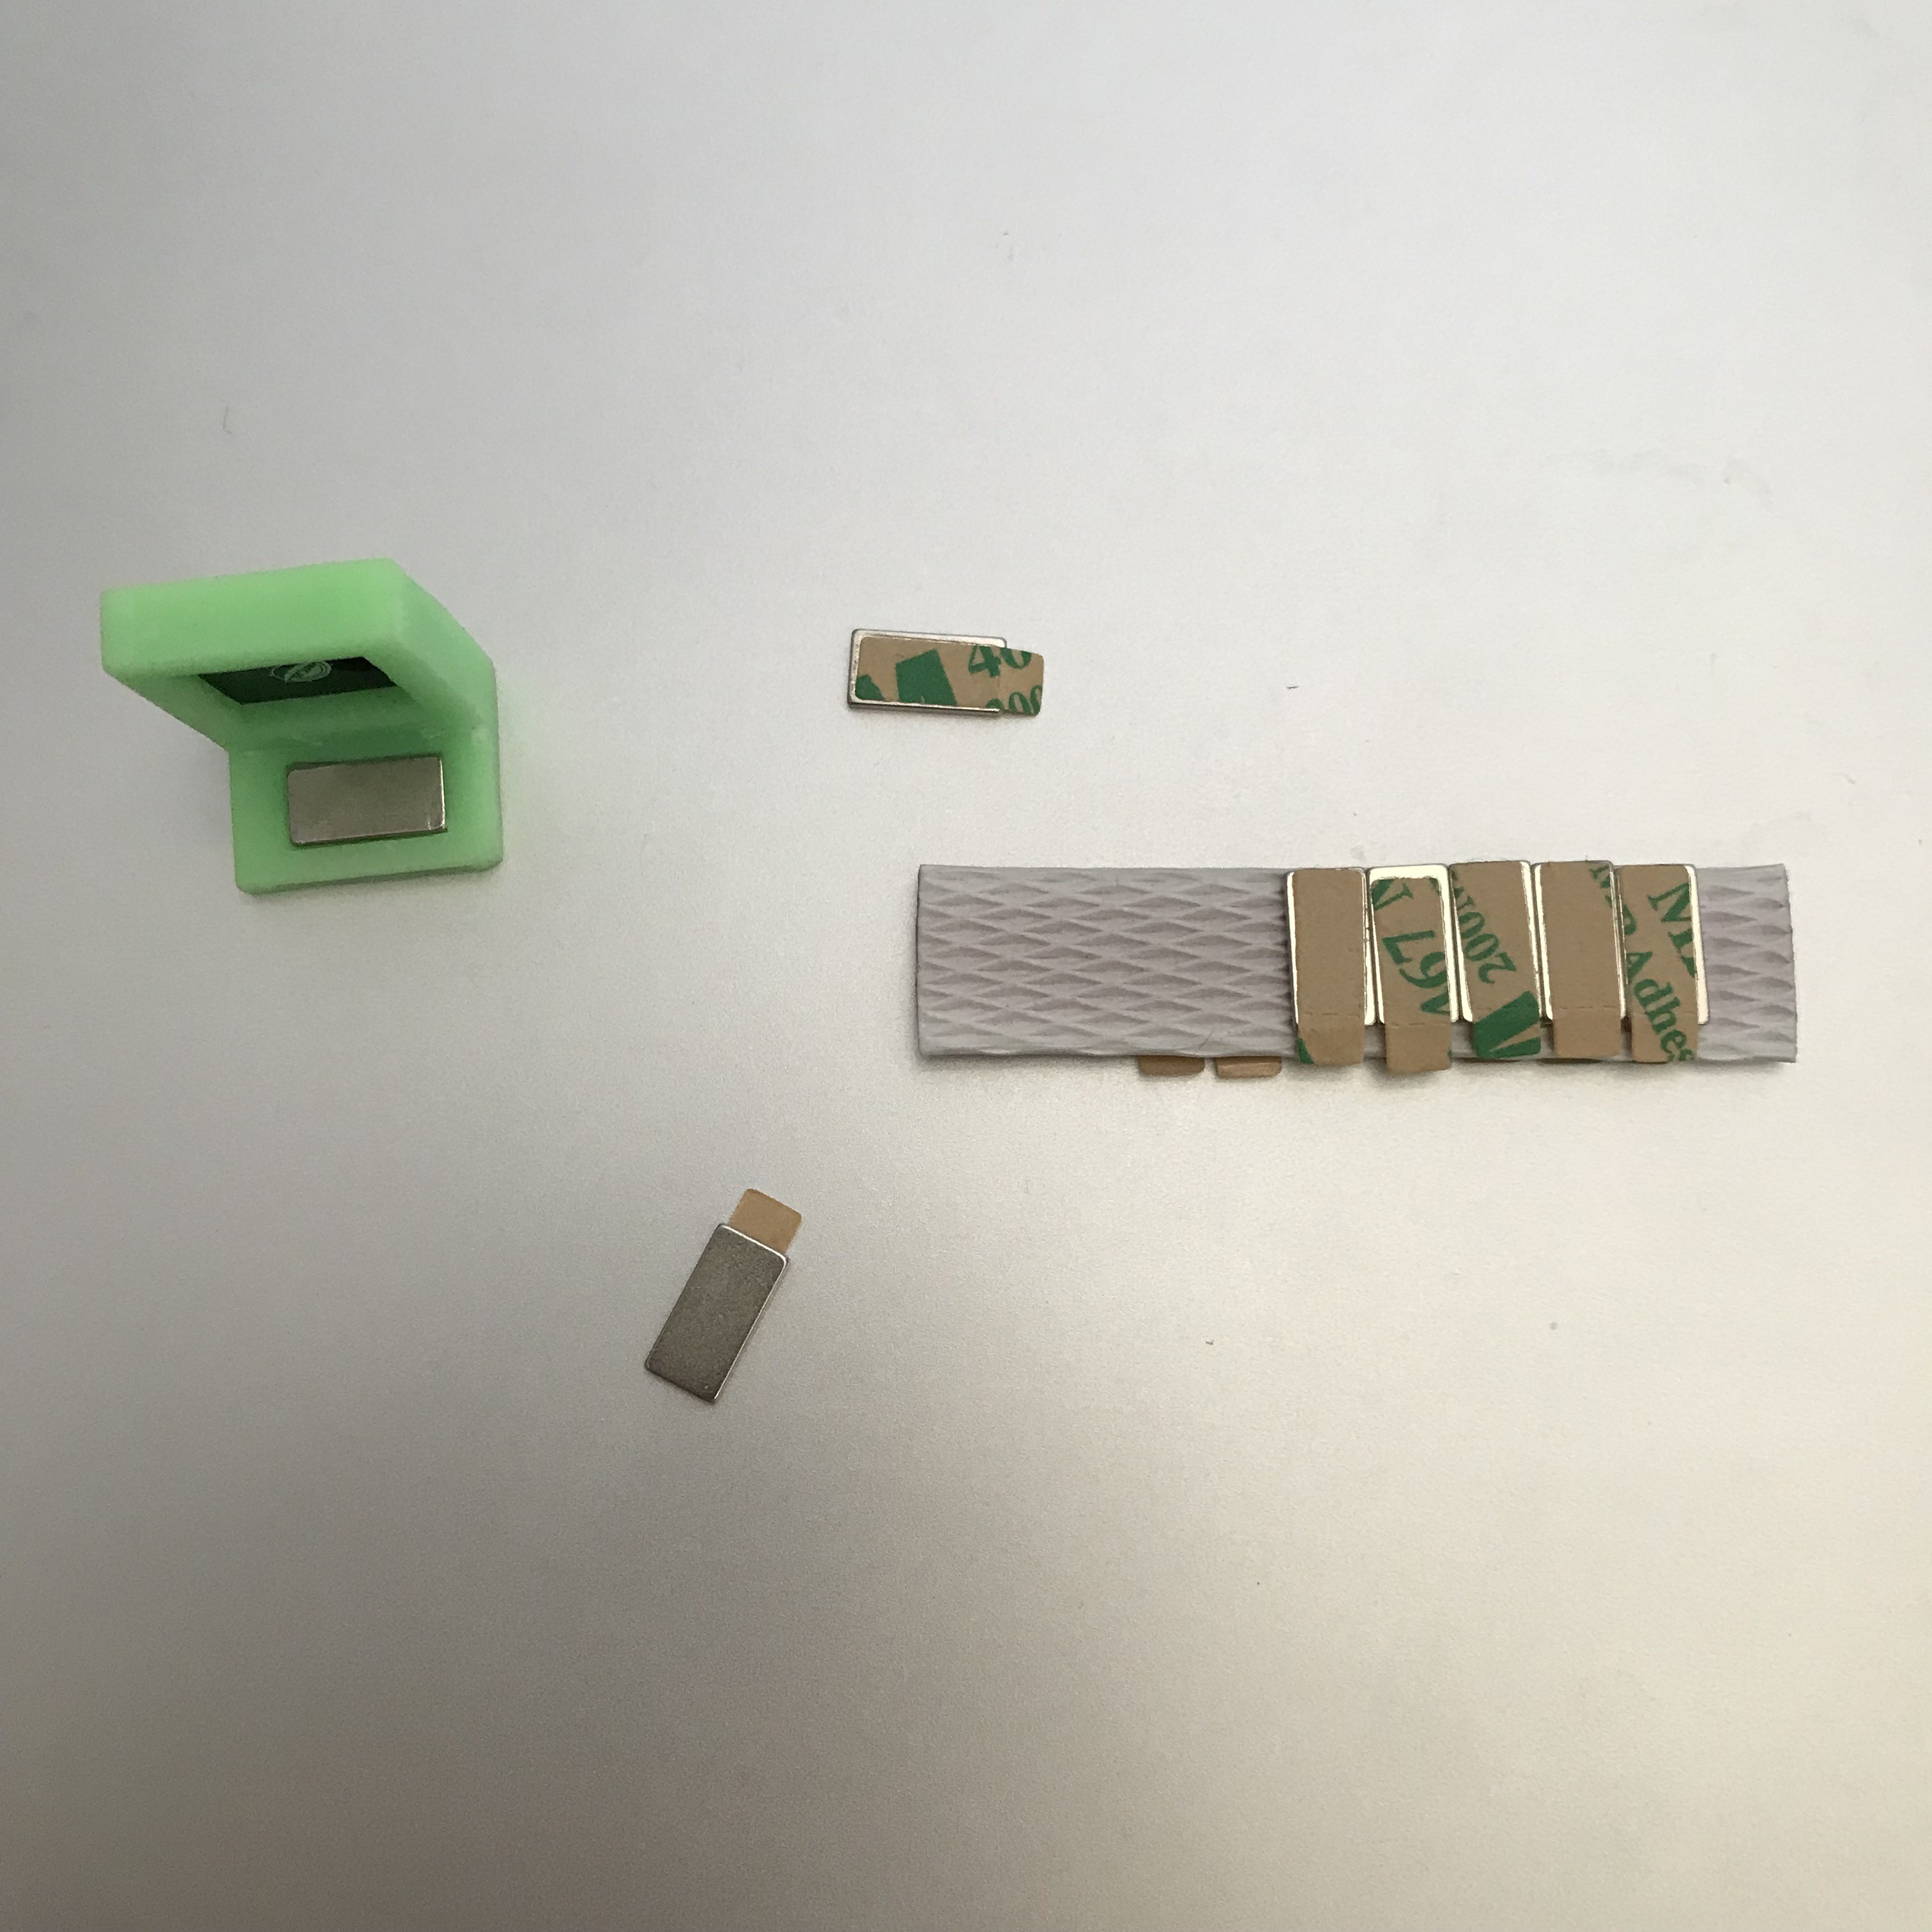
- Magnetic quick-swap slide holder
- Projection range: ~5 m to more than 100 m
Build files & resources
- STEP files - the case need to be CNCed or 3D-print in metal, the slide holder resin 3d printed and the lens holder FDM 3d printed
- Laser diode datasheet
- Image PSD Template to print on slide
- Where to order real high-resolution 35 mm photographic slides (see the 35mm unmounted slides log)
(Everything is documented in the project Components & Logs)
⚠️ Laser Safety
This projector is built around a 1 W, 520 nm green laser diode. At this power and wavelength, it is a Class 4 laser — the most hazardous class. This is not a toy, and it is not a laser pointer. Please read this before attempting anything similar.
The hazards:
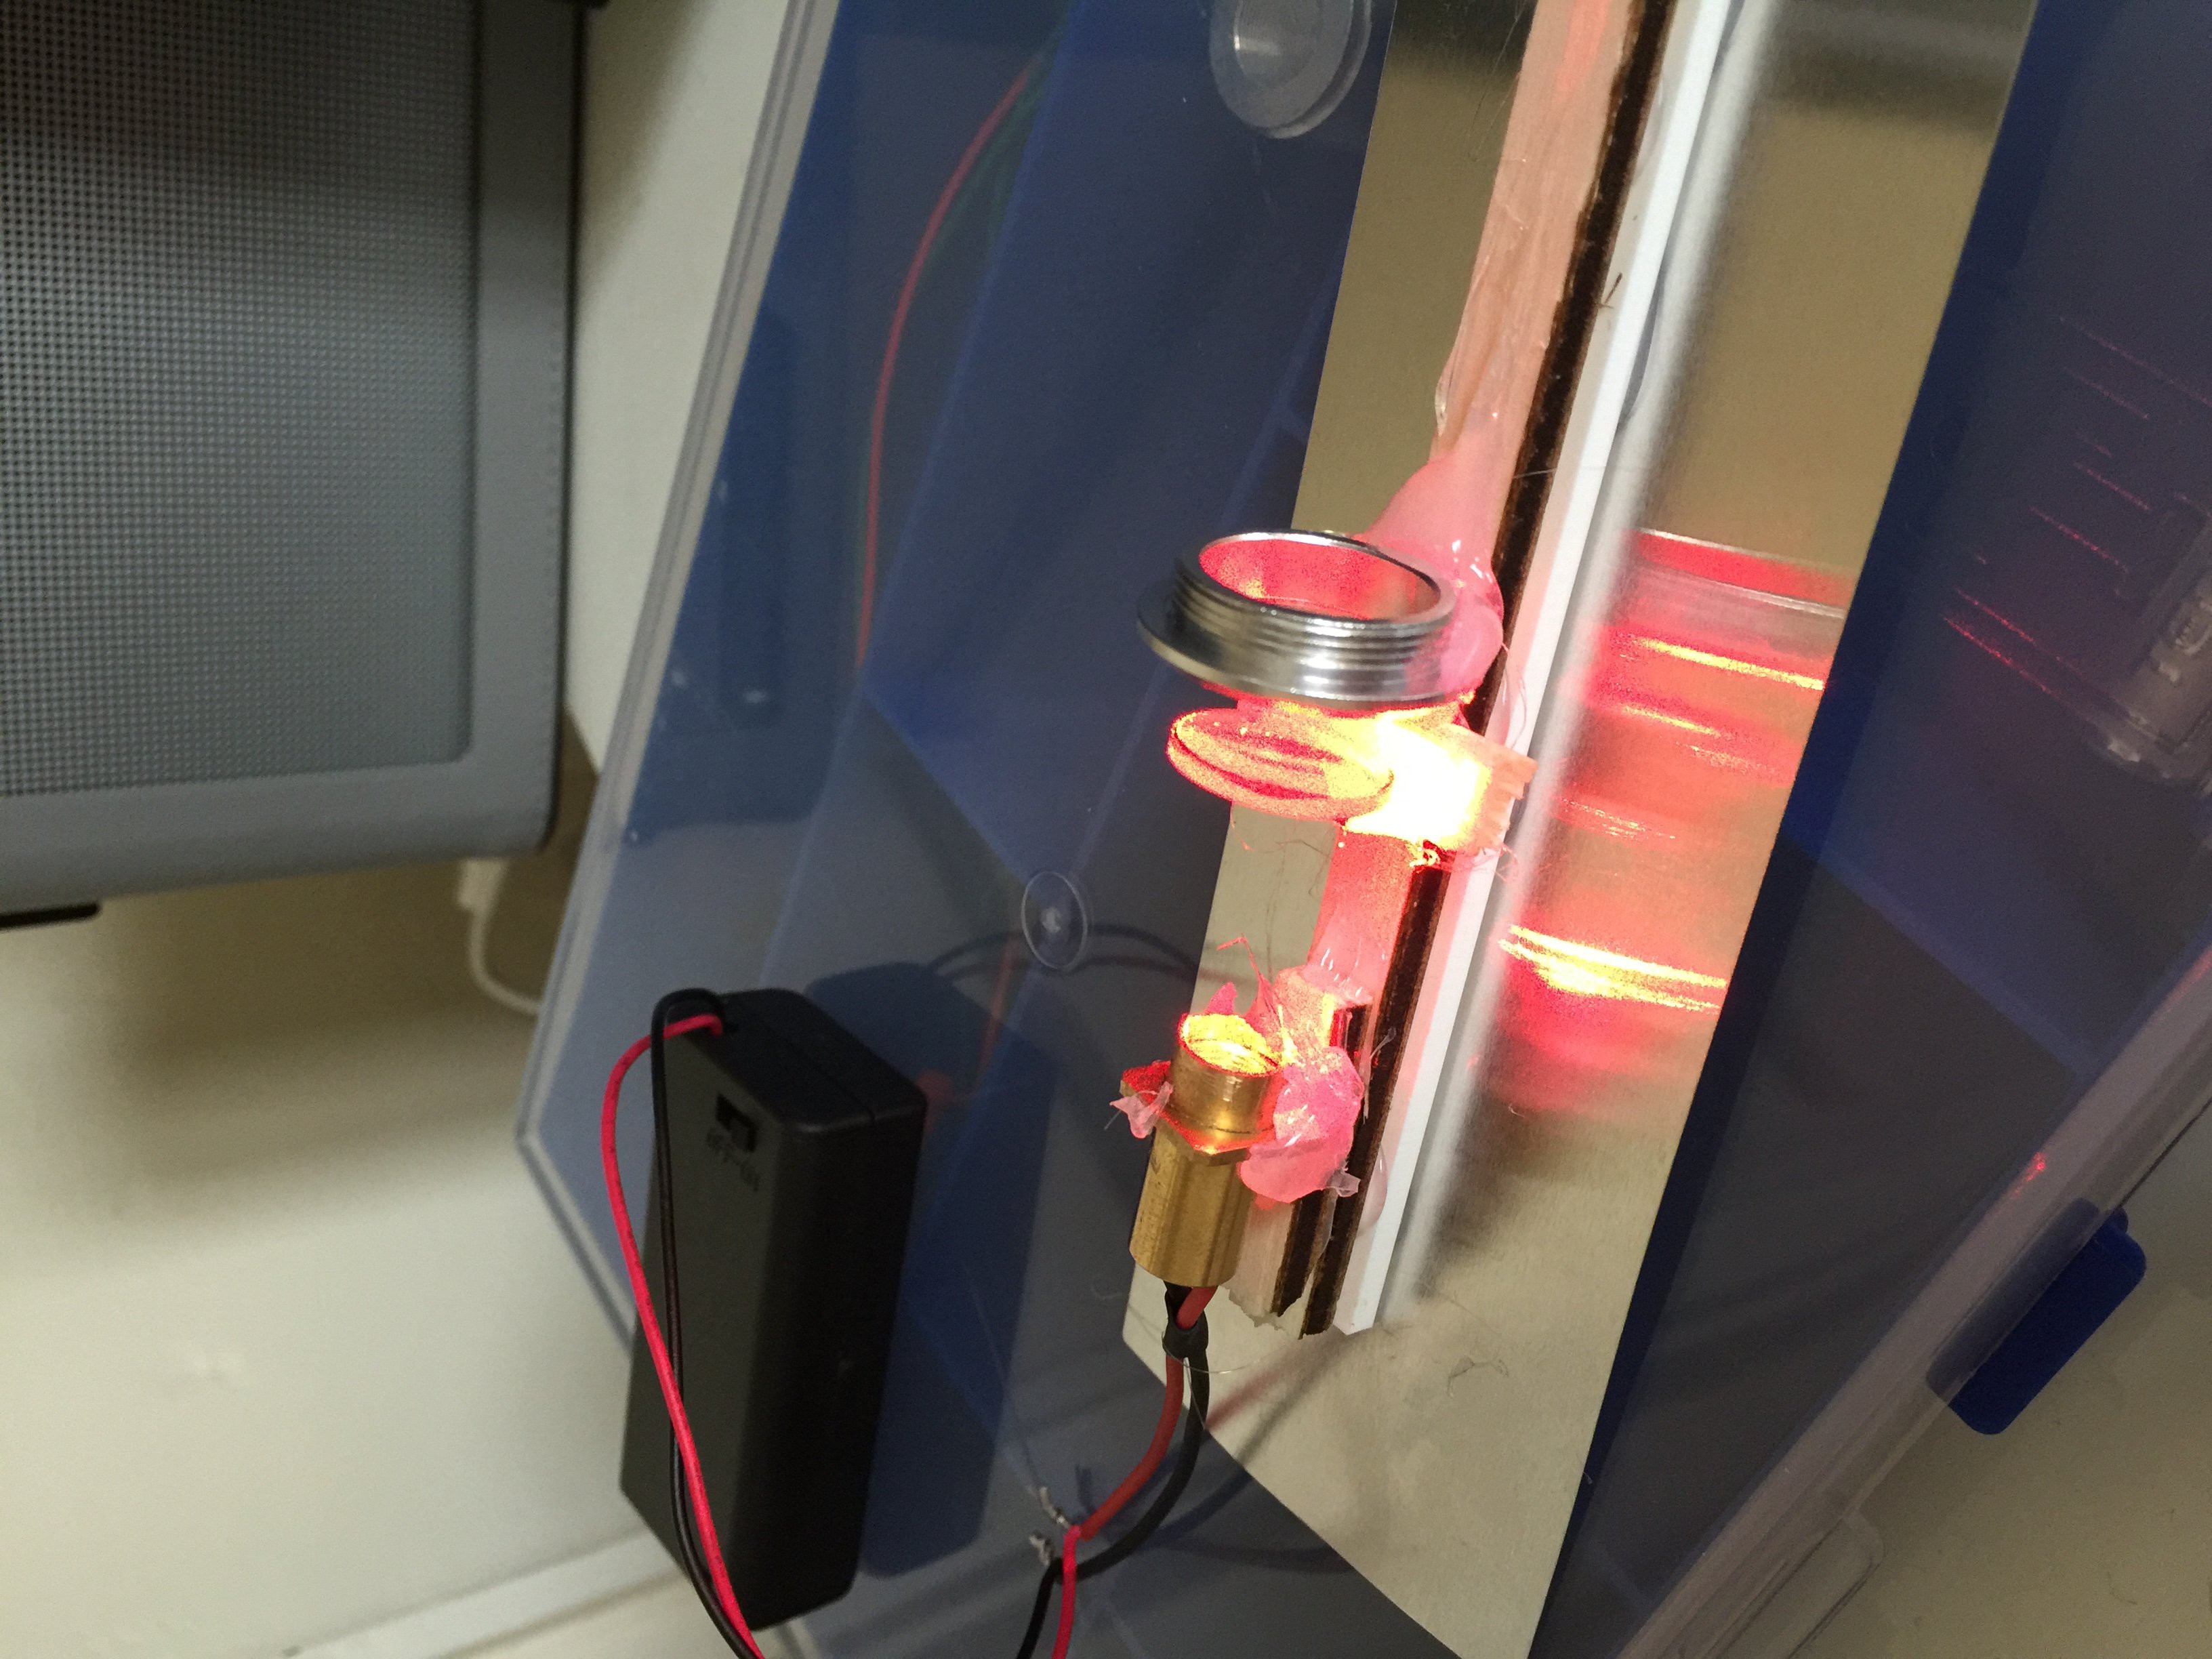
- Eyes: A 1 W visible beam can cause instant, permanent retinal damage — not just from the direct beam, but from specular reflections. This build bounces the beam off several mirrors, so stray reflections are a real and constant risk during alignment.
- Skin & fire: At 1 W the beam can burn skin and ignite dark or flammable materials at close range. I treat the output aperture the way I'd treat a hot soldering iron.
How I mitigate it:
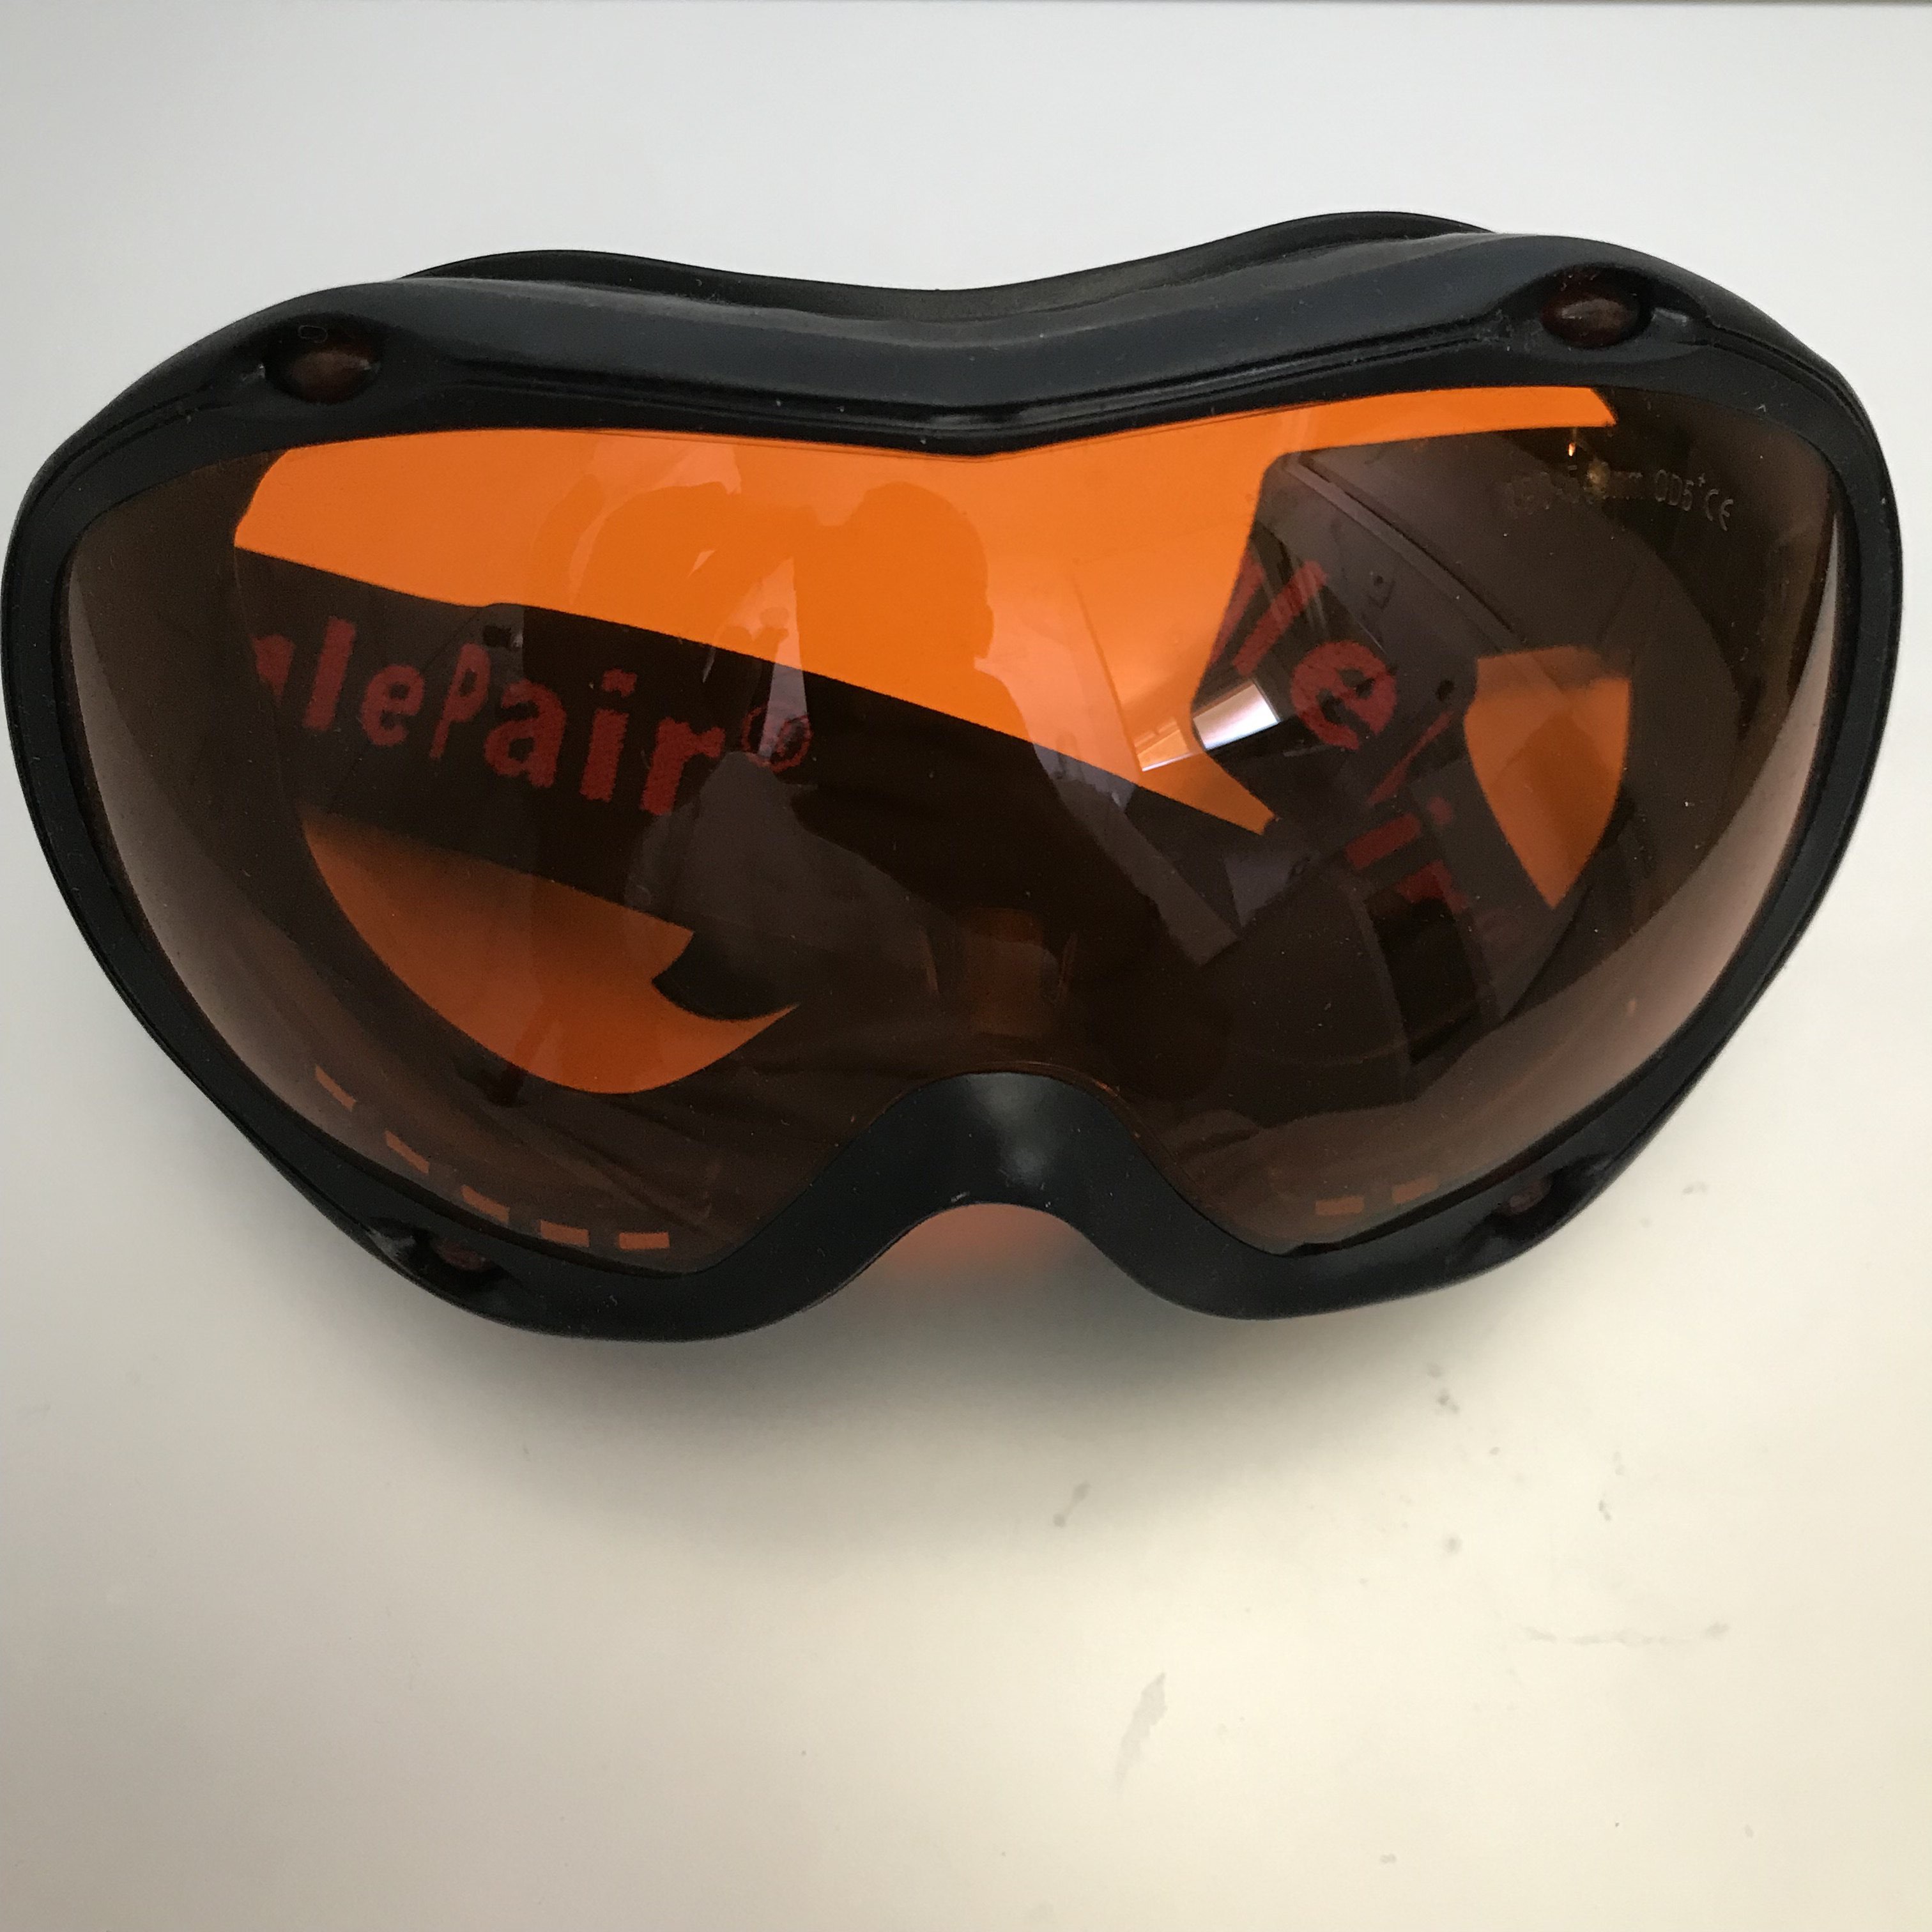
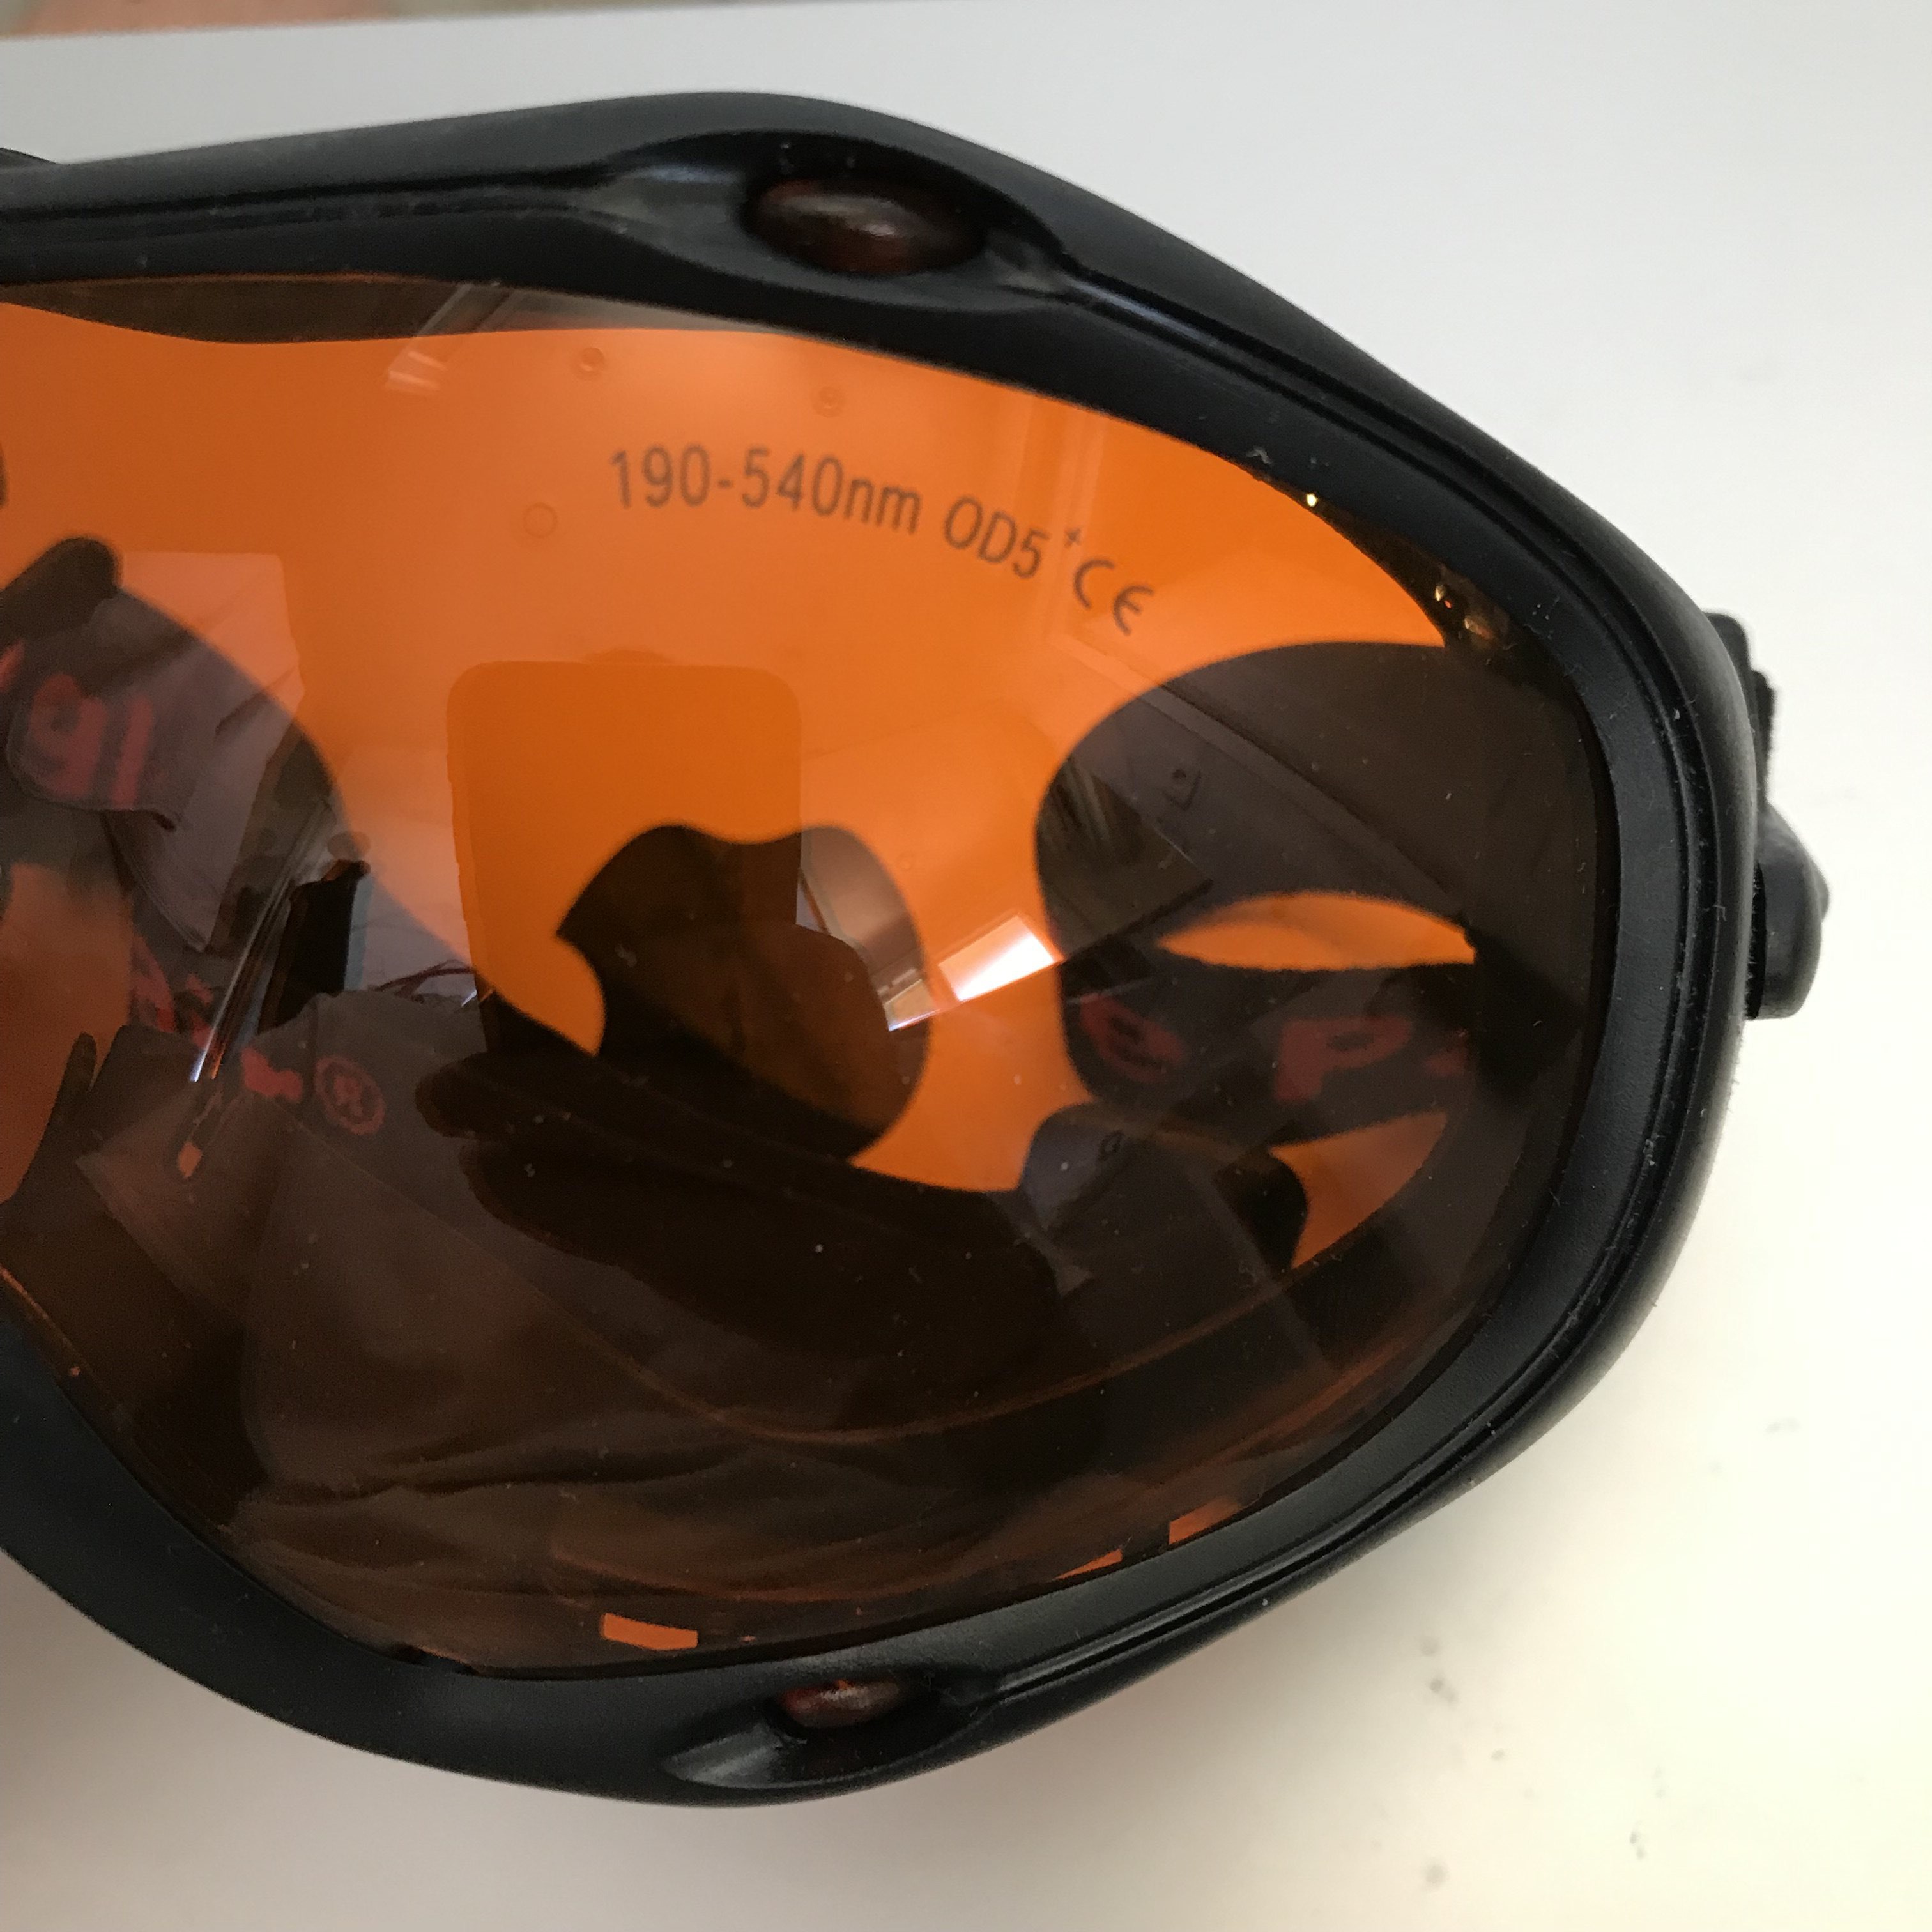
- I wear CE-certified laser goggles rated 190–540 nm & 800–1700 nm, OD5+ — specifically the Eagle Pair 190–540 & 800–1700 nm (532/1064 nm) OD5+ glasses. My 520 nm output sits inside the 190–540 nm protected band, and OD5+ knocks 1 W down to roughly 10 µW at the eye — well within the eye-safe range for accidental exposure. Goggles protect against accidents; they are not permission to stare into the beam.
- Alignment is done at the lowest workable current, with the beam terminated on a matte, non-reflective beam dump, and no reflective objects (watches, phones, jewelry, glossy surfaces) in the beam path.
- The device is only ever operated in a controlled space with no bystanders, and it stays powered down and stored so it can't be triggered accidentally.
Absolute rules — never break these:
- Never point it at a person, animal, or vehicle.
- Never aim it at the sky or anywhere near aircraft. This projector can throw a visible image from 5 m to ~100 m, and shining a laser at an aircraft is a serious criminal offense in most countries (FAA/EASA and national law). The long throw is a feature for projection onto walls — not a reason to point it outdoors carelessly.
- Do not replicate this build unless you understand Class 4 laser safety and have the proper eyewear matched to 520 nm in hand first.










 Ildar Rakhmatulin
 Steve Schuler
 FabLab München
 hannah.mishin
Hi,
Thank you all for your interest in this project and your great ideas.
I'm working a lot on this project and I'd like to focus on the most important features as possible.
If you have 55sec to fill this form it would be great :
https://pocket-laser-projector.typeform.com/to/BQ4rXn
Thanks a lot
TheThirdMan