1 Rationale
The paperworker project is a simple and cheap paper document scanning solution to handle all of my incoming paperwork. I generally feed all of the incoming papers into the machine and then just pick up the small amount of paper documents that I actually want to keep. After a significant amount of paper collects in the machine I get rid of it in bulk.
2 Hardware
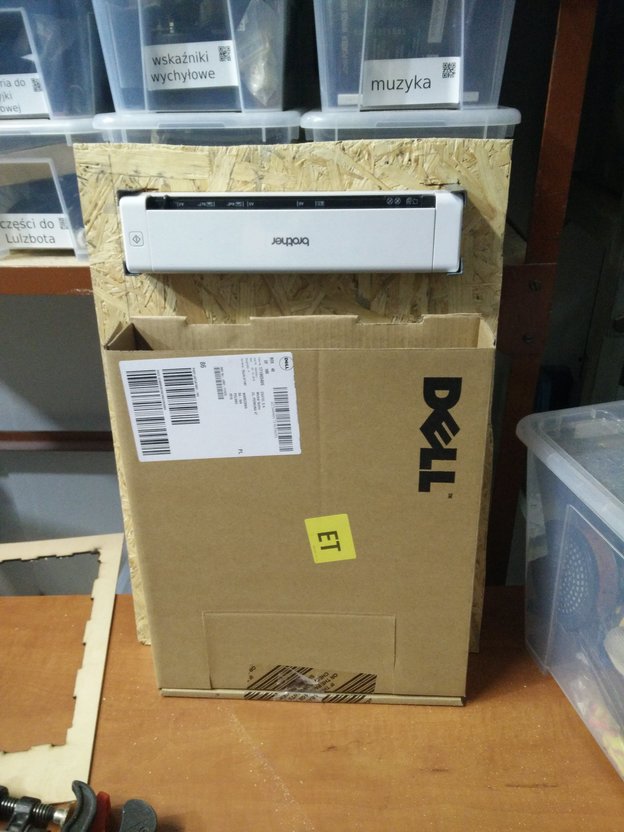
First, a photo of the completed device:
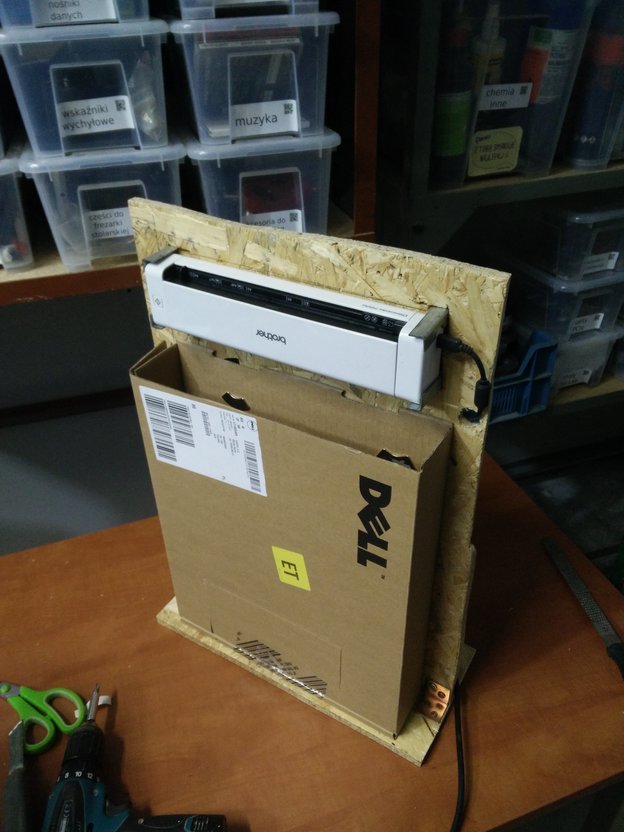
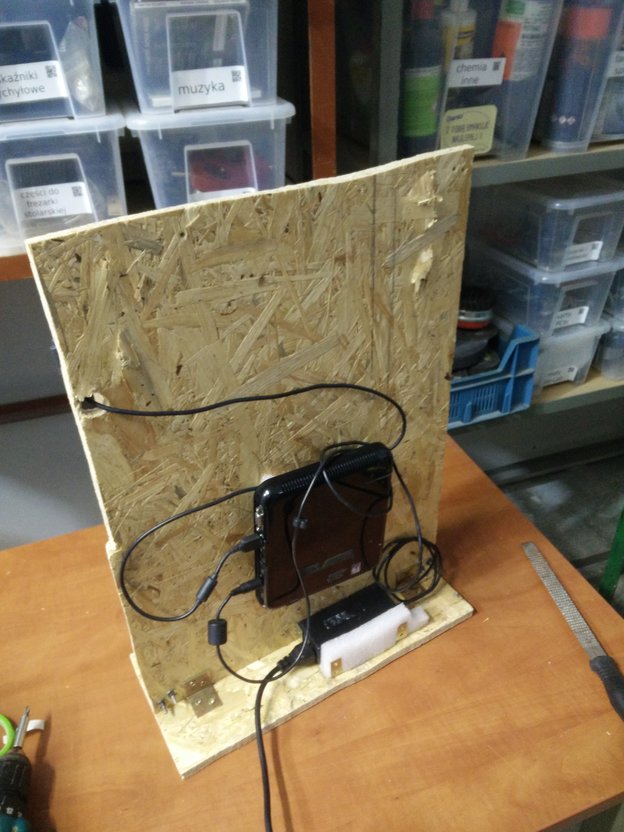
The scanner on the top is a Brother DS-720D roller scanner. The PC on the back is a NTT HOME W 300P net-top style PC with an Intel Atom 230 CPU (1.6 GHz), 1 GB of RAM and a small 16GB internal SSD. There is also a Dell laptop box, a power supply, some foam and some small metal parts (corner brackets mostly).
Now for the building steps. First we dive into a garbage pile in our workshop and find ourselves a suitable chipboard fragment which will have room for the scanner and box.
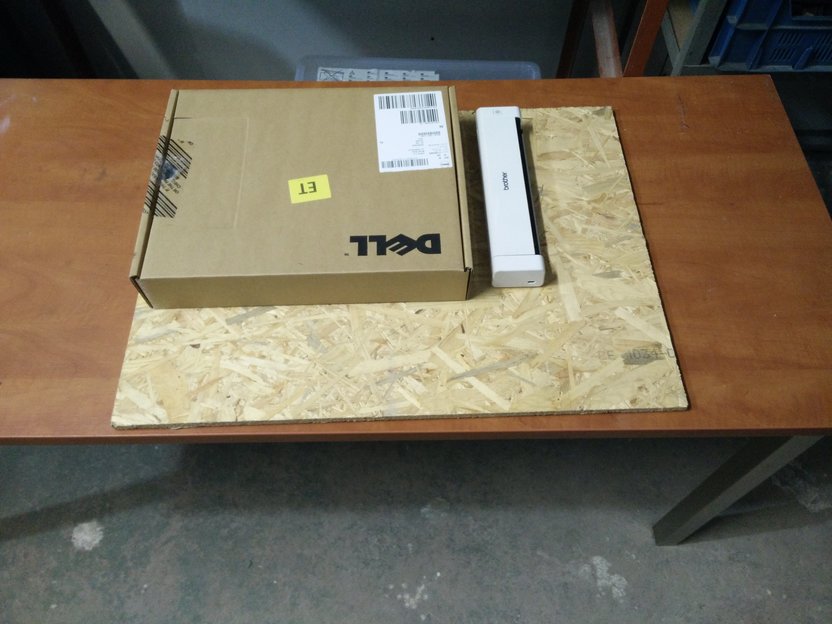
First we take care of the box, by using a boxcutter make it into shape, it should have a wide opening on one side:
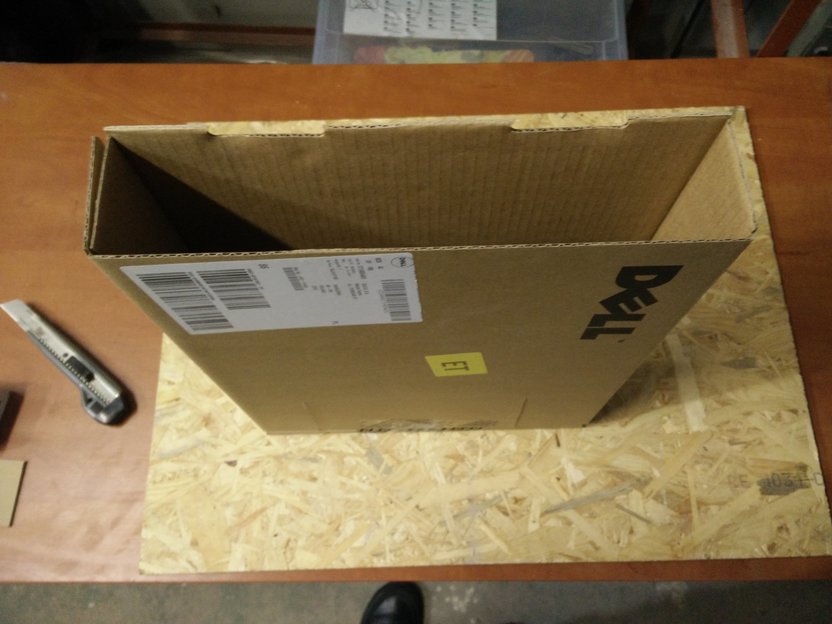
Make sure that the opening is much larger than the biggest sheet of paper you will try to scan. If you don't do this the sheets will get stuck and you'll have to empty the box more often. Now cut the base chipboard so that it fits both the box and the scanner leaving some room around for the corner brackets. I left 3 cm on both sides of the box for those as well as some distance between the box and the scanner.
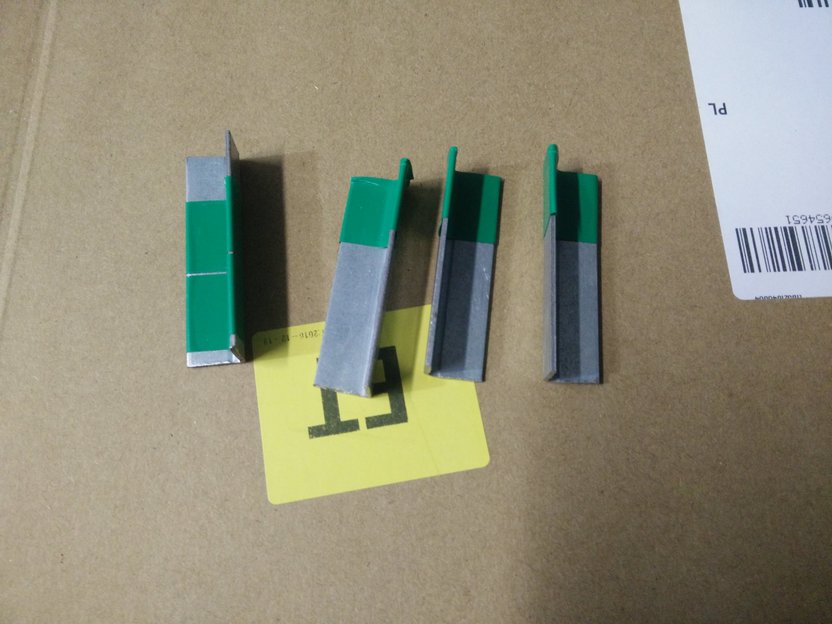
Now find and cut 4 small corner brackets to hold the scanner in place. The tape on them is something I tried to do in order to prevent the damage of the scanner's plastic surface with rough edges. This is a bad idea, find a file and file it down instead :)
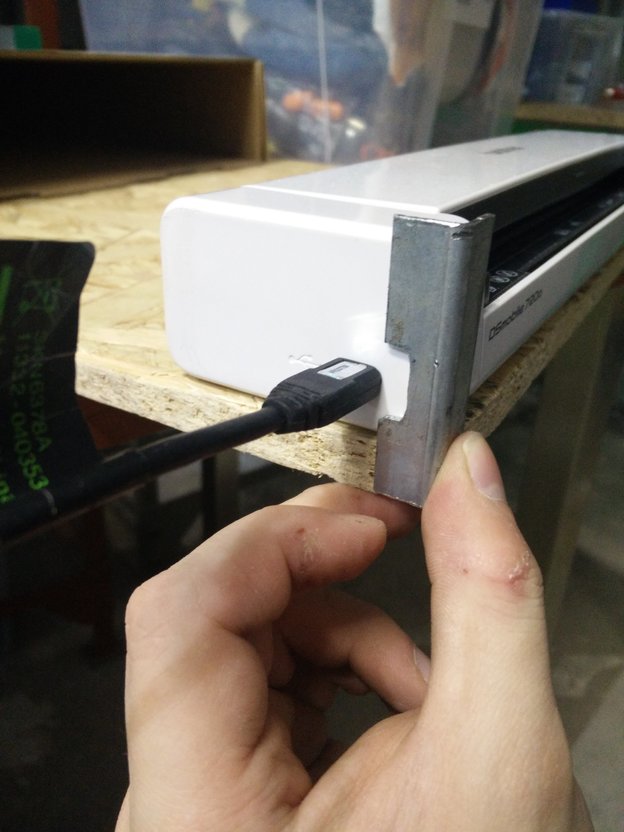
Make sure to check if your USB cable will fit well when you mount the scanner using the corner brackets. In my case the USB cable just barely fit as as I know how flimsy the Micro USB cables and sockets are I decided to grind down a slot in one of the brackets to make room for the USB plug:
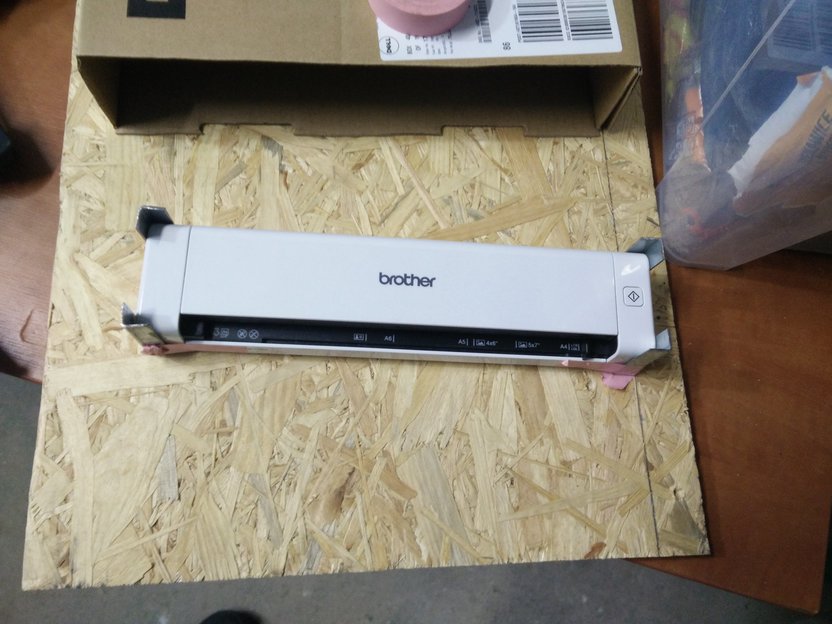
Now tape all four corner brackets and see how they fit on the board with the box. Mark the outine of the scanner together with the brackets so that we will be able to cut:
I've found it best to mount the brackets by cuting narrow slots using an oscillating multitool and then hammer the brackets into them as if they were nails. This way you won't need any screws or glue and everything will fit pretty well while still allowing for adjustments with a bit of force. Finally it should look like this:
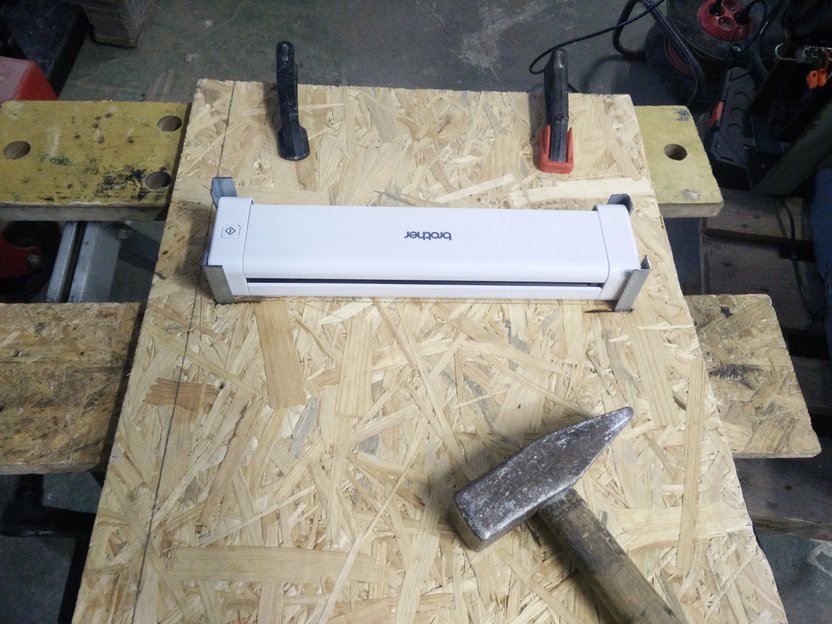
The basic parts of our device are almost there:
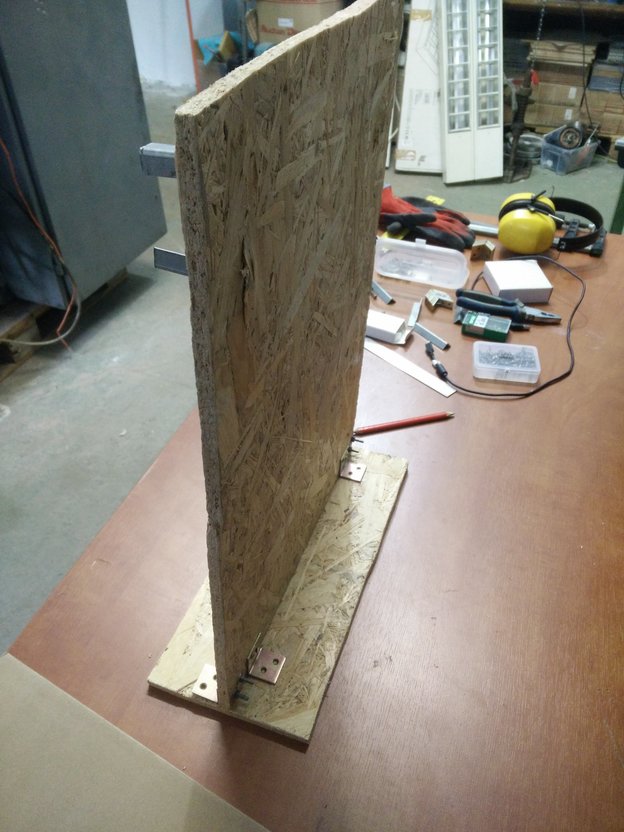
Now we need to make a board by using another piece of chipboard as well as 4 corner brackets which we use to connect those together with a bunch of random screws lying around in the workshop:
Now let's mount the PC as well as the power supply on the back. Because the PC we have is a nettop it has a convenient hole on the bottom which was used to mount the original stand, we use it with a single corner bracket to mount it on the back of the main board:
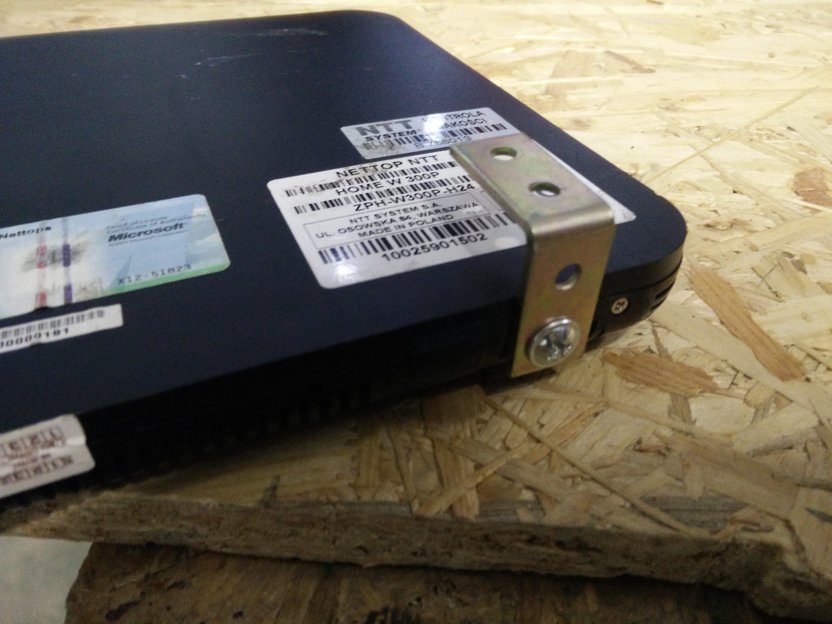
Mount the kektop as close to the base as possible to offset the weight of the scanner on the top and make the entire device more stable.
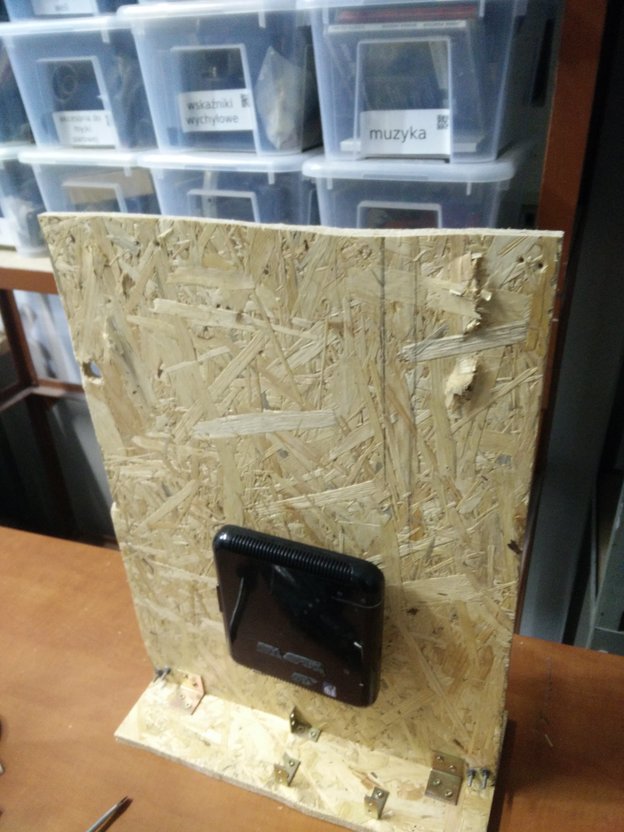
The additional brackets you see on the base were put there to mount the PC power supply. I've left a bit more room to accomodate a possible bigger power supply and just used pieces of packing foam to make everything fit:

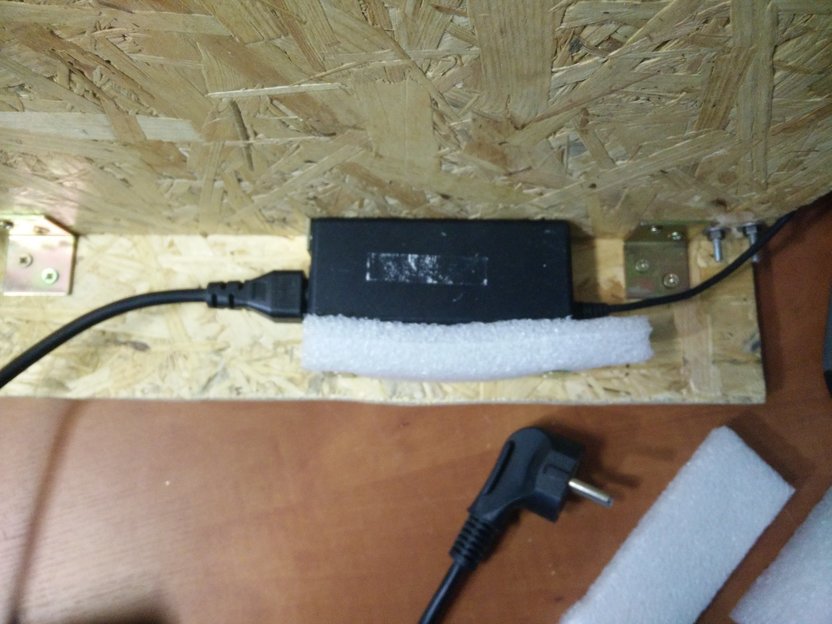
Now for the mounting of the cardboard box. We will use flat hard disk magnets to hold the box together while still allowing for it to be easily detached and emptied. We require 3 pairs of hard disk magnets (6 total), we first glue 3 of those on the vertical chipboard with epoxy glue:
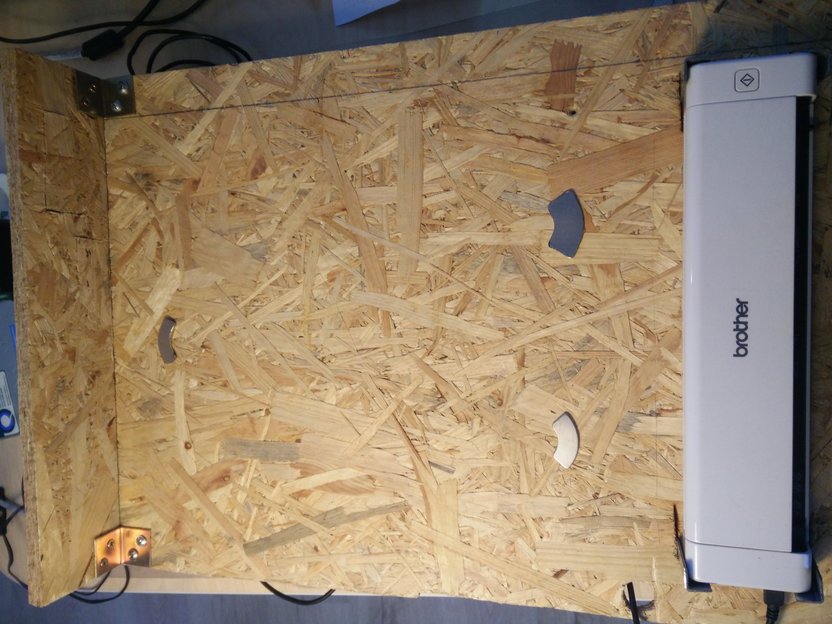
Now after putting the box on top of them we glue the 3 other magnets so that they all attract to their other halves on the chipboard we are done!
... Read more » Enki
Enki

 Zeppelin Design Labs
 Ben Steer
A nice and simple solution to streamlining your workflow. I like the inclusion of a standalone computer for this. I should do the same with the flatbed scanner I have. I've been using gscan2pdf but it makes huge files and I don't leave my scanner set up. If I combined it with an SBC and attached everything to a board (with a handle and made it easy to store standing upright) my system would be a lot less bother to use. Thanks for the inspiration!