(This is continuation of my previous log on what I've done up to a year ago.)
My first approach was to understand how SPX-MPU handles file upload and run. If successful, I'll be able to load and run my own software. This is desirable because I have quite a number of these boards and I don't want to do complex hardware modifications to each one of the boards. Unfortunately the factory software was more complex than I can handle. The relatively simple hardware monitor tool was not adequate to follow the complex software execution.
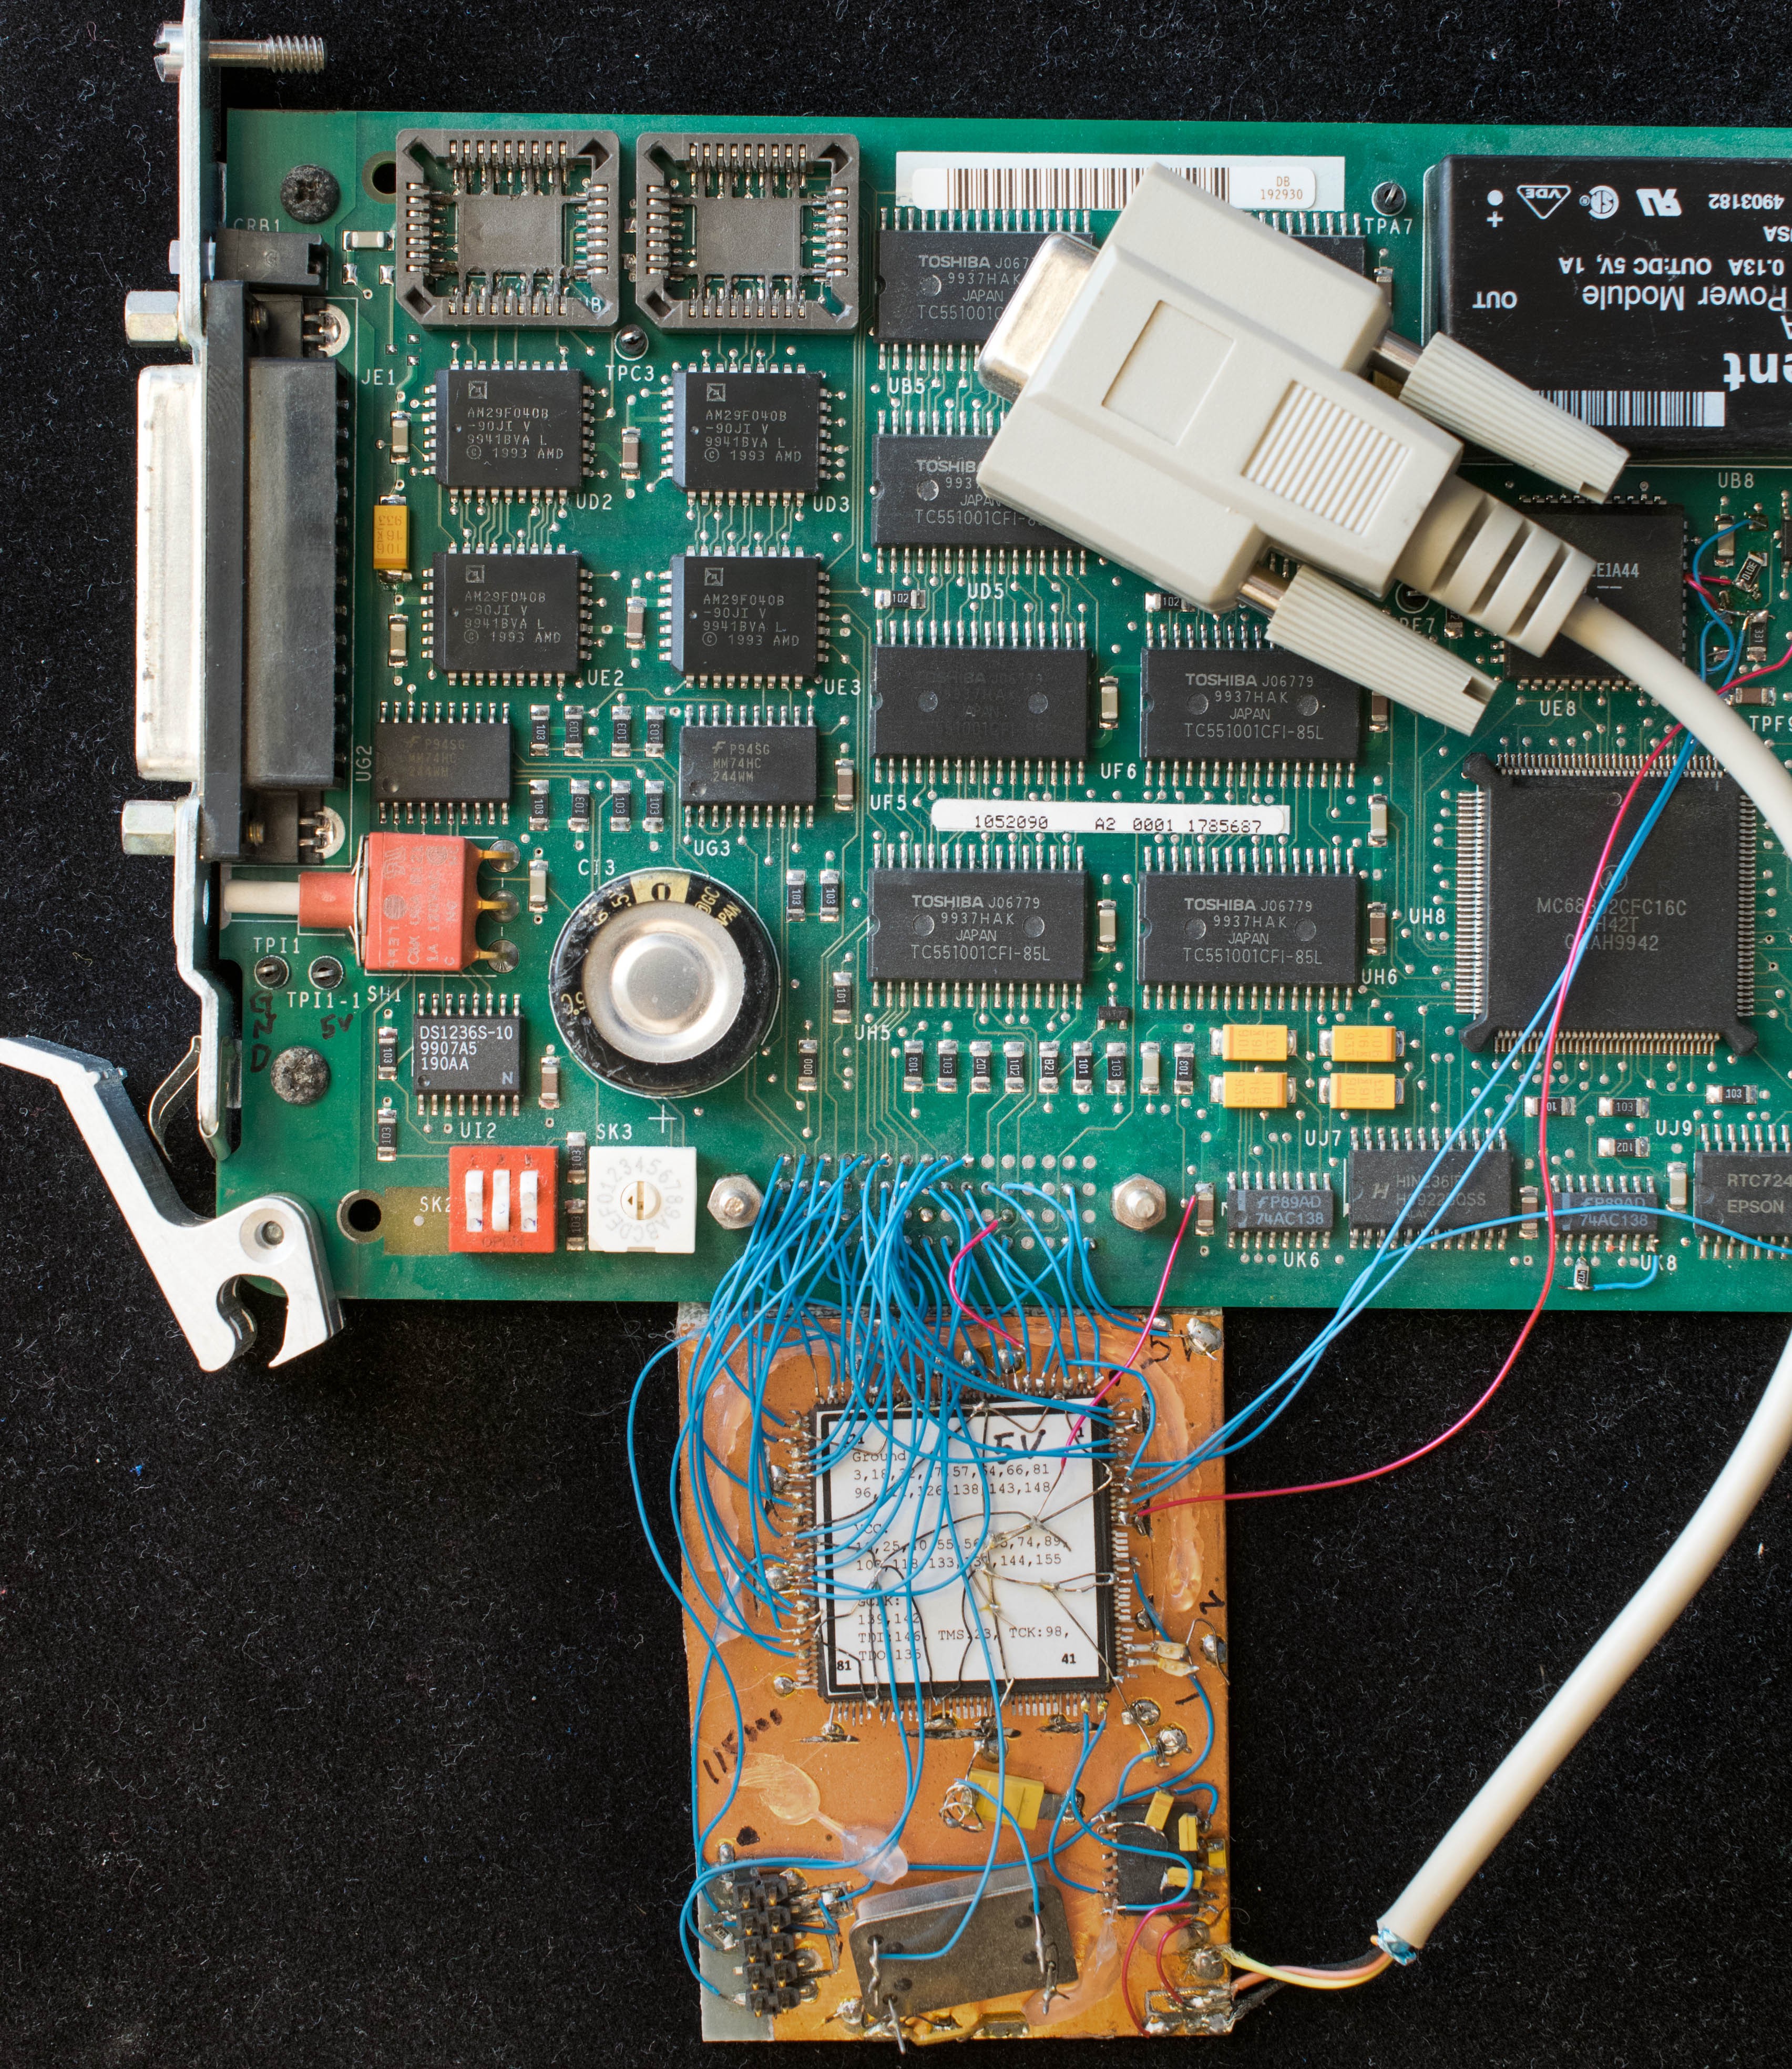
I needed a different approach. I already have a board heavily modified with hardware debugger that can load and execute programs. So forget about working with the factory software, erase it and put my own bootstrap monitor there. I now turned the purpose of hardware debugger around and used it as a software development platform instead. I did not have a flash programmer for SMT components, so this debugger also served as a crude SMT flash programmer.

I only needed a simple bootstrap that allowed me to load more sophisticated monitor and re-program itself. Relocatable self-modifying bootstrap monitor became an essential feature of subsequent versions of the monitor. 68302 has 4 programmable chip selects, including the chip select for boot flash. The monitor loads a small program into 68302's internal RAM and swaps the chip selects of the RAM with boot flash so RAM is now at the lowest portion of the memory while the monitor is relocated to higher memory space. At this point a new version of monitor can be loaded into the RAM and ran to see if it is working properly. If it checked out, the new version can overwrite the previous version. This scheme really worked quite well. I was able to update my monitor software numerous times without ever removing the devices. A few times the evolving monitor had major bugs that can't communicate or reprogram itself, then I have to use the hardware debugger to load the primitive bootstrap and started over.
While I'm familiar with 68000, I am not familiar with the various resources on a 68302. Furthermore I don't have schematic of the MPU board, so the monitor is the tool to explore the various resources of 68302 as well as the MPU board. I used the wonderful tools, EASy68K, provided free by Prof Kelly at www.easy68k.com. The simulator was useful because my 68000 assembly knowledge was rusty and I'd make rather stupid mistakes.
At this point (beginning of 2016) I had two goals:
1. Reverse engineer the pc board so I have a complete schematic.
2. A way to reprogram the factory boot flash easily. I don't want to build a hardware debugger for every board, nor do I want to remove the two boot flash and replace with sockets.
 Plasmode
Discussions
Become a Hackaday.io Member
Create an account to leave a comment. Already have an account? Log In.