I'm very happy with the progress of this right now!
- Last week was my first SPI project!
- This week is my first I2C project!
- I can't tell you how happy I am that both are working side by side.
- I think I bricked a Teensy!
- Check out the fast I2C mouse action in the videos!
(Turn the sound off – annoying fan noise in background.)
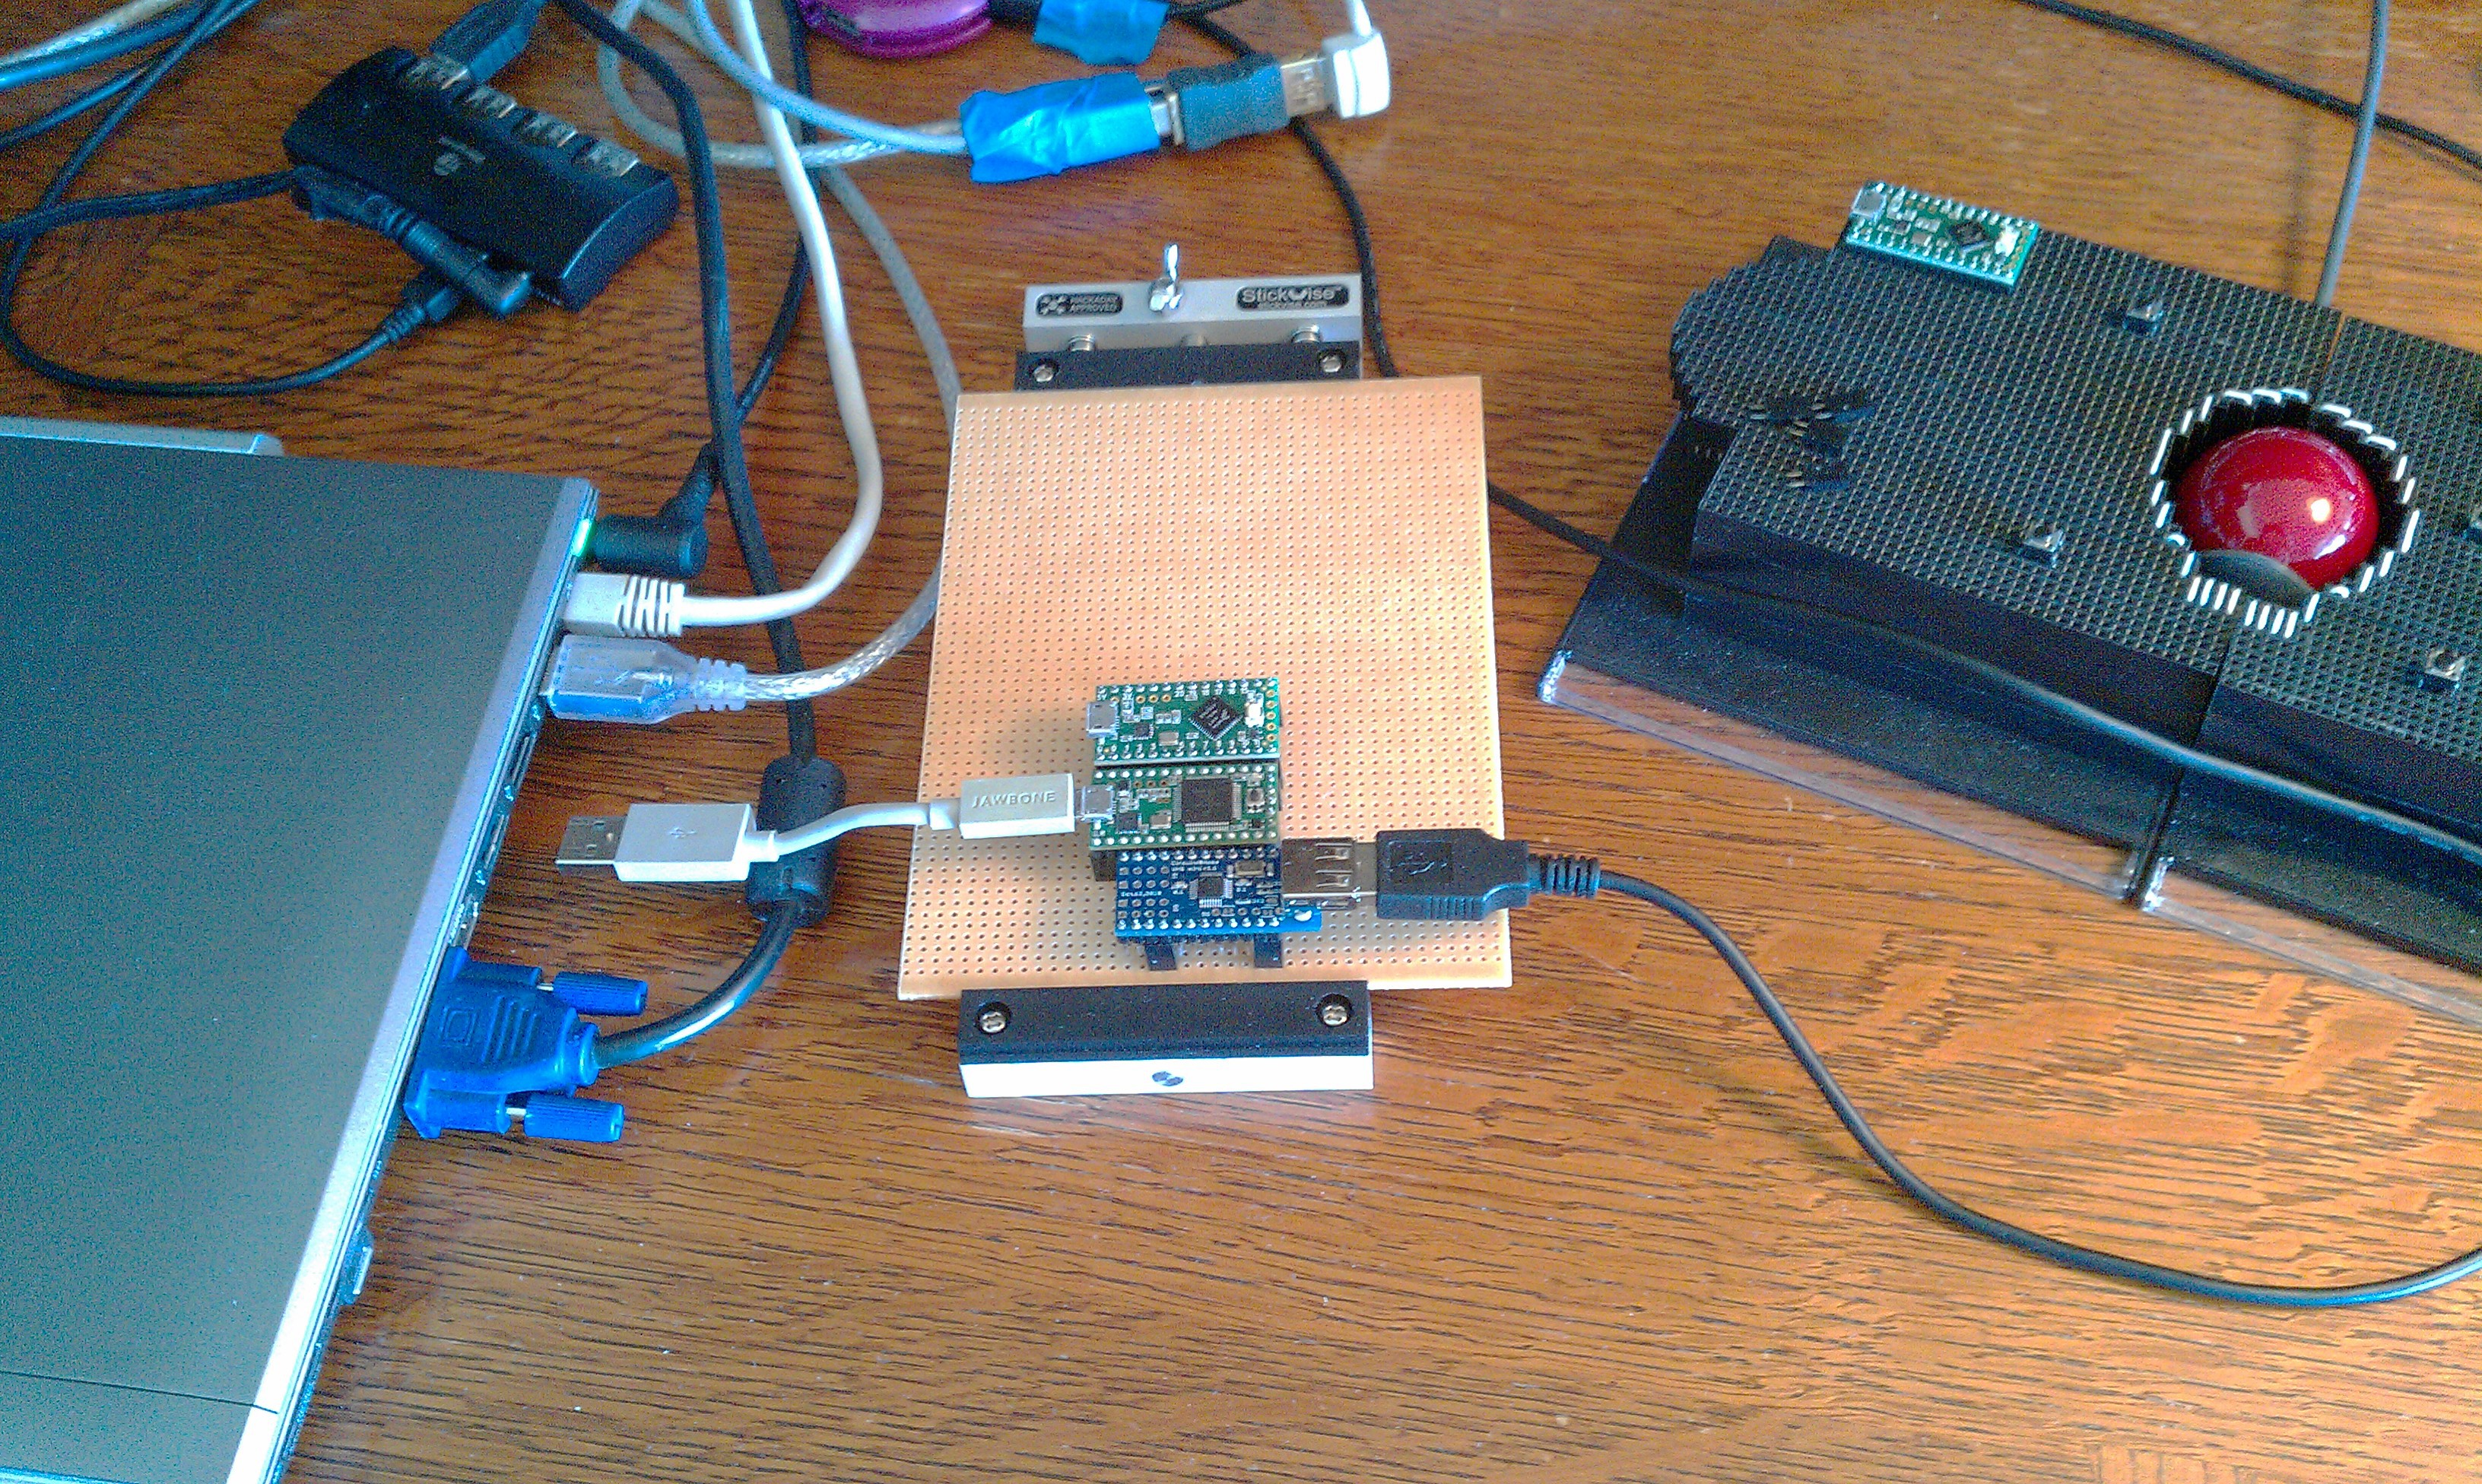
First up is one mouse, a Teensy 3.1 with a Win7 on the left, and a Teensy-LC on an Ubuntu 14 computer on the right. The two microprocessors simultaneously act like mice, and the mouse movement data that is scrolling on both serial monitors is identical.
The second video is setup for high contrast. Up until now I was skeptical there would be some sort of noticeable delay or sluggishness in the mouse movement. Both mouse cursors seem to move identically as if they were from the same microprocessor. I was also afraid that SPI and I2C would have eternal conflicts, but both work great, even when hot swapping the computers USB ports.
Saved the best for last. They are Not going from one screen to the next. They are each individually just wrapping the mouse cursor from one side to the other of the same screen.
( Firefox is
displaying Hackaday message notifications on both computers :)
This is a big milestone for me. This means all the software will work. It won't be long until I have it switching automatically. There is no data being sent from the computers at all, so it maintains the “driverless” feature. Not only are the mice hot swappable, but the computers are also.
My First I2C experience
This was kind of scary because of what looked like an infinite amount of I2C problems online, some requiring expensive test equipment to diagnose. There were a variety of pullup resistor suggestions online ranging from 190ohms to 10K. I found Paul's wire library information to be simple and straight forward at PJRC.com
My desk is a mess :)

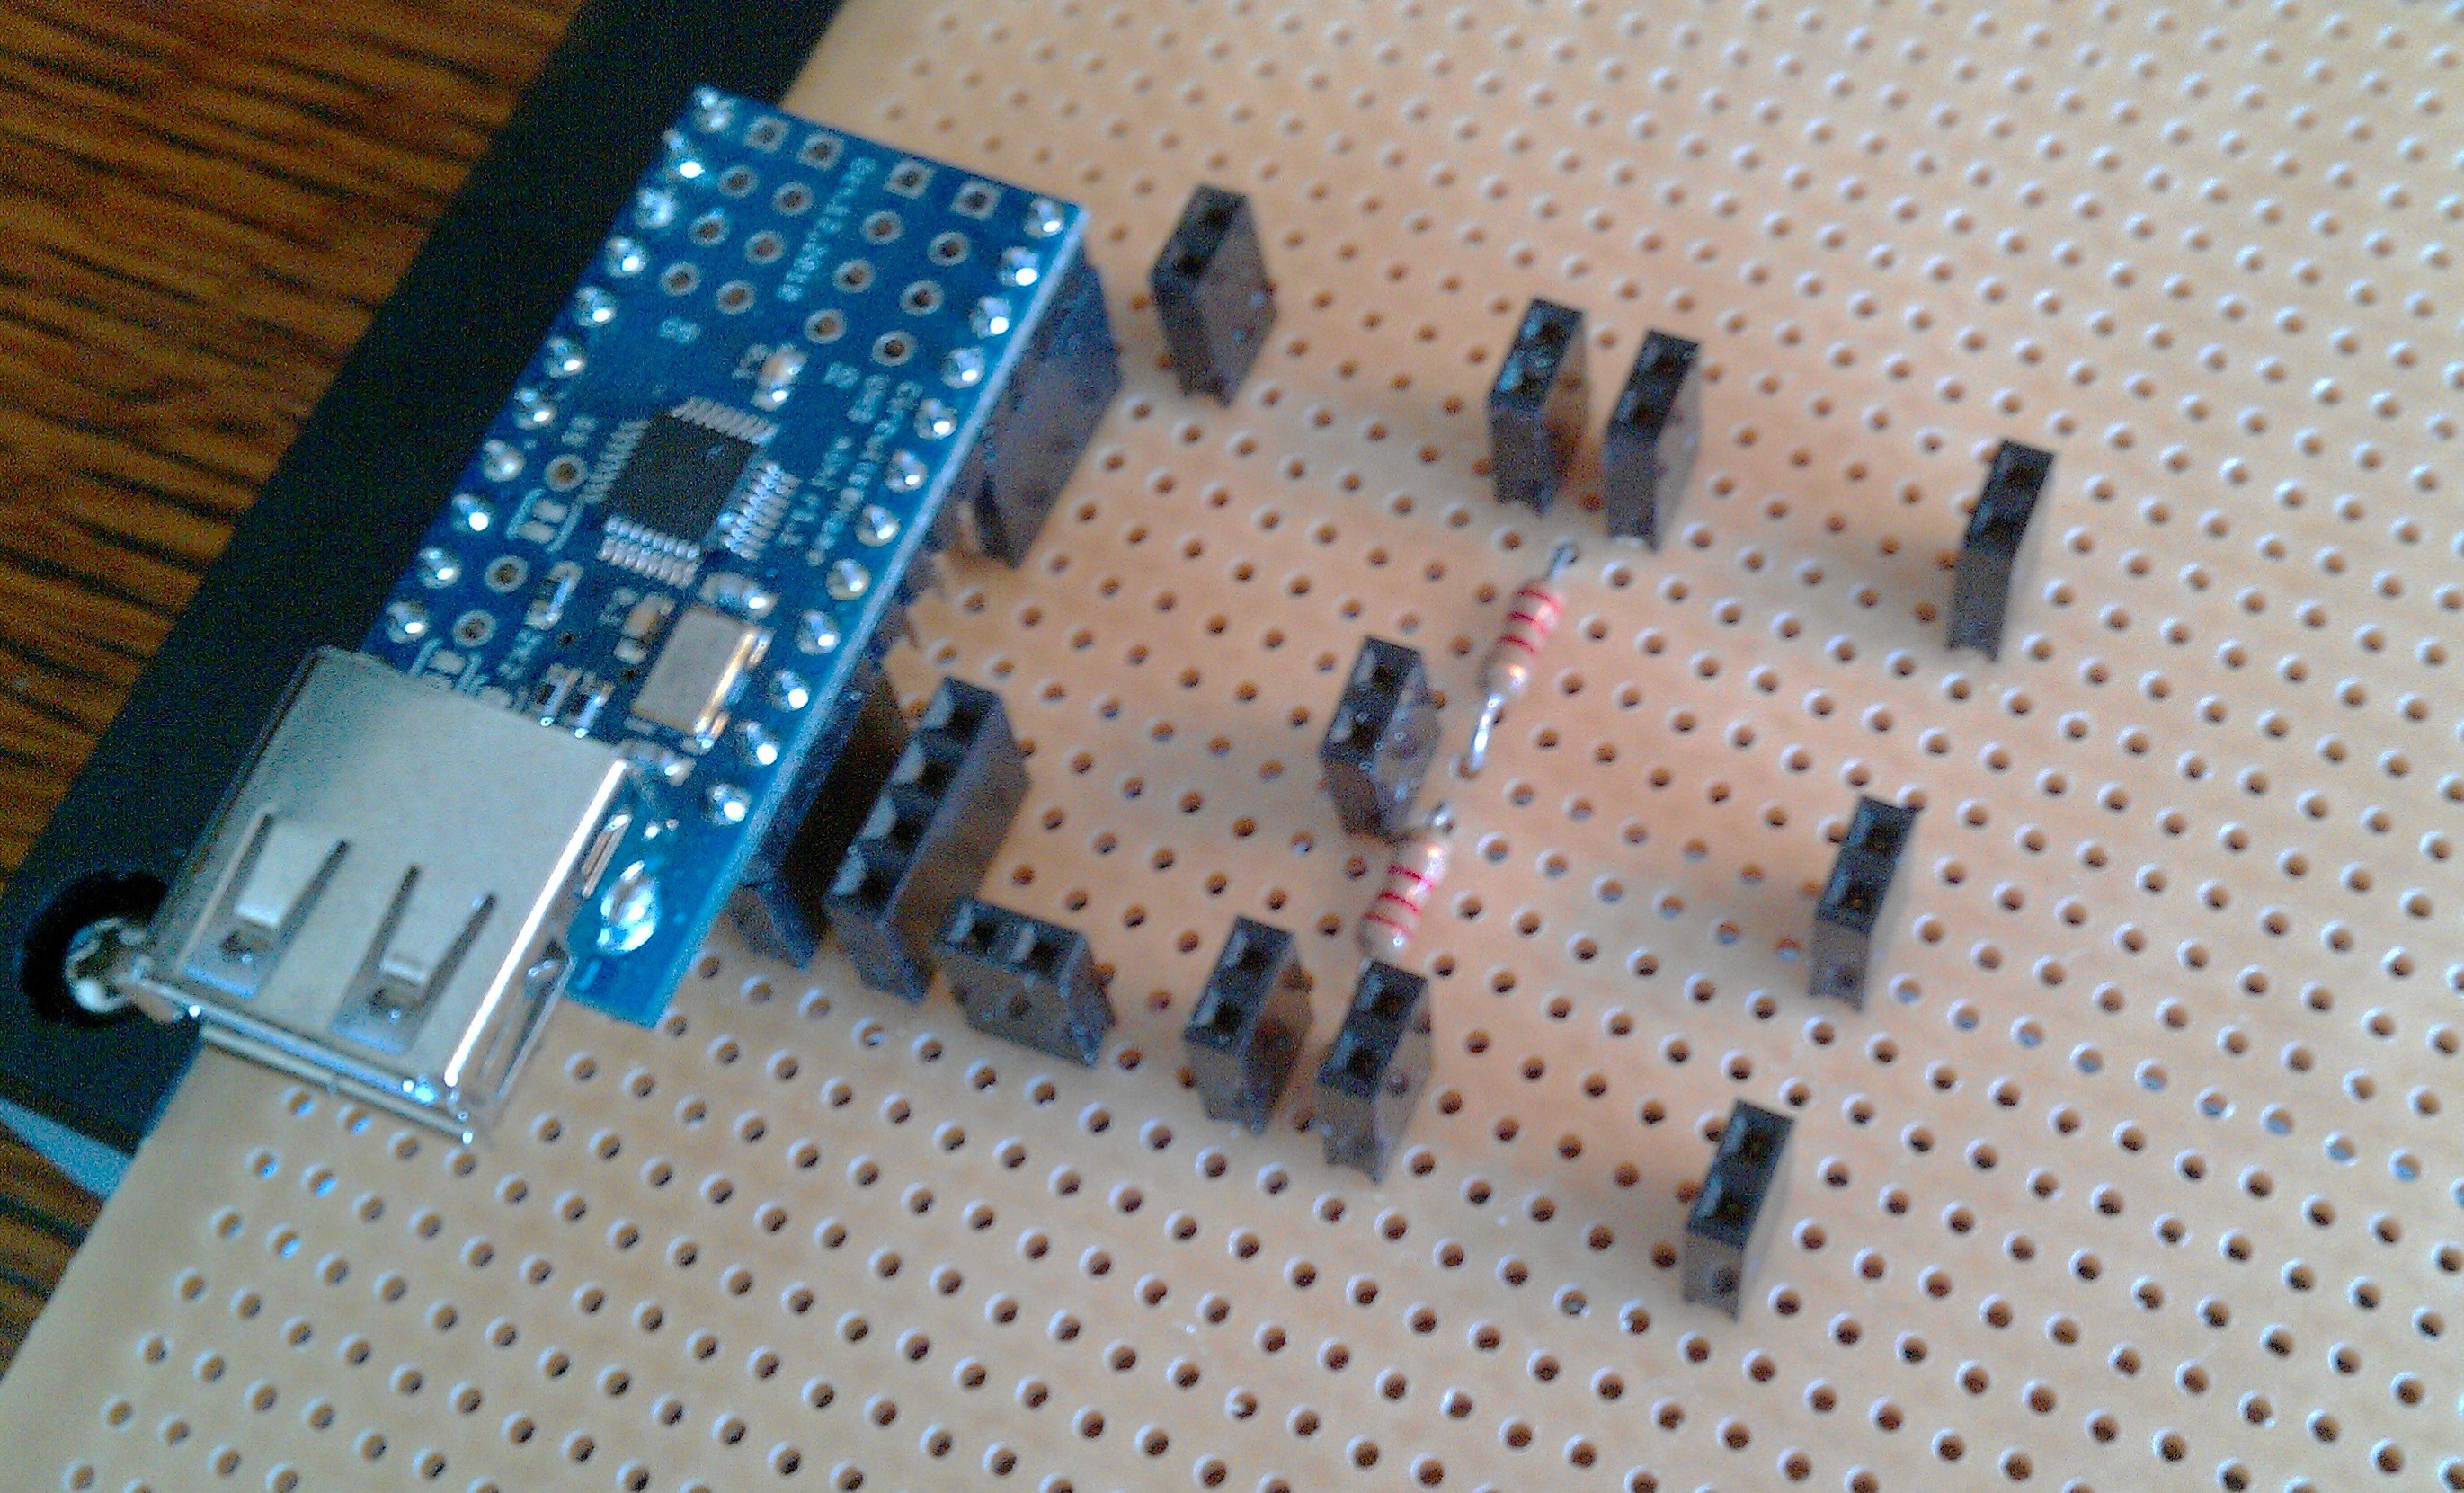
I had two 4.7K
resistors, but one looked deformed and the other I broke a lead off.
I had some others ready if I had to experiment with different values.
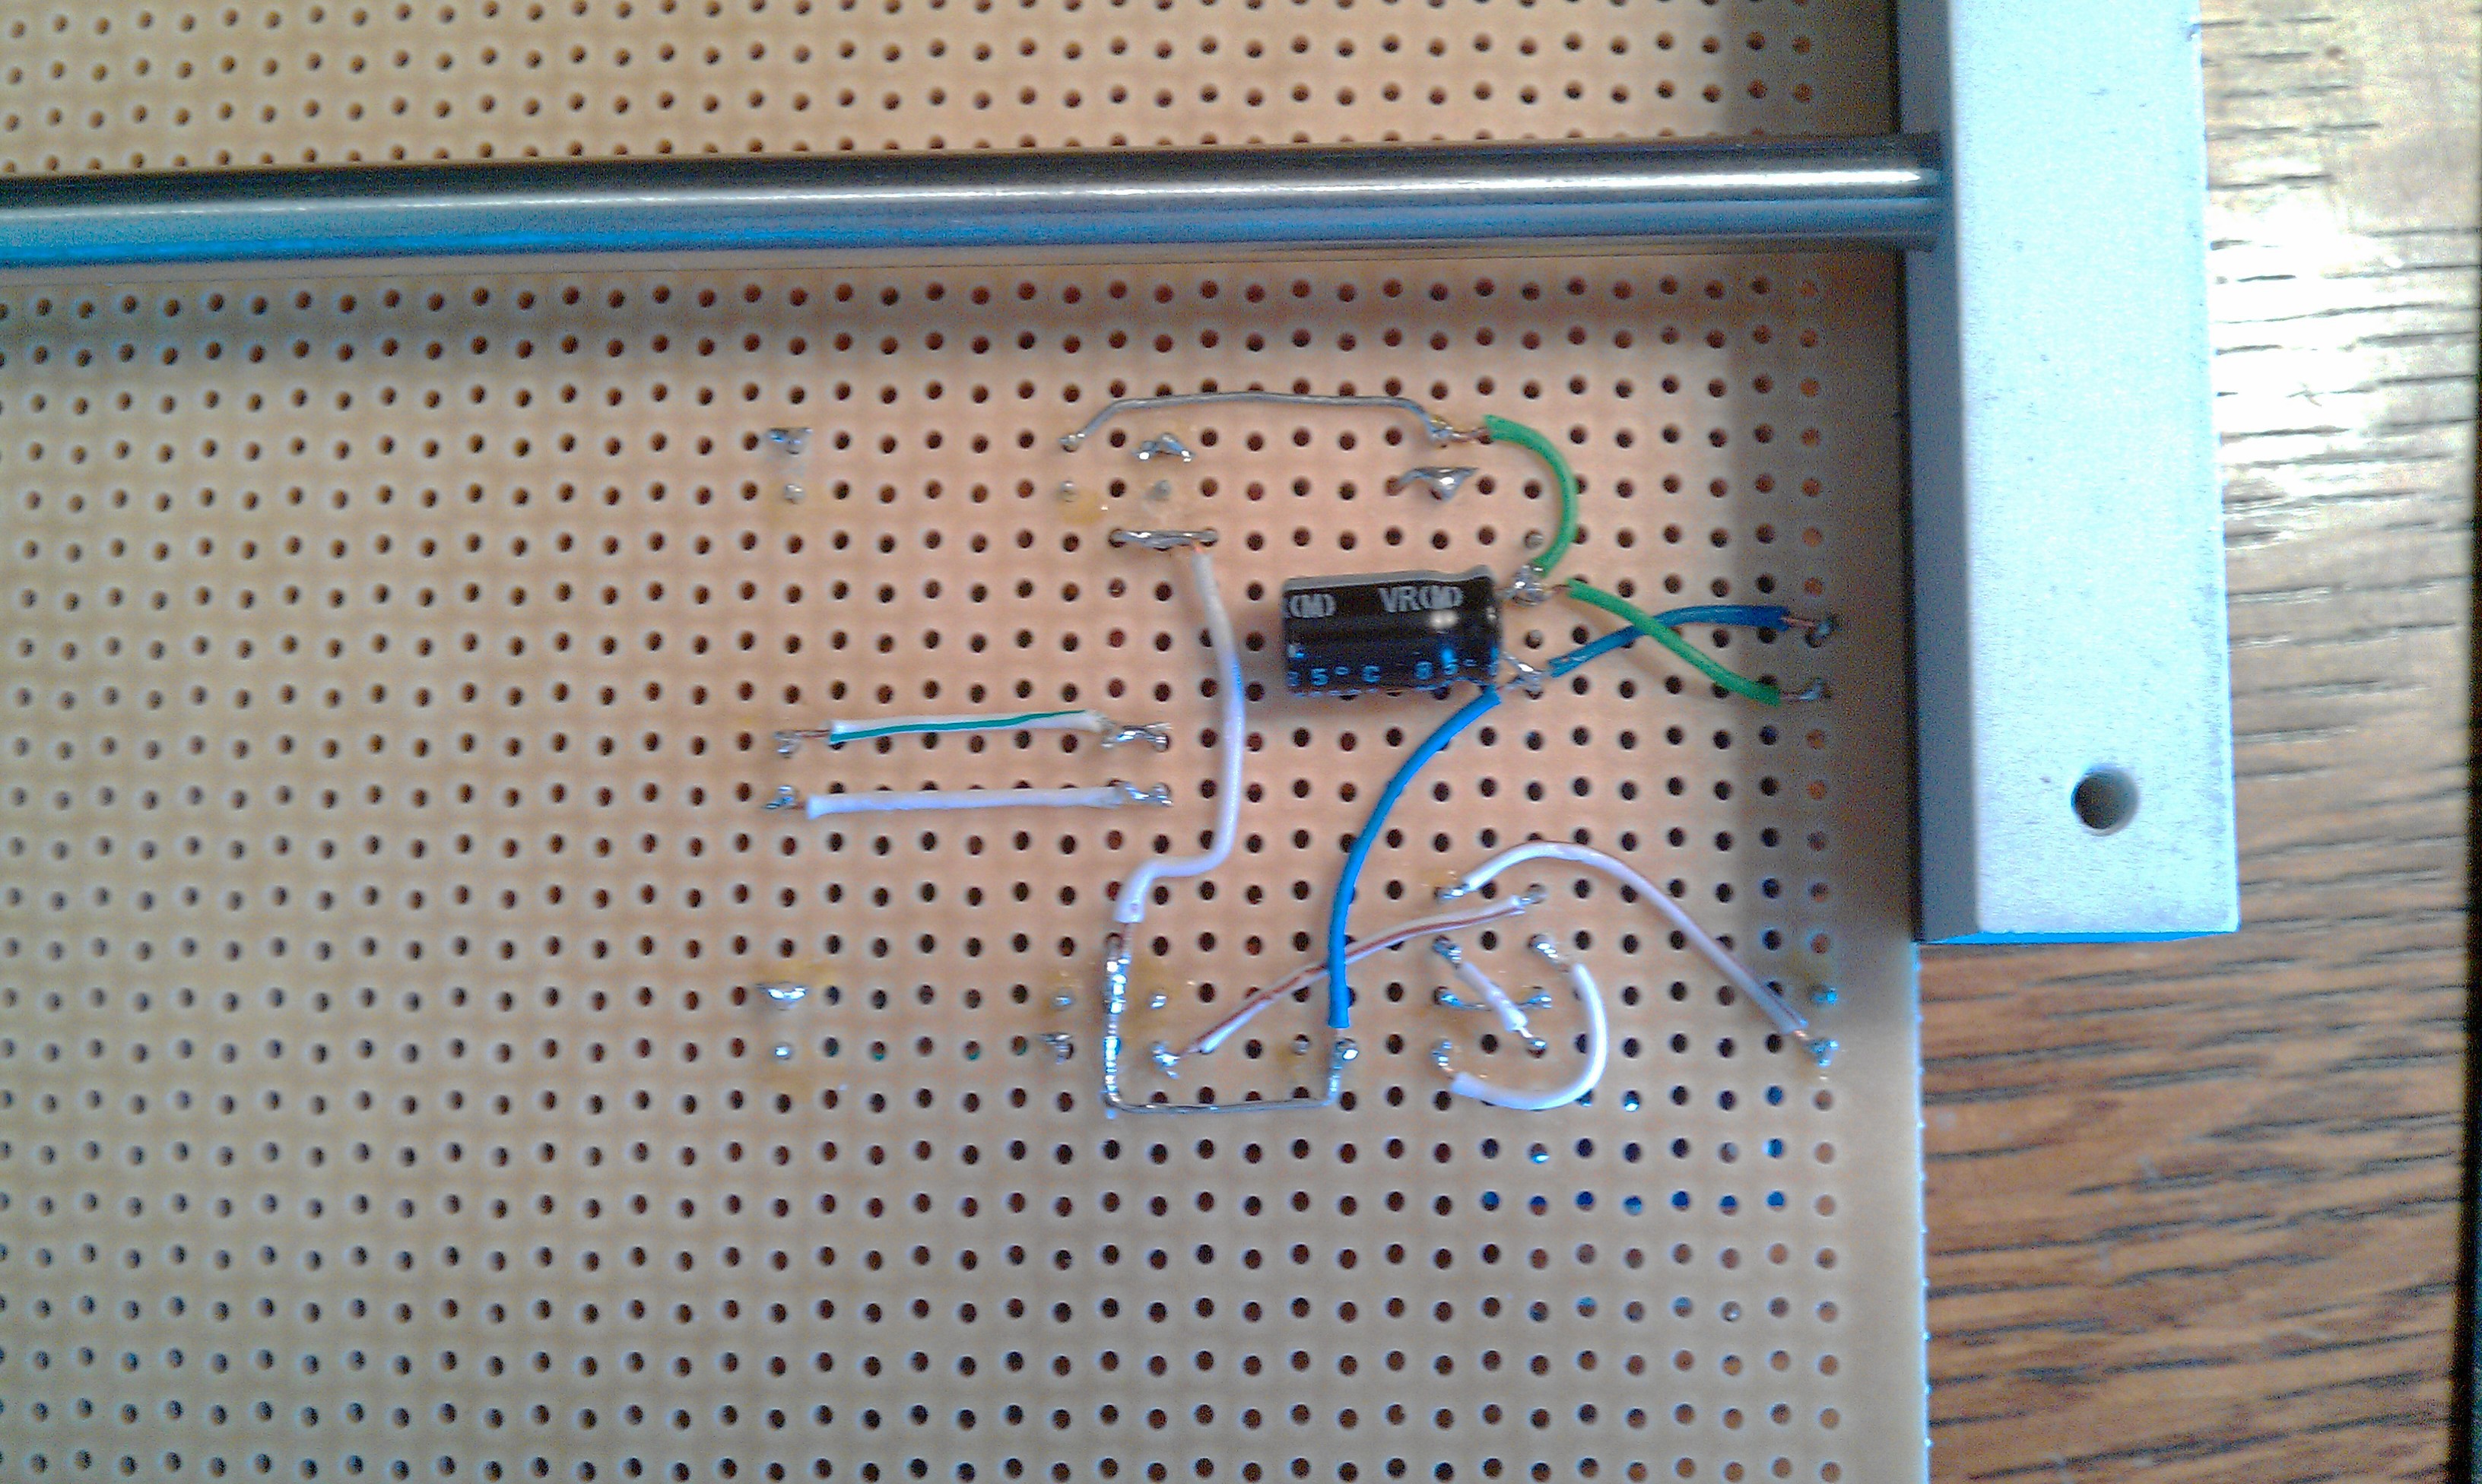
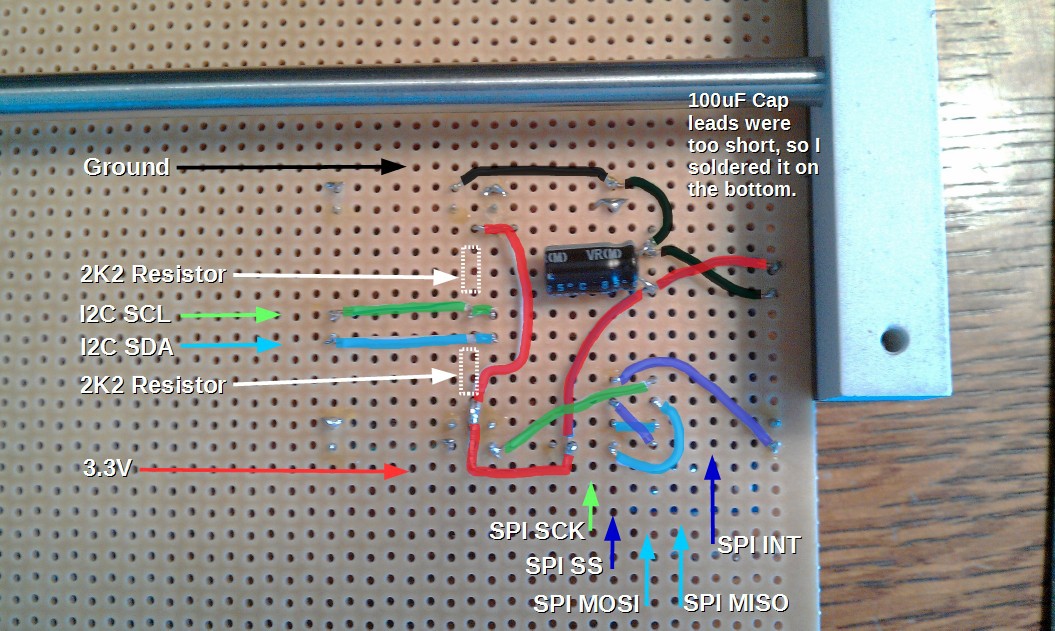
I soldered in two 2.2K resistors and it worked the first time with no
hardware adjustments. I will be ordering better headers for the farm soon.


I am hoping I might find a cure. I have not researched it yet because I have been so busy with the software. My meter says it has 5V and 3.3V on the board, otherwise very brickish. It seemed to happen when I was screwing up the I2C bytes being transferred.
My workarounds, for now.
The Teensy 3.1 acts like the master and as the first slave at same time by mashing the software together, then the Teensy-LC is added as a second slave. It works for now, but I want to eventually separate them to leave as much spare processing power as possible on the master.
That will allow more flexibility for hardware accessories like encoders and other sensors, or software patches like global acceleration and cross platform gestures for example.
I used the basic Arduino wire library
Having very small functions that are coordinated together worked the best. I used: write three bytes, end, on receive get three bytes, repeat. I didn't know I would have to calculate by own method of transferring 7 bit bytes on both ends with 8 bit positive and negative mouse data (-127 to +127 for each axis). The Arduino site is usually not much help, but this worked. I kept it really simple.
http://playground.arduino.cc/Main/WireLibraryDetailedReference
I2c and big numbers: http://forum.arduino.cc/index.php?topic=78528.0
https://www.arduino.cc/en/Tutorial/MasterWriter
Translation of previous paragraph :
#include <Wire.h>
Master:
int actualX;
int getX;
char type = 'x';
uint8_t  x = 0;
uint8_t  y = 0;

void wiresend()
{
  Wire.beginTransmission(1);
  Wire.write(type);
  Wire.write(x);
  Wire.write(y);
  Wire.endTransmission();  // See Wire.onReceive
}
void loop()
{
// actualX is the x axis mouse data recieved
getX = actualX + 127;
x = highByte(getX);
y = lowByte(getX);
wiresend();
//Plus other data...
}Slave:void getMouse (int x)
{
type = Wire.read();
x = Wire.read();
y = Wire.read();
}
void setup()
{
Serial.begin(115200);
Wire.begin(1);
Wire.onReceive(getMouse);
}
void loop()
{
if (type == 'x') {
actualX = (word(x, y)) – 127;
//Plus the y axis and other data…
}
 frankstripod
Discussions
Become a Hackaday.io Member
Create an account to leave a comment. Already have an account? Log In.
If I were you I would buy the chip on the Teensy and just solder a new one on if you have access to rework tools that is. I did this with my chipkit board when I bricked the pic32 with a short. Just sample ordered a new micro and soldered it on.
Are you sure? yes | no
Great suggestion!
Are you sure? yes | no
That's a lot of exclamation points!
I'm sure I could find a way to scare you about your I2C setup!
This is a great write-up!
Are you sure? yes | no
Thank you! The first step is always the scariest.
Are you sure? yes | no