 Audrey Robinel
In a fishroom, you have aquariums. In aquariums, you have water. Water comes from the tap, and i have no tap in the room. So let's add it!
First step is to locate a close tapwater pipe. Since this fishroom was a bedroom, there's no plumbing in it. Hopefully, in the garden behind, i have a hose to water the plants.
I thus shut down the house main water valve, then cut the pipe i had located to insert a T.
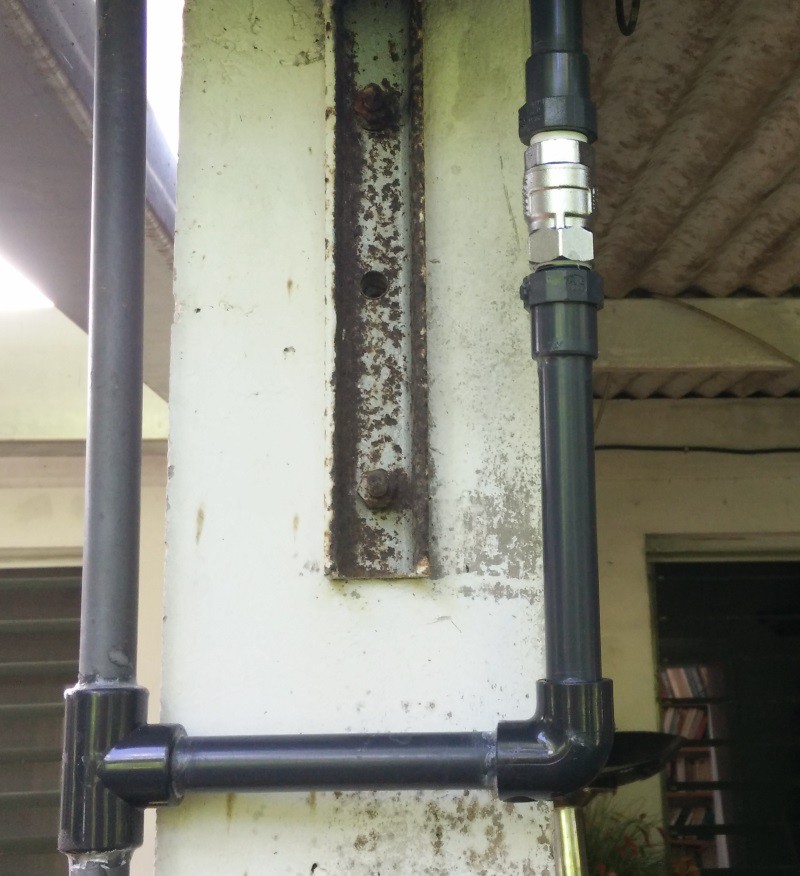
Right after this T, i added a valve, so that i could work on the piping without cutting water for the whole house.
So, this was just a matter of cutting some 20mm pipes, glue those together, some teflon tape on the 3/4 fittings for the valve, a few elbows, and voila, i have diverted some of the water for my needs.
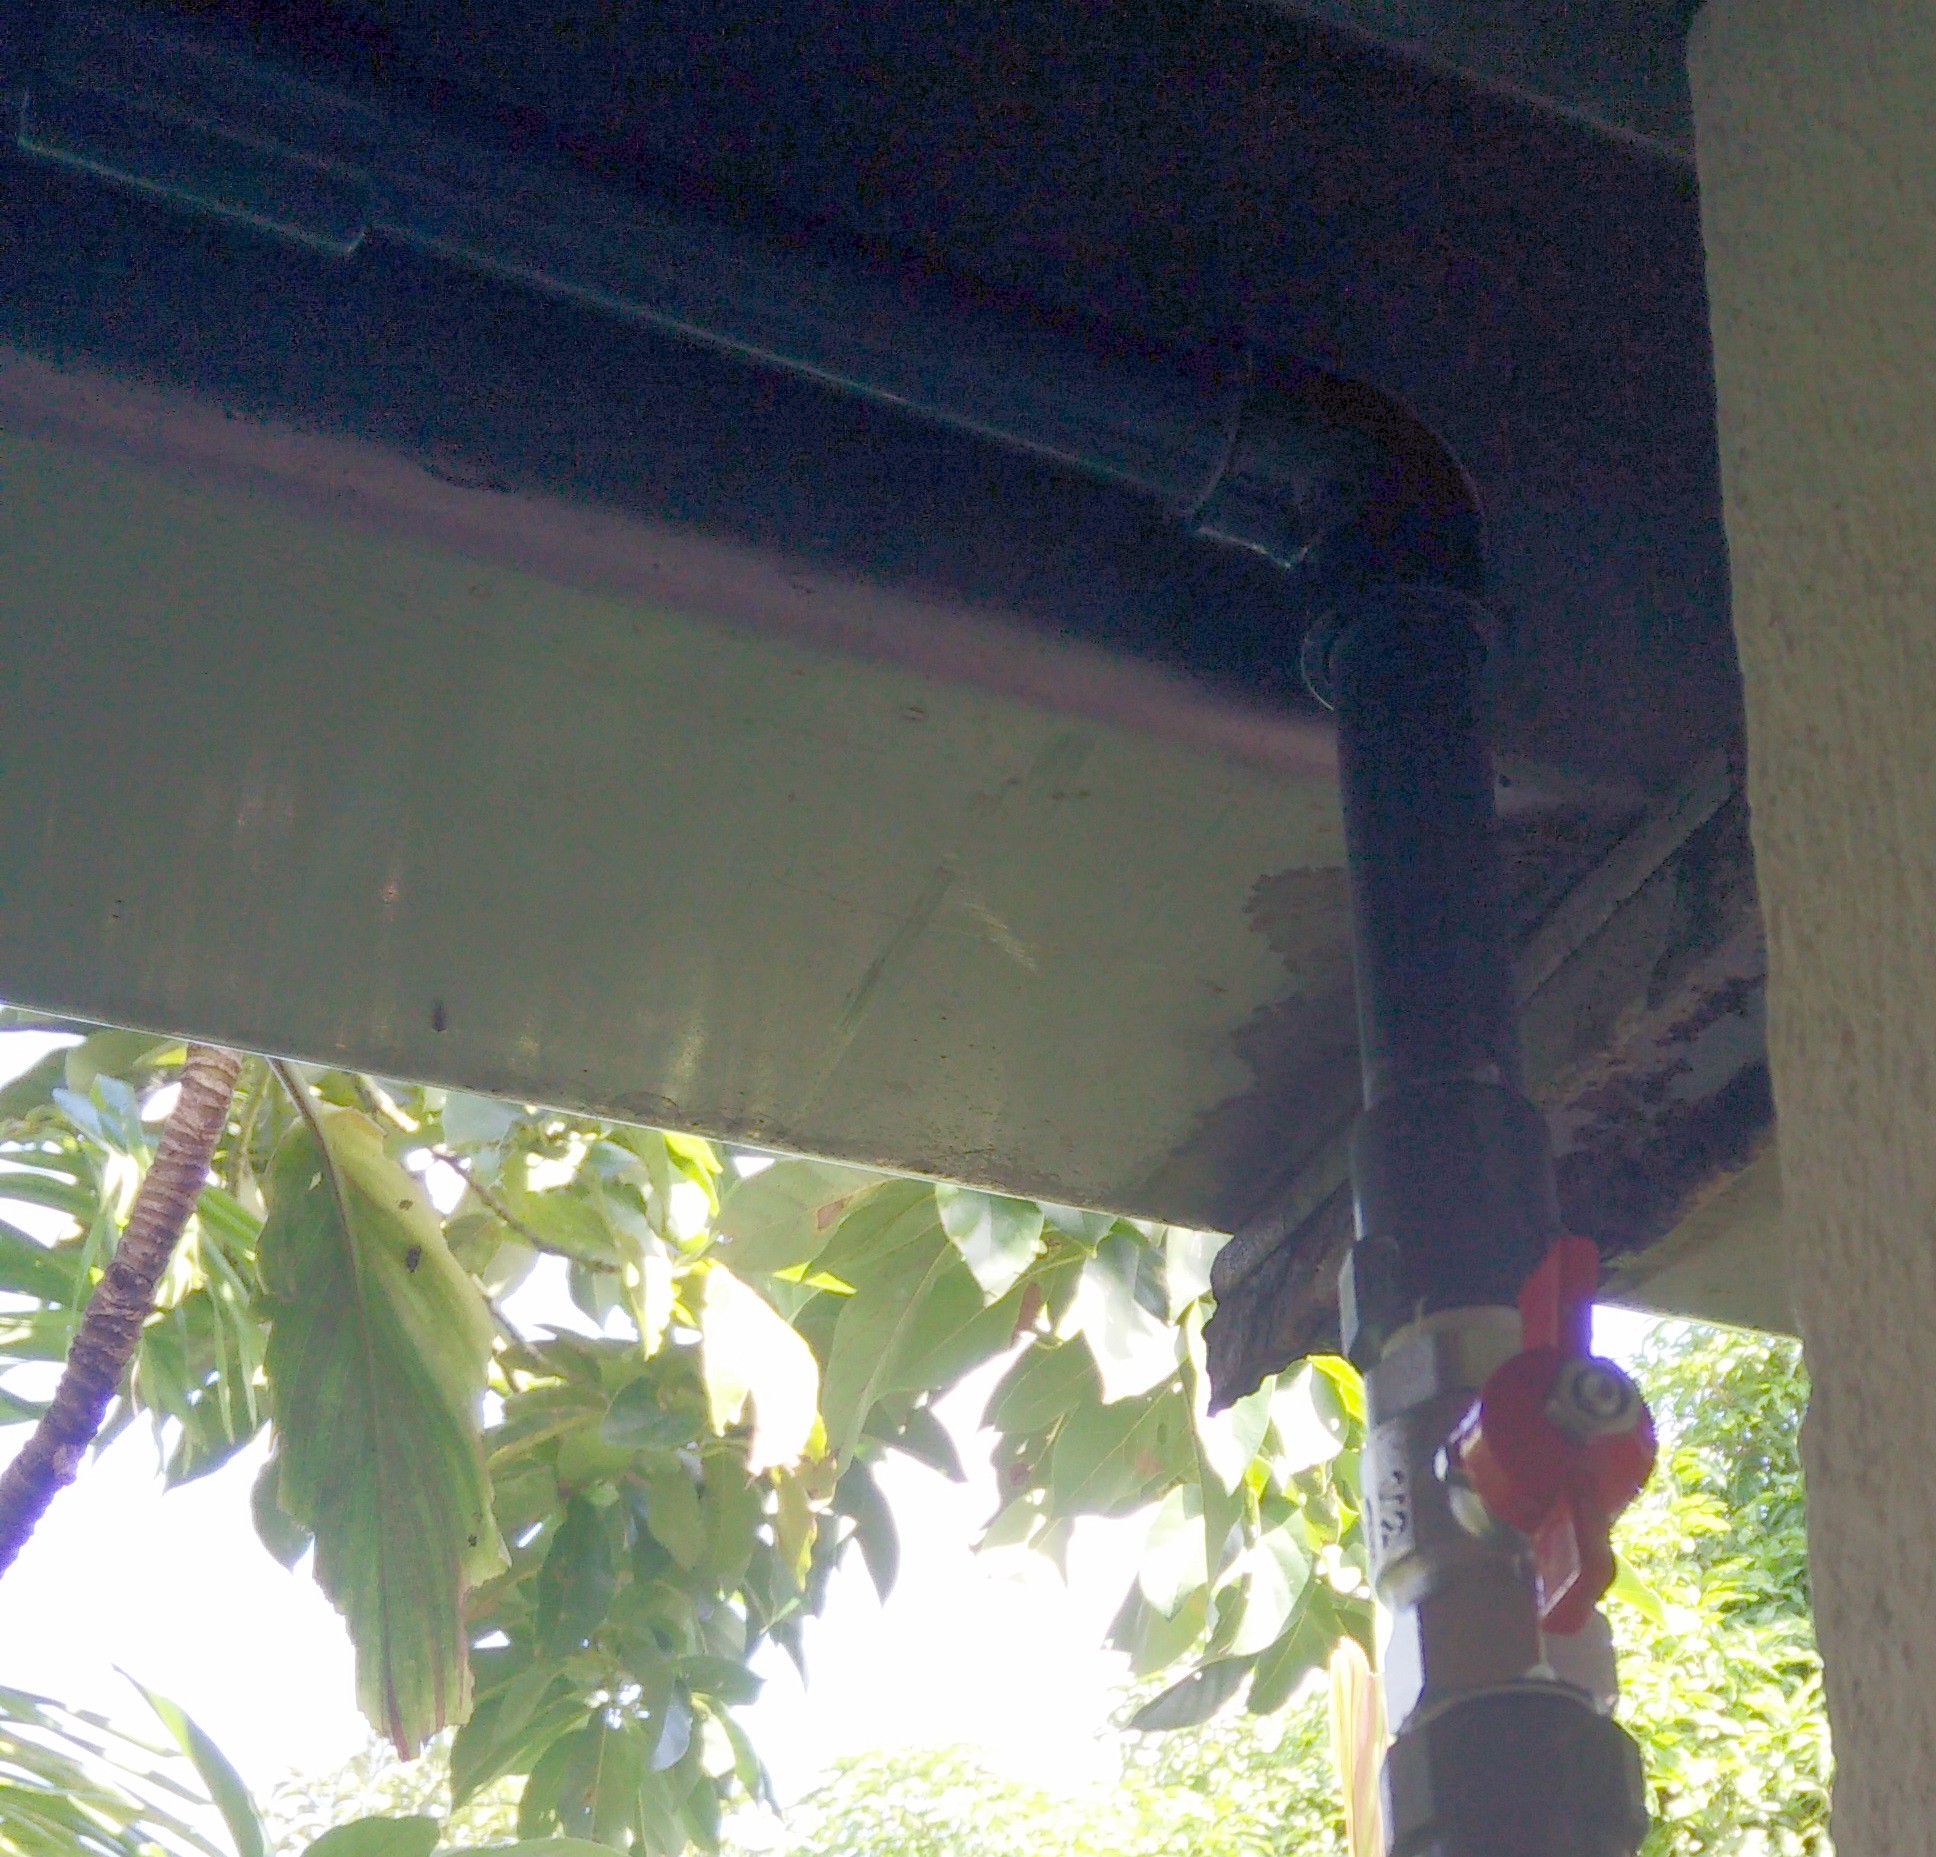
I made the pipe hug the roof to hide it better.
Now, i'm near the wall of my fishroom. The only way to get it in is to drill. So did i do that with a good drill made for that. I started with a thin bit, then worked my way up to a 20mm SDS bit.
Of course, the concrete has rebar (in Guadeloupe, we always do it, because of sismic risks), so i had to cut it. It took some time, but i managed to, although it was my first time drilling trough a wall completely, and using such large drills.
I could then slide a pipe in the hole, and glue it to the rest of the piping.
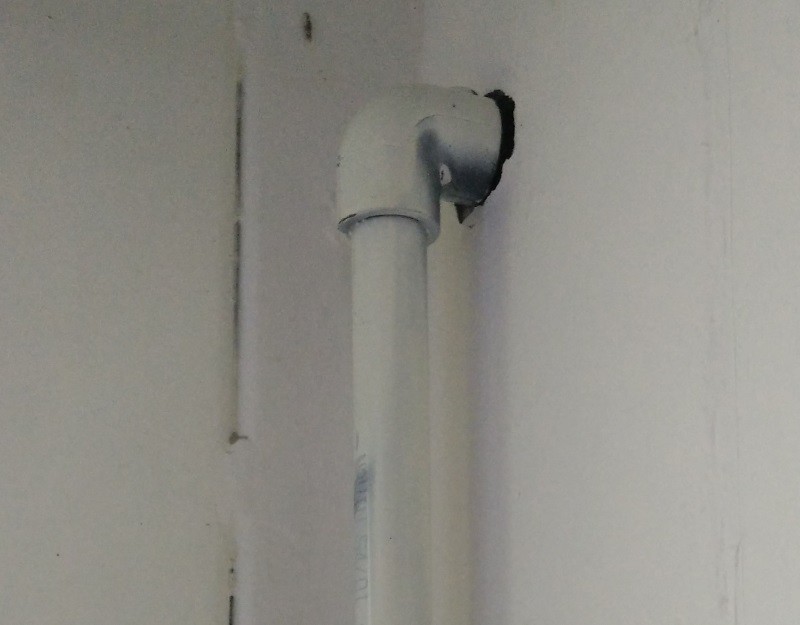
From there, i used the same elbows and pipes to get to where i wanted to. I painted the pvc pipe in white to make it less obvious against the wall.
Now let's see the end of those pipes.
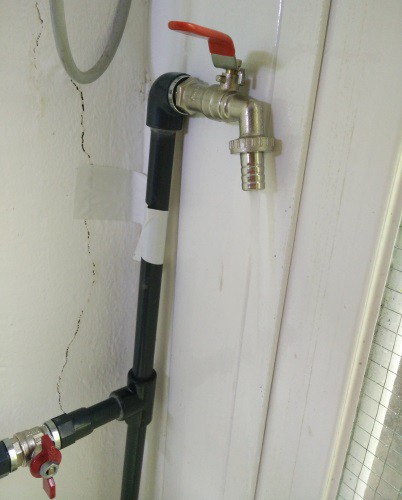
I installed a regular garden tap, and i'll build a nice wooden sink under it later.
Lower, i also installed a valve that will feed a system that will automatically fill my water reservesn and let the chlore in the water evaporate before moving it to another holding tank from where it will be pumped to my aquariums when needs be.
The plan is to use electro valves, but for now i have the manual valve so that i can shut this part off while i'm building it.
All in all, it was not so difficult, even if i had never done any plumbing before.
I still have to install the pipes fixations, the sink, and the water evacuation pipes, but that's a first step :)
Discussions
Become a Hackaday.io Member
Create an account to leave a comment. Already have an account? Log In.