Its been a while since I have been posting updates but I assure you work has not stopped. Since the last update HydroPWNics was featured on the Hackaday blog, for me this was very exciting as a longtime reader, so thankyou everyone!!!!
First off there have been some small adjustments in the design of the garden system. Originally I was going to deploy the HydroPWNics system on a gutter based ebb/flow and window boxes with dirt. I have since changed plans to build a fence post based NFT hydroponics (https://en.wikipedia.org/wiki/Nutrient_film_technique) system since they are very efficient and simple to construct. The focus of this project is on the hardware/software side of things so I decided to go with a grow system that would be easy for me to source parts for and build. Even though I have switched the type of garden I am still going to automate as much of its function as I can, pump flow rate monitoring, servo actuated level valves, etc. A couple weeks ago I bought alot of the materials and started building the unti.
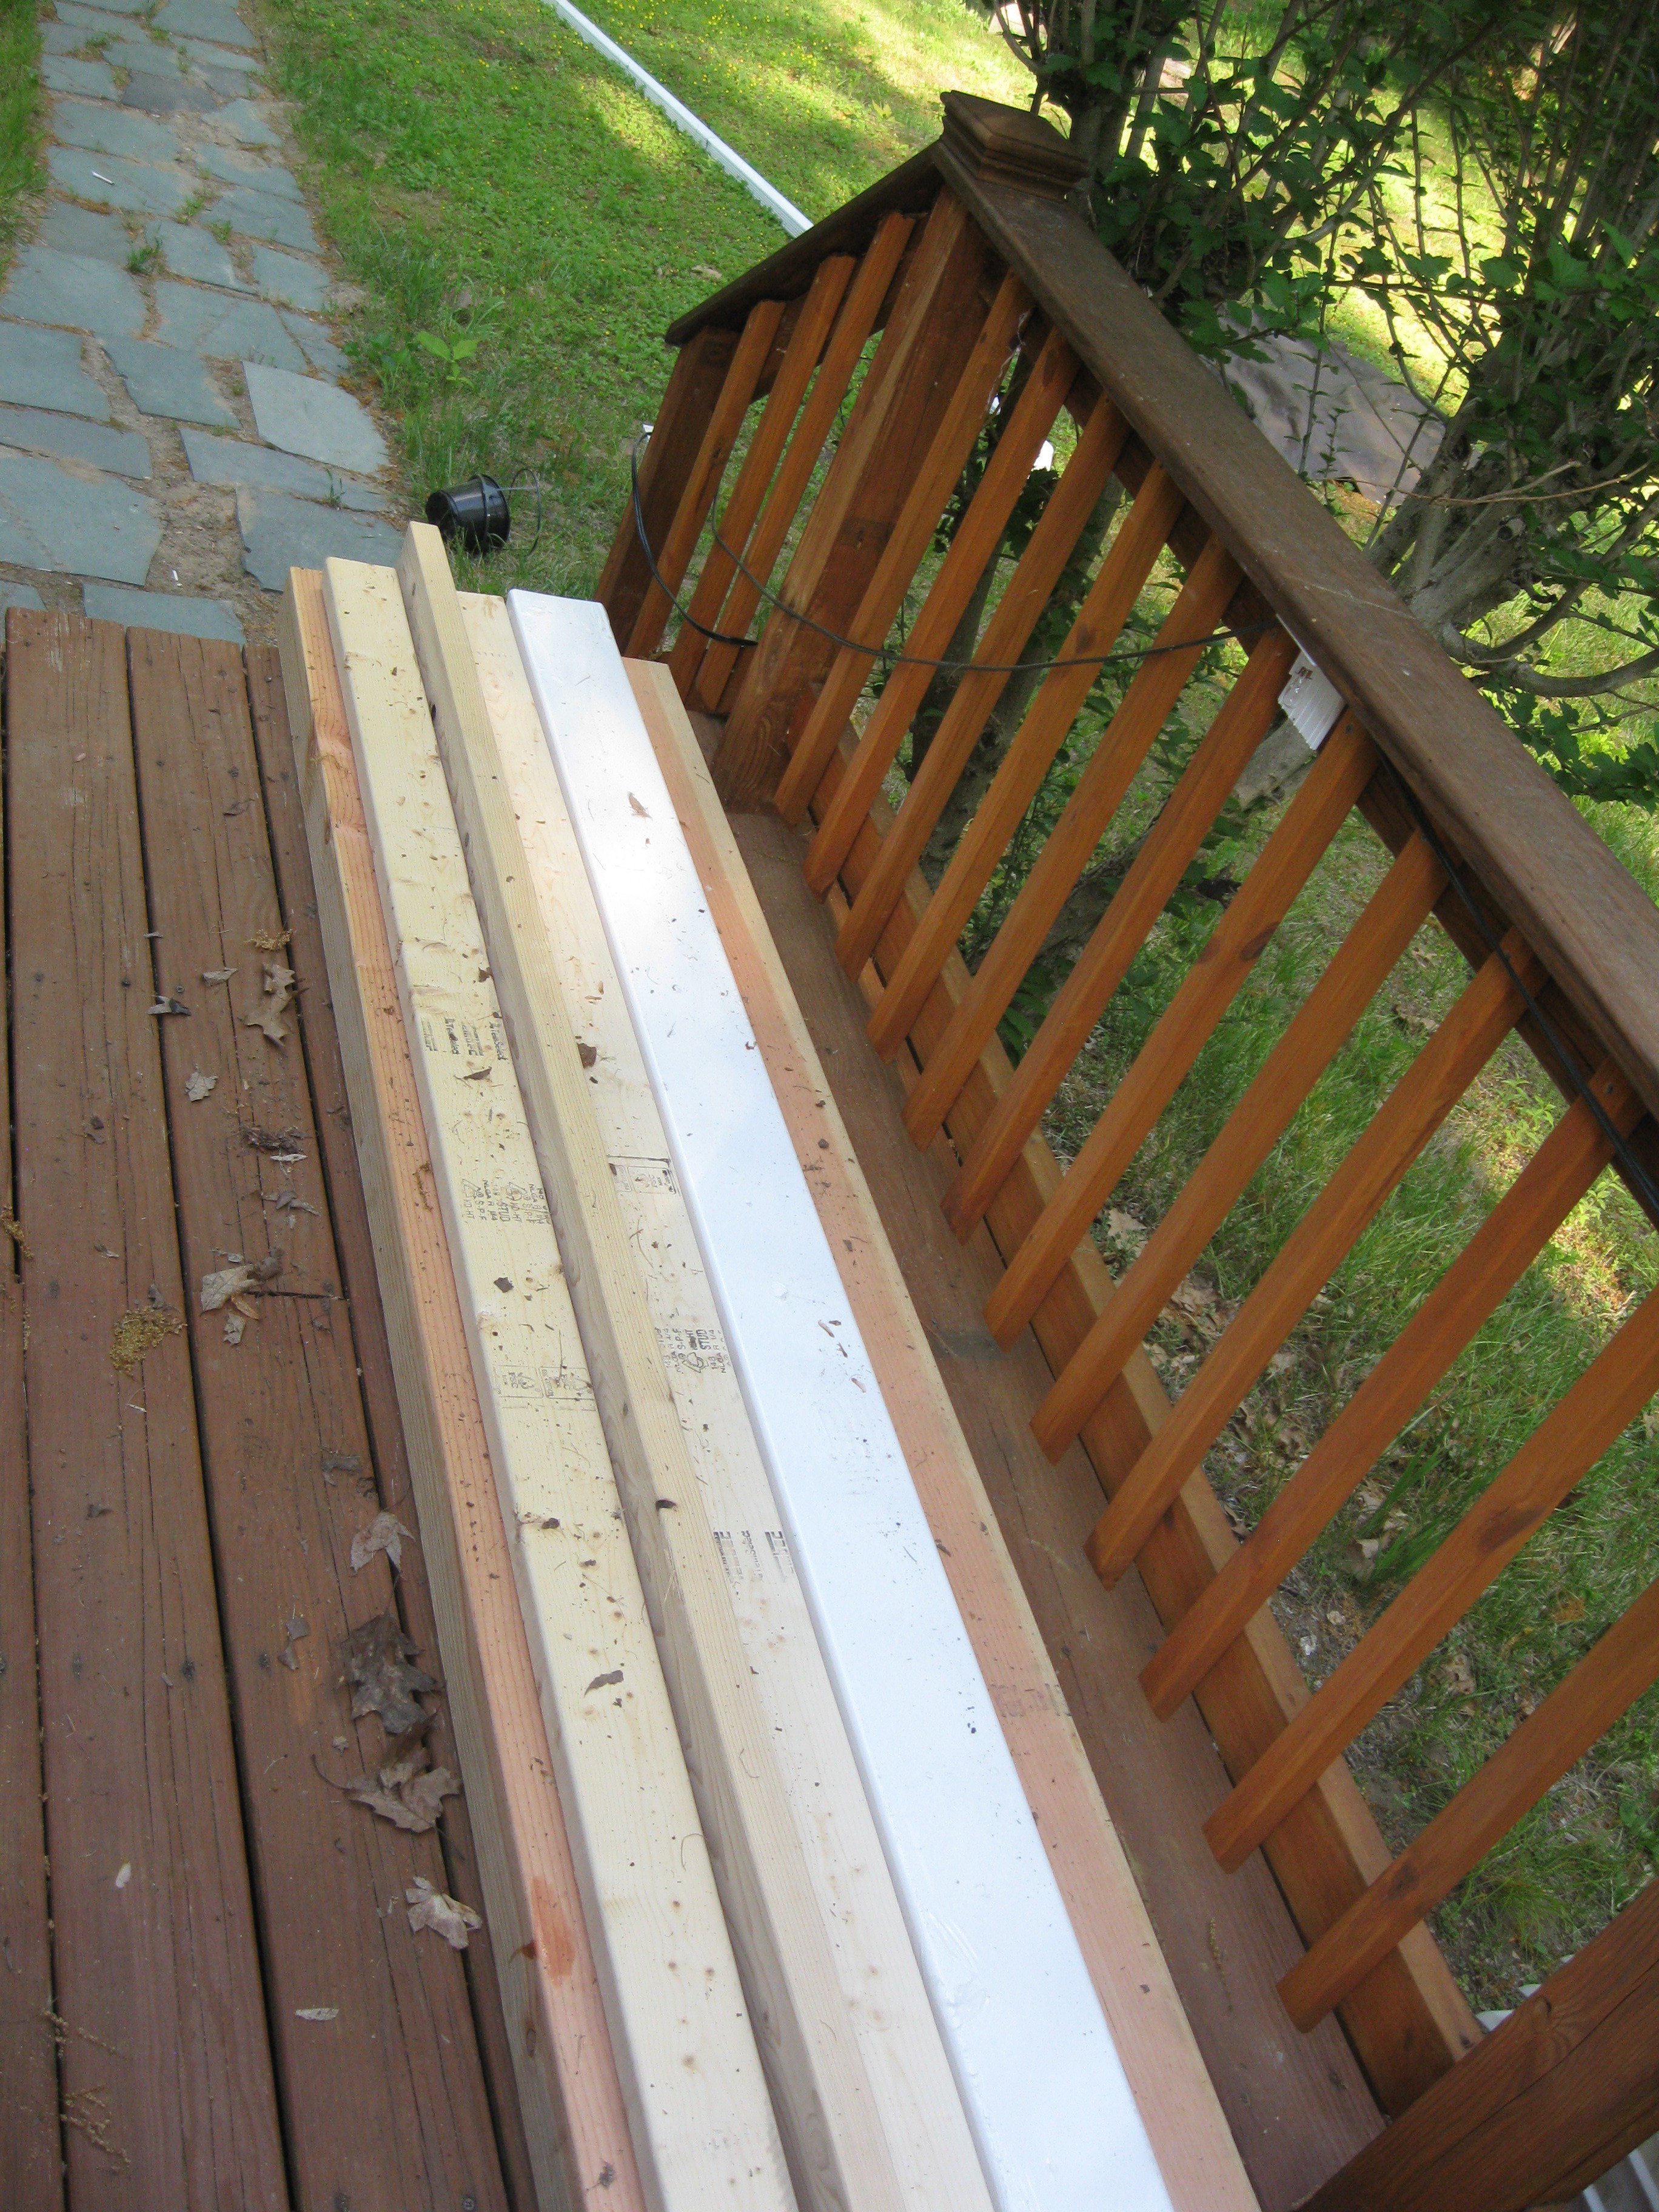
Materials: 2X4s, 4X4s, and 5X5 PVC fence post
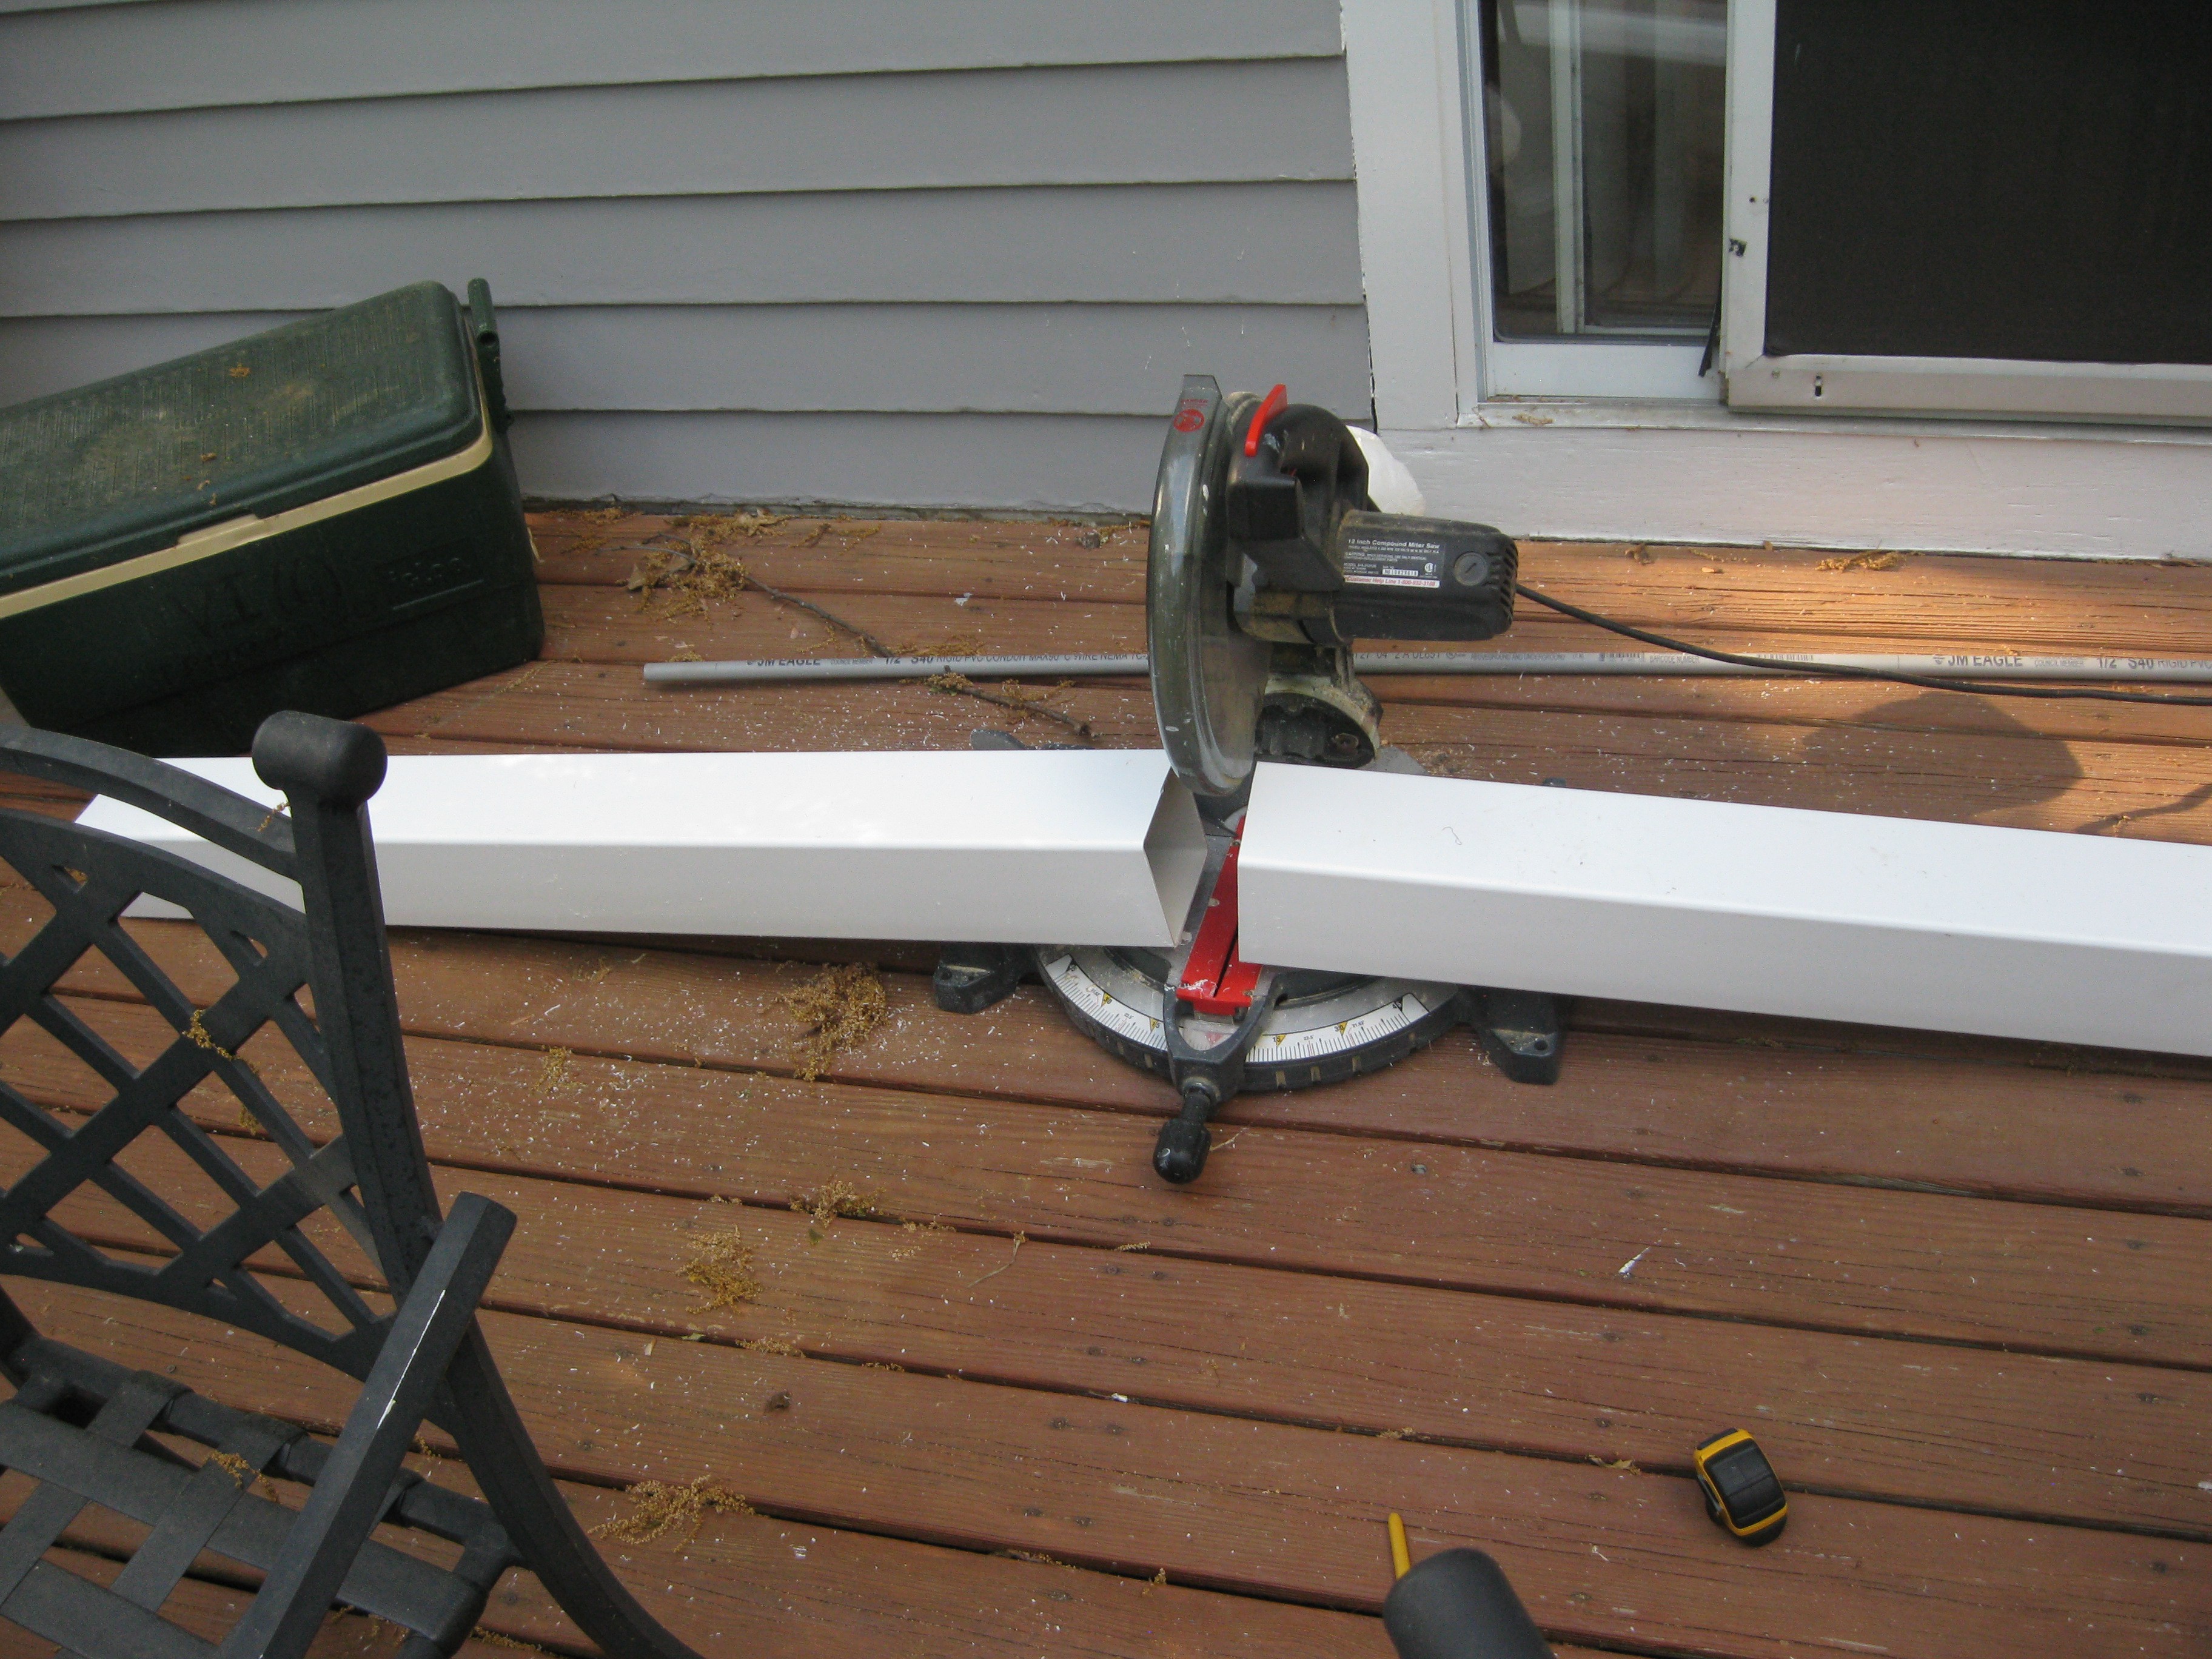
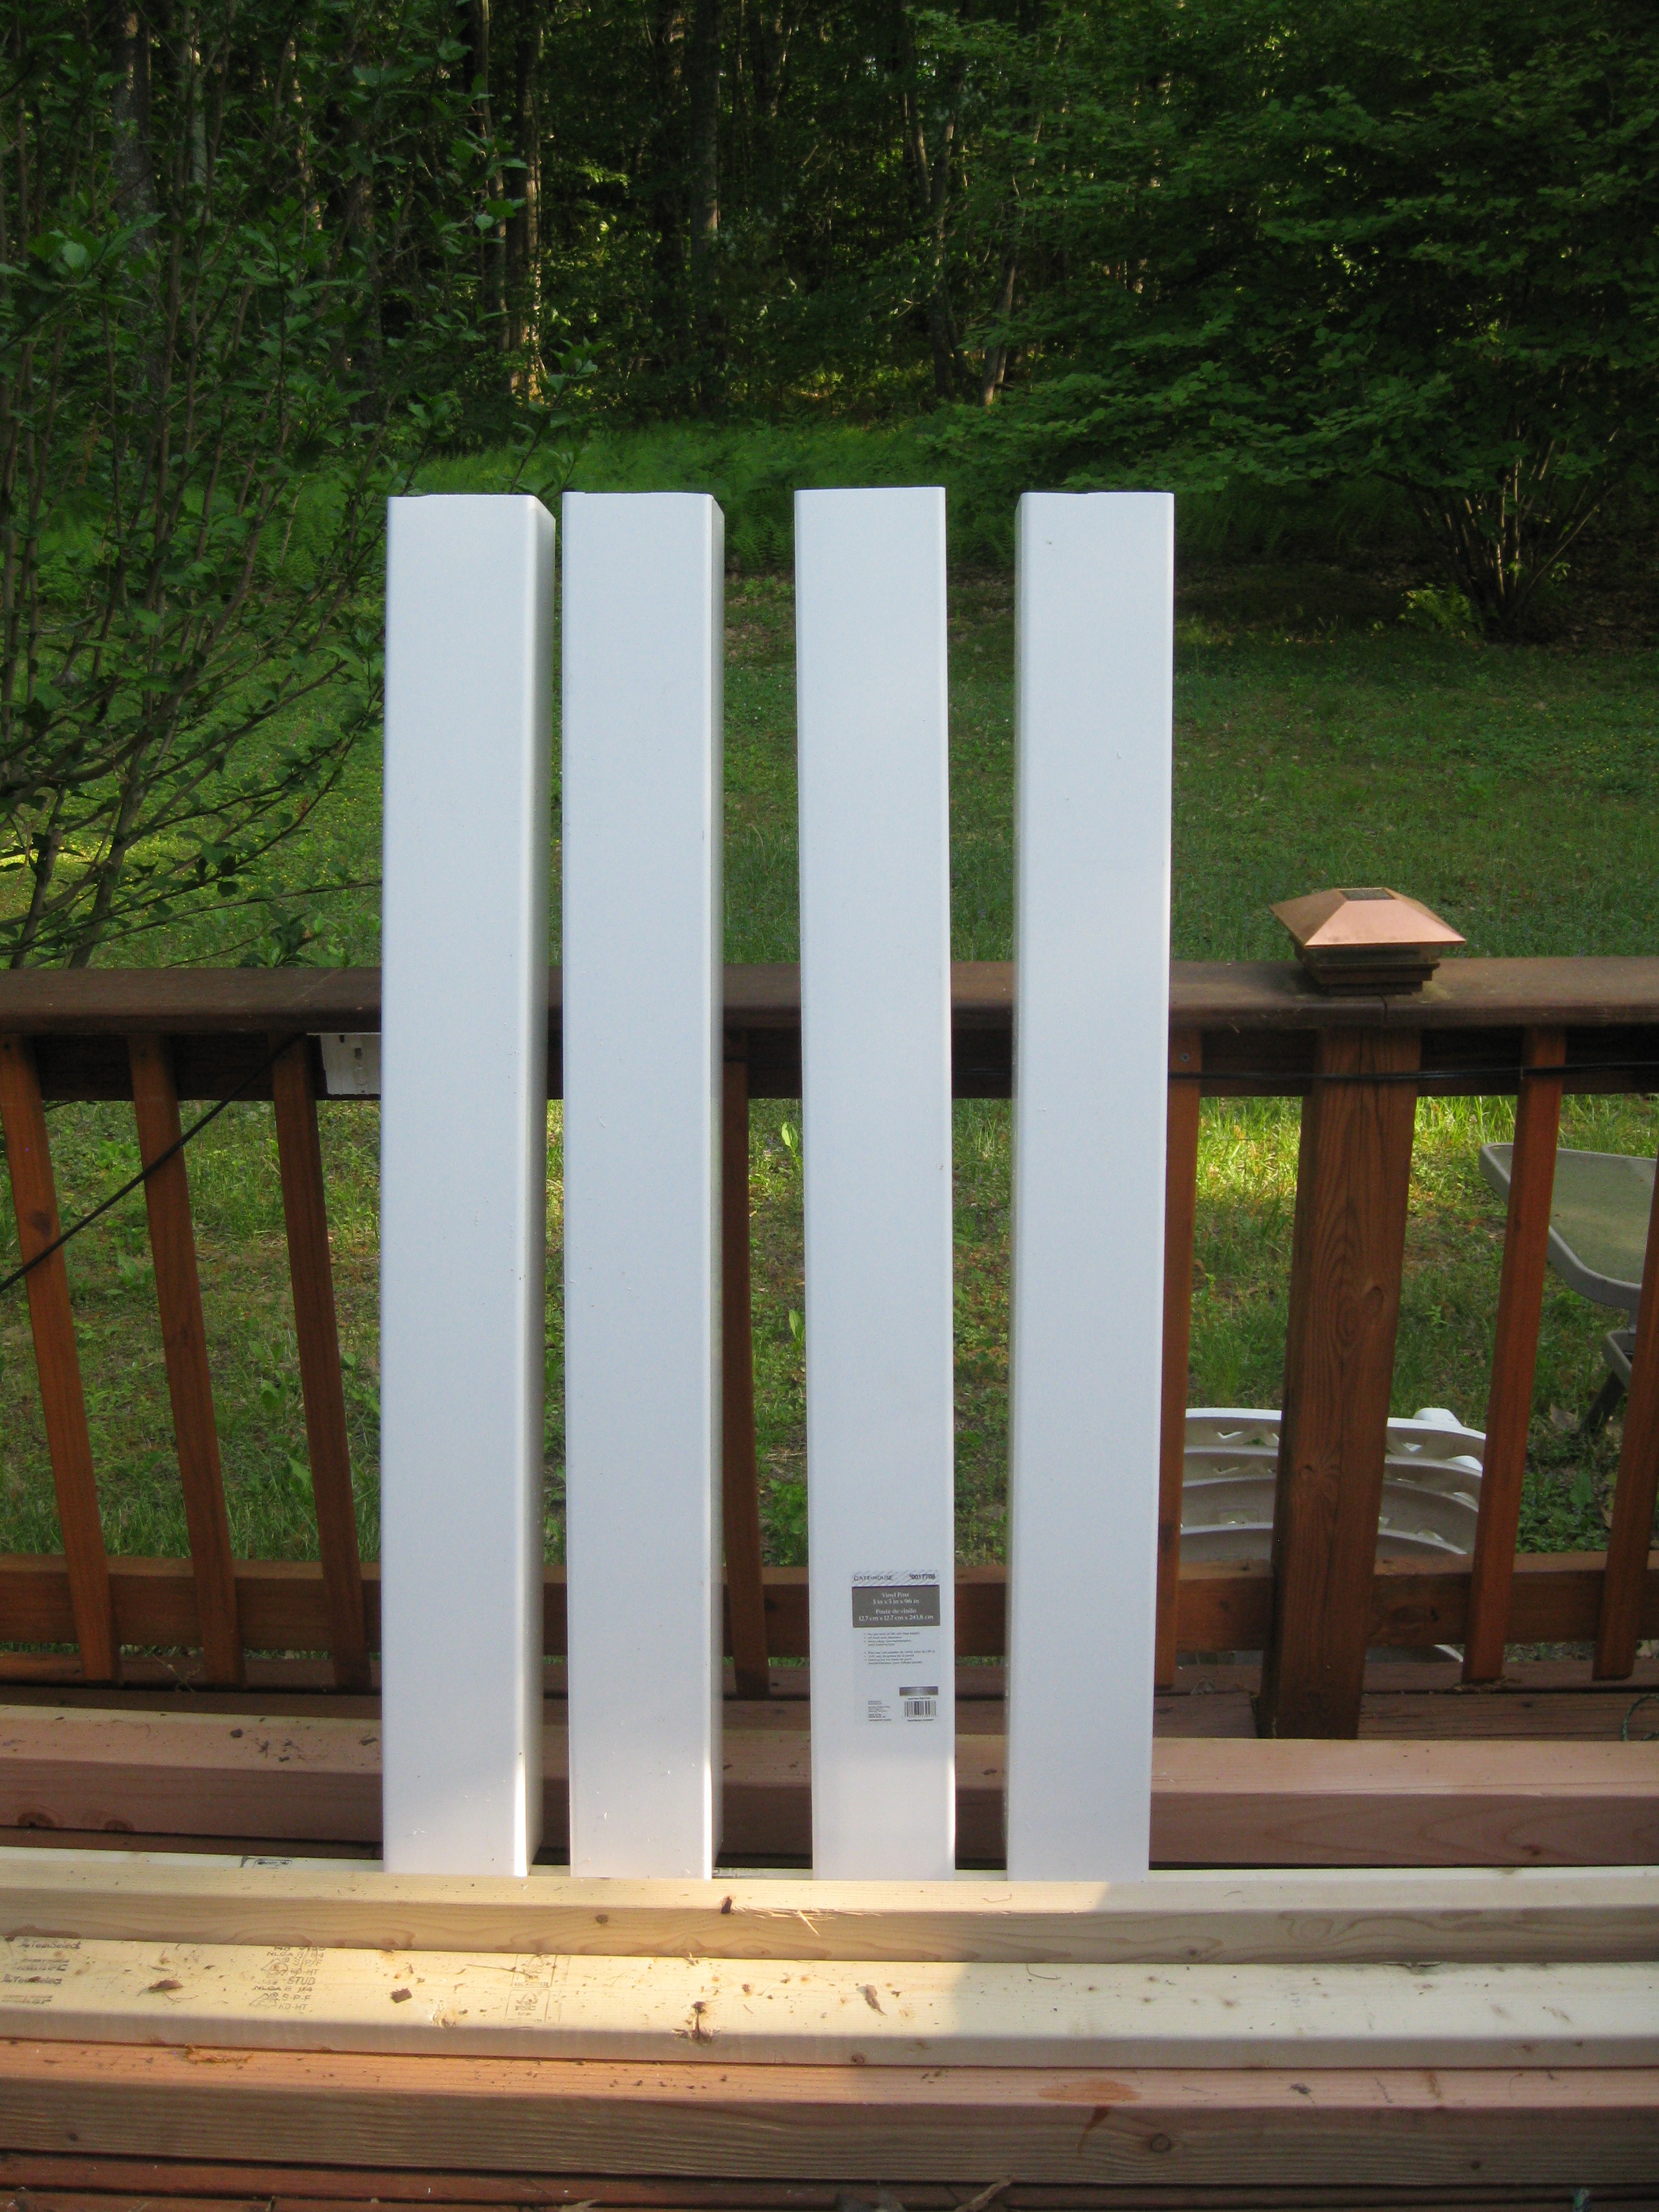
All Cut, the chop saw wasn't big enough to fit the whole width of the post so I had to rotate it 3 times to cut them, I don't recommend this but if you do wear safety glasses and be very careful.
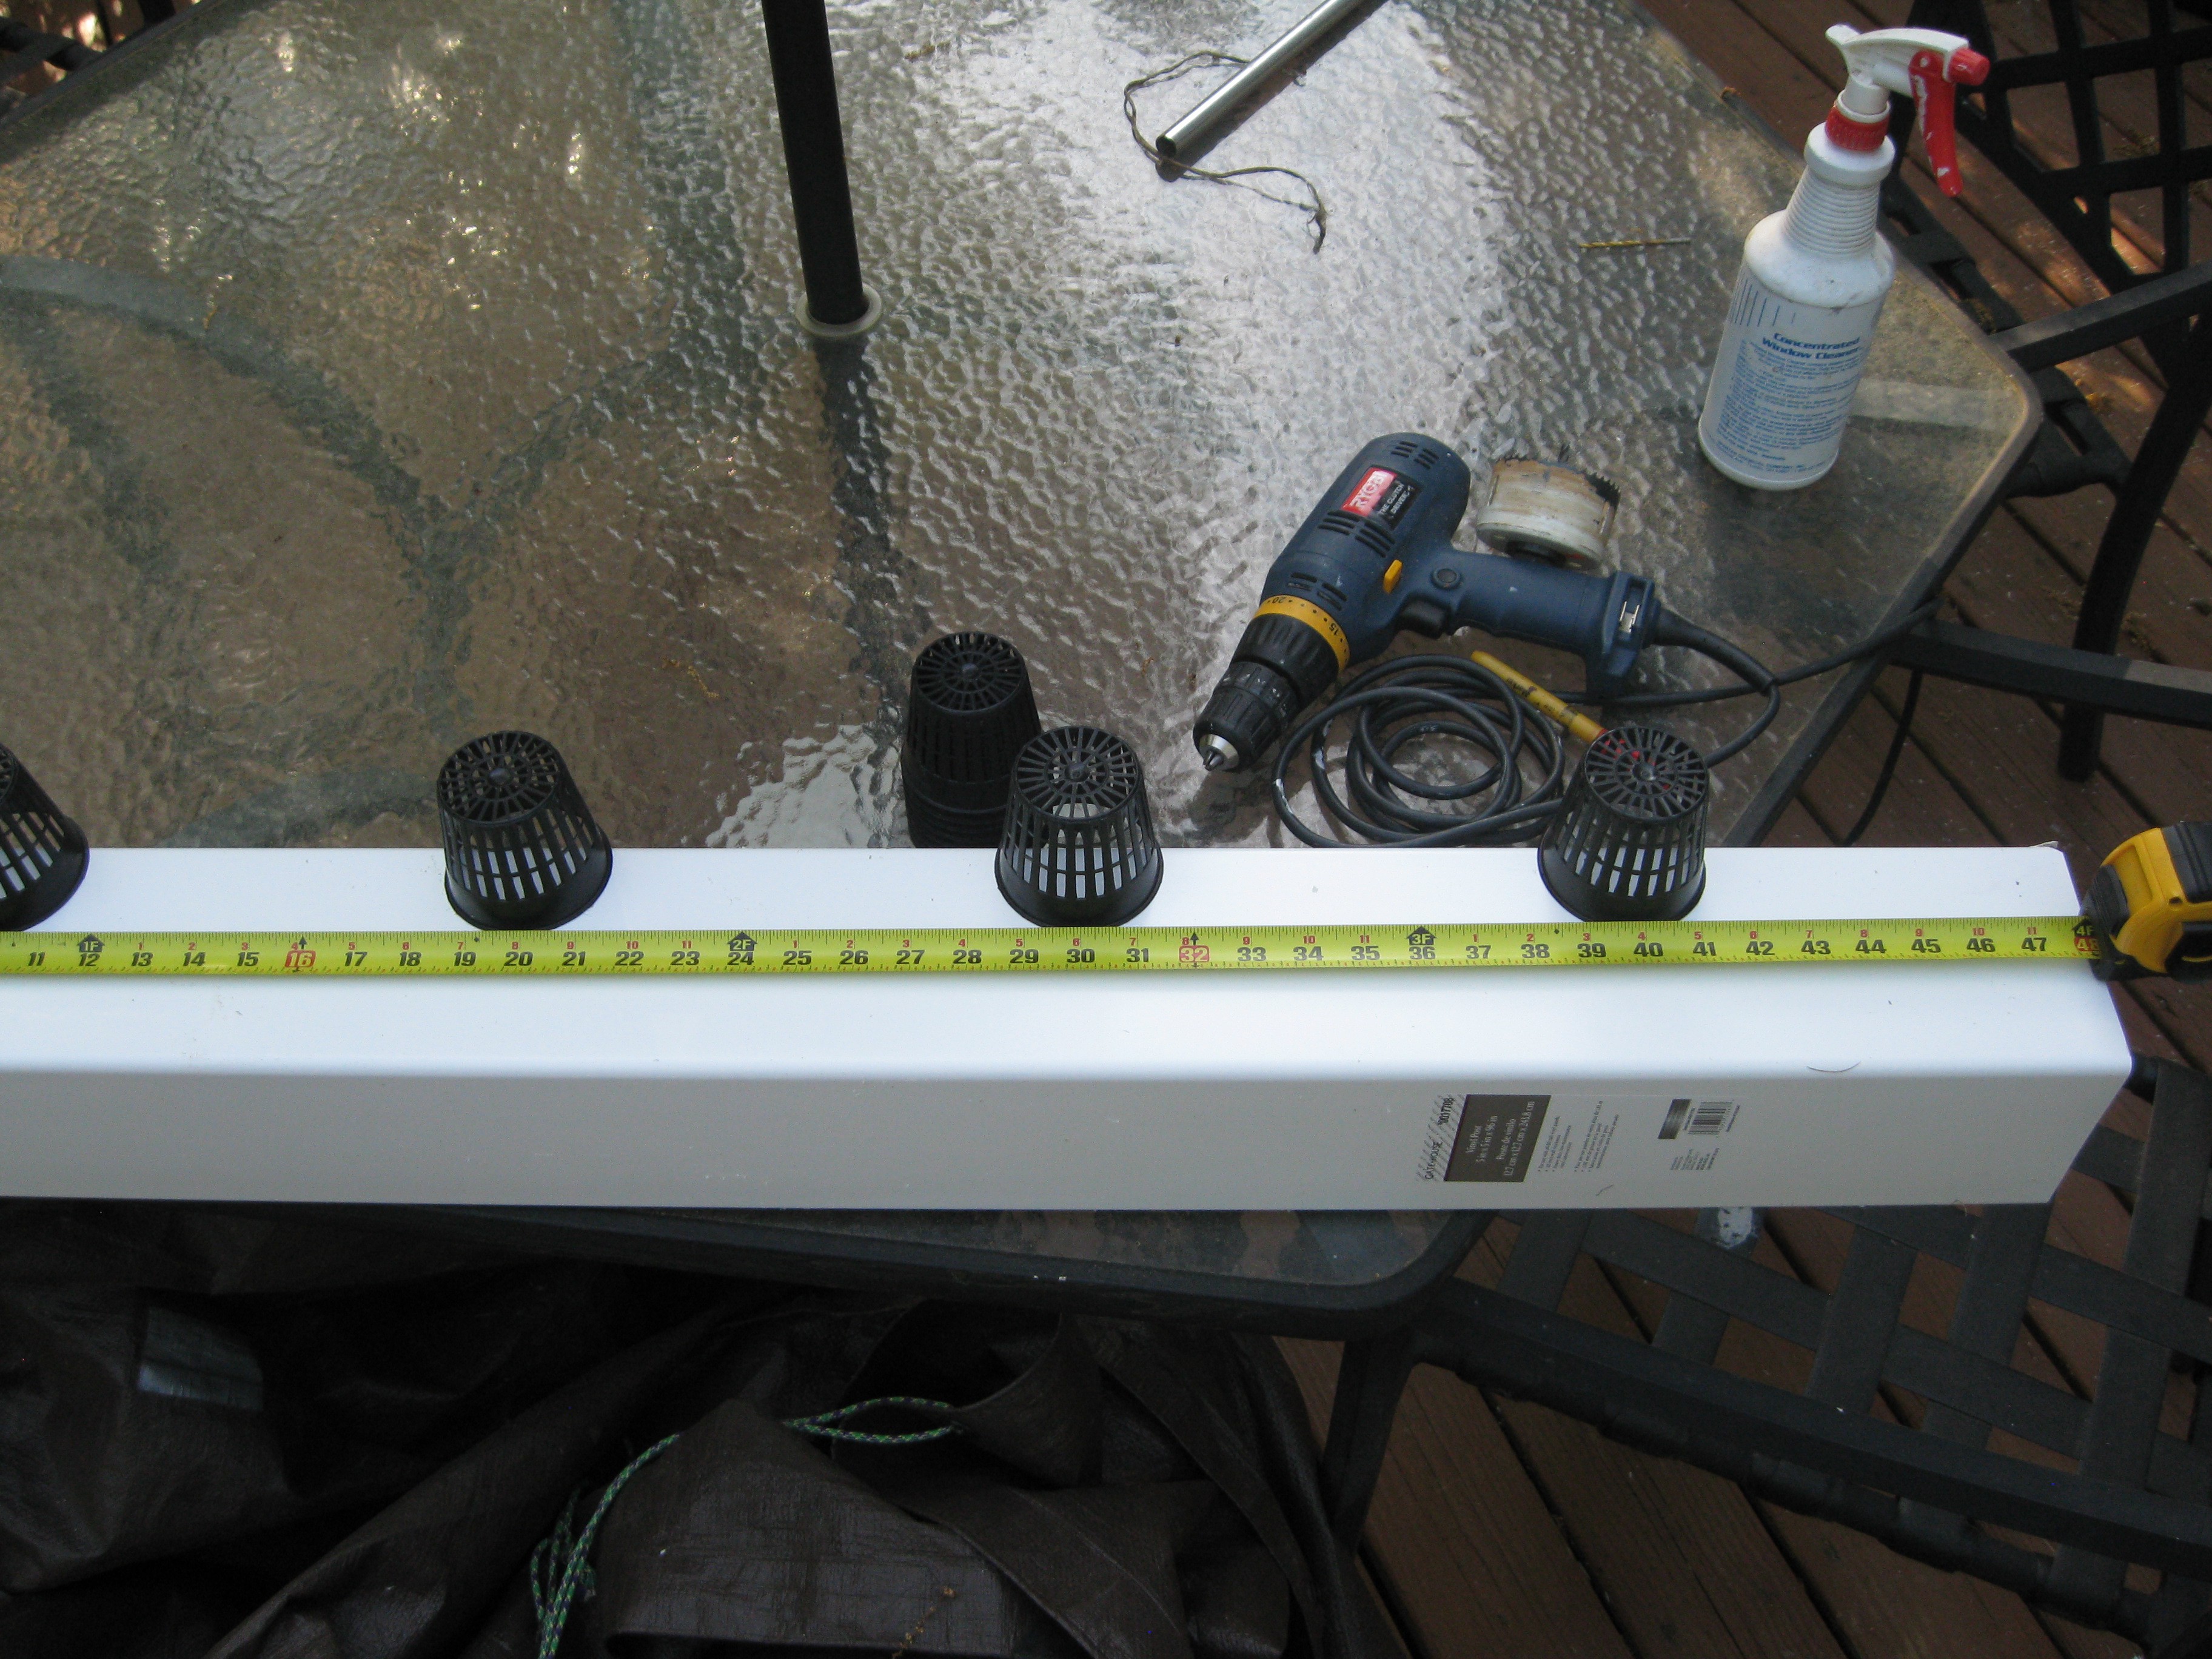
Measuring spacing of the plant pots and drilling pilot holes for the hole saw. I was planning on using my 3 inch hole saw to cut holes for the pots but the drill (on the table) I have won't fit the hole saw. I need to borrow a friends drill to finish. Next off for building the unit will be the frame, I haven't decided what the frame is going to look like. Simple requirements for it will be to mount the 4 rows and be tall enough to fit a 55 gallon water barrel underneath to act as the reservoir for the system. I plan on using the 4X4s to make legs and to build the rest of the frame with the 2X4s.
So thats what I got done on the unit so far, I'm hoping to do some more work Friday if its nice outside to use the saw, stay tuned for more updates later!
 AVR
AVR


Discussions
Become a Hackaday.io Member
Create an account to leave a comment. Already have an account? Log In.
Yo dude do you still need a drill? I've got a couple we can try their chucks. mostly ryobi cordless. Otherwise we can go to Technocopia and use a drill press there.
Are you sure? yes | no
cool man, I'll measure the bit when I get back (going to Vermont for the week) and we can see if your drill can fit. Also if you want to help cut and screw the frame together, I'd totally appreciate extra hands!
Are you sure? yes | no