0%
0%
Hologram Nova to Ubidots
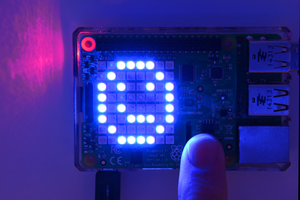
Use your Hologram Nova to retrofit infrastructure. Setup the Hologram Nova using a Raspberry Pi to send (temperature) data to Ubidots
 Maria Carlina Hernandez
Become a Hackaday.io member
Already have an account? Log in.
Just one more thing
To make the experience fit your profile, pick a username and tell us what interests you.
Pick an awesome username
hackaday.io/
Your profile's URL: hackaday.io/username. Max 25 alphanumeric characters.
Pick a few interests
Projects that share your interests
People that share your interests


 3. Next, select the topics which the route will act upon. In this case select the topic assigned to your device "SIMCOM(SIM-ID)" or "_DEVICE_{Device-ID}_":


 Zymbit
 Asep Bagja Priandana
 Ian Maday