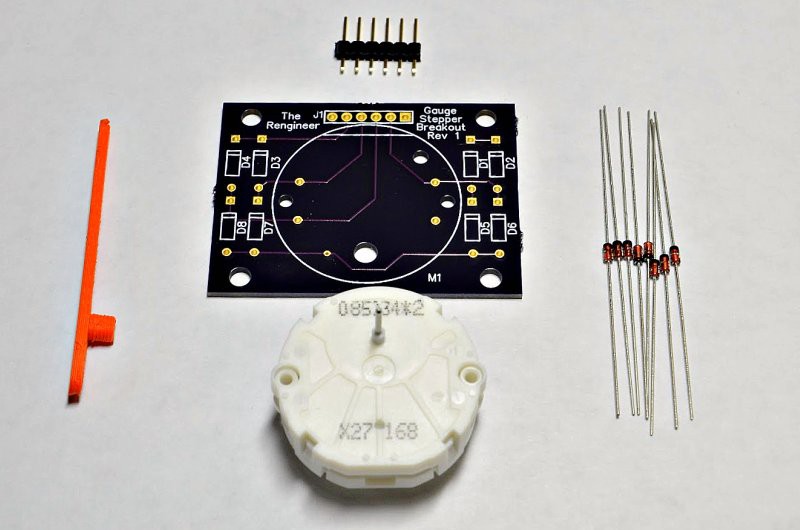
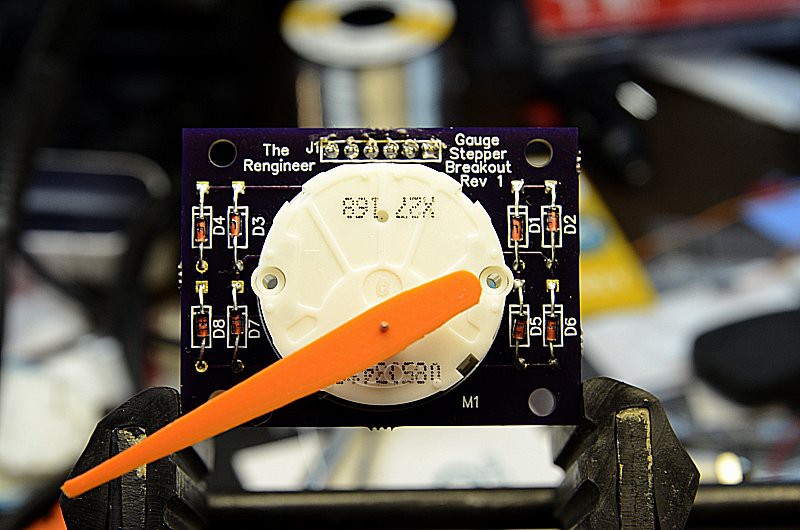
With the PCB and parts finally back, and working pointers printed in safety orange, I started assembling.
About 10 minutes of soldering later, the finished board looked great
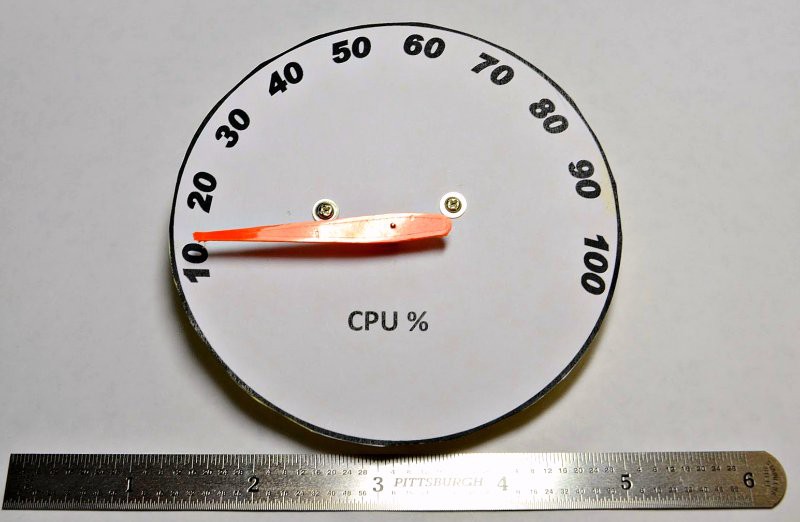
Now I needed a face for my gauge. I broke out word for windows (I know, I know) and quickly threw together a quick gauge face. This is a place where there is plenty of room for improvement. I didn't even put a 0% position on my gauge face!
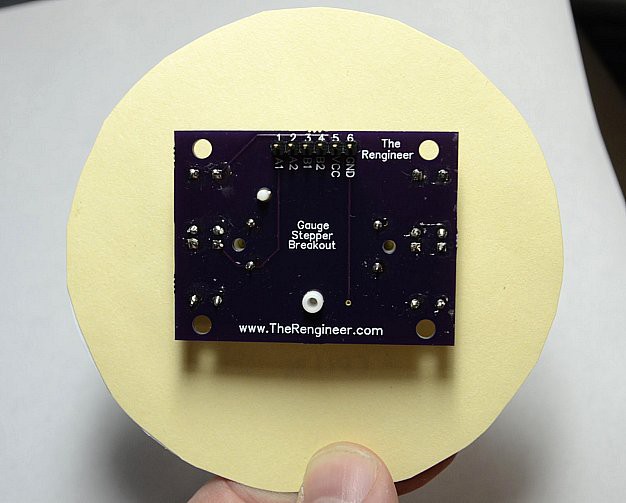
The Switec has holes for two screws to attach the gauge face. Servo screws, commonly included with standard sized hobby servos proved to be a perfect fit. Two of them tapped right into the plastic of the Switec motor, solidly holding the face to the gauge. I did find that heavy stock paper alone was a bit thin for the task, so I broke out the glue sticks and added some oaktag folder stock for a backing.
 Adam Fabio


Discussions
Become a Hackaday.io Member
Create an account to leave a comment. Already have an account? Log In.