Close
0%
0%

Timelapse Camera Gimbal and Pi Rig

Right so the design brief that I am going to build a rig to sit in place and take photographs which will eventually be converted into video.

Similar projects worth following
So here goes, my second project on hackaday, my intent with this is to create a rig that I can replicate and use to set up multiple angles of a building being created. So this is really the build process and design itterations I have done and where they have lead me

So I have 2 buildings that I am needing to take time-lapse shots over the next 2 years, currently I am aiming to have about 5 Raspberry pi camera's set up and building a "generic" custom rig to hold the camera's in place. as usual there is a limited budget and I am leaning on the help of friends to assist where they can with printing an laser cutting of the materials.

My main focus right now is using Autodesk fusion 360 as well as Adobe illustrator to create the rigs. So far I have gone thru about 30 iterations prior to printing anything (I will make the files avalaible somehow when they are done if anyone needs them.

  • Installation day...

    Warren12/08/2014 at 00:45 0 comments

    Installing the camera's today, several locations. ran into a spot of bother really with networks not supplying what I needed in time so I have resorted to a few 32GB cards. what I didn't realise is that the image I was using to make cloned cards to save me time was only allowing me to use 8GB and not the full 32 :(

    but then I found this .... http://www.devdashnull.com/?p=613

    which is an excellent tutorial, even for noobs like me

  • Lasers and logo's

    Warren11/25/2014 at 10:04 0 comments

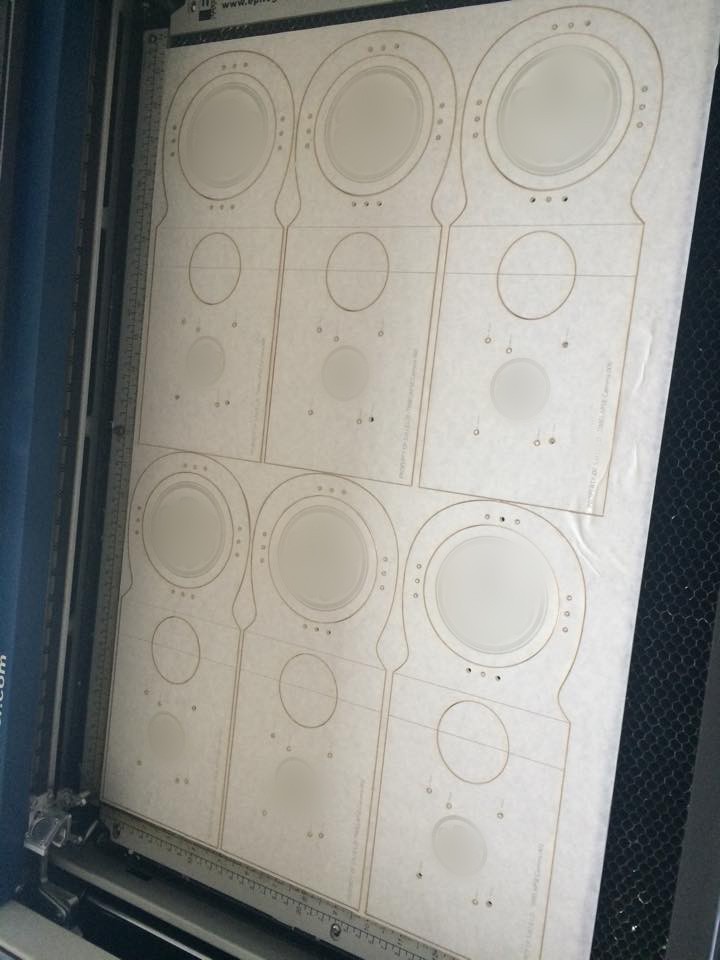
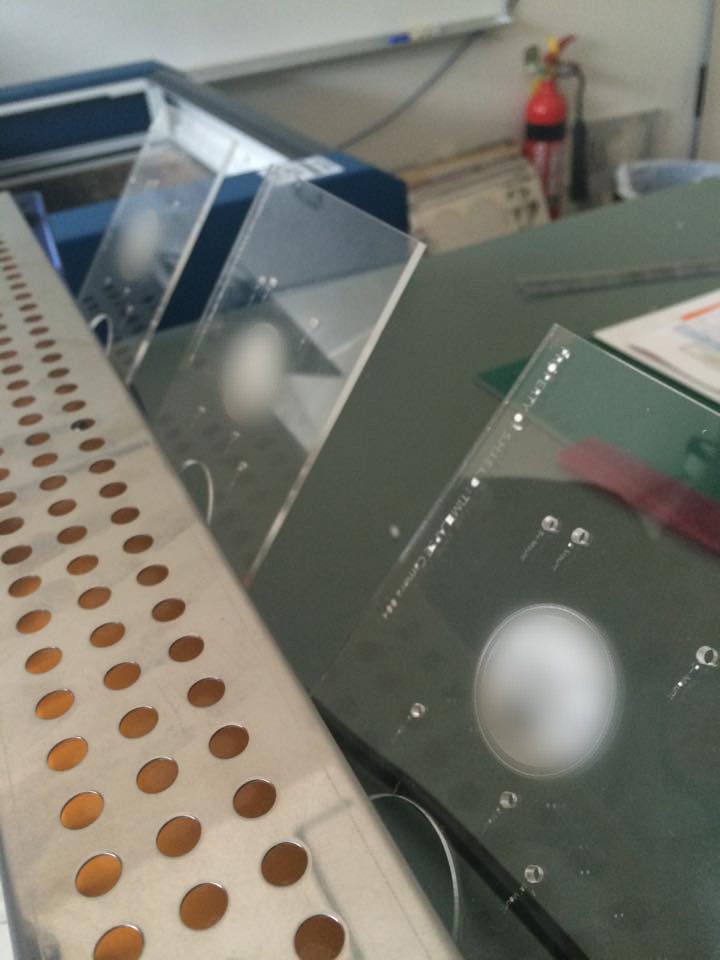
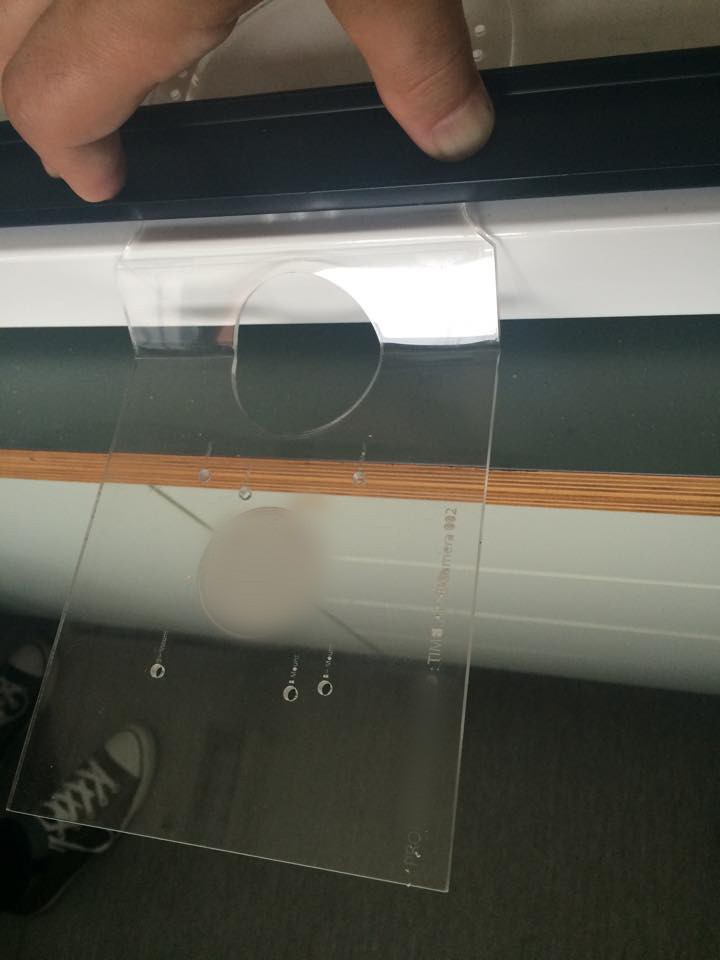
    So today I had to go and etch/burn 6 of the rigs for mounting the 3D printed parts on. this included heating and bending the parts to a particular shape, you'll have to excuse the blurry bits. I decided if I am going to etch things into the plastic and since the larger circle which would have been waste material was about the size of a coffee coaster I figured it I best etch the logo of some of my current nerdy favorite bad guy organization ;)

    Etching and burning

    Heating and bending.:

    Final bend shape:

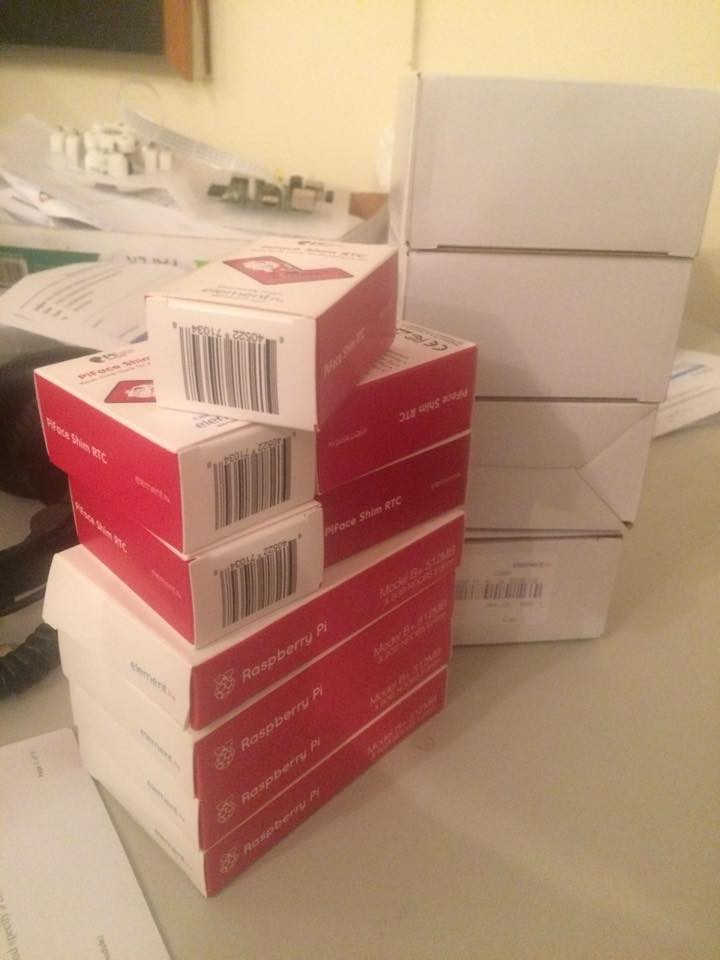
    Also had a few Pi's delivered to my desk whilst I was bending stuff...


  • location scouting....

    Warren11/13/2014 at 22:24 0 comments

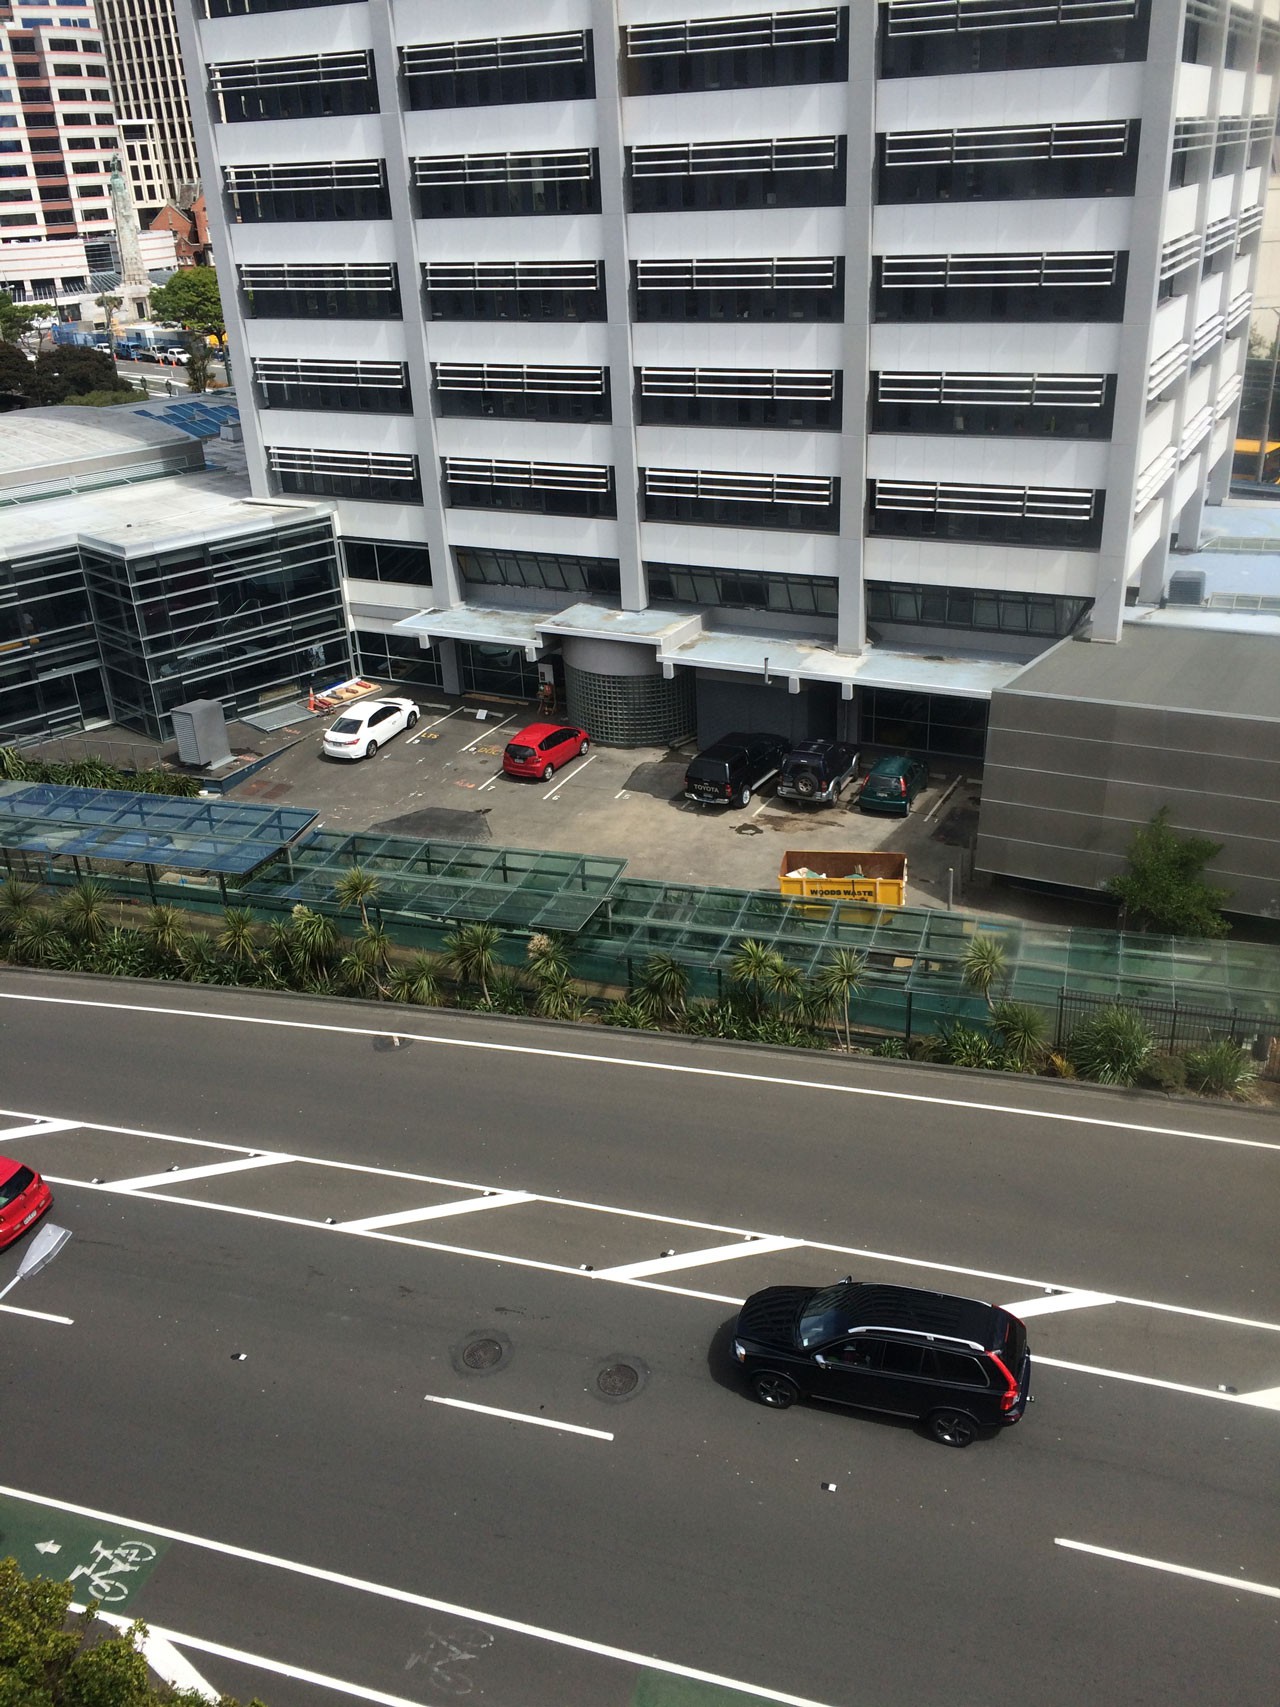
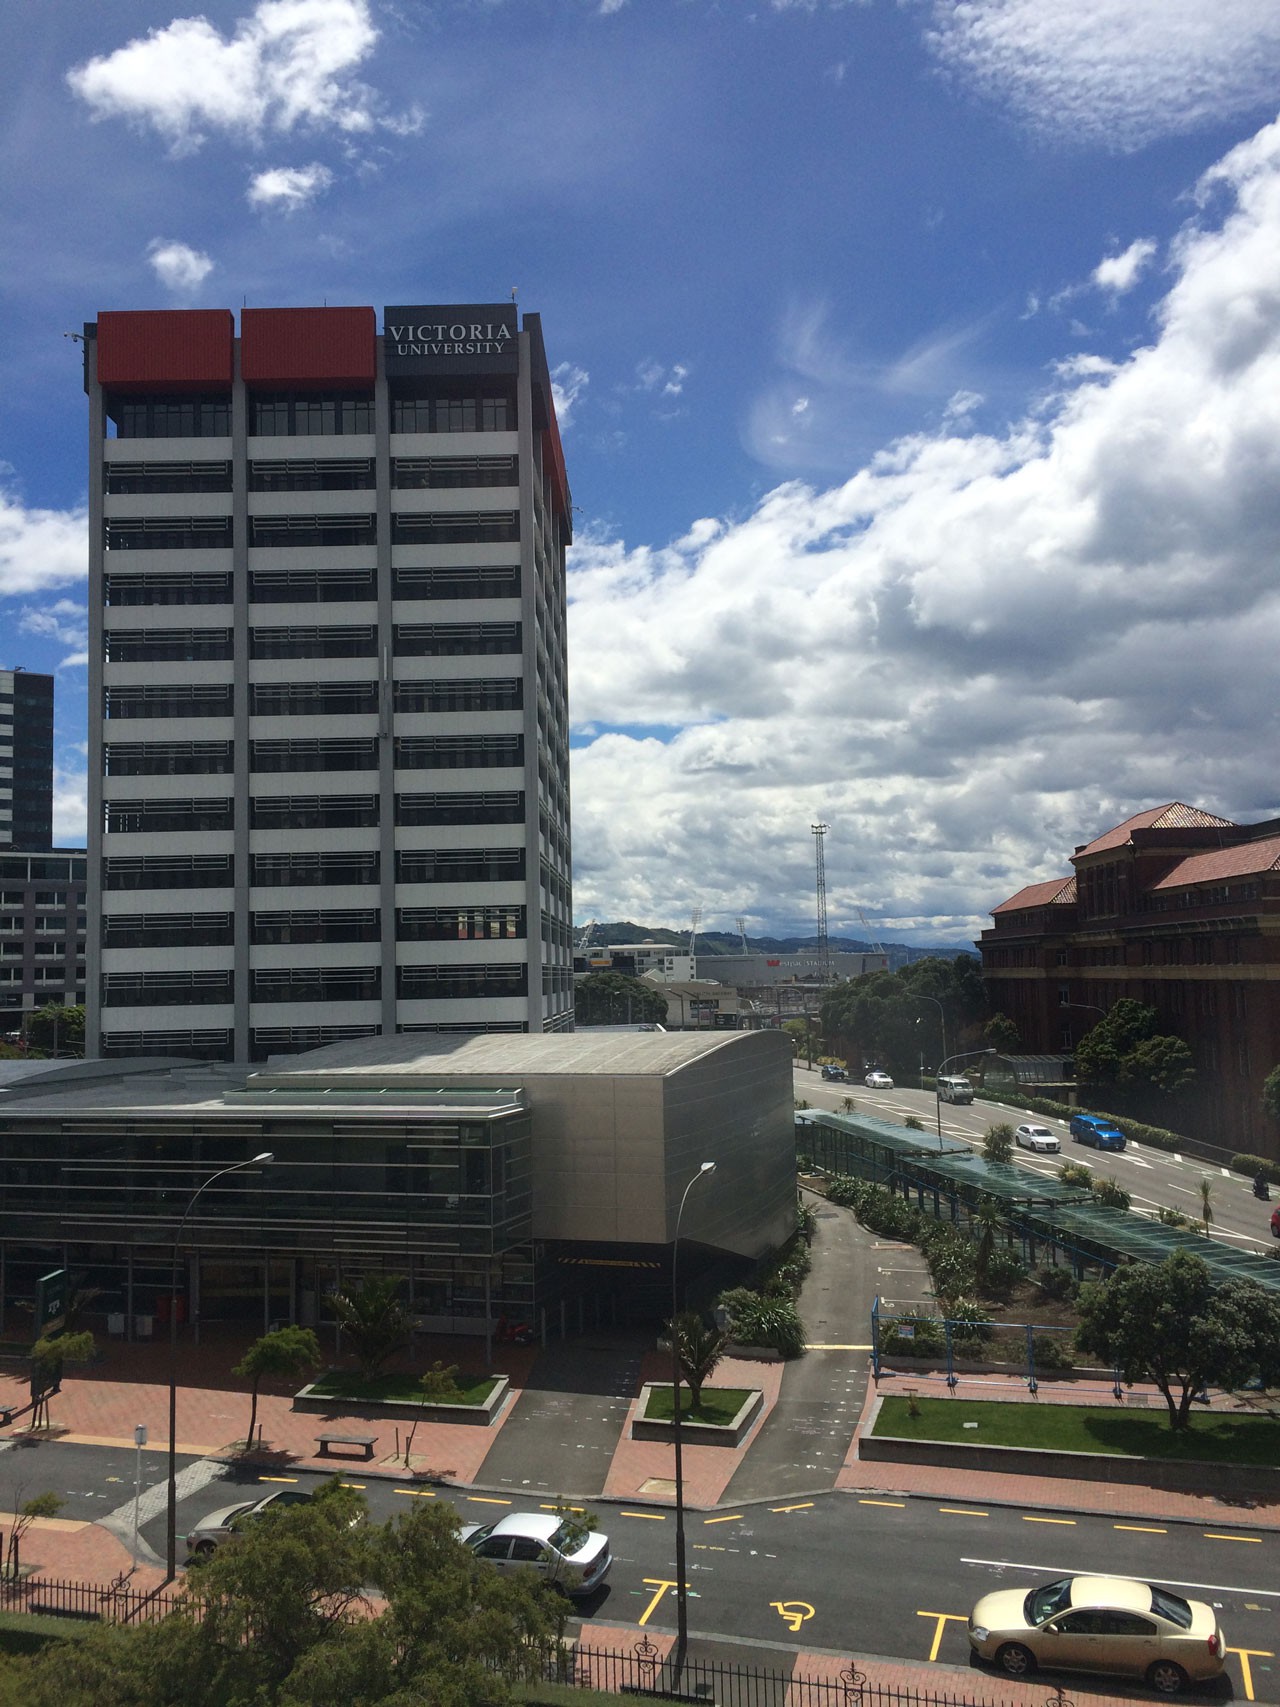
    A morning of location scouting, so far the project it now requiring around 7 rigs to be built... might actually get good at doing this stuff by the end of the project...

    the image below is approximately where the 6 storey building will go.

    Another angle

  • 3 weeks till take off...

    Warren11/13/2014 at 21:49 0 comments

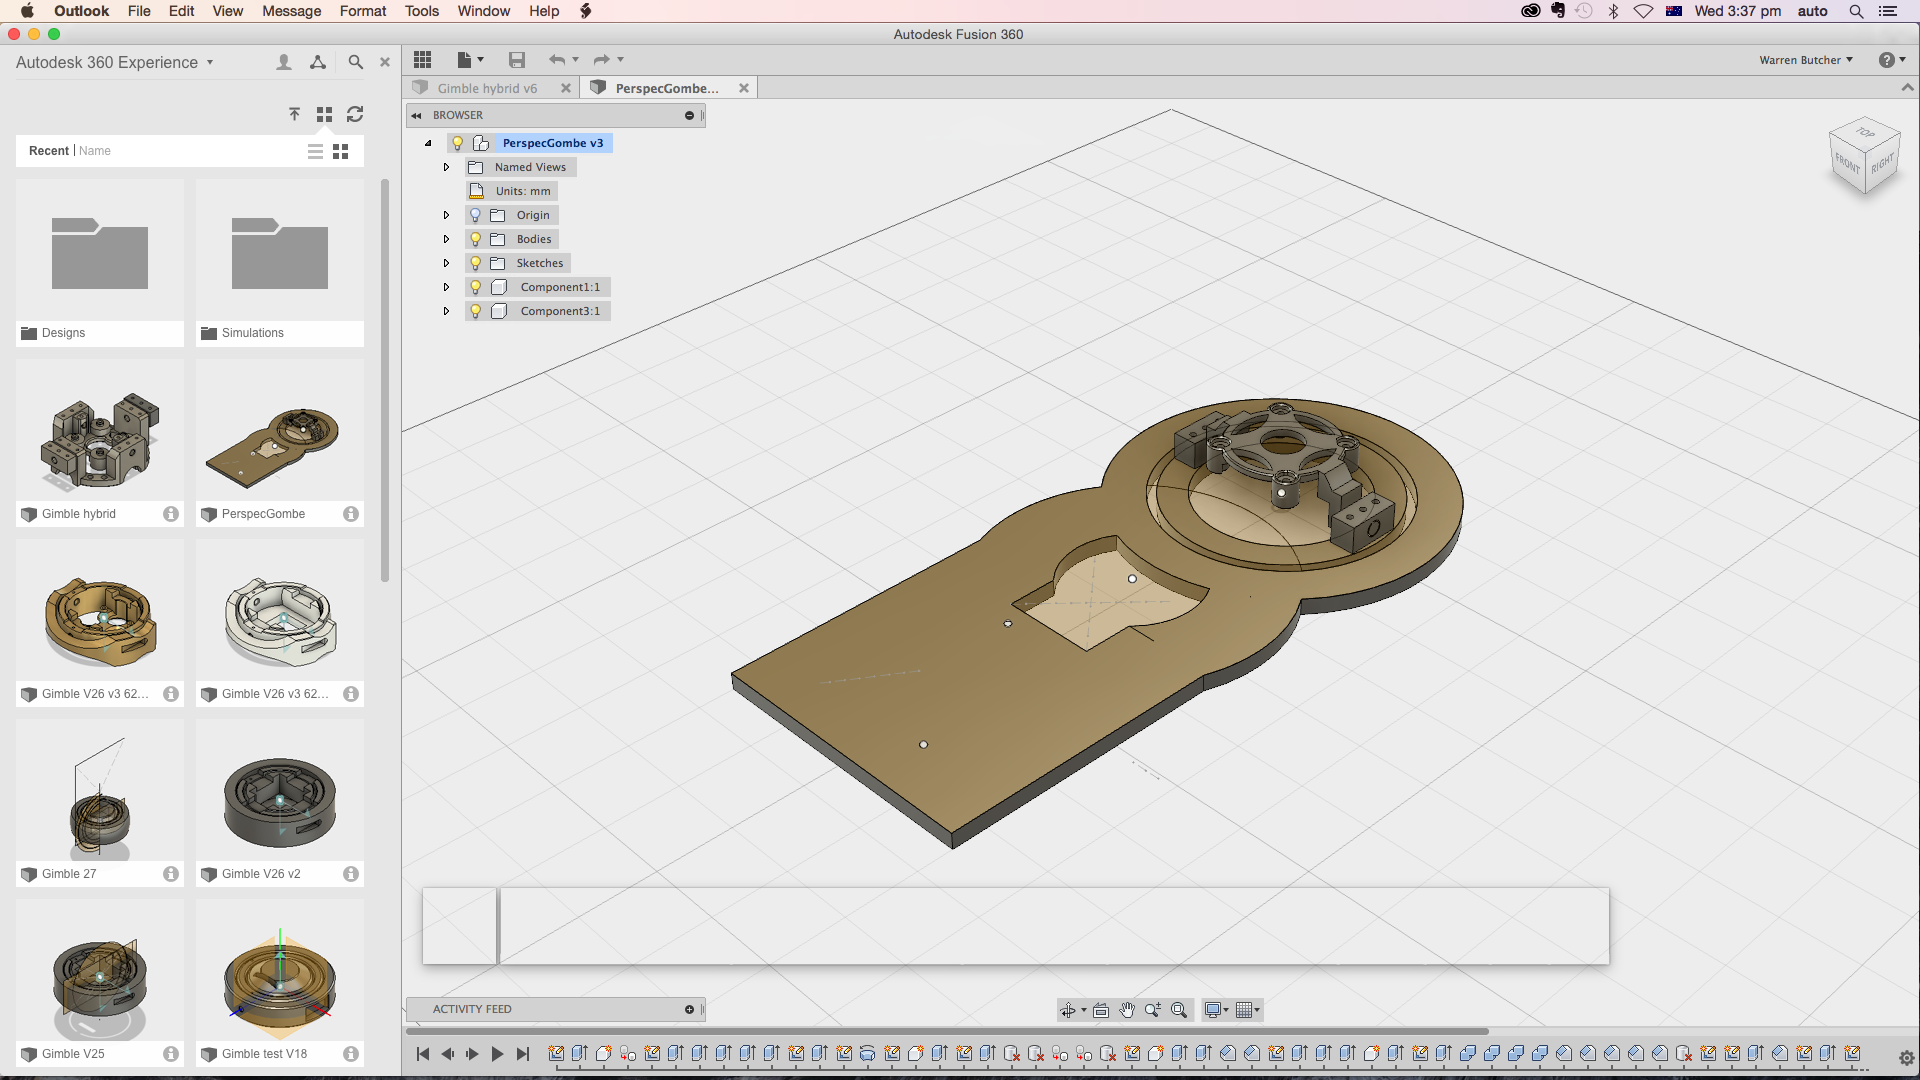
    Right so as I am still learning this whole idea of blogging my design and build process. I have spent a fair bit of time playing with the design of the rig, I think I am heading toward a more industrial kind of look ( yup its about how the rig looks as well as its practical application in my mind).

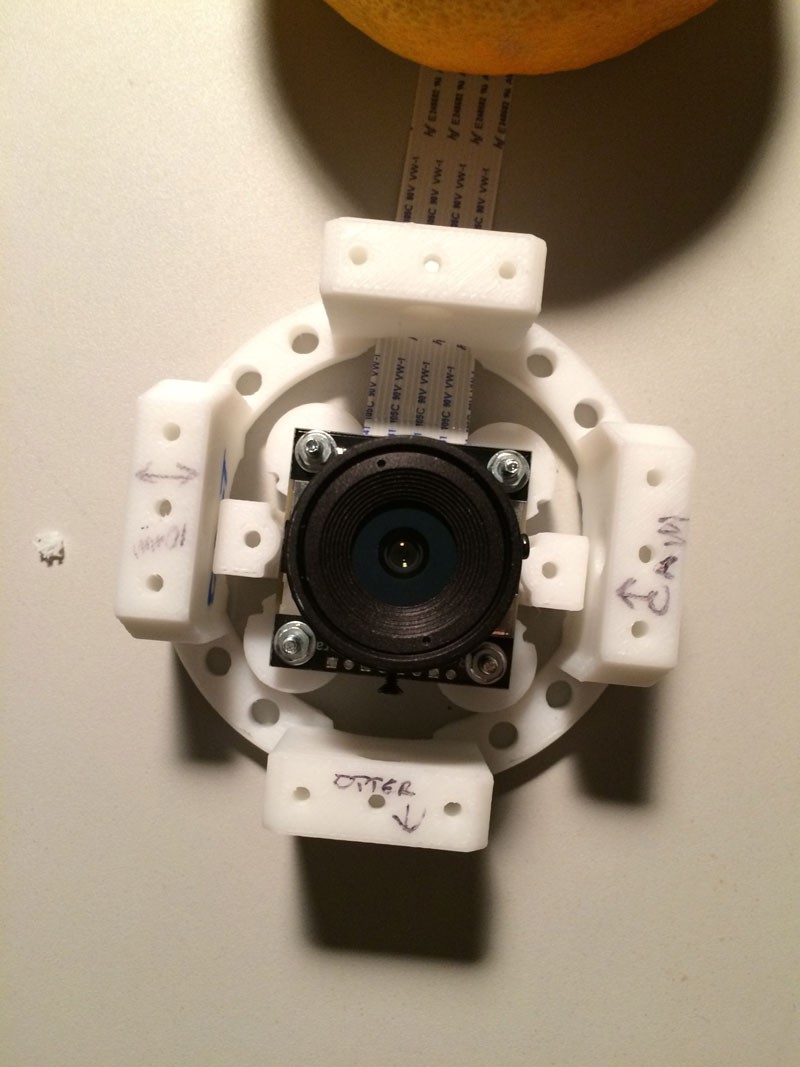
    As you can see there have been many variation in the design and even the one above has some idea's I have kept and others that really haven't made much headway. but my current thinking here is that the Pi will mount in the big flat space ( I have 1 Rasp b, which is why there are 2 mounting screw wholes in the main flat panel). I will put mounting holes that will also work with the B+ as well. the main flat panel will be laser cut and then heated and bent.

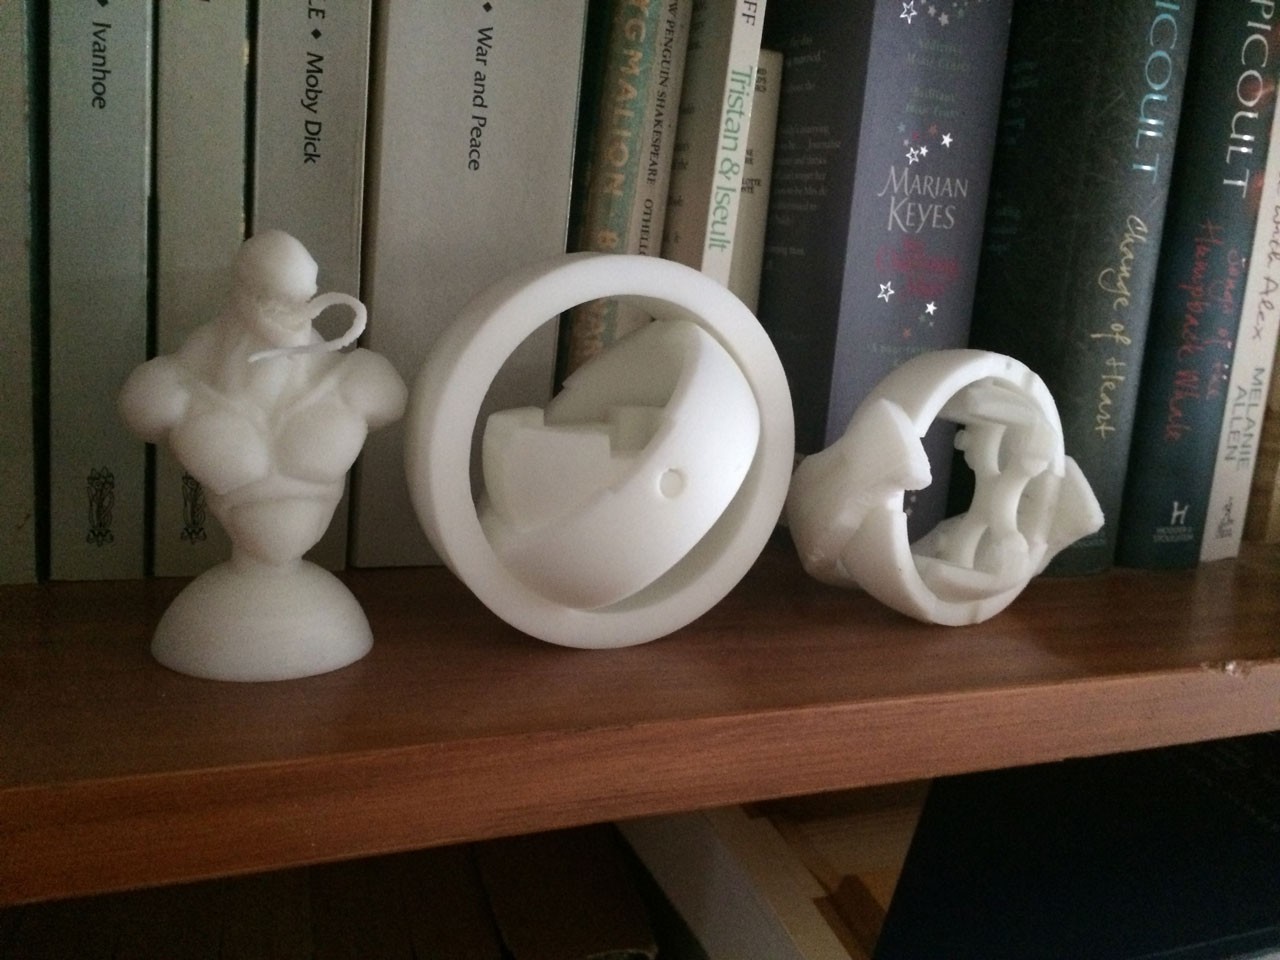
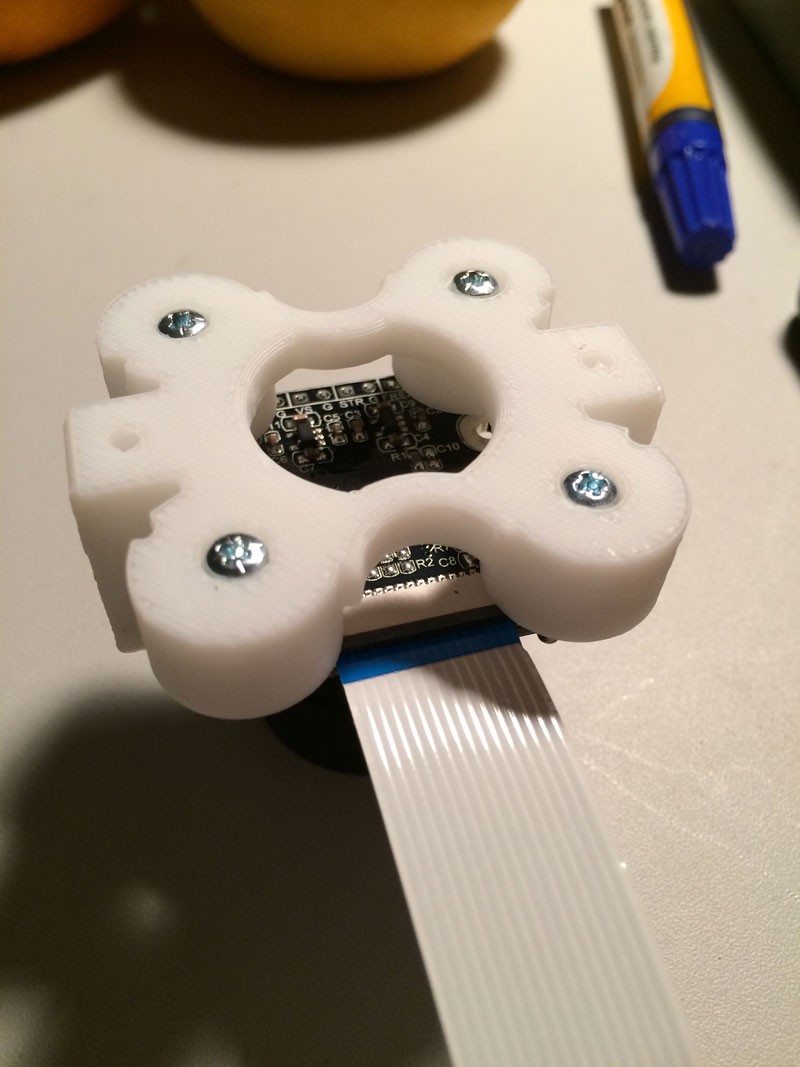
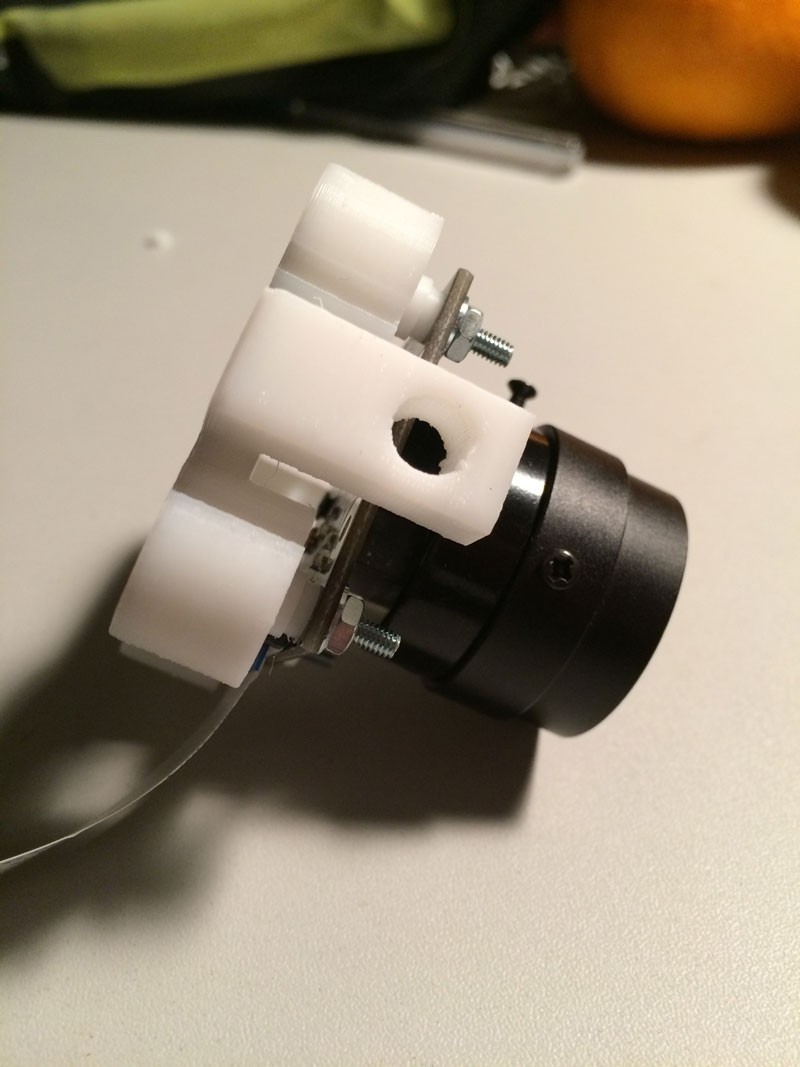
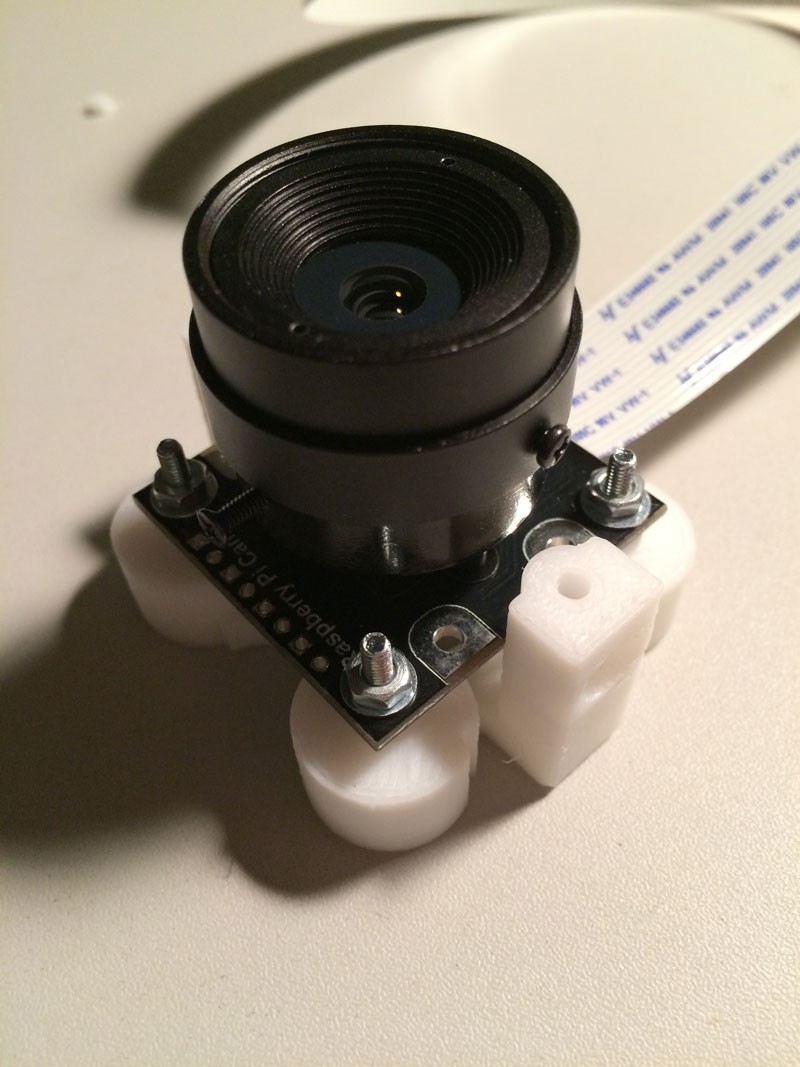
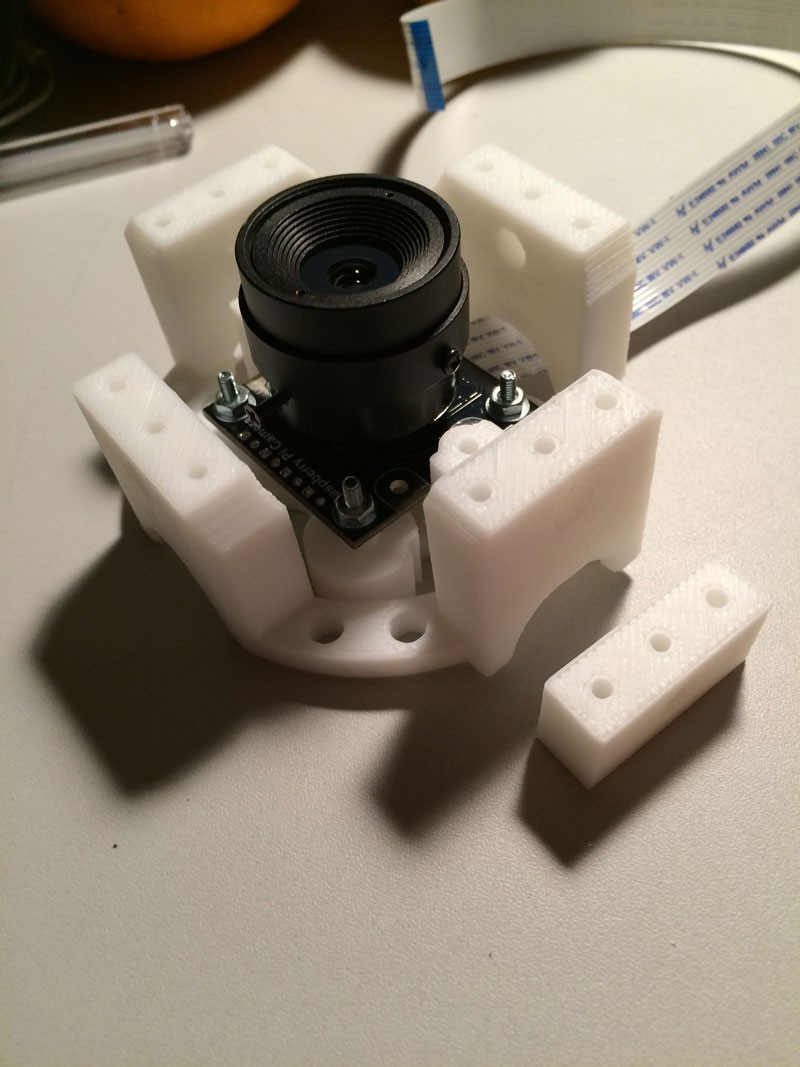
    Below are the first 2 iterations (obviously not Venom who was sculpted in Zbrush, incidentally all the printing was done using an UP mini printer),

    This really I think will end up being the final design

View all 4 project logs

Enjoy this project?

Share

Discussions

Similar Projects

Does this project spark your interest?

Become a member to follow this project and never miss any updates