The basic machine comes with one feeder which is mounted on the left (referred to as the West) side of the machine. This feeder handles 20x 8mm tapes. I also order an additional feeder with fits on the top (North) side of the machine. This supports additional 8mm as well as a few 12mm and 16mm tapes.
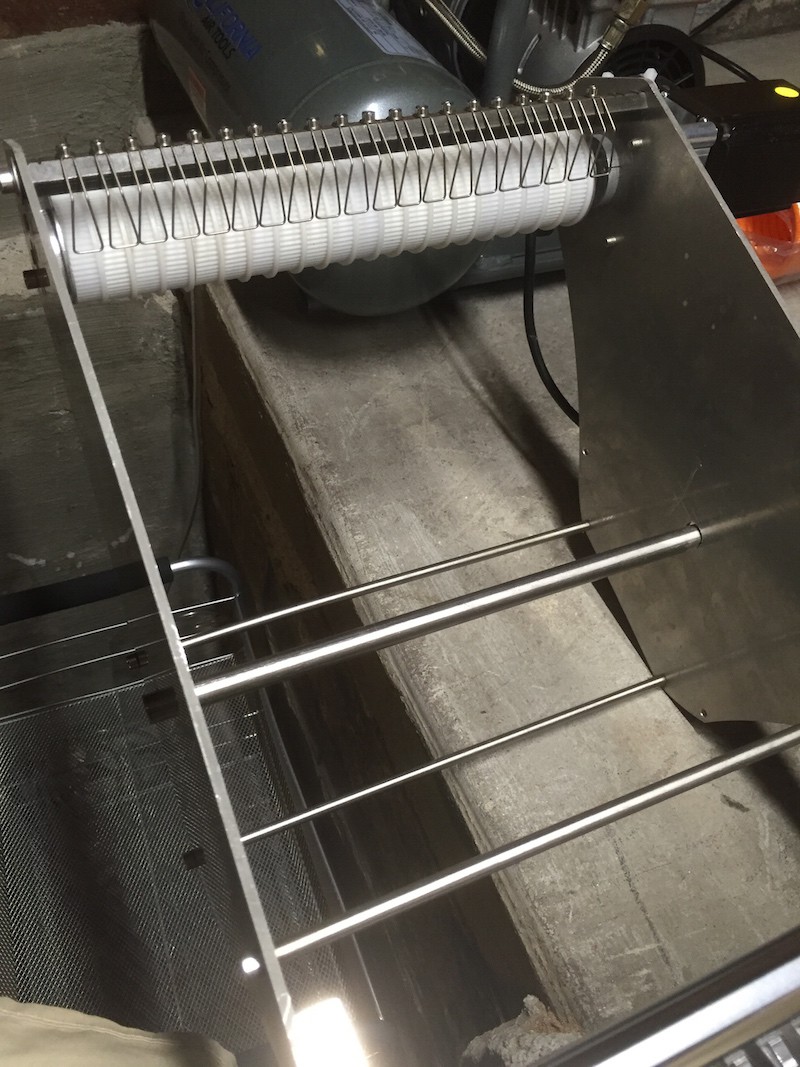
The West feeder is an all-on-one tape mount which also pulls back the plastic film which protects your components. The tapes are mounted on a central metal rod. The white cogs in the picture pull the tape covering.
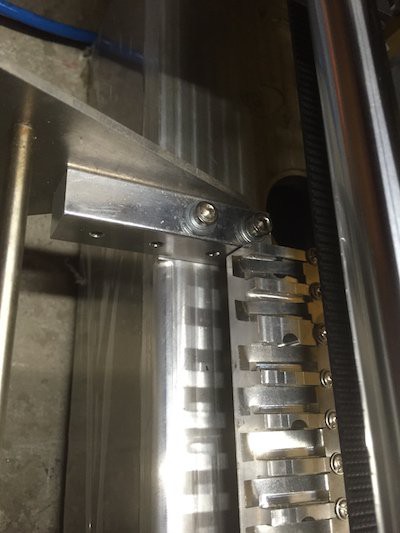
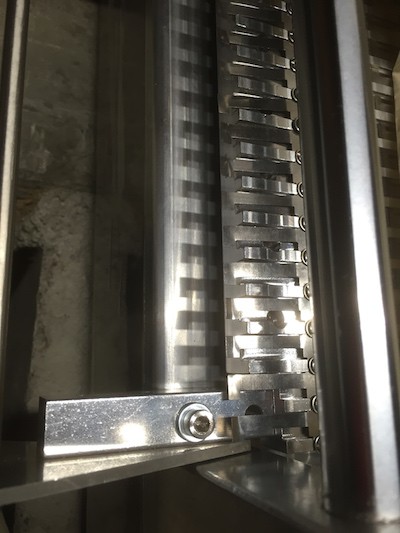
The feeder is not attached to the machine when it is shipped to you, which make sense. You attach them using 4 supplied screws. The first time I tried to do this I noticed two things:
- Realistically you can only use 3 screws to attach it. The fourth screw is buried under the tape feeder guides on the machine making it inaccessible unless I want to disassemble things (I don't).
- After attaching and making sure everything is tight, the feeder still has some play in it. So, the second time I assembled it, I used two washers on each screw. This resulted in a much tighter and firmer fit.
 |  |
The North feeder screws onto the back of the machine in a similar way. In this case, it's easy to use all four screws. Again I used a couple of washers for a better fit. This feeder is not the same all-on-one unit as the West one. This one is in two parts - the white cog part for pulling the tape covering, and a free-standing metal V like structure for mounting tapes.
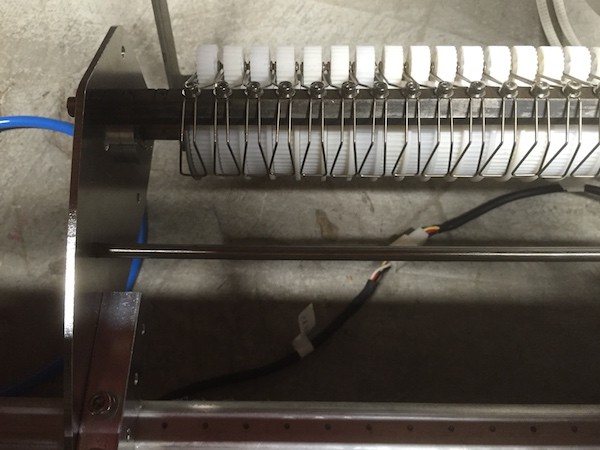 | 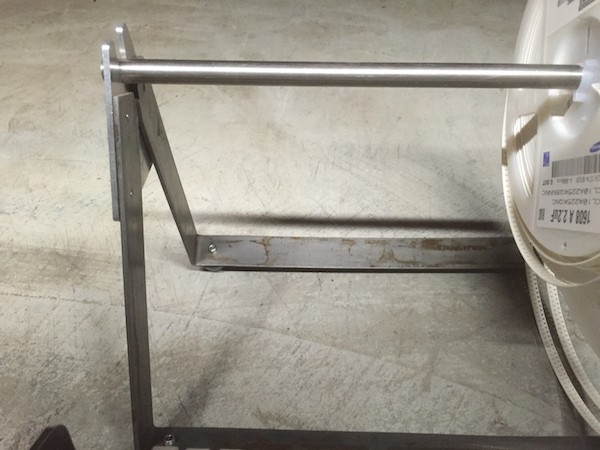 |
Initially I thought this was a bit cheap, but in reality it been better. I have a few tapes containing common components (e.g. 0.1uF capacitors) which are very big; each tape holding about 10,000 pieces. These tapes are too big for the West feeder, but fit perfectly on the North one.
Each feed has a single stepper motor which is used to turn the cogs, putting tension on the tape covering and pulling it away from the main pick and place area as the tape advances. The stepper motor has a single white connector which mates with a similar connector on the machine (the machine having two). You can see it snaking underneath the rack in the above, left photo. There doesn't appear to be any keying on these connectors to tell you which socket is for north and which is for west When I later tests these motors they were activated at the correct moment, so it's possible I accidentally plugged them into the correct sockets first time (which isn't usually the way it works even though it should be 50/50) or the electronics identifies and moves the correct motor. Either way, no damage could be done if you got them mixed up and they're easy enough to swap.
 Tim Wilkinson
Discussions
Become a Hackaday.io Member
Create an account to leave a comment. Already have an account? Log In.