I haven't described the sculpture in much detail yet. It consists of two 20 foot "flakes" that are joined at the midsection. Each flake is illuminated on its two faces with Sensacell LED panels, and the filler LED strips. The placement and quantity of strips was determined by the architects, and totalled 70 meters for the entire sculpture.
In lighting tests, we assessed that the 30 LED per meter NeoPixel strips were sufficient, which gives us 2100 NeoPixels to illuminate the whole scupture. On the Adafruit website each Pixel is listed as drawing up to 60mA (for white at max brightness), though in practice I only measured 22mA with my strips using the WS2812B. I believe this is because Adafruit doesn't distinguish between LED type when it specifies NeoPixels, and some other versions of the LED draw higher current. Nonetheless, I wanted to stick to the recommended margins from Adafruit, and to be honest i couldn't decipher the current consumption from the datasheet for the WS2812B.
So 2100 LEDs drawing up to 60mA each at 5V...that's just...126 Amps!!! Holy Crap. I know it's low voltage work, but I hadn't dealt with such high currents before. It was time to call in my electrical guru...Rob Cruickshank. He's a staple of the electronic arts community in Toronto, and used to handle everything electrical at Much Music...which includes large scale lighting shows. Rob's critical advice was more about how to protect myself rather than about electronic design. He suggested that because it is a public sculpture and is drawing high currents that I request the architects to have it electrically certified. This was a great idea. The architects corresponded with the Electrical Safety Authority, who gave us some design guidelines for getting the sculpture approved down the road. We needed to use either Class 2 power supplies, or Class 2 wiring equivalent. This means using UL certified power supply, from which each output is fused at no more than 5 Amps (for 5 Volts). If we could do this then that would make the certification easier. This was a no-brainer for us, as each of our strips drew far less than 5 Amps...perhaps a theoretical 3 Amps at most. But we were going to have many strips, so I needed a way to distribute power to all of them.
Rob had already introduced me to the Anderson Power Pole connectors, which are an amazing high current, low voltage connector. After some more digging I came across the RIGrunner fused power distributors. For $50 to $150 you get a box which takes up to 80 Amp in and breaks it out into as many as 12 lines.
I came up with an artery system, wherein a 5 Volt, 90 Amp MeanWell power supply fed into a couple of RIGrunners in the midsection that then distributed juice to RIGrunners in the other branches of the sculpture, and all of them in turn powered the LED strips in their region. This is nice because the sculpture needs to be reassembled each year and so the crew can just disconnect the main arteries rather than dozens of strips.
My main concern with RIGrunners was that they didn't have any certification, and so it was unclear if they would pass inspection. I should have checked this out in advance before committing, but as the timeline was getting shorter I just went ahead!!
Next on the list was to integrate my work with the software of another project member. This awesome guy was making it such that when you triggered the sculptures sensors, the building's lighting would change as well. His software would be regularly polling the sensors, and my rig would also be listening to the response. We got our stuff integrated without many problems, and showed the section to the Architects who were admittedly confused by all the wiring, but had faith that my plan was sensible, and were encouraged that it mostly worked at this stage.
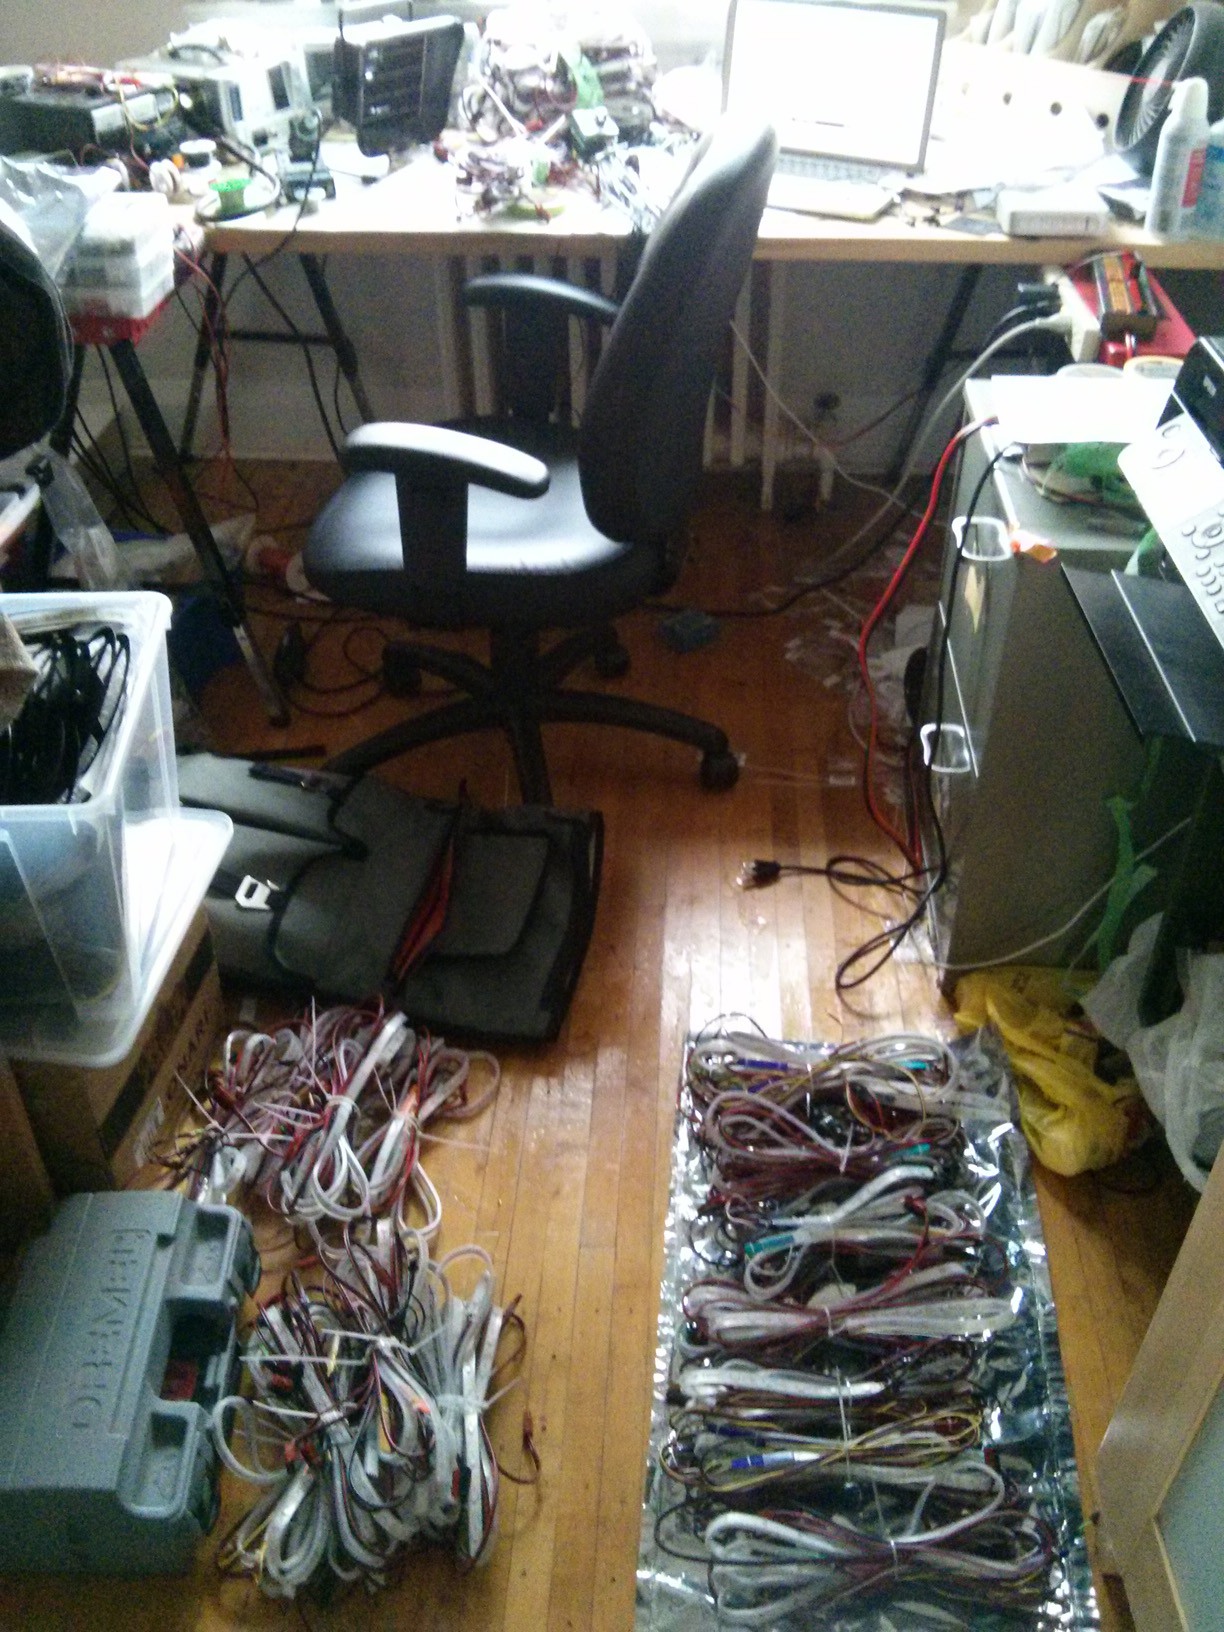
With time a major concern at this point, I quickly fixed up a few software things, and then turned my attention to churning out meter after meter of soldered LED strip...probably about 70 units involving multiple steps to building them. This was okay work. I just tune into the Amp Hour, or Embedded.fm and fire up the iron. It took about a couple of days to get through everything.

 It was a bit of churn, but I go through it, and had the chance to test everything along the way to know that the hardware worked. In the final log, I'll detail installing the strips in the sculpture.
 Nicholas Stedman
Discussions
Become a Hackaday.io Member
Create an account to leave a comment. Already have an account? Log In.