I got the latest revision PCB:s from oshpark.com today. This time, I also ordered a laser-cut mylar stencil from ohararp.com. I'm not planning on building lots of these, but I wanted to get more familiar with improvising solder paste printing at home.
My kludged together stenciling rig looks awful, but it worked well enough for a single board. The coverage was a bit uneven on some of the larger pads, but my poor squeegeeing technique is probably the cause of that.
After shielding my plastic vice using kitchen aluminum foil and kapton tape, I used my hot-air rework station to reflow the solder paste. The components self-aligned as expected, and the circuit board came out pretty good!
Using a solder paste stencil was overkill for this project, but I thought it would be fun to try before i really need to use one :) By doing this, I realized that I need to come up with a more proper way to hold the stencil and PCB in place.
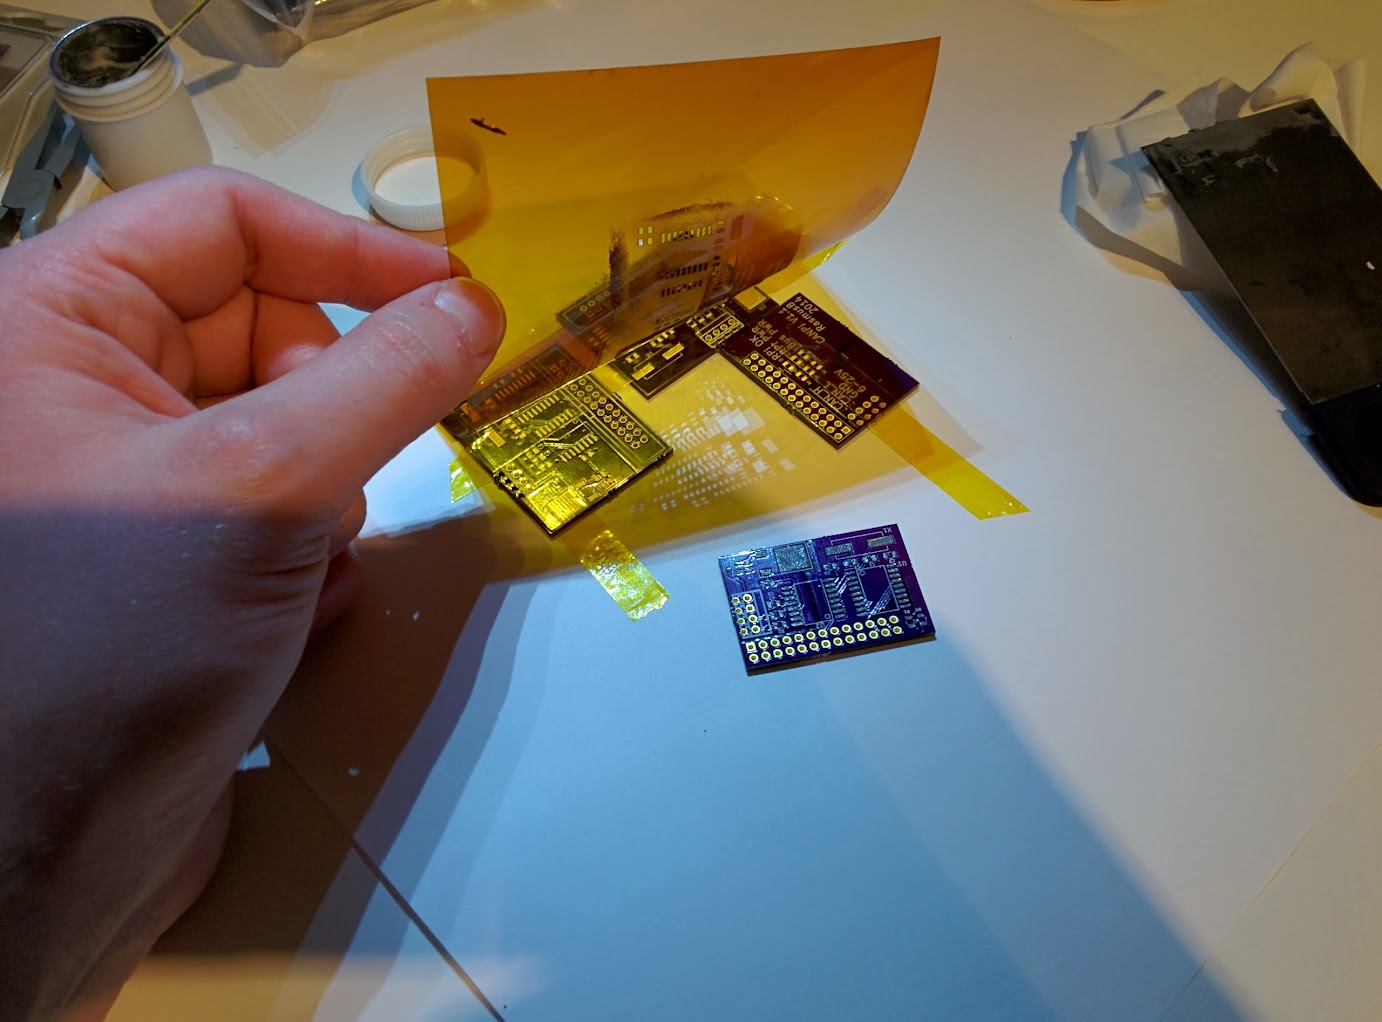
I taped a few circuit boards together for support. Looks ugly but worked fine.
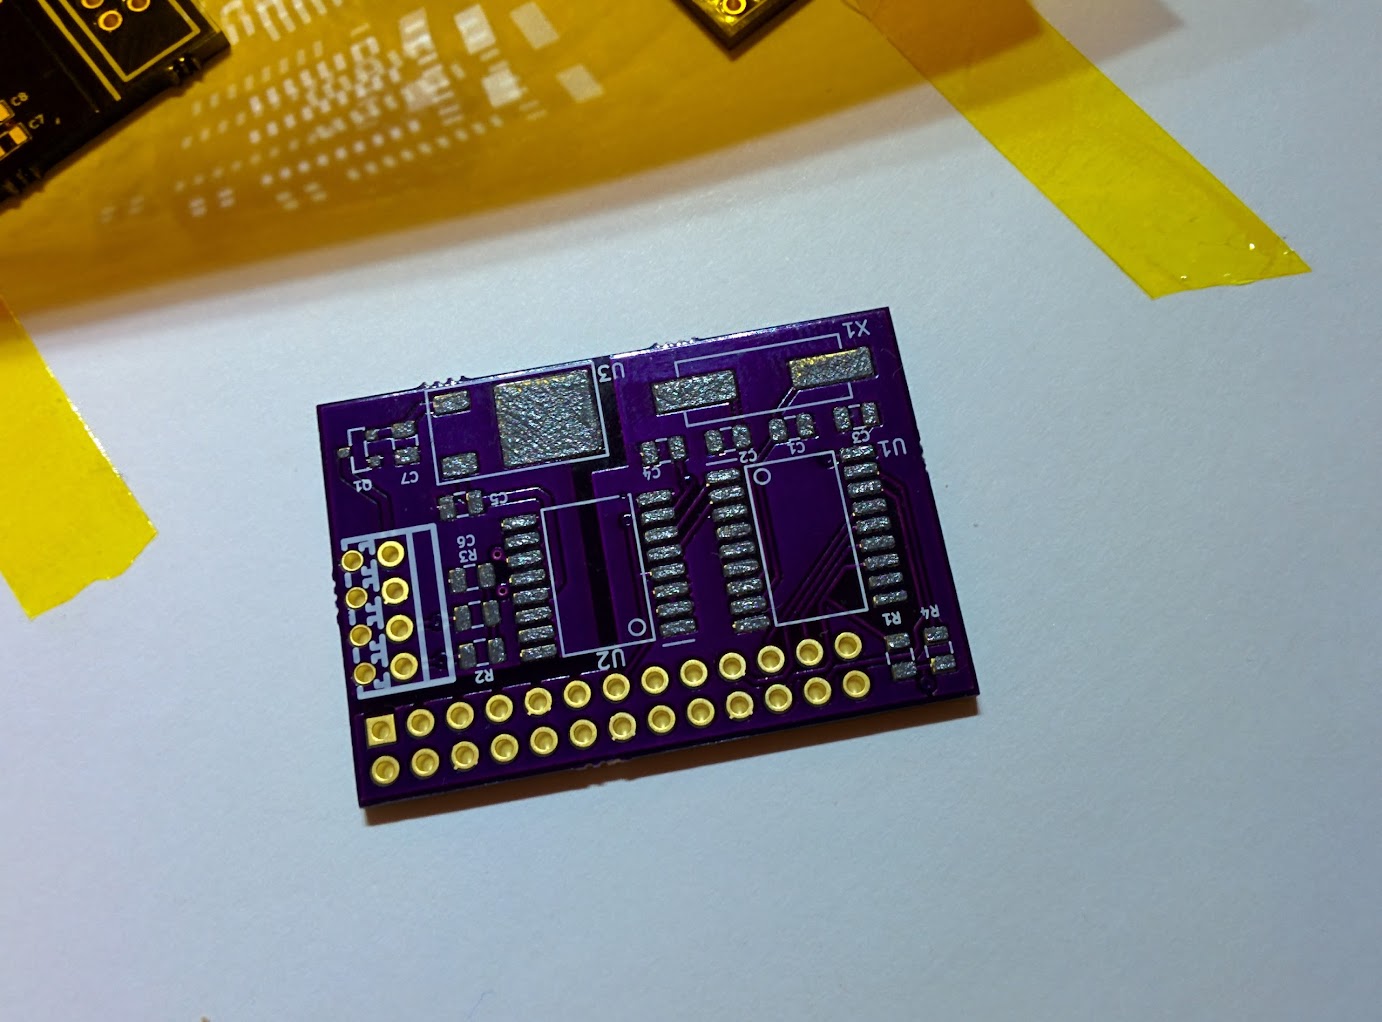
The top pads were unevenly covered, but I felt there was enough solder paste on all pads.
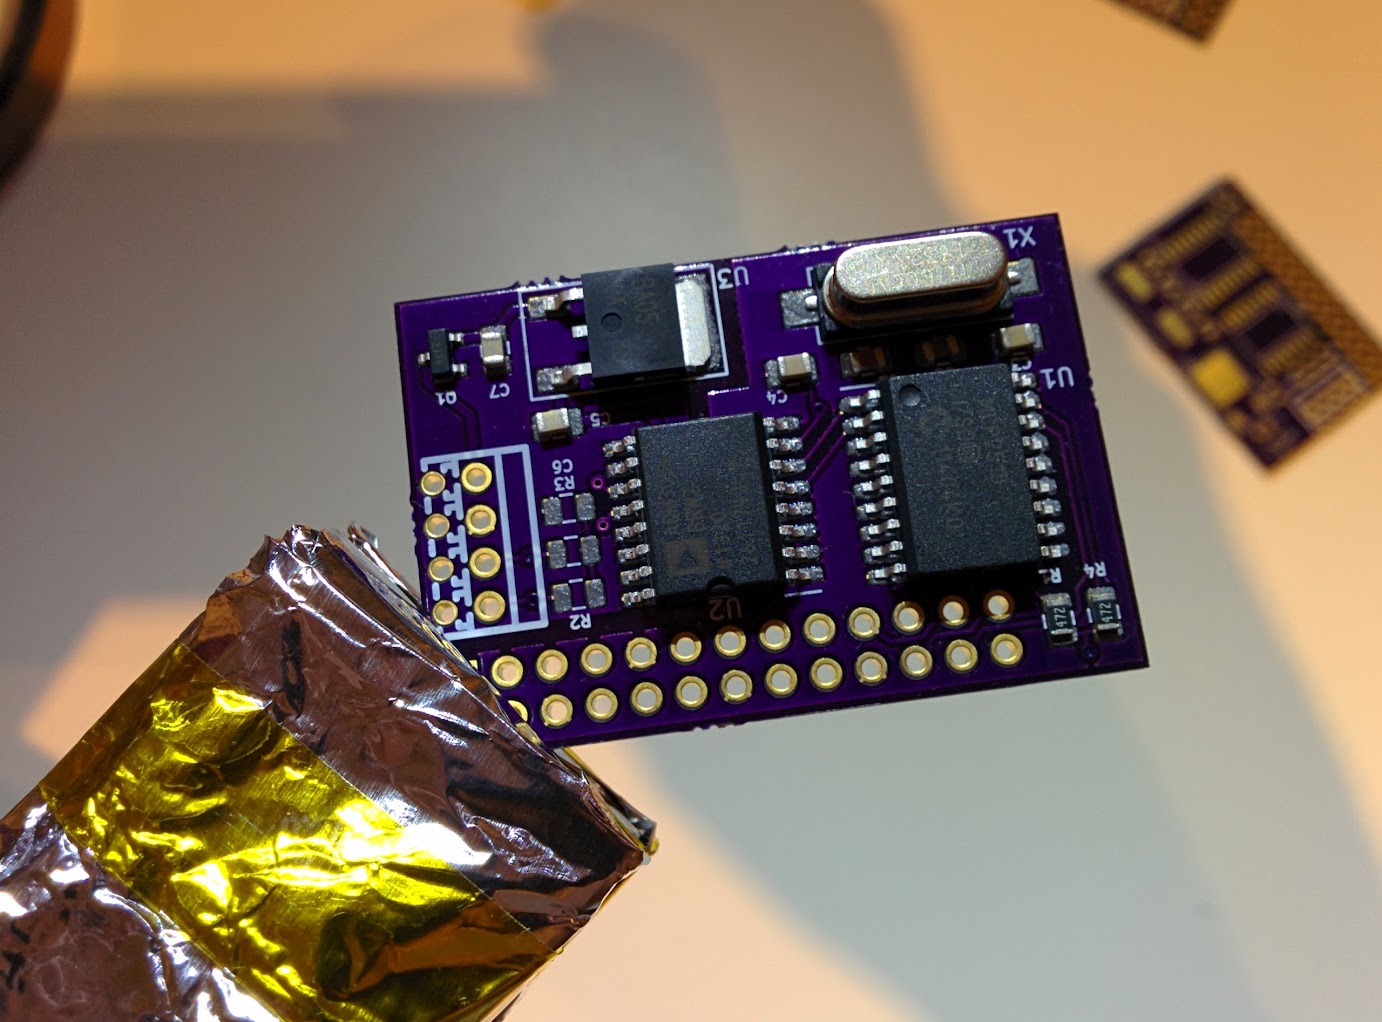
The components have been placed. R2, R3 and C6 are left unpopulated on this board.

After reflowing with a hot air rework station
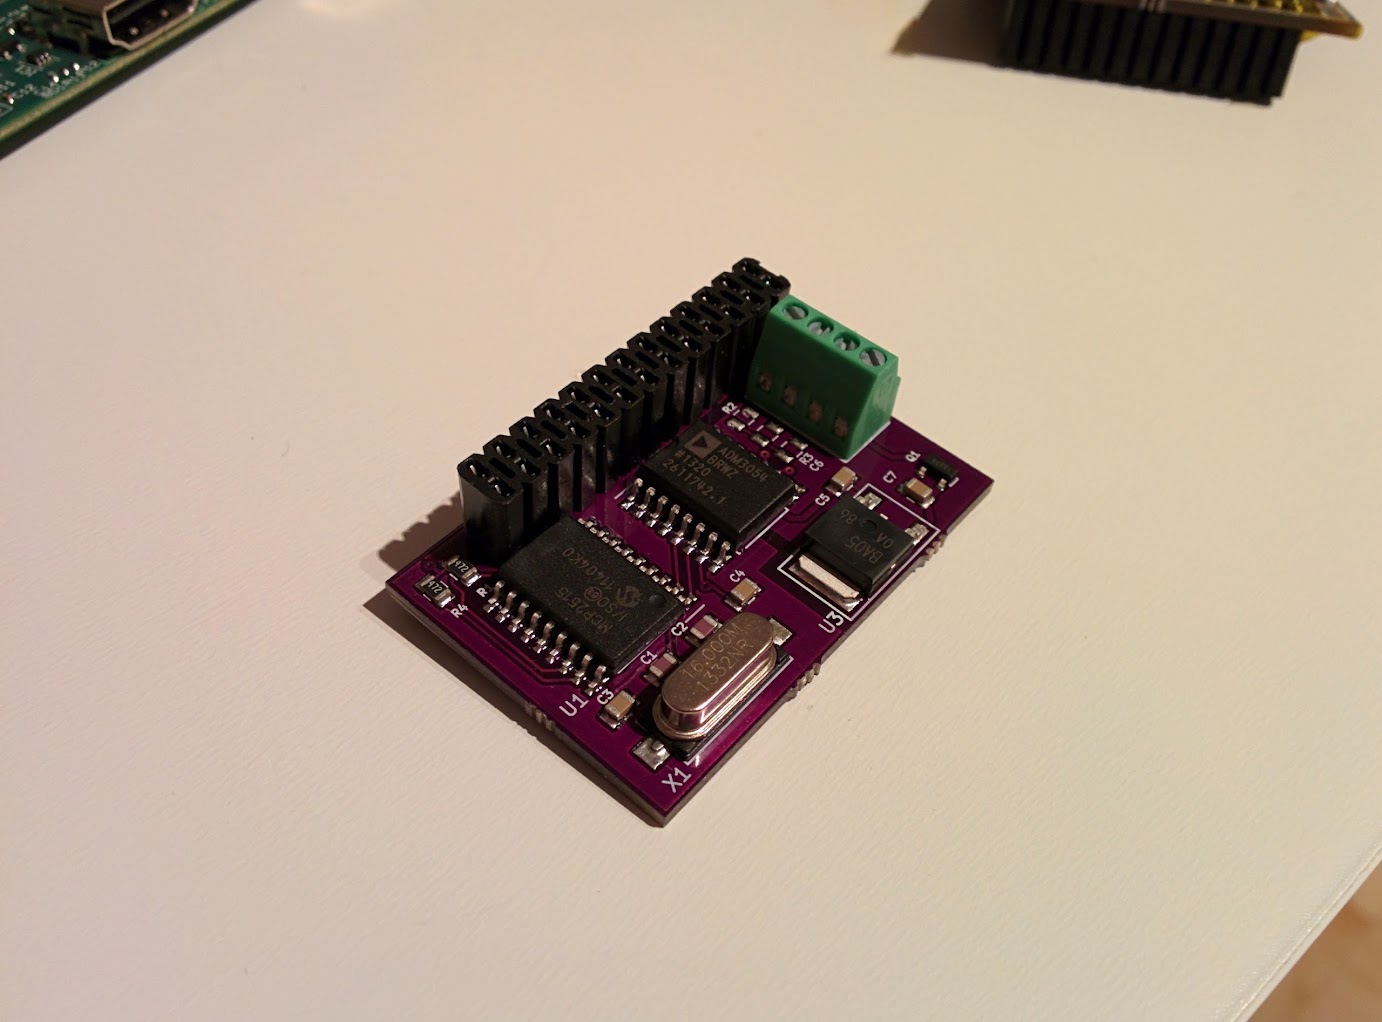
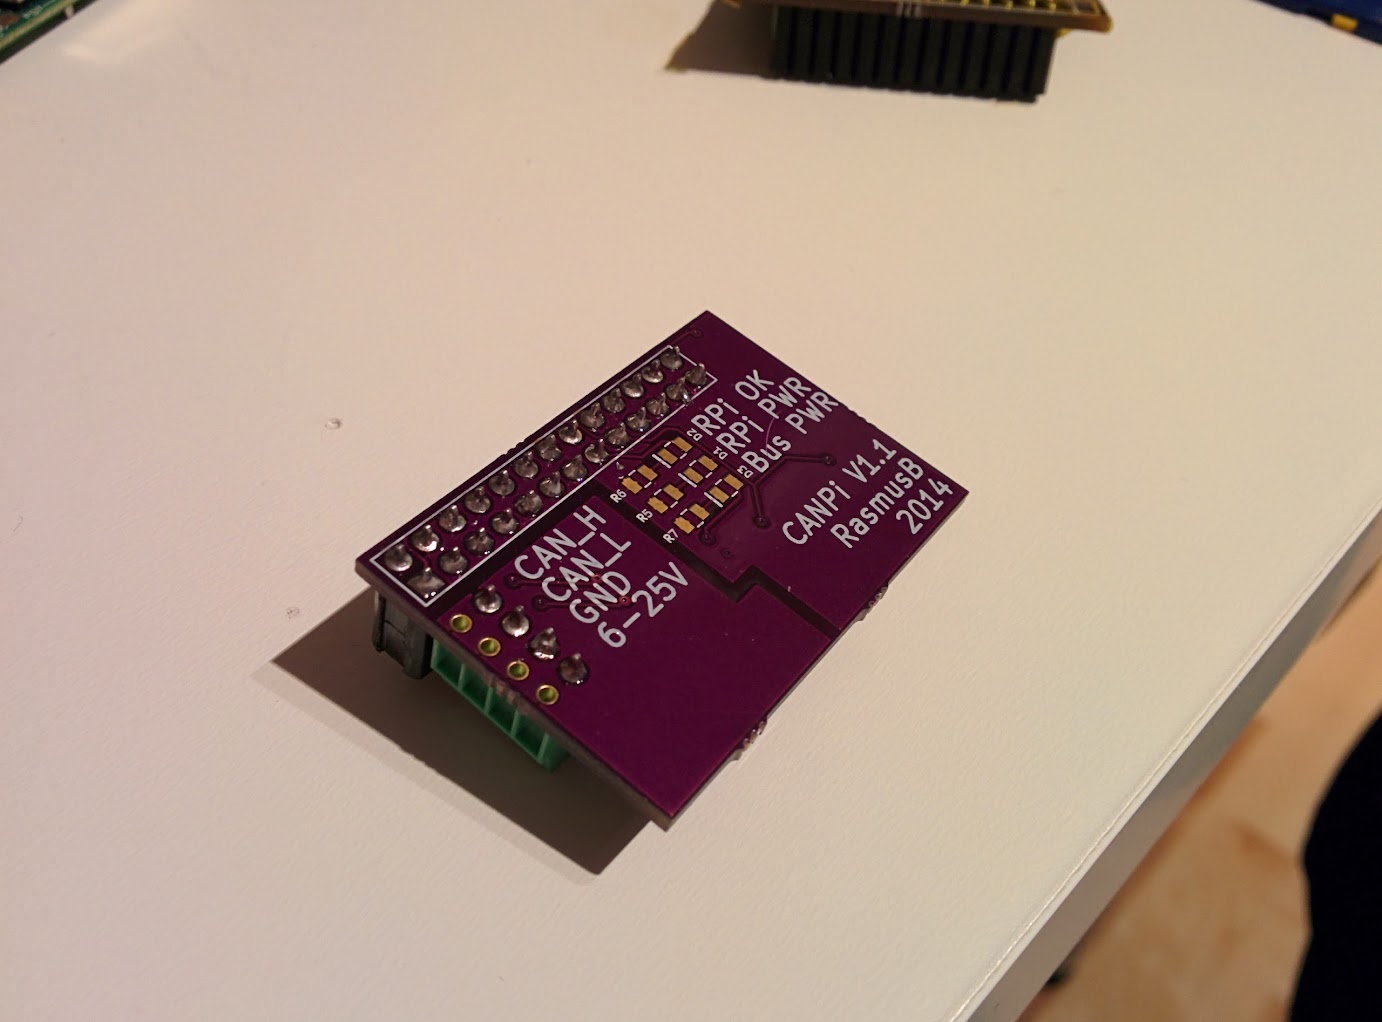

Careful measurements pays off. The new board fits perfectly within the RaspberryPi footprint.

The new board fits perfectly in an unmodified enclosure.
 RasmusB
Discussions
Become a Hackaday.io Member
Create an account to leave a comment. Already have an account? Log In.